Preserving and Framing Pressed Flowers
Have you ever stumbled upon a beautiful flower and wished you could keep it forever? Pressed flowers offer a magical way to preserve nature's beauty, allowing you to capture memories and emotions in a tangible form. Whether it’s the delicate petals of a wedding bouquet or the vibrant blooms from a special occasion, pressing flowers is not just a craft; it’s a journey through time. In this article, we’ll dive into the techniques for preserving these floral treasures and explore creative framing ideas that can transform them into stunning home decor.
Imagine walking into your living room and being greeted by a gorgeous display of pressed flowers, each telling a story of joy and nostalgia. Not only does this enhance your home’s aesthetic, but it also sparks conversations and evokes memories. The process of preserving flowers can be as simple or as intricate as you desire, making it accessible for both beginners and seasoned crafters alike. So, let’s embark on this floral adventure together!
When it comes to pressing flowers, the first step is selecting the right ones. Not all flowers are created equal in terms of preservation; some hold their color and shape better than others. For instance, roses, pansies, and lavender are fantastic choices due to their vibrant colors and sturdy structures. On the other hand, flowers like daisies and sunflowers may lose their charm when pressed.
Here’s a quick tip: Choose flowers that are freshly bloomed and free of moisture or pests. This ensures that the pressing process will yield the best results. You might also want to consider the season; spring and summer are ideal for a diverse selection of blooms, while autumn can provide unique foliage. The right choice of flowers sets the foundation for preserving beauty that lasts.
Now that you’ve selected your flowers, it’s time to explore the various methods of pressing them. Each technique brings its own flair to the final product. You can choose from traditional methods like using a flower press or heavy books, or you can opt for the modern approach of microwave pressing. Each method has its unique advantages and results, so let’s take a closer look.
A flower press is a specialized tool designed to provide even pressure and drying conditions, ensuring that your flowers retain their beauty. Using a flower press is not only efficient but also enjoyable. To get started, you’ll need a few materials:
- Cardboard
- Absorbent paper (like blotting paper or parchment)
- Clamps or screws to hold everything together
Here’s a simple step-by-step guide to pressing flowers using a flower press:
- Lay a piece of absorbent paper on the bottom of the press.
- Arrange the flowers on the paper, ensuring they don’t overlap.
- Cover with another piece of absorbent paper.
- Close the press tightly and secure it with clamps or screws.
- Leave it in a dry, warm place for about 1-2 weeks.
Following these steps will ensure that your flowers are beautifully preserved, retaining their color and shape throughout the process.
If you’re short on time, microwave pressing is a quick and effective method to preserve flowers. It involves using specific materials and settings to achieve fast results. With this technique, you can have pressed flowers ready in just a few minutes! Just remember to monitor them closely to avoid burning.
Once your flowers are pressed and dried, it’s time to frame them. Framing turns your pressed flowers into stunning art pieces that can enhance any room. The right frame can elevate the visual appeal, making the flowers pop and drawing the eye. Consider materials like wood, metal, or even acrylic to find a frame that complements your floral display.
When selecting a frame, think about the overall aesthetic you want to achieve. Here are a few factors to consider:
- Color: Choose colors that complement the pressed flowers.
- Style: Consider whether you want a modern or vintage look.
- Size: Ensure the frame is proportionate to the flowers and the space where it will be displayed.
A shadow box adds depth and dimension to your pressed flowers, making them stand out even more. To create a shadow box, you’ll need:
- A deep frame or shadow box frame
- Decorative background paper
- Adhesive or pins to secure the flowers
Simply arrange your pressed flowers inside the box, attach them to the background, and close it up. This not only protects your flowers but also creates a stunning display that can be hung on a wall or placed on a shelf.
Q: Can I press any type of flower?
A: Not all flowers press well. Choose sturdy flowers like roses, pansies, and lavender for the best results.
Q: How long do pressed flowers last?
A: With proper care, pressed flowers can last for years, even decades!
Q: What’s the best way to display pressed flowers?
A: Framing them in a shadow box or traditional frame is a great way to showcase their beauty.
Choosing the Right Flowers
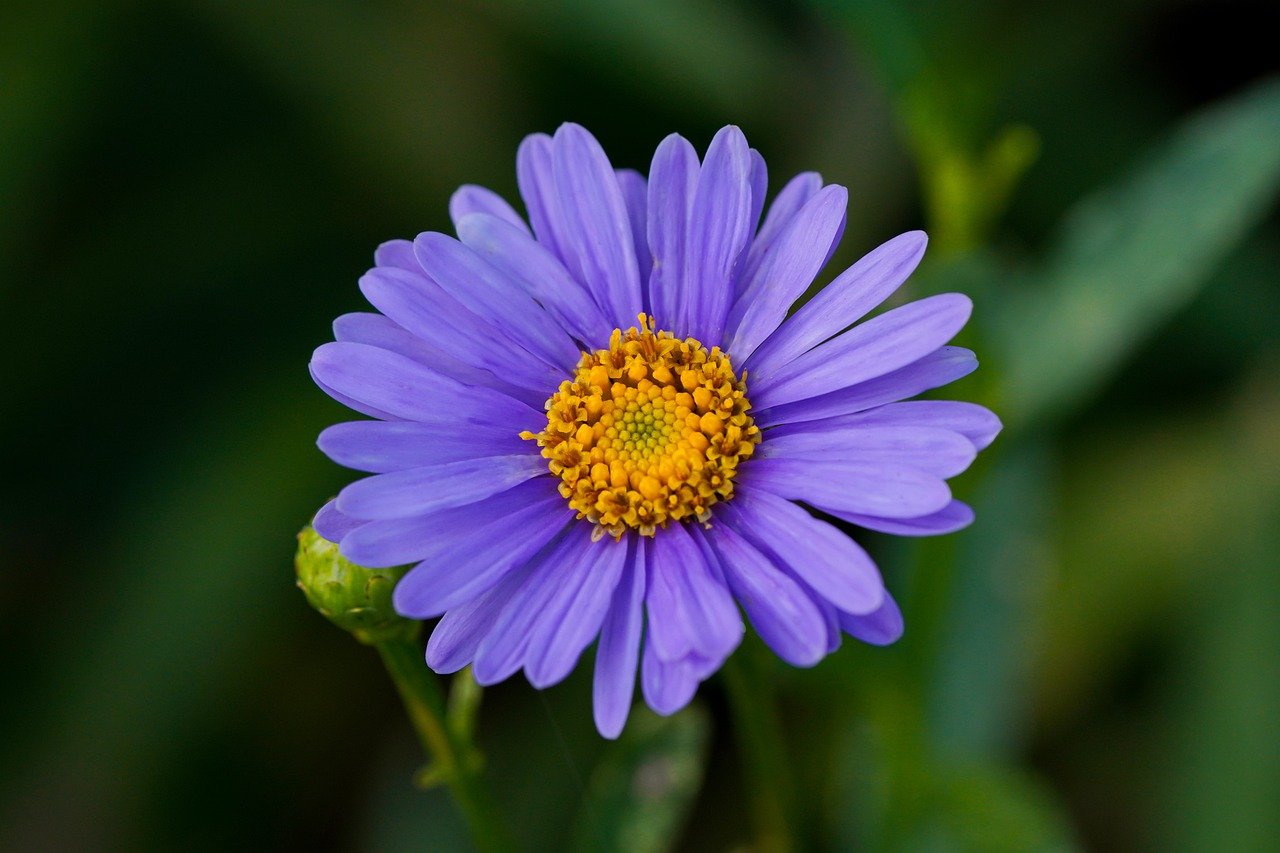
When it comes to preserving pressed flowers, the choice of blooms is absolutely crucial. Not all flowers are created equal in the world of pressing; some have a natural flair for maintaining their color and shape, while others might wilt into a sad shadow of their former selves. Imagine trying to capture a sunset in a jar—certain flowers are like vibrant sunsets, while others resemble a dull, cloudy day. So, how do you select the perfect candidates for your floral masterpiece?
First, consider the texture and structure of the flowers. Flowers with thicker petals, such as roses and daisies, tend to hold up better during the pressing process. They retain their beauty and color much longer than delicate blooms like pansies or poppies, which can easily lose their charm. Additionally, think about the color palette you want to achieve. Brightly colored flowers, such as sunflowers or zinnias, can add a cheerful pop to your decor, while muted tones can create a more subtle and sophisticated look.
Another factor to consider is the seasonality of the flowers. Certain flowers bloom at specific times of the year, so it's wise to plan your pressing endeavors accordingly. For instance, spring brings a plethora of options like tulips and lilacs, while summer showcases sunflowers and hydrangeas. If you’re looking to preserve a memory, why not collect blooms from significant events or seasons in your life? It’s like bottling up a slice of time!
Here’s a quick rundown of some popular flowers that are great for pressing:
- Roses: Their rich colors and sturdy petals make them ideal.
- Lavender: Not only does it smell divine, but it also retains its color well.
- Daisies: Their simple beauty shines through even after pressing.
- Sunflowers: These bold blooms can brighten any display.
- Maple Leaves: Perfect for adding a touch of nature's palette.
Lastly, don't forget to think about the sentimental value of the flowers you choose. Perhaps you want to press the flowers from your wedding bouquet or a special occasion. The emotional connection will make your pressed flower display even more meaningful, turning it into a treasured keepsake. So, as you embark on your floral preservation journey, keep these factors in mind to ensure that your pressed flowers not only look stunning but also tell a story that resonates with you.
Pressing Techniques
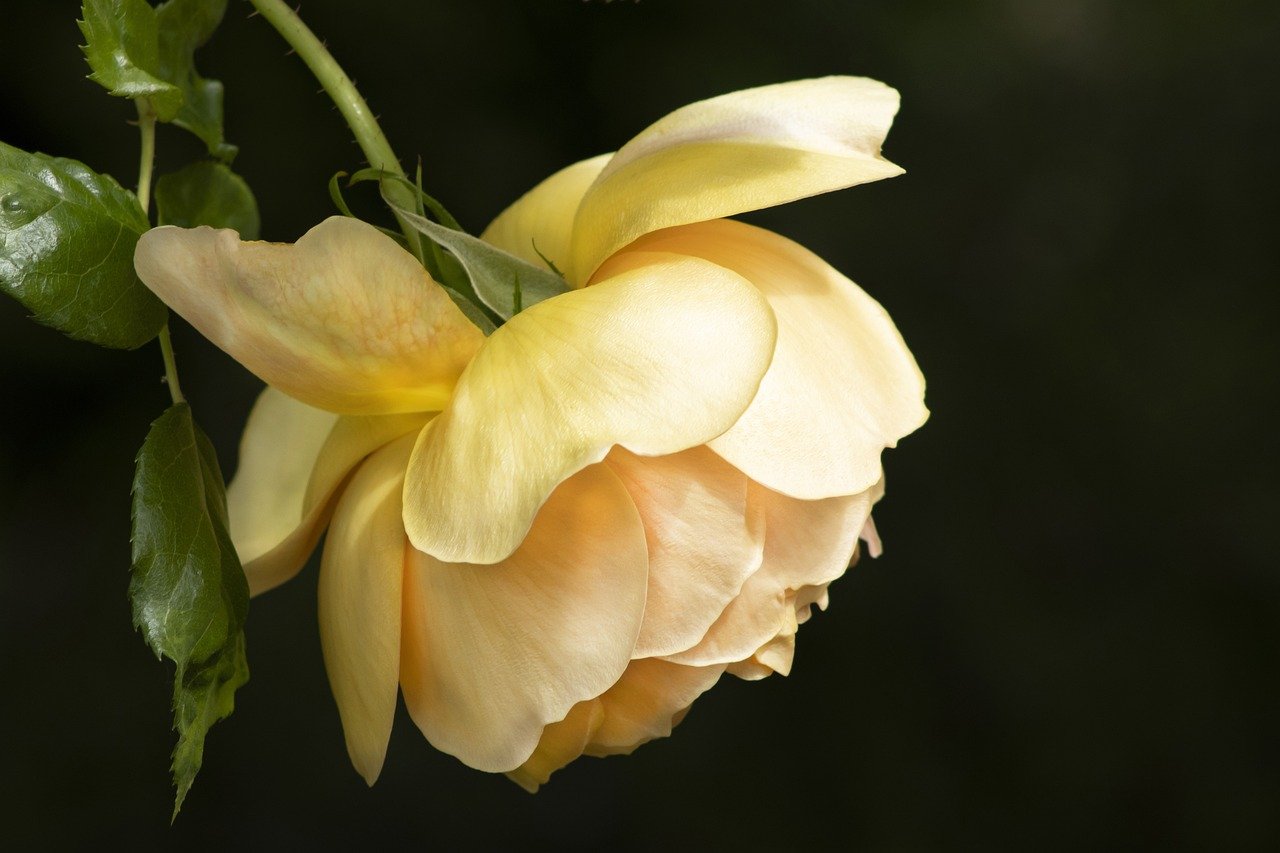
When it comes to preserving flowers, the technique you choose can make all the difference between a vibrant keepsake and a wilted memory. There are several methods to press flowers, each with its own unique advantages. Some may prefer the traditional approach using a flower press, while others might opt for the speed of microwave pressing. Whatever your choice, understanding these techniques can help you achieve the best results.
One of the most popular methods is using a flower press. This tool is specifically designed to apply even pressure on flowers while allowing moisture to escape. The result? Beautifully flat and colorful flowers that maintain their original beauty. If you're wondering how to use a flower press effectively, it’s essential to know what materials to use and the steps involved in the process.
A flower press typically consists of two wooden boards, absorbent paper, and clamps. The absorbent paper is crucial as it soaks up moisture from the flowers, preventing any mold or decay. The clamps ensure that the flowers are pressed evenly, which is vital for a uniform result. To create your own flower press, gather the following materials:
| Materials | Purpose |
|---|---|
| Wooden Boards | Creates the pressing surface |
| Absorbent Paper | Absorbs moisture from the flowers |
| Clamps | Applies even pressure |
Once you have your materials ready, follow these simple steps to press flowers:
- Choose fresh flowers that are in full bloom.
- Trim the stems and remove any leaves.
- Place the flowers between two sheets of absorbent paper.
- Sandwich the paper between the wooden boards.
- Secure the boards with clamps and place them in a cool, dry location.
- Leave the flowers to press for about 2-4 weeks, checking periodically for dryness.
Another method worth considering is microwave pressing. This technique is perfect for those who are short on time but still want to preserve their flowers. By using a microwave, you can achieve the same results in a fraction of the time. However, it’s essential to use the right materials and settings to avoid burning the flowers. You’ll need a microwave-safe plate, absorbent paper, and a microwave-safe weight to apply pressure.
To press flowers in the microwave, follow these steps:
- Place the flowers between two sheets of absorbent paper.
- Put the paper on a microwave-safe plate.
- Place a microwave-safe weight on top to apply pressure.
- Microwave on low power for 30-second intervals, checking the flowers in between.
- Once the flowers are dry and flat, remove them carefully and allow them to cool.
In conclusion, whether you choose the traditional flower press or the quick microwave method, the key is to approach the process with care and attention. Each technique offers unique benefits and can result in stunningly preserved flowers that you can cherish for years to come.

Using a Flower Press
Using a flower press is one of the most effective ways to preserve the beauty of your favorite blooms. Unlike other methods, a flower press provides consistent pressure and a controlled environment for drying, which helps maintain the vibrant colors and intricate shapes of the flowers. Imagine transforming your garden's blossoms into lasting art pieces that you can enjoy for years to come! The process is not only rewarding but also a delightful way to connect with nature and your creative side.
To get started with a flower press, you’ll need to gather a few essential materials. Typically, a flower press consists of two flat boards, usually made of wood or plastic, that sandwich the flowers between layers of absorbent paper. The pressure applied by the boards helps to flatten the flowers while drawing out moisture, which is crucial for preservation. Here’s a quick rundown of the materials you’ll need:
- Cardboard or wooden boards: These will serve as the base of your flower press.
- Absorbent paper: This can be blotting paper, parchment paper, or even coffee filters, which will help absorb moisture.
- Clamps or screws: These will apply pressure to the boards, ensuring the flowers are pressed evenly.
Once you have your materials ready, you can follow a simple step-by-step guide to effectively press your flowers. Start by selecting fresh, healthy flowers that are free of blemishes. Remember, the best time to pick flowers for pressing is in the morning after the dew has dried but before the sun is too strong. This way, the flowers are at their freshest. After selecting your flowers, lay them flat between two sheets of absorbent paper. Place the paper and flowers between the boards of the press, and then tighten the clamps or screws to apply pressure.
Leave the flowers in the press for about two to four weeks, checking occasionally to ensure they are drying properly. The longer you leave them, the flatter and drier they will become, but be cautious not to leave them too long, as they can become brittle. Once the flowers are fully pressed and dried, you can carefully remove them from the press. You'll be amazed at how well they retain their color and shape!
Using a flower press not only preserves the beauty of your favorite flowers but also allows you to create stunning displays. Whether you choose to frame them, use them in crafts, or simply keep them as mementos, pressed flowers can bring a touch of nature into your home. So, grab your flower press and start creating your own botanical masterpieces!
Materials Needed
This article explores the techniques and benefits of preserving pressed flowers, along with creative ideas for framing them to enhance your home decor and keep cherished memories alive.
Selecting the best flowers for pressing is crucial. Some flowers retain their color and shape better than others, making them more suitable for preservation and display.
There are various methods to press flowers, including using a flower press, heavy books, or microwave techniques. Each method has its unique advantages and results.
A flower press is a specialized tool that provides even pressure and drying conditions, resulting in beautifully preserved flowers. Learn how to use one effectively for optimal results.
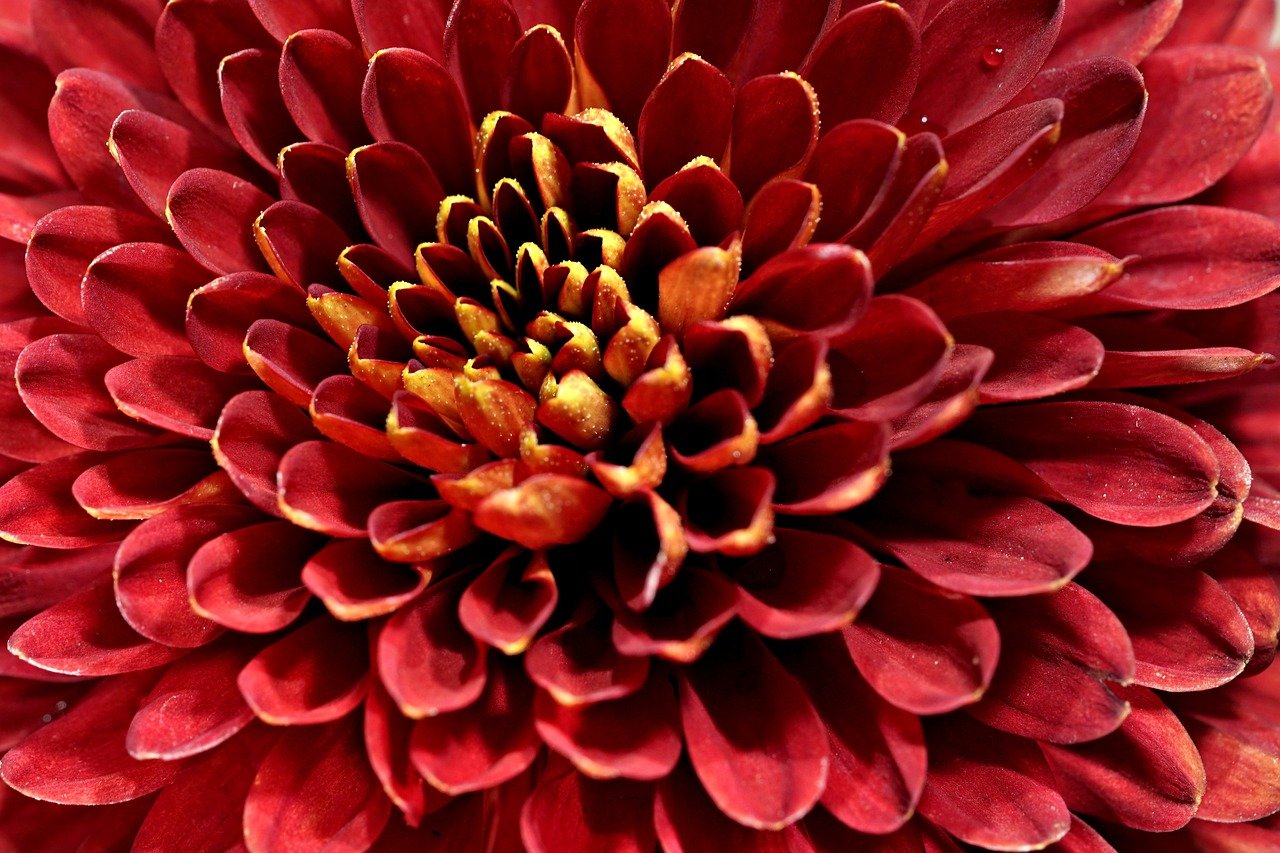
To create your own flower press, you'll need a few essential materials that ensure the flowers are pressed effectively while maintaining their vibrant colors and shapes. The primary components include:
- Cardboard: This serves as the base of your press. It should be thick enough to provide stability but not so thick that it prevents even pressure.
- Absorbent Paper: Use materials like blotting paper or parchment paper to absorb moisture from the flowers. This is key to preventing mold and ensuring a clean press.
- Clamps: These are necessary to hold everything together tightly. You can use simple binder clips or more specialized clamps for a flower press.
Additionally, you might want to include a few optional materials to enhance your pressing experience:
- Wax Paper: This can be used to sandwich the flowers, providing an extra layer of protection.
- Weights: If you don’t have clamps, heavy books can serve as makeshift weights to apply pressure.
By gathering these materials, you’ll set the stage for a successful flower pressing adventure. Remember, the quality of your materials can significantly impact the final outcome, so choose wisely!
Microwave pressing is a quick method for preserving flowers. This technique involves using specific materials and settings to achieve fast and effective results.
Once flowers are pressed, framing them can turn them into stunning art pieces. Explore various framing options to showcase your pressed flowers beautifully.
Selecting a frame that complements the pressed flowers is essential. Consider materials, colors, and styles that enhance the overall aesthetic of your display.
A shadow box provides depth and dimension to your pressed flowers. Learn how to create a shadow box that highlights the beauty of your floral arrangements.
Q: How long do pressed flowers last?
A: With proper preservation and framing, pressed flowers can last for many years, sometimes even decades. However, exposure to sunlight and humidity can affect their longevity.
Q: Can I press any type of flower?
A: While many flowers can be pressed, some retain their shape and color better than others. Flat, thin flowers like daisies and pansies are ideal, while thick or fleshy flowers may not press well.
Q: What should I do if my pressed flowers lose color?
A: To prevent color loss, keep your pressed flowers out of direct sunlight and in a cool, dry place. If they have already faded, consider using a UV-protective glass in your frame.
Q: Can I use my microwave to press flowers?
A: Yes! Microwave pressing is a fast and effective method. Just make sure to follow specific guidelines to avoid damaging the flowers.
Steps to Press Flowers
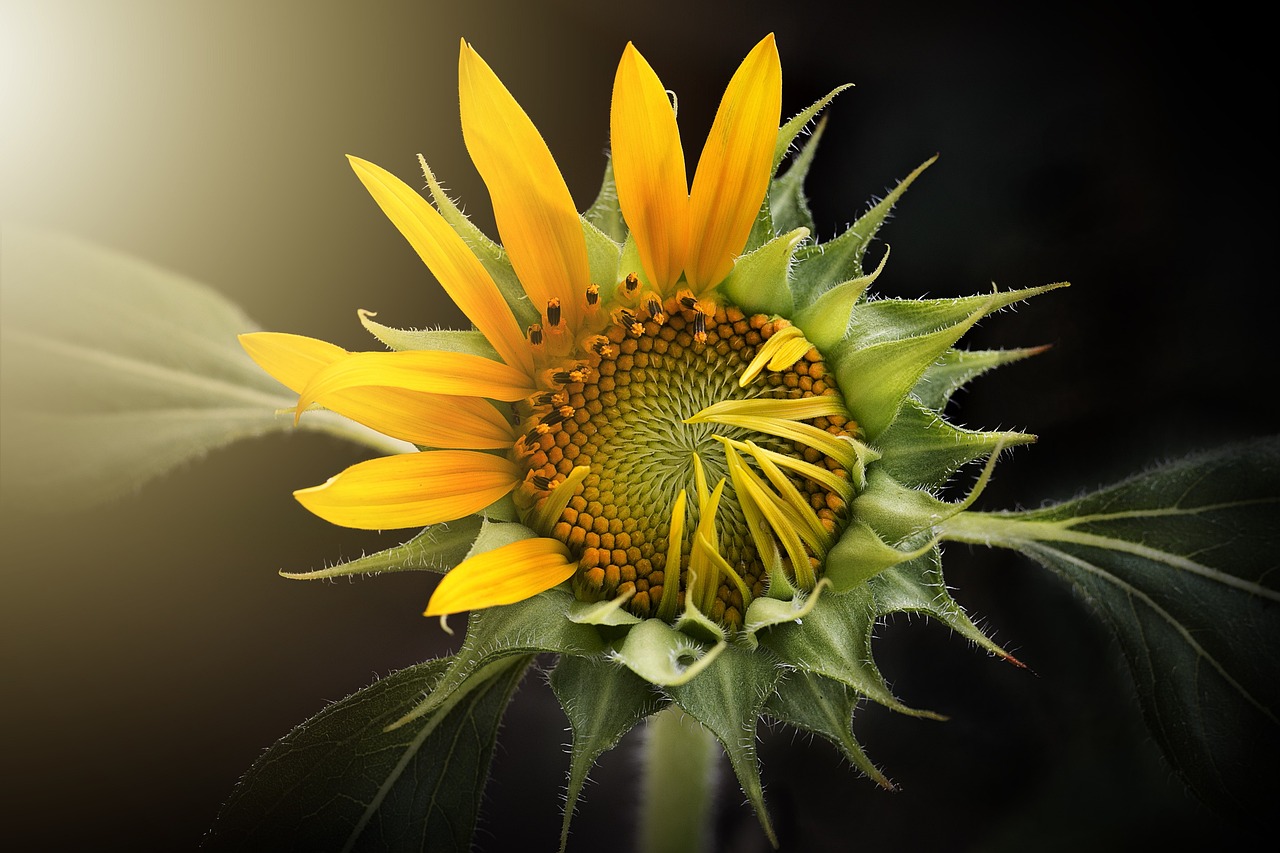
Pressing flowers is an art that not only allows you to preserve the beauty of nature but also transforms those delicate blooms into lasting memories. To achieve optimal results, follow these simple yet effective steps that will guide you through the process of pressing flowers using a flower press.
First and foremost, gather your materials. You will need:
- A flower press (or DIY materials like cardboard and absorbent paper)
- Fresh flowers of your choice
- Clamps or weights to apply pressure
Once you have everything ready, the next step is to select your flowers. Choose blooms that are fresh and vibrant, as they will retain their color better during the pressing process. Some popular choices include daisies, pansies, and violets. Remember, not all flowers press equally well, so it’s good to experiment with different types to find what works best for you.
Now, it’s time to prepare the flowers. Remove any unwanted leaves or stems, as they can detract from the final presentation. Lay the flowers flat on a piece of absorbent paper, ensuring they don’t overlap, as this can lead to uneven pressing and may cause the flowers to stick together.
Next, assemble your flower press. Place another piece of absorbent paper on top of the flowers, followed by a layer of cardboard. Finally, secure the press with clamps or weights to ensure even pressure is applied. This step is crucial, as it helps to flatten the flowers and remove moisture effectively.
Once your flowers are securely pressed, the waiting game begins. Allow the flowers to dry for about two to four weeks, depending on the type of flower and humidity levels. During this time, you may want to check periodically to ensure that the flowers are drying properly and that no mold is developing.
After the waiting period, it’s time to unveil your pressed flowers. Carefully remove the flowers from the press, handling them gently to avoid breaking any petals. You’ll be amazed at how beautifully they retain their shape and color!
Finally, store or frame your pressed flowers to showcase their beauty. If you plan to frame them, consider using a shadow box or a traditional frame, as this will protect the flowers while allowing you to display them as art. Remember, the final presentation can elevate your pressed flowers from mere keepsakes to stunning decor pieces that tell a story.
Here are some common questions about pressing flowers:
- How long do pressed flowers last? When properly pressed and preserved, flowers can last for many years, retaining their beauty and color.
- Can I press flowers in a microwave? Yes! Microwave pressing is a quick method that can yield excellent results if done carefully.
- What types of flowers are best for pressing? Flowers like daisies, pansies, and lavender are great choices due to their flat shapes and vibrant colors.
- How can I prevent mold when pressing flowers? Ensure that the flowers are completely dry before pressing and use absorbent materials to wick away moisture.

Microwave Pressing
Microwave pressing is a fantastic technique for those who want to preserve flowers quickly and efficiently. This method is a game-changer, especially if you're short on time or simply can't wait to see the results. By using the microwave, you can achieve beautifully pressed flowers in just a matter of minutes, which is a stark contrast to traditional pressing methods that can take days. Imagine having a vibrant bouquet transformed into a stunning piece of art in less than an hour!
To get started with microwave pressing, you'll need a few essential materials. First, gather some microwave-safe materials such as paper towels, a microwave-safe plate, and of course, your chosen flowers. It's important to select flowers that are not too thick, as they will need to fit comfortably between the layers of paper towels. Some great options include daisies, pansies, and small roses. These flowers tend to retain their color and shape well, making them ideal for this method.
Here’s a simple step-by-step guide to help you navigate the microwave pressing process:
- Prepare Your Flowers: Trim the stems and remove any leaves. Choose the most vibrant blooms for the best results.
- Layer Your Materials: Place a paper towel on the microwave-safe plate, then arrange your flowers on top. Cover them with another paper towel, ensuring they are not overlapping.
- Microwave: Start with 30 seconds on high power. After that, check the flowers. If they are not completely pressed, continue microwaving in 10-second intervals until they are dry and flat.
- Cool Down: Let the flowers cool completely before handling them. This will ensure they retain their shape and color.
One of the greatest benefits of microwave pressing is the speed at which you can create your pressed flowers. However, it’s crucial to keep an eye on them as microwaves can vary in power. Overdoing it can lead to burnt flowers, which is definitely not the look you want! Just remember, patience is key, even with this quick method.
After you’ve successfully pressed your flowers, you can use them in a variety of creative projects. From scrapbooking to creating stunning wall art, the possibilities are endless. Plus, the vibrant colors and intricate details of your pressed flowers will add a unique touch to your home decor.
In summary, microwave pressing is an innovative and efficient way to preserve flowers without the long wait. With just a few materials and a little bit of time, you can create beautiful pressed flowers that will last for years to come. So why not give it a try? You might just discover a new favorite hobby!
- Can I press any type of flower in the microwave? While many flowers can be pressed, it's best to choose those that are thin and have vibrant colors, like daisies or pansies.
- How long should I microwave the flowers? Start with 30 seconds and check them. Continue in 10-second intervals until they are dry.
- Will the flowers maintain their color? Yes, if done correctly, the flowers should retain their color and shape beautifully.
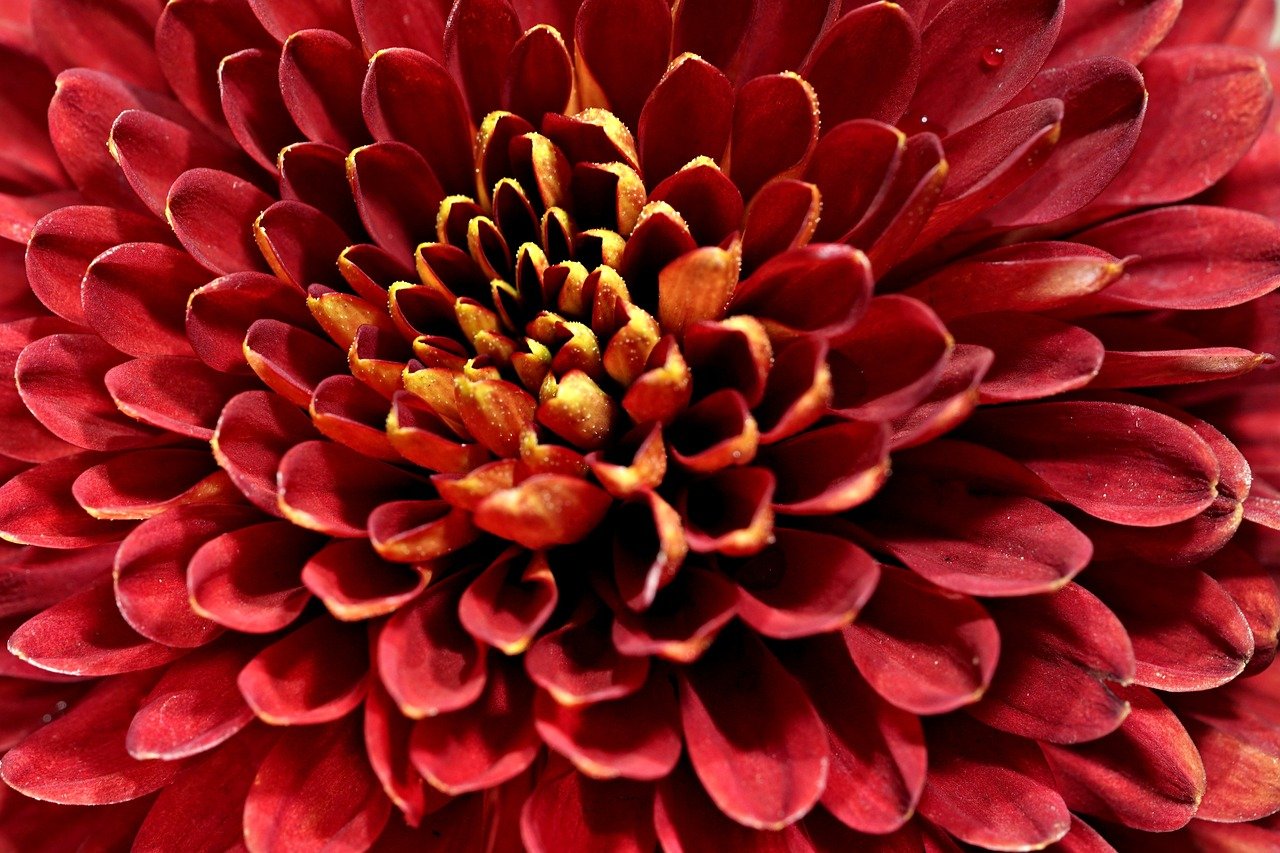
Framing Pressed Flowers
Once you've successfully pressed your flowers, the next exciting step is framing them. Framing not only protects your beautiful creations but also transforms them into stunning art pieces that can enhance your home decor. Imagine walking into your living room and being greeted by a vibrant display of nature, captured in time and preserved forever! But how do you go about framing pressed flowers to achieve that perfect look? Let's dive into some essential tips and creative ideas.
First, you need to consider the type of frame that will best showcase your pressed flowers. The right frame can make all the difference in how your floral art is perceived. For example, a sleek, modern frame can highlight the delicate beauty of your flowers, while a rustic wooden frame can add warmth and charm. Here are some popular frame options you might want to consider:
- Standard Frames: These are versatile and come in various sizes and colors, making it easy to find one that complements your decor.
- Shadow Boxes: These frames add depth and allow you to create a 3D effect, making your pressed flowers stand out even more.
- Glass Frames: Using glass can protect your flowers from dust and damage while providing a clean, elegant look.
When selecting a frame, think about the color scheme of your room. Do you want your flowers to pop against a stark white background, or would you prefer a muted tone that allows the flowers to be the star of the show? It's all about personal preference! Additionally, the style of the frame should match your home’s aesthetic—whether it’s modern, vintage, or bohemian.
Another great option for framing pressed flowers is to create a shadow box. A shadow box gives you the ability to add dimension to your display. This is especially effective if you have larger flowers or want to include other elements, like leaves or dried herbs, to create a mixed-media piece. To make a shadow box, you will need:
- A deep frame or shadow box
- Adhesive or glue dots
- Decorative background paper (optional)
Start by choosing a background paper that complements your pressed flowers. Then, arrange your flowers in the shadow box, securing them with adhesive. This allows you to create a layered effect, giving your art piece a unique touch. Don't be afraid to experiment with different arrangements until you find one that speaks to you!
Finally, once you’ve framed your pressed flowers, consider where you want to display them. A well-placed piece can become a conversation starter or a focal point in a room. Whether you choose to hang your framed flowers on the wall, set them on a shelf, or give them as a thoughtful gift, the beauty of pressed flowers will surely bring joy to anyone who sees them.
Q: How long do pressed flowers last in a frame?
A: When properly preserved and framed, pressed flowers can last for many years. However, they may fade over time if exposed to direct sunlight, so it's best to keep them in a shaded area.
Q: Can I use any type of flower for pressing?
A: While many flowers can be pressed, some retain their color and shape better than others. Flowers like pansies, daisies, and violets are excellent choices for pressing.
Q: What can I do if my pressed flowers lose color?
A: To help maintain the color of your pressed flowers, consider using a UV-protective glass when framing them. This will help reduce fading caused by sunlight.
Framing pressed flowers is not just a craft; it's a way to celebrate nature and keep memories alive. So, grab your flowers, find that perfect frame, and let your creativity bloom!
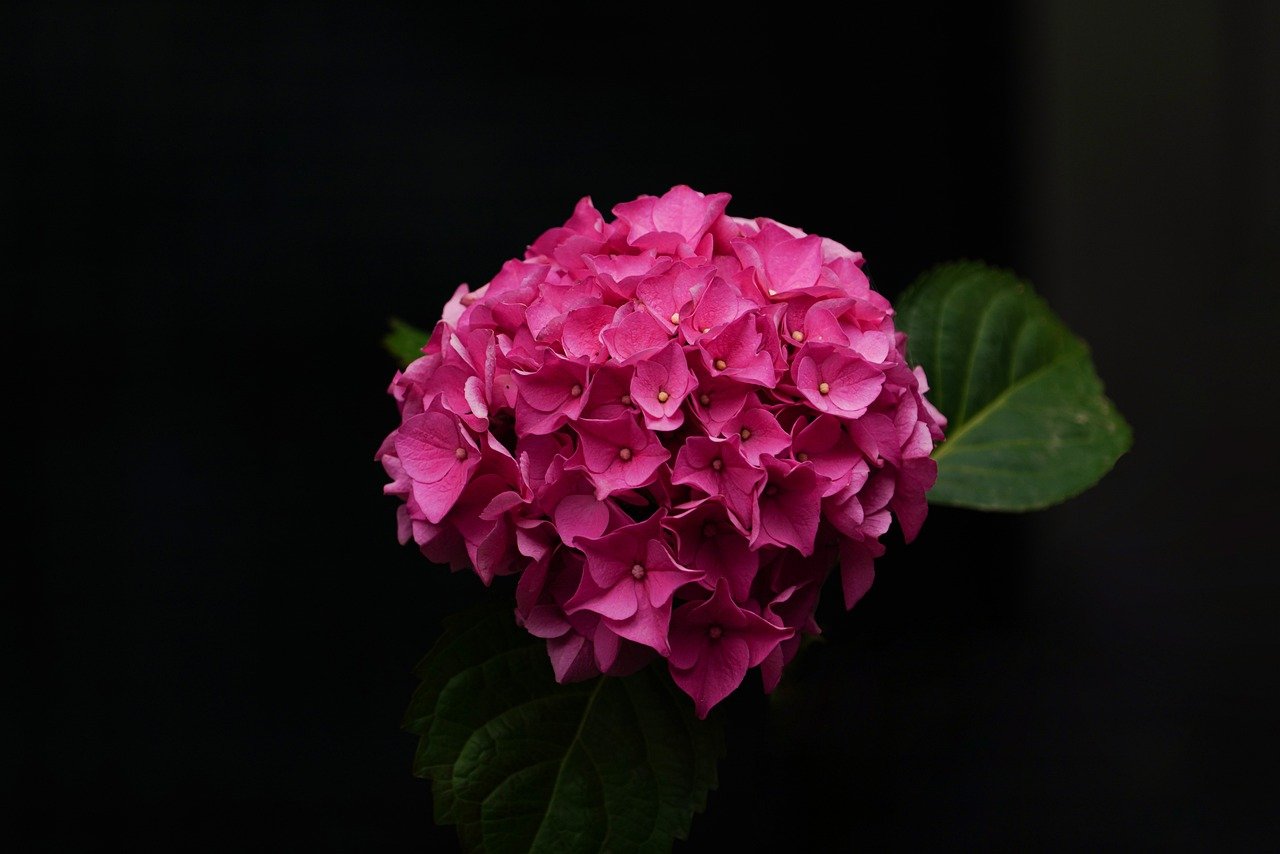
Choosing the Right Frame
When it comes to framing your pressed flowers, the right frame can make all the difference. It's not just about protecting your delicate blooms; it's about enhancing their beauty and creating a focal point in your space. Imagine walking into a room and being greeted by a stunning display of nature's artwork, carefully preserved and beautifully presented. So, how do you choose the perfect frame? Let's dive into some essential considerations!
First and foremost, consider the style of your home decor. Are you leaning towards a modern aesthetic, or do you prefer a rustic charm? The frame should complement your existing decor. For instance, a sleek, minimalist frame works wonders in a contemporary setting, while a distressed wooden frame adds warmth to a cozy, farmhouse-style room. It's all about creating harmony in your space.
Next, think about the color of the frame. You want it to enhance the colors of your pressed flowers, not overshadow them. A neutral frame, such as white, black, or natural wood, can provide a beautiful backdrop, allowing the vibrant colors of the flowers to pop. On the other hand, if you want to make a bold statement, consider a colorful frame that coordinates with the hues of the flowers or the surrounding decor. Just imagine how a bright teal frame could bring out the blues and greens in your floral arrangement!
Another important factor is the size of the frame. The dimensions should not only fit your pressed flowers but also suit the wall or space where you intend to display them. A larger frame can serve as a centerpiece, drawing attention and admiration, while a smaller frame might work better as part of a gallery wall. Speaking of gallery walls, mixing and matching different frame styles and sizes can create a dynamic and visually interesting display. Just remember, balance is key!
Lastly, don't forget about the material of the frame. Wood, metal, or even acrylic can all serve different purposes. Wooden frames often convey a sense of warmth and nostalgia, while metal frames can offer a sleek and modern vibe. Acrylic frames are lightweight and can be a great option for larger displays. Consider your personal style and the message you want to convey through your framed flowers.
In summary, choosing the right frame for your pressed flowers involves a careful balance of style, color, size, and material. By keeping these factors in mind, you can create a stunning display that not only preserves your cherished memories but also enhances the beauty of your home. So go ahead, explore your options, and let your creativity shine!
- What types of flowers are best for pressing? Some of the best flowers for pressing include daisies, pansies, and violets, as they retain their color and shape well.
- Can I use any frame for pressed flowers? While you can use any frame, it's best to choose one that complements the flowers and fits the overall decor of your home.
- How do I prevent my pressed flowers from fading? To prevent fading, keep your framed flowers out of direct sunlight and consider using UV-protective glass.
Creating a Shadow Box
Creating a shadow box is an exciting way to showcase your pressed flowers while adding a three-dimensional aspect to your decor. Unlike traditional frames, which can sometimes flatten the beauty of your floral arrangements, a shadow box allows you to create depth and visual interest. Imagine your vibrant flowers suspended in a delicate dance, inviting viewers to appreciate their beauty from multiple angles. This method not only highlights the flowers but also tells a story, making your art piece a conversation starter.
To get started, you’ll need a few materials. A shadow box typically consists of a deep frame that can hold your flowers, along with a backing material that can be painted or covered in fabric, adding an extra layer of creativity. Here’s a simple overview of what you’ll need:
- A shadow box frame (available at craft stores or online)
- Your pressed flowers
- Backing material (cardboard, fabric, or decorative paper)
- Adhesive (glue, double-sided tape, or mounting squares)
- Optional embellishments (ribbons, beads, or other decorative items)
Now, let’s dive into the steps to create your stunning shadow box. First, choose a shadow box frame that complements the colors of your pressed flowers. The frame can be made of wood, metal, or even plastic, depending on your personal style. Once you’ve selected your frame, it’s time to prepare the backing. You can paint it a solid color or cover it with decorative paper that enhances the overall look.
Next, arrange your pressed flowers on the backing material. This is where your creativity can shine! Don’t be afraid to experiment with different layouts. You might want to cluster flowers together or create a more scattered effect. Once you’re satisfied with the arrangement, use your adhesive to secure the flowers in place. If you’re feeling particularly artistic, consider adding some embellishments like ribbons or small decorative items to fill empty spaces and add a personal touch.
After everything is securely attached, carefully place the backing into the shadow box frame. Make sure everything is aligned and looks just as you envisioned. Once it’s all assembled, hang your shadow box on the wall or place it on a shelf where it can be admired. The result? A breathtaking piece of art that not only showcases your pressed flowers but also preserves the memories associated with them.
Creating a shadow box is more than just a crafting project; it’s a way to encapsulate moments in time. Each flower can represent a special occasion, a loved one, or simply your appreciation for nature’s beauty. So, gather your materials, unleash your creativity, and let your pressed flowers tell their story in a stunning shadow box!
Here are some common questions regarding creating shadow boxes with pressed flowers:
- Can I use fresh flowers instead of pressed ones? - Fresh flowers will not work in a shadow box unless they are pressed first, as they will wilt and decay over time.
- How long do pressed flowers last in a shadow box? - When properly preserved and framed, pressed flowers can last for many years, although they may fade slightly over time.
- What types of flowers work best for shadow boxes? - Flowers that maintain their color and shape when pressed, such as pansies, daisies, and ferns, are ideal choices.
Frequently Asked Questions
- What types of flowers are best for pressing?
When it comes to pressing flowers, some varieties stand out for their ability to retain color and shape. Flowers like daisies, pansies, and violets are great choices. On the other hand, flowers with thicker petals, such as roses, may not press as well. It’s all about finding that perfect balance!
- How do I press flowers using a flower press?
Using a flower press is simple and effective! Start by placing your flowers between layers of absorbent paper and cardboard. Then, tighten the clamps to apply even pressure. Make sure to keep the press in a dry, dark place for about 1-2 weeks. This method ensures your flowers come out beautifully flat and vibrant!
- Can I use my microwave to press flowers?
Absolutely! Microwave pressing is a quick and fun method. Just place your flowers between two pieces of paper towel and put them in the microwave with a ceramic tile on top. Heat them for about 30 seconds, check, and repeat until they’re dry. Just be careful not to overdo it, or you might end up with crispy petals!
- What is the best way to frame pressed flowers?
Framing pressed flowers can turn them into stunning pieces of art! Choose a frame that complements the colors of your flowers. A simple glass frame works wonders, but you could also go for a shadow box to add depth. Just make sure the flowers are completely dry before framing to avoid any moisture damage!
- How do I create a shadow box for my pressed flowers?
Creating a shadow box is a fantastic way to showcase your pressed flowers! Start with a deep frame and arrange your flowers on a sturdy backing. You can add decorative elements like twigs or leaves for extra flair. Once you’re happy with the layout, secure everything in place and close the box. It’s like giving your flowers a beautiful home!


