Preserving Leaves for Year-Round Crafts
Have you ever wandered through a park in autumn, marveling at the stunning array of colors that nature has to offer? Those vibrant reds, brilliant yellows, and deep oranges can be more than just a fleeting moment of beauty; they can be preserved and transformed into unique crafts that last throughout the year! In this article, we will explore various techniques for preserving leaves, ensuring they maintain their beauty and integrity for crafting projects. Whether you’re a seasoned crafter or just looking for a fun weekend project, you’ll find tips and creative uses for preserved leaves that will inspire your next artistic endeavor.
Preserving leaves is not just about keeping them intact; it’s about capturing the essence of nature and bringing it into your home. Imagine creating stunning wall art, personalized greeting cards, or even decorative pieces for your coffee table, all made from preserved leaves. The possibilities are endless! So, let’s dive into the world of leaf preservation and discover how you can keep nature’s beauty at your fingertips.
Before we jump into the techniques, it’s essential to understand that not all leaves are created equal when it comes to preservation. Some leaves are thicker and tougher, while others are delicate and fragile. Choosing the right leaves is crucial for ensuring that your crafts not only look good but also last over time. Factors such as size, shape, and color play a significant role in the final outcome of your projects. So, keep your eyes peeled for leaves that catch your attention and seem like they’d make a perfect addition to your crafting collection!
Once you’ve selected your leaves, the next step is to consider how you want to preserve them. There are several methods available, each with its unique benefits and outcomes. From air drying to pressing and using silica gel, each technique has its charm and suitability for different types of leaves. The choice ultimately depends on your crafting goals and the look you want to achieve. So, let’s explore these methods in detail and find the one that suits you best!
As we venture into the art of preserving leaves, remember that this is not just a task; it’s a journey into creativity and exploration. So grab your favorite leaves, and let’s get started on this exciting crafting adventure!
- What types of leaves work best for preservation? Generally, leaves that are flat, wide, and vibrant in color tend to preserve well. Maple, oak, and birch leaves are popular choices.
- Can I preserve leaves using a microwave? Yes! You can use a microwave with the pressing method for quicker results. Just be sure to monitor them closely to avoid burning.
- How long do preserved leaves last? If stored properly in a cool, dry place, preserved leaves can last for several years without losing their charm.
- What can I make with preserved leaves? There are countless projects you can undertake, including bookmarks, scrapbooking materials, wall art, and even jewelry!

Choosing the Right Leaves
This article explores various techniques for preserving leaves, ensuring they maintain their beauty and integrity for crafting projects throughout the year. Discover methods, tips, and creative uses for preserved leaves.
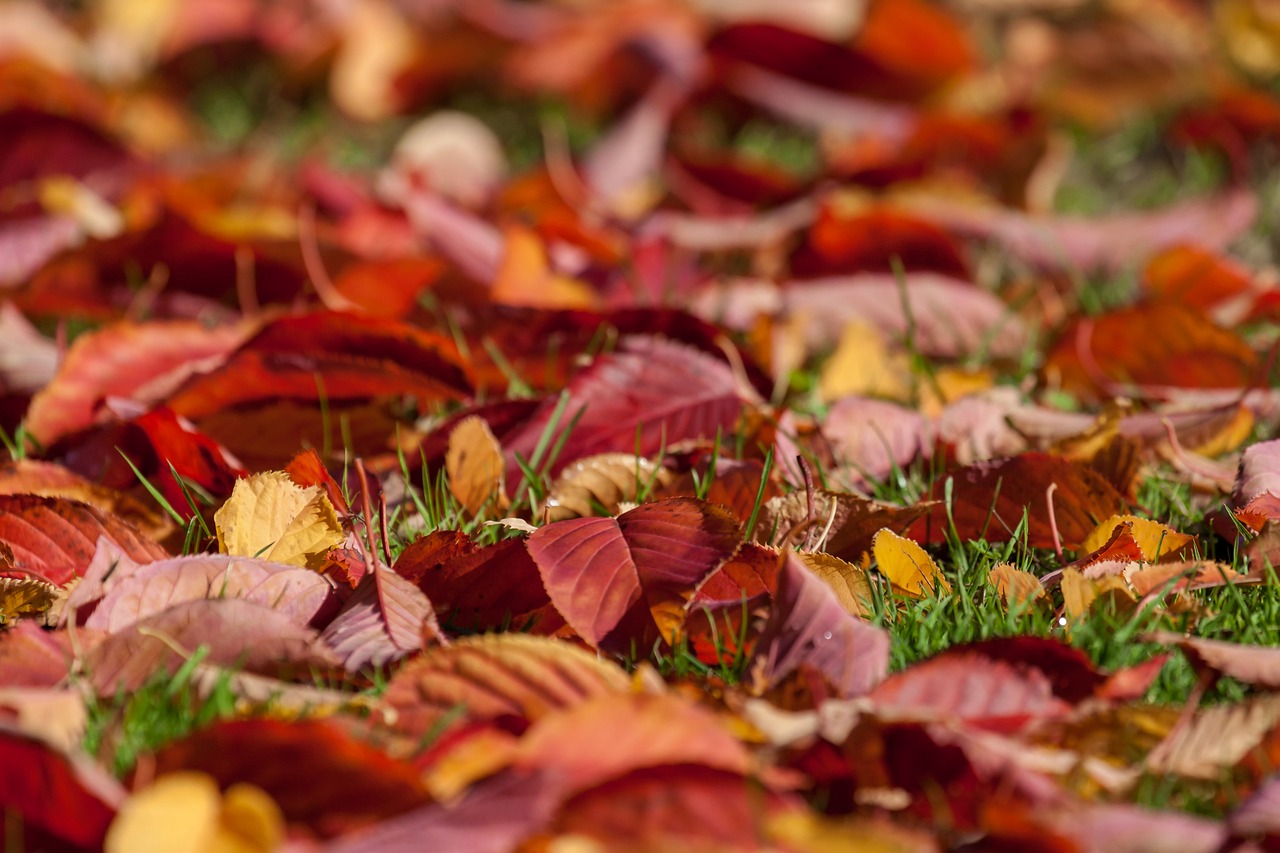
When it comes to preserving leaves for your crafting projects, is essential. Not all leaves are created equal, and the selection process can significantly impact the final outcome of your crafts. Start by considering the size and shape of the leaves. Larger leaves can serve as stunning focal points, while smaller leaves can add intricate details to your designs. Think about how these leaves will fit into your overall project. For example, if you're creating a wreath, a mix of both large and small leaves can create a visually appealing contrast.
Next, take a moment to evaluate the color of the leaves. Bright, vibrant leaves can add a pop of color to your crafts, while muted tones can provide a more subdued, rustic feel. It's also important to consider the leaves' seasonality. Different seasons offer unique leaf varieties, so don't hesitate to explore your surroundings throughout the year. In the fall, you might find a stunning array of reds, oranges, and yellows, while spring brings fresh greens and delicate blossoms.
Additionally, keep in mind the leaf texture. Some leaves have a smooth surface, while others may be rough or serrated. Each texture can bring a different element to your craft, adding depth and interest. For example, a combination of smooth and textured leaves can create a dynamic look in a scrapbook or a framed piece of art.
To help you in your selection process, here’s a quick overview of some popular leaves for preservation:
| Leaf Type | Best Season | Color | Texture |
|---|---|---|---|
| Maple | Fall | Red, Orange, Yellow | Smooth |
| Oak | Fall | Brown, Red | Rough |
| Birch | Spring | Green | Smooth |
| Ginkgo | Fall | Yellow | Smooth |
In conclusion, the process of choosing the right leaves for preservation is a blend of art and science. By paying attention to size, shape, color, and texture, you can select leaves that not only look great but also enhance the overall aesthetic of your crafts. So, next time you’re out for a walk, take a moment to appreciate the variety of leaves around you and think about how they could be transformed into beautiful, preserved pieces of art.
Drying Techniques
When it comes to preserving leaves for your crafts, play a vital role in ensuring that they maintain their beauty and integrity. There are several methods to choose from, each with its unique advantages and outcomes. Whether you're a crafting novice or a seasoned pro, understanding these techniques will enhance your projects and keep your leaves looking stunning throughout the year.
The first method worth mentioning is air drying, which is both simple and effective. This technique allows leaves to dry naturally by hanging them in a cool, dry place. It's important to choose a location that is well-ventilated and away from direct sunlight. Why? Well, sunlight can cause the leaves to lose their vibrant colors and may even lead to wilting. Typically, air drying takes anywhere from a few days to a week, depending on the thickness of the leaves and the environmental conditions. Isn't it fascinating how nature works? Just by hanging them up, you're letting the leaves transform into beautiful, dry pieces of art!
Another popular technique is pressing leaves. This method involves placing leaves between heavy books or using a dedicated flower press. The pressing technique is great for retaining the leaves' shapes and details, making them perfect for scrapbooking or framing. To achieve the best results, ensure that the leaves are completely flat and evenly spaced. After a week or so, you’ll have perfectly pressed leaves ready for your next crafting adventure!
For those who are looking for a quicker solution, silica gel is an excellent option. This method is particularly effective for delicate or colorful leaves. Silica gel works by absorbing moisture, which helps preserve the leaves' natural colors and textures. To use silica gel, simply layer the gel in a container, place your leaves on top, and cover them completely with more gel. Seal the container and let it sit for several days. The result? Beautifully preserved leaves that look as fresh as the day you picked them!
Now, you might be wondering which method is best for your crafting needs. Each technique has its own benefits, so it really depends on the type of leaves you're working with and the final look you're aiming for. Here’s a quick comparison in the table below:
| Drying Method | Pros | Cons |
|---|---|---|
| Air Drying | Simple, natural look, retains color | Time-consuming, may require space |
| Pressing | Great for shapes, easy to store | Can flatten details, takes time |
| Silica Gel | Quick, preserves color and texture | Requires silica gel, more materials needed |
In conclusion, mastering these drying techniques will not only enhance your crafting skills but also allow you to create stunning pieces that showcase the beauty of nature. So, gather your leaves, choose a drying method that suits your needs, and let your creativity flow!
Q: How long does it take for leaves to air dry?
A: Air drying typically takes anywhere from a few days to a week, depending on the thickness of the leaves and environmental conditions.
Q: Can I use any type of leaves for pressing?
A: Yes, most leaves can be pressed, but thicker leaves may take longer to dry and may not retain their shape as well as thinner leaves.
Q: Is silica gel safe to use?
A: Yes, silica gel is safe for preserving leaves, but it should be kept out of reach of children and pets.
Q: What are some creative uses for preserved leaves?
A: Preserved leaves can be used in various crafts such as scrapbooking, home decor, greeting cards, or even as embellishments for gifts.
Air Drying Method
This article explores various techniques for preserving leaves, ensuring they maintain their beauty and integrity for crafting projects throughout the year. Discover methods, tips, and creative uses for preserved leaves.
Selecting the appropriate leaves is crucial for preservation. Consider factors such as size, shape, and color to ensure your crafts are visually appealing and durable.
Drying leaves is a fundamental step in preservation. Explore different methods like air drying, pressing, and using silica gel to achieve the best results for your crafting needs.
Air drying is a simple and effective technique that allows leaves to retain their natural beauty without the use of chemicals. This method involves hanging leaves in a cool, dry place, which helps them maintain their vibrant colors and unique shapes over time. The beauty of air drying lies in its simplicity; you don’t need fancy equipment or materials—just some fresh leaves and a bit of patience. Imagine hanging a bouquet of leaves, each telling a story of the season they came from, gently swaying in the breeze while they dry. Isn't that a beautiful thought?
To achieve optimal results with air drying, ensure that your leaves are placed in a well-ventilated area away from direct sunlight. Direct sunlight can cause the leaves to fade and lose their rich hues, so think of it as giving your leaves a cozy, shaded spot to relax. A good rule of thumb is to choose a location that is dry and has good airflow, such as a covered porch or a room with a fan. This will help maintain their vibrant colors and prevent wilting, ensuring that the leaves look just as stunning as the day you picked them.
The duration for air drying varies based on leaf thickness and environmental conditions. Generally, you can expect a few days to a week for complete drying. Thicker leaves, like those from oak or magnolia trees, may take a bit longer, while thinner leaves, such as those from maples or birches, might dry more quickly. If you’re in a humid climate, it might take a little extra time, so be patient! You’ll know they’re ready when they feel crisp and break easily when bent. This is your cue to get creative with your crafting!
Silica gel is an excellent option for preserving leaves while maintaining their color and texture. This method is particularly effective for delicate or colorful leaves.
To use silica gel, layer the gel in a container, place the leaves on top, and cover them completely. Seal the container and let it sit for several days for optimal preservation.
Using silica gel allows for a quicker drying process while preserving the leaves' natural appearance. This method is ideal for crafting projects that require a fresh look.
Preserved leaves can be utilized in various crafting projects. From home decor to personalized gifts, discover innovative ways to incorporate these beautiful natural elements into your creations.
- How long do preserved leaves last? Preserved leaves can last for several years if stored properly, away from direct sunlight and moisture.
- Can I use any type of leaf for preservation? While most leaves can be preserved, thicker and sturdier leaves tend to hold up better over time.
- What are some creative projects I can do with preserved leaves? You can use preserved leaves for scrapbooking, making greeting cards, creating wall art, or even as decorative elements in home decor.

Best Conditions for Air Drying
This article explores various techniques for preserving leaves, ensuring they maintain their beauty and integrity for crafting projects throughout the year. Discover methods, tips, and creative uses for preserved leaves.
Selecting the appropriate leaves is crucial for preservation. Consider factors such as size, shape, and color to ensure your crafts are visually appealing and durable.
Drying leaves is a fundamental step in preservation. Explore different methods like air drying, pressing, and using silica gel to achieve the best results for your crafting needs.
Air drying is a simple and effective technique. This method involves hanging leaves in a cool, dry place, allowing them to retain their natural colors and shapes over time.
To achieve optimal results when air drying leaves, it’s essential to create the right environment. First and foremost, choose a well-ventilated area that is away from direct sunlight. Sunlight can cause leaves to fade and lose their vibrant colors, which is the opposite of what you want for your crafts. A shaded spot with good air circulation is ideal.
Consider the temperature and humidity levels as well. A cooler, dry atmosphere will help the leaves dry out without wilting. If the air is too humid, it can lead to mold growth, ruining your beautiful leaves. Ideally, the temperature should be between 60°F to 75°F (15°C to 24°C) for the best drying conditions.
Additionally, the way you hang or place the leaves can impact the drying process. Make sure they are not overcrowded; give each leaf enough space to allow air to circulate freely around them. You can use a simple setup like:
- String or twine to hang leaves
- Clips or clothespins to secure them
- Mesh racks for flat drying
By following these conditions, you’ll ensure that your leaves maintain their natural beauty, making them perfect for any crafting project.
Pressing leaves is another popular preservation technique. This method involves flattening leaves between heavy books or using a flower press to retain their shape and details.
Silica gel is an excellent option for preserving leaves while maintaining their color and texture. This method is particularly effective for delicate or colorful leaves.
To use silica gel, layer the gel in a container, place the leaves on top, and cover them completely. Seal the container and let it sit for several days for optimal preservation.
Using silica gel allows for a quicker drying process while preserving the leaves' natural appearance. This method is ideal for crafting projects that require a fresh look.
Preserved leaves can be utilized in various crafting projects. From home decor to personalized gifts, discover innovative ways to incorporate these beautiful natural elements into your creations.
Q: How long do preserved leaves last?
A: When properly preserved, leaves can last for several years. However, exposure to sunlight and moisture can shorten their lifespan.
Q: Can I use any type of leaves for preservation?
A: While most leaves can be preserved, thicker leaves tend to hold up better. Choose leaves that are not overly fragile to ensure they maintain their structure.
Q: What can I do with preserved leaves?
A: Preserved leaves can be used in a variety of crafts, including scrapbooking, home decor, greeting cards, and more. The possibilities are endless!
Time Required for Air Drying
This article explores various techniques for preserving leaves, ensuring they maintain their beauty and integrity for crafting projects throughout the year. Discover methods, tips, and creative uses for preserved leaves.
Selecting the appropriate leaves is crucial for preservation. Consider factors such as size, shape, and color to ensure your crafts are visually appealing and durable.
Drying leaves is a fundamental step in preservation. Explore different methods like air drying, pressing, and using silica gel to achieve the best results for your crafting needs.
Air drying is a simple and effective technique. This method involves hanging leaves in a cool, dry place, allowing them to retain their natural colors and shapes over time.
To achieve optimal results, ensure your leaves are placed in a well-ventilated area away from direct sunlight. This will help maintain their vibrant colors and prevent wilting.
When it comes to air drying leaves, the duration can vary significantly based on a few key factors. Generally, you can expect the process to take anywhere from a few days to a week. The thickness of the leaves plays a major role; thicker leaves naturally require more time to dry completely compared to their thinner counterparts. Additionally, environmental conditions such as humidity and temperature can either speed up or slow down the drying process.
For example, in a dry and warm climate, you might find that your leaves dry out in just three to four days. Conversely, in a humid environment, it could take up to ten days or more. To give you a clearer understanding, here's a quick breakdown of average drying times:
| Leaf Thickness | Drying Time (Days) |
|---|---|
| Thin Leaves | 3-5 Days |
| Medium Leaves | 5-7 Days |
| Thick Leaves | 7-10 Days |
To monitor progress, check your leaves every couple of days. If they feel crisp and have lost their moisture, they are ready for your crafting projects. Remember, patience is key! Just like a fine wine, the longer you let them dry, the better the results.
Pressing leaves is another popular preservation technique. This method involves flattening leaves between heavy books or using a flower press to retain their shape and details.
Silica gel is an excellent option for preserving leaves while maintaining their color and texture. This method is particularly effective for delicate or colorful leaves.
To use silica gel, layer the gel in a container, place the leaves on top, and cover them completely. Seal the container and let it sit for several days for optimal preservation.
Using silica gel allows for a quicker drying process while preserving the leaves' natural appearance. This method is ideal for crafting projects that require a fresh look.
Preserved leaves can be utilized in various crafting projects. From home decor to personalized gifts, discover innovative ways to incorporate these beautiful natural elements into your creations.
- How long do preserved leaves last? Preserved leaves can last for several years if stored properly, away from direct sunlight and moisture.
- Can I use any type of leaves for preservation? While many leaves can be preserved, it's best to choose leaves that are healthy and free from blemishes for optimal results.
- What is the best way to store preserved leaves? Store them in a cool, dry place, ideally in an airtight container to prevent moisture from damaging them.
Pressing Leaves
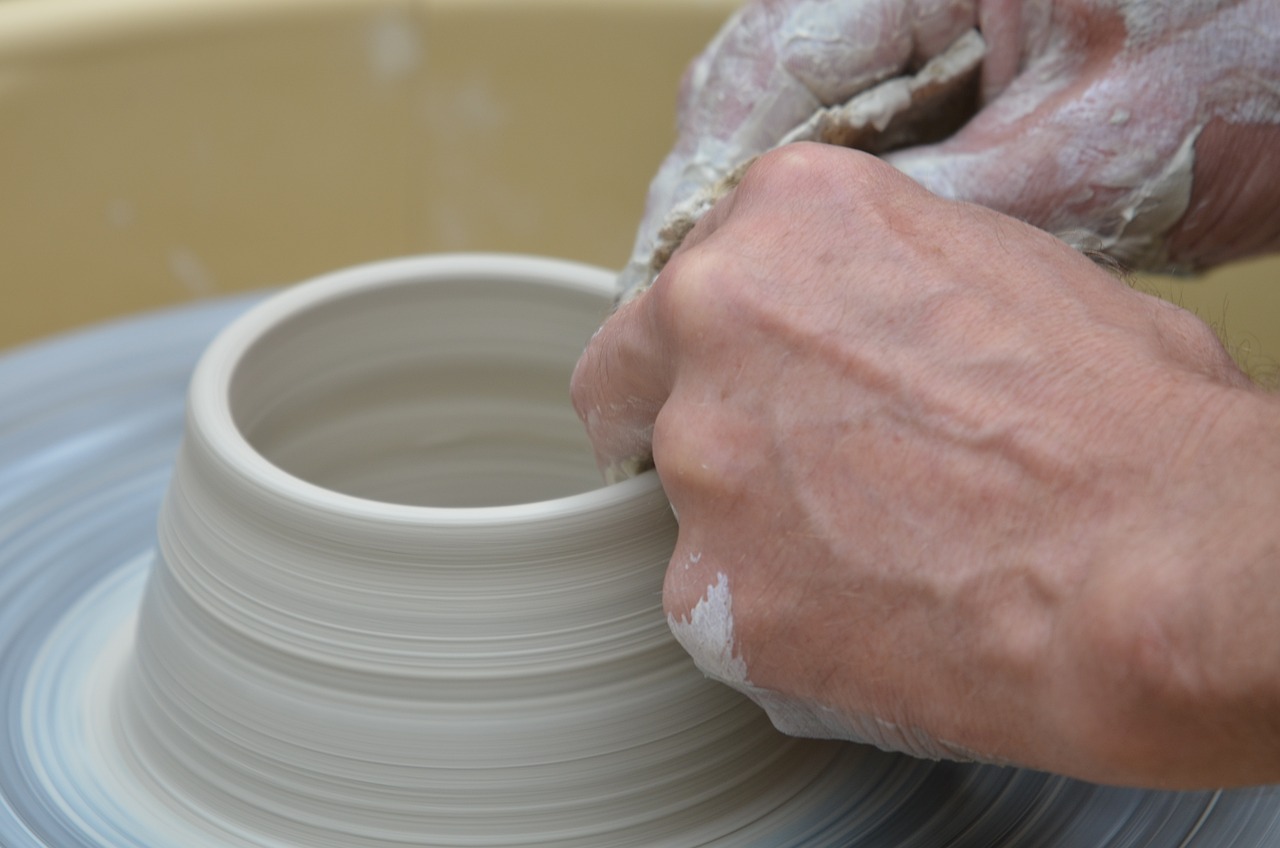
Pressing leaves is a timeless preservation technique that not only retains the beauty of nature but also allows you to create stunning crafts. Imagine transforming a simple leaf into a piece of art! This method involves flattening leaves between heavy books or using a specialized flower press, which helps preserve their shape and intricate details. It’s fascinating how something so simple can yield such beautiful results. Plus, it’s a fun activity that can be enjoyed alone or with family and friends.
To get started with pressing leaves, you’ll want to gather your materials. Here’s a quick list of what you’ll need:
- Freshly picked leaves
- Heavy books or a flower press
- Paper towels or parchment paper
- A weight (optional, but helpful)
Once you have your supplies ready, the process is quite straightforward. First, select leaves that are flat and unblemished. The ideal candidates are usually leaves that are at their peak color, as they will look stunning once pressed. Next, place a leaf between two sheets of paper towel or parchment paper. This step is crucial, as it helps absorb moisture and prevents the leaves from sticking to the books.
After placing the leaves in the paper, sandwich them between the pages of a heavy book. If you’re using a flower press, follow the manufacturer’s instructions for layering. The more pressure you apply, the better the results, so don’t hesitate to stack multiple heavy books on top if you’re using that method. Leave the leaves pressed for at least a week; this duration allows them to dry thoroughly, ensuring they maintain their shape and color.
One of the great things about pressing leaves is that it’s not just about preservation; it’s about creativity too! Once your leaves are dried and flattened, the crafting possibilities are endless. You can use them to create beautiful bookmarks, greeting cards, or even framed art pieces. The delicate veins and vibrant colors of pressed leaves can add a touch of elegance to any project, making it truly unique.
Moreover, pressing leaves can also be a wonderful way to connect with nature. As you gather leaves, you’ll find yourself appreciating the variety of shapes and colors that the natural world has to offer. It’s a lovely reminder of the beauty that surrounds us and can spark creativity in ways you might not have imagined.
In conclusion, pressing leaves is a simple yet effective method to preserve the beauty of nature for your crafting projects. With just a few materials and a little patience, you can create stunning pieces that celebrate the natural world. So, why not give it a try? You might just discover a new favorite hobby!
Here are some common questions about pressing leaves:
- How long does it take to press leaves? Generally, it takes about a week for leaves to dry completely when pressed.
- Can I press any type of leaf? Most leaves can be pressed, but thicker leaves may take longer and may not flatten as well.
- What should I do if my pressed leaves turn brown? This can happen if the leaves were too moist or exposed to sunlight. Ensure you use dry leaves and store them in a cool, dark place.
Using Silica Gel
When it comes to preserving leaves, silica gel stands out as a remarkably effective method. This technique is particularly beneficial for those delicate or vibrant leaves that you want to maintain in their prime condition. Silica gel works by absorbing moisture, which is crucial for preventing the leaves from wilting or losing their color. Imagine it as a superhero for your leaves, swooping in to save their beauty!
One of the greatest advantages of using silica gel is its ability to preserve the natural appearance of the leaves. Unlike other methods that might cause browning or crumbling, silica gel keeps the leaves looking fresh and lively. This means that when you pull them out for your crafting projects, they’ll have that just-picked look, ready to add a splash of nature to your creations.
So, how do you go about using silica gel? The process is straightforward, making it accessible for crafters of all skill levels. Here’s a quick overview of the steps involved:
- Begin by selecting a suitable container. A plastic or glass container with a tight seal works best.
- Pour a layer of silica gel into the bottom of the container.
- Carefully place your leaves on top of the gel, ensuring they are spread out and not overlapping.
- Cover the leaves completely with more silica gel, making sure they are fully immersed.
- Seal the container tightly and leave it undisturbed for several days, typically around 3 to 7 days, depending on the thickness of the leaves.
After the waiting period, carefully remove the leaves from the silica gel. You’ll be amazed at how well they’ve retained their color and shape! Just be gentle, as they can be fragile. This method is not only efficient but also allows for a variety of leaf types to be preserved, making it a versatile choice for any crafting enthusiast.
To give you a clearer picture of the benefits of using silica gel, here’s a quick comparison of different preservation methods:
| Method | Preservation Quality | Time Required | Ease of Use |
|---|---|---|---|
| Air Drying | Good | Days to a week | Easy |
| Pressing | Fair | Days | Moderate |
| Silica Gel | Excellent | 3 to 7 days | Very Easy |
In summary, using silica gel for leaf preservation not only enhances the aesthetic appeal of your crafts but also simplifies the process. With just a few materials and some patience, you can achieve stunning results that will make your projects shine. So, why not give it a try? You might just find that your favorite leaves are waiting to be transformed into beautiful art!
Q: Can I reuse silica gel after preserving leaves?
A: Yes, silica gel can be reused! Just dry it out in the oven according to the manufacturer's instructions, and it’s ready for your next crafting session.
Q: How do I store preserved leaves?
A: Store your preserved leaves in a cool, dry place. Consider placing them in a shadow box or between sheets of wax paper to protect them from dust and damage.
Q: Are there any leaves that do not preserve well with silica gel?
A: While most leaves can be preserved, some very thin or brittle leaves may not hold up well. It’s always a good idea to test a small batch first!
Steps for Using Silica Gel
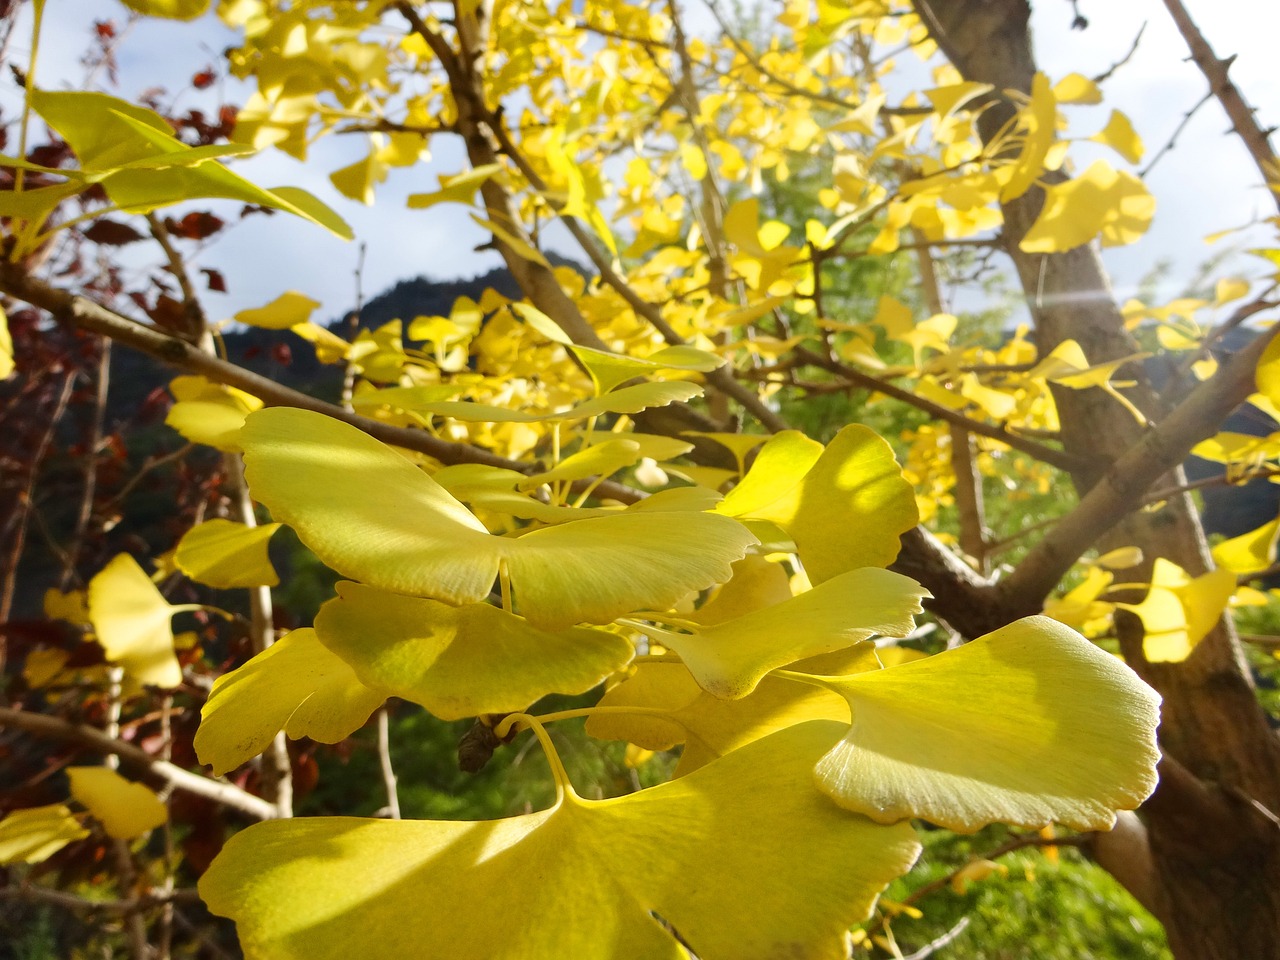
Using silica gel to preserve leaves is a fantastic way to maintain their vibrant colors and delicate textures. This method is not only efficient but also quite straightforward. To begin, gather your materials: you'll need silica gel, a container with a tight seal, and of course, the leaves you wish to preserve. The first step involves creating a base layer of silica gel in your container. This layer should be about an inch deep, providing a cushion for the leaves. Next, gently place the leaves on top of this layer, ensuring they are spread out and not overlapping. This is crucial, as overlapping can lead to uneven drying and potential damage.
Once your leaves are arranged, it's time to cover them completely with more silica gel. Make sure every part of the leaves is encapsulated; this will help absorb moisture effectively. After securing the leaves beneath the silica gel, seal the container tightly. This prevents any moisture from entering, which is essential for successful preservation. Now, find a cool, dry place to store the container. The magic happens over the next few days, so patience is key! Typically, you should let the leaves sit for about 3 to 7 days, depending on the thickness of the leaves and the humidity of your environment.
After the waiting period, carefully remove the leaves from the silica gel. Take your time with this step, as the leaves can be fragile. Gently brush off any excess silica gel using a soft brush or your fingers. Voila! You now have beautifully preserved leaves ready for your crafting projects. The beauty of using silica gel is that it not only dries the leaves but also maintains their original shape and color, making them perfect for decorative purposes.
In summary, the steps for using silica gel are:
- Prepare a container and silica gel.
- Create a base layer of silica gel.
- Arrange leaves on the gel without overlapping.
- Cover leaves completely with silica gel.
- Seal the container and store it in a cool, dry place.
- Wait 3 to 7 days, then carefully remove and clean the leaves.
With these steps, you can easily preserve leaves for all your creative endeavors. Whether you're making seasonal decorations, scrapbooking, or crafting unique gifts, preserved leaves add a touch of nature's beauty to any project.
Here are some common questions people have about preserving leaves with silica gel:
- Can I use any type of leaves? - While most leaves can be preserved, thicker leaves tend to work better with silica gel as they retain their shape and color more effectively.
- How long can preserved leaves last? - Properly preserved leaves can last for several years if stored in a cool, dry place away from direct sunlight.
- What if my leaves lose color during preservation? - This can happen if the leaves are exposed to moisture. Ensure your container is sealed correctly and stored in a dry environment.
- Can I use silica gel multiple times? - Yes, silica gel can be reused! Just dry it out in an oven before using it again.
Benefits of Silica Gel Preservation
When it comes to preserving leaves for your crafting projects, silica gel offers a multitude of advantages that make it a go-to choice for many crafters. One of the most significant benefits is the ability to maintain the leaves' vibrant colors and delicate textures. Unlike traditional drying methods that can sometimes lead to browning or wilting, silica gel absorbs moisture quickly and effectively, allowing leaves to retain their natural beauty.
Another notable advantage is the speed of the preservation process. While air drying can take several days to a week, using silica gel can significantly cut down this time to just a few days. This is particularly beneficial for those who are eager to start their crafting projects without the long wait. Plus, the results are often more consistent, as silica gel creates an environment that minimizes the risk of damage to the leaves during the drying process.
Additionally, silica gel is incredibly versatile. It can be used for a variety of leaf types, including delicate leaves that might not hold up well under other preservation methods. This means you can experiment with a wider range of foliage, from the intricate shapes of ferns to the bold colors of autumn leaves. The preservation achieved through silica gel is not only effective but also enhances the overall aesthetic of your crafts.
To illustrate the benefits of silica gel preservation, consider the following table that compares it with traditional methods:
| Method | Time Required | Color Retention | Texture Preservation |
|---|---|---|---|
| Silica Gel | 2-5 days | Excellent | Excellent |
| Air Drying | 3-7 days | Good | Fair |
| Pressing | 1-2 weeks | Fair | Good |
In summary, using silica gel for leaf preservation is a smart choice for anyone looking to create stunning crafts. It not only saves time but also ensures that your leaves look as fresh and vibrant as the day you picked them. So, if you're ready to dive into your next crafting adventure, consider incorporating silica gel into your preservation toolkit!
As you embark on your leaf preservation journey, you might have some questions. Here are a few common queries:
- Can I reuse silica gel? Yes, silica gel can be reused multiple times. Once it becomes saturated, you can dry it out in the oven to restore its effectiveness.
- Are all leaves suitable for silica gel preservation? While most leaves can be preserved using silica gel, it's best to avoid leaves that are extremely thick or woody, as they may not dry properly.
- How should I store preserved leaves? To keep your preserved leaves looking their best, store them in a cool, dry place away from direct sunlight. Consider using archival-quality boxes or folders for long-term storage.
Creative Uses for Preserved Leaves
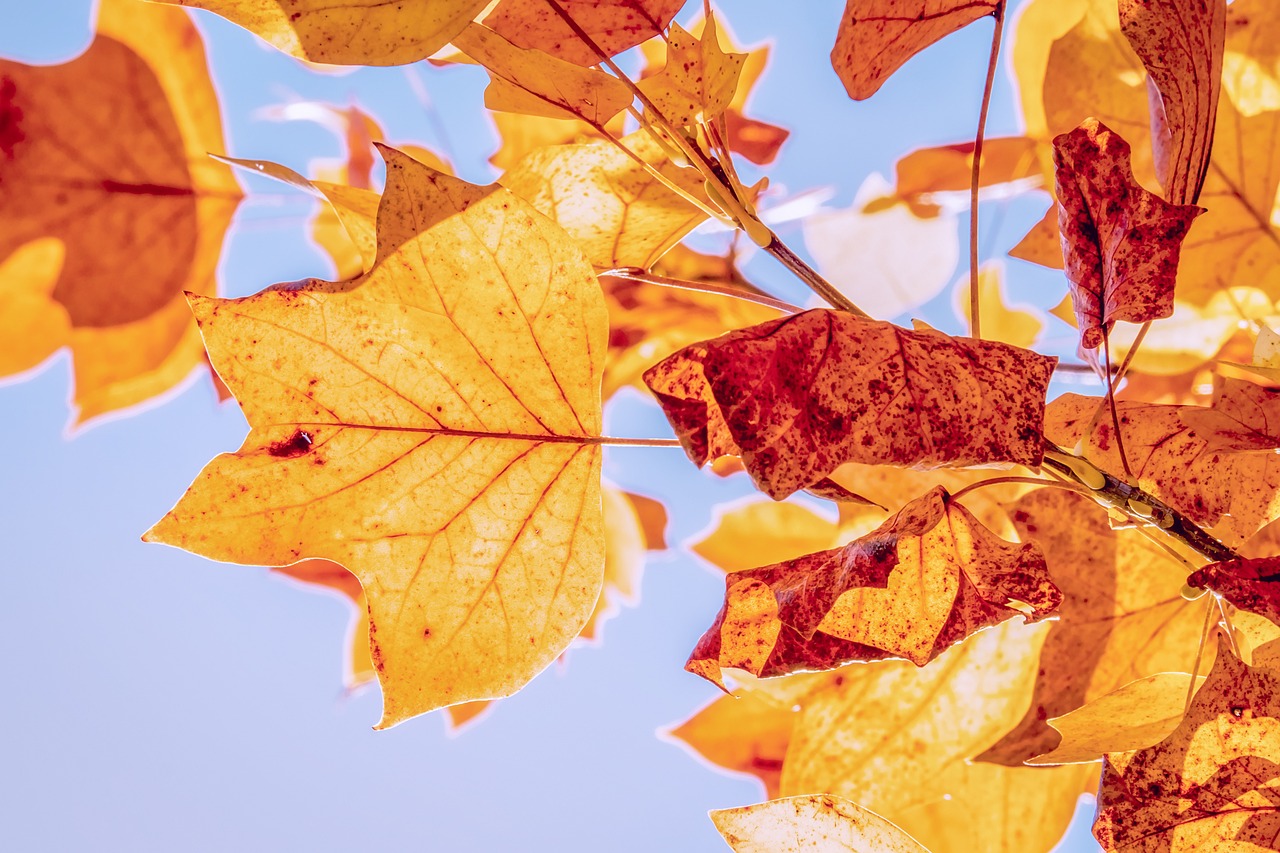
Preserved leaves are not just beautiful; they are incredibly versatile and can be used in a multitude of crafting projects that will leave your friends and family in awe. Imagine walking into a room adorned with stunning decorations crafted from nature’s artwork! From home decor to personalized gifts, the possibilities are endless. Why not dive into the world of creativity and explore how you can incorporate these preserved treasures into your life?
One of the most popular uses for preserved leaves is in framed art. You can create stunning wall displays by arranging leaves in beautiful patterns or shapes. Simply choose a shadow box or a traditional frame, and use a piece of colored or textured paper as your background. Arrange the leaves in a way that tells a story or evokes a particular season. This not only adds a touch of nature to your decor but also sparks conversations when guests come over!
Another fantastic way to utilize preserved leaves is by creating greeting cards. Imagine sending a birthday card adorned with vibrant, preserved leaves! It adds a personal touch that store-bought cards simply can’t match. To craft these unique cards, simply glue the leaves onto blank cards, and you can even write heartfelt messages around them. This is a great way to share a piece of nature with your loved ones, especially during special occasions.
For those who love to decorate their homes, preserved leaves can also be used in table centerpieces. Combine them with candles, pinecones, or seasonal flowers to create a stunning display that captures the essence of the season. For a more rustic look, consider using mason jars filled with preserved leaves and topped with twine or ribbon. This not only adds a warm touch to your dining table but also serves as a conversation starter!
If you’re feeling particularly crafty, you can even use preserved leaves in DIY jewelry. By encasing small leaves in resin, you can create unique pendants or earrings that showcase the beauty of nature. This method allows you to preserve the intricate details and colors of the leaves, turning them into wearable art. Just imagine the compliments you’ll receive when you wear a piece of jewelry that’s not only beautiful but also tells a story!
Lastly, preserved leaves can be a fantastic addition to scrapbooking. They can be used as embellishments to enhance your pages, adding texture and color. Whether you’re documenting a family vacation or a special event, these leaves can help tell your story in a more vibrant and engaging way. Plus, every time you flip through your scrapbook, you’ll be reminded of the beauty of nature!
In conclusion, preserved leaves are more than just a craft supply; they are a gateway to creativity! By using them in various projects, you can bring a bit of the outdoors into your home, making it feel warm and inviting. So, gather your preserved leaves and let your imagination run wild! What will you create next?
Q: How long do preserved leaves last?
A: When properly preserved, leaves can last for several years. However, their longevity may depend on the preservation method used and the environment in which they are stored.
Q: Can I use any type of leaves for preservation?
A: While many leaves can be preserved, it's best to choose leaves that are relatively flat and not too thick. Leaves like maple, oak, and fern are popular choices due to their unique shapes and vibrant colors.
Q: How should I store preserved leaves?
A: To keep preserved leaves in good condition, store them in a cool, dry place away from direct sunlight. Consider placing them between sheets of acid-free paper or in a sealed container to prevent damage.
Frequently Asked Questions
- What types of leaves are best for preservation?
When it comes to preserving leaves, look for those that are not too thick or too delicate. Leaves with vibrant colors and interesting shapes, like maple or oak, are excellent choices. Avoid leaves that are already browning or damaged, as they won't hold up well during the preservation process.
- How long does it take to air dry leaves?
The time required for air drying leaves can vary based on their thickness and the humidity of your environment. Generally, you can expect the process to take anywhere from a few days to a week. Just be patient and check on them regularly to see if they’re ready!
- Can I use any type of book for pressing leaves?
While you can use any heavy book, it's best to choose one that you don't mind getting a bit messy. A phone book or an old encyclopedia works well. Just make sure the pages are clean and dry to avoid any mold or stains on your leaves.
- What are the benefits of using silica gel for preservation?
Using silica gel is a fantastic way to preserve leaves because it dries them quickly while maintaining their color and shape. This method is especially great for fragile leaves or those with intricate details, ensuring they look fresh for your crafting projects.
- How can I incorporate preserved leaves into my crafts?
There are countless ways to use preserved leaves! You can create stunning wall art, make unique greeting cards, or even use them in scrapbook designs. They also make beautiful additions to home decor, like table centerpieces or decorative wreaths.
- Do preserved leaves need special storage?
Yes, to keep your preserved leaves looking their best, store them in a cool, dry place away from direct sunlight. Consider using an airtight container to prevent moisture from ruining them. This way, you can enjoy their beauty for a long time!


