Chalk Painting Flower Pots: Fun DIY Project
Are you looking to add a splash of creativity to your garden or home decor? If so, chalk painting flower pots is the perfect DIY project for you! Not only does it allow you to express your artistic flair, but it also transforms ordinary pots into stunning pieces of art that can brighten up any space. Imagine walking into your garden and being greeted by vibrant, hand-painted pots that showcase your unique style. It’s like having a personal gallery right outside your door!
Chalk paint is a versatile medium that adheres beautifully to various surfaces, making it ideal for flower pots. The beauty of this project lies in its simplicity. You don’t need to be a professional artist to achieve stunning results. With just a few materials and some basic techniques, you can create personalized pots that are sure to impress. Plus, this project is not only fun but also a fantastic way to unwind and tap into your creative side. So, grab your paintbrushes and let’s dive into the colorful world of chalk painting!
Throughout this article, we’ll explore everything you need to know about chalk painting flower pots—from the essential materials to techniques that will help you create breathtaking designs. Whether you want to add a rustic touch with clay pots, a glossy finish with ceramic, or a pop of color to your plastic pots, we’ve got you covered. So, are you ready to roll up your sleeves and get started? Let’s unleash your inner artist and transform those plain pots into delightful masterpieces!
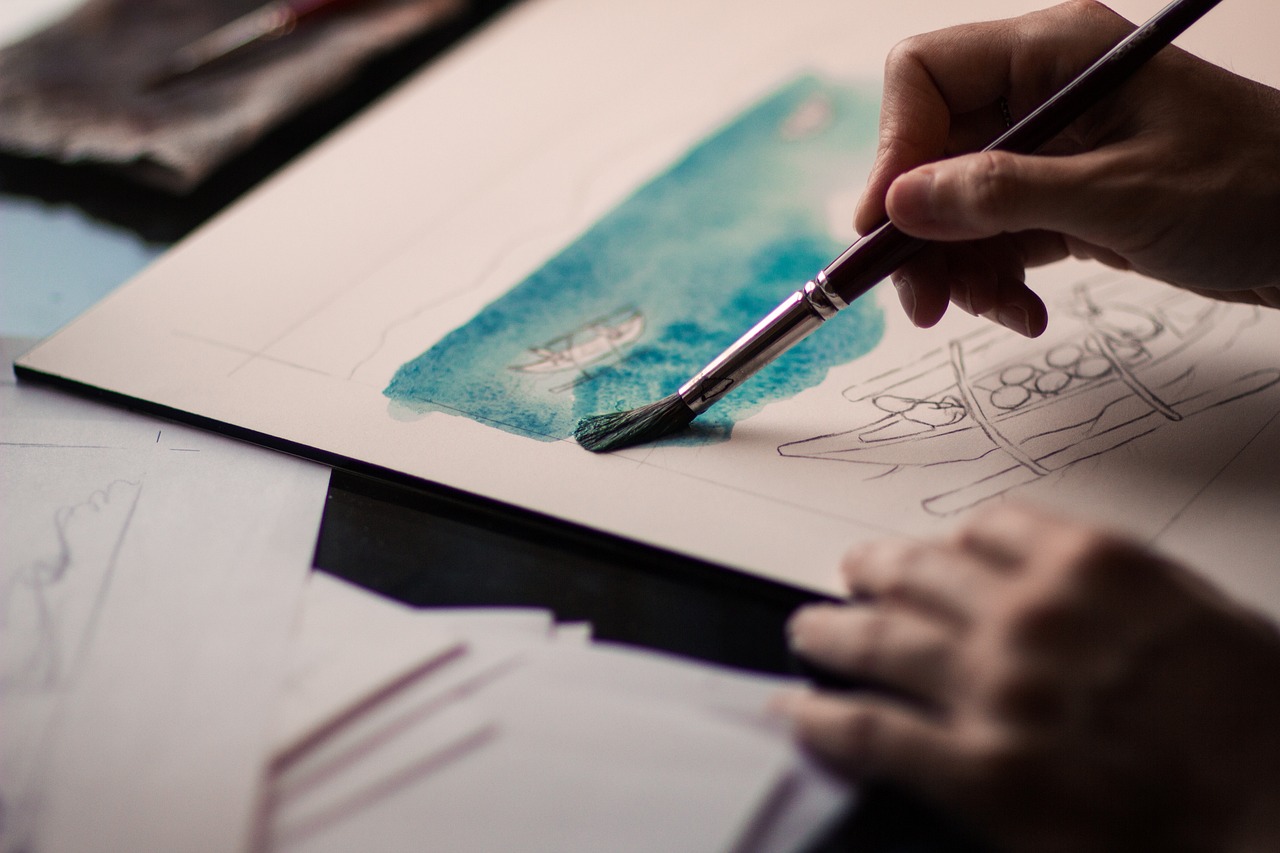
Materials Needed
Gathering the right supplies is essential for a successful chalk painting project. Think of it as setting the stage for a grand performance; without the right tools, your masterpiece might not shine as brightly as it could. To kick things off, you’ll need chalk paint, which is specially formulated to adhere to various surfaces and provides that beautiful matte finish we all love. You can find it in an array of colors, so let your imagination run wild!
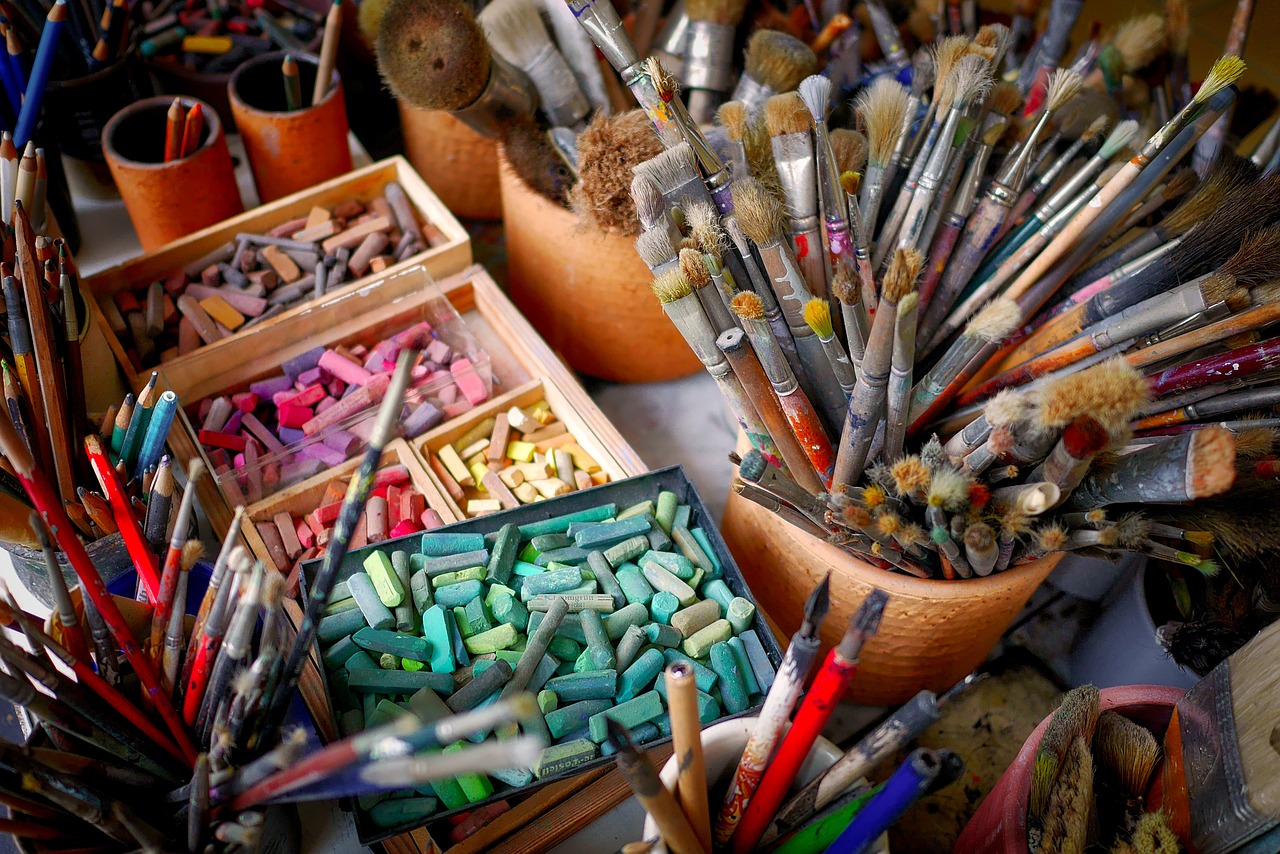
Next up, you’ll want a few quality brushes. A mix of sizes will come in handy, especially if you’re planning to incorporate intricate designs or stenciling. A wide brush is great for larger areas, while a fine-tipped brush will help with details. Don’t forget a foam brush or two; they work wonders for achieving smooth, even strokes.
Now, let’s talk about prep materials. You’ll need some sandpaper (preferably fine-grit) to smooth out any rough edges on your pots. A cleaning solution is also essential for removing any dirt or grease, ensuring that the paint adheres properly. For those who want a little extra protection, consider using a primer to create an ideal surface for the chalk paint.
Lastly, don’t forget about your sealer. After all that hard work, you’ll want to protect your painted pots from the elements. A clear acrylic sealer will do the trick, ensuring your designs stay vibrant and intact for seasons to come. Here’s a quick summary of the materials you’ll need:
| Materials | Description |
|---|---|
| Chalk Paint | Specially formulated paint for a matte finish. |
| Brushes | Variety of sizes for different painting techniques. |
| Sandpaper | For smoothing the surface of the pots. |
| Cleaning Solution | To ensure pots are clean before painting. |
| Primer | Optional, for better paint adhesion. |
| Sealer | To protect your artwork from the elements. |
With these materials in hand, you’re well on your way to creating stunning chalk-painted flower pots that will not only beautify your space but also showcase your unique style. So, are you ready to dive into this colorful adventure?
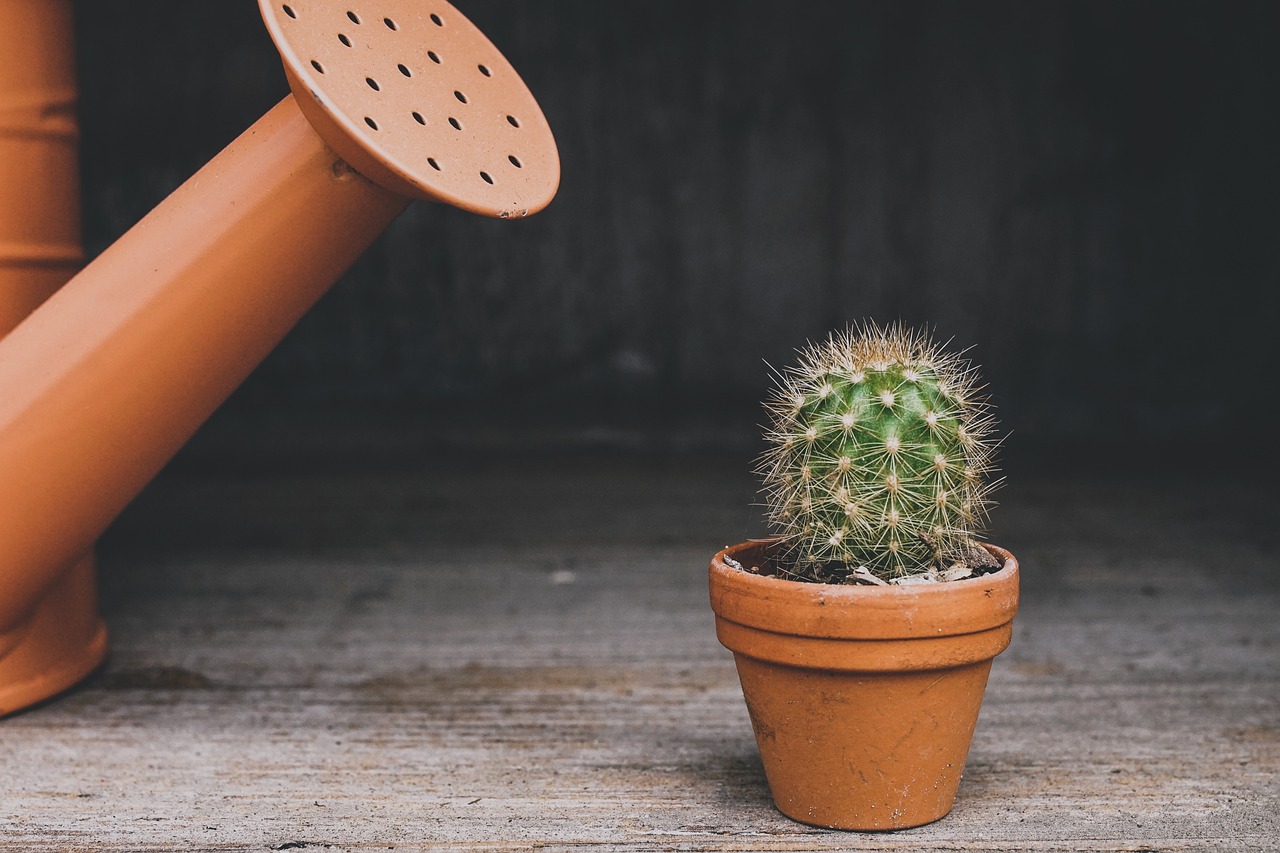
Choosing the Right Pots
When it comes to chalk painting flower pots, choosing the right pots is just as crucial as the painting itself. Think of it as picking the right canvas for a masterpiece; the pot's material, size, and shape can significantly impact the final look of your creation. So, what should you consider when selecting your pots? First, let’s explore the various materials available.
Flower pots come in a variety of materials, each with its own unique characteristics. Here are the most common types you might encounter:
- Clay Pots: These are a favorite among gardeners due to their natural appearance and breathability. They allow air and moisture to circulate, which is great for plant health. However, they can be heavier and more fragile than other materials.
- Ceramic Pots: Known for their glossy finish and vibrant colors, ceramic pots can elevate the aesthetic of any garden. They often come in intricate designs, adding a touch of elegance. Just be mindful that they can be prone to chipping.
- Plastic Pots: Lightweight and durable, plastic pots are perfect for those who want something easy to manage. They come in a variety of colors and styles, making them versatile for any decor. However, they may not provide the same breathability as clay pots.
Now, let’s talk about size and shape. The size of your pot should correspond to the plants you intend to grow. For instance, larger pots are suitable for bigger plants that require more space for their roots, while smaller pots are perfect for delicate flowers or herbs. Additionally, the shape of the pot can influence the overall design. Round pots are classic, but square or rectangular pots can offer a modern twist that might suit your style better.
Before making a purchase, consider how these pots will fit into your existing garden or home decor. Do you prefer a rustic look with terracotta clay pots, or are you leaning towards a sleek, contemporary vibe with ceramic or plastic options? The choice is yours! Remember, the right pot can enhance not only your plants' growth but also the aesthetic appeal of your space.
In summary, choosing the right pots for your chalk painting project is an important step that shouldn't be overlooked. By considering the material, size, and shape, you can create stunning designs that reflect your personal style while providing a healthy environment for your plants. So, what are you waiting for? Get out there and find the perfect pots to unleash your creativity!
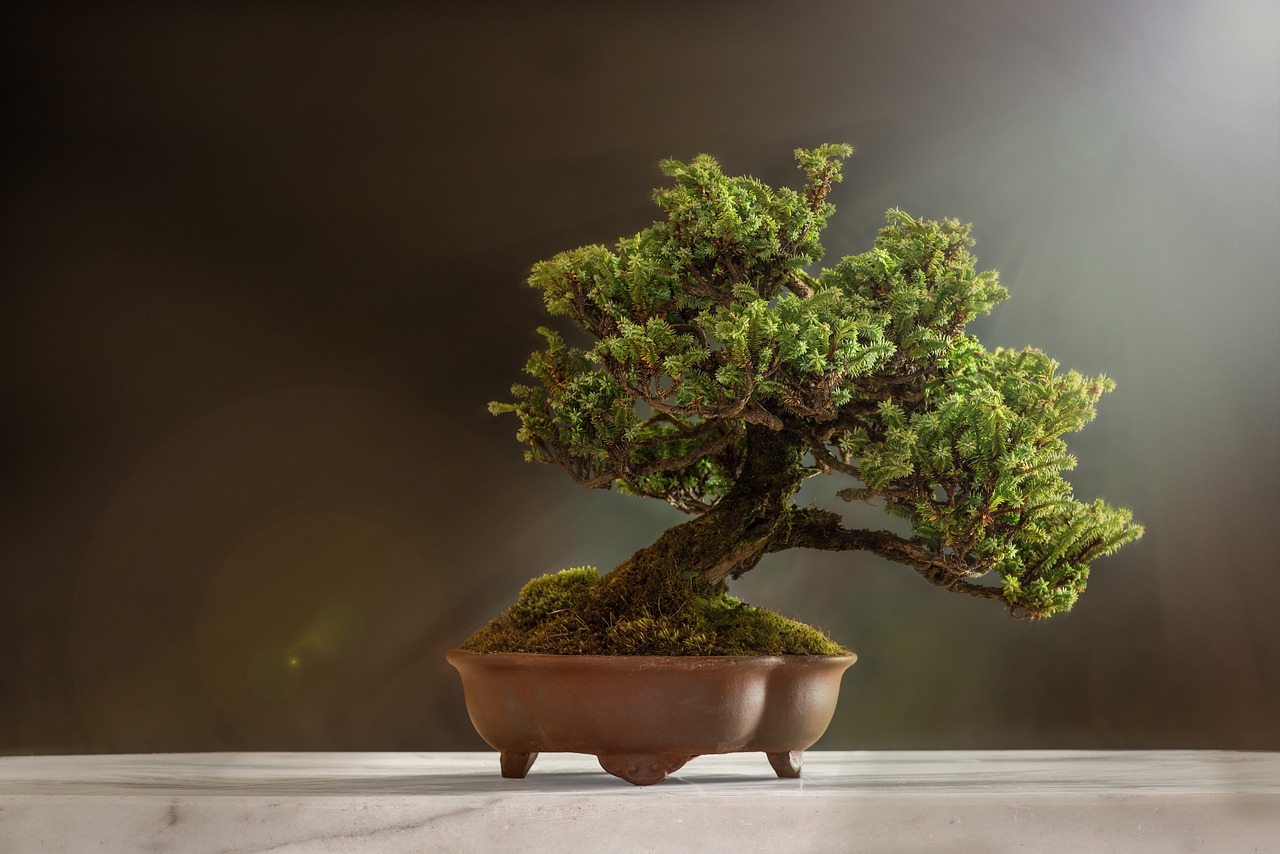
Types of Flower Pots
When it comes to enhancing your garden or home decor with chalk-painted flower pots, the type of pot you choose can significantly impact the final look and feel of your project. There are several materials available, each offering unique benefits and aesthetic qualities. Understanding these options will help you make an informed decision that aligns with your artistic vision and the environment where your pots will reside.
First up, we have clay pots. These are a classic choice for many gardening enthusiasts. Made from natural materials, clay pots are not only aesthetically pleasing but also breathable, which allows for better air circulation and moisture retention for your plants. They come in various sizes and shapes, making them versatile for different planting needs. However, it's essential to prepare clay pots before painting, as they can be quite porous. A little bit of sanding and priming can go a long way in ensuring your chalk paint adheres well and provides a smooth finish.
Next, let’s talk about ceramic pots. These beauties offer a glossy finish that can really make your chalk paint pop. Available in a myriad of designs, ceramic pots can serve as stunning focal points in your garden or home. While they are generally more durable than clay pots, you will want to ensure that the surface is clean and free of any oils or residues before you start painting. Once prepared, ceramic pots can take on vibrant colors and intricate designs, giving your floral arrangements a polished and sophisticated look.
Don't overlook plastic pots, either! They are lightweight, affordable, and come in a wide range of colors and sizes. Although they might not have the same natural aesthetic as clay or the elegance of ceramic, plastic pots are incredibly practical. They are resistant to cracking and can withstand various weather conditions, making them a great option for outdoor use. Just remember, if you're going to chalk paint them, it's crucial to select a high-quality chalk paint that can adhere well to plastic surfaces.
In summary, here’s a quick comparison of the three types of pots:
| Type of Pot | Material | Benefits | Considerations |
|---|---|---|---|
| Clay Pots | Natural Clay | Breathable, aesthetically pleasing | Requires preparation; can crack |
| Ceramic Pots | Ceramic | Glossy finish, durable | More expensive; needs cleaning before painting |
| Plastic Pots | Plastic | Lightweight, affordable | Less aesthetic appeal; needs specific paint |
Choosing the right type of flower pot is crucial not just for the aesthetics of your chalk painting project but also for the health of your plants. Each material has its own charm and functionality, so consider your style, the plants you want to pot, and the environment where your pots will be displayed. With the right pot in hand, you're one step closer to creating stunning chalk-painted flower pots that will brighten up your space!
Clay Pots
Clay pots are a beloved choice among gardening enthusiasts and DIY aficionados alike, and it’s easy to see why. Their natural aesthetic and breathability make them an ideal canvas for your chalk painting projects. When you think of clay pots, imagine the earthy tones and rustic vibes they bring to your garden. They not only serve a functional purpose but also add a charming touch to your floral arrangements. Before diving into the chalk painting process, it's essential to prepare your clay pots properly to ensure the best results.
To start, you’ll want to clean your clay pots thoroughly. Dust and dirt can interfere with paint adhesion, so give them a good scrub with warm soapy water and let them dry completely. Once dry, lightly sand the surface to create a texture that helps the chalk paint stick better. This step is crucial because a smooth surface can lead to peeling or chipping down the road.
After sanding, consider applying a primer designed for porous surfaces. While this step is optional, it can significantly enhance the vibrancy of your paint colors and provide a more durable finish. If you choose to skip the primer, just be aware that the natural clay may absorb some of the paint, leading to a more muted appearance.
One of the most rewarding aspects of using clay pots is their ability to showcase your creativity. Since clay is naturally textured, you can play with different painting techniques to highlight these features. For instance, you might try a sponging technique to create a soft, blended look or use a dry brush technique to emphasize the pot’s texture. The possibilities are endless, and each pot can become a unique piece of art that reflects your personal style.
Moreover, clay pots are excellent for outdoor use. They allow for proper drainage, which is vital for plant health. This means that not only do they look good, but they also support the well-being of your plants. Just imagine how stunning your garden will look with a row of beautifully chalk-painted clay pots, each telling its own story through color and design!
In summary, clay pots are an excellent choice for chalk painting projects due to their natural beauty and functionality. By preparing them correctly and unleashing your creativity, you can transform simple clay pots into stunning decorative pieces that enhance your garden or home decor. So grab your chalk paint and let your imagination run wild!

Ceramic Pots
Ceramic pots are a fantastic choice for anyone looking to elevate their gardening game. Not only do they offer a stunning glossy finish, but they also come in a wide range of designs that can complement any decor style. Whether you're going for a rustic farmhouse vibe or a sleek modern look, there's a ceramic pot out there that will fit your vision perfectly. One of the best things about ceramic pots is their ability to retain moisture, which can be a game-changer for your plants. This means less frequent watering for you, and happier plants overall!
When it comes to chalk painting ceramic pots, preparation is key. Before diving into the fun part—painting—you'll want to ensure that your pots are clean and free from any dust or residues. A simple wash with soap and water will do the trick. After that, let them dry completely. If your pots have a glossy finish, consider lightly sanding the surface to help the paint adhere better. Think of it like giving your pots a little spa treatment before their big makeover!
Once your pots are prepped, it’s time to get creative! The beauty of chalk paint is its versatility; you can easily create stunning designs with minimal effort. For instance, you could opt for a solid color as your base, then layer on additional colors for a more dynamic look. Or, if you're feeling adventurous, try your hand at stenciling intricate patterns—this can really take your ceramic pots from ordinary to extraordinary. Just imagine how your garden will pop with these beautifully painted pots!
After you've painted your pots, it's crucial to seal them properly. This is where a good quality sealant comes into play. Sealing not only protects your artwork from the elements but also enhances the longevity of your ceramic pots. You wouldn't want all that hard work to go to waste, right? Simply spray or brush on a clear sealant, following the manufacturer's instructions, and voilà! Your pots are now ready to withstand the test of time and weather.
In summary, ceramic pots are not just functional; they can also be a beautiful addition to your home and garden. With their unique ability to hold moisture and their stunning aesthetic appeal, they provide the perfect canvas for your chalk painting projects. So grab your brushes and unleash your creativity—you'll be amazed at how much personality you can add to your space with just a few strokes of paint!
- Can I use regular paint instead of chalk paint on ceramic pots? While you can use regular paint, chalk paint adheres better and provides a matte finish that is often more desirable for DIY projects.
- How do I seal my chalk-painted ceramic pots? You can use a clear acrylic sealant spray or a brush-on sealant. Make sure to follow the application instructions for the best results.
- Are ceramic pots heavy? Yes, ceramic pots tend to be heavier than plastic ones, which can provide stability for larger plants but may be more challenging to move around.
- Can I use ceramic pots indoors? Absolutely! Ceramic pots can add a touch of elegance to your indoor spaces, and they can be painted to match your home decor.
Preparing Your Pots
Before diving into the exciting world of chalk painting, it's crucial to ensure that your flower pots are adequately prepared. Think of this step as laying a strong foundation for a beautiful house; without it, everything else can crumble. Start by cleaning your pots thoroughly to remove any dirt, dust, or residue. A simple mixture of warm water and mild soap will do the trick. Use a sponge or cloth to scrub the surface gently, ensuring that you get into any crevices where grime might be hiding. Rinse the pots well and allow them to dry completely. This step is vital because any leftover moisture can interfere with the paint's adhesion, leading to an uneven finish.
Next, consider the texture of your pots. If they have a glossy finish, it’s essential to create a more suitable surface for the chalk paint to adhere to. This is where sanding comes into play. Grab some fine-grit sandpaper and lightly sand the surface of your pots. You’re not trying to strip away the material; rather, you want to create a slight roughness that will help the paint cling better. After sanding, wipe down the pots again with a damp cloth to remove any dust created during the process. This ensures a clean canvas for your artistic expression.
Now, depending on the type of pots you’re using, you might want to apply a primer. While chalk paint typically adheres well to most surfaces, a primer can enhance the vibrancy of the colors and provide an extra layer of protection. If you’re working with porous materials like clay, a simple coat of acrylic primer will suffice. For non-porous materials, consider using a spray primer designed for plastics or ceramics. This step is optional, but it can make a significant difference in the final outcome of your painted pots.
Once your pots are clean, sanded, and primed, you’re ready to unleash your creativity. Imagine your pots as blank canvases, waiting for your unique touch. Whether you envision vibrant florals, soft pastels, or bold geometric patterns, the preparation phase sets the stage for your artistic journey. Remember, the better you prepare your pots, the more stunning your final product will be. So take your time with this process; it’s all part of the fun!
Chalk Painting Techniques
When it comes to chalk painting flower pots, the techniques you choose can make all the difference in the final outcome. Whether you're a beginner or have some experience under your belt, mastering these techniques will elevate your DIY project to the next level. Let's dive into some of the most effective methods that will help you create stunning designs that are sure to impress.
One of the foundational techniques is the basic brush technique. This involves using a good quality brush to apply chalk paint evenly across the surface of your pot. Start by loading your brush with paint, but be sure to remove any excess to prevent drips. The key here is to maintain a consistent pressure while applying the paint. You want to use smooth, even strokes, moving in the same direction to avoid streaks. Think of it like painting a canvas; the smoother your strokes, the more professional the finish will look.
But don't stop there! Once you've mastered the basics, you can explore more intricate methods such as stenciling and layering. Stenciling allows you to incorporate patterns or designs into your pots, adding a unique flair. To stencil effectively, secure your stencil on the pot with painter's tape to prevent it from shifting. Use a sponge or a brush to dab paint over the stencil, being careful not to overload your applicator to avoid smudging. Layering, on the other hand, involves applying multiple coats of different colors to create depth and dimension. Start with a base color and let it dry completely before adding a contrasting color on top. This technique can give your pots a beautiful, textured appearance that catches the eye.
For those looking to add a bit of fun, consider incorporating splatter painting into your technique repertoire. This method involves flicking paint onto your pot for a playful, artistic effect. You can achieve this by loading a brush with paint and quickly flicking your wrist to send droplets flying. Just make sure to cover your workspace to avoid a messy cleanup!
Another technique worth mentioning is the ombre effect. This gradient style can create a stunning visual impact. To achieve this, start with your lightest color at the top of the pot and gradually blend in darker shades as you move down. You can use a dry brush technique to blend the colors seamlessly, creating a beautiful transition that mimics the colors of a sunset.
In summary, mastering these chalk painting techniques can transform your flower pots from ordinary to extraordinary. With a little practice and creativity, you'll be able to create pieces that reflect your personal style and add charm to your garden or home decor. So grab your brushes and let your imagination run wild!
Q: Can I use regular paint instead of chalk paint?
A: While you can use regular paint, chalk paint is specifically designed for a matte finish and easier application on porous surfaces like terracotta. It also adheres better and provides a unique texture.
Q: Do I need to seal my chalk-painted pots?
A: Yes! Sealing your painted pots is important to protect them from moisture and fading. A clear acrylic sealer or a spray sealant works well for this purpose.
Q: How long does chalk paint take to dry?
A: Chalk paint typically dries to the touch within 30 minutes, but it's advisable to wait at least 1-2 hours before applying a second coat for the best results.
Q: Can I use these techniques on other surfaces?
A: Absolutely! These techniques can be applied to various surfaces, including wood, metal, and even furniture. Just ensure the surface is clean and prepared for painting.

Basic Brush Techniques
When it comes to chalk painting your flower pots, mastering is essential for achieving that flawless finish. Think of your brush as an extension of your creativity; the way you wield it can make a world of difference in the final look of your project. Start by selecting the right brush for your task. A flat brush is perfect for broad strokes and filling in large areas, while a round brush excels at detailing and intricate designs. The type of brush you choose can greatly influence the texture and depth of your paint application.
One of the first things to consider is brush pressure. Applying too much pressure can lead to uneven paint distribution, which can spoil your masterpiece. Instead, try to use a light touch, allowing the brush to glide over the surface of the pot. This technique not only provides a smoother finish but also gives you more control over the paint application. Remember, practice makes perfect! Don’t hesitate to experiment with different pressures to see what works best for you.
Next, consider the stroke direction. For a uniform look, it's generally best to paint in one direction. This means if you start painting from the top to the bottom, keep that consistent throughout the pot. This technique minimizes the appearance of brush strokes and creates a cohesive look. However, if you're going for a more textured appearance, feel free to mix it up a bit! You might find that a circular motion or crisscross strokes can add an interesting flair to your design.
Even coverage is key to a professional finish. To achieve this, apply the paint in thin layers rather than trying to cover the entire surface in one go. Start with a base coat, allowing it to dry completely before applying additional layers. This not only prevents drips and runs but also enables you to build up color and create depth. If you want to create a more vibrant look, consider using multiple shades of the same color. Layering different hues can give your pots a beautiful, dynamic finish.
Finally, don’t forget about cleaning your brushes between colors! This step is crucial to avoid muddying your palette. Simply rinse your brush with water and gently wipe it on a cloth to remove excess paint. If you’re switching from a darker color to a lighter one, it’s especially important to clean your brush thoroughly to maintain the integrity of your colors.
By mastering these basic brush techniques, you’ll be well on your way to creating stunning chalk-painted flower pots that are sure to impress. So grab your supplies, unleash your creativity, and let your pots reflect your unique style!
- What type of chalk paint is best for flower pots? A chalk paint that is specifically designed for outdoor use is ideal, as it provides durability and weather resistance.
- How long does chalk paint take to dry? Typically, chalk paint dries to the touch within 30 minutes, but it’s best to wait at least 1-2 hours before applying additional coats.
- Can I use regular paint instead of chalk paint? While you can use regular paint, chalk paint offers a matte finish and easier application for DIY projects.
- Do I need to seal my chalk-painted pots? Yes, sealing your pots with a clear sealant is recommended to protect your artwork from moisture and fading.
Stenciling and Layering
Stenciling and layering are two of the most exciting techniques you can employ when chalk painting your flower pots. These methods not only add depth and dimension to your designs but also allow you to express your creativity in unique ways. Imagine transforming a plain pot into a vibrant masterpiece that catches the eye and sparks conversation. With stenciling, you can easily create intricate patterns and shapes, while layering enables you to blend colors for a stunning gradient effect. Ready to dive in? Let’s explore how to master these techniques!
First, let’s talk about stenciling. This technique involves using a stencil—a template with cut-out designs—to create patterns on your flower pots. You can purchase pre-made stencils or make your own using materials like cardstock or plastic sheets. The beauty of stenciling is that it allows you to achieve professional-looking designs without needing advanced painting skills. Simply place the stencil on your pot, secure it with painter’s tape, and use a brush or sponge to apply chalk paint over the cut-out areas. A tip for success: use a dabbing motion instead of brushing to prevent paint from seeping under the stencil edges.
Next up is layering, which adds a whole new level of artistry to your painted pots. This technique involves applying multiple coats of different colors to create a rich, textured look. Start with a base color and allow it to dry completely. Then, apply a second color on top, using a dry brush technique to blend the edges where the two colors meet. This method creates a beautiful ombre effect that can make your flower pots stand out. Don’t be afraid to experiment with different color combinations—think of it as painting a sunset, where the colors transition smoothly into one another.
To help you visualize these techniques, here’s a quick comparison of stenciling and layering:
| Technique | Purpose | Best For |
|---|---|---|
| Stenciling | Create precise patterns and designs | Intricate designs, logos, or themed pots |
| Layering | Add depth and dimension with color blending | Ombre effects, color gradients |
Both stenciling and layering can be combined for even more striking results. For example, you could layer colors on the base of the pot and then apply a stencil design on top for a dynamic look. The key is to have fun and let your imagination run wild! Whether you’re going for a rustic, vintage vibe or a modern, chic appearance, these techniques will elevate your DIY project to the next level.
As you embark on your chalk painting journey, remember that practice makes perfect. Don’t be discouraged if your first attempts don’t turn out exactly as planned; each pot is a new opportunity to learn and grow as an artist. So grab your brushes, unleash your creativity, and let your flower pots become a reflection of your personal style!
- What type of chalk paint is best for flower pots? Look for a high-quality chalk paint that is durable and weather-resistant, especially if your pots will be outdoors.
- Can I use stencils on any type of pot? Yes! Stencils can be used on clay, ceramic, and plastic pots. Just ensure the surface is properly prepared.
- How do I seal my chalk-painted pots? You can use a clear acrylic sealer or a specific chalk paint sealer to protect your artwork from the elements.
Finishing Touches
When it comes to chalk painting flower pots, the are what truly make your project shine. After all the hard work you've put into painting your pots, it's essential to add those final details that will elevate your creations from ordinary to extraordinary. One of the first things you'll want to consider is how to seal your artwork to ensure it stands the test of time, especially if your pots will be exposed to the elements. Without a good seal, your beautiful designs could fade or chip away over time, leaving you with a less-than-stellar result.
Sealing can be done using a variety of products, such as matte or glossy sealants, depending on the finish you desire. Here’s a quick overview of some popular sealing options:
| Sealing Option | Description | Best For |
|---|---|---|
| Matte Sealant | Provides a non-reflective finish that maintains the chalky look. | Indoor pots or shaded outdoor areas. |
| Glossy Sealant | Gives a shiny finish that enhances colors and protects against moisture. | Outdoor pots exposed to rain and sunlight. |
| Spray Sealant | Easy application with an even coat; great for intricate designs. | Detailed pots with multiple colors or stenciling. |
After sealing, it’s time to think about adding some decorative elements. This is where your personality can really shine through! Consider incorporating items like twine, ribbons, or even small charms to give your pots a unique flair. You might even want to experiment with paint splatters or stamped designs to add an artistic touch. The sky's the limit when it comes to creativity!
Here are a few ideas to inspire your decorative choices:
- Wrap the top rim of your pot with jute twine for a rustic look.
- Add a splash of contrasting color with paint splatters for a fun, playful design.
- Attach small faux flowers or charms to the side of the pot for an extra pop.
Remember, the are not just about aesthetics; they also serve to protect and enhance your artwork. By sealing and decorating your pots, you're not only making them more visually appealing but also ensuring they will last longer and bring joy to your home or garden. So, take your time with these final steps, and let your creativity flow!
Q: How long does chalk paint take to dry before sealing?
A: Typically, chalk paint takes about 30 minutes to an hour to dry, but it's best to wait at least 24 hours before applying a sealant to ensure it's fully cured.
Q: Can I use regular paint instead of chalk paint?
A: While you can use regular paint, chalk paint is specifically designed for a matte finish and adheres better to porous surfaces like terracotta and ceramic.
Q: How do I clean my chalk-painted pots?
A: Gently wipe them with a damp cloth. Avoid harsh chemicals, as they can damage the paint.
Q: Can I use my painted pots outdoors?
A: Yes, but make sure to seal them properly to protect against weather elements.
Sealing Your Artwork
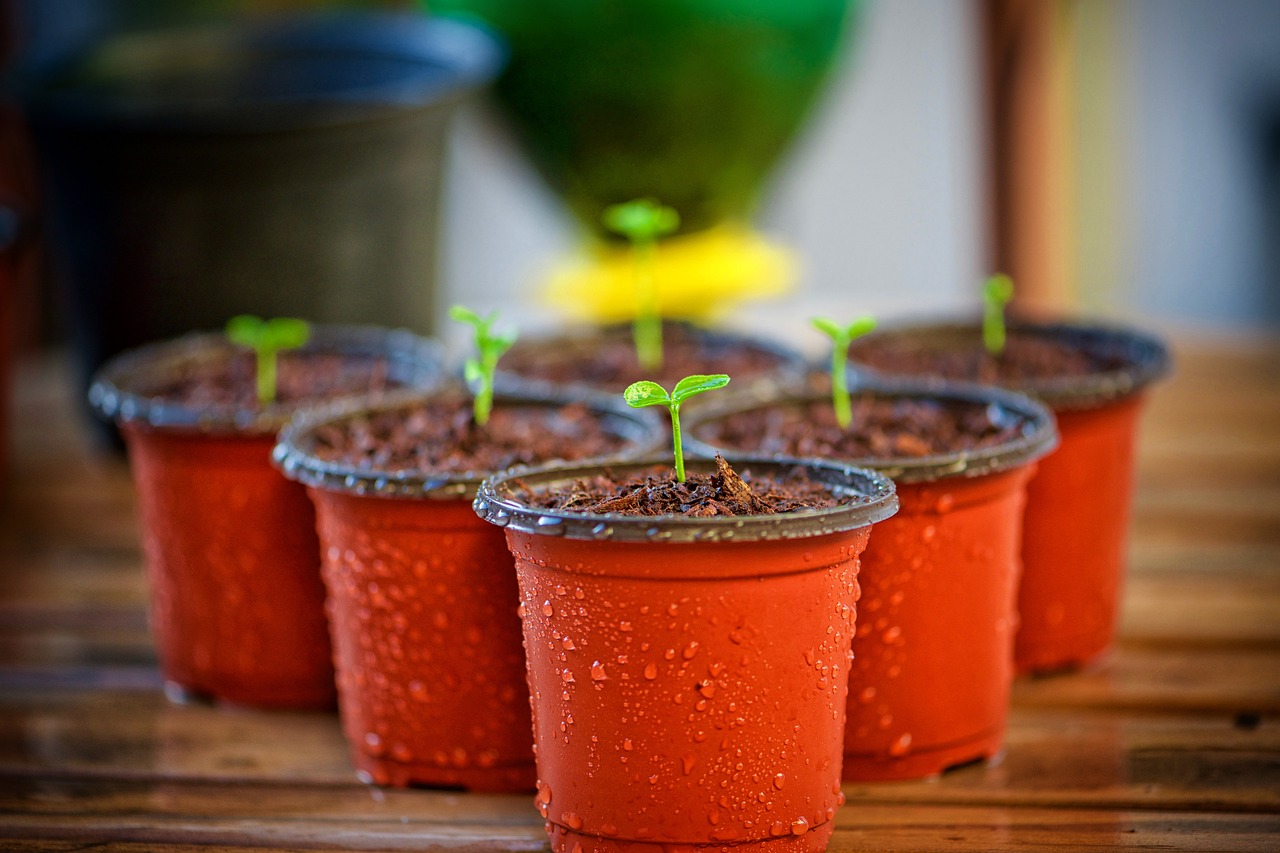
After you've poured your heart and soul into chalk painting your flower pots, the last thing you want is for your masterpiece to fade away or get damaged by the elements. Sealing your artwork is crucial, not just for aesthetics but also for longevity. Think of it as giving your pots a protective shield against rain, sun, and even the occasional curious squirrel! So, what are your options for sealing? Let's dive in!
There are several sealing products available on the market, each with its unique properties. Here’s a quick overview of popular sealing options:
| Sealing Option | Characteristics | Best Used For |
|---|---|---|
| Clear Acrylic Sealer | Water-resistant, UV protection, non-yellowing | Outdoor pots exposed to the elements |
| Polyurethane | Durable, high-gloss finish, strong protection | Indoor pots or decorative pieces |
| Mod Podge | Glue and sealer in one, easy to use | Craft projects and light outdoor use |
Once you've selected your sealing product, applying it is straightforward. Here’s a simple step-by-step guide to ensure a flawless finish:
- Choose the Right Environment: Seal your pots in a well-ventilated area. This will help the sealer dry properly and prevent any unpleasant fumes.
- Prep Your Pot: Make sure your painted surface is completely dry. Any moisture can affect the sealing process.
- Apply the Sealer: Use a clean brush or spray for an even application. If you're using a brush, apply in smooth, even strokes to avoid brush marks.
- Allow to Dry: Follow the manufacturer's instructions for drying times. Typically, it’s best to let the first coat dry completely before applying a second coat for extra protection.
Remember, sealing not only protects your artwork but also enhances the colors, giving your pots a vibrant, polished look. Think of it as the cherry on top of your DIY project! So, don’t skip this vital step; your flower pots will thank you for it!
- Can I use regular spray paint as a sealer? While regular spray paint can offer some protection, it's not designed specifically for sealing chalk paint and may not provide the durability you need.
- How often should I reseal my pots? It’s a good idea to check your pots at the beginning of each season and reseal if the finish looks worn or damaged.
- Is sealing necessary for indoor pots? While it's not always necessary, sealing can help maintain the pot's appearance and protect it from water damage.
Adding Decorative Elements
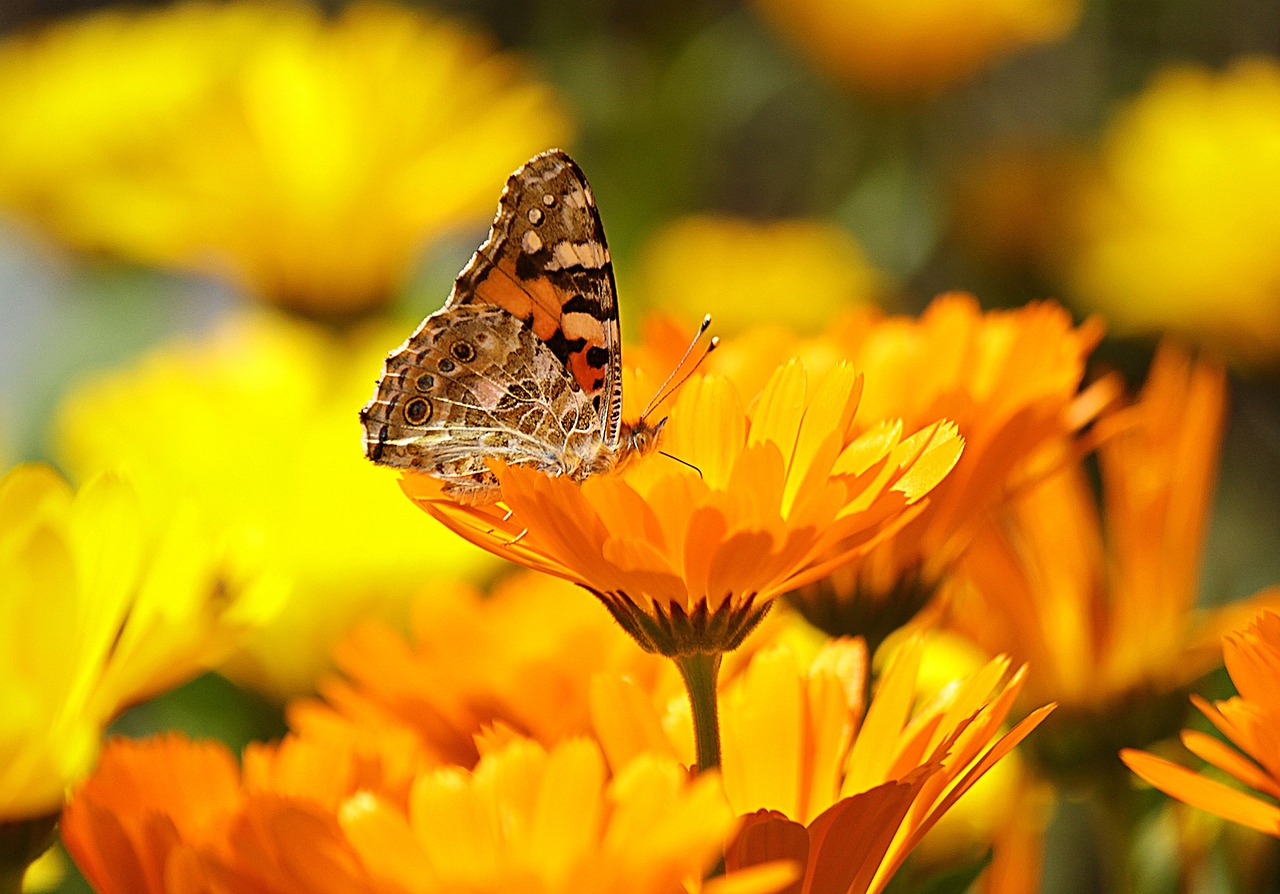
When it comes to personalizing your chalk-painted flower pots, the sky's the limit! Adding decorative elements is like putting the cherry on top of a delicious sundae; it brings everything together and makes your creation stand out. Think of your flower pots as a blank canvas, waiting for your unique touch. You can go for a rustic vibe with natural materials or a more vibrant look with colorful embellishments. Here are some ideas to get your creative juices flowing:
- Twine and Ribbons: Wrapping twine or ribbons around the rim of your pots can add a charming touch. You can choose colors that match your garden or go for contrasting shades to make a statement.
- Paint Splatters: For a fun and playful look, consider adding paint splatters in various colors. This technique is simple yet effective, creating a lively atmosphere around your plants.
- Stickers and Decals: Use weatherproof stickers or decals to add designs or quotes that resonate with you. This is a quick and easy way to give your pots a personal flair.
Another fantastic idea is to incorporate natural elements like small pebbles or seashells. These can be glued onto the surface of the pot for a textured effect. Imagine how beautiful a pot adorned with tiny seashells would look, especially if you have a coastal theme in your garden!
Don't forget about seasonal decorations! You can change the look of your pots throughout the year by adding seasonal embellishments. For example, during the fall, you might want to add small pumpkins or autumn leaves, while in the spring, fresh flowers or butterflies can breathe new life into your pots.
Finally, consider the overall theme of your garden or home decor when choosing your decorative elements. Are you going for a bohemian look, a modern aesthetic, or something more classic? Keeping a consistent theme will ensure that your flower pots complement the surrounding environment beautifully.
Remember, the goal is to have fun and let your personality shine through your creations. Whether you opt for subtle touches or bold statements, the decorative elements you choose will transform your flower pots into stunning focal points that reflect your unique style.
Q1: What types of decorative elements can I use on my chalk-painted flower pots?
A1: You can use a variety of decorative elements such as twine, ribbons, paint splatters, stickers, natural elements like pebbles or shells, and seasonal decorations to personalize your pots.
Q2: How can I ensure that my decorative elements last outdoors?
A2: To ensure durability, use weatherproof materials for your decorations and consider sealing your pots after adding decorative elements to protect them from the elements.
Q3: Can I paint over my decorative elements if I want to change them later?
A3: Yes, you can paint over your decorative elements if you want to refresh the look of your flower pots. Just make sure to clean the surface well before applying new paint.
Frequently Asked Questions
- What type of paint should I use for chalk painting flower pots?
For chalk painting flower pots, it's best to use chalk paint specifically designed for outdoor use. This type of paint provides a matte finish and adheres well to various surfaces, making it perfect for pots that will be exposed to the elements.
- How do I prepare my flower pots before painting?
Preparation is key! Start by cleaning your pots thoroughly to remove any dirt or grease. If you're using clay pots, lightly sand the surface to create a better grip for the paint. For ceramic pots, ensure they are dry and free from any residues. Priming is optional but can help achieve a smoother finish.
- Can I use regular paint instead of chalk paint?
While you can use regular paint, it may not provide the same matte finish or adhesion that chalk paint offers. Chalk paint is specially formulated to create a textured look and is easier to distress if you want a vintage effect.
- What techniques can I use for chalk painting flower pots?
There are several techniques you can try! Basic brush strokes are great for beginners. If you're feeling adventurous, try stenciling for intricate designs or layering different colors to add depth. Don't be afraid to experiment and let your creativity shine!
- How do I seal my chalk-painted flower pots?
Sealing your painted pots is crucial for durability. You can use a clear acrylic sealer or wax specifically made for chalk paint. Apply it with a clean brush and allow it to dry completely before placing your pots outside. This will help protect your artwork from fading and chipping.
- Can I personalize my flower pots?
Absolutely! Personalizing your pots can make them truly unique. Consider adding decorative elements like twine, beads, or even paint splatters for a fun touch. You can also use stencils to add names or quotes that resonate with you.
- Are there specific pots that work better for chalk painting?
While you can chalk paint almost any pot, clay and ceramic pots tend to work best because they have a porous surface that allows the paint to adhere well. Plastic pots can be painted too, but make sure to use a primer for better results.
- How long does chalk paint take to dry?
Chalk paint typically dries fairly quickly, usually within 30 minutes to an hour. However, for the best results, it's advisable to wait a few hours before applying a second coat or sealing your pots.


