How to Prevent a Sewing Machine from Jamming
Have you ever been in the middle of a sewing project, only to have your machine suddenly jam? It’s frustrating, isn’t it? Sewing machine jams can halt creativity and waste precious time. But fear not! This article explores effective strategies to avoid sewing machine jams, ensuring a smoother sewing experience. We will cover maintenance tips, threading techniques, and troubleshooting methods for common issues. So, let's dive in and keep your sewing machine running like a dream!
Routine maintenance is crucial for a well-functioning sewing machine. Think of it like giving your car a tune-up; without it, you're bound to face problems down the road. Regularly inspecting and cleaning your machine can help prevent jamming and extend its lifespan. Here are some essential maintenance tasks:
- Cleaning: Remove lint and dust from the bobbin area and feed dogs.
- Oiling: Apply sewing machine oil to the designated areas as per the manufacturer's instructions.
- Checking Belts: Inspect belts for wear and tear, replacing them if necessary.
By committing to these simple tasks, you're not just preventing jams; you're also enhancing your sewing experience and ensuring your machine remains reliable for years to come.
Incorrect threading can lead to frequent jams. If your machine seems to be misbehaving, the first thing to check is whether you've threaded it correctly. Proper threading ensures that the thread flows smoothly through the machine, reducing the risk of snags and jams. Here’s how to thread your machine correctly:
- Follow the threading diagram usually found on the machine.
- Make sure the presser foot is up while threading.
- Double-check that the thread is seated properly in the tension discs.
Taking the time to thread your machine correctly will pay off in the long run, leading to fewer frustrating interruptions.
Selecting the appropriate thread type for your project is vital. Not all threads are created equal, and using the wrong type can increase the likelihood of jamming. For instance, using a heavy thread on a lightweight fabric can create tension issues. Here’s a quick guide:
| Thread Type | Best For |
|---|---|
| Polyester | Most fabrics, durable |
| Cotton | Natural fabrics, quilting |
| Silk | Delicate fabrics, garments |
Choosing the right thread is like picking the right tool for a job; it makes all the difference!
Understanding thread tension is key to preventing jams. If your tension is too tight, it can cause the thread to break or jam. Conversely, if it’s too loose, you might end up with uneven stitches. Adjusting tension settings for various fabrics and threads is essential. Always test on a scrap piece before starting your main project!
Using high-quality threads can significantly reduce jamming. Cheap threads often have inconsistencies that can snag in your machine. Investing in good threads is like investing in a quality ingredient for a recipe; it enhances the final product. Plus, quality threads tend to be stronger and more durable, which means fewer interruptions in your sewing flow.
Regular cleaning is essential to prevent lint buildup that can cause jams. Lint and dust can accumulate in various parts of your machine, leading to performance issues. To effectively clean your sewing machine, follow these steps:
- Unplug the machine before cleaning.
- Remove the needle and presser foot.
- Use a small brush to remove lint from the bobbin area and feed dogs.
- Wipe down the exterior with a soft cloth.
By keeping your machine clean, you not only prevent jams but also ensure that it operates smoothly and efficiently.
The bobbin plays a crucial role in sewing machine function. If your bobbin isn’t inserted or wound correctly, you’re setting yourself up for a jam. To minimize the risk of jamming, ensure that you:
- Insert the bobbin correctly according to the machine's instructions.
- Wind the bobbin evenly without overfilling.
Taking these precautions can save you from a lot of headaches while sewing!
Using the correct bobbin for your machine model is essential. Different machines require different bobbin styles. Always refer to your machine's manual to ensure you are using the right one. Using an incompatible bobbin can lead to jamming and other issues.
Keeping an eye on your bobbin thread level can prevent unexpected jams. It’s easy to forget about the bobbin until it’s too late. Make it a habit to check your bobbin thread before starting a new project. Replacing bobbins efficiently can save you from stopping mid-project!
Recognizing signs of potential problems can help prevent jams. Common sewing machine issues often manifest as strange sounds, skipped stitches, or inconsistent tension. By being vigilant, you can troubleshoot these problems before they escalate into a jam.
Stitching issues often indicate underlying problems. For example, if you notice skipped stitches, it could be a sign that your needle is dull or the thread is tangled. Addressing these issues promptly can prevent further complications and keep your sewing smooth.
Unusual noises or vibrations can signal a jam. If your machine starts making strange sounds, it’s time to investigate. Diagnosing these sounds early can save you from a more significant issue down the line. Always stop sewing if you hear something off; your machine will thank you!
The needle type can significantly impact sewing performance. Using the wrong needle can cause numerous problems, including jams. It’s essential to choose the right needle based on the fabric you’re working with. For instance, using a ballpoint needle for knits or a universal needle for woven fabrics can make all the difference.
Understanding the relationship between needle size and fabric type is crucial. A needle that’s too small can struggle to penetrate thick materials, leading to jams. Conversely, a needle that’s too large can cause holes in delicate fabrics. Always select the right size to keep your sewing smooth and jam-free!
Worn needles can cause various problems, including jams. It’s essential to regularly replace needles to maintain optimal sewing performance. A good rule of thumb is to change your needle after every project or every 8 hours of sewing. This simple step can greatly improve your sewing experience and help prevent frustrating jams.
Q: How often should I clean my sewing machine?
A: It’s recommended to clean your sewing machine after every project or at least once a month if you sew regularly.
Q: What should I do if my sewing machine keeps jamming?
A: Check your threading, bobbin, and needle. Make sure everything is inserted correctly and that you’re using the right materials.
Q: Can I use any thread in my sewing machine?
A: No, it’s important to use the right type of thread for your specific sewing machine and project to avoid jams.
Regular Maintenance
This article explores effective strategies to avoid sewing machine jams, ensuring a smoother sewing experience. We will cover maintenance tips, threading techniques, and troubleshooting methods for common issues.
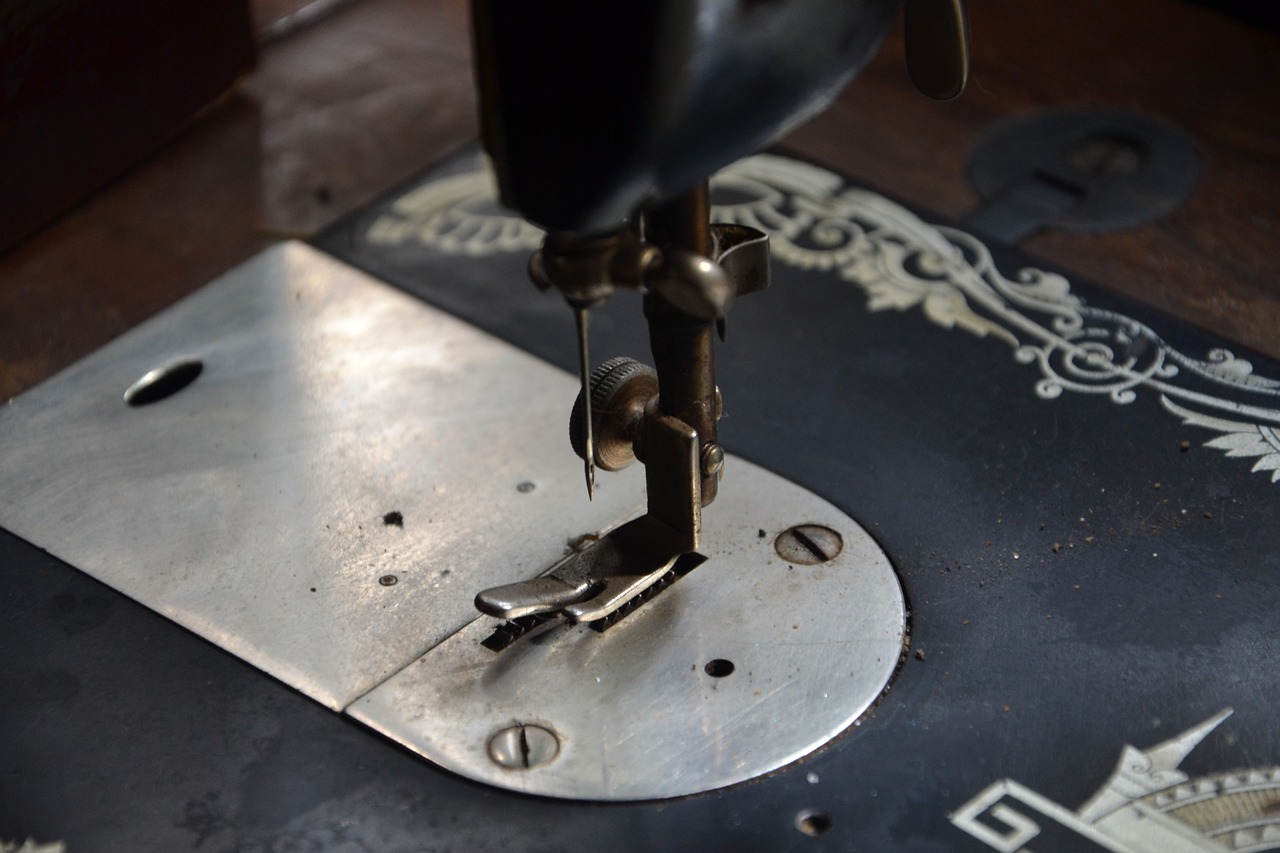
Routine maintenance is crucial for a well-functioning sewing machine. Just like a car needs regular oil changes to run smoothly, your sewing machine requires consistent care to avoid jamming and prolong its lifespan. Think of it as giving your machine a little spa day! Regular maintenance not only helps in preventing jamming but also enhances performance, making your sewing projects more enjoyable.
One of the first steps in maintenance is to keep your machine clean. Dust and lint can accumulate in various parts of your sewing machine, particularly around the feed dogs and the bobbin area. To clean your machine effectively, follow these steps:
- Unplug the machine to ensure safety.
- Use a soft brush or a lint brush to gently remove any dust or lint.
- Check the feed dogs and surrounding areas for buildup.
- Wipe down the exterior with a damp cloth to remove any grime.
Another essential aspect of maintenance is oil application. Many sewing machines come with specific oiling points that need to be lubricated regularly. This reduces friction and helps in smooth operation. Make sure to use only the recommended sewing machine oil, as other oils can damage the internal components. Here’s a quick guide on how to oil your machine:
| Step | Action |
|---|---|
| 1 | Identify the oiling points in your machine's manual. |
| 2 | Apply a few drops of oil to each point. |
| 3 | Run the machine for a few minutes to distribute the oil evenly. |
Additionally, checking the belts and gears is vital. Over time, belts can wear out or become loose, which can lead to operational issues and jamming. If you notice any unusual sounds or if the machine struggles to sew, it might be time to inspect these components. Refer to your manual for guidance on how to check and replace belts if necessary.
Lastly, don’t forget to test your machine regularly. After performing maintenance, run a few test stitches on scrap fabric to ensure everything is working smoothly. This will help you catch any potential issues before they turn into frustrating jams during your projects.
1. How often should I perform maintenance on my sewing machine?
It's recommended to perform basic maintenance after every few sewing sessions, while more thorough cleaning and oiling should be done at least once a month, depending on usage.
2. Can I use any oil for my sewing machine?
No, it's important to use only the oil recommended by the manufacturer. Other types of oil can cause damage to the machine.
3. What should I do if my sewing machine is still jamming after maintenance?
If jamming persists, check your threading, bobbin, and needle. If everything seems fine, consider consulting a professional for a deeper inspection.
Proper Threading Techniques
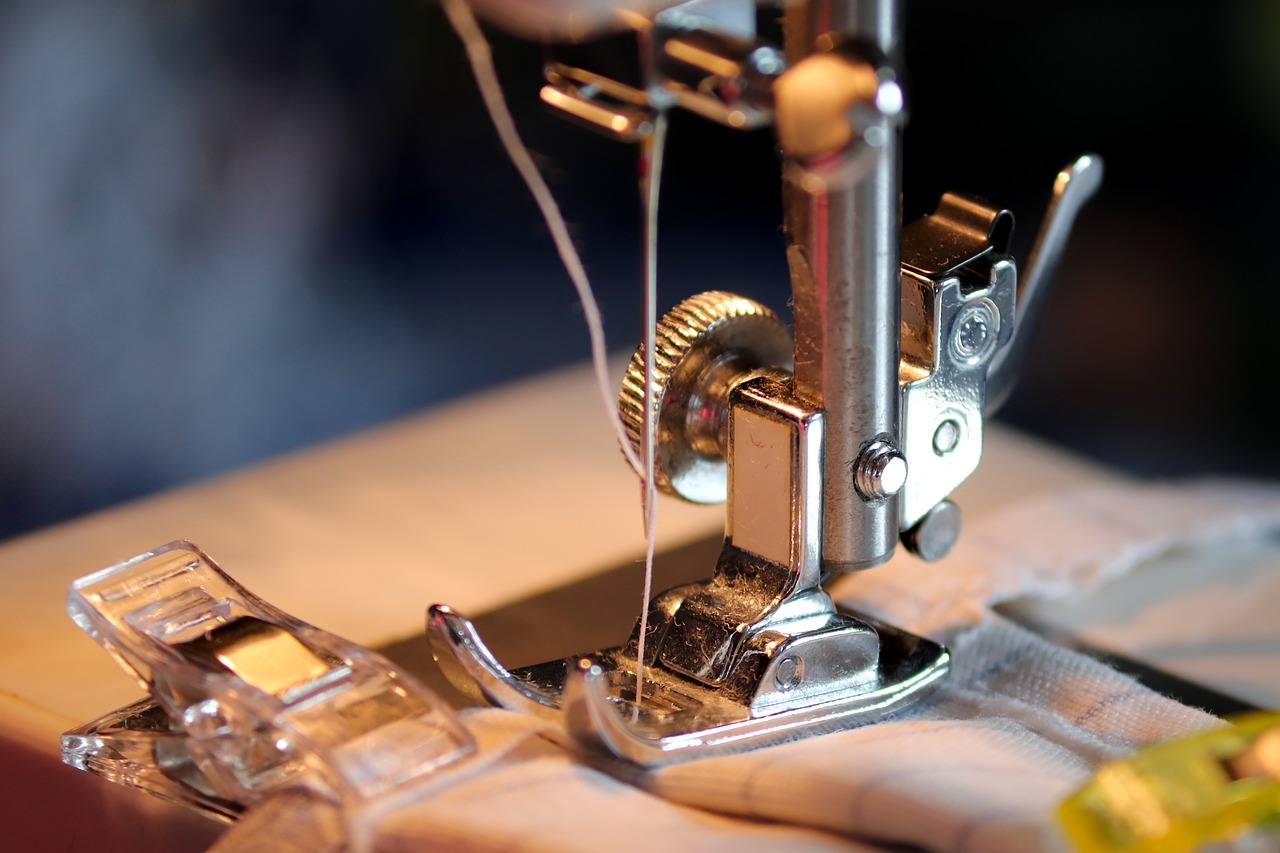
Threading your sewing machine correctly is a fundamental skill that can significantly impact your sewing experience. If you’ve ever faced the frustration of a sewing machine jam, you might have realized that improper threading is often the culprit. But don’t worry! With a little attention to detail and some handy tips, you can master the art of threading your machine like a pro. First and foremost, always refer to your sewing machine’s manual. Each model has its own unique threading path, and knowing the specifics can save you a lot of headaches.
When you begin the threading process, make sure that your machine is turned off. This not only ensures safety but also prevents any accidental movements that could lead to mistakes. Start by placing your spool of thread on the spool pin and ensure it’s seated correctly. Then, pull the thread from the spool and follow the designated threading path. This usually involves guiding the thread through various tension discs and around the take-up lever. It’s essential to follow these paths precisely to maintain proper tension and avoid jamming.
One common mistake many sewists make is not pulling the thread through the needle correctly. Ensure that the thread is not twisted and that it’s pulled straight through the needle’s eye. A good tip is to use a needle threader if you have difficulty seeing the eye of the needle. Moreover, always leave a tail of about 6 inches of thread after threading the needle to help with the initial stitches.
Another critical aspect of threading is ensuring that the thread is wound correctly on the bobbin. A poorly wound bobbin can lead to uneven tension and, ultimately, jamming. When winding your bobbin, make sure the thread is evenly distributed and that it’s not too tight. If you notice that your bobbin is wound too tightly, it can cause issues as it feeds into the machine.
Let’s take a moment to discuss the importance of thread tension. Proper tension is vital for smooth sewing. If your machine has a tension dial, make sure to adjust it according to the type of fabric you’re using. For instance, lighter fabrics may require less tension, while heavier fabrics might need a bit more. If you’re unsure, you can always do a test stitch on a scrap piece of fabric before starting your project.
To summarize the essential steps for proper threading techniques, here’s a quick overview:
- Refer to your sewing machine manual for specific threading instructions.
- Ensure the machine is off before starting.
- Place the spool on the spool pin and follow the threading path carefully.
- Leave a 6-inch tail after threading the needle.
- Wind the bobbin evenly, avoiding tightness.
- Adjust thread tension according to fabric type.
By mastering these proper threading techniques, you’ll not only reduce the chances of your sewing machine jamming but also enhance your overall sewing experience. Remember, a little patience and practice go a long way in achieving smooth and successful sewing sessions!
Q: What should I do if my sewing machine keeps jamming?
A: First, check your threading to ensure it’s correct. Make sure your thread is not tangled and that the bobbin is wound properly. Additionally, inspect the needle for any signs of wear or damage.
Q: How often should I clean my sewing machine?
A: It’s recommended to clean your sewing machine after every few sewing projects or whenever you notice lint buildup. Regular cleaning helps maintain optimal performance and prevents jamming.
Q: Can using different types of thread cause jamming?
A: Yes, using the wrong type of thread can lead to jamming. Always choose thread that is compatible with your sewing machine and suited for the fabric you are working with.
Q: How can I tell if my needle needs to be replaced?
A: If you notice skipped stitches, fraying thread, or if the needle is bent or dull, it’s time to replace it. Regularly changing your needle helps prevent various sewing issues, including jams.
Choosing the Right Thread
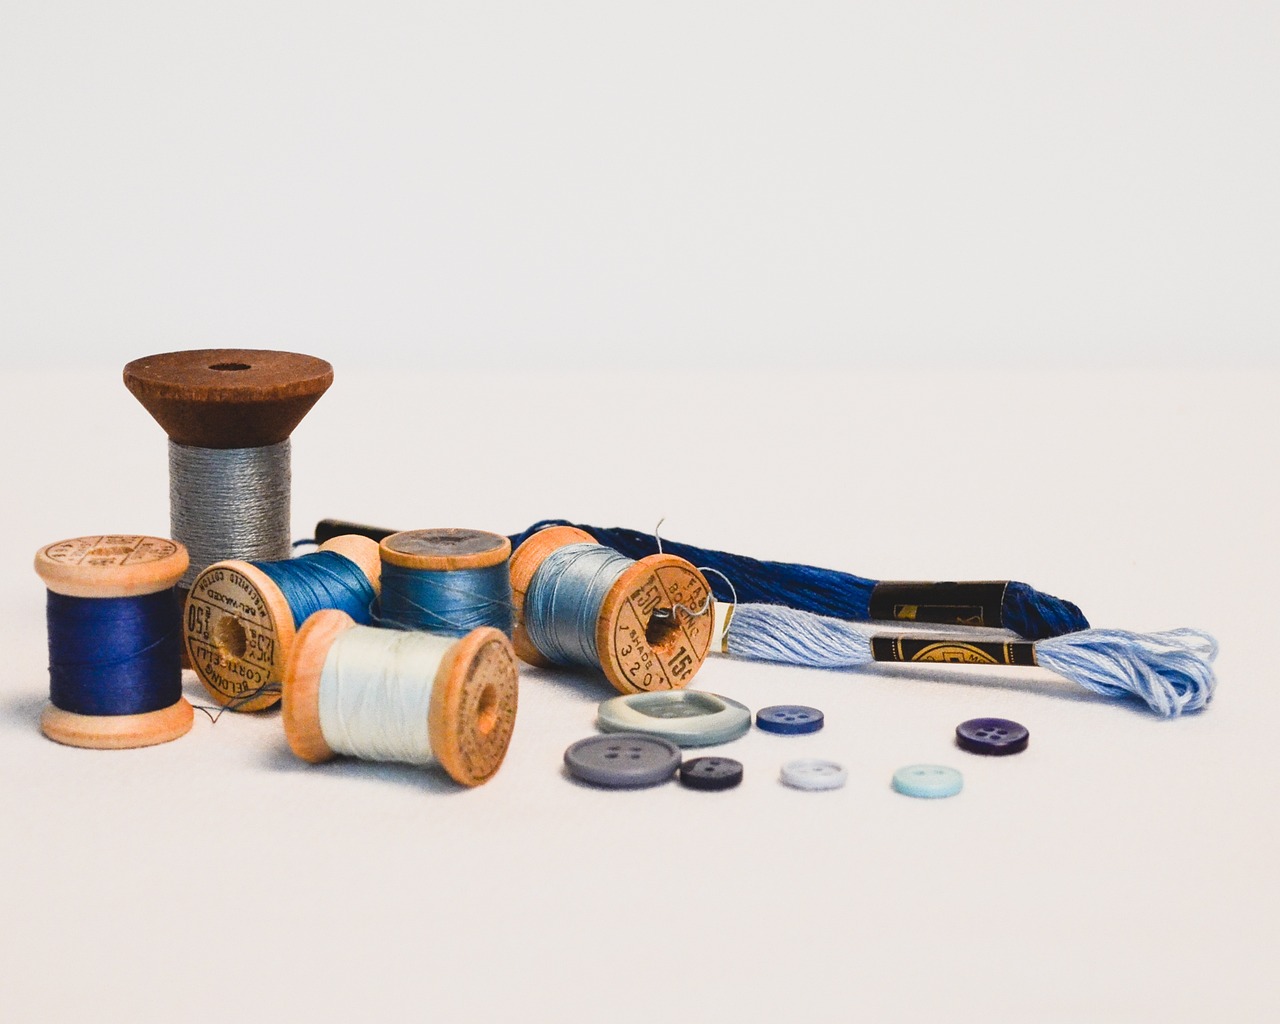
Choosing the right thread for your sewing project is more than just a matter of color; it's a crucial step that can significantly impact your sewing experience. Think of thread as the lifeblood of your sewing machine—it needs to be compatible with both your fabric and your machine to ensure a smooth operation. Using the wrong type of thread can lead to frustrating jams, uneven stitches, and ultimately, a less-than-perfect finish on your projects.
First, consider the material of the thread. There are various types available, including cotton, polyester, and specialty threads. Each material has its own unique properties:
- Cotton Thread: Great for quilting and lightweight fabrics, but it can break easily under tension.
- Polyester Thread: Strong and durable, making it suitable for a wide range of fabrics, including knits.
- Specialty Threads: These include metallic and embroidery threads, which can add flair but may require specific handling to avoid jamming.
Next, let's talk about the weight of the thread. Thread weight is typically indicated by a number; the lower the number, the thicker the thread. For example, a 30-weight thread is thicker than a 50-weight thread. Choosing the right weight is essential for the type of project you're tackling:
- For quilting, a heavier thread (like 40-weight) can provide durability.
- For delicate fabrics, a lighter thread (like 60-weight) is ideal to prevent puckering.
Another important factor is the thread's finish. Some threads have a matte finish, while others are glossy. The finish can affect how the thread interacts with your fabric and machine. For instance, glossy threads tend to glide through the fabric more smoothly, reducing friction and the likelihood of jams.
Lastly, always check your sewing machine's manual for recommendations on thread types. Some machines are finicky and may only work well with specific brands or types of thread. By selecting the right thread, you not only enhance your sewing experience but also prolong the life of your machine. Remember, a well-threaded machine is a happy machine!
Q: Can I use any type of thread in my sewing machine?
A: Not all threads are compatible with every sewing machine. Always consult your machine's manual for recommendations.
Q: How do I know if my thread is too thick for my machine?
A: If your machine struggles to sew or makes unusual noises, your thread may be too thick. Try using a lighter weight thread.
Q: Is cotton thread better than polyester thread?
A: It depends on your project. Cotton is great for quilting, while polyester is more versatile and durable for various fabrics.
Q: How often should I replace my thread?
A: You don't need to replace thread often, but check for fraying or wear before starting new projects.
Thread Tension Adjustments
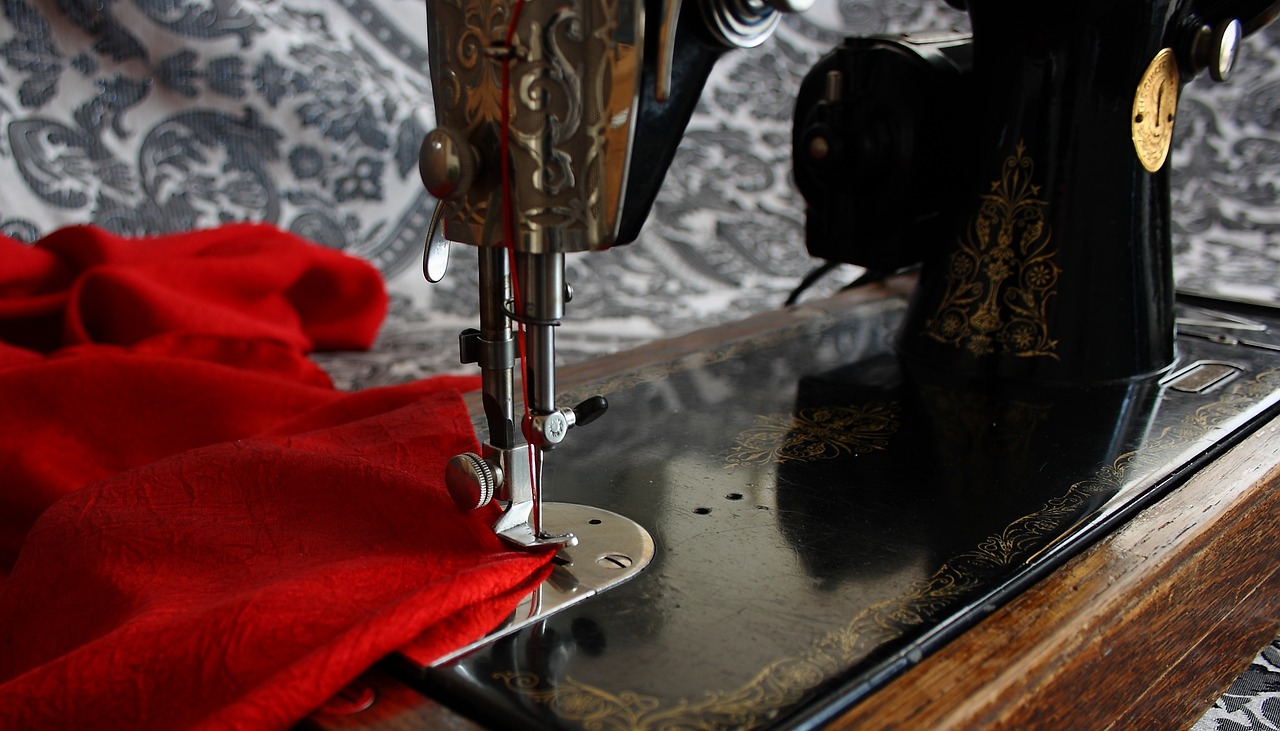
Understanding thread tension is key to ensuring that your sewing machine operates smoothly and efficiently. If the tension is too tight, it can cause the thread to break, leading to frustrating interruptions in your sewing project. Conversely, if the tension is too loose, you may find that your stitches are uneven or that the fabric puckers, which can ruin the look of your finished piece. So, how do you find that perfect balance? It all starts with knowing your machine and the type of fabric you're working with.
Most sewing machines come equipped with a tension dial, usually located on the front or side. This dial allows you to adjust the tension according to your needs. Here’s a quick guide to help you understand how to adjust the tension:
| Fabric Type | Recommended Tension Setting |
|---|---|
| Lightweight Fabrics (e.g., silk, chiffon) | Lower Tension (around 2-3) |
| Medium Weight Fabrics (e.g., cotton, linen) | Medium Tension (around 4-5) |
| Heavyweight Fabrics (e.g., denim, canvas) | Higher Tension (around 6-7) |
When adjusting the tension, it’s important to make small changes and test your settings on a scrap piece of fabric before diving into your main project. This way, you can see how the adjustments affect the stitching. If you notice that the top thread is too tight, loosen the tension slightly; if the fabric is puckering, tighten it a bit. Finding that sweet spot may take a little trial and error, but it’s well worth the effort.
Additionally, remember that different threads can also require different tension settings. For instance, using a thicker thread may necessitate a higher tension setting to maintain even stitches. Always keep an eye on your thread type and adjust accordingly. Quality threads with consistent thickness will help you achieve better results and reduce the chances of jamming.
Finally, don’t forget to check your machine’s manual for specific recommendations regarding tension settings. Each machine can have its quirks, and the manufacturer’s guidelines can be invaluable in helping you achieve the best performance. By mastering thread tension adjustments, you’ll not only prevent jams but also enhance the overall quality of your sewing projects.
- How do I know if my thread tension is off?
If your stitches are uneven, breaking frequently, or if the fabric is puckering, it’s a sign that your tension may need adjusting. - Can I use the same tension setting for all fabrics?
No, different fabrics require different tension settings. Always adjust based on the fabric type. - What should I do if my machine keeps jamming despite adjusting the tension?
Check for other issues such as incorrect threading, a dirty machine, or a worn needle.
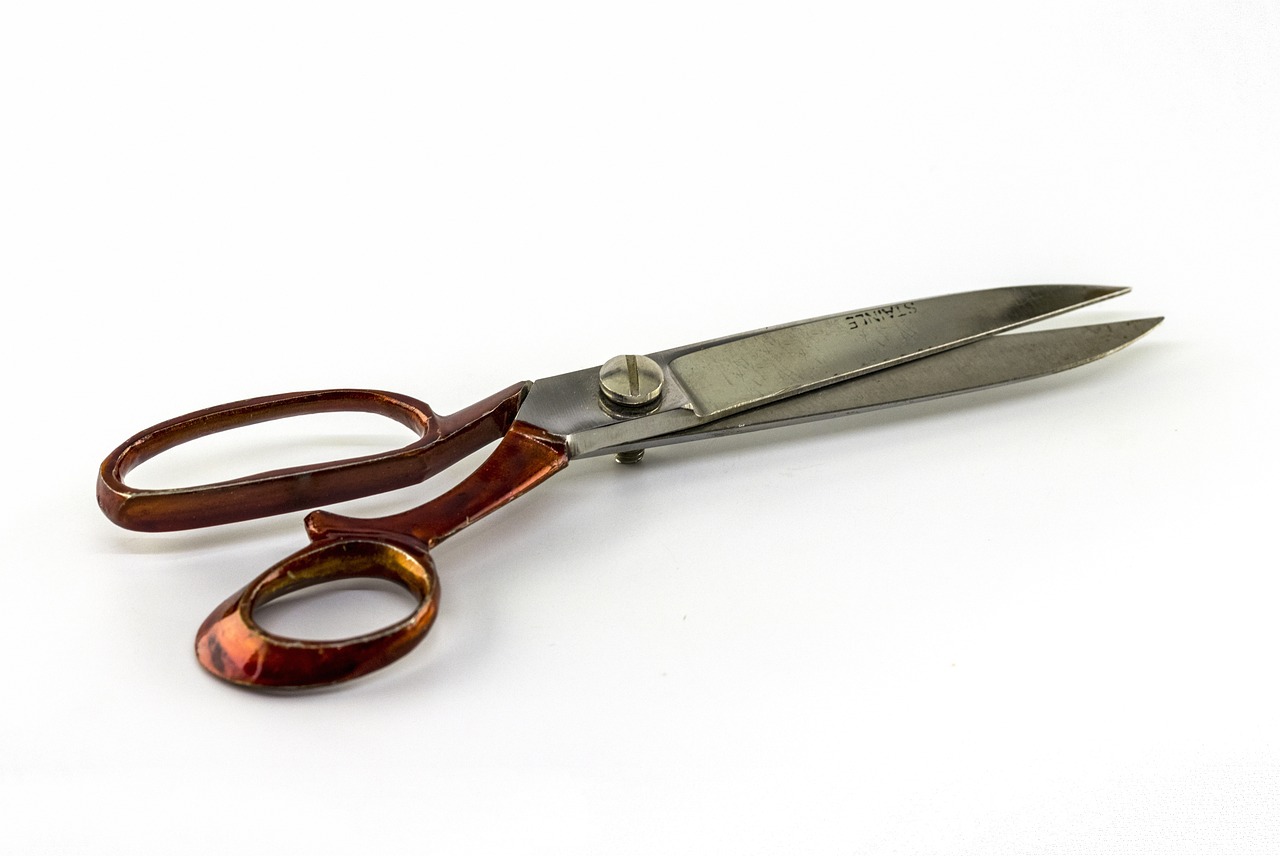
Using Quality Threads
When it comes to sewing, the quality of your threads can make a world of difference. Imagine trying to build a sturdy house with flimsy materials—it's just not going to hold up! Similarly, using high-quality threads can significantly reduce the chances of jamming in your sewing machine. Why? Because quality threads are less likely to fray, break, or tangle, which are common culprits of sewing machine jams. Investing in good threads is like investing in the foundation of your sewing projects.
So, what should you look for in quality threads? First and foremost, consider the material. Threads come in various materials such as cotton, polyester, and silk, each with its unique properties. For instance, cotton threads are fantastic for quilting, while polyester threads are known for their strength and durability. If you're working on a project that requires a lot of movement or stress, opting for a polyester thread can help minimize the risk of breakage and, consequently, jamming.
Moreover, the weight of the thread is crucial. Using a thread that is too thick for your needle or fabric can lead to tension issues, which can ultimately result in a jam. Always match the thread weight to the fabric type you're using. For example, if you're sewing lightweight fabrics, opt for a finer thread. On the other hand, if you're working with heavier materials, a thicker thread will do the trick.
Another aspect to consider is the color of the thread. While it may seem trivial, using threads that are dyed poorly can lead to color bleeding and degradation over time, affecting the overall quality of your work. So, always choose threads that have a good reputation for colorfastness.
Lastly, don't overlook the importance of storage. Even the best threads can deteriorate if not stored properly. Keep your threads in a cool, dry place away from direct sunlight to preserve their quality. This simple step can help you avoid the frustration of dealing with subpar threads that lead to jamming.
In summary, using quality threads is a game-changer in your sewing journey. Not only do they enhance your sewing experience by reducing the chances of jams, but they also contribute to the overall durability and appearance of your finished project. So, the next time you're stocking up on supplies, remember that a little investment in quality threads can save you a lot of headaches down the line!
- What type of thread is best for beginners? Cotton thread is often recommended for beginners due to its ease of use and versatility.
- Can I use any thread with my sewing machine? No, it's important to use thread that is compatible with your machine and appropriate for the fabric you are working with.
- How often should I replace my threads? You should replace your threads when they show signs of wear, fraying, or if they are old and stored improperly.
- Does thread color affect sewing performance? While it doesn't directly affect performance, poor-quality dyes can lead to issues like bleeding and degradation.
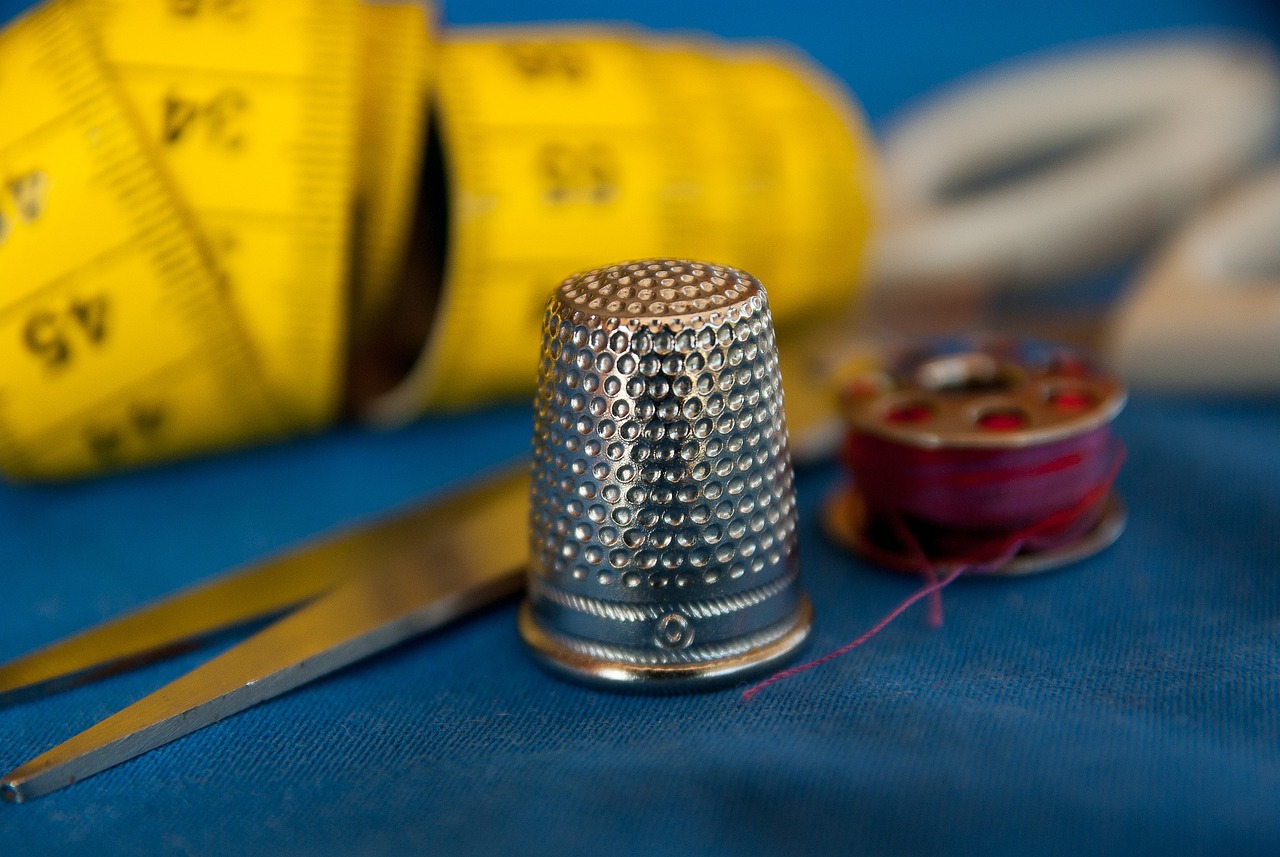
Cleaning Your Machine
Regular cleaning of your sewing machine is not just a good practice; it's a necessity for ensuring smooth operation and preventing frustrating jams. Over time, lint, dust, and fabric fibers can accumulate in various parts of your machine, especially in the bobbin area and around the feed dogs. Think of your sewing machine as a finely tuned instrument; just like a piano needs tuning and cleaning, your sewing machine requires the same attention to detail to perform at its best.
To get started, you’ll need a few basic tools to make the cleaning process easier. Gather a small brush, a pair of tweezers, and a soft cloth. You might also want to have some compressed air handy to blow away stubborn lint. Here’s a simple step-by-step guide to help you clean your machine effectively:
- Unplug Your Machine: Safety first! Always unplug your sewing machine before you start cleaning to avoid any accidents.
- Remove the Needle and Presser Foot: Take out the needle and presser foot to access the areas that need cleaning.
- Clean the Bobbin Area: Open the bobbin case and use the small brush to gently sweep away any lint or debris. If you notice stubborn buildup, you can use tweezers to remove it carefully.
- Check the Feed Dogs: Lint can also accumulate around the feed dogs. Use the brush to clean this area thoroughly.
- Wipe Down the Exterior: Use a soft cloth to wipe down the exterior of your machine, removing any dust or fingerprints.
- Reassemble and Test: Once everything is clean, reassemble your machine, reinsert the needle and presser foot, and plug it back in. It’s a good idea to run a test stitch to ensure everything is functioning smoothly.
By incorporating this cleaning routine into your sewing practice, you can significantly reduce the chances of jams and ensure that your machine runs like a dream. Remember, a clean machine is a happy machine!
- How often should I clean my sewing machine? It's recommended to clean your sewing machine after every few sewing sessions or at least once a month, depending on usage.
- Can I use compressed air to clean my machine? Yes, compressed air can be effective for blowing out lint, but be cautious not to blow debris further into the machine.
- What should I avoid when cleaning my sewing machine? Avoid using harsh chemicals or abrasive materials, as these can damage the machine's surfaces and components.
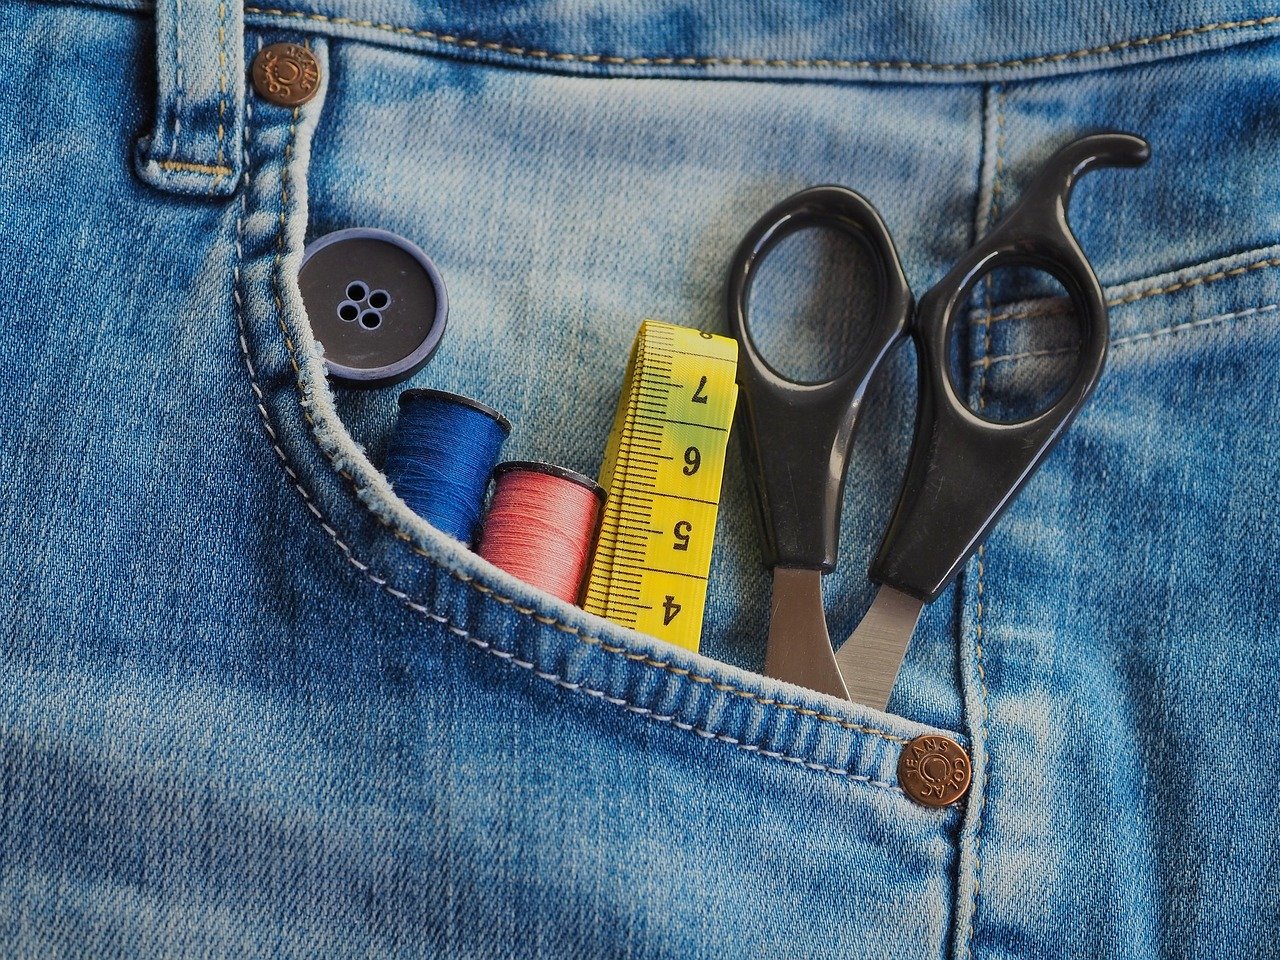
Checking the Bobbin
When it comes to sewing, the bobbin is like the unsung hero of your machine. It plays a crucial role in ensuring that your stitches are not only strong but also consistent. If you want to avoid pesky jams that can interrupt your creative flow, paying attention to the bobbin is essential. First and foremost, it’s important to understand how to properly insert and wind the bobbin. An improperly wound bobbin can lead to uneven tension, which is a common culprit behind sewing machine jams.
To ensure you're on the right track, here are some key steps to follow when checking your bobbin:
- Insert the Bobbin Correctly: Make sure the bobbin is inserted in the right direction. Most machines have a diagram that shows the correct orientation. If the bobbin is in backward, it can cause major issues.
- Wind the Bobbin Evenly: When winding your bobbin, ensure it’s evenly filled. Uneven winding can lead to thread bunching, which can cause jams when you start sewing.
- Check for Snags: Inspect your bobbin thread for any snags or tangles. Even the smallest knot can create a headache when you’re in the middle of a project.
Another important aspect to consider is the compatibility of the bobbin with your specific sewing machine model. Using the wrong bobbin can not only lead to jamming but can also damage your machine over time. Always refer to your sewing machine manual to find the correct bobbin type. If you’re unsure, you can often find compatible bobbins at your local fabric store or online, where you can also read reviews to ensure you’re making a wise choice.
Monitoring your bobbin thread level is also a crucial part of preventing jams. It’s easy to forget about the bobbin, especially when you’re engrossed in your sewing project. However, running out of bobbin thread can lead to sudden stops and, you guessed it, jams. To keep things running smoothly, make it a habit to check your bobbin thread level regularly. A simple glance can save you from the frustration of unexpected interruptions.
In summary, checking the bobbin is not just a minor detail; it’s a vital part of your sewing routine. By ensuring that your bobbin is properly inserted, evenly wound, and compatible with your machine, you can significantly reduce the risk of jamming. So, the next time you sit down to sew, take a moment to give your bobbin some love – it’ll thank you by keeping your sewing experience smooth and enjoyable!
- How often should I check my bobbin? It's a good practice to check your bobbin before starting a new project and during long sewing sessions to avoid running out of thread.
- Can I use any bobbin in my sewing machine? No, always use the bobbin specified for your machine model to prevent jamming and damage.
- What should I do if my bobbin keeps jamming? Check for proper insertion, ensure it's wound evenly, and make sure the thread is not tangled.
Bobbin Compatibility
When it comes to sewing, one of the most overlooked aspects is the compatibility of the bobbin with your sewing machine. Just like a puzzle piece that doesn’t fit, using the wrong bobbin can lead to frustrating jams and interrupted sewing sessions. Each sewing machine model is designed to work with specific bobbin types, and using the incorrect one can cause problems ranging from skipped stitches to complete machine failure. So, how do you ensure you’re using the right bobbin?
First, it’s essential to refer to your sewing machine's manual. This guide will provide you with the exact specifications for the bobbins that are compatible with your machine. Often, manufacturers will recommend certain brands or types of bobbins that work best with their models. Ignoring this advice can lead to a host of issues. Additionally, many sewing machine stores offer a variety of bobbins, and they can assist you in selecting the right one based on your machine's make and model.
Moreover, there are a few key characteristics to consider when assessing bobbin compatibility:
- Size: Bobbins come in various sizes, and using one that is too large or too small can cause it to jam in the bobbin case.
- Shape: Some bobbins are designed with a specific shape that fits snugly into the bobbin case. A mismatch here can lead to operational issues.
- Material: While most bobbins are made of plastic or metal, the material can affect how smoothly the thread unwinds. Some machines work better with one material over the other.
To make things easier, here’s a simple table that outlines some common bobbin types and their compatible sewing machine brands:
| Bobbin Type | Compatible Brands |
|---|---|
| Class 15 | Brother, Singer, Janome |
| Class 66 | Singer, Kenmore |
| Class 30 | Bernina, Pfaff |
Lastly, always ensure that your bobbin is wound correctly. A poorly wound bobbin can not only cause jamming but can also lead to uneven stitching. Take the time to check that your bobbin is filled evenly and that the thread is wound tightly. This small step can save you a lot of headaches down the line.
In conclusion, bobbin compatibility is a crucial aspect of sewing that should never be underestimated. By taking the time to understand your machine’s requirements and selecting the right bobbin, you can significantly reduce the risk of jams and enjoy a smoother sewing experience.
Q: How do I know if my bobbin is compatible with my sewing machine?
A: Check your sewing machine's manual for the recommended bobbin type or consult with a local sewing store for assistance.
Q: Can I use any brand of bobbin in my sewing machine?
A: Not necessarily. Each sewing machine is designed to work with specific bobbins, so using the wrong brand can lead to issues.
Q: What happens if I use the wrong bobbin?
A: Using the wrong bobbin can lead to jamming, skipped stitches, and even damage to your sewing machine.
Q: How often should I check my bobbin compatibility?
A: It's a good practice to check your bobbin compatibility whenever you purchase new bobbins or change sewing machines.
Monitoring Bobbin Thread
Keeping a close eye on your bobbin thread is not just a good practice; it’s essential for a smooth sewing experience. Imagine you’re in the middle of a creative project, your sewing machine humming along beautifully, and suddenly—bam! You’ve run out of bobbin thread. Not only does this interrupt your flow, but it can also lead to frustrating jams if you're not careful. So, how can you effectively monitor your bobbin thread to avoid such mishaps?
First and foremost, check your thread level regularly. This involves lifting the sewing machine's presser foot and inspecting the bobbin case. You can quickly see how much thread is left and whether it’s time for a change. If you notice that the thread is getting low, it’s better to replace it sooner rather than later. A good rule of thumb is to change the bobbin when you have about a quarter of the thread left. This way, you can keep sewing without interruptions.
Another tip is to develop a routine for monitoring your bobbin thread. For instance, every time you start a new project or even after every few seams, take a moment to check the bobbin. This habit can save you a lot of time and frustration in the long run. You might even consider setting a timer on your phone or using a sticky note on your sewing machine as a reminder to check the bobbin thread periodically.
Also, be mindful of the color of the thread in your bobbin. If you’re using a contrasting color for your project, it can be easy to overlook how much is left. Consider using a clear or light-colored bobbin case if your machine allows it, as this makes it easier to see the thread level without needing to remove the bobbin.
Lastly, don’t forget to practice good winding techniques. When you wind your bobbin, make sure it’s done evenly and not too tightly. An unevenly wound bobbin can lead to tension issues and, ultimately, jams. If you notice that your bobbin thread is frequently bunching or tangling, it might be a sign that it wasn’t wound correctly. Take the time to do it right, and you’ll thank yourself later.
In summary, monitoring your bobbin thread isn’t just about avoiding jams; it’s about enhancing your overall sewing experience. By being proactive and developing good habits, you can ensure that your sewing sessions are as smooth and enjoyable as possible. So, the next time you sit down to sew, remember to check that bobbin thread—it’s a small step that can make a huge difference!
- How often should I check my bobbin thread? It's best to check it regularly, ideally every few seams or whenever you start a new project.
- What should I do if my bobbin thread keeps breaking? Check for issues like incorrect threading, a worn needle, or a poorly wound bobbin.
- Can I use any bobbin for my sewing machine? No, always use the bobbin that is compatible with your specific machine model.
- What type of thread is best for my bobbin? Use a thread that matches the top thread in weight and type to ensure consistent tension and performance.
Identifying Common Issues
When it comes to sewing, even the most seasoned seamstress can encounter a few hiccups along the way. Recognizing the signs of potential problems with your sewing machine is crucial to preventing frustrating jams. Just like a car that starts making strange noises, your sewing machine can give you clues about its health. By paying attention to these indicators, you can address issues before they escalate into full-blown jams that could halt your creative flow.
One of the most common signs of trouble is stitching problems. If you notice uneven stitches, skipped stitches, or inconsistent tension, it’s a clear indication that something isn’t right. These issues can stem from various factors, such as incorrect threading, a dull needle, or even the wrong type of thread. For instance, using a heavy thread on a lightweight fabric can lead to unexpected results. If you find yourself facing these stitching dilemmas, take a moment to troubleshoot and rectify the situation. A quick check of your threading and a needle replacement might just do the trick!
Another red flag to watch for is noise and vibration. Your sewing machine should hum along smoothly, so if you start hearing unusual sounds or feeling excessive vibrations, it’s time for a closer inspection. These noises can often indicate that something is caught in the machine or that a part is misaligned. Just as you wouldn’t ignore a rattling sound in your car, don’t overlook these auditory clues. Addressing them promptly can save you from more significant issues down the line.
To help you further, here’s a quick summary of common issues and their potential causes:
| Issue | Possible Causes | Solutions |
|---|---|---|
| Uneven Stitches | Incorrect threading, dull needle, wrong thread type | Check threading, replace needle, use appropriate thread |
| Skipped Stitches | Dirty machine, wrong needle size | Clean machine, use the correct needle size |
| Unusual Noises | Misaligned parts, debris in machine | Inspect and realign parts, clean machine |
By keeping an eye on these common issues, you can maintain a smoother sewing experience. Remember, prevention is always better than cure. Just like a gardener tends to their plants before they wilt, you should regularly check your sewing machine for any signs of distress. This proactive approach will not only enhance your sewing experience but also extend the life of your beloved machine.
- How often should I clean my sewing machine? It’s recommended to clean your sewing machine after every few projects or at least once a month if you sew regularly.
- What kind of needle should I use for different fabrics? Use universal needles for most fabrics, but consider using specialized needles like ballpoint or quilting needles for specific materials.
- How can I tell if my bobbin is wound correctly? A properly wound bobbin should have even tension and no loose threads. If it looks uneven, rewind it before use.
Stitching Problems
Stitching problems can be a real headache for anyone who loves to sew. Imagine sitting down with your fabric, ready to create something beautiful, only to find that your sewing machine is acting up. It's frustrating, right? But fear not! Understanding the common stitching issues can help you tackle them before they lead to a full-blown jam. One of the most common problems is skipped stitches. This usually happens when the needle is either dull or not compatible with the fabric you're using. For instance, using a heavy-duty needle on lightweight fabric can create chaos!
Another common issue is uneven stitches. This can often stem from improper tension settings. If your thread tension is too tight, it can cause the fabric to pucker, leading to uneven and unsightly stitches. On the flip side, if the tension is too loose, you might find that your stitches are baggy and lack definition. It's like trying to find the perfect balance on a seesaw; too much weight on one side, and it just won't work!
Additionally, thread bunching is a problem many sewers encounter. This can occur when the thread isn't feeding correctly through the machine. It might be due to lint buildup in the tension discs or a poorly wound bobbin. To prevent this, make it a habit to clean your machine regularly and ensure that your bobbins are wound evenly. Keeping an eye on these factors can save you from the frustration of dealing with thread tangles.
To sum it all up, here are some key points to remember when dealing with stitching problems:
- Skipped Stitches: Check your needle type and condition.
- Uneven Stitches: Adjust your thread tension settings.
- Thread Bunching: Clean your machine and ensure bobbin winding is proper.
By being proactive and addressing these common stitching problems, you can enjoy a smoother sewing experience and keep those pesky jams at bay. Remember, a little maintenance goes a long way!
Q: What should I do if my machine keeps skipping stitches?
A: First, check your needle. Make sure it’s the right type for your fabric and replace it if it’s dull. Also, ensure your thread tension is correctly set.
Q: How often should I clean my sewing machine?
A: It's best to clean your machine after every few projects or whenever you notice lint buildup. Regular cleaning helps prevent thread bunching and jams.
Q: Can using cheap thread cause sewing problems?
A: Absolutely! Low-quality thread can break easily and cause jams. Investing in good-quality thread will improve your sewing experience significantly.
Q: How do I know if my needle needs replacing?
A: If you notice skipped stitches, frayed fabric edges, or if your sewing machine is making unusual noises, it’s time to replace your needle.
Noise and Vibration
When your sewing machine starts making unusual noises or vibrating more than usual, it’s like an alarm bell ringing, telling you that something isn’t quite right. Just like a car engine, a sewing machine should run smoothly and quietly. If you hear clattering, grinding, or any other odd sounds, it’s time to investigate. Ignoring these signs can lead to a more serious issue, including dreaded jams that can halt your sewing project in its tracks.
First off, let’s talk about the common culprits behind these noises. Often, it could be something as simple as lint buildup in the machine. Lint can accumulate in the bobbin case or around the feed dogs, causing friction and noise. Regular cleaning can help prevent this. Another reason might be a loose or incorrectly installed needle. If the needle isn’t secured properly, it can rattle around, creating a distracting noise while you sew. To ensure your needle is snug, always check that it is fully inserted and tightened before starting your project.
Sometimes, the issue might stem from the thread tension. If the tension is too tight or uneven, it can cause the machine to struggle, leading to vibrations and sounds that signal distress. Adjusting the tension settings according to the fabric and thread you’re using can help alleviate this problem. Remember, a well-balanced tension is crucial for smooth operation.
Now, if you notice that your machine is vibrating excessively, it could be due to a few factors:
- Uneven Surface: Ensure that your sewing machine is placed on a stable, flat surface. An uneven table can cause vibrations to amplify.
- Worn Parts: Over time, parts like the motor or the belt can wear out, leading to instability. Regular maintenance checks can help catch these issues early.
- Incorrect Assembly: If you’ve recently disassembled your machine for cleaning or repairs, double-check that everything is put back together correctly.
Listening to your sewing machine is just as important as knowing how to use it. If you catch these noises early, you can often resolve the issue before it escalates into a jam or more significant malfunction. So, the next time you hear that peculiar sound or feel an unusual vibration, take a moment to pause and investigate. Your sewing machine will thank you for it!
Q: What should I do if my sewing machine starts making noise?
A: First, stop sewing and check for any visible issues like a loose needle or lint buildup. Clean the machine and ensure all parts are securely fastened.
Q: Can using the wrong type of thread cause noise?
A: Yes! Using a thread that’s too thick or too thin for your machine can lead to tension problems, resulting in noise and potential jams.
Q: How often should I clean my sewing machine?
A: It’s best to clean your machine after every few projects or whenever you notice lint buildup. Regular maintenance will help keep it running smoothly.
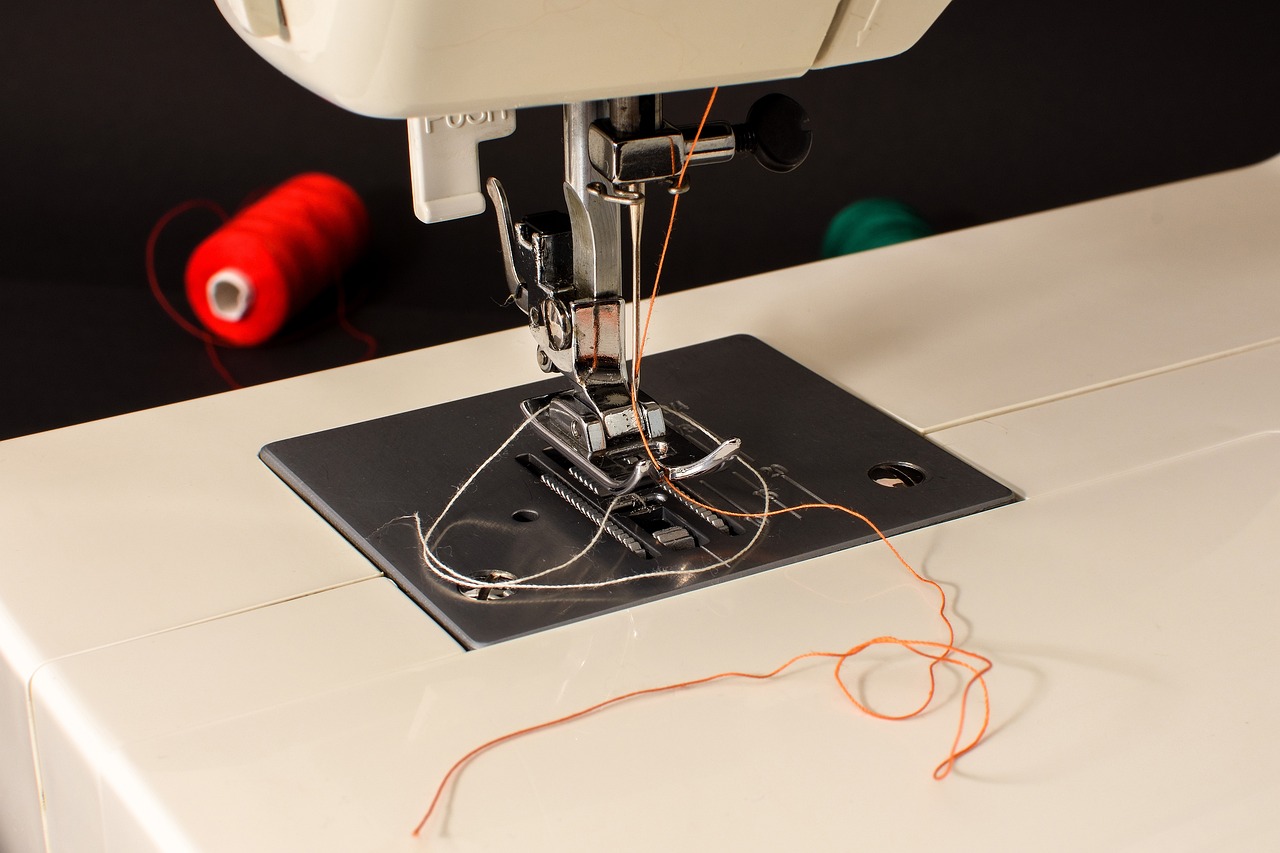
Using the Right Needle
Choosing the right needle for your sewing machine is not just a matter of preference; it’s a crucial decision that can significantly impact your sewing performance and help prevent frustrating jamming issues. Think of the needle as the conductor of an orchestra; if it’s not the right one, the entire symphony can go off-key. Each needle is designed for specific tasks, and using the wrong type can lead to all sorts of problems, including fabric damage, skipped stitches, and yes, those pesky jams that can halt your creative flow.
When selecting a needle, consider the fabric type you’ll be working with. For instance, heavier fabrics like denim or canvas require a sturdier needle, while delicate materials such as silk or chiffon need a finer, sharper needle to avoid snagging or tearing. Not only does this ensure a smoother sewing process, but it also minimizes the chances of your machine getting jammed. To help you choose the right needle, here's a quick reference table:
| Fabric Type | Recommended Needle Type | Needle Size |
|---|---|---|
| Lightweight Fabrics (e.g., silk, tulle) | Universal or Microtex Needle | 60/8 to 70/10 |
| Medium-weight Fabrics (e.g., cotton, linen) | Universal Needle | 80/12 |
| Heavyweight Fabrics (e.g., denim, canvas) | Jeans Needle | 90/14 to 100/16 |
| Knits and Stretch Fabrics | Ballpoint Needle | 75/11 to 90/14 |
Another critical factor is the needle size. A larger needle creates bigger holes in the fabric, which can lead to fraying and other issues. Conversely, a needle that is too small may struggle to penetrate the fabric, resulting in skipped stitches and potential jams. It’s always wise to refer to your sewing machine manual or the fabric packaging for guidance on the appropriate needle size.
Furthermore, don’t overlook the importance of replacing worn needles. Just as a chef wouldn’t use a dull knife, you shouldn’t use a needle that’s past its prime. Worn needles can lead to a host of problems, including uneven stitches and, you guessed it, jamming. Make it a habit to change your needle regularly, especially if you notice any signs of wear or if you’re switching between different types of fabrics.
In summary, using the right needle is essential for a smooth sewing experience. By selecting the appropriate needle type and size for your fabric, and by ensuring that your needle is in good condition, you can significantly reduce the risk of jamming in your sewing machine. So next time you sit down to sew, take a moment to consider your needle choice—it could be the difference between a seamless project and a frustrating afternoon spent untangling threads!
- How often should I change my sewing machine needle? It's recommended to change your needle after every 8 hours of sewing or whenever you notice any signs of wear.
- Can using the wrong needle cause my sewing machine to jam? Yes, using an inappropriate needle for your fabric can lead to skipped stitches and jamming.
- What needle should I use for quilting? A quilting needle, which has a tapered point, is ideal for quilting projects.
- Is it necessary to use brand-specific needles? While not always necessary, using brand-specific needles can ensure better compatibility with your sewing machine.
Needle Size and Fabric
When it comes to sewing, the relationship between needle size and fabric type is crucial for achieving a smooth and successful project. Just like a chef needs the right knife for different ingredients, a sewer must select the appropriate needle to match their fabric. Using the wrong needle can not only lead to frustrating jams but can also ruin your fabric and compromise the quality of your stitches.
For instance, if you're working with delicate fabrics like silk or chiffon, a smaller needle (such as a size 60/8 or 70/10) is ideal. These needles have a finer point that minimizes the risk of snagging or damaging the fabric. On the other hand, when tackling thicker materials like denim or canvas, you'll want to opt for a larger needle (like a size 90/14 or 100/16) that can penetrate the fabric without bending or breaking.
Here's a quick reference table to help you choose the right needle size for various fabric types:
| Fabric Type | Recommended Needle Size |
|---|---|
| Lightweight Fabrics (Silk, Chiffon) | 60/8 or 70/10 |
| Medium Weight Fabrics (Cotton, Linen) | 80/12 or 90/14 |
| Heavyweight Fabrics (Denim, Canvas) | 90/14 or 100/16 |
| Knits and Stretch Fabrics | 75/11 Ballpoint Needle |
Additionally, it's essential to consider the needle type as well. For instance, using a ballpoint needle is particularly beneficial when working with knit fabrics. The rounded tip allows the needle to slip between the fabric threads rather than piercing them, which can prevent jamming and fabric damage. In contrast, a universal needle is versatile and can be used for a variety of fabrics, making it a great choice for general sewing.
Ultimately, investing time in selecting the right needle size and type for your fabric can significantly reduce the risk of sewing machine jams and enhance your sewing experience. Remember, a little attention to detail can go a long way in ensuring your projects turn out beautifully!
- What happens if I use the wrong needle size?
Using the wrong needle size can cause thread breakage, fabric damage, and increased chances of jamming. - How often should I change my sewing needle?
It's recommended to change your needle after every 6-8 hours of sewing or when you notice any signs of wear. - Can I use the same needle for all fabric types?
While a universal needle can work for many fabrics, it's best to use specific needles for delicate or heavy materials to avoid issues.
Replacing Worn Needles
When it comes to sewing, one of the most overlooked yet crucial components is the needle. Just like a chef wouldn’t use a dull knife to prepare a meal, you shouldn’t use a worn needle for your sewing projects. A worn needle can lead to a plethora of issues, including jamming, skipped stitches, and even fabric damage. So, how do you know when it’s time to replace your needle? Well, there are a few telltale signs to watch for.
First off, if you start to notice that your sewing machine is making unusual noises or if the fabric is not feeding smoothly, it might be time to check the needle. A needle that is bent, dull, or damaged can cause your machine to struggle, leading to frustrating jams. Additionally, if you’re working with different types of fabric, it’s essential to switch out your needles accordingly. For instance, using a heavy-duty needle for lightweight fabric can lead to issues, as can using a universal needle for specialty fabrics like knits or silk.
Replacing your needle is a simple task that can significantly improve your sewing experience. Here’s a quick rundown of how to do it:
- Turn off your machine: Safety first! Always turn off your sewing machine before making any adjustments.
- Remove the old needle: Loosen the needle clamp screw and gently pull the needle out. If it’s stuck, don’t force it; just make sure the screw is completely loosened.
- Insert the new needle: Take your new needle and insert it with the flat side facing the back of the machine. Tighten the needle clamp screw securely.
- Test your machine: After replacing the needle, run a few test stitches to ensure everything is functioning smoothly.
It’s recommended to replace your needle after every 6-8 hours of sewing, or sooner if you’re working on a project that requires heavy or specialty fabrics. Think of it like changing the oil in your car; regular maintenance keeps everything running smoothly. By keeping track of your needle usage, you can avoid those pesky sewing machine jams that can halt your creativity in its tracks.
Investing in a variety of needles can also enhance your sewing experience. Here’s a quick comparison of different needle types and their uses:
| Needle Type | Best For |
|---|---|
| Universal | General sewing, most fabrics |
| Ballpoint | Knit fabrics, stretchy materials |
| Sharps | Lightweight fabrics, silk |
| Jeans/Denim | Heavy fabrics like denim and canvas |
In summary, replacing worn needles is a simple yet effective way to prevent sewing machine jams and enhance your overall sewing experience. By paying attention to the condition of your needle and replacing it regularly, you can avoid the frustration of dealing with jams and keep your projects flowing smoothly. Remember, a well-maintained needle is key to a well-functioning sewing machine!
- How often should I replace my sewing machine needle? It's generally recommended to replace your needle after every 6-8 hours of sewing, or sooner if you're working with heavy or specialty fabrics.
- Can a dull needle cause a sewing machine to jam? Yes, a dull or damaged needle can lead to poor sewing performance and increase the likelihood of jamming.
- What type of needle should I use for quilting? A quilting needle is ideal for quilting projects as it has a tapered point designed to penetrate multiple layers of fabric.
- Is it necessary to use the same brand of needles as my sewing machine? While it's not strictly necessary, using needles recommended by your machine's manufacturer can help ensure compatibility and performance.
Frequently Asked Questions
- What causes a sewing machine to jam?
A sewing machine can jam for several reasons, including improper threading, lint buildup, or using the wrong needle or thread. Regular maintenance and proper techniques can help prevent these issues.
- How often should I clean my sewing machine?
It’s recommended to clean your sewing machine after every few projects, or at least once a month if you sew regularly. This helps prevent lint and dust from accumulating, which can lead to jams.
- What is the correct way to thread my sewing machine?
To thread your sewing machine correctly, follow the manufacturer’s instructions carefully. Generally, this involves placing the spool on the spindle, guiding the thread through the tension mechanism, and threading the needle from front to back.
- How do I know if my needle needs to be replaced?
If you notice skipped stitches, uneven stitching, or if the needle looks bent or dull, it’s time to replace it. Regularly changing your needle can significantly reduce the risk of jams.
- Can using low-quality thread cause jams?
Absolutely! Low-quality thread can fray, break, or create lint buildup, all of which can lead to jams. Investing in high-quality thread is essential for a smoother sewing experience.
- What should I do if my bobbin is causing jams?
If your bobbin is causing jams, first ensure it is properly inserted and wound. Check for compatibility with your machine and replace it if necessary. Keeping an eye on the bobbin thread level can also help prevent issues.
- Why is my sewing machine making strange noises?
Strange noises can indicate a problem, such as a jam or a misalignment. If you hear unusual sounds, stop sewing immediately and check for any obstructions or issues that need to be addressed.
- How do I adjust the thread tension?
To adjust the thread tension, refer to your sewing machine manual. Generally, you can adjust the tension dial while testing on a scrap piece of fabric until you achieve balanced stitches without puckering or looseness.


