Quick DIY Decor Projects for Fall Season
As the leaves begin to change and the air turns crisp, it's time to embrace the beauty of fall by transforming your home into a cozy haven. This season is all about warmth, comfort, and a touch of creativity. Whether you're a seasoned DIY enthusiast or just looking for a fun weekend project, there are plenty of simple and creative DIY decor projects that can enhance your home this fall. From rustic centerpieces to cozy accents, these ideas will not only bring warmth but also charm to your seasonal decor.
Imagine walking into your home and being greeted by the vibrant colors of autumn. Picture a stunning wreath made from natural materials hanging on your front door, inviting guests in with a warm embrace. The smell of cinnamon and nutmeg wafting through the air as you light your homemade scented candles, creating a comforting atmosphere for those chilly evenings. With a little bit of effort and some creativity, you can easily achieve this inviting ambiance.
In this article, we’ll explore a variety of DIY decor projects that are not only easy to make but also budget-friendly. You’ll learn how to craft beautiful autumn wreaths, create stunning pumpkin centerpieces, sew cozy throw pillows, and much more! Each project is designed to add a personal touch to your home while celebrating the essence of this beautiful season. So, roll up your sleeves and let’s get started on these exciting fall decor ideas!
- What materials do I need for the autumn wreath? You will need a base (like a foam or wire wreath form), various natural materials such as dried leaves, pinecones, twigs, and a hot glue gun.
- Can I use artificial pumpkins for centerpieces? Absolutely! Artificial pumpkins can be just as beautiful and last longer, allowing you to reuse them for years to come.
- How do I make my throw pillows look more festive? Choose fabrics with fall-themed patterns, such as plaid, leaves, or pumpkins, and consider adding embellishments like buttons or embroidery.
- What kind of lights should I use for mason jar lanterns? You can use tea lights, LED candles, or fairy lights to create a charming glow in your mason jar lanterns.

1. Autumn Wreaths
Explore simple and creative DIY decor projects that will enhance your home this fall. From rustic centerpieces to cozy accents, these ideas will bring warmth and charm to your seasonal decor.
Creating your own autumn wreaths is not just a fun activity; it's a fantastic way to bring the beauty of the fall season right to your front door! Imagine stepping outside and being greeted by a vibrant, handcrafted wreath made from the very essence of autumn. You can use natural materials like colorful leaves, pinecones, and twigs to craft a unique piece that reflects your personal style.
To get started, gather your materials. You might want to include:
- Wreath base: You can use a grapevine wreath or even make your own using cardboard.
- Natural elements: Collect leaves, acorns, and pinecones from your backyard or local park.
- Adhesive: A hot glue gun works wonders for securing your decorations.
- Ribbons and embellishments: Consider adding burlap or plaid ribbons to give your wreath that extra cozy touch.
Once you have everything, start by arranging your leaves and twigs on the wreath base. This is where your creativity shines! You can layer them in a way that feels natural and organic. Secure each piece with your glue gun, making sure everything is firmly attached. After you’re satisfied with the arrangement, add your ribbons, tying them in a bow or letting them hang freely for a whimsical look.
Don't forget to hang your beautiful creation on your front door or even inside your home! It’s an inviting touch that sets the tone for the cozy season ahead. Plus, every time you walk by, you’ll feel a sense of accomplishment knowing you made it yourself!
If you're looking for some inspiration, here are a few ideas for themes you can explore:
- Traditional Fall Colors: Use a mix of orange, red, and yellow leaves.
- Rustic Charm: Incorporate burlap and wooden accents.
- Harvest Theme: Add small pumpkins or gourds for a festive touch.
In the end, creating an autumn wreath is not just about the finished product; it's about the joy of crafting and the warmth it brings to your home. So grab your supplies, put on some music, and let your creativity flow!
Q: What materials do I need for an autumn wreath?
A: You'll need a wreath base, natural elements (like leaves and pinecones), adhesive (like a hot glue gun), and optional embellishments like ribbons.
Q: How do I preserve the leaves for my wreath?
A: You can press the leaves between heavy books or use a glycerin solution to keep them looking fresh.
Q: Where should I hang my wreath?
A: The front door is a classic choice, but you can also hang it inside on a wall or above a fireplace for a cozy touch.
2. Pumpkin Centerpieces
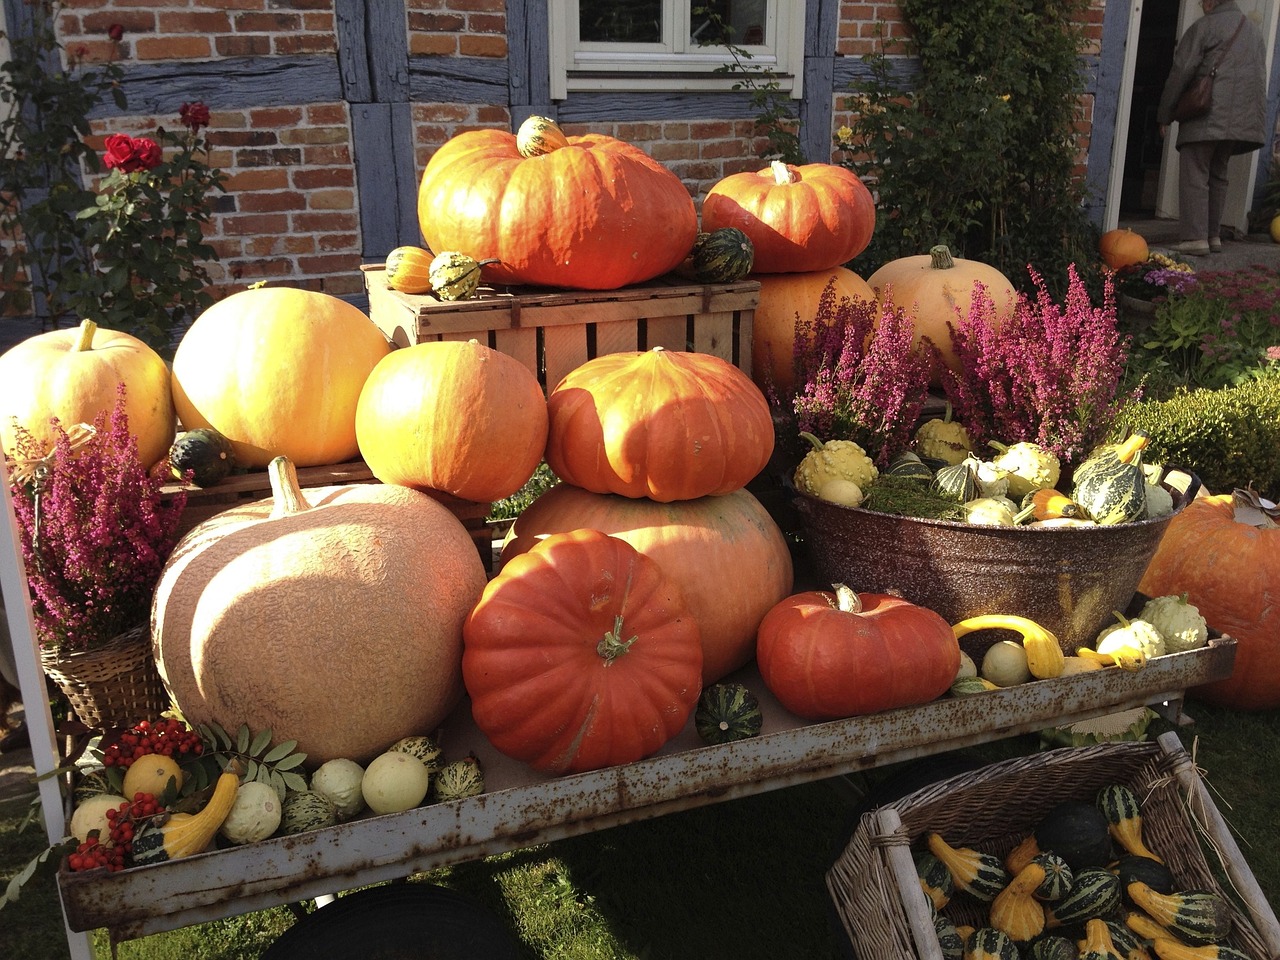
When it comes to celebrating the fall season, nothing quite captures the essence of autumn like pumpkin centerpieces. These delightful creations not only serve as stunning focal points for your dining table but also bring a touch of nature indoors, making your home feel warm and inviting. Imagine gathering around a beautifully decorated table, surrounded by the rich colors and textures of fall. Sounds lovely, right?
To get started on your pumpkin centerpiece project, you don't need to be a crafting expert. In fact, one of the best things about using pumpkins is their versatility! You can choose from a variety of shapes and sizes, and with just a few simple tools, you can transform ordinary pumpkins into extraordinary decor. Here are some ideas to inspire your creativity:
- Painted Pumpkins: Grab some acrylic paint and unleash your artistic side! You can create intricate designs, or go for a simple yet elegant monochrome look. White pumpkins painted with gold or silver accents can add a touch of sophistication to your table.
- Floral Arrangements: Hollow out a pumpkin and fill it with your favorite seasonal flowers. This not only looks stunning but also gives a fresh scent that complements the overall autumn vibe.
- Layered Textures: Combine pumpkins with other natural elements like gourds, hay, and even pinecones. This layering creates depth and interest, making your centerpiece visually appealing.
As you design your pumpkin centerpieces, consider the overall theme of your dining area. Are you going for a rustic farmhouse look or a more elegant dining experience? Aligning your centerpiece with your decor style will create a cohesive atmosphere. For instance, if you have a more rustic setting, you might want to use burlap or wooden trays to display your pumpkins, while a more modern decor could benefit from sleek glass vases and metallic accents.
Don’t forget to play with height and arrangement! Mixing different sizes of pumpkins can create a dynamic look. You can stack smaller pumpkins on top of larger ones or arrange them in a cluster for a more casual feel. Adding candles around your pumpkin centerpiece can enhance the ambiance, especially during those cozy fall evenings. Imagine the soft glow of candlelight flickering against the vibrant orange and earthy tones of your pumpkins—absolutely enchanting!
In conclusion, pumpkin centerpieces are not just about aesthetics; they also invite conversation and create a warm, welcoming environment for your guests. So, gather your supplies, unleash your creativity, and let your dining table become a celebration of all things fall!
Q: Can I use real pumpkins for my centerpieces?
A: Absolutely! Real pumpkins add authenticity and natural beauty to your decor. Just keep in mind that they'll need to be replaced after a few weeks as they may start to rot.
Q: How do I keep my pumpkin centerpiece fresh longer?
A: To prolong the life of your pumpkin, consider applying a thin layer of petroleum jelly to the cut surfaces to seal in moisture. If using floral arrangements, replace the water regularly and keep them in a cool spot.
Q: What other materials can I incorporate into my pumpkin centerpieces?
A: You can use a variety of materials such as leaves, twigs, hay, or even seasonal fruits like apples and pears to enhance your centerpiece and create a more festive look.
3. Cozy Throw Pillows
When the leaves start to change and the air becomes crisp, there's nothing quite like curling up on your couch with a warm blanket and some cozy throw pillows. These delightful accents not only provide comfort but also add a splash of seasonal charm to your living space. Imagine snuggling up with a cup of hot cocoa, surrounded by plush pillows adorned with autumnal patterns—it's the perfect way to embrace the fall season!
Creating your own throw pillows is a fun and rewarding DIY project that anyone can tackle. You don’t need to be a sewing expert; even beginners can craft beautiful pillows with just a few materials. Start by selecting fabrics that reflect the spirit of fall. Think rich oranges, deep reds, and earthy browns. Flannel, burlap, and cotton are excellent choices that not only look great but also feel cozy against your skin.
Once you have your fabric, consider the size and shape of your pillows. Standard square pillows are always a hit, but you can also experiment with different shapes like rectangles or even round pillows for a unique touch. If you’re feeling particularly creative, why not try adding some embellishments?
- Fabric paint for custom designs
- Appliqué for a layered look
- Buttons or beads for added texture
Another fantastic idea is to fill your pillows with seasonal scents. You can add dried lavender, cinnamon sticks, or even a few drops of your favorite essential oil to the stuffing. This way, every time you sink into your pillow, you’ll be greeted with a gentle reminder of the fall season. Imagine the warmth of the spices enveloping you as you relax—pure bliss!
For those who prefer a no-sew option, fear not! You can easily create throw pillows using fabric glue or even by tying fabric scraps around a soft cushion. This method not only saves time but also allows for a more casual, rustic look that fits perfectly with the cozy vibe of fall.
Once your throw pillows are complete, arrange them on your couch or bed in a way that feels inviting. Mixing and matching different patterns and textures can create a visually appealing display. Don’t shy away from layering—stacking pillows of varying sizes adds depth and interest to your decor.
In conclusion, cozy throw pillows are an essential element of fall decor. They not only enhance the aesthetic of your space but also provide comfort and warmth during the chilly months. So grab your fabric, unleash your creativity, and transform your living area into a cozy autumn retreat!
Q: What materials do I need to make throw pillows?
A: You will need fabric, stuffing (like polyester fiberfill), sewing supplies (or fabric glue for no-sew options), and any embellishments you want to add.
Q: How do I choose the right fabric for fall throw pillows?
A: Look for fabrics in warm, autumnal colors and textures. Flannel, cotton, and burlap are great choices that evoke the cozy feel of the season.
Q: Can I wash my throw pillows?
A: Yes! If you use removable covers, you can easily wash them. If your pillows are not washable, spot cleaning is recommended.
Q: How many throw pillows should I use?
A: The number of throw pillows depends on your space and personal preference. A good rule of thumb is to use an odd number for visual interest, such as three or five pillows.

4. Mason Jar Lanterns
Mason jar lanterns are not just a trendy decor item; they are a wonderful way to bring a touch of warmth and charm to your home during the fall season. Imagine cozy evenings spent indoors, with soft light flickering from these charming lanterns, creating a serene atmosphere perfect for relaxation or entertaining guests. Crafting these lanterns is surprisingly simple and allows for endless creativity, making them an ideal DIY project for anyone looking to enhance their seasonal decor.
To get started, you’ll need a few basic materials: mason jars, candles (either real or LED), and some decorative elements like twine, burlap, or even autumn leaves. The beauty of this project lies in its versatility. You can keep it simple with just a candle inside the jar, or you can go all out by embellishing the jars with paint, ribbons, or even seasonal stickers. If you're feeling particularly crafty, consider using a mix of sizes and shapes of mason jars to create a stunning centerpiece or a line of lanterns along your mantel.
Here’s a quick step-by-step guide to help you create your own mason jar lanterns:
- Gather Materials: Collect mason jars, candles, and any decorative items you want to use.
- Prepare the Jars: Clean the jars thoroughly and remove any labels. You can leave them clear for a classic look or paint them for a pop of color.
- Add the Candle: Place a candle at the bottom of the jar. If using a real candle, ensure it fits securely and is safe to use.
- Decorate: Wrap twine around the neck of the jar, add some leaves, or even attach small pinecones for that rustic fall vibe.
- Illuminate: Light the candle or turn on the LED light, and watch as the glow transforms your space.
These lanterns can be placed on tables, window sills, or even hung from hooks to create a magical ambiance. If you’re hosting a fall gathering, they make for perfect table centerpieces or can be scattered around the room to enhance the festive atmosphere. The soft light they emit is not only inviting but also creates a sense of intimacy, making your home feel warm and welcoming during those crisp autumn evenings.
In addition to their aesthetic appeal, mason jar lanterns are also a fantastic way to engage in a fun, creative activity with family or friends. You can host a DIY night where everyone brings their own jars and decorations, sharing ideas and techniques as you craft together. This not only allows for personalization of each lantern but also creates lasting memories as you bond over the project.
So, next time you're looking to spruce up your home for the fall, remember that with a few mason jars and a bit of creativity, you can create beautiful lanterns that embody the spirit of the season. They are not just decor; they are a way to embrace the coziness of fall and share that warmth with others.
Here are some common questions about creating and using mason jar lanterns:
| Question | Answer |
|---|---|
| Can I use real candles in mason jar lanterns? | Yes, but ensure the candle is securely placed and never leave it unattended. |
| How can I hang mason jar lanterns? | You can use wire or twine to create a handle for hanging them from hooks or branches. |
| What other decorations can I use? | Consider using artificial flowers, seasonal ribbons, or even painted designs to customize your lanterns. |
5. Leaf Garlands
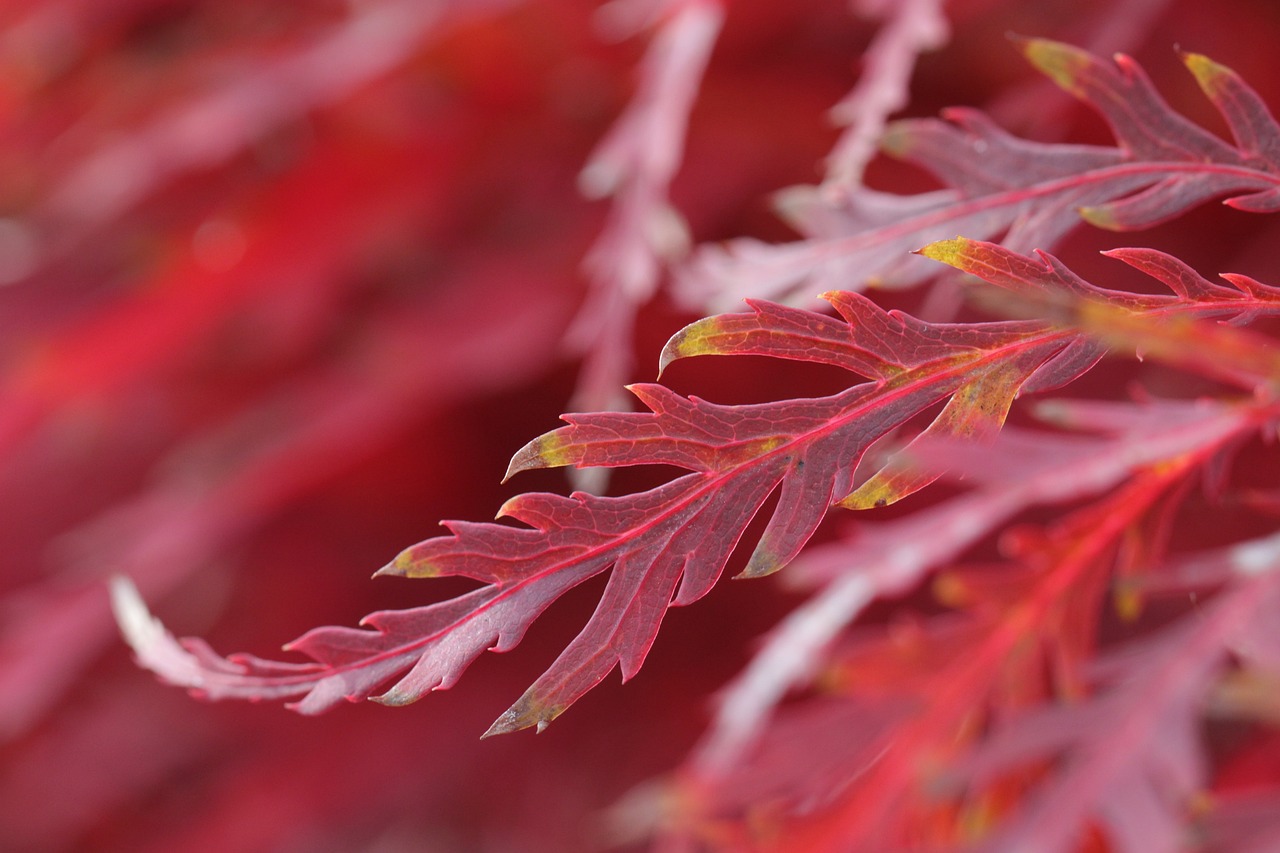
Creating leaf garlands is one of the most delightful and visually stunning DIY projects you can undertake this fall. Imagine walking into your home and being greeted by the vibrant colors of autumn leaves strung gracefully across your walls or draped over your mantel. Not only do these garlands add a splash of color, but they also bring the essence of nature indoors, making your space feel warm and inviting. The best part? You can easily customize them to fit your style and decor!
To get started, gather your materials. You can use either real leaves or artificial ones, depending on your preference and availability. Here’s a simple breakdown of what you’ll need:
| Materials | Purpose |
|---|---|
| Leaves (real or artificial) | Main element for the garland |
| String or twine | To string the leaves together |
| Scissors | For cutting the string to the desired length |
| Hot glue gun (optional) | To secure leaves if needed |
Once you have your materials, the fun begins! Start by selecting leaves that showcase the rich hues of fall—think deep reds, oranges, and yellows. If you’re using real leaves, consider pressing them first to help preserve their shape and color. After choosing your leaves, cut a length of string or twine that fits the area where you plan to hang your garland. A good rule of thumb is to measure twice and cut once to ensure you have enough length.
Next, it’s time to attach the leaves. You can either poke holes in the leaves and thread them onto the string or use a hot glue gun to secure them at intervals along the twine. If you’re going for a more rustic look, simply tying the leaves on with small knots can add a charming touch. Feel free to mix in other elements like pinecones, acorns, or even small pumpkins to enhance the autumn vibe.
After assembling your garland, find the perfect spot to display it. Whether you hang it above your fireplace, along a staircase railing, or across a window, the garland will instantly transform the space, inviting the beauty of the outdoors in. And don’t forget to take a moment to admire your handiwork! It’s a simple yet effective way to celebrate the season and create a cozy atmosphere for family and friends.
Q: How long will real leaves last in a garland?
A: Real leaves can last anywhere from a few days to a couple of weeks, depending on the humidity and temperature. To prolong their life, consider pressing them or using a sealant spray.
Q: Can I use other materials in my leaf garland?
A: Absolutely! Feel free to incorporate elements like twigs, berries, or even fairy lights to add more texture and warmth to your garland.
Q: Where else can I use leaf garlands besides walls?
A: Leaf garlands can be used to decorate tables, wrapped around banisters, or even as a centerpiece for your dining table during fall gatherings.
6. DIY Candle Holders
When it comes to creating a warm and inviting atmosphere for your fall gatherings, DIY candle holders are a fantastic way to add a personal touch to your decor. Imagine the soft glow of candlelight flickering against the walls, creating an ambiance that feels both cozy and enchanting. The best part? You don’t need to be a crafting expert to whip up these charming pieces! With just a few materials and a sprinkle of creativity, you can transform ordinary items into stunning candle holders that reflect the beauty of the season.
One of the most popular approaches is to repurpose glass jars. You can use old mason jars, jam jars, or any glass container you have lying around. Start by cleaning them thoroughly and removing any labels. Next, consider embellishing them with twine, burlap, or even paint to give them a rustic vibe. For a truly unique look, you might want to try painting the glass with autumn colors like deep oranges, browns, and yellows. This not only enhances their aesthetic appeal but also complements the fall theme beautifully.
If you’re feeling a bit more adventurous, why not try using wood slices as a base for your candle holders? These natural elements bring an earthy feel to your decor. Simply slice a log into thin rounds, sand them down to remove any rough edges, and then create a small hole in the center to hold a tealight or votive candle. You can leave the wood bare for a rustic look or stain it to match your existing decor. The contrast of the warm wood against the flickering candlelight is simply breathtaking!
For those who love a little sparkle, adding decorative elements can take your candle holders to the next level. Consider using items like pinecones, acorns, or even dried flowers to enhance the natural beauty of your holders. You can glue these elements around the base of your candle holder or even place them inside the jar for a delightful surprise. The key is to let your imagination run wild—there are no wrong answers in DIY!
Once your candle holders are complete, don’t forget to arrange them thoughtfully around your home. A cluster of them on your dining table can serve as a stunning centerpiece, while a few scattered on your mantel can create a warm, inviting glow. Whether you choose to light them during family dinners or as a backdrop for a cozy movie night, they are sure to be a conversation starter and a source of comfort during the chilly fall evenings.
As you embark on this fun crafting journey, keep in mind that the most important part is to enjoy the process. So gather your materials, put on your favorite playlist, and let your creativity shine! And if you’re looking for some inspiration, here’s a quick overview of materials you might consider:
| Material | Purpose |
|---|---|
| Glass Jars | Base for candle holders |
| Wood Slices | Natural bases for candles |
| Burlap/Twine | Decorative embellishments |
| Pinecones/Acorns | Natural decorations |
| Paint | Color customization |
Ultimately, your DIY candle holders will not only illuminate your space but also serve as a testament to your creativity and personal style. So, roll up your sleeves and get crafting—fall is here, and it’s time to make your home feel as cozy as a warm blanket on a chilly night!
Q: What types of candles should I use in my DIY candle holders?
A: You can use tealight candles, votive candles, or even small pillar candles. Just make sure the holder is appropriate for the size of the candle to ensure safety.
Q: Can I use any type of glass jar for this project?
A: Absolutely! Any clean glass jar will work. Just ensure it’s stable enough to hold the candle securely.
Q: How can I make my candle holders safe for use?
A: Always ensure that the candle is not too close to flammable materials, and never leave a burning candle unattended. If you’re using glass, be cautious of heat buildup.

7. Seasonal Table Settings
When it comes to embracing the fall season, your dining table should be a canvas that reflects the warmth and beauty of autumn. Imagine gathering around a table adorned with rich colors and textures that evoke the essence of the season. Creating seasonal table settings is not just about aesthetics; it's about crafting an experience that brings family and friends together. So, how do you go about transforming your table into a fall masterpiece? Let's dive into some creative ideas!
First and foremost, start with a color palette that screams fall. Think deep oranges, rustic browns, and golden yellows. You can achieve this by using a simple tablecloth or runner in these colors. For a more rustic vibe, consider a burlap table runner, which adds a touch of nature and complements the season beautifully. Layering different textures, such as linen napkins or woven placemats, can create a visually appealing setting that invites guests to sit down and enjoy a meal.
Next, consider incorporating natural elements into your table decor. This can be as simple as using small pumpkins or gourds as centerpieces. Arrange them in clusters or scatter them across the table for a relaxed, organic feel. Additionally, you can use pinecones, acorns, or even colorful leaves to enhance the autumnal theme. These elements not only add visual interest but also evoke the feeling of being outdoors during the harvest season.
Don’t forget about the lighting! Soft, warm lighting can set the mood for your fall gatherings. You might want to use candles in various heights to create depth on the table. Consider placing them in rustic holders made from wood or even repurposed glass jars for a charming touch. If you’re feeling adventurous, you can even create a centerpiece with a mix of candles and seasonal decor, such as a wooden tray filled with small pumpkins and candles of varying heights.
For an extra personal touch, you can create place cards for your guests. This simple addition can make everyone feel special and appreciated. Use small cards or tags and write each guest's name in a beautiful script. You can even tie them to a small pumpkin or a piece of twine for a rustic feel. It's a small detail that can leave a lasting impression.
Finally, remember to keep the functionality of your table in mind. While it's important to create a beautiful setting, you also want to ensure that there’s enough space for food and drinks. Avoid overcrowding the table with too many decorative elements. Instead, aim for a balance between beauty and practicality, allowing your guests to enjoy the meal comfortably.
In summary, crafting seasonal table settings for fall is all about embracing the rich colors, textures, and natural elements of the season. By focusing on these aspects, you can create an inviting atmosphere that enhances the overall dining experience. So go ahead, gather your supplies, and let your creativity flow as you prepare your table for a delightful fall gathering!
Q: What colors are best for fall table settings?
A: Rich colors like deep oranges, browns, and golden yellows are ideal for creating a warm autumn atmosphere.
Q: How can I incorporate natural elements into my table decor?
A: Use small pumpkins, gourds, pinecones, and leaves to enhance the fall theme of your table setting.
Q: What type of lighting is best for fall gatherings?
A: Soft, warm lighting from candles creates a cozy ambiance perfect for fall evenings.
Q: Should I use place cards for my guests?
A: Yes! Place cards add a personal touch and make your guests feel special at the table.
8. Nature-Inspired Wall Art
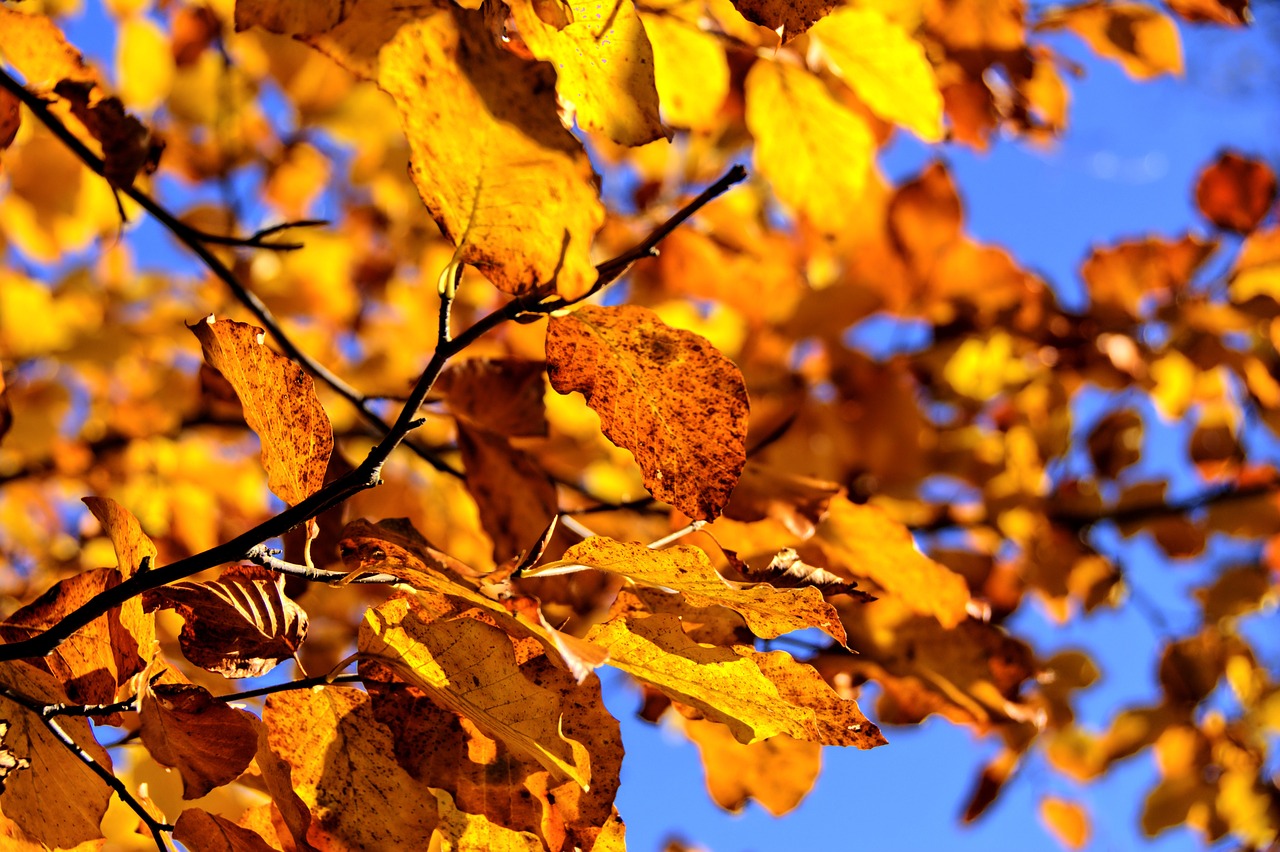
Are you looking to add a touch of the great outdoors to your living space? Nature-inspired wall art is a fantastic way to bring the beauty of the fall season inside your home. Imagine walking into a room adorned with vibrant colors of autumn leaves or delicate pressed flowers that remind you of a crisp, sunny afternoon spent outdoors. This DIY project not only allows you to express your creativity but also serves as a conversation starter when guests visit.
Creating your own nature-inspired wall art is easier than you might think! First, gather materials from your backyard or local park. Look for pressed leaves, flowers, and even twigs that catch your eye. Once you have your materials, you can choose how to display them. Here are a few ideas to get you started:
- Framed Pressed Leaves: Press leaves between the pages of a heavy book for a couple of weeks until they are flat. Once ready, arrange them in a shadow box or frame, adding a bit of twine for that rustic touch.
- Nature Collage: Use a canvas or wooden board as your base. Glue down leaves, flowers, and twigs in an artistic arrangement. Finish it off with a coat of clear sealant to preserve your masterpiece.
- Branch Art: Collect branches and create a unique display by hanging them on your wall. Attach small clips to hold photos or notes, making it a functional piece of art.
Not only will these pieces add charm to your home, but they also serve as a reminder of the beauty found in nature. Plus, they are a sustainable choice that reduces waste and utilizes the resources around you. You can even involve your kids in this project, making it a fun family activity that fosters creativity and appreciation for the environment.
Once your artwork is complete, consider where to hang it. A well-placed piece can transform a dull wall into a stunning focal point. Whether it’s in the living room, bedroom, or even a cozy reading nook, nature-inspired wall art can enhance the overall ambiance of your space.
So, what are you waiting for? Gather your materials, unleash your creativity, and let the beauty of fall inspire you to create stunning wall art that reflects your unique style and love for nature!
1. What materials do I need for nature-inspired wall art?
You will need natural elements such as leaves, flowers, and twigs, along with a base for your art like canvas or frames, glue, and possibly sealant to preserve your work.
2. How do I preserve leaves for pressing?
To preserve leaves, place them between the pages of a heavy book and leave them for a couple of weeks. This will flatten and dry them out, making them perfect for art projects.
3. Can I use artificial materials?
Absolutely! If you prefer, you can use artificial leaves and flowers to create your wall art. They are easier to work with and can last longer than natural materials.
4. Where is the best place to hang my nature-inspired art?
Ideal locations include living rooms, bedrooms, or hallways where you want to create a warm and inviting atmosphere. Choose a spot that gets good visibility and complements your decor.
9. Scented Potpourri
Explore simple and creative DIY decor projects that will enhance your home this fall. From rustic centerpieces to cozy accents, these ideas will bring warmth and charm to your seasonal decor.
Create beautiful autumn wreaths using natural materials like leaves, pinecones, and twigs. This project adds a welcoming touch to your front door and sets the tone for the fall season.
Transform ordinary pumpkins into stunning centerpieces for your dining table. With a few simple tools and decorations, you can craft unique designs that celebrate the essence of fall.
Sew or decorate throw pillows with fall-themed fabrics and patterns. These cozy accents can instantly refresh your living space and provide comfort during the chilly months.
Craft charming mason jar lanterns to illuminate your home. Using candles or fairy lights, these lanterns create a warm ambiance perfect for fall evenings spent indoors.
Make vibrant leaf garlands to adorn your walls or mantel. Using real or artificial leaves, this project is a fun way to incorporate the colors of autumn into your decor.
Repurpose glass jars or wood slices into rustic candle holders. This project not only adds a decorative touch but also enhances the cozy atmosphere of your fall gatherings.
Elevate your dining experience with seasonal table settings. Incorporate elements like burlap, pinecones, and autumnal colors to create a festive environment for family and friends.
Create stunning wall art using pressed leaves, flowers, or branches. This project allows you to bring the beauty of nature indoors and personalize your space with autumn flair.
If you're looking to fill your home with the delightful scents of fall, then scented potpourri is a fantastic DIY project for you! Not only does it add a lovely aroma to your space, but it also serves as a beautiful decorative element. You can create potpourri using a variety of dried fruits, spices, and essential oils that evoke the essence of the season. Imagine walking into your home and being greeted by the warm scents of cinnamon, apple, and clove – it’s like a cozy hug for your senses!
To make your own scented potpourri, gather the following ingredients:
- Dried fruits: Apples, oranges, and pears work wonderfully.
- Spices: Cinnamon sticks, cloves, and nutmeg are perfect for that warm, spicy aroma.
- Essential oils: A few drops of vanilla or pumpkin spice oil can enhance the scent.
- Natural elements: Consider adding pinecones or dried leaves for a rustic touch.
Once you have your ingredients, simply mix them together in a decorative bowl or jar. You can even personalize the mix according to your preferences! For an extra touch, consider using a beautiful glass container to showcase your potpourri. Not only will it smell fantastic, but it will also add a charming decor piece to your home.
To keep the scent fresh, remember to give your potpourri a little stir every few days or add a few more drops of essential oils. This way, you can enjoy the delightful fragrance throughout the fall season!
Q: How long does homemade potpourri last?
A: Homemade potpourri can last anywhere from a few weeks to a couple of months, depending on the ingredients used and how well they are stored. To prolong its freshness, keep it in a cool, dry place and refresh it with essential oils as needed.
Q: Can I use fresh fruits in my potpourri?
A: While fresh fruits smell wonderful, they can spoil quickly. It’s best to use dried fruits for potpourri to ensure longevity. You can dry your fruits in the oven or purchase them pre-dried from a store.
Q: Are there any other ingredients I can add to my potpourri?
A: Absolutely! You can experiment with a variety of ingredients such as dried flowers, herbs, or even scented wood chips. The key is to create a mix that you love!
Frequently Asked Questions
- What materials do I need to create an autumn wreath?
To craft a beautiful autumn wreath, gather natural materials such as dried leaves, pinecones, twigs, and a sturdy base like a foam or grapevine wreath. You might also want to have floral wire, scissors, and a hot glue gun on hand for assembly.
- How can I decorate pumpkins for my dining table?
Transforming pumpkins into stunning centerpieces is easy! Use paints, glitter, or fabric to embellish them. You can also carve them or use stencils for unique designs. Don't forget to add some greenery or seasonal flowers around them for that extra touch!
- What types of fabrics work best for cozy throw pillows?
For fall-themed throw pillows, consider using fabrics like burlap, flannel, or cotton with autumnal patterns such as leaves, pumpkins, or plaid. These materials not only look great but also provide warmth and comfort during the chilly months.
- How do I make mason jar lanterns?
Making mason jar lanterns is simple! Fill mason jars with candles or fairy lights, and you can even add some decorative elements like leaves or twine around the jar. Place them around your home to create a warm and inviting atmosphere.
- What is the best way to create leaf garlands?
You can make vibrant leaf garlands by stringing together real or artificial leaves using twine or fishing line. Alternatively, you can cut leaf shapes from colored paper and attach them to a string for a DIY twist. Hang them on walls or mantels for a festive look!
- Can I use any type of glass jar for DIY candle holders?
Absolutely! You can repurpose any glass jar, like old jam jars or mason jars, into rustic candle holders. Just make sure they're clean and dry. You can also use wood slices for a more earthy feel!
- How can I create seasonal table settings?
To elevate your dining experience, use elements like burlap table runners, pinecones, and autumnal colors in your tableware. Incorporate seasonal fruits or small pumpkins as centerpieces to create a warm, inviting atmosphere for your guests.
- What materials do I need for nature-inspired wall art?
For stunning nature-inspired wall art, collect pressed leaves, flowers, or branches. You can use a frame or canvas to display them. Adding a personal touch, like a quote or your own artwork, can make it even more special!
- How do I make scented potpourri?
Making scented potpourri is a delightful project! Combine dried fruits (like oranges and apples), spices (such as cinnamon and cloves), and a few drops of essential oils in a bowl. Place it in an open container around your home to fill the air with cozy fall scents!


