Sewing 101: How to Sew a Straight Line
Welcome to the world of sewing! Whether you're a complete novice or have dabbled a bit, mastering the art of sewing a straight line is an essential skill that sets the foundation for all your future projects. Think of it as the building block of sewing—once you get this down, everything else will start to fall into place. In this article, we will dive into the essential techniques and tips that will help you sew a straight line with confidence and precision.
Imagine this: you have a beautiful fabric in front of you, eager to be transformed into something spectacular. But without the ability to sew straight lines, that fabric may end up as a jumbled mess. Fear not! By the end of this guide, you’ll be equipped with the knowledge to tackle even the most intricate designs with ease.
We will cover everything from the tools you'll need, such as sewing machines and threads, to the best practices for preparing your fabric. Plus, we’ll explore the importance of fabric grain and cutting techniques that ensure accuracy. And don’t worry if you’re feeling a bit overwhelmed—this guide is designed to be approachable and easy to follow. So, let’s roll up our sleeves and get started on this sewing journey!
Understanding the tools required for sewing straight lines is crucial. Having the right equipment can make a world of difference in your sewing experience. Here’s a quick rundown of the essential tools:
- Sewing Machine: A reliable sewing machine is your best friend. Look for one that offers adjustable stitch lengths and various foot attachments.
- Thread: Choose high-quality thread that matches your fabric. Poor thread can lead to breakage and uneven stitches.
- Needles: Different fabrics require different needles. Make sure to have a variety on hand, including universal, ballpoint, and quilting needles.
- Other Accessories: Don’t forget about pins, fabric scissors, a rotary cutter, and a cutting mat. These tools will enhance your accuracy and efficiency.
Before diving into sewing, proper fabric preparation is essential. It’s like preparing the canvas before painting a masterpiece. Start by washing your fabric to remove any chemicals or dirt. This step also helps prevent future shrinkage. Next, iron your fabric to eliminate any wrinkles—trust me, a smooth surface makes sewing straight lines much easier. Lastly, cutting your fabric accurately is vital. Use a cutting mat and rotary cutter for the best results.
Selecting the appropriate fabric type can significantly impact your sewing experience. For beginners, it’s wise to start with woven cotton or quilting cotton. These fabrics are forgiving, easy to work with, and hold their shape well. As you gain confidence, you can experiment with knits, denim, or even silk. Remember, the fabric you choose can either make your sewing journey a breeze or a bumpy ride!
Knowing how to identify and work with fabric grain is vital for sewing straight lines. The fabric grain refers to the direction in which the threads run. There are two main types: the lengthwise grain (running parallel to the selvage) and the crosswise grain (running perpendicular). Sewing along the lengthwise grain typically yields the best results for straight lines. Understanding these concepts will help you achieve greater accuracy in your sewing projects.
Accurate cutting is the foundation of successful sewing. To ensure your fabric is cut straight, always use a ruler and a rotary cutter for clean edges. If you prefer scissors, take your time and make deliberate cuts. It might help to use a cutting mat with grid lines to guide you. Remember, a well-cut piece of fabric is half the battle won!
A well-prepared sewing machine is key to achieving straight lines. Before you start, make sure your machine is clean and well-oiled. Set the stitch length to a medium setting, usually around 2.5 to 3.0 mm, for most fabrics. Adjust the presser foot pressure if needed, and make sure your needle is correctly installed. A little preparation goes a long way in ensuring smooth sewing!
Now that you have everything set up, let’s dive into the actual technique of sewing straight lines. Your posture matters! Sit comfortably with your feet flat on the floor and your hands positioned correctly on the fabric. Control your speed—starting slow will help you maintain accuracy. As you gain confidence, you can increase your speed, but always keep your focus on guiding the fabric through the machine.
Employing guides can significantly improve your sewing precision. You can use tape on your sewing machine bed as a visual guide or invest in foot attachments designed for straight stitching. These little tricks can help you maintain a straight line and make your sewing experience much smoother.
Practice is essential for mastering straight sewing. Start with simple projects like pillowcases or tote bags. You can also create practice squares using scrap fabric. Set up a straight line with tape on your sewing area and sew along it repeatedly until you feel comfortable. Like anything in life, the more you practice, the better you’ll get!
Identifying and avoiding common pitfalls can enhance your sewing experience. One frequent mistake is not checking thread tension. Improper tension can lead to uneven stitches. Always test your stitches on a scrap piece of fabric before starting your project. Another common issue is uneven fabric feeding, which can result in crooked seams. Ensure your fabric is aligned properly and that you’re guiding it evenly as it feeds through the machine.
Understanding thread tension is crucial for seamless sewing. If your stitches are too tight or too loose, it can ruin your straight lines. Adjust the tension dial on your sewing machine according to the fabric you’re using and always conduct a test run.
Uneven fabric feeding can lead to crooked seams. This usually happens when the fabric is not properly aligned or if you’re pulling it as you sew. Make sure to guide the fabric gently without forcing it through the machine. This will help maintain a straight line and create a professional finish.
Once you've sewn your straight lines, finishing touches are important. Trimming any excess fabric and pressing your seams will give your project a polished look. Use a good-quality iron and press the seams open to achieve crisp edges. Remember, the final presentation of your work is just as important as the sewing itself!
Proper pressing can enhance the appearance of your seams. Use a steam iron and press your seams flat before moving on to the next step. This will help set the stitches and give your project a neat finish. Different fabrics may require different pressing techniques, so always check the fabric care instructions.
Before considering your project complete, quality checks are essential. Inspect your seams for any missed stitches or uneven lines. If you find any imperfections, don’t hesitate to make adjustments. A little extra care at this stage can turn a good project into a great one!
Q: What is the best fabric for beginners?
A: Woven cotton or quilting cotton are excellent choices for beginners due to their ease of handling.
Q: How can I ensure my sewing machine is set up correctly?
A: Always check that your needle is installed correctly, your machine is clean, and your settings are adjusted for the fabric you’re using.
Q: What should I do if my stitches are uneven?
A: Check your thread tension and ensure that your fabric is feeding evenly through the machine.
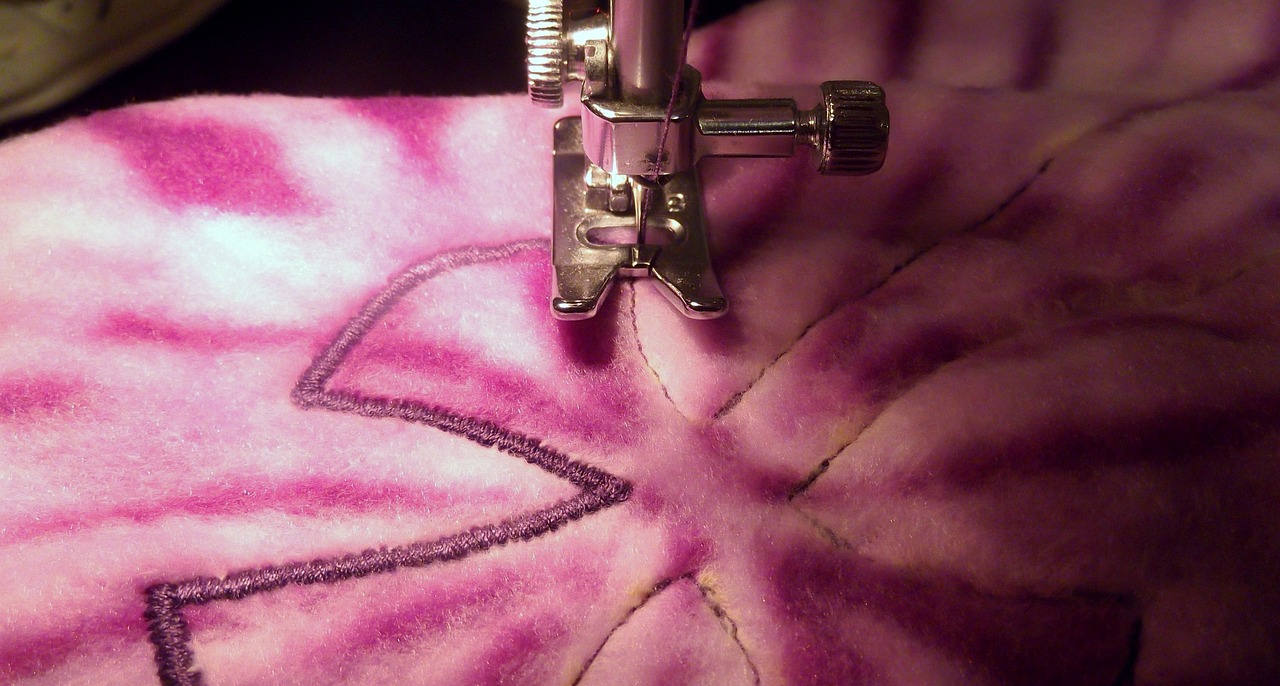
Essential Tools for Straight Sewing
When it comes to sewing straight lines, having the right tools is absolutely crucial. Think of your sewing machine as your trusty steed; without it, your journey into the world of fabric and thread would be quite the challenge. So, what do you need to embark on this sewing adventure? Let’s break it down.
First and foremost, a good quality sewing machine is essential. Whether you're a beginner or an experienced sewist, a machine that offers a variety of stitch options and adjustable speed settings can make a world of difference. Brands like Brother, Singer, and Janome offer reliable machines that cater to different budgets and skill levels.
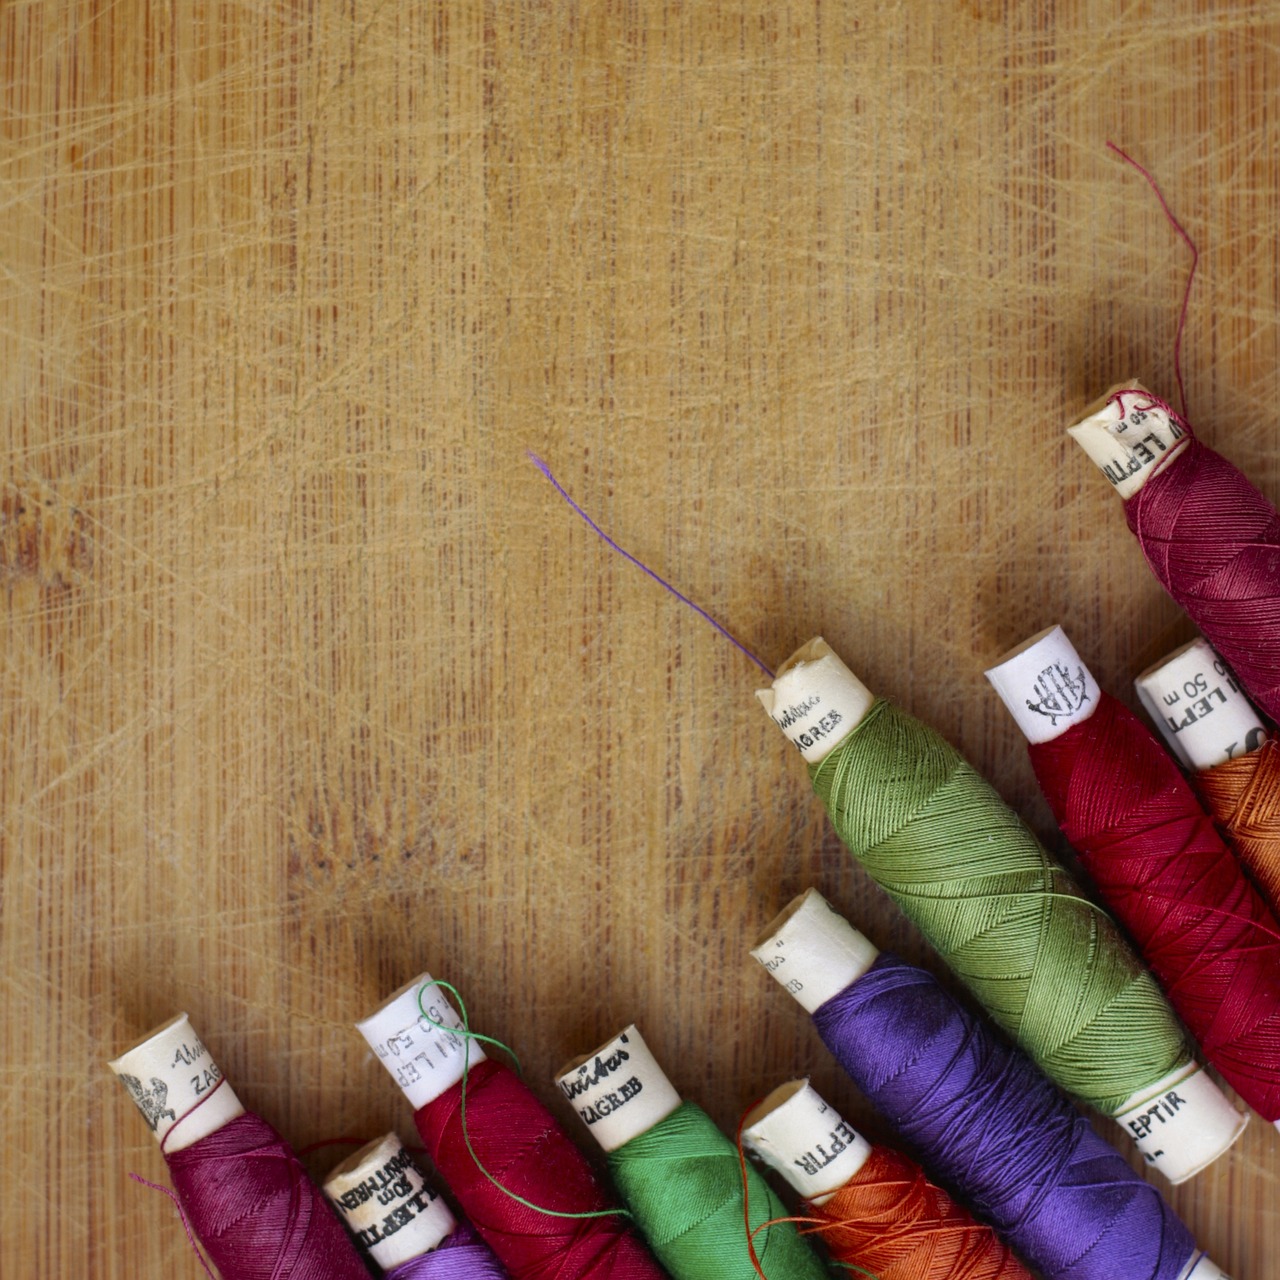
Next up is thread. It may seem like a small detail, but the right thread can elevate your sewing game. Look for high-quality polyester or cotton threads, as they provide strength and durability. Remember, using the same type of thread in both the top and bobbin is key to avoiding tension issues.
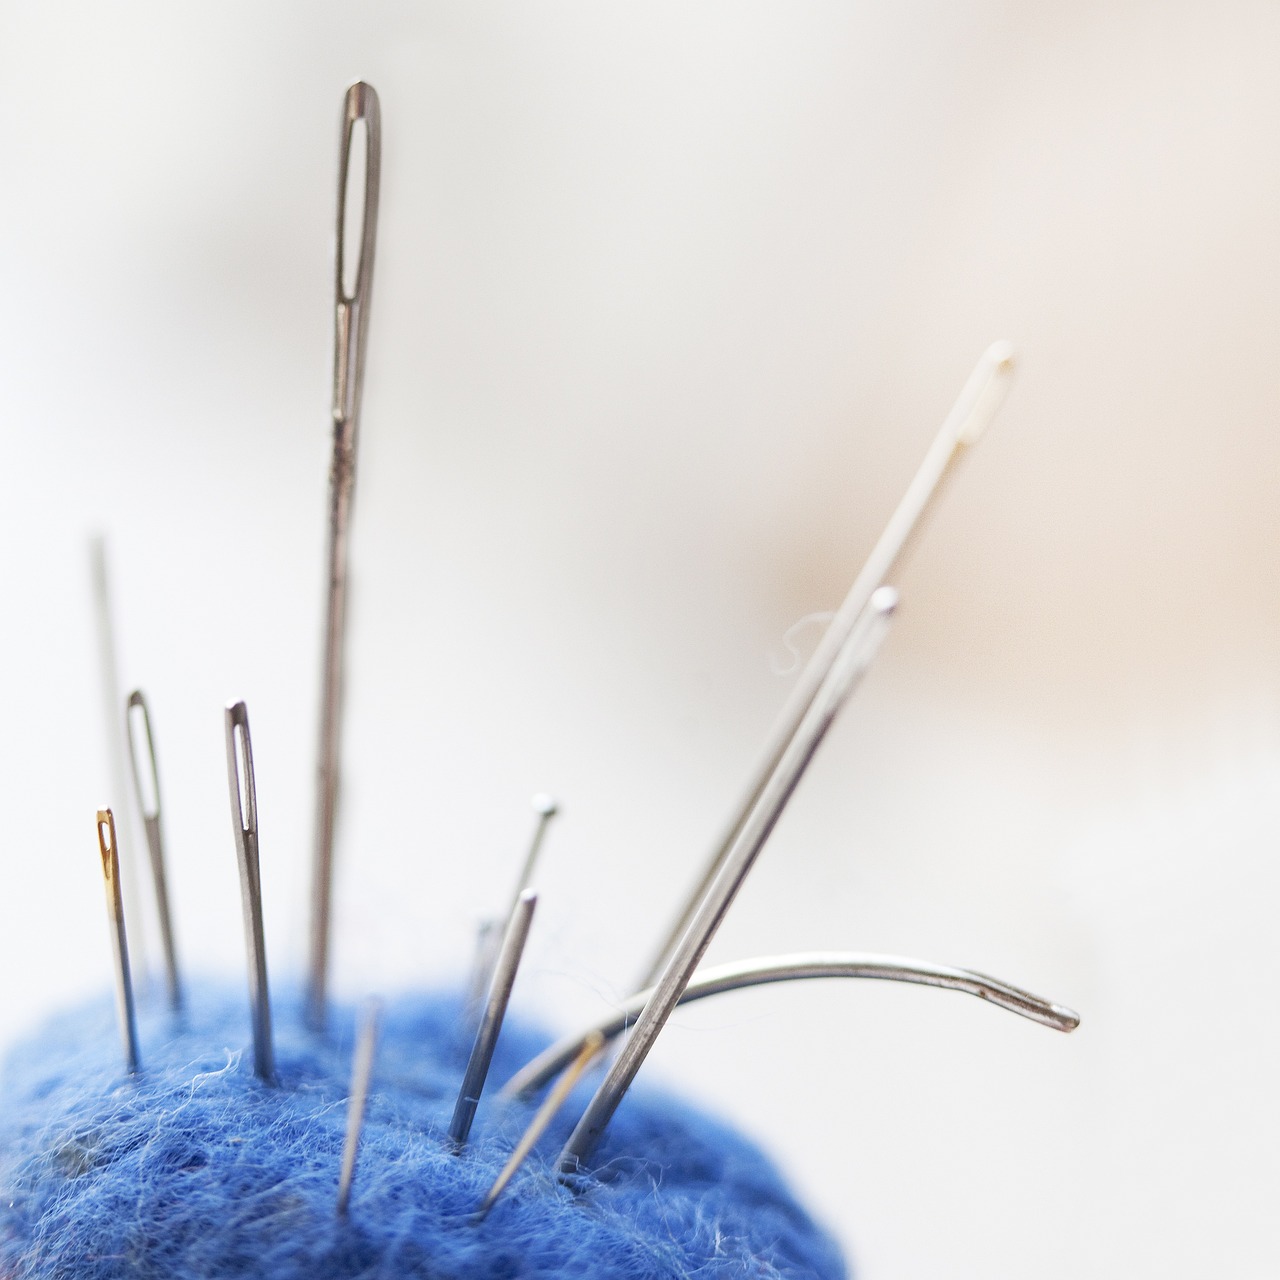
Don't forget about needles! The type of needle you choose can significantly impact your sewing experience. For straight sewing, a universal needle (size 80/12) works well for most fabrics. However, if you're working with heavier materials like denim, consider using a denim needle, which has a stronger shaft and a sharper point.
Now, let’s talk about accessories. While they may not be the stars of the show, they play supporting roles that can enhance your sewing experience. For instance:
- Seam guides can help you maintain a straight line while sewing.
- Measuring tools, such as rulers and fabric measuring tapes, are essential for accurate cutting and layout.
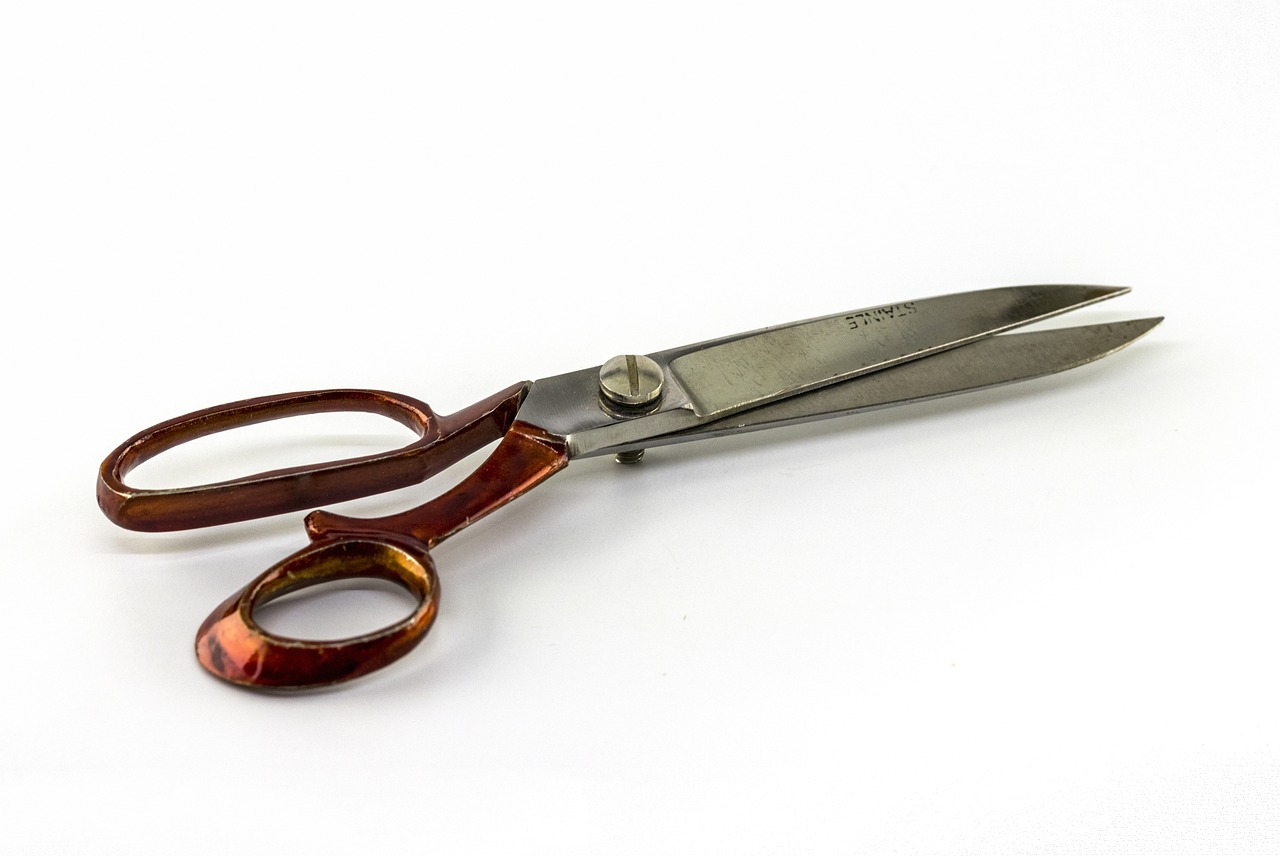
- Scissors should be sharp and designated for fabric; dull scissors can lead to jagged cuts.
Lastly, a good iron is your best friend when it comes to pressing seams and ensuring a polished finish. A steam iron can help remove wrinkles and set seams, making your sewing project look professional.
To wrap it up, here’s a quick summary of essential tools for straight sewing:
| Tool | Purpose |
|---|---|
| Sewing Machine | For stitching fabric together |
| Thread | To hold fabric pieces together |
| Needles | To penetrate fabric and create stitches |
| Accessories | To enhance accuracy and ease of sewing |
| Iron | For pressing seams and fabric |
With these tools in hand, you're well on your way to mastering the art of sewing straight lines. Remember, the right equipment can transform your sewing experience from frustrating to fulfilling!
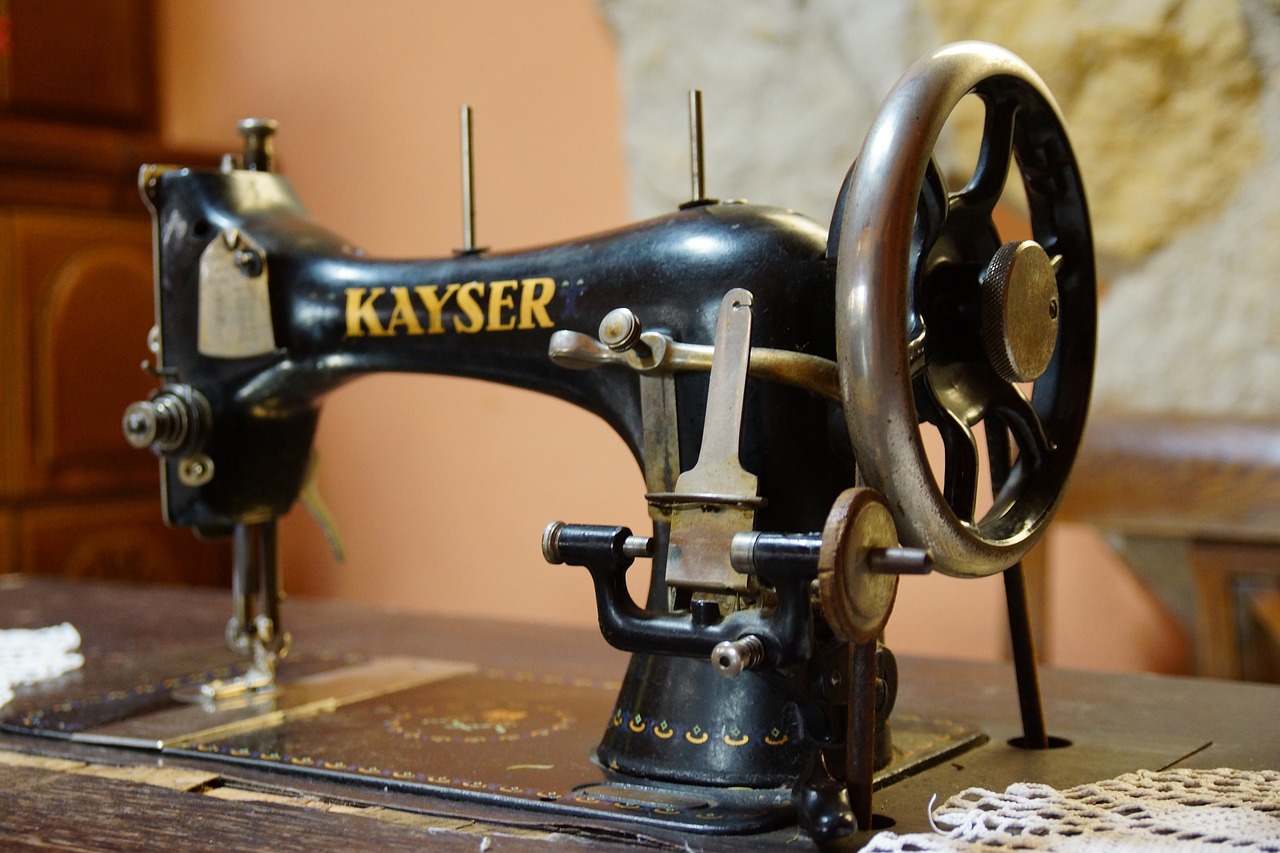
Preparing Your Fabric
Before diving into the world of sewing, taking the time to properly prepare your fabric is essential for achieving those flawless straight lines you dream of. Imagine trying to paint a masterpiece on a wrinkled canvas; it just wouldn't work, right? Similarly, the condition of your fabric can make or break your sewing project. So, let's explore the steps you need to take to ensure your fabric is primed and ready for action!
First things first, washing your fabric is crucial. Not only does this remove any chemicals or dirt from the manufacturing process, but it also pre-shrinks the fabric, preventing nasty surprises after your hard work is complete. Always check the care label for washing instructions, as different fabrics require different treatments. For instance, cotton can usually handle a warm wash, while delicate fabrics like silk may need a gentler approach.
Once your fabric is clean and dry, it's time to iron it out. Wrinkles can create uneven surfaces, leading to crooked seams and frustration. Use a steam iron for best results, and remember to adjust the heat setting according to the fabric type. For instance, high heat is perfect for cotton, but you’ll want to keep it low for synthetics. As you iron, pay attention to the fabric grain; this will help you understand how the fabric will behave when sewn.
Next up is the cutting process. This is where precision becomes paramount. A good pair of fabric scissors is your best friend here. When cutting, always ensure that your fabric is laid flat on a cutting mat to avoid any accidental slips. Consider using a rotary cutter for long, straight cuts; they can make the job much easier and cleaner. Remember, the more accurate your cuts are, the easier it will be to sew straight lines later on.
To ensure you’re cutting accurately, you may want to use a ruler or a straight edge. This will help you create clean, straight lines. Mark your cutting lines with tailor's chalk or a fabric marking pen, as these can easily be removed later. When you’re ready to cut, take your time—rushing this step can lead to mistakes that will haunt you throughout your project.
Lastly, it's essential to consider the fabric grain. Understanding how the grain works is like knowing the rules of a game before you play. The grain refers to the direction of the threads in the fabric, and sewing along the grain will yield the best results. You can identify the grain by looking for the selvage edge, which is the finished edge of the fabric. Always align your pattern pieces with the grain for optimal sewing performance.
By following these preparation steps, you'll set yourself up for a successful sewing project. Think of it as laying a solid foundation before building a house; without that strong base, everything else can come tumbling down. So, take your time with these preparations, and soon you'll be sewing straight lines like a pro!
- Why is washing fabric important? Washing removes chemicals and pre-shrinks the fabric to prevent future shrinkage.
- How can I tell if my fabric is ready to cut? Ensure it is clean, ironed, and laid flat without any wrinkles.
- What tools do I need for cutting fabric? A good pair of fabric scissors or a rotary cutter, a ruler, and fabric chalk or a marking pen.
- What happens if I ignore the fabric grain? Ignoring the grain can lead to distorted seams and uneven fabric behavior.
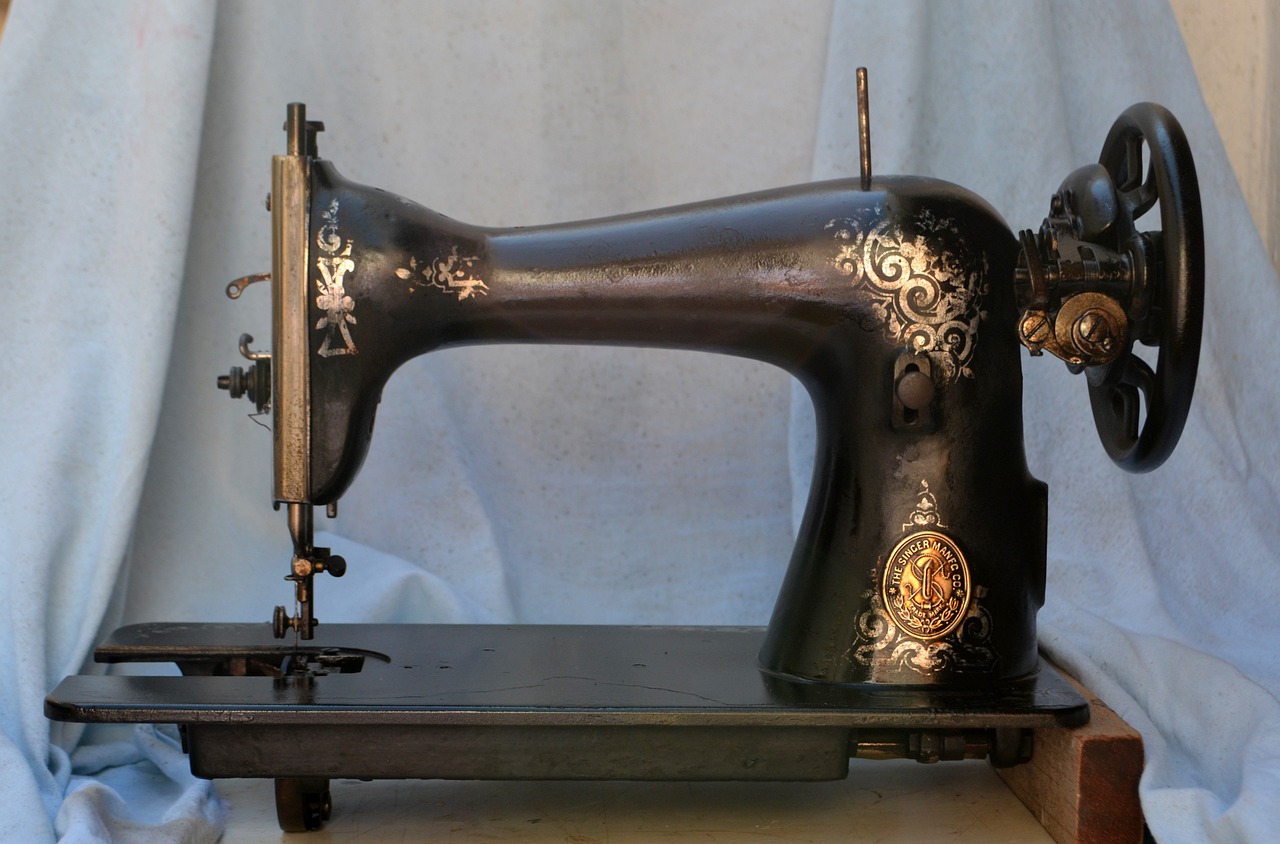
Choosing the Right Fabric
When it comes to sewing straight lines, the fabric you choose can make all the difference. Imagine trying to paint a straight line on a bumpy canvas; it’s nearly impossible, right? The same goes for sewing! Selecting the right fabric not only affects the ease of your project but also the final look and feel of your creation. So, let’s dive into the world of fabrics and find out what works best for your sewing endeavors.
First off, you want to consider the weight of the fabric. Lighter fabrics, like cotton and voile, are easier to manage for beginners, as they tend to glide through the sewing machine smoothly. On the other hand, heavier fabrics, such as denim or canvas, can be more challenging to sew straight due to their thickness. However, these heavier materials often yield more durable and structured garments, making them worth the effort for more experienced sewists.
Next, let’s talk about stretch. Fabrics like jersey or spandex have a natural elasticity that can complicate straight sewing. If you're just starting out, it might be wise to stick with non-stretch fabrics until you feel more confident in your skills. Once you’ve mastered straight lines, you can venture into the realm of stretchy materials, but remember to use the right needle and stitch type to accommodate their unique properties.
Another factor to consider is the fabric finish. Some fabrics have a smooth finish, while others may have a nap or pile, such as velvet or corduroy. Fabrics with a nap can be tricky because they can shift as you sew, leading to uneven seams. To mitigate this, always ensure your fabric is laid flat and secure before you start sewing. If you’re uncertain about how a fabric will behave, it’s often helpful to do a quick test run on a scrap piece before committing to your project.
Here’s a quick rundown of some popular fabric choices for beginners:
- Cotton: Versatile and easy to sew, perfect for quilts and garments.
- Polyester: Durable and resistant to wrinkles, ideal for a variety of projects.
- Denim: Sturdy and great for jeans, but requires a bit more skill to sew straight.
- Jersey: Soft and stretchy, but can be challenging for straight lines.
In summary, choosing the right fabric is crucial for achieving success in your sewing projects. Consider the weight, stretch, and finish of the fabric, and don't hesitate to experiment with different types as you grow in your sewing journey. Remember, even the most seasoned sewists had to start somewhere, so give yourself the grace to learn and improve!
Q: What is the best fabric for a beginner?
A: Cotton is often recommended for beginners due to its ease of use and availability. It’s versatile and perfect for a variety of sewing projects.
Q: Can I sew stretchy fabrics as a beginner?
A: While it’s possible, it’s advisable to start with non-stretch fabrics. Once you feel comfortable with straight sewing, you can explore stretchy options.
Q: How do I know if my fabric is suitable for straight sewing?
A: Look for fabrics that are smooth and have minimal stretch. Testing on a scrap piece can also help you gauge how the fabric behaves when sewn.
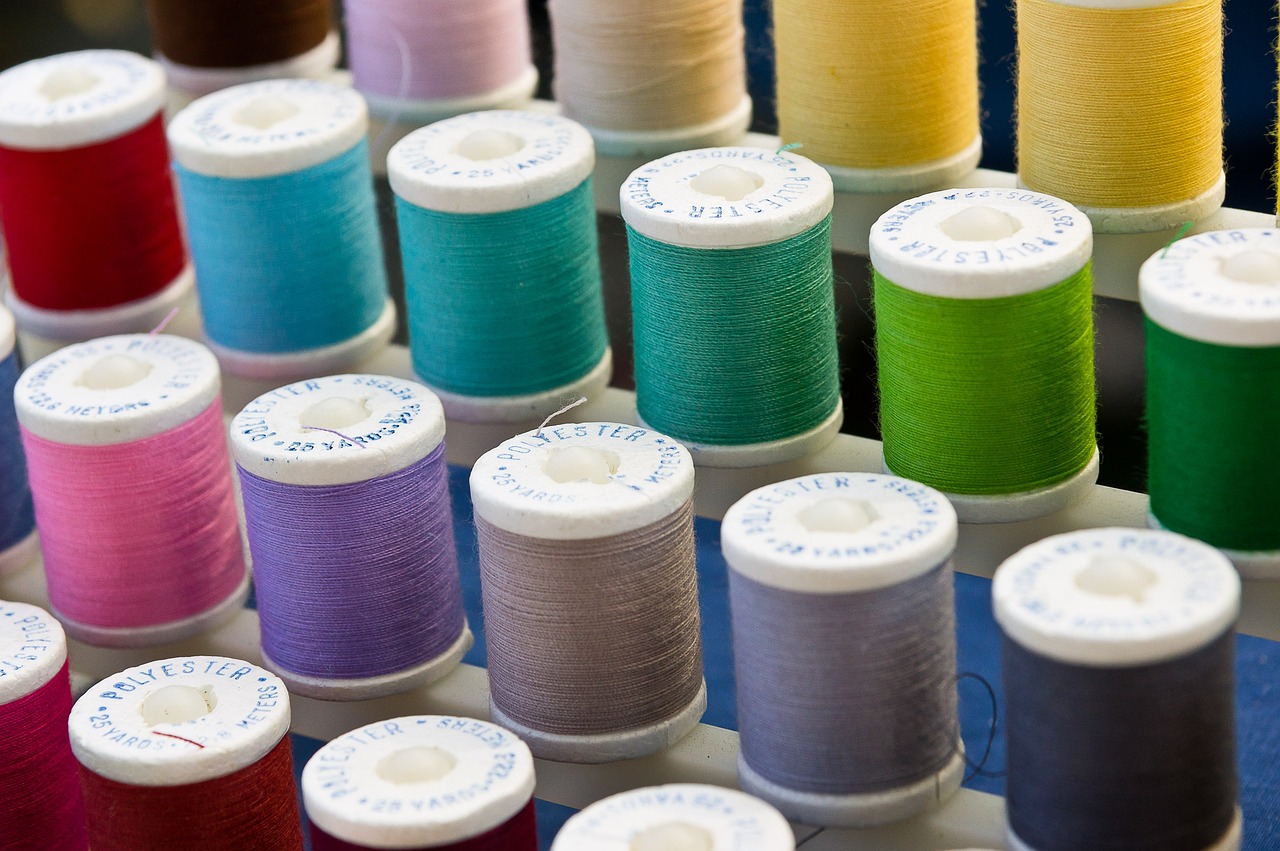
Understanding Fabric Grain
When it comes to sewing, understanding fabric grain is like knowing the rules of the game before you start playing. The grain of the fabric refers to the direction in which the threads run. There are three main types of grain: lengthwise grain, crosswise grain, and bias grain. Each plays a significant role in how your finished project will look and behave. Ignoring these directions can lead to all sorts of sewing mishaps, such as distorted shapes or uneven seams.
The lengthwise grain runs parallel to the selvage, which is the finished edge of the fabric. This direction is generally the strongest and most stable, making it ideal for sewing straight lines. Conversely, the crosswise grain runs perpendicular to the selvage and offers a bit more stretch. While it's perfectly usable for many projects, it can sometimes lead to less stability in your seams. Finally, the bias grain runs diagonally across the fabric and is known for its incredible stretch and drape. While it can create beautiful curves and shapes, it is less suitable for sewing straight lines, as it can shift and distort easily.
To visualize the differences, consider this simple diagram:
| Type of Grain | Direction | Characteristics |
|---|---|---|
| Lengthwise Grain | Parallel to selvage | Strong, stable, ideal for straight lines |
| Crosswise Grain | Perpendicular to selvage | Moderate stretch, less stable |
| Bias Grain | Diagonal across fabric | Highly stretchy, fluid drape |
When cutting your fabric, always pay attention to the grain direction. Align your pattern pieces with the lengthwise grain whenever possible to ensure the best results. If you’ve ever tried to sew a straight line only to find your fabric twisting and turning, you might have been working against the grain. So, the next time you pick up your scissors, remember: grain matters!
In summary, understanding fabric grain is essential for anyone looking to achieve precision in their sewing projects. By aligning your fabric with the right grain, you set yourself up for success, allowing your straight lines to shine with professionalism and accuracy.
- What is fabric grain? Fabric grain refers to the direction of the threads in the fabric, which affects how the fabric behaves when sewn.
- Why is it important to align with the grain? Aligning with the grain ensures that your seams are straight and prevents distortion in your finished project.
- Can I sew on the bias? Yes, but it’s best for curves and draping rather than straight lines, as it can stretch and distort.
- How do I identify the grain of my fabric? Look for the selvage edges; the lengthwise grain runs parallel to these edges.
Cutting Techniques for Precision
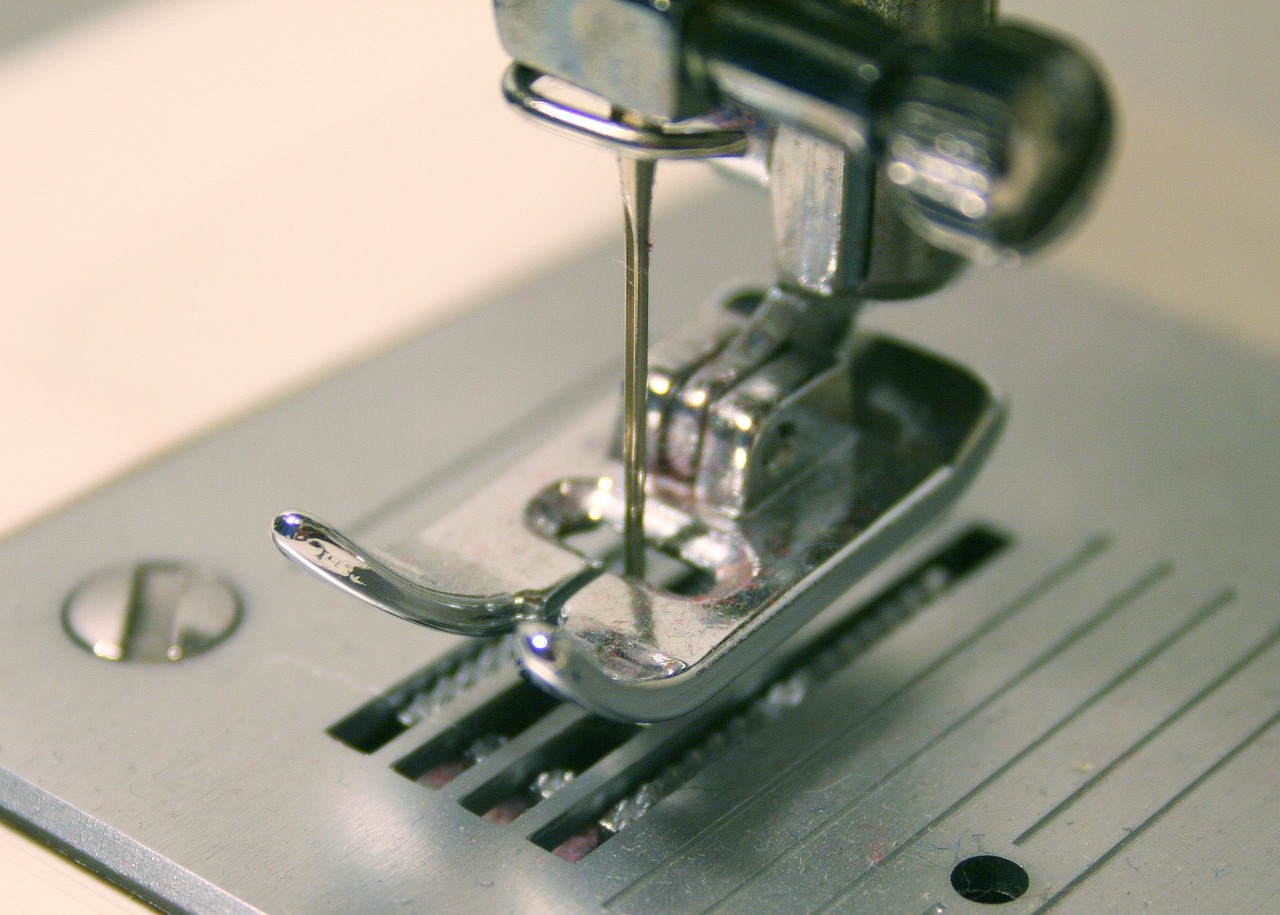
When it comes to sewing straight lines, the importance of precision cutting cannot be overstated. Think of it as the foundation of a house; if the foundation is shaky, the entire structure is at risk. To achieve the best results in your sewing projects, you need to start with well-cut fabric. Here are some essential cutting techniques that can help you master the art of precision cutting.
First and foremost, always use a sharp rotary cutter or fabric scissors. Dull blades can cause jagged edges, leading to uneven seams. A rotary cutter is particularly advantageous because it allows for smooth, continuous cuts. Pair it with a cutting mat and a clear acrylic ruler for the best results. This combination ensures that you can measure accurately while keeping your fabric stable.
Next, consider the layout of your pattern pieces. Before you start cutting, take a moment to plan how your pieces will fit on the fabric. This not only maximizes fabric usage but also helps you avoid cutting mistakes. A well-thought-out layout minimizes the chances of having to re-cut pieces, which can be frustrating and time-consuming.
When cutting, always follow the grain of the fabric. The fabric grain refers to the direction of the threads in the fabric. Cutting against the grain can lead to distortion, making it difficult to sew straight lines. If you’re unsure, you can identify the grain by feeling the fabric; it will have a certain amount of stretch along the lengthwise grain and be more stable across the width.
Additionally, using weights or pins can help keep your fabric in place while cutting. Instead of pinning every piece, which can be cumbersome, consider using fabric weights to hold down your pattern pieces. This method allows for more freedom of movement and can lead to more accurate cuts.
Finally, always double-check your measurements before making any cuts. A simple mistake in measurement can lead to a domino effect of errors throughout your project. If you’re cutting multiple pieces, it may be helpful to create a cutting guide or a small table to track your measurements. This can save you time and help ensure that each piece is cut to the correct size.
In summary, mastering cutting techniques is crucial for achieving precision in your sewing projects. By using sharp tools, planning your layout, adhering to the fabric grain, utilizing weights or pins, and double-checking measurements, you can set yourself up for success. Remember, good cutting leads to good sewing!
- What tools do I need for cutting fabric? A sharp rotary cutter or fabric scissors, a cutting mat, and a clear acrylic ruler are essential for accurate cutting.
- How can I avoid fraying edges when cutting? Use pinking shears or a serger to finish the edges of your fabric after cutting, which helps prevent fraying.
- Is it better to cut fabric with scissors or a rotary cutter? A rotary cutter is generally preferred for straight cuts, but scissors are useful for intricate shapes and curves.
- How do I know if I’m cutting along the grain? The lengthwise grain of the fabric has more stretch, while the crosswise grain is more stable. Always cut with the grain for the best results.

Setting Up Your Sewing Machine
Getting your sewing machine ready is like preparing a car before a road trip; if everything is in order, the journey will be smooth and enjoyable. The first step in setting up your sewing machine is to ensure that it’s clean and well-oiled. Dust and lint can accumulate in the machine, affecting its performance. Regularly cleaning your machine not only prolongs its life but also ensures that your stitches are even and consistent.
Next, you’ll want to check the needle. A sharp needle is essential for sewing straight lines. If the needle is dull or bent, it can cause skipped stitches or uneven seams. Make sure to choose the right needle type for your fabric; for instance, a universal needle works well for most woven fabrics, while a ballpoint needle is better for knits. Replace your needle frequently—every 6-8 hours of sewing is a good rule of thumb.
Another crucial aspect is the thread tension. This can be a bit tricky, but once you get the hang of it, you'll see how vital it is for achieving that perfect straight line. The tension should be just right—not too tight and not too loose. If you're unsure, do a test stitch on a scrap piece of fabric to see how the tension affects your stitches. Adjust the tension dial as needed until you find the sweet spot.
Don't forget to set your stitch length! For straight lines, a medium stitch length of about 2.5 to 3.0 mm is generally recommended. This length provides enough strength and flexibility without compromising the fabric. Additionally, ensure that you select the correct stitch type; a straight stitch is ideal for most sewing projects focused on straight lines.
Lastly, it’s important to position your fabric correctly. Align the fabric edge with the guide on your sewing machine's throat plate. Many machines come with a 1/4 inch foot or a guide on the needle plate that helps you maintain a straight edge. If your machine doesn't have this feature, consider using masking tape to create a visual guide on the plate. This simple trick can significantly enhance your accuracy, especially for beginners.
Here’s a quick summary in table format of the essential steps to set up your sewing machine:
| Step | Description |
|---|---|
| 1. Clean the Machine | Remove dust and lint to ensure smooth operation. |
| 2. Check the Needle | Use a sharp, appropriate needle for your fabric type. |
| 3. Adjust Thread Tension | Find the right tension for even stitches. |
| 4. Set Stitch Length | Choose a medium stitch length for straight lines. |
| 5. Position Fabric | Align fabric edges with machine guides for accuracy. |
By following these steps, you’ll be well on your way to sewing straight lines with confidence. Remember, practice makes perfect, so don’t hesitate to experiment with different settings and techniques until you find what works best for you. Happy sewing!
- How often should I clean my sewing machine? It’s recommended to clean your machine after every few sewing sessions, or at least once a month if you sew regularly.
- What type of needle should I use for different fabrics? Use a universal needle for woven fabrics, a ballpoint needle for knits, and a sharp needle for delicate fabrics like silk.
- How do I know if my thread tension is correct? A good test is to sew a few stitches on a scrap piece of fabric. The stitches should look even on both sides. If they appear bunched or loose, adjust the tension accordingly.
Mastering the Sewing Technique
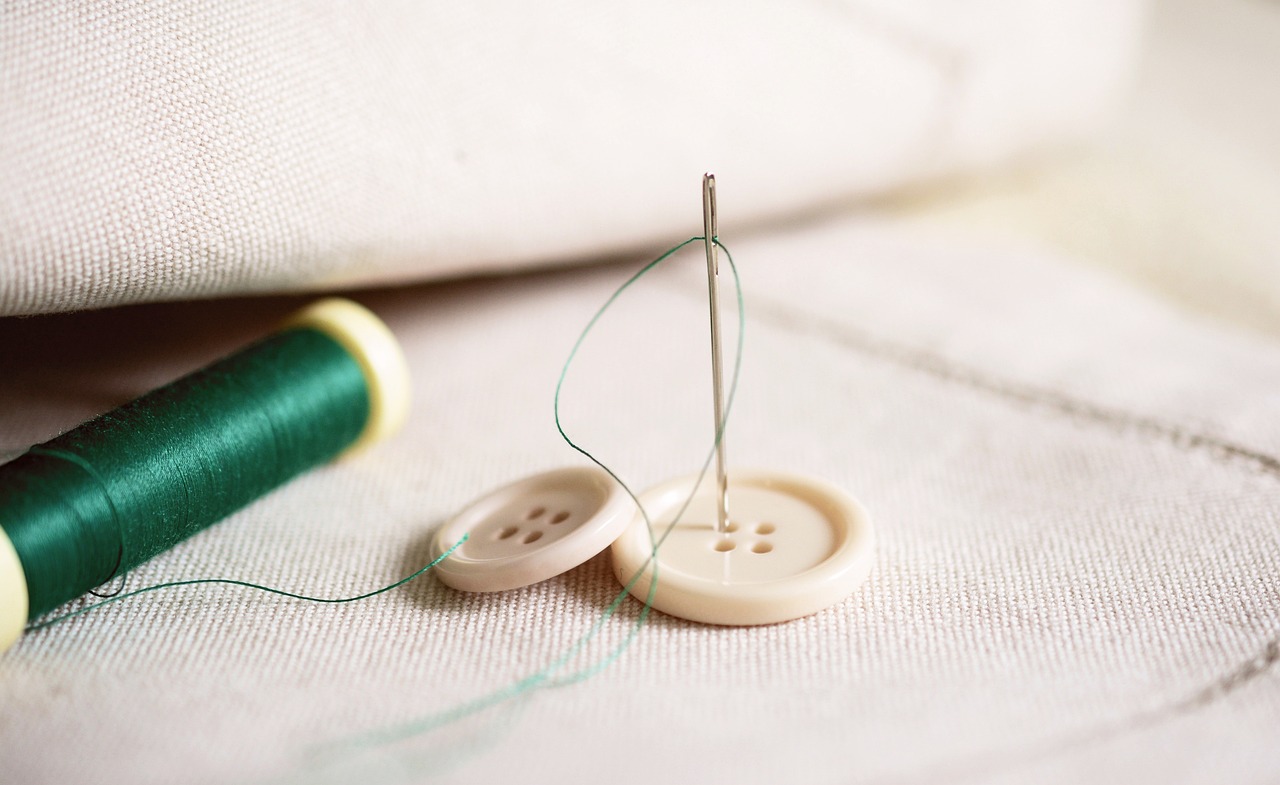
When it comes to sewing straight lines, mastering the technique is akin to learning to ride a bike; once you get the hang of it, you’ll wonder how you ever managed without it. The key elements to focus on include your posture, speed control, and how you guide the fabric through the machine. Each of these factors plays a vital role in ensuring that your seams are not just straight, but also professional-looking.
First, let’s talk about your posture. You might not realize it, but how you sit can greatly affect your sewing. Keep your back straight and your feet flat on the floor. Your hands should rest comfortably on the fabric, allowing you to maintain a good grip without straining. Imagine your sewing machine as a trusty steed; you want to ride it smoothly, not wrestle with it. A relaxed posture allows for better control, which leads to straighter lines.
Next up is speed control. It’s tempting to speed through your sewing project, especially when you’re excited about the outcome. However, rushing can lead to mistakes. Instead, start at a moderate speed and gradually increase it as you gain confidence. Think of it like driving a car; you wouldn’t slam on the gas pedal without knowing the road ahead. Your sewing machine has a foot pedal that allows you to control your speed, so use it wisely. Practice sewing at different speeds until you find the rhythm that works best for you.
Now, let’s dive into guiding the fabric. This is where the magic happens! As you sew, gently guide the fabric with your hands, ensuring that it stays aligned with your desired seam allowance. If you find yourself veering off course, don’t panic! Just slow down a bit and adjust your grip. Many experienced sewists recommend using a seam guide or a piece of tape on your sewing machine to help maintain a straight line. This guide acts like a visual cue, helping you keep the fabric aligned as you sew.
For those who are visual learners, let’s summarize the essential techniques for mastering sewing straight lines:
| Technique | Description |
|---|---|
| Posture | Maintain a straight back and relaxed hands for better control. |
| Speed Control | Start slowly and increase speed as you become more comfortable. |
| Guiding Fabric | Gently guide the fabric while sewing, using a seam guide if necessary. |
As you practice these techniques, remember that even the best sewists had to start somewhere. Don’t be discouraged by initial challenges; think of them as stepping stones to mastering your craft. With time, you’ll develop a sense of confidence that will transform your sewing experience.
Lastly, it’s important to incorporate practice into your routine. Set aside time each week to work on simple projects or practice straight lines on scrap fabric. The more you sew, the more natural it will become. Before you know it, you’ll be sewing straight lines like a pro, ready to tackle more complex projects with ease!
- How do I know if my sewing machine is set up correctly? Ensure that the needle is properly threaded, the tension is adjusted, and the presser foot is in the correct position.
- What should I do if my fabric keeps shifting while I sew? Use fabric clips or pins to hold the layers together before sewing, and consider using a walking foot for better fabric feed.
- Can I sew straight lines without a sewing machine? Yes! Hand sewing is a viable option for straight lines, but it may take more time and practice to achieve the same precision.
Using a Guide for Accuracy
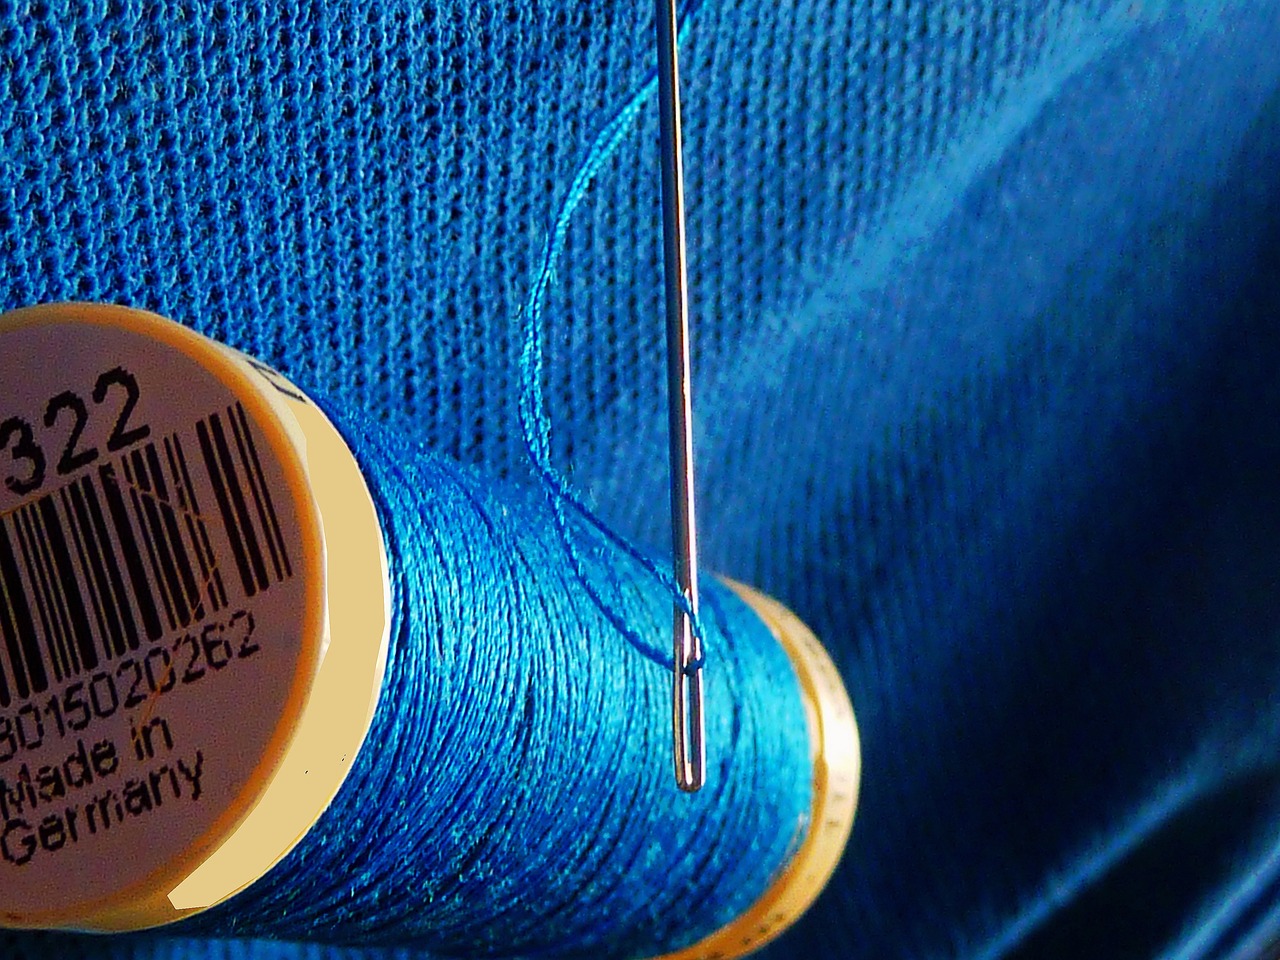
When it comes to sewing straight lines, using a guide can be your best friend. Think of it as a roadmap that keeps you on track, ensuring that your fabric doesn’t veer off course. There are several types of guides you can utilize, each with its unique advantages. For instance, a simple piece of tape can serve as a visual aid to help you maintain your line. Just place it on your sewing machine’s bed, aligning it with the needle, and voilà! You’ve got a straight path to follow.
Another fantastic option is the use of foot attachments designed specifically for guiding. These attachments can be adjusted to different widths, allowing you to sew perfectly parallel lines. They act like a sidekick, helping you steer your fabric while you focus on the rhythm of your sewing. Imagine having a buddy beside you, gently nudging you to stay on the right track while you enjoy the process of creating.
Moreover, if you’re looking for a more advanced approach, consider investing in a walking foot. This tool is particularly useful for sewing multiple layers of fabric or slippery materials. It feeds the fabric evenly, reducing the chances of any unwanted shifting. With a walking foot, you can sew with confidence, knowing that your fabric will glide smoothly under the needle, allowing for precision in every stitch.
To get the most out of these guides, practice is key. Try out different methods to see what works best for you. Here’s a quick breakdown of the guides you might consider:
| Guide Type | Description | Best For |
|---|---|---|
| Tape | A simple adhesive strip placed on the sewing machine bed. | Visual guidance for beginners. |
| Foot Attachments | Specialized feet that help maintain a straight line. | Precision sewing for various fabric types. |
| Walking Foot | A foot that feeds multiple layers evenly. | Heavy or slippery fabrics. |
Incorporating these guides into your sewing routine can significantly enhance your accuracy. Remember, the goal is to make sewing as enjoyable and stress-free as possible. So, embrace these tools, experiment with them, and watch as your straight lines become more consistent and professional-looking!
- What type of guide is best for beginners? A simple tape guide is great for beginners as it provides a clear visual line to follow.
- Can I use a regular presser foot as a guide? While a regular presser foot can help, specialized foot attachments offer better accuracy for maintaining straight lines.
- How do I know if my fabric is feeding evenly? If your seams appear crooked or uneven, it could be a sign that your fabric is not feeding evenly. Adjust your guides or consider using a walking foot.
Practice Tips for Beginners
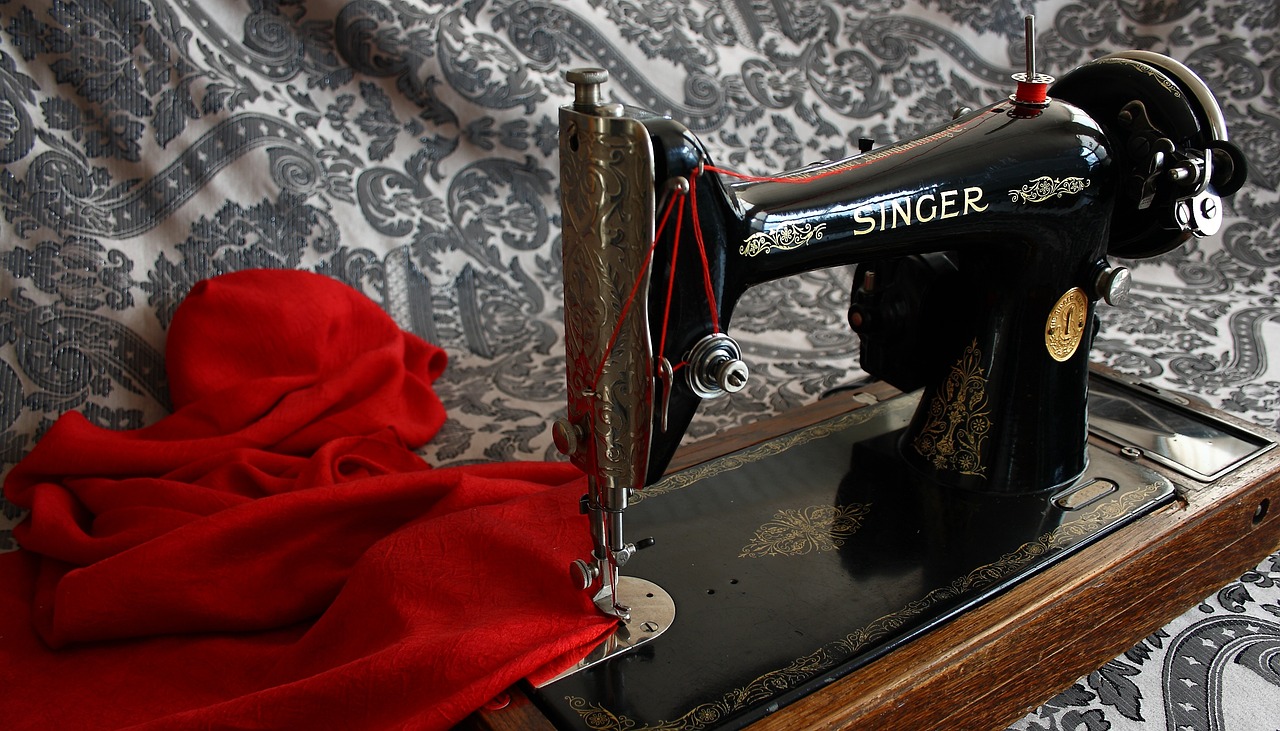
When it comes to mastering sewing straight lines, practice is your best friend. Just like learning to ride a bike, the more you do it, the easier it becomes. Here are some tips to help you get started on your sewing journey:
First and foremost, start with simple projects. Don’t overwhelm yourself with complex patterns right off the bat. Instead, choose basic items like pillowcases or tote bags. These projects allow you to focus on sewing straight lines without the distraction of intricate designs. As you gain confidence, you can gradually move on to more complicated patterns.
Another essential tip is to use scrap fabric for practice. Before diving into your main project, take some leftover fabric and practice sewing straight lines. This not only helps you get comfortable with the machine but also allows you to experiment with different speeds and pressures on the foot pedal. You might be surprised at how much you learn just by playing around with your sewing machine!
Additionally, set your sewing machine to a slower speed when you’re starting out. Slower speeds give you more control over the fabric, making it easier to keep your lines straight. Once you feel more confident, you can gradually increase the speed. Remember, it's not a race; precision is key!
To help maintain a straight line, consider using a guide or ruler on your fabric. You can use painter’s tape to mark a line on your sewing machine or even directly on the fabric itself. This visual aid can be a game changer, especially for beginners who are still developing their eye for straightness.
Don’t forget to take breaks during your practice sessions. Sewing can be surprisingly strenuous, and fatigue can lead to mistakes. If you find yourself getting frustrated or making errors, step away for a moment. A fresh perspective can do wonders for your sewing skills!
Finally, join a sewing community. Online forums, local sewing clubs, or social media groups can provide invaluable support and encouragement. Sharing your progress, asking questions, or even just browsing through others' projects can inspire you and keep you motivated.
In summary, practice is essential for honing your sewing skills. By starting with simple projects, using scrap fabric, adjusting your machine’s speed, employing guides, taking breaks, and engaging with a community, you’ll be well on your way to sewing straight lines like a pro!
- How long does it take to learn to sew straight lines?
It varies from person to person, but with regular practice, many beginners can become proficient in a few weeks. - What type of fabric is easiest for beginners?
Cotton is a great choice for beginners due to its ease of handling and availability in various prints and colors. - Can I sew straight lines without a sewing machine?
Yes! Hand sewing is a viable option, though it may take more time and practice to achieve the same precision. - What should I do if my lines are still crooked?
Reassess your technique, check your fabric feeding, and consider using a guide to help maintain straight lines.
Common Mistakes to Avoid
Sewing can be a delightful yet challenging journey, especially when it comes to mastering the art of sewing straight lines. While the process may seem straightforward, there are several common mistakes that can trip you up along the way. By being aware of these pitfalls, you can enhance your sewing experience and produce beautifully straight seams. Let’s take a closer look at some of these mistakes and how you can avoid them.
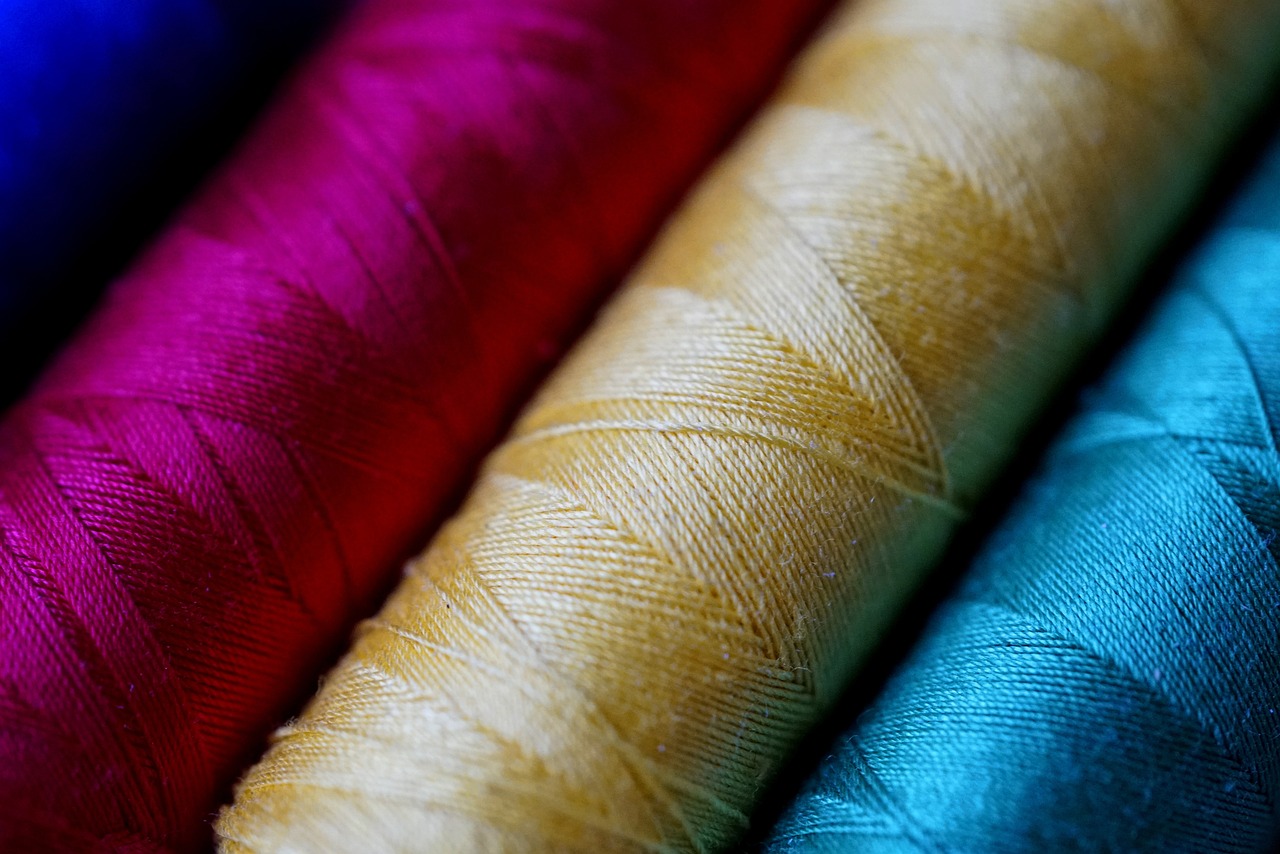
One of the most frequent issues faced by both beginners and experienced sewists alike is thread tension problems. If your thread tension is off, you may find yourself dealing with puckered seams or loose stitches. It’s essential to understand that thread tension can vary based on the type of fabric you’re using. For instance, lightweight fabrics may require looser tension, while heavier materials need a tighter grip. To ensure your tension is just right, always test your settings on a scrap piece of fabric before diving into your project.
Another common mistake is uneven fabric feeding. This can lead to crooked seams and can be incredibly frustrating. Uneven feeding often occurs when the fabric is not properly aligned with the machine’s feed dogs. To combat this, make sure your fabric is straight and aligned before you start sewing. Additionally, using a walking foot can help feed multiple layers of fabric evenly, providing a smoother sewing experience.
It's also important to pay attention to your sewing posture and machine speed. Many sewists get so caught up in the excitement of sewing that they forget to maintain proper posture, which can lead to fatigue and mistakes. Sit comfortably, with your arms at a natural angle, and keep your fabric guided gently through the machine. As for speed, it’s tempting to rush through, especially when you’re eager to see the finished product. However, controlling your speed can make a significant difference in achieving straight lines. Start slow, and as you gain confidence, you can gradually increase your pace.
Lastly, one mistake that can often go unnoticed is neglecting to use guides. Guides, whether they are built into your sewing machine or added as attachments, can be invaluable for maintaining a straight line. You can also create your own guide using painter’s tape on your sewing bed. This simple trick can help you keep your fabric aligned perfectly, giving you the precision you need for those flawless seams.
By being mindful of these common mistakes, you can significantly improve your sewing skills. Remember, practice makes perfect, and with each project, you’ll gain more confidence and expertise. So, the next time you sit down at your sewing machine, keep these tips in mind and watch your straight lines transform from wobbly to wonderful!
- What is the best way to fix thread tension issues? - Always test your tension on a scrap fabric before starting your project. Adjust the tension according to the fabric type.
- How can I ensure my fabric feeds evenly? - Align your fabric properly and consider using a walking foot for multiple layers.
- What is the importance of using guides? - Guides help maintain straight lines and improve your overall sewing accuracy.
- How can I improve my sewing posture? - Sit comfortably with your arms at a natural angle and keep your back straight to avoid fatigue.
Thread Tension Issues
When it comes to sewing, thread tension might just be the most crucial element that can make or break your project. Imagine trying to bake a cake without the right balance of ingredients; your sewing project can end up looking just as disastrous if your thread tension is off. If the tension is too tight, your fabric can pucker, creating an unsightly effect that can ruin your straight lines. On the other hand, if the tension is too loose, you may find that your stitches are floppy, leading to uneven seams that are far from professional.
So, how do you know if your thread tension is correct? A good rule of thumb is to perform a test stitch on a scrap piece of fabric. This allows you to observe how the thread interacts with the fabric without jeopardizing your main project. Ideally, the stitches should lie flat against the fabric without pulling or creating loops on either side. If you notice any issues, it’s time to make some adjustments.
Here are some common signs of thread tension issues you might encounter:
- Puckering: This occurs when the fabric gathers in small folds, often due to overly tight tension.
- Loops on the underside: If you see loops of thread on the back of your project, it usually means the tension is too loose.
- Uneven stitches: Stitches that vary in size or appearance can indicate inconsistent tension settings.
Adjusting your thread tension is generally a straightforward process, but it varies depending on your sewing machine's make and model. Most machines have a tension dial that allows you to easily increase or decrease the tension. As a general guide, if you are sewing lightweight fabrics, you might need to loosen the tension, while heavier fabrics may require a tighter setting. Always refer to your machine’s manual for specific instructions, as different machines can have different mechanisms for tension adjustment.
Additionally, consider the type of thread you are using. Some threads are thicker or have different elasticity, which can also affect tension. If you’re working with specialty threads, such as metallic or elastic, you may need to make further adjustments to achieve the desired effect.
In summary, mastering thread tension is essential for achieving those perfect straight lines in your sewing projects. With a bit of practice and attention to detail, you can troubleshoot and adjust your tension settings like a pro, ensuring that your finished pieces look polished and professional. Remember, the key to success is to test, adjust, and don't hesitate to experiment until you find that sweet spot!
Q: What should I do if my stitches keep breaking?
A: If your stitches are breaking, it could be due to improper thread tension, a dull needle, or the wrong type of thread for your fabric. Start by checking the tension and replacing the needle if necessary.
Q: How often should I check my thread tension?
A: It's a good practice to check your thread tension whenever you change fabrics or threads, as different materials can require different tension settings.
Q: Can I use the same tension setting for all types of fabric?
A: Not necessarily. Different fabrics have different characteristics, so you might need to adjust your tension settings based on the fabric weight and type.
Uneven Fabric Feeding
Sewing can be a delightful experience, but nothing can be more frustrating than dealing with . This issue often leads to crooked seams and uneven hems, which can ruin the overall look of your project. So, what causes this problem? Well, there are several factors at play that can affect how your fabric feeds through the machine. Let's dive into some common culprits and how to tackle them effectively.
First off, it's essential to understand that the feed dogs in your sewing machine are responsible for moving the fabric forward as you sew. If these little guys aren’t working properly, you might find yourself wrestling with fabric that refuses to cooperate. A common reason for uneven feeding is when the feed dogs are dirty or obstructed. Make sure to keep your machine clean and free of lint and debris to ensure smooth operation.
Another factor to consider is the thickness of the fabric. If you’re trying to sew multiple layers of thick fabric, your machine may struggle to feed the material evenly. In such cases, using a walking foot can be a game-changer. This specialized foot helps grip the fabric from the top and bottom, ensuring that all layers move together seamlessly. If you don’t have a walking foot handy, you can also try adjusting the pressure foot to accommodate thicker materials.
Additionally, the type of fabric you’re working with can greatly affect feeding. For instance, slippery fabrics like satin or chiffon tend to slide around, making it difficult to maintain a straight line. To combat this, consider using a tissue paper or stabilizer underneath the fabric while sewing. This extra layer provides grip and helps keep everything in place. Once you’re done sewing, you can easily tear away the stabilizer.
Lastly, it’s crucial to maintain a steady speed while sewing. If you rush through your project, you might inadvertently pull on the fabric, causing it to feed unevenly. Instead, take a deep breath, relax, and keep a consistent pace. Think of it like driving a car; if you accelerate too quickly, you might veer off course!
To summarize, here are some key points to remember when dealing with uneven fabric feeding:
- Keep your feed dogs clean and free of obstructions.
- Use a walking foot for thicker layers.
- Employ stabilizers for slippery fabrics.
- Maintain a steady sewing speed.
By understanding these factors and making the necessary adjustments, you can say goodbye to uneven fabric feeding and hello to perfectly straight seams. Happy sewing!
Q1: What should I do if my fabric is still feeding unevenly after cleaning my machine?
A1: If cleaning your machine doesn’t resolve the issue, consider checking the needle size and type. Sometimes, using the wrong needle can cause feeding problems. Additionally, make sure your presser foot is properly adjusted for the fabric thickness.
Q2: Can I use a walking foot on any fabric?
A2: Yes! A walking foot can be used on almost all types of fabric, especially when you’re working with multiple layers or slippery materials. It helps to ensure even feeding and is a great tool to have in your sewing arsenal.
Q3: How can I tell if my feed dogs are working correctly?
A3: You can test your feed dogs by placing a piece of fabric under the presser foot and manually turning the handwheel. If the feed dogs move the fabric forward smoothly, they’re working correctly. If not, it might be time for a maintenance check.

Finishing Your Project
Once you've sewn your straight lines, the excitement of seeing your project come together is palpable! But hold on—don't rush to show off your handiwork just yet. The finishing touches are what elevate your project from 'good' to 'absolutely stunning'. Finishing is not just about looks; it's about ensuring durability and quality. Let's dive into some essential techniques that will help you achieve a professional finish.
First and foremost, you’ll want to focus on trimming your seams. This step is crucial because it helps reduce bulk and gives your project a sleek appearance. Use sharp fabric scissors or pinking shears to trim the excess fabric close to your stitching line. But be careful! You don’t want to cut into your stitches. Once you’ve trimmed, it’s time to press those seams. Pressing is like giving your project a refreshing wake-up call, helping to flatten and set your stitches for a crisp finish.
When it comes to pressing, the method you choose can make a significant difference. For instance, using a steam iron can help relax the fibers in your fabric, making it easier to achieve that clean line you’ve been aiming for. If you're working with delicate fabrics, consider using a pressing cloth to protect them from direct heat. Remember: the key to a neat finish is to always press your seams open or to one side, depending on your project’s requirements.
After trimming and pressing, you might want to add some final touches. This could include topstitching along the seams for added strength and style, or even adding decorative elements like bias tape or piping. These details can transform a simple project into a standout piece that showcases your unique style and creativity.
Finally, quality checks are essential before you consider your project complete. Inspect your seams for any irregularities, and make sure everything is aligned properly. If you notice any issues, don’t hesitate to make adjustments. A small tweak now can save you from future headaches!
- How do I know if my seams are straight? A quick way to check is to fold your fabric in half and see if the edges align perfectly. If they don’t, you might need to adjust your sewing technique.
- What’s the best way to press seams? Generally, pressing seams open is preferred for most projects, but always refer to your pattern instructions for specific guidance.
- Can I use a regular iron for pressing fabric? Yes, but be cautious with the temperature settings. Different fabrics require different heat levels.
Pressing Techniques for a Neat Finish
When it comes to sewing, many people often overlook the importance of pressing. However, pressing is a crucial step that can transform your project from mediocre to magnificent. Think of pressing as the finishing touch that brings everything together, much like the icing on a cake. It smooths out seams, removes wrinkles, and creates a professional appearance that will make your work stand out.
One of the most effective techniques for achieving a neat finish is to use the right temperature settings on your iron. Different fabrics require different heat levels, so it's essential to check the care label on your fabric before you start. For example, cotton can handle high heat, while delicate fabrics like silk need a much lower setting. Using the wrong temperature can lead to burns or unwanted shine on your fabric, which is something we definitely want to avoid!
Another key technique is to use steam effectively. Steam can help to relax the fibers of the fabric, making it easier to press out stubborn wrinkles. Here’s how you can use steam to your advantage:
- Always keep your iron slightly above the fabric to avoid direct contact, which can scorch some materials.
- Use a pressing cloth when working with delicate fabrics to protect them from direct heat.
- For seams, press them open initially to set the stitches, then press to one side for a cleaner finish.
Additionally, consider the direction in which you press. Always press from the inside out, which means starting at the seam and moving outward. This technique helps to prevent the fabric from puckering and ensures that your seams lie flat. If you're working with curved seams, you might find it helpful to use a tailor's ham. This handy tool allows you to press curves and contours more effectively, giving your garment a more tailored look.
Lastly, don't forget about the importance of a good ironing board. A sturdy, padded board can make a world of difference in your pressing experience. If your board is wobbly or too low, you'll find it challenging to achieve the neat finish you're aiming for. Consider investing in a quality ironing board that suits your height and provides ample surface area for your projects.
In summary, pressing is not just a step in the sewing process; it's an art form that deserves attention and care. By mastering the techniques of temperature control, steam application, directional pressing, and utilizing the right tools, you can ensure that your sewing projects not only look good but also have that polished, professional finish that every sewist dreams of.
Q: Why is pressing important in sewing?
A: Pressing helps to set seams, remove wrinkles, and improve the overall appearance of your project, making it look more professional.
Q: Can I use steam on all types of fabric?
A: No, not all fabrics can handle steam. Always check the care label for the appropriate settings to avoid damaging delicate materials.
Q: What is a tailor's ham, and do I need one?
A: A tailor's ham is a pressing tool that helps you shape curved seams and areas. While not essential, it can be very helpful for achieving a tailored finish.
Q: How often should I press my seams?
A: It’s best to press your seams after every major step in your sewing process to ensure everything lies flat and looks neat.
Final Touches and Quality Checks
Once you've sewn your straight lines, the journey isn't quite over yet! It's time to give your project the final touches that will elevate it from a simple piece of fabric to a stunning masterpiece. Finishing touches are like the cherry on top of a sundae—they can make all the difference in the world. So, let's dive into some essential techniques that will ensure your project looks polished and professional.
First and foremost, trimming your threads is a crucial step. After you've completed your sewing, take a moment to snip away any loose threads that may be hanging around. This simple act can significantly enhance the overall appearance of your project. Use sharp scissors to get a clean cut, and be sure to check both the front and back of your fabric to ensure no stray threads remain.
Next up is pressing your seams. This step is often overlooked by beginners, but trust me, it’s vital! Using an iron can help you achieve crisp, clean lines that make your work look professional. Start by setting your iron to the appropriate temperature for your fabric type. Gently press the seams open or to one side, depending on your pattern's instructions. This will not only flatten the seams but also help them hold their shape better, giving your project a neat finish.
After pressing, it’s time for some quality checks. This is where you’ll want to inspect your work closely. Look for any areas where the stitching might be uneven or where the fabric may have puckered. If you spot any imperfections, don't panic! Most issues can be corrected with a little patience. For example, if you notice a puckered seam, you might need to adjust your thread tension or even redo that section. Remember, it's all part of the learning process!
Finally, consider adding a personal touch to your project. This could be anything from a decorative stitch along the edges to adding a label or tag that showcases your brand or personal style. These small details can truly make your project stand out and reflect your creativity.
In summary, the final touches and quality checks are essential steps in the sewing process. By trimming threads, pressing seams, conducting thorough inspections, and adding personal touches, you can ensure that your project not only meets your expectations but exceeds them. So, take your time with these steps, and remember that every great sewist was once a beginner!
- How do I prevent my fabric from puckering? - Ensure your thread tension is correctly set and use a walking foot if you're working with thicker fabrics.
- What should I do if my seams are uneven? - You can either unpick the stitches and redo the seam or try to adjust the fabric as you sew to keep it straight.
- Is pressing necessary after sewing? - Absolutely! Pressing helps to set your seams and gives your project a more professional finish.
- Can I use any iron for pressing my fabric? - It’s best to use an iron that has adjustable heat settings and a steam option for different fabric types.
Frequently Asked Questions
- What tools do I need to sew a straight line?
To sew a straight line, you’ll need a sewing machine, appropriate threads, sharp needles, scissors, and measuring tools. These essentials will help you achieve precision in your sewing projects.
- How do I prepare my fabric before sewing?
Preparing your fabric involves washing it to remove any finishes, ironing to ensure it’s flat, and cutting it accurately. This preparation is crucial for achieving straight seams.
- What types of fabric are easiest for beginners?
Beginners should start with woven cottons, muslin, or quilting fabrics. These materials are forgiving and easy to handle, making them ideal for learning to sew straight lines.
- Why is understanding fabric grain important?
Fabric grain affects how the fabric behaves when sewn. Aligning your cuts with the grain ensures that your seams remain straight and your finished product looks professional.
- What are some tips for setting up my sewing machine?
Make sure to thread your machine correctly, adjust the stitch length for straight sewing, and check the needle type for your fabric. A well-set machine is key to sewing straight lines effectively.
- How can I maintain a straight line while sewing?
Using a guide, such as tape or a foot attachment, can help keep your fabric aligned. Additionally, practicing speed control and maintaining a steady hand will contribute to straighter seams.
- What common mistakes should I avoid when sewing straight lines?
Avoid issues like improper thread tension and uneven fabric feeding. These can lead to crooked seams and frustration. Regularly check your settings and fabric handling to prevent these problems.
- How do I finish my sewing project neatly?
After sewing, trim any excess fabric, press your seams to create crisp lines, and perform a quality check to ensure everything is aligned properly. These steps will give your project a polished look.
- What pressing techniques should I use for a neat finish?
Use a hot iron and press seams open or to one side, depending on your project. Steam can also help to remove wrinkles and shape your seams for a professional appearance.


