Ten Easy Sewing Hacks for Beginners
Welcome to the exciting world of sewing! If you're just starting out, you might feel a bit overwhelmed by all the tools, fabrics, and techniques at your disposal. But fear not! This article explores ten practical sewing hacks that can simplify the sewing process for beginners, enhancing your skills and making your projects more enjoyable and efficient. Whether you're looking to create your first dress or whip up some cozy home décor, these hacks will help you navigate the sewing landscape with ease and confidence.
A tidy sewing area can significantly improve your productivity. Imagine walking into a space where everything you need is right at your fingertips! To create an inspiring workspace that encourages creativity, consider these tips:
- Designate specific areas for cutting, sewing, and storing materials.
- Use clear containers for easy visibility of tools and supplies.
- Label everything to save time searching for items.
By organizing your sewing space, you’ll not only save time but also reduce stress, allowing your creativity to flow freely!
Understanding fabric types is crucial for beginners. Choosing the right material can make or break your project. When selecting fabrics, consider factors like weight, texture, and ease of handling. For instance, lightweight cotton is perfect for beginners because it’s easy to sew and forgiving if you make mistakes. In contrast, slippery fabrics like silk can be daunting. So, stick with fabrics that match your skill level and project requirements.
One of the most important steps before cutting into your fabric is pre-washing. This simple hack prevents shrinkage and color bleeding, ensuring your finished project looks as good as you envisioned. To pre-wash your fabric:
- Check the care label for washing instructions.
- Use a gentle cycle with cold water for most fabrics.
- Dry the fabric on a low heat setting.
By taking this extra step, you'll save yourself from potential headaches down the line!
Ironing fabric before sewing is a game-changer. It ensures smooth seams and better finished projects. Think of ironing as the foundation of a house; without it, everything else is shaky. Different fabrics require different ironing techniques:
| Fabric Type | Ironing Temperature | Best Practices |
|---|---|---|
| Cotton | High | Use steam for stubborn wrinkles. |
| Silk | Low | Iron on the reverse side to avoid shine. |
| Wool | Medium | Use a damp cloth to prevent scorching. |
By following these best practices, you’ll achieve professional-looking results every time!
Fabric weights are a fantastic tool for keeping patterns in place during cutting. They prevent shifting and ensure precision in your sewing projects. Instead of pinning your patterns, which can cause distortion, try using weights. You can purchase them or even make your own with small bags of rice or beans. This simple hack can save you time and frustration!
Familiarizing yourself with fundamental stitches is essential for any beginner. Here are a few basic stitches to get you started:
- Straight Stitch: The most common stitch, perfect for seams.
- Zigzag Stitch: Great for finishing edges to prevent fraying.
- Backstitch: Ideal for strong seams and repairs.
By mastering these stitches, you'll build a strong foundation for your sewing journey!
Equipping yourself with the right tools can make sewing easier and more enjoyable. Here are some must-have tools for beginners:
- Sharp scissors or rotary cutter for clean cuts.
- Measuring tape for accurate measurements.
- Seam ripper for fixing mistakes.
Investing in quality tools will enhance your sewing experience and improve your results!
Making minor adjustments to patterns can significantly improve fit and style. Don’t be afraid to alter patterns to suit your measurements and preferences. For instance, if a pattern is too loose, you can take it in at the seams. If it’s too short, consider adding a hem or lengthening the pattern. These small tweaks can make a world of difference!
Every beginner faces challenges while sewing. Whether it’s thread bunching up or fabric slipping, learning how to troubleshoot common problems is crucial. Here are a few tips:
- If your thread keeps breaking, check your needle and re-thread your machine.
- For fabric slipping, use a walking foot or fabric weights.
- Always test stitches on scrap fabric before starting your project.
By learning to identify and resolve common issues, you’ll enjoy a smoother sewing experience and boost your confidence!
Q: What is the best fabric for beginners?
A: Lightweight cotton is often recommended for beginners due to its ease of handling and versatility.
Q: How can I prevent my fabric from fraying?
A: Using a zigzag stitch on raw edges or applying fray check can help prevent fraying.
Q: Do I need to invest in expensive tools?
A: While quality tools can make a difference, there are plenty of affordable options that work well for beginners.

1. Organizing Your Sewing Space
When it comes to sewing, having an organized space is like having a blank canvas for an artist. A tidy sewing area can significantly improve your productivity and creativity. Imagine trying to paint a masterpiece in a cluttered room—frustrating, right? The same goes for sewing! A well-arranged workspace not only saves time but also reduces stress. So, let’s dive into some practical tips that will help you create an inspiring and functional sewing environment.
First off, think about designating specific areas for different tasks. This could mean having a cutting station, a sewing machine nook, and a storage area for fabrics and tools. By keeping everything in its place, you’ll find that your workflow becomes smoother and more enjoyable. You might even want to consider using a large table or desk where you can spread out your fabric and patterns. This gives you ample room to work without feeling cramped.
Next, let’s talk about storage solutions. Clear bins, pegboards, and drawer organizers can be your best friends in keeping your supplies in order. For instance, you can use clear bins to sort your fabrics by color or type, making it easy to find what you need at a glance. A pegboard can hold scissors, rulers, and other tools, keeping them within reach while also adding a decorative touch to your space. Don’t forget to label everything! A simple label maker can work wonders in ensuring you always know where things are.
Another tip is to consider your lighting. Good lighting is essential for sewing, as it helps you see the details of your work clearly. Natural light is ideal, but if that’s not an option, invest in some bright LED lamps that mimic daylight. Position your lights so that they illuminate your workspace without causing shadows, which can lead to mistakes. You want to see every stitch and seam as clearly as possible!
Finally, don’t underestimate the power of inspiration. Decorate your sewing space with items that motivate you. This could be a vision board with your favorite patterns, quotes that inspire creativity, or even a few plants to liven up the atmosphere. When your space feels inviting and personal, you’re more likely to spend time there and enjoy the process of sewing. Remember, your sewing area is not just a workspace; it’s a reflection of your passion and creativity!
In summary, organizing your sewing space can greatly enhance your sewing experience. By designating specific areas, utilizing smart storage solutions, ensuring good lighting, and adding personal touches, you create an environment that fosters creativity and efficiency. So, roll up your sleeves and get to work on transforming your sewing space into a haven of inspiration!
2. Choosing the Right Fabric
Choosing the right fabric is one of the most crucial steps in sewing, especially for beginners. It’s like picking the right ingredients for a recipe—get it wrong, and the whole dish can flop! Fabrics come in a variety of types, weights, and textures, each suited for different projects. So, how do you navigate this colorful world of textiles? Let’s break it down.
First off, consider the weight of the fabric. Fabrics are generally categorized as lightweight, medium weight, and heavyweight. Lightweight fabrics, such as chiffon and georgette, are perfect for flowy garments like blouses or dresses. On the other hand, heavyweight fabrics like denim and canvas are ideal for sturdy items like bags or jackets. Choosing the right weight not only affects the look of your finished project but also how easy it is to sew. Imagine trying to sew a delicate silk fabric with a heavy-duty sewing machine; it just wouldn’t work well!
Next, let’s talk about texture. The texture of the fabric can greatly influence the drape and overall feel of your project. For instance, a soft cotton will drape beautifully for a summer dress, while a stiff fabric like taffeta will hold its shape for structured garments. Additionally, consider how the fabric feels against the skin. You wouldn’t want to spend a day in a scratchy wool sweater, right? Always check the fabric content and feel it before making a purchase.
Another essential factor is the ease of handling. Some fabrics, like knits, can stretch and move, making them a bit tricky for beginners. Others, like cotton or linen, are more forgiving and easier to work with. If you’re just starting, it might be wise to stick to fabrics that won’t slip and slide all over your sewing machine. Trust me, your future self will thank you!
To help you out, here’s a quick comparison table that highlights some common fabric types along with their best uses:
| Fabric Type | Weight | Best Uses |
|---|---|---|
| Cotton | Light to Medium | Shirts, Dresses, Quilts |
| Denim | Heavy | Jeans, Jackets |
| Silk | Light | Evening Gowns, Scarves |
| Linen | Medium | Summer Clothing, Tablecloths |
| Knits | Light to Medium | T-Shirts, Stretchy Pants |
Finally, don’t forget to check for color and pattern. The right shade can elevate your project from ordinary to extraordinary. Plus, patterns can add a fun twist! However, make sure that the pattern aligns with your sewing skills. Sometimes, a busy print can distract from the construction details, especially if you’re still mastering your sewing techniques. So, keep it simple and let your skills shine!
In summary, choosing the right fabric is all about understanding the characteristics of each type. By considering weight, texture, ease of handling, and color, you can select materials that will not only make your sewing projects easier but also more enjoyable. So, next time you’re at the fabric store, take a moment to explore your options—your future sewing projects will thank you!
Here are some common questions beginners have when it comes to choosing fabric:
- What is the best fabric for beginners? Cotton is often recommended due to its ease of handling and versatility.
- Can I use any fabric for any project? Not necessarily. Each fabric has its own properties, and some are better suited for specific projects.
- How do I know if a fabric is good quality? Look for a tight weave, consistent color, and feel the fabric for softness and durability.
3. Fabric Pre-Washing Techniques
When it comes to sewing, one of the most overlooked steps is pre-washing your fabric. You might be wondering, "Isn't that just an extra chore?" Well, let me tell you, skipping this crucial step can lead to some serious headaches down the line. Imagine spending hours crafting a beautiful dress, only to have it shrink or bleed color the first time you wash it! Pre-washing not only helps to prevent shrinkage but also stops color bleeding, ensuring your hard work stays intact.
So, how do you go about pre-washing your fabric? It’s simpler than you might think! First, you’ll want to check the fabric care label. This will guide you on the appropriate washing method. Most fabrics can be washed in cold water, but some may require a gentle cycle or hand washing. Here’s a quick rundown of common fabric types and their pre-washing needs:
| Fabric Type | Washing Method | Drying Method |
|---|---|---|
| Cotton | Machine wash in cold water | Air dry or tumble dry low |
| Silk | Hand wash in cold water | Air dry |
| Wool | Hand wash or dry clean | Air dry flat |
| Polyester | Machine wash in warm water | Air dry or tumble dry low |
After washing, it's essential to iron your fabric while it’s still damp. This will help remove any wrinkles and make it easier to cut and sew later on. Plus, ironing can help you identify any imperfections or flaws in the fabric that you might want to address before you start your project.
Another tip is to consider the fabric's dye when pre-washing. Some fabrics, especially those with vibrant colors, might bleed during their first wash. To prevent this, you can add a cup of white vinegar to the wash. This helps set the dye and minimize bleeding. Just think of it as a protective shield for your masterpiece!
In summary, pre-washing your fabric is a small but vital step in the sewing process. By taking the time to do this, you ensure that your final product not only looks great but also stands the test of time. So, the next time you buy fabric, remember: a little preparation goes a long way!
- Why should I pre-wash my fabric? Pre-washing helps prevent shrinkage and color bleeding, ensuring your finished project looks great even after washing.
- Can I use fabric softener when pre-washing? It's best to avoid fabric softeners as they can leave a residue that may affect how the fabric behaves when sewing.
- How do I know if my fabric needs to be pre-washed? Always check the care label on your fabric. If it suggests washing, then it's a good idea to pre-wash it.
4. Importance of Ironing
When it comes to sewing, one might think that the act of stitching fabric together is the most critical part of the process. However, ironing holds an equally vital role that is often overlooked by beginners. Imagine trying to build a house on a shaky foundation; that’s what sewing without proper ironing feels like. Ironing not only smooths out wrinkles but also sets the stage for a professional finish. It transforms your fabric into a canvas that is ready for the masterpiece you are about to create.
Before you even think about sewing, it's essential to give your fabric a good press. This step ensures that your seams will lie flat, making it easier to sew accurately. If you skip this crucial step, you might find yourself wrestling with puckered seams and uneven hems, which can be incredibly frustrating. Think of ironing as the warm-up before a big game; it prepares your fabric for the challenges ahead.
Here are some key benefits of ironing your fabric before you start sewing:
- Smooth Seams: Ironing helps to flatten seams, ensuring they are even and tidy.
- Improved Accuracy: When fabric is wrinkle-free, it’s easier to cut and sew accurately, leading to better-fitting garments.
- Fabric Preparation: Certain fabrics, like cotton, can shrink when washed. Ironing helps to shrink them before you start cutting, preventing future mishaps.
- Professional Finish: A well-pressed garment looks polished and ready to wear, giving you that satisfaction of a job well done.
To achieve the best results, consider the following best practices:
| Fabric Type | Ironing Temperature | Ironing Technique |
|---|---|---|
| Cotton | High | Steam and press |
| Satin | Low | Use a pressing cloth |
| Wool | Medium | Steam and press |
| Silk | Low | Use a pressing cloth |
Remember, the right temperature and technique can make all the difference. Using a pressing cloth can protect delicate fabrics from direct heat, while steam can help to relax stubborn wrinkles. So, the next time you gather your sewing supplies, don’t forget to include your iron in the lineup. It’s not just another tool; it’s an essential partner in your sewing journey, helping you create beautiful, professional-looking projects.
In conclusion, ironing is not just a mundane chore; it’s a crucial step that can elevate your sewing game. By taking the time to press your fabric before sewing, you’ll find that your projects turn out not only easier to manage but also more visually appealing. So, embrace the iron and watch your sewing skills flourish!
Q: Why is ironing fabric before sewing important?
A: Ironing fabric before sewing helps to eliminate wrinkles, ensures smooth seams, and improves accuracy when cutting and stitching.
Q: What temperature should I use for different types of fabric?
A: It’s best to refer to the care label on your fabric, but generally, cotton can be ironed on high heat, while delicate fabrics like silk should be ironed on low heat with a pressing cloth.
Q: Can I use steam when ironing?
A: Yes! Steam can help relax fabric fibers and remove stubborn wrinkles, but be cautious with delicate fabrics to avoid damage.
Q: How often should I iron my fabric?
A: Always iron your fabric before cutting and sewing. If your fabric gets wrinkled during the sewing process, feel free to iron it again as needed.
5. Using Fabric Weights
When diving into the world of sewing, one of the most frustrating challenges can be keeping your fabric in place while cutting. Have you ever found your pattern sliding or shifting just when you’re about to make that perfect cut? It can feel like trying to hold onto a slippery fish! This is where fabric weights come to the rescue. These handy tools are essential for ensuring that your fabric stays put, allowing you to focus on creating rather than fighting with your materials.
Fabric weights are typically small, heavy objects that you can place on your fabric and patterns to prevent them from moving around. You can purchase fabric weights, but did you know you can also make your own? Items like washers, small bags filled with rice, or even smooth stones can serve as effective alternatives. The key is to ensure that whatever you use is heavy enough to keep your fabric in place without damaging it.
Using fabric weights is simple and can significantly improve your cutting accuracy. Here’s how to effectively use them:
- Place weights strategically: Distribute the weights evenly around your pattern. This helps to ensure that all edges are secured, preventing any shifting.
- Use enough weights: Don’t skimp on the number of weights you use. The more secure your fabric is, the less likely it is to shift, allowing for cleaner cuts.
- Adjust as needed: If you notice any movement as you cut, don’t hesitate to add more weights. It’s better to be cautious than to end up with uneven edges!
In addition to improving your cutting precision, fabric weights can also save time. Instead of pinning your fabric, which can be tedious and time-consuming, simply place the weights down and get to cutting! This not only speeds up the process but also minimizes the risk of accidentally poking yourself with pins.
Another benefit of fabric weights is that they are perfect for delicate fabrics that might be damaged by pins. For instance, if you’re working with silk or chiffon, using weights helps you avoid those unsightly pinholes that can ruin your project. Imagine spending hours on a beautiful dress, only to have it marred by tiny pin holes! With fabric weights, that worry is a thing of the past.
So, whether you’re a seasoned seamstress or just starting out, incorporating fabric weights into your sewing routine can be a game-changer. They provide stability, enhance your cutting accuracy, and ultimately lead to a more enjoyable sewing experience. Next time you sit down to sew, don’t forget to grab those weights and let them do the heavy lifting!
1. What can I use as fabric weights?
You can use items like washers, small bags filled with rice or beans, smooth stones, or even purchased fabric weights. Just ensure they are heavy enough to hold your fabric in place without causing damage.
2. How do I know if I’m using enough fabric weights?
If your fabric is shifting or moving while you cut, it’s a sign you need more weights. Aim to place them evenly around the edges of your pattern for the best results.
3. Can I use fabric weights on any type of fabric?
Yes! Fabric weights are great for most fabrics, especially delicate ones that can be damaged by pins. However, ensure that the weight is not too heavy for very lightweight fabrics.
4. Are fabric weights better than pins?
Fabric weights can be more efficient than pins for many projects, especially for larger pieces of fabric or delicate materials. They save time and reduce the risk of pinholes.
6. Mastering Basic Stitches
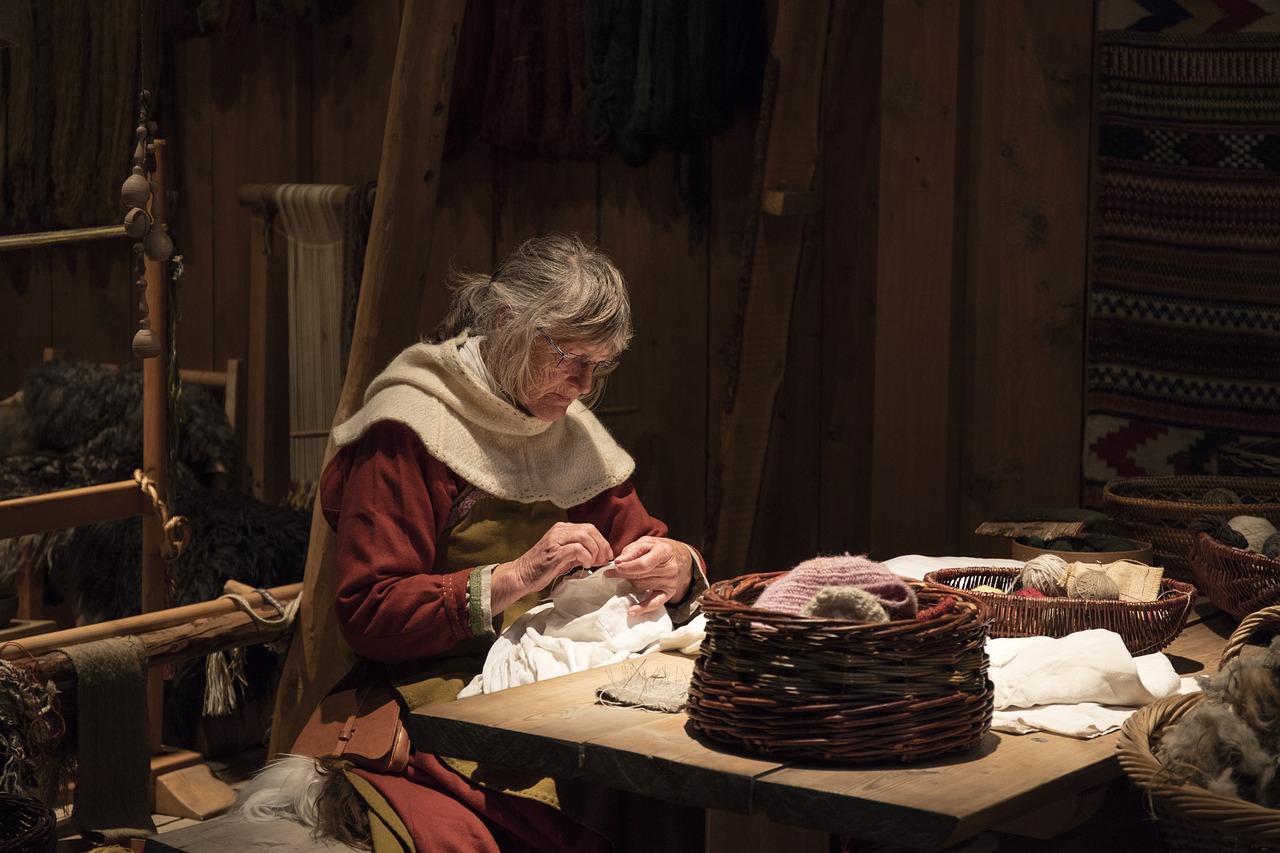
When it comes to sewing, mastering the basics is like learning to ride a bike; once you get the hang of it, everything else becomes easier! Understanding basic stitches is essential for any beginner, and it lays the groundwork for more complex projects down the line. So, let’s dive into the world of stitches and discover how they can transform your sewing experience.
First off, the straight stitch is your best friend. It’s the most fundamental stitch used in sewing, and you’ll find it on nearly every sewing machine. This stitch is perfect for seams and hems, providing a strong and reliable hold. To create a straight stitch, simply guide your fabric under the needle and keep an even pace. Remember, practice makes perfect! The more you sew, the more comfortable you’ll become.
Next up is the zigzag stitch. This stitch is incredibly versatile and serves multiple purposes, such as finishing raw edges to prevent fraying and adding stretch to seams. It’s especially useful when working with knit fabrics. To create a zigzag stitch, adjust your sewing machine settings to the zigzag option and watch as your fabric transforms. It’s like magic!
Another important stitch to master is the backstitch. This stitch is crucial for reinforcing seams, especially at the beginning and end of your sewing. By sewing backward for a few stitches, you create a secure hold that prevents unraveling. Think of it as the safety net of your sewing projects!
As you become more confident, you might want to explore decorative stitches. Many sewing machines come with a variety of built-in options that can add flair to your projects. These stitches can be used for embellishments or to add a personal touch to your creations. Just remember, while they’re fun to use, it’s essential to practice on scrap fabric first to get a feel for how they work.
To help you visualize these stitches, here’s a quick reference table:
| Stitch Type | Uses | Tips |
|---|---|---|
| Straight Stitch | Seams, hems | Keep an even pace for best results |
| Zigzag Stitch | Finishing edges, stretch seams | Adjust machine settings for width and length |
| Backstitch | Reinforcing seams | Sew backward for 3-4 stitches at start and end |
Finally, don’t forget about the importance of practice! Setting aside time to sew regularly will help you become more familiar with these stitches and improve your overall skills. Consider making small projects, like pillow covers or simple bags, to apply what you’ve learned. Each project is an opportunity to refine your technique and build confidence.
In conclusion, mastering basic stitches is a vital step in your sewing journey. By focusing on straight, zigzag, and backstitches, you’ll be well on your way to creating beautiful and functional pieces. So grab your fabric, thread your needle, and let the sewing adventures begin!
7. Essential Sewing Tools
When diving into the world of sewing, having the right tools can make all the difference between a frustrating experience and a fun, creative adventure. Think of your sewing tools as the ingredients in a recipe; without them, your project may not turn out as delicious as you hoped! So, what are the essential tools that every beginner should have in their sewing kit? Let's break it down.
First and foremost, a good pair of fabric scissors is non-negotiable. These scissors are specifically designed to cut through fabric smoothly, ensuring that your edges remain clean and precise. Using regular scissors can lead to jagged cuts, which can affect the overall look of your project. It's worth investing in a quality pair—think of them as your trusty sidekick on your sewing journey!
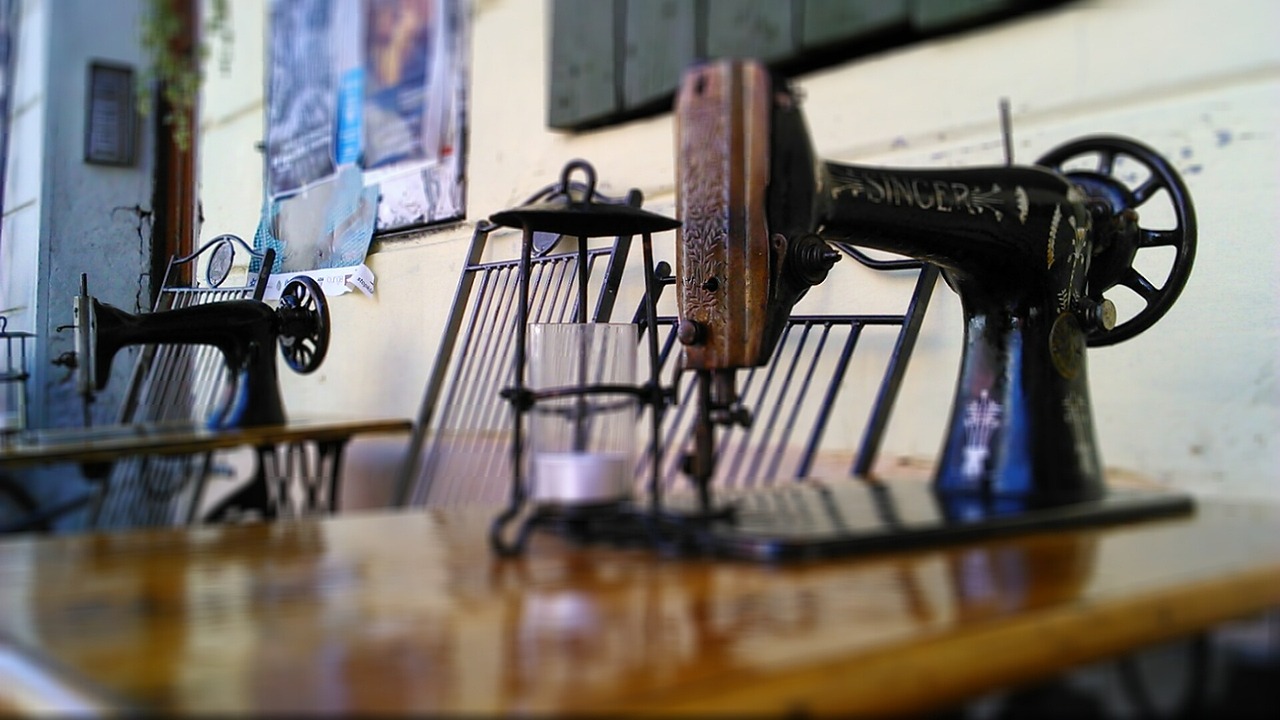
Next up, you’ll need a sewing machine. While some may argue that hand sewing is the way to go, a sewing machine can save you a ton of time and effort, especially on larger projects. Whether you opt for a basic model or something more advanced, make sure to familiarize yourself with its functions. It’s like learning to ride a bike; once you get the hang of it, you’ll be zooming along in no time!
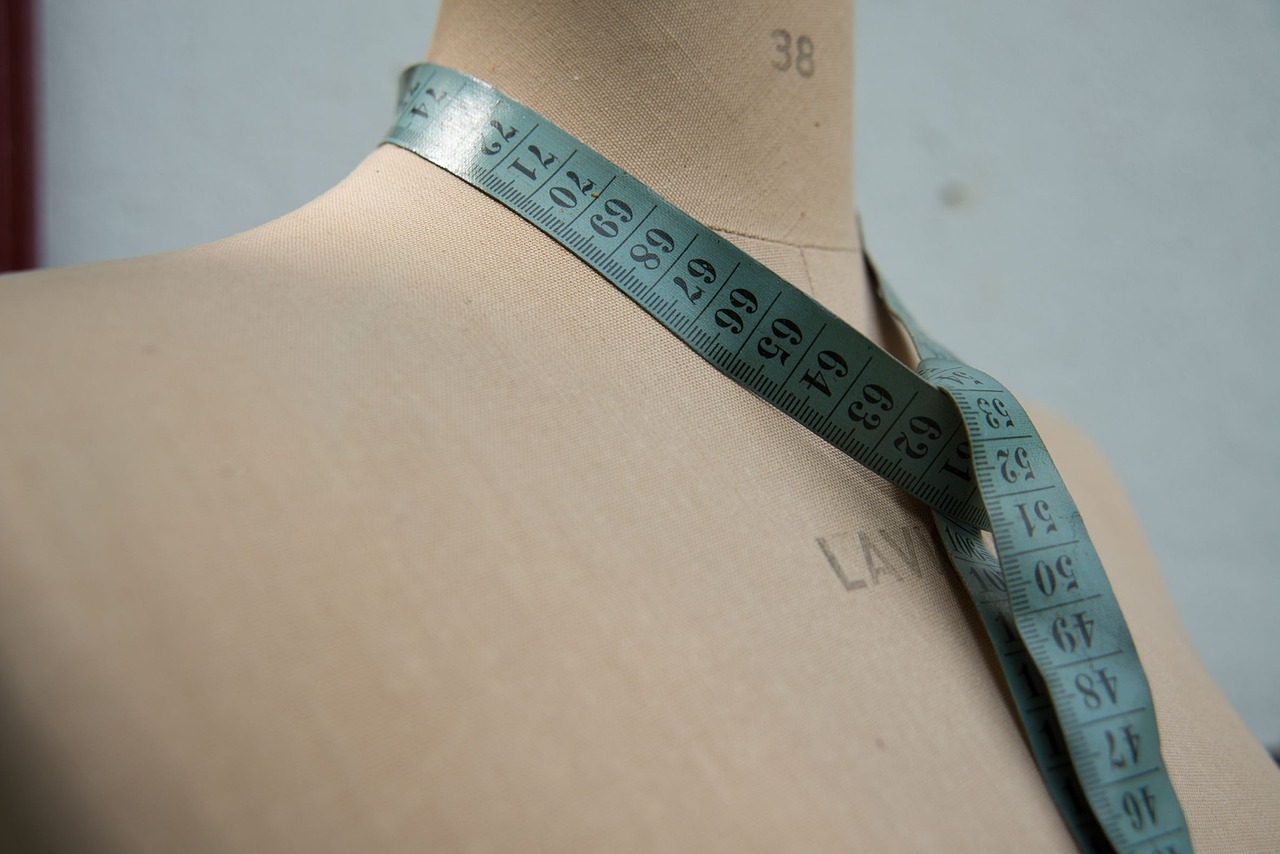
Another vital tool is a measuring tape. This handy item is crucial for taking accurate measurements, ensuring that your projects fit just right. You wouldn’t bake a cake without measuring your ingredients, so why would you sew without measuring your fabric? Pair your measuring tape with a ruler for straight edges and precise cuts.
Don’t forget about pins and a pin cushion. Pins help hold your fabric pieces together while you sew, preventing them from shifting out of place. A pin cushion keeps your pins organized and easily accessible, so you can focus on your sewing rather than searching for misplaced pins. It’s like having a personal assistant by your side!
Lastly, a seam ripper is an essential tool that every beginner should have. Mistakes happen, and when they do, a seam ripper allows you to easily undo stitches without damaging your fabric. Think of it as your safety net; it gives you the confidence to take risks and try new techniques without the fear of making irreversible mistakes.
To summarize, here’s a quick table of essential sewing tools:
| Tool | Purpose |
|---|---|
| Fabric Scissors | For cutting fabric accurately |
| Sewing Machine | For efficient sewing of fabric |
| Measuring Tape | For taking accurate measurements |
| Pins and Pin Cushion | For holding fabric pieces together |
| Seam Ripper | For undoing stitches easily |
Having these essential tools at your disposal will not only make sewing easier but also more enjoyable. Each tool serves a purpose, contributing to the overall success of your projects. So, gather your tools, and let your creativity flow!
1. Do I need a sewing machine to start sewing?
While a sewing machine is not mandatory, it can greatly enhance your sewing experience, especially for larger projects. Beginners can start with hand sewing, but a machine will save you time and effort.
2. What type of fabric scissors should I buy?
Invest in high-quality fabric scissors that are specifically designed for cutting fabric. Avoid using regular scissors as they can damage the fabric and yield uneven cuts.
3. How can I keep my sewing area organized?
Use containers and organizers for your tools, fabrics, and patterns. A tidy workspace can significantly boost your productivity and creativity.
8. Simple Pattern Adjustments
When you first dive into the world of sewing, you might think that patterns are set in stone, but that's far from the truth! Simple pattern adjustments can make a world of difference in achieving that perfect fit and style for your projects. Imagine trying on a pair of jeans that are just a bit too tight around the waist. With a few tweaks to your sewing pattern, you can easily create a more comfortable and flattering fit. Let's explore some straightforward adjustments that can elevate your sewing game!
First off, it's essential to understand that most commercial patterns come with a standard fit, which may not align with your unique body shape. One of the easiest adjustments you can make is to alter the side seams. If you find that a garment is too snug, simply add a little extra fabric at the side seams. Conversely, if the garment feels too loose, you can take it in by removing some fabric. This not only enhances comfort but also improves the overall look of the finished piece.
Another common adjustment is the length alteration. Whether it's a dress, pants, or sleeves, sometimes the length just doesn't hit the right spot. To make this adjustment, measure where you want the garment to fall and mark that point on the pattern. For instance, if you want to shorten a dress, you can cut the pattern at the desired length and then reattach the hem. This simple change can transform a garment from "meh" to "wow!"
Don't forget about the shoulder seams! If you've ever worn a top that keeps slipping off your shoulders, you know how frustrating that can be. A quick fix is to adjust the shoulder seams. By raising or lowering the shoulder seam, you can create a better fit. Just remember to make the same adjustment on both the front and back pieces to keep everything balanced.
Lastly, if you’re feeling adventurous, consider making a full bust adjustment (FBA) if you're working with a fitted pattern. This adjustment is particularly useful for those with a fuller bust, ensuring that your garment fits comfortably without pulling or gaping. It involves adding extra fabric to the bust area, which can be done by cutting the pattern and spreading it apart. Don’t worry; there are plenty of tutorials online that can guide you through the process step by step!
To summarize, here are a few key adjustments you can make to your sewing patterns:
- Side Seams: Take in or let out for a better fit.
- Length Alterations: Adjust hems or sleeves to your desired length.
- Shoulder Seams: Raise or lower for improved fit.
- Full Bust Adjustment: Add fabric to the bust area for comfort.
With these simple pattern adjustments, you can customize your sewing projects to fit your body perfectly. Remember, sewing is all about experimentation and finding what works best for you. So grab your fabric, make those adjustments, and watch your creations come to life!
Q: How do I know if I need to make pattern adjustments?
A: If your garment feels uncomfortable, looks ill-fitting, or doesn't align with your measurements, it might be time to make some adjustments!
Q: Can I adjust any pattern?
A: Yes! Most patterns can be adjusted, but keep in mind that some complex designs may require more careful alterations.
Q: Is there a resource for learning pattern adjustments?
A: Absolutely! There are numerous online tutorials, videos, and sewing books dedicated to pattern adjustments that can guide you through the process.
9. Troubleshooting Common Sewing Issues
Sewing can be a delightful journey, but it's not without its bumps along the way. Every beginner, and even seasoned sewists, encounter common issues that can lead to frustration. But fear not! With a bit of knowledge and some handy tricks up your sleeve, you can tackle these problems head-on and keep your sewing projects on track. Let's dive into some of the most frequent sewing woes and how to resolve them.
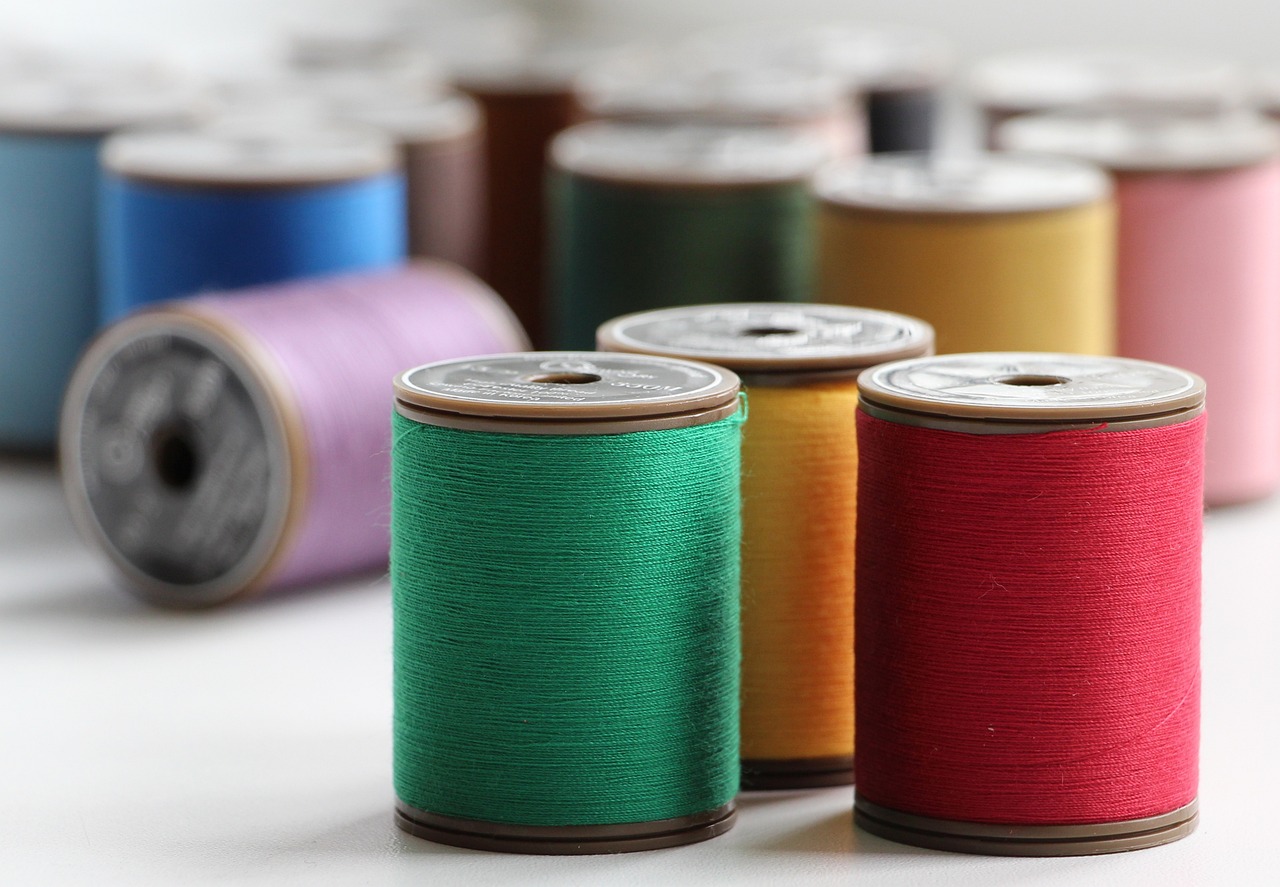
One of the most common issues is thread bunching. If you find that your thread is piling up underneath your fabric instead of forming neat stitches, it could be due to several reasons. First, check your tension settings; they might be too tight or too loose. Adjusting the tension dial can often resolve this problem. Additionally, ensure that you are using the correct type of needle for your fabric. A universal needle works for most materials, but if you're working with knits or delicate fabrics, a ballpoint or microtex needle might be more appropriate.
Another frequent problem is skipped stitches. This can be incredibly annoying, especially when you're trying to create a smooth seam. Skipped stitches can occur if your needle is dull or damaged, so replacing it is a simple first step. Also, ensure that your needle is properly inserted and that you're using the right size for your fabric. If you're working with thicker materials, a larger needle may be necessary. Lastly, check your sewing machine's settings and make sure you're using the correct stitch type for your project.
Sometimes, you might notice that your fabric is shifting while you sew. This can lead to uneven seams and misaligned patterns. To combat this, consider using fabric weights to hold your pattern in place, as mentioned earlier. Additionally, using a walking foot can help feed the fabric evenly through the machine, preventing it from slipping. If you don't have a walking foot, sewing with a longer stitch length can also help reduce shifting.
Lastly, if you're experiencing puckering in your seams, this can often be attributed to improper tension or using the wrong stitch length. Make sure to test your machine settings on a scrap piece of fabric before starting on your actual project. If puckering occurs, you can try loosening the tension or using a longer stitch length to create a smoother finish. It may also be worth checking your fabric type; some fabrics are more prone to puckering than others.
In summary, troubleshooting common sewing issues doesn't have to be daunting. By understanding the root causes of these problems and knowing how to address them, you can enhance your sewing experience and build your confidence. Remember, every mistake is just a stepping stone towards becoming a better sewist!
- What should I do if my sewing machine is not stitching?
Check if the machine is threaded correctly, the needle is inserted properly, and the tension settings are appropriate. - How can I prevent fabric from fraying?
Use a zigzag stitch or a serger to finish the edges of your fabric, or apply fray check to prevent fraying. - What is the best way to store my sewing supplies?
Organize your supplies in clear bins or drawers, and keep frequently used items within easy reach for convenience.
Frequently Asked Questions
- What are some tips for organizing my sewing space?
Keeping your sewing area tidy can boost your creativity and productivity. Start by categorizing your tools, fabrics, and patterns. Use clear bins or drawer organizers to store small items like threads and scissors. A pegboard can be a great way to hang tools within arm's reach while keeping your workspace clutter-free.
- How do I choose the right fabric for my project?
Choosing the right fabric is crucial for a successful project. Consider the weight, texture, and drape of the fabric. Lightweight fabrics like cotton are great for beginners, while heavier materials like denim require more skill. Always think about the end use of your project and choose a fabric that matches its purpose!
- Why is pre-washing fabric important?
Pre-washing your fabric helps prevent shrinkage and color bleeding after your project is complete. It’s like giving your fabric a little spa day before you start sewing! Wash it in the same way you plan to wash the finished item to ensure it behaves as expected.
- How does ironing help in sewing?
Ironing your fabric before you start sewing is essential for achieving smooth seams and a professional finish. It flattens out any wrinkles and helps the fabric lay properly, making it easier to cut and sew accurately. Just think of it as prepping your canvas before painting!
- What are fabric weights, and how do I use them?
Fabric weights are handy tools that keep your fabric and patterns in place while you cut. Instead of pinning everything down, which can be time-consuming, simply place weights around the edges of your pattern pieces. This helps prevent shifting and ensures your cuts are precise, making your sewing life a lot easier!
- What basic stitches should I learn as a beginner?
As a beginner, you should familiarize yourself with a few basic stitches, such as the straight stitch, zigzag stitch, and backstitch. These foundational stitches are used in almost every project, and mastering them will give you the confidence to tackle more complex techniques down the line!
- What essential tools do I need for sewing?
Every beginner should have a few essential tools on hand. These include a good pair of fabric scissors, pins, a measuring tape, a seam ripper, and a rotary cutter. Investing in quality tools can make your sewing experience smoother and more enjoyable.
- How can I adjust patterns for a better fit?
Making simple adjustments to your patterns can significantly improve the fit and style of your garments. Start by measuring yourself accurately and compare these measurements to the pattern. You can add or subtract fabric in areas like the waist or bust to create a custom fit that flatters your shape!
- What are some common sewing issues I might face, and how can I troubleshoot them?
Every beginner encounters challenges, like fabric bunching or thread breaking. If your fabric is bunching, check your tension settings and make sure you're using the right needle for your fabric type. For thread breakage, ensure your thread is properly threaded and that you're using a sharp needle. Remember, troubleshooting is part of the learning process!


