Create DIY Jewelry Holders for Practical Decor
Are you tired of tangled necklaces and misplaced earrings? If so, you’re not alone! Many of us struggle to keep our jewelry organized and accessible, but the good news is that you can create your own DIY jewelry holders that are not only practical but also add a personal touch to your decor. Imagine walking into your room and seeing your favorite pieces beautifully displayed, rather than hidden away in a drawer. In this article, we’ll explore creative and functional ways to make your own jewelry holders, combining aesthetics with practicality. From rustic wooden designs to elegant fabric options, there’s something here for everyone. So, let’s dive in and discover how you can enhance your space while keeping your jewelry organized!
Before you embark on your DIY journey, it’s essential to assess your jewelry collection. Take a moment to consider the size and type of your pieces. Do you have a plethora of necklaces that need hanging space? Or perhaps an abundance of earrings that require a dedicated organizer? Understanding your storage needs will help you design a holder that accommodates everything from statement pieces to delicate charms. This thoughtful approach ensures that your DIY solution not only looks great but also serves its purpose effectively. Think of it as designing a wardrobe for your jewelry, where each piece has its own special place!
When it comes to creating your jewelry holder, selecting the right materials is crucial for both durability and style. You have a variety of options to choose from, including wood, fabric, and metal. Each material offers its own unique aesthetic and functionality. For example, wood can provide a warm, rustic feel, while metal can lend a sleek, modern touch. Fabrics can add softness and color, making them perfect for a cozy, inviting look. As you explore your choices, consider the following:
- Wood: Perfect for a timeless aesthetic.
- Fabric: Great for adding a soft touch.
- Metal: Ideal for a minimalist design.
By thoughtfully choosing materials that complement your decor and jewelry collection, you’ll ensure that your DIY holder is both functional and visually appealing.
Wood offers a timeless aesthetic for DIY jewelry holders. Whether you’re aiming for a rustic charm or a sleek modern design, wood can be your best friend. You can create stunning pieces using reclaimed wood or new materials, and the possibilities are endless! Consider crafting a simple wall-mounted holder with hooks for necklaces and a small shelf for rings. Alternatively, you could build a tiered stand that displays your collection beautifully on a dresser. Don’t forget to personalize your wooden holders with stains or paints that match your style, making them truly your own!
Transforming old furniture into jewelry holders is not only sustainable but also a fun way to express your creativity. Think about using old drawers, cabinets, or shelves that you no longer use. With a little imagination, you can breathe new life into these pieces. For instance, an old dresser drawer can be turned into a stylish earring organizer by adding a decorative fabric lining and inserting small dividers. This method not only helps you declutter but also provides a unique storage solution that reflects your personal style.
If you’re looking for a more modern and minimalist approach, wire and metal can create elegant jewelry holders that are both functional and eye-catching. You can bend and shape wire into various forms to create unique displays. Imagine a delicate wire tree that holds your necklaces, or a simple metal frame that showcases your favorite earrings. These designs not only keep your jewelry organized but also serve as stunning decor pieces that can elevate any space.
Fabric-based jewelry holders provide a soft, stylish touch that can complement any decor. You can sew or craft holders from materials like felt, canvas, or cotton, creating cozy homes for your accessories. For example, a simple fabric pouch can keep your bracelets untangled, while a wall-mounted fabric organizer can hold earrings and rings in a fun and colorful way. The beauty of using fabric is that you can easily change it out with the seasons or your mood, providing endless customization options!
Now that you have a better understanding of materials and styles, let’s explore some design inspirations that can spark your creativity. Whether you prefer wall-mounted displays or tabletop organizers, there are countless ideas that can transform your jewelry storage into a stunning focal point in your home.
Wall-mounted jewelry holders are fantastic for saving space while adding visual interest to your decor. You can create designs that utilize hooks, shelves, or frames, allowing you to showcase your jewelry collection. Imagine a beautiful wooden board with hooks for necklaces and a small shelf for rings, all mounted on your wall. This not only keeps your jewelry organized but also turns it into a piece of art!
If you prefer to keep your jewelry on display on a dresser or vanity, tabletop organizers are the way to go. Explore ideas for trays, bowls, or tiered stands that not only keep your accessories organized but also enhance your home decor. A chic tray can serve as a catch-all for your daily wear, while a tiered stand can showcase your favorite pieces, making them easily accessible and visually appealing.
1. What materials are best for DIY jewelry holders?
Choosing materials depends on your style and the look you want to achieve. Wood, fabric, and metal are popular options, each offering unique aesthetics and functionality.
2. How can I organize my jewelry effectively?
Assess your collection and design a holder that accommodates your pieces. Consider using hooks for necklaces, trays for rings, and compartments for earrings.
3. Can I repurpose old furniture for jewelry storage?
Absolutely! Old furniture like drawers and cabinets can be creatively transformed into unique jewelry holders, adding character to your space.
4. How do I personalize my DIY jewelry holder?
You can personalize your holders by choosing colors and finishes that match your decor, or by adding decorative elements like stencils or paint.
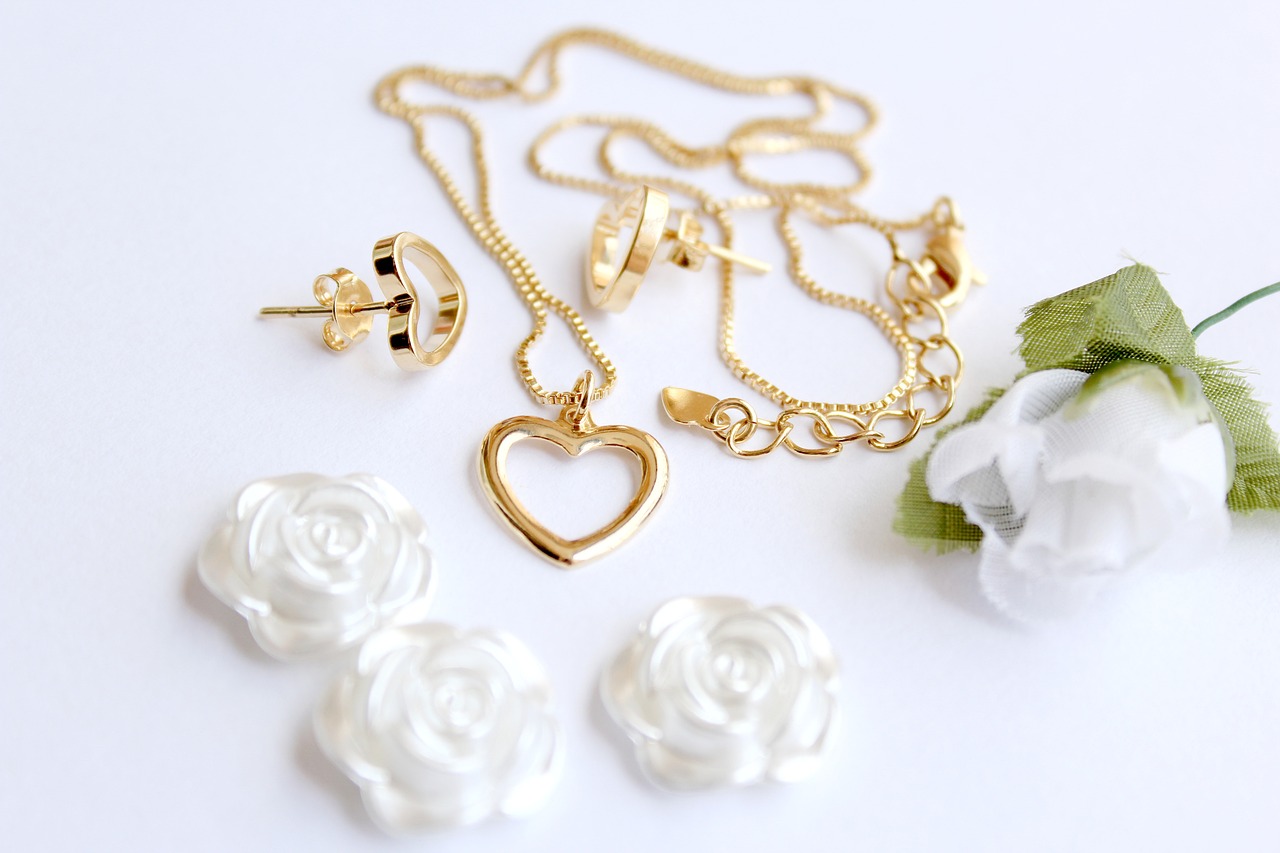
Understanding Your Jewelry Storage Needs
Before diving into the exciting world of DIY jewelry holders, it's essential to take a moment to assess your jewelry collection. Think about the size and type of jewelry you own. Are you a fan of chunky statement necklaces that take up more space, or do you prefer delicate earrings that can easily get lost in a drawer? Understanding your needs will help you create a holder that is not only functional but also complements your personal style.
Consider the various types of jewelry you have. For instance, necklaces, bracelets, rings, and earrings all require different storage solutions. Here’s a quick breakdown of what to think about:
- Necklaces: Long chains can tangle easily, so a holder with hooks or a dedicated space is ideal.
- Earrings: Small and often pairs, earrings can be organized in a way that keeps them visible and easy to access.
- Bracelets: These can be displayed on a stand or in a tray to prevent them from getting scratched.
- Rings: A small dish or a ring holder can keep these precious items safe and organized.
By taking inventory of your jewelry, you can identify the specific storage solutions that will work best for you. This not only helps you decide on the design of your DIY jewelry holder but also ensures that your beautiful pieces are displayed and stored in a way that keeps them safe and easily accessible. Remember, the ultimate goal is to create a space that reflects your aesthetic while providing practicality in your daily routine.
In summary, understanding your jewelry storage needs is the first step in creating a DIY holder that is both beautiful and functional. By knowing what you have and how you want to display it, you can make informed choices that will enhance your space and keep your jewelry organized.

Choosing the Right Materials
When it comes to crafting your own DIY jewelry holders, selecting the right materials is absolutely crucial. Not only do the materials you choose influence the overall durability of your holder, but they also play a significant role in the style and aesthetic of your decor. The right combination can transform a simple storage solution into a stunning centerpiece that complements your space. So, what should you consider?
First off, think about the look you want to achieve. Are you leaning towards a rustic vibe, or are you more into a sleek, modern design? Each material brings its own character to the table. For instance, wood offers a timeless and warm feel, making it perfect for those who appreciate a more organic touch. On the other hand, metal can provide a chic, contemporary edge that fits seamlessly into a modern home. Fabric options, like felt or cotton, introduce a cozy element, adding a splash of color and softness to your jewelry display.
Here’s a quick overview of some popular materials you might consider:
- Wood: Ideal for rustic and modern designs.
- Metal: Great for minimalist and elegant displays.
- Fabric: Perfect for a soft, cozy touch.
Next, consider the functionality of your jewelry holder. For example, if you have a large collection of necklaces, you might want to choose a material that allows for hooks or hangers. Metal wire can be bent to form intricate designs, while wood can be crafted into shelves or racks. If you’re storing smaller items like earrings or rings, a fabric holder with pockets might be more suitable. Think about how you use your jewelry daily, and let that guide your material choice.
Lastly, don’t forget about durability. You want your jewelry holder to last, so choosing high-quality materials is essential. For wooden holders, opt for hardwoods or treated wood that can withstand wear and tear. Metal should be rust-resistant, especially if you’re using it in a humid environment. And for fabric, consider materials that are easy to clean and maintain. Remember, the right materials not only enhance the beauty of your DIY project but also ensure it remains a practical solution for years to come.
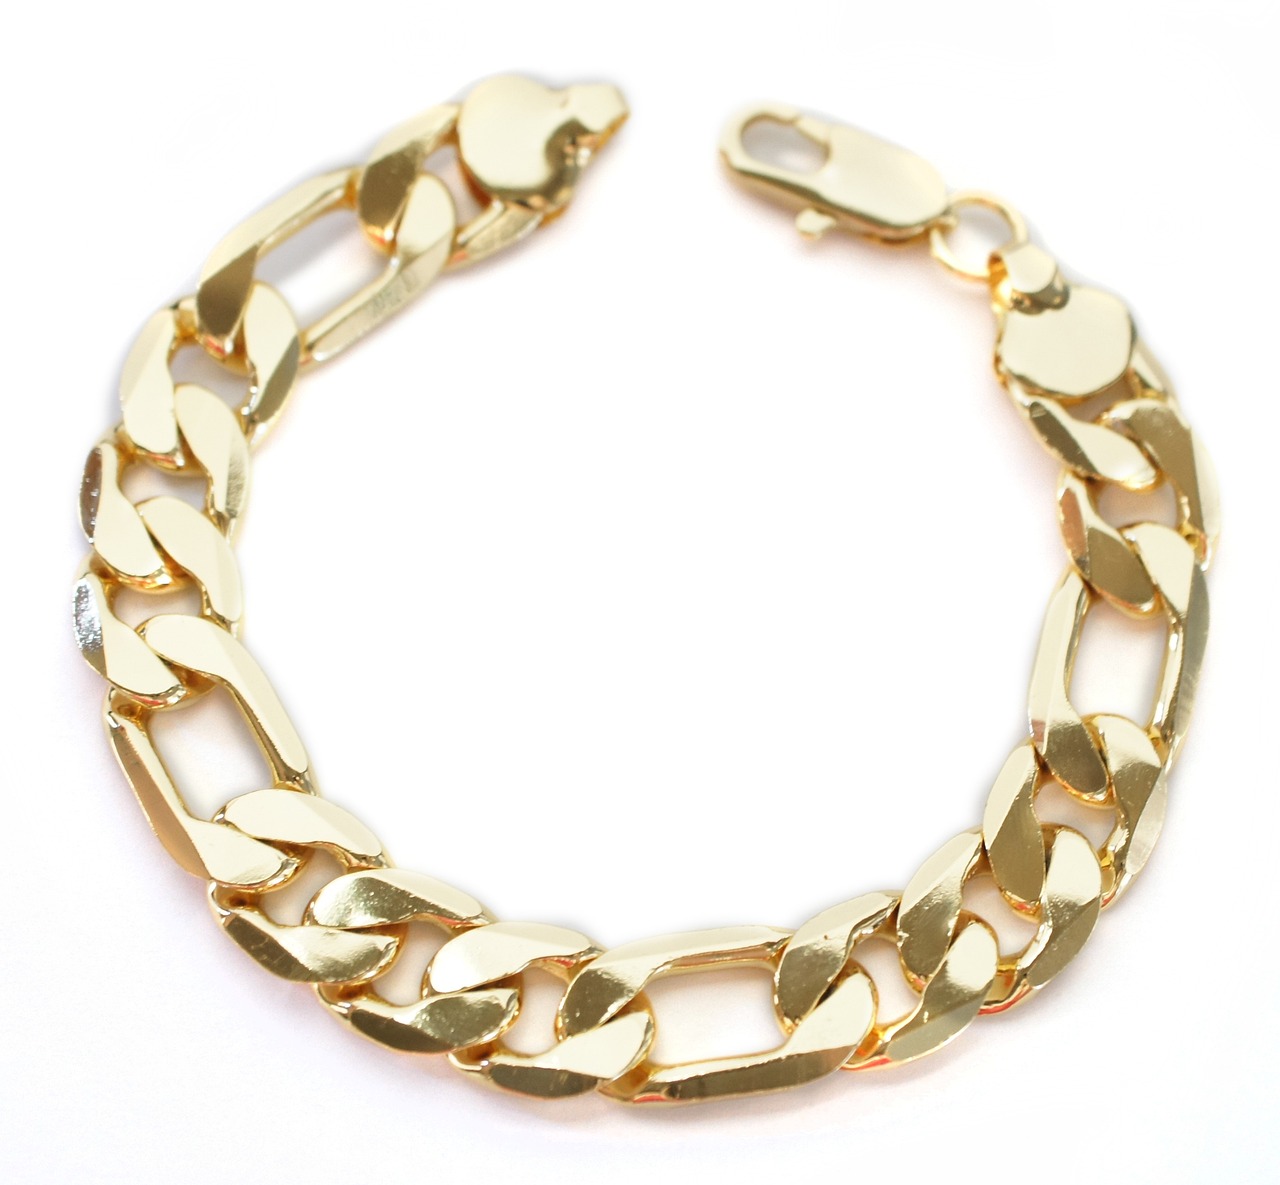
Wooden Jewelry Holders
Wooden jewelry holders are not just about functionality; they bring a warmth and charm to your space that other materials often lack. Imagine the rustic appeal of a handcrafted wooden piece sitting atop your dresser, showcasing your favorite necklaces and bracelets. The beauty of wood lies in its versatility—you can create designs that range from modern minimalism to vintage elegance. The first step in crafting your wooden jewelry holder is to consider the type of wood you want to use. Reclaimed wood is a fantastic option, as it not only adds character but also promotes sustainability. You can find old pallets or furniture pieces that can be transformed into something beautiful.
When designing your wooden jewelry holder, think about the specific needs of your jewelry collection. Do you have more necklaces than earrings? Or perhaps a plethora of rings that need a special home? By assessing your collection, you can create compartments that cater to each type of jewelry. For example, a simple wooden board can be transformed into a necklace holder by adding hooks or pegs. You might also consider creating small trays or slots for earrings and rings. The key is to ensure that everything has its place, making it easy for you to find what you need without rummaging through a tangled mess.
Another exciting aspect of wooden jewelry holders is the wide range of finishing techniques you can apply. From a natural wood finish that highlights the grain to a bold paint color that matches your decor, the options are endless. You can also add personal touches, such as engraving your initials or a meaningful quote, making your jewelry holder not just a storage solution but a piece of art. If you’re feeling adventurous, consider incorporating mixed materials—like adding a fabric lining to a wooden tray or combining wood with metal accents for a more industrial look.
To inspire your creativity, here are a few ideas for wooden jewelry holder designs:
- Wall-Mounted Holder: Create a rustic wall-mounted piece with hooks for necklaces and a small shelf for rings.
- Tiered Stand: Build a tiered wooden stand that allows you to display multiple layers of jewelry, perfect for showcasing your collection.
- Repurposed Furniture: Transform an old drawer into a chic jewelry holder by adding dividers and a coat of paint.
In conclusion, wooden jewelry holders are a fantastic DIY project that can enhance both the practicality and aesthetic of your space. With a little creativity and the right materials, you can create a stunning piece that not only organizes your jewelry but also serves as a beautiful decor element. So, gather your tools and let your imagination run wild—you might just end up with the perfect wooden jewelry holder that reflects your unique style!

Repurposing Old Furniture
Repurposing old furniture into jewelry holders is not only a fantastic way to breathe new life into forgotten pieces, but it also adds a unique charm to your decor. Imagine turning a dusty old drawer into a stunning necklace organizer or transforming a vintage cabinet into a chic display case for your earrings. The beauty of this approach lies in its sustainability and creativity, allowing you to craft something truly personal and one-of-a-kind.
When considering which pieces to repurpose, think about what you already have at home. A few popular options include:
- Old Dressers: With their multiple drawers, dressers can easily be converted into a spacious jewelry storage solution. You can line the drawers with soft fabric to protect your pieces and even add dividers to keep everything organized.
- Wooden Crates: These can be stacked or hung on walls to create a rustic yet stylish display. Simply paint or stain them to match your decor, and use them to store bracelets, rings, or even larger statement pieces.
- Cabinets or Nightstands: These often have compartments that can be adapted for jewelry storage. You can remove the hardware and replace it with hooks for necklaces, or use the shelves to display your favorite pieces.
To get started, gather your chosen furniture piece and assess its condition. A little sanding, painting, or staining can go a long way in refreshing its look. Don’t be afraid to experiment with colors or finishes that complement your existing decor. For instance, a shabby chic white finish can give an old piece a fresh, airy feel, while a bold color can make it a statement piece in your room.
Once your furniture is prepped, think about how to best utilize it for jewelry storage. For drawers, consider adding small containers or dividers to keep earrings and rings from getting tangled. If you're using a cabinet, you might want to install a mirror on the inside of the door for easy accessorizing. The possibilities are endless, and the result will be a functional yet beautiful addition to your space.
Repurposing old furniture not only helps you organize your jewelry but also serves as a conversation starter in your home. Every piece tells a story, and having a unique jewelry holder crafted from something with history adds character to your decor. So, roll up your sleeves, get creative, and turn those forgotten pieces into stunning jewelry displays that reflect your personal style!
Q: What types of furniture work best for repurposing into jewelry holders?
A: Almost any furniture can be repurposed! Look for items like dressers, cabinets, wooden crates, or even old picture frames. The key is to choose pieces that have enough space to accommodate your jewelry collection.
Q: Do I need special tools to repurpose furniture?
A: Basic tools like a screwdriver, hammer, and paintbrush are typically sufficient. Depending on the project, you might also need sandpaper, wood glue, or hooks for hanging jewelry.
Q: How can I ensure my jewelry is protected in repurposed furniture?
A: Lining drawers with fabric or using small containers can help protect your jewelry from scratches and tangling. Additionally, avoid placing pieces in direct sunlight to prevent fading.
Crafting with Wire and Metal
When it comes to creating jewelry holders, wire and metal offer endless possibilities for crafting unique and stylish designs. Imagine twisting, bending, and shaping materials that not only serve a functional purpose but also add a touch of elegance to your decor. Whether you’re a seasoned DIY enthusiast or just starting out, working with wire and metal can be a rewarding experience that allows your creativity to shine.
One of the primary advantages of using wire is its versatility. You can create anything from simple hooks to intricate sculptures that hold your jewelry. For instance, a basic wire frame can be transformed into a stunning display for necklaces and bracelets by adding curves and loops. You can even incorporate beads or colored wire to personalize your design. The process is akin to painting with a brush, where each twist and turn contributes to a beautiful masterpiece.
To get started, gather your materials. You’ll need:
- Wire: Choose from materials like copper, aluminum, or stainless steel, depending on your desired finish and durability.
- Pliers: A good pair of needle-nose pliers is essential for bending and shaping the wire.
- Wire Cutters: To trim your wire to the desired lengths.
- Base Material: Consider using a wooden board or a sturdy metal plate as a base for your holder.
Once you have your materials ready, it’s time to get creative! Start by sketching your design on paper. This will help you visualize the final product and plan out the dimensions. For a simple necklace holder, you could create a series of hooks that cascade down a vertical wire frame. Alternatively, for a more artistic approach, consider crafting a tree-like structure where each branch holds a different piece of jewelry. The possibilities are truly endless!
As you work, remember to pay attention to balance and stability. If your holder is top-heavy, it may easily tip over, causing your jewelry to fall. A good tip is to anchor your wire structure to a heavier base or ensure that the lower sections of your design are wider than the upper parts. This not only enhances functionality but also adds an aesthetic appeal, creating a striking visual that draws the eye.
After assembling your wire holder, consider finishing touches that can elevate its look. You might want to spray paint it a bold color, wrap it with colorful thread, or even attach decorative elements like crystals or beads. These details can transform a simple wire holder into a stunning piece of art that complements your home decor.
In summary, crafting with wire and metal not only provides a practical solution for organizing your jewelry but also allows you to express your creativity. By experimenting with different shapes, sizes, and finishes, you can create a jewelry holder that is truly one-of-a-kind. So, gather your materials, unleash your imagination, and get ready to create a stunning display that showcases your beautiful accessories!
Q: What types of wire are best for crafting jewelry holders?
A: Copper, aluminum, and stainless steel are popular choices due to their flexibility and strength. Copper is particularly easy to work with, while stainless steel offers durability.
Q: Do I need special tools to work with wire?
A: Basic tools like pliers and wire cutters are essential. You might also consider investing in a wire jig for more complex designs.
Q: Can I paint or decorate my wire jewelry holder?
A: Absolutely! Spray paint, fabric, and decorative beads can all add a personal touch to your wire holder, making it a unique piece in your decor.
Fabric and Textile Options
When it comes to creating your own jewelry holders, fabric and textiles can add a unique and cozy touch to your designs. Imagine soft, colorful materials cradling your favorite pieces, making your jewelry not just organized but also a part of your home decor. Using fabric allows for a myriad of textures and patterns, which can be tailored to fit your personal style and the overall aesthetic of your space.
One popular choice is felt, known for its durability and ease of use. Felt can be cut into various shapes and sizes, making it perfect for creating custom pouches or small trays to hold earrings, rings, and necklaces. For a more sophisticated look, consider using canvas or cotton. These materials can be sewn into beautiful hanging organizers that can be displayed on walls or doors, transforming your jewelry storage into a stunning piece of art.
Moreover, if you’re feeling adventurous, you can even mix and match different fabrics! For instance, a combination of denim and lace can create a rustic yet elegant jewelry holder. This not only provides a functional solution but also adds a personal touch that reflects your creativity. To give you some ideas, here are a few fabric options you might consider:
- Felt: Soft, easy to work with, and available in many colors.
- Canvas: Sturdy and can be painted or printed on for customization.
- Cotton: Breathable and versatile, perfect for sewing.
- Linen: Adds a natural texture and elegance to your designs.
Once you've chosen your fabric, think about the construction. You can create simple pouches with drawstrings, or go for a more elaborate design with compartments and pockets for different types of jewelry. Sewing is a fantastic way to get creative, but if you're not into sewing, you can also use fabric glue to assemble your pieces. This method is quick and easy, allowing you to whip up a stylish holder in no time!
Additionally, don’t forget about the finishing touches. Adding embellishments like beads, buttons, or even embroidery can elevate your fabric jewelry holder from basic to stunning. These small details can make your holder not just a storage solution, but a statement piece in your home. So, gather your materials, unleash your creativity, and start crafting a beautiful fabric jewelry holder that’s both functional and visually appealing!
Q: What type of fabric is best for DIY jewelry holders?
A: It depends on your style! Felt is great for beginners, while canvas and cotton offer durability and aesthetic appeal.
Q: Can I create a jewelry holder without sewing?
A: Absolutely! Fabric glue can be used to assemble your holder without the need for sewing.
Q: How do I clean fabric jewelry holders?
A: Most fabric holders can be spot cleaned with mild detergent and water. Always check the care instructions for your specific material.
Q: Are fabric jewelry holders suitable for travel?
A: Yes! Fabric holders can be lightweight and flexible, making them a great option for travel. Just ensure they are securely closed to prevent your jewelry from falling out.
Design Inspirations for DIY Holders
When it comes to designing your own jewelry holders, the possibilities are as endless as your imagination! The beauty of DIY projects lies in their ability to reflect your personal style while serving a practical purpose. Whether you have a small collection of cherished pieces or a vast array of accessories, creating a unique jewelry holder can transform your space into a stylish showcase. Let’s dive into some inspiring ideas that will not only keep your jewelry organized but also elevate your home decor.
One of the most popular trends in jewelry storage is the wall-mounted display. This design not only saves valuable tabletop space but also turns your jewelry into a piece of art. Imagine your favorite necklaces cascading down from hooks mounted on a beautifully painted board. You can even use old picture frames, adding a touch of vintage charm while providing a perfect backdrop for your collection. To create this, simply attach hooks or small dowels to the frame and hang it on the wall. This way, your jewelry is always within reach and adds a personal touch to your decor.
Another fantastic option is to create tabletop organizers. These can range from simple trays to elaborate tiered stands. A rustic wooden tray can serve as a designated spot for your earrings, while a multi-tiered stand can display bracelets and rings beautifully. You can personalize these organizers by painting them in colors that match your room or by adding decorative elements like beads or fabric. Not only do these organizers keep your jewelry tidy, but they also become a decorative feature on your dresser or vanity.
For those who love a touch of elegance, consider crafting jewelry holders from metal and wire. A minimalist wire stand can be a stunning way to display your necklaces and bracelets. You can bend and shape the wire into intricate designs that suit your taste. Imagine a delicate tree branch where your jewelry hangs like ornaments, creating a beautiful focal point in your room. This approach adds an artistic flair while ensuring your pieces are easily accessible.
Lastly, don’t overlook the charm of fabric-based holders. Using materials like felt or canvas, you can sew or craft soft pouches or hanging organizers. These can be customized with patterns and colors that resonate with your style. A fabric organizer can hang on the back of a door or be placed in a drawer, offering a cozy home for your accessories while keeping them tangle-free. The tactile nature of fabric adds warmth to your space, making it feel more inviting.
In summary, designing your own jewelry holders can be both a fun and rewarding experience. Whether you opt for wall-mounted displays, tabletop organizers, metal creations, or fabric pouches, each option provides a unique way to showcase your jewelry while enhancing your home decor. So, gather your materials, unleash your creativity, and transform your jewelry storage into a beautiful statement piece!
1. What materials are best for DIY jewelry holders?
When choosing materials for your DIY jewelry holders, consider options like wood for a rustic look, metal for a modern aesthetic, and fabric for a soft touch. The best material depends on your personal style and the type of jewelry you own.
2. How can I ensure my jewelry holders are functional?
To ensure functionality, assess the size and type of your jewelry collection before starting your project. Design your holders to accommodate various pieces, such as hooks for necklaces, compartments for rings, and trays for earrings.
3. Can I repurpose items I already own for my jewelry holders?
Absolutely! Repurposing old furniture or items like trays, boxes, or even picture frames can add character and sustainability to your DIY project. Get creative and think about how you can transform what you already have into something new and functional.
4. How do I keep my jewelry organized and tangle-free?
Using designated spaces for different types of jewelry is key. Consider using hooks for necklaces, small dishes for rings, and trays for earrings to prevent tangling. Regularly decluttering and organizing your pieces will also help maintain order.
Wall-Mounted Displays
When it comes to maximizing space and adding a touch of flair to your home, wall-mounted jewelry displays are a game-changer. Imagine transforming a blank wall into a stunning showcase for your favorite accessories! Not only do these displays save precious tabletop space, but they also allow you to admire your jewelry collection while keeping it organized and easily accessible. Whether you have a few cherished pieces or a sprawling collection, there’s a wall-mounted solution that fits your needs and style.
One of the most appealing aspects of wall-mounted displays is their versatility. You can choose from a variety of designs, materials, and styles to create a piece that complements your decor. For instance, you might opt for a rustic wooden board with hooks to hang your necklaces, or a sleek metal grid that allows you to clip on earrings and bracelets. The key is to think about what will work best for your jewelry and your aesthetic.
Here are some popular styles of wall-mounted displays that you might consider:
- Hook Boards: Simple yet effective, these boards can be customized with hooks for necklaces and bracelets, making it easy to see and access your favorite pieces.
- Shadow Boxes: These decorative boxes can house your jewelry while keeping it protected from dust. You can create a beautiful display by arranging your pieces inside.
- Framed Displays: Use an old picture frame to create a chic jewelry holder. Add some wire mesh or string across the frame to hang earrings and necklaces, turning your jewelry into art.
To make your wall-mounted display even more unique, consider adding personal touches. Paint it in a color that matches your room, or add decorative elements like quotes or patterns. You can even incorporate lighting to highlight your jewelry, creating a stunning visual effect that draws the eye.
In conclusion, wall-mounted displays are not only practical but also a fantastic way to showcase your jewelry. They offer a blend of functionality and creativity, allowing you to express your personal style while keeping your accessories organized. So why not take that leap and turn your wall into a beautiful jewelry display? Your collection deserves to shine!
Tabletop Organizers
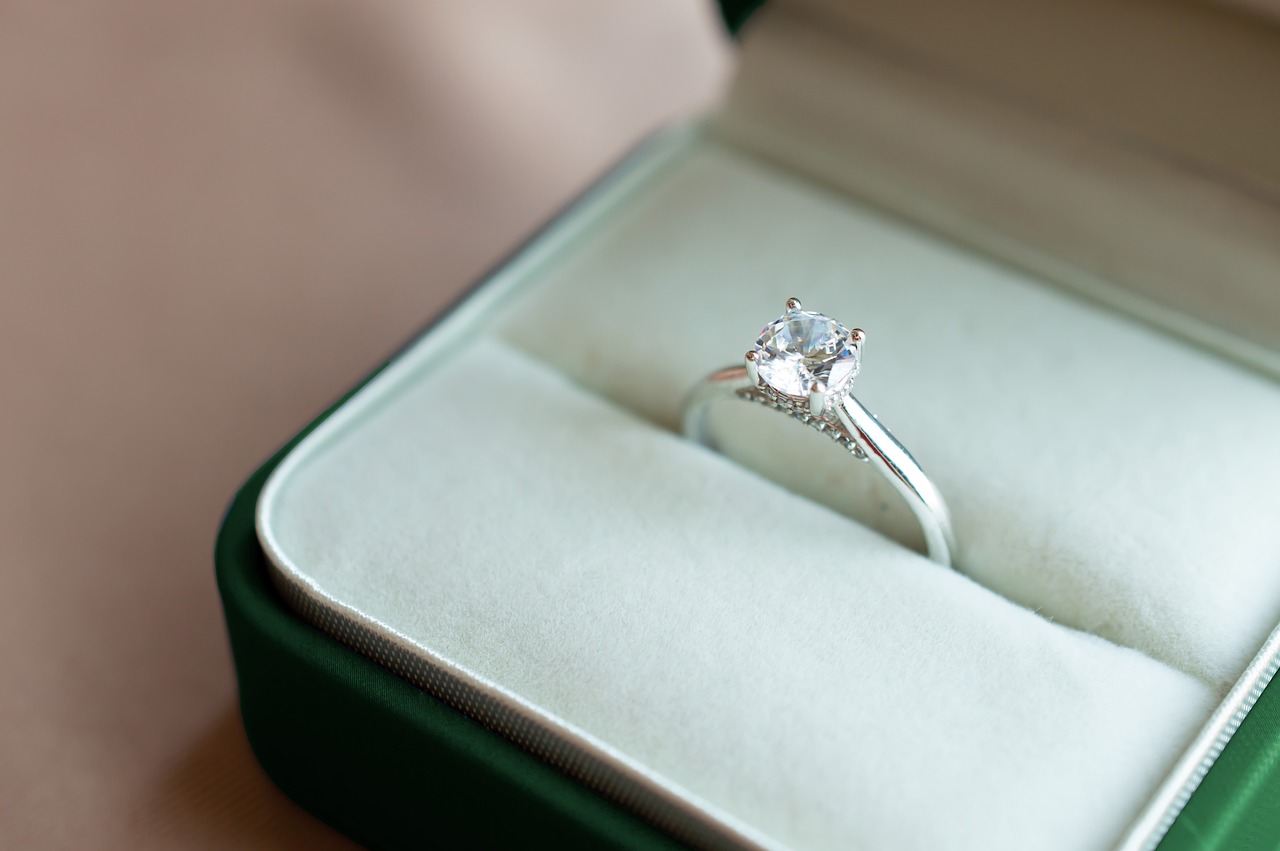
When it comes to organizing your jewelry collection, are the unsung heroes of practicality and style. Imagine walking into your room and seeing your favorite pieces displayed elegantly, rather than tangled in a drawer or scattered across your vanity. Not only do these organizers keep your accessories in check, but they also serve as a beautiful part of your decor. You can think of them as the cherry on top of your room’s aesthetic sundae!
There are countless ways to create stunning tabletop jewelry organizers that fit your style and space. For instance, you might consider using a decorative tray to house your rings and bracelets. A simple yet chic option could be a ceramic dish or a wooden tray that adds warmth to your space. You can even embellish these trays with paint or decoupage for a personal touch. The beauty of DIY is that you can tailor everything to your liking!
Another fantastic idea is to use a multi-tiered stand. These stands not only maximize vertical space but also allow you to display your jewelry like a gallery. Picture a tiered cake stand, but instead of pastries, it holds your earrings, necklaces, and bracelets, all beautifully arranged for easy access. You can find these stands at thrift stores or craft shops, and with a little creativity, you can transform them into a stunning centerpiece.
For those who prefer a more minimalist approach, consider a simple bowl or dish to hold your everyday pieces. This not only keeps your jewelry organized but also adds a touch of elegance to your tabletop. You could use a glass bowl to showcase your colorful collection or a metallic dish for a more modern vibe. The key is to choose something that complements your decor while being functional.
Here are some ideas to inspire your tabletop organizer design:
- Decorative Trays: Use materials like wood, metal, or even fabric to create a unique tray that matches your decor.
- Tiered Stands: Look for stands made from wood or metal that can hold multiple pieces and add height to your display.
- Bowls and Dishes: Choose colorful or textured bowls to make your jewelry pop while keeping it organized.
Ultimately, the goal of a tabletop organizer is to blend functionality with aesthetics. Your jewelry deserves to be showcased, not hidden away. So, get creative! Whether you’re a fan of rustic charm or sleek modernity, there’s a DIY tabletop organizer out there waiting for you to bring it to life. Remember, the best part about creating your own jewelry holders is that you can experiment with different styles and materials until you find the perfect fit for your space.
Q1: What materials are best for DIY tabletop organizers?
A1: Popular materials include wood, metal, ceramic, and fabric. Each offers a different aesthetic and level of durability, so choose based on your style and needs.
Q2: How can I personalize my tabletop organizer?
A2: You can personalize your organizer by painting it, adding decorative elements like stickers or decals, or using unique fabrics or finishes that reflect your personality.
Q3: Are tabletop organizers difficult to make?
A3: Not at all! Many tabletop organizers can be made with basic crafting skills. There are numerous online tutorials that can guide you through the process step by step.
Q4: Can I use repurposed items for my organizers?
A4: Absolutely! Repurposing old trays, bowls, or even furniture pieces can add character to your organizers while being environmentally friendly.
Frequently Asked Questions
- What materials are best for creating DIY jewelry holders?
When it comes to crafting your own jewelry holders, the choice of materials is key! You can choose from wood for a classic look, fabric for a soft touch, or metal for a modern vibe. Each option has its own charm and practicality, so think about what suits your style and the type of jewelry you have!
- How do I determine the right size for my jewelry holder?
To find the perfect size for your jewelry holder, take a moment to evaluate your collection. Count your necklaces, earrings, and bracelets, and consider how much space you need for each type. This way, you can create a holder that not only fits your jewelry but also looks great in your space!
- Can I repurpose old furniture for jewelry storage?
Absolutely! Repurposing old furniture is a fantastic way to create unique jewelry holders while being eco-friendly. Think about using drawers from an old dresser or shelves from a cabinet. With a little creativity, you can turn these pieces into stunning storage solutions that reflect your personal style!
- What are some design ideas for wall-mounted jewelry holders?
Wall-mounted jewelry holders can be both functional and decorative! You might consider using hooks to hang necklaces, or a framed mesh board for earrings. These designs not only save space but also turn your jewelry into a beautiful display that enhances your home decor.
- Are fabric jewelry holders easy to make?
Yes, fabric jewelry holders can be quite simple to make! Whether you choose to sew or craft with no-sew techniques, materials like felt or canvas can be transformed into stylish holders. Plus, they add a cozy touch to your decor while keeping your accessories organized!
- How can I personalize my DIY jewelry holder?
Personalizing your DIY jewelry holder is all about adding your unique flair! You can paint it in your favorite colors, add decorative knobs, or even incorporate photos or quotes that inspire you. The sky's the limit, so let your creativity shine!


