How to Upcycle Plastic Spoons into Decorative Flower Vases
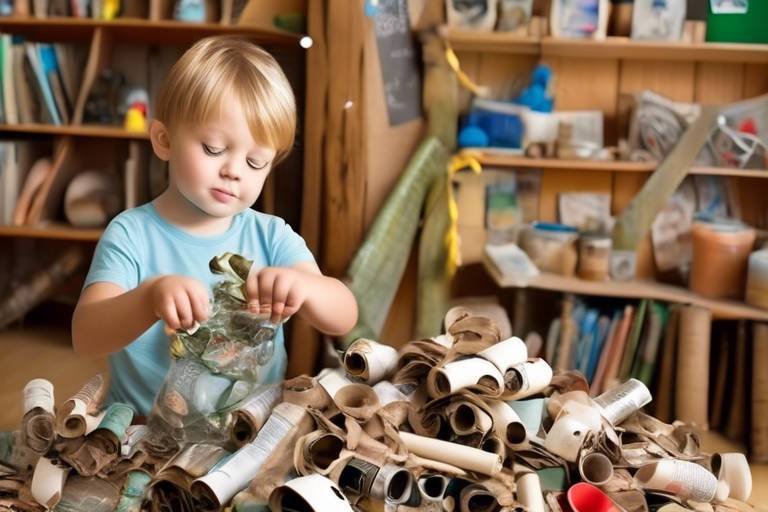
Have you ever looked at a pile of plastic spoons and thought, "What on earth can I do with these?" Well, get ready to unleash your inner artist because we're diving into the exciting world of upcycling! In this article, we're going to explore how to transform ordinary plastic spoons into stunning decorative flower vases that not only look amazing but also promote sustainability. Upcycling is a fantastic way to reduce waste and express your creativity, all while adding a personal touch to your home decor. So grab those spoons, and let’s get started on this fun DIY journey!
Upcycling is more than just a buzzword; it's a lifestyle choice that encourages us to think outside the box. It's the art of taking materials that would otherwise end up in the landfill and giving them a new purpose. Imagine turning something as mundane as plastic spoons into beautiful vases that can brighten up any room! The benefits of upcycling are numerous:
- Reduces Waste: By reusing materials, we contribute to less waste in our landfills.
- Encourages Creativity: Upcycling allows you to express your artistic side and come up with unique designs.
- Saves Money: You can create stunning decor without spending a fortune.
So, not only do you get to flex those creative muscles, but you also play a part in promoting a more sustainable way of living. Isn’t that a win-win?
Before you dive into your upcycling adventure, it's essential to gather all the necessary materials. Here’s a quick rundown of what you'll need:
| Material | Purpose |
|---|---|
| Plastic Spoons | Base material for the vases. |
| Adhesive | To bond the spoons together. |
| Acrylic Paint | For coloring and decorating the vases. |
| Scissors | To cut the spoons as needed. |
| Paintbrushes | For applying paint and embellishments. |
Having these materials ready will make your crafting experience smoother and more enjoyable!
Now that you have all your materials, it’s time to prepare those plastic spoons. First things first, you’ll want to give them a good wash to remove any dirt or residue. Once they are clean, you can start cutting them to fit your design. A great tip is to cut the spoons into halves or quarters, depending on the look you want to achieve. Arranging them in a way that enhances their aesthetic appeal is crucial. Think about layering them or creating a spiral effect. This preparation stage is where your creativity really starts to shine!
When it comes to design, the sky's the limit! You can opt for simple, elegant patterns or go all out with intricate designs. Here are a few ideas to get your creative juices flowing:
- Floral Patterns: Arrange the spoons to mimic the petals of a flower.
- Geometric Shapes: Create a modern look with sharp lines and angles.
- Color Gradients: Use different shades of paint to create a beautiful ombre effect.
Don’t be afraid to experiment! The beauty of upcycling is that you can try out different styles until you find the one that speaks to you.
Ready to bring your vision to life? Here’s a simple step-by-step guide to assembling your decorative flower vases:
- Start by laying out your design on a flat surface.
- Use your adhesive to attach the spoons together, following your chosen pattern.
- Allow the glue to dry completely before moving on to painting.
- Once dry, paint your vase in your desired colors and let it dry again.
- Finally, fill your new vase with flowers and admire your handiwork!
Painting is where you can really let your personality shine! Use acrylic paints for vibrant colors that pop. You can also add embellishments like glitter or beads for some extra flair. The finishing touches can make a significant difference in the overall look of your vase. Take your time during this step to ensure your creation is as stunning as possible!
Now that your vases are complete, it's time to show them off! Think about where you want to place them in your home or garden. Consider areas that get plenty of light, as flowers tend to thrive in sunny spots. You could also create a beautiful centerpiece for your dining table or a charming display on your windowsill. The goal is to showcase your hard work and creativity!
Finally, don't keep your beautiful creations to yourself! Share them on social media platforms like Instagram or Pinterest to inspire others to join the upcycling movement. You could even start a blog or a DIY group where you can exchange ideas and tips with fellow enthusiasts. The more, the merrier!
Q: Can I use other types of plastic utensils?
A: Absolutely! Forks and knives can also be used for unique designs.
Q: How do I clean the spoons before starting?
A: Just wash them with soap and water, and make sure they are completely dry before using them.
Q: What kind of flowers should I use in my vases?
A: You can use fresh flowers, dried flowers, or even artificial ones for a lasting display!

Understanding Upcycling
Upcycling is more than just a trendy buzzword; it's a creative movement that encourages us to think outside the box when it comes to waste. Instead of tossing out old items, upcycling invites us to transform them into something new and useful. Imagine turning a pile of discarded plastic spoons into a stunning decorative flower vase! This process not only helps reduce waste but also promotes sustainability and artistic expression.
One of the most significant benefits of upcycling is its positive impact on the environment. By reusing materials that would otherwise end up in landfills, we can significantly decrease our carbon footprint. Additionally, upcycling fosters a sense of creativity and innovation, allowing individuals to explore their artistic side. It’s like turning trash into treasure, where every piece you save has the potential to become a beautiful work of art.
Furthermore, upcycling encourages us to become more mindful consumers. When we take the time to repurpose items, we start to appreciate the resources that went into making them. This shift in perspective can lead to more sustainable shopping habits, as we become less inclined to buy new products that we may not need. In a world where consumerism often reigns, upcycling serves as a refreshing reminder to cherish what we already have.
To illustrate the benefits of upcycling, consider these key points:
- Reduces Waste: Upcycling diverts materials from landfills, minimizing environmental impact.
- Encourages Creativity: It provides an outlet for artistic expression and innovation.
- Saves Money: By repurposing items, you can create beautiful decor without breaking the bank.
- Promotes Mindfulness: It encourages us to be more conscious of our consumption habits.
In conclusion, understanding upcycling is essential for anyone looking to embrace a more sustainable lifestyle. Whether you're a seasoned DIY enthusiast or just starting, the possibilities are endless. So, gather your old items, unleash your creativity, and join the upcycling revolution!
Materials Needed
Before diving into the exciting world of upcycling plastic spoons into decorative flower vases, it's essential to gather all the necessary materials. Having everything on hand not only streamlines the process but also sparks creativity as you visualize your design. So, what do you need? Here’s a comprehensive list of materials that will help you bring your artistic vision to life:
- Plastic Spoons: The star of the show! You can choose any color, but clear or white spoons often provide a blank canvas for creativity.
- Adhesive: A strong glue, like hot glue or a craft adhesive, is crucial for securing the spoons together. This ensures your vase holds up over time.
- Scissors: You’ll need these to cut the spoons. A pair of sharp scissors will make the job easier and cleaner.
- Paint: Acrylic paint works wonders for adding color to your vases. You can choose spray paint for a smooth finish or paintbrushes for detailed designs.
- Paintbrushes: If you opt for paint instead of spray, a variety of brushes will help you achieve different textures and patterns.
- Vase Base: You might want to start with a simple glass or plastic container to form the base of your vase. This provides structure and stability.
- Embellishments: Consider adding decorative elements like ribbons, beads, or glitter to personalize your vases further.
Once you have these materials ready, you're all set to unleash your creativity! Remember, the beauty of upcycling lies in the freedom to experiment. So, don’t hesitate to think outside the box and incorporate other materials you might have lying around. Perhaps you have some old fabric that could serve as a beautiful wrap for your vase, or maybe you have some beads that could be strung around the neck of the vase for added flair. The possibilities are endless!
In summary, gathering your materials is the first step towards crafting stunning decorative flower vases. With a bit of imagination and the right supplies, you'll soon transform those ordinary plastic spoons into extraordinary pieces of art. So, let’s get started on this fun and sustainable journey!

Preparing the Spoons
Proper preparation of plastic spoons is crucial for a successful upcycling project, especially when it comes to creating decorative flower vases. You might be wondering, "How do I get started?" Well, the first step is to gather your materials. You'll need a good number of plastic spoons—preferably in various colors to add a vibrant touch to your vases. But before you dive in, let's talk about the essential preparation steps that will set the foundation for your artistic creation.
First and foremost, cleaning your plastic spoons is vital. Even if they’re brand new, a quick wash with warm, soapy water will ensure that any dust or residues are removed. Make sure to rinse them well and let them dry completely. You don’t want any moisture interfering with the adhesive or paint later on. Now, you might be thinking, "Why go through all this trouble?" Well, a clean surface not only enhances the adhesion of your materials but also ensures that your finished product looks polished and professional.
Next, it’s time to cut your spoons. Depending on the design you have in mind, you may want to trim the handles or even the bowls of the spoons. Use a pair of sharp scissors for this task, and take your time to make clean cuts. If you’re aiming for a layered effect, consider cutting the spoons into different lengths. For instance, longer spoons can be used at the base of the vase, while shorter ones can adorn the top. This layering can create a stunning visual effect that catches the eye!
Once you have your spoons cut, the next step is to arrange them in a way that enhances both the aesthetic appeal and functionality of your flower vase. Lay the spoons out on a flat surface and play around with different arrangements before you start gluing. You might find that a spiral pattern works best for you, or perhaps a more randomized look suits your style. Don’t hesitate to experiment! Remember, this is your chance to express your creativity. The more you play with the arrangement, the more unique your vase will become.
Finally, consider the color of your spoons. If you’ve chosen plain white spoons, you might want to paint them in vibrant colors or even use spray paint for a smooth finish. This can transform the ordinary into something extraordinary! After painting, let them dry completely before moving on to the assembly phase. By paying attention to these preparation steps, you’re not just creating a flower vase; you’re crafting a piece of art that reflects your personal style and commitment to sustainability.
In summary, preparing your plastic spoons involves cleaning, cutting, and arranging them thoughtfully. Each step is essential in ensuring that your decorative flower vase turns out beautifully. So, roll up your sleeves, gather your materials, and get ready to unleash your creativity!
Design Ideas for Vases
When it comes to transforming plastic spoons into decorative flower vases, the sky's the limit! One of the most exciting aspects of upcycling is the opportunity to let your creativity run wild. You can create vases that are not only functional but also serve as stunning pieces of art. Imagine walking into a room and seeing a vibrant vase made from something as ordinary as plastic spoons—it's a conversation starter for sure!
Let’s explore some unique design ideas that can inspire your next DIY project. First off, you could opt for a classic floral arrangement by layering the spoons in a spiral pattern. This design mimics the natural curves of flower petals and adds a touch of elegance to your vases. You can use either a single color or a gradient of colors to create a stunning visual effect. For instance, starting with white spoons at the base and transitioning to bright yellows or reds at the top can create a beautiful ombre effect that will catch anyone's eye.
Another fun idea is to create a themed vase. For example, if you love a nautical theme, you could paint your spoons in shades of blue and white, then add some seashells or sand at the bottom of the vase. This not only gives a beachy vibe but also adds texture and depth to your creation. You can even incorporate twine or rope around the neck of the vase for that rustic seaside charm.
For those who enjoy a more modern aesthetic, consider a geometric design. Arrange the spoons in a way that creates sharp angles and lines. You can achieve this by cutting the spoons at different lengths and layering them in a staggered fashion. This approach not only looks sleek but also adds an artistic flair. Pair it with monochromatic colors—think all white or all black—to elevate the modern vibe.
Don’t forget about the seasonal themes! You can easily switch up your designs to match the seasons. In autumn, why not use warm colors like oranges and browns to create a cozy pumpkin-inspired vase? In winter, a frosty white and silver color scheme can evoke the beauty of a snowy landscape. Each season offers a new canvas for you to express your creativity.
Additionally, you can use recycled materials to enhance your vase designs. Think about incorporating old glass jars, tin cans, or even wooden blocks as bases for your spoon creations. This not only adds stability but also allows for a mixed-media approach that can be visually captivating. By combining different materials, you can create a truly unique piece that reflects your personal style.
In summary, the design possibilities for your upcycled flower vases are practically endless. Whether you prefer a classic look, a themed approach, or a modern geometric style, the key is to have fun and let your imagination guide you. Remember, each vase you create is not just a container for flowers; it’s a reflection of your creativity and commitment to sustainability. So grab those spoons and start crafting!
Q1: Can I use any type of plastic spoon for this project?
A1: Yes, you can use any type of plastic spoon, but consider using the thicker ones for better durability and aesthetics.
Q2: What kind of adhesive works best for attaching the spoons?
A2: Hot glue is often the best choice as it dries quickly and holds well. However, you can also use a strong craft adhesive for more intricate designs.
Q3: How do I clean the plastic spoons before starting?
A3: Simply wash them with warm soapy water and let them dry completely. This ensures that any residue won't affect the paint or adhesive.
Q4: Can I use these vases for real flowers?
A4: Absolutely! Just make sure to place a small water container inside the vase to hold the flowers and water, as the plastic may not hold up well to moisture over time.
Step-by-Step Assembly
Assembling your decorative flower vases from plastic spoons can be an incredibly rewarding experience. It’s like piecing together a beautiful puzzle, where each spoon plays a vital role in creating a stunning masterpiece. To get started, make sure you have all your materials ready. You’ll need your cleaned plastic spoons, a sturdy adhesive (hot glue works wonders), scissors, and any additional embellishments you wish to use. Now, let's dive into the assembly process!
Begin by laying out your plastic spoons. You can choose to create a single vase or multiple ones; either way, having everything organized will streamline your workflow. If you're going for a layered look, consider cutting the handles of the spoons to different lengths. This will give your vase a more dynamic appearance, similar to how flowers bloom at varying heights in nature.
Next, start gluing the spoons together. Begin at the base of your vase. Apply a generous amount of glue to the back of the spoon and press it firmly onto a surface or another spoon. As you build up, alternate the direction of the spoons to create an interesting texture. Think of it as creating petals around a flower's center; the more layers you add, the more depth your vase will have.
Once you’ve reached the desired height, it’s time to add the finishing touches. You can use additional materials such as beads, fabric, or even paint to enhance your design. If you want to add a whimsical touch, consider gluing on some faux leaves or flowers to the rim of your vase. This can create a stunning visual effect, making your vase not just a container for flowers but a piece of art in its own right.
After everything is glued and arranged to your liking, allow your vase to dry completely. This step is crucial; rushing it could lead to a wobbly structure. Once dried, you can paint your vase in vibrant colors or leave it as is for a more natural look. If you opt for paint, remember to use non-toxic, water-based options to keep your project eco-friendly.
Finally, when your vase is fully assembled and decorated, give it a good inspection. Make sure everything is securely glued and that there are no sharp edges. This is also a great time to let your creativity shine—consider how you want to display your unique creation. Whether it’s for your home or as a gift, these vases are sure to impress!
- Can I use other types of plastic besides spoons? Yes! You can use other plastic utensils, but ensure they are sturdy enough to hold the shape of a vase.
- What kind of glue should I use? Hot glue is recommended for its quick-drying properties, but craft glue can work as well if you have more time.
- How can I clean my vases? Use a damp cloth to wipe them down. If you used paint, make sure to keep them away from water to preserve the finish.
Painting and Finishing Touches
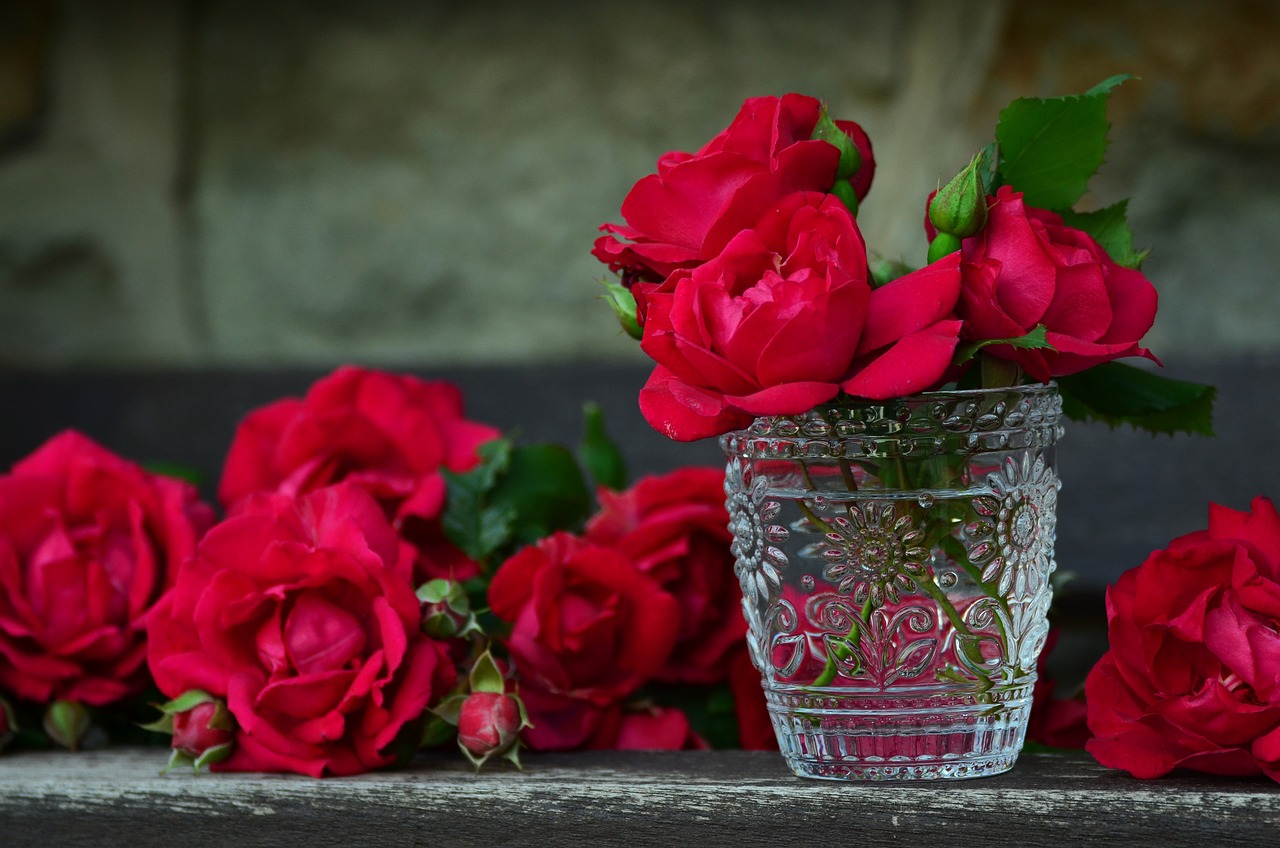
When it comes to upcycling plastic spoons into stunning decorative flower vases, the magic truly happens in the details. Painting and adding finishing touches can transform your simple creations into eye-catching masterpieces that will leave your guests in awe. So, how do you go about this? Well, let’s dive into the vibrant world of colors and embellishments!
First things first, let’s talk about paint. Choosing the right type of paint is crucial for achieving that perfect finish. Acrylic paint is a popular choice due to its versatility and quick drying time. You can opt for a matte finish for a more subtle look or a glossy finish to make your vases shine like precious jewels. If you're feeling adventurous, consider using spray paint for an even coat and a smooth texture. Just remember to work in a well-ventilated area and protect your surfaces!
Once you’ve selected your paint, it’s time to unleash your creativity! You can experiment with various techniques to create unique designs. For instance, try the ombre effect by blending two or more colors together. Start with a lighter shade at the top and gradually transition to a darker hue at the bottom. This technique can add depth and dimension to your vases, making them look more sophisticated.
Another fun idea is to use stencils or masking tape to create patterns. You can cut out shapes like flowers, leaves, or geometric designs and apply them to your vases before painting. Once the paint dries, carefully peel off the stencil or tape to reveal your stunning design underneath. This method is not only easy but also allows for endless customization!
Don't forget about the finishing touches that can elevate your vase from good to extraordinary. Consider adding embellishments like beads, sequins, or even twine around the neck of the vase. These small details can create a rustic or bohemian vibe that enhances the overall aesthetic. Additionally, you might want to seal your painted vases with a clear acrylic spray or varnish to protect your artwork from scratches and fading.
Finally, let’s not overlook the importance of personalization. You can add your initials, a meaningful quote, or even a date to commemorate the occasion. This personal touch not only makes your vases unique but also tells a story that can spark conversations when displayed in your home.
In summary, painting and adding finishing touches to your upcycled plastic spoon vases is where the real fun begins. With a splash of color, a sprinkle of creativity, and a dash of personalization, you can turn ordinary materials into extraordinary decorative pieces that reflect your style and passion for sustainability. So grab your paintbrushes and let your imagination run wild!
Q: What type of paint should I use for plastic spoons?
A: Acrylic paint is highly recommended due to its versatility and quick drying properties. You can also use spray paint for an even finish.
Q: How can I create intricate designs on my vases?
A: Using stencils or masking tape is a great way to achieve detailed patterns. Simply apply the stencil or tape, paint over it, and remove it once dry.
Q: Can I use my painted vases for real flowers?
A: Yes, but ensure you use a liner or a small glass container inside the vase to hold water, as the paint may not be waterproof.
Q: How do I seal my painted vases?
A: You can use a clear acrylic spray or varnish to seal your painted vases, which will protect them from scratches and fading.
Displaying Your Vases
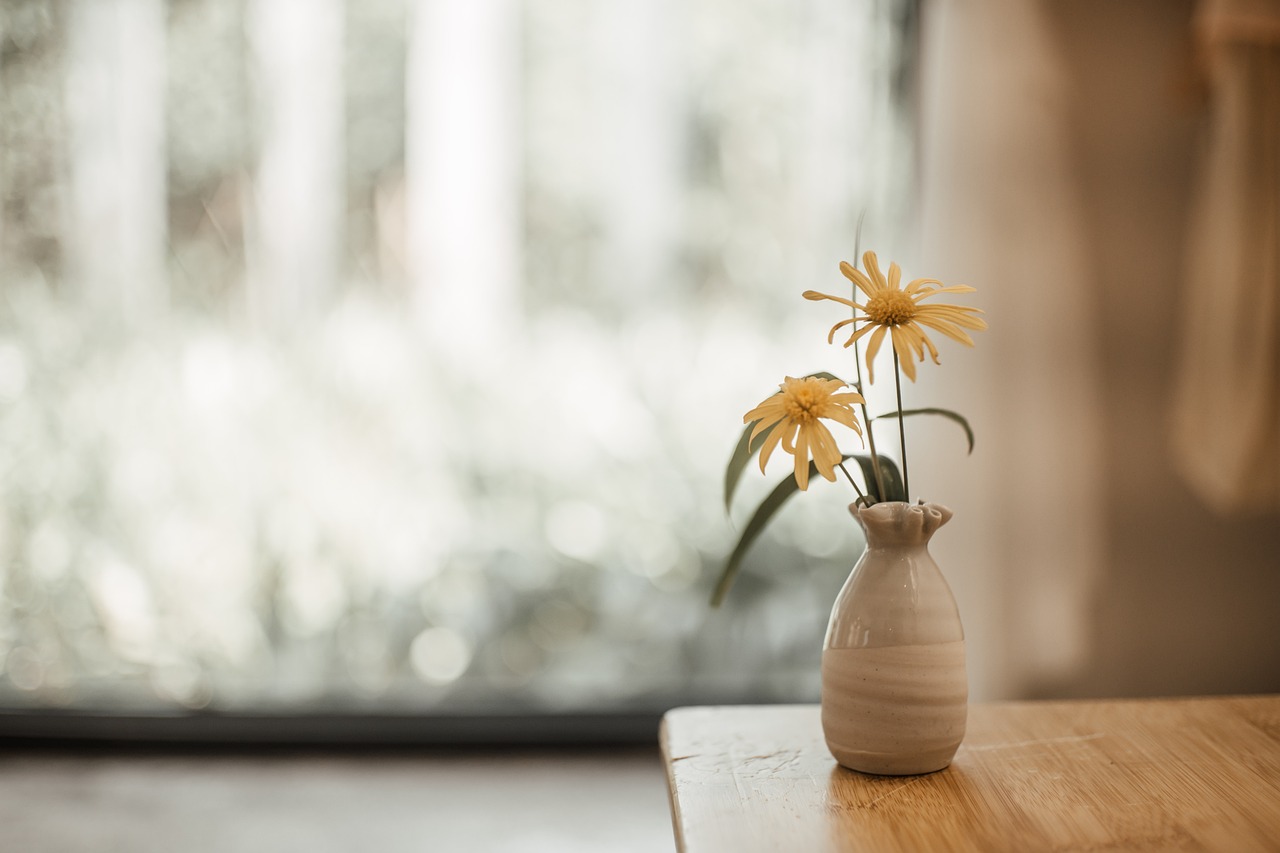
Once you've poured your heart and creativity into crafting your stunning decorative flower vases from plastic spoons, the next exciting step is showcasing them! After all, what’s the point of creating beautiful art if it’s hidden away? Displaying your vases is not just about putting them on a shelf; it’s about making a statement in your home or garden. Imagine walking into a room and being greeted by a burst of color and creativity—your upcycled masterpieces should evoke that kind of joy!
When it comes to displaying your vases, consider the placement carefully. Here are a few tips to help you make the most of your creations:
- Natural Light: Position your vases near windows or in well-lit areas to enhance their colors and textures. Natural light can bring out the vibrancy of your paint and the unique shapes of your spoons.
- Height Variation: Use different heights when arranging your vases. This creates visual interest and draws the eye around the space. For instance, you might place a tall vase on a table and smaller ones on shelves or windowsills.
- Theme Coordination: Consider the overall theme of your decor. If your home has a rustic vibe, opt for natural elements like wood or burlap to complement your vases. For a modern look, sleek surfaces and minimalistic arrangements work wonders.
Another fantastic idea is to create a dedicated display area. This could be a small table, a shelf, or even a corner in your garden. You can arrange your vases in a way that tells a story or showcases a particular color scheme. For instance, a collection of blue and white vases can evoke a serene beach vibe, while a mix of bright colors can create a cheerful, energetic atmosphere.
Don’t forget about the seasonal changes. You can swap out the flowers or even the vases themselves to match the seasons. In spring, fill your vases with fresh blooms like tulips or daisies; in autumn, consider dried flowers or branches for a rustic touch. This not only keeps your decor fresh but also allows you to engage with nature's cycles.
Lastly, think about the functionality of your vases. They can serve as more than just decorative pieces; consider using them for practical purposes, like holding kitchen utensils or as organizers in your workspace. This dual functionality can make your home feel more personalized and creative.
In conclusion, displaying your upcycled flower vases is an art in itself. Whether you choose to create a vibrant focal point or integrate them into your existing decor, the key is to let your personality shine through. Remember, your home is a canvas, and these vases are a beautiful brushstroke that adds color and life to your surroundings.
Q: How can I ensure my upcycled vases are durable?
A: To enhance durability, make sure to use strong adhesive when assembling your vases. Additionally, avoid placing them in direct sunlight for extended periods to prevent fading.
Q: Can I use any type of paint on the plastic spoons?
A: Yes, but it's best to use acrylic paint or spray paint designed for plastic surfaces. This will ensure better adhesion and longevity of the color.
Q: What flowers should I use in my vases?
A: You can use almost any flower! However, consider using lighter flowers or faux flowers if your vase is not very sturdy. For a natural look, opt for seasonal blooms that match your decor.
Sharing Your Creations
Once you've poured your creativity into crafting stunning decorative flower vases from plastic spoons, the next exciting step is to share your creations with the world! Not only does sharing your projects allow you to showcase your artistic talents, but it also inspires others to embrace the art of upcycling. Imagine the ripple effect of your creativity—each photo posted could spark someone else's imagination, leading them to create their own unique masterpieces!
So, where can you share your beautiful upcycled flower vases? The options are plentiful, and each platform offers its unique flavor for showcasing your work. Social media platforms like Instagram, Pinterest, and Facebook are fantastic places to start. You can post eye-catching photos, share your process, and even engage with other DIY enthusiasts. Consider joining groups or hashtags dedicated to upcycling and DIY projects. Not only will you find an audience that appreciates your work, but you’ll also connect with like-minded individuals who share your passion for sustainability.
In addition to social media, consider creating a blog or a personal website to document your upcycling journey. This can serve as a digital portfolio where you can share tutorials, tips, and even the challenges you faced during your projects. Blogs allow for more in-depth storytelling, and you can engage with your readers through comments, creating a community around your shared interests.
If you’re looking for a more localized approach, think about hosting a workshop or a crafting session in your community. This is a wonderful way to not only share your creations but also to teach others the skills you’ve acquired. You could partner with local community centers, schools, or even cafes to set up a crafting day. The joy of seeing others create something beautiful from what was once considered waste is incredibly rewarding!
Don’t forget about the power of online marketplaces. Websites like Etsy or eBay allow you to sell your upcycled creations, turning your hobby into a potential source of income. Make sure to take high-quality photos and write compelling descriptions that highlight the sustainability aspect of your work. People love to support eco-friendly products, and your unique flower vases could be just what they’re looking for!
Finally, consider participating in local craft fairs or eco-friendly events. These venues provide an excellent opportunity to showcase your vases in person, meet fellow artisans, and connect with potential customers. Plus, you can share the story behind your upcycled creations, which can resonate deeply with those who value sustainability.
In conclusion, sharing your upcycled flower vases is not just about showcasing your work; it's about building a community, inspiring others, and promoting the importance of sustainability. So, get out there and let your creativity blossom!
| Question | Answer |
|---|---|
| What materials do I need to start upcycling plastic spoons? | You will need plastic spoons, adhesive (like hot glue), scissors, and paint for decoration. |
| Can I use other types of plastic utensils? | Absolutely! Forks and knives can also be used to create unique designs for your vases. |
| How do I clean the plastic spoons before using them? | Simply wash them with soap and water, then let them dry completely before starting your project. |
| What is the best way to display my upcycled vases? | Consider placing them on a windowsill, dining table, or even hanging them as wall art for a creative touch! |
Frequently Asked Questions
- What materials do I need to upcycle plastic spoons into flower vases?
To create stunning flower vases from plastic spoons, you'll need a few essential materials: plastic spoons, a strong adhesive (like hot glue), scissors, and paint for decoration. Optional items include embellishments like beads or ribbons to personalize your vases!
- How do I prepare the plastic spoons for upcycling?
Preparation is key! Start by cleaning the plastic spoons thoroughly to remove any dirt or residue. Once they're clean, you can cut them into desired shapes or sizes, depending on your design. Arranging them in a visually appealing way will enhance the overall look of your flower vase.
- What are some creative design ideas for my vases?
There are countless design ideas to explore! You could create a simple spiral pattern, a flower-like arrangement, or even a mosaic effect. Don't hesitate to experiment with different themes, such as a rustic look with natural colors or a vibrant, colorful design that pops!
- Can beginners successfully make these vases?
Absolutely! The step-by-step assembly guide is designed for all skill levels. Even if you're a complete novice, just follow the instructions closely, and you'll create beautiful vases in no time. Remember, crafting is all about having fun and expressing your creativity!
- What painting techniques can I use to enhance my vases?
When it comes to painting, you can use spray paint for a smooth finish or acrylic paint for more intricate designs. Consider layering colors or using a sponge for a textured effect. Don't forget to seal your work with a clear coat to protect your masterpiece!
- How should I display my finished flower vases?
Displaying your vases can be as creative as making them! Consider placing them on a windowsill, a dining table, or even hanging them in your garden. Use different heights and arrangements to create an eye-catching display that showcases your unique upcycled art.
- Where can I share my upcycled creations?
Sharing your projects can inspire others! Social media platforms like Instagram, Pinterest, and Facebook are excellent places to showcase your decorative flower vases. You can also join DIY communities or forums to connect with fellow enthusiasts and share tips!


