Getting Arty: Leaf Painting Crafts for the Kids
Are you ready to unleash your child's inner artist? Leaf painting crafts are not just a way to create beautiful art; they're a fantastic opportunity for kids to connect with nature, explore their creativity, and have a blast while doing it! Imagine the joy on their faces as they dip leaves into vibrant colors and stamp them onto paper, creating one-of-a-kind masterpieces. This article will guide you through the exciting world of leaf painting, providing tips, techniques, and inspiration to make the experience unforgettable.
Before diving into the world of leaf painting, it's essential to gather the right materials. Having everything at hand ensures a smooth and enjoyable crafting session. Here’s a quick rundown of what you’ll need:
- Leaves: Fresh or dried leaves in various shapes and sizes.
- Paint: Non-toxic acrylic or watercolor paints work best.
- Brushes: Different sizes for various painting techniques.
- Paper: Thick paper or canvas to hold the paint.
- Water and Containers: For rinsing brushes and mixing colors.
- Aprons or Old Clothes: To protect clothing from paint splatters.
With these materials ready, your kids can embark on a colorful adventure that combines art and nature!
Not all leaves are created equal when it comes to painting. Selecting the right leaves can make a significant difference in the final artwork. Look for leaves that are relatively flat and have interesting textures or shapes. Some popular choices include:
- Maple Leaves: Their broad surface is perfect for painting.
- Oak Leaves: Unique shapes add character to the artwork.
- Fern Leaves: Great for intricate designs.
When choosing leaves, consider their size, shape, and texture. Flat leaves are ideal for even paint application, while curved leaves can create more dynamic designs.
Understanding the differences between flat and curved leaves can significantly impact your child’s artwork. Flat leaves, like those from the maple tree, provide a smooth canvas for paint, allowing for bold colors and clear patterns. On the other hand, curved leaves, such as magnolia or some types of ferns, can produce unique shapes and textures, adding depth to the painting. Think of it like using a blank canvas versus a textured one; both can yield stunning results, but the approach and outcome will differ.
Flat leaves are fantastic for beginners as they offer a straightforward painting experience. Here are a few of the best flat leaves to consider:
- Maple Leaves: Their broad, flat surfaces make them ideal for stamping.
- Birch Leaves: Thin and smooth, perfect for detailed designs.
- Sycamore Leaves: Large and easy to paint on, great for kids.
Curved leaves can add an exciting twist to your child's artwork. They can be used to create unique patterns and shapes that flat leaves simply can't match. For instance, using a curved leaf as a stamp can result in beautiful, organic shapes that mimic nature's designs. Encourage kids to explore how different leaves can create different effects. It’s like having a whole toolkit of artistic possibilities!
Before the painting begins, it's crucial to prepare the leaves properly. Here's a simple step-by-step guide:
- Collect Fresh Leaves: Choose leaves that are not wilted or damaged.
- Clean the Leaves: Rinse them gently under water to remove dirt and debris.
- Dry the Leaves: Pat them dry with a paper towel to prevent excess moisture.
- Flatten the Leaves: If necessary, place them between heavy books for a few hours to ensure they are flat.
Preparing the leaves properly ensures that the paint adheres well and the final artwork looks stunning!
Now that you have your materials and leaves ready, it’s time to dive into some fun painting techniques! Encourage your kids to experiment with various methods:
- Sponge Painting: Use a sponge to dab paint onto the leaves for a textured effect.
- Stamping: Dip the leaves in paint and press them onto paper to create beautiful prints.
- Brush Painting: Use brushes to paint directly onto the leaves for detailed designs.
Each technique offers a different approach to leaf painting, ensuring that kids remain engaged and excited throughout the process.
For an eco-friendly twist, why not try using natural dyes? Derived from fruits and vegetables, these dyes can create stunning colors that are safe for kids. For example, beet juice can produce rich reds, while spinach can yield vibrant greens. To make natural dyes, simply boil the fruits or vegetables in water, strain the liquid, and let it cool. Then, use these dyes in place of traditional paints for a unique and colorful experience!
Combining leaf painting with other art forms can lead to stunning results. Encourage kids to incorporate mixed media elements into their projects. For instance, they can add collage materials like fabric scraps or magazine cutouts to their leaf paintings. This not only enhances the visual appeal but also allows for a richer creative experience. Think of it as building a layered cake; each layer adds flavor and texture to the final product!
Once the leaf paintings are complete, showcasing the artwork is essential. Here are some creative ideas for displaying your kids' leaf art:
- Framing: Frame the best pieces to create a gallery feel at home.
- Gallery Wall: Dedicate a wall in your home to display their artwork.
- Gift Wrap: Use the leaf paintings as unique gift wrap for special occasions.
By displaying their creations, you not only celebrate their artistic efforts but also encourage their creativity to flourish!
Q: What types of leaves are best for painting?
A: Flat leaves like maple and oak are ideal for painting, but curved leaves can also add interesting shapes and textures to your artwork.
Q: Can we use regular paint for leaf painting?
A: Yes, non-toxic acrylic or watercolor paints work best for leaf painting. Just make sure they're safe for children.
Q: How do we clean the leaves before painting?
A: Rinse the leaves gently under running water to remove any dirt or debris, and then pat them dry with a paper towel.
Q: Can we use natural dyes for leaf painting?
A: Absolutely! Natural dyes made from fruits and vegetables can produce beautiful colors and are safe for kids to use.
Q: How can we display the leaf art once it's finished?
A: Consider framing the artwork, creating a gallery wall, or even using it as unique gift wrap for presents!
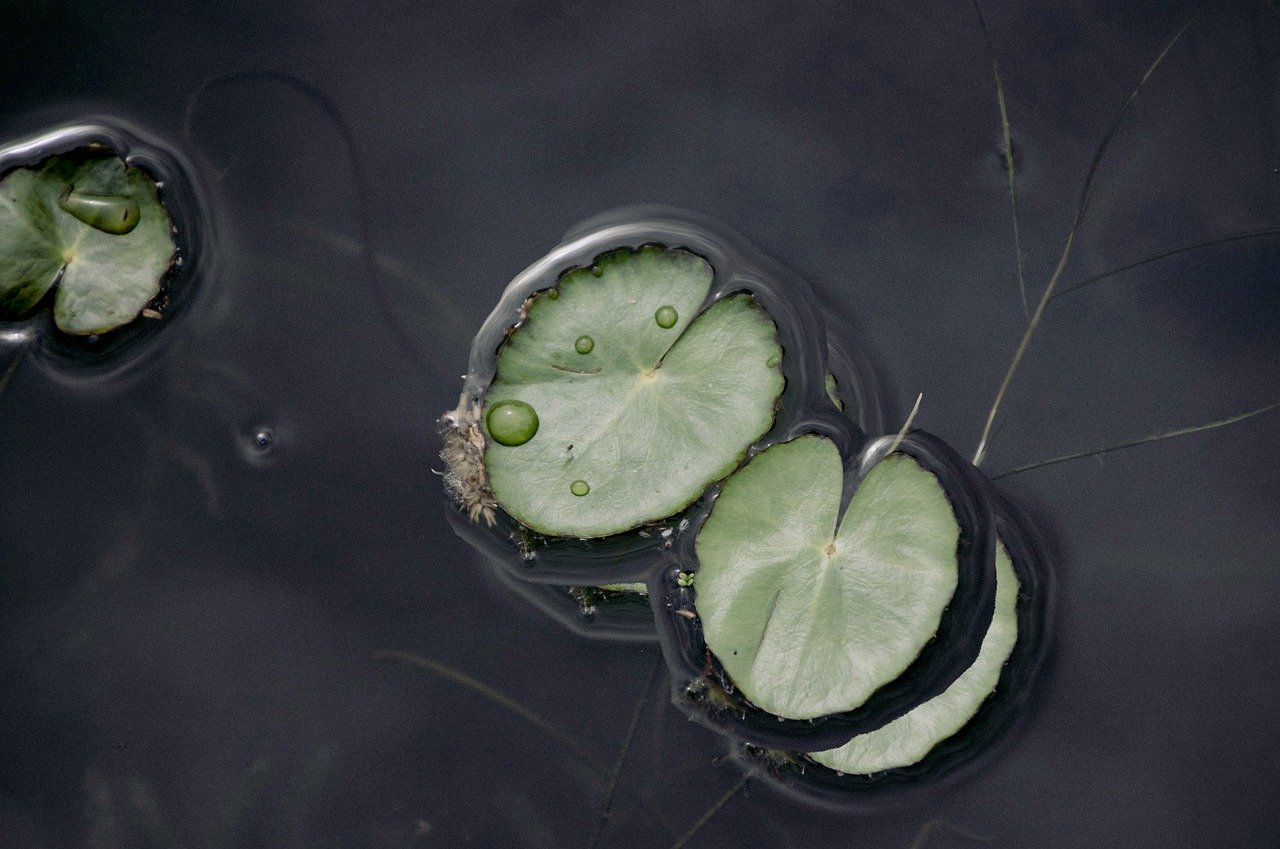
Materials Needed for Leaf Painting
Before diving into the colorful world of leaf painting, it's essential to gather all the necessary materials. Think of this as your art supply treasure hunt! The right tools can turn a simple leaf into a masterpiece. You'll need a variety of items to ensure a fun and successful experience for the kids. Here’s a quick rundown of what you’ll need:
- Fresh Leaves: The star of the show! You can collect leaves from your backyard or a nearby park. Make sure to choose a variety of shapes and sizes to keep things interesting.
- Paint: Non-toxic acrylic or tempera paints work best. These paints are vibrant and easy to clean up, making them perfect for little hands.
- Brushes: A selection of brushes in different sizes will help kids explore various painting techniques. Don’t forget to include some sponges for a fun texture!
- Paper: Thick paper or cardstock is ideal for leaf painting. It can handle the moisture from the paint without warping.
- Water Container: For rinsing brushes between colors, a simple cup of water will do.
- Aprons or Old T-Shirts: Protect those cute little outfits! Painting can get messy, so having something to cover clothes is a must.
Once you've gathered these materials, you're ready to unleash your creativity. Each item plays a significant role in the process, and together, they create a vibrant atmosphere for learning and exploration. Imagine the kids' excitement as they dip their brushes into bright colors, transforming ordinary leaves into extraordinary art pieces!
Additionally, consider adding some unique items to your supplies. For instance, glitter or sequins can add a touch of sparkle to the finished artwork. You could also include some natural materials, like twigs or flowers, to incorporate a mixed media approach. The goal is to inspire creativity and let the kids' imaginations run wild!
Now that you have your materials ready, it’s time to move on to the next exciting phase: choosing the right leaves for your artistic endeavor. Remember, the journey of leaf painting is not just about the final product; it’s about the fun and learning that happens along the way!
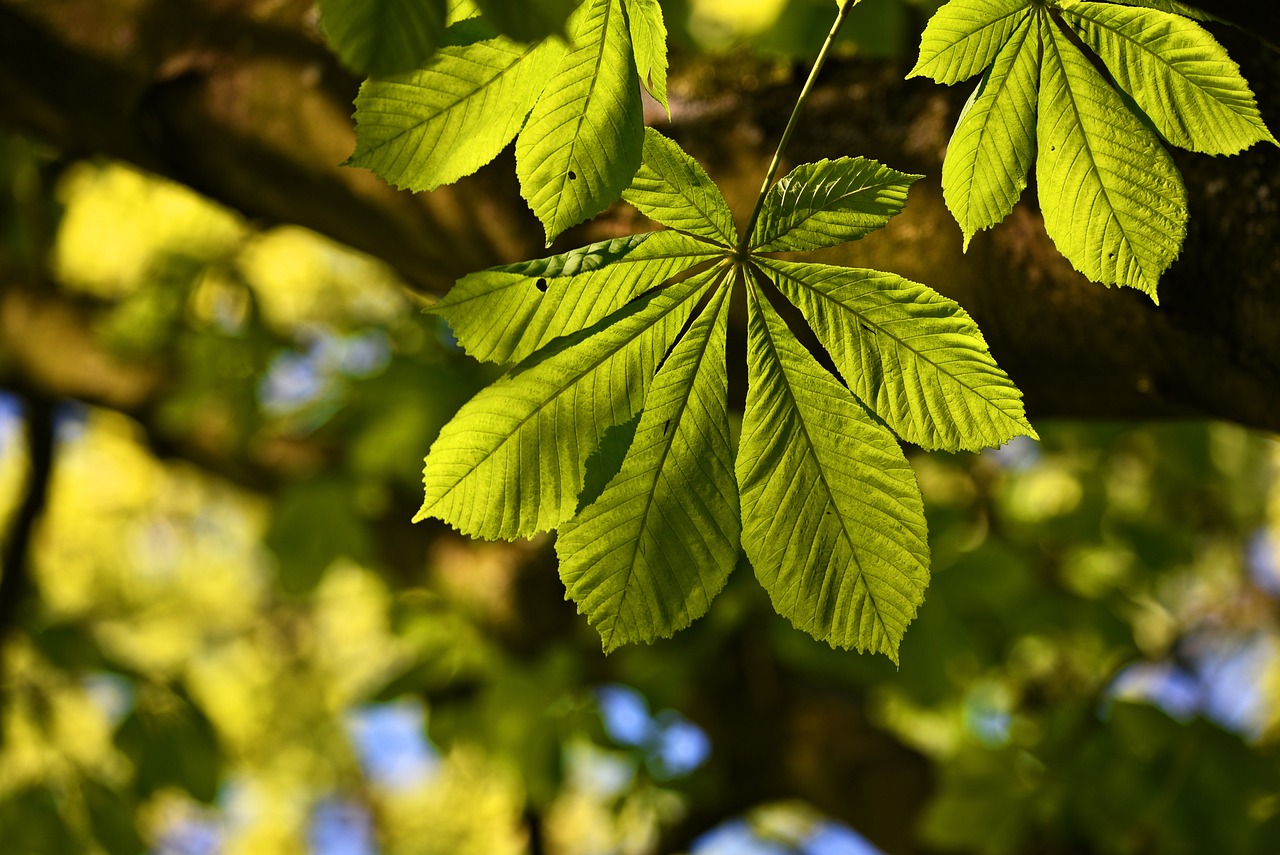
Choosing the Right Leaves
When it comes to leaf painting, the type of leaves you choose can truly make or break your artistic experience. Imagine trying to paint on a bumpy, uneven surface—frustrating, right? That's why selecting the right leaves is crucial. You'll want to consider factors such as size, shape, and texture, all of which can significantly impact the final outcome of your artwork. For instance, larger leaves can provide a grand canvas, while smaller ones can offer intricate details. It's like choosing the right brush for a painter; the right leaves can spark creativity and elevate the entire project.
One of the best ways to start this process is by exploring your local environment. Take a stroll through your backyard, a nearby park, or even a local nature trail. You'll be amazed at the variety of leaves available. As you gather leaves, think about how their unique characteristics can contribute to your artwork. For example, smooth leaves like those from a maple or oak tree are perfect for even paint application, while leaves with intricate veins, such as those from a holly or fern, can create stunning textures that add depth to your piece.
Another important consideration is the season. In spring and summer, leaves are vibrant and full of life, while autumn brings a breathtaking array of colors. The hues of fall leaves can add a natural palette to your artwork, making your projects even more visually appealing. So, whether you're capturing the greens of summer or the reds and yellows of fall, each season offers a unique opportunity to explore different aesthetics in your leaf painting crafts.
Understanding the differences between flat and curved leaves can greatly influence your creativity. Flat leaves, like those from a maple, provide a smooth surface that is easy to paint on, ensuring that your colors stay vibrant and true. On the other hand, curved leaves, such as those from a lily or cabbage, can add unique shapes and patterns to your artwork. They can create interesting silhouettes and can even be used to make imprints, adding an extra layer of creativity to your projects.
Flat leaves are often the go-to choice for leaf painting, and for good reason! They offer a large, even surface that makes the painting process straightforward and enjoyable for kids. Some of the best flat leaves to consider include:
- Maple Leaves: Known for their iconic shape and smooth surface, perfect for painting.
- Oak Leaves: Their sturdy structure holds paint well and adds a touch of elegance.
- Birch Leaves: These leaves are thin and provide a delicate canvas for intricate designs.
Curved leaves can be a game-changer in your leaf painting projects. They can introduce dynamic shapes that flat leaves simply can't offer. For instance, try using curved leaves to create a stunning backdrop for your paintings. You can also use them to create unique stamps or prints by applying paint to the underside of the leaf and pressing it onto paper. This technique can result in beautiful, organic shapes that add a whimsical touch to any artwork.
In summary, choosing the right leaves for your painting project is all about exploring and experimenting. Whether you opt for flat or curved leaves, each type offers its unique charm and potential. So, gather your leaves, let your imagination run wild, and get ready to create some beautiful leaf art!
Q: Can I use any type of leaf for painting?
A: While you can technically use any leaf, some work better than others. Flat leaves are generally easier to paint on, while curved leaves can create interesting textures and shapes.
Q: How do I prepare the leaves for painting?
A: Start by cleaning the leaves gently with water to remove any dirt. Then, you can press them between heavy books to flatten them if desired.
Q: What type of paint should I use?
A: Acrylic paint is a great option as it adheres well to leaves and dries quickly, but you can also explore natural dyes for a more eco-friendly approach.
Q: Can I combine leaf painting with other art forms?
A: Absolutely! Mixing media can create stunning results. Consider incorporating collage elements, drawing, or even fabric to enhance your leaf art.
Flat vs. Curved Leaves
When it comes to leaf painting, the choice between flat and curved leaves can significantly influence the outcome of your artwork. Each type of leaf brings its own unique characteristics to the table, much like choosing between a paintbrush and a sponge for your canvas. Flat leaves, such as those from the maple or oak trees, offer a smooth, even surface that is perfect for applying paint. This makes them ideal for younger children who may be experimenting with their first strokes of creativity. The simplicity of a flat surface allows for easy application and vibrant color retention, making it easier for kids to see their artistic visions come to life.
On the other hand, curved leaves can introduce an exciting twist to the painting process. These leaves, which may come from plants like hostas or lilacs, can create stunning shapes and patterns that are hard to replicate with flat leaves. The natural curvature can add depth and dimension to the artwork, making it visually appealing and unique. Imagine using a curved leaf to stamp a design onto your paper; the resulting pattern could resemble an abstract wave or a whimsical swirl, sparking a child’s imagination and encouraging them to explore further.
To give you a clearer picture, here’s a quick comparison of the two types of leaves:
| Feature | Flat Leaves | Curved Leaves |
|---|---|---|
| Surface | Smooth and even | Textured and dimensional |
| Ease of Use | Great for beginners | More creative potential |
| Artistic Effect | Bold and clear prints | Unique shapes and patterns |
In conclusion, both flat and curved leaves have their own merits and can be used effectively in leaf painting. Depending on the desired outcome, you can mix and match these leaves to create a diverse range of artistic expressions. Why not let your kids experiment with both types? They might just discover a new favorite technique or style that resonates with their personal creativity!

Best Flat Leaves for Painting
When it comes to leaf painting, choosing the right type of leaf can make all the difference in your child's artistic journey. Flat leaves are particularly suitable for painting because they offer a smooth and even surface that allows for vibrant colors and clear designs. Some of the best flat leaves for painting include:
- Maple Leaves: Known for their iconic shape and vibrant colors, maple leaves are not only beautiful but also provide a great canvas for paint. Their broad surface area allows for larger strokes and intricate designs.
- Oak Leaves: These leaves are sturdy and have a unique lobed shape, making them perfect for creating textured patterns. Their thick structure holds paint well, resulting in bold and striking artwork.
- Birch Leaves: With a smooth surface and delicate shape, birch leaves are excellent for younger children who may be experimenting with painting techniques. They are easy to handle and can be painted in various colors.
- Ginkgo Leaves: The fan-shaped ginkgo leaves are not only stunning but also provide a unique silhouette that stands out in any artwork. Their flat nature makes them a favorite among kids for creating interesting designs.
Each of these leaves brings its own character to the painting process, allowing kids to explore different shapes and colors. When selecting leaves, consider not just their appearance but also how they can inspire creativity. Imagine your child painting a vibrant sunset on a large maple leaf, or crafting a whimsical creature using the unique shape of a ginkgo leaf. The possibilities are endless!
Before diving into the painting, it's essential to prepare the leaves properly. Make sure to clean them gently to remove any dirt or debris. You can soak them in water for a few minutes and then pat them dry with a soft cloth. This step ensures that the paint adheres well and the colors remain vibrant. Additionally, consider pressing the leaves between heavy books for a day or two to flatten them further, which can enhance the painting experience.
In conclusion, flat leaves like maple, oak, birch, and ginkgo are fantastic choices for leaf painting crafts. Their unique shapes and textures not only make for stunning artwork but also provide a wonderful opportunity for children to connect with nature and express their creativity. So, gather these leaves, unleash your child's imagination, and watch as they create beautiful masterpieces!
Q: Can I use any type of leaves for painting?
A: While you can technically use any leaves, flat leaves are recommended for better results. They provide a smoother surface for painting and allow for more detailed designs.
Q: How do I preserve the leaf paintings?
A: To preserve the artwork, consider using a clear acrylic spray or placing the paintings in frames. This will protect them from fading and damage over time.
Q: What type of paint works best for leaf painting?
A: Acrylic paints are a popular choice because they adhere well to leaves and offer vibrant colors. However, non-toxic watercolors can also work well for younger children.
Q: Can I combine different types of leaves in one painting?
A: Absolutely! Mixing different types of leaves can create interesting textures and shapes in your artwork, allowing for more creativity and fun.
Creative Uses for Curved Leaves
Curved leaves offer a delightful twist to the traditional leaf painting experience, opening up a world of creativity for kids. Unlike flat leaves, which provide a straightforward canvas, curved leaves can introduce unique shapes and textures that can transform a simple painting project into an imaginative adventure. Imagine a child’s excitement as they create vibrant, swirling patterns that mimic the natural curves of the leaves themselves!
One of the most exciting ways to utilize curved leaves is through the art of stamping. Kids can dip the leaves in paint and press them onto paper, creating stunning prints that showcase the intricate veins and edges of the leaves. This technique not only allows for beautiful designs but also encourages children to explore different colors and layering techniques. For instance, using a darker color for the base layer and a lighter color for the top layer can produce a striking contrast that makes the artwork pop!
Another creative approach is to use curved leaves in collage making. Children can gather a variety of leaves with different shapes and sizes, then glue them onto a larger piece of paper or canvas. This method allows for a mix of painting and crafting, as kids can paint around the leaves or even use them to create a natural frame for their artwork. Adding other materials, such as twigs, flowers, or even pieces of fabric, can further enhance the collage, providing a multi-dimensional experience that captivates the senses.
Furthermore, curved leaves can be used to create nature prints. By placing a leaf under a piece of paper and rubbing it with a crayon or a pastel, children can transfer the leaf's texture and shape onto the paper. This technique is not only fun but also educational, as it teaches kids about the different types of leaves and their characteristics while they engage in artistic expression.
Incorporating curved leaves into various art projects not only fosters creativity but also encourages kids to appreciate the beauty of nature. As they experiment with different techniques, they learn to see the world around them in new ways, discovering how something as simple as a leaf can inspire incredible works of art. So, gather those beautifully curved leaves and let the artistic journey begin!
- What types of paint are best for leaf painting? Acrylic paints are often recommended because they adhere well to leaves and provide vibrant colors. However, watercolors can also be used for a softer effect.
- How can I preserve leaf paintings? To preserve leaf paintings, consider using a clear acrylic spray sealant. This will help protect the artwork from fading and damage over time.
- Can leaf painting be done indoors? Absolutely! Just make sure to cover surfaces to prevent paint spills and use non-toxic materials for a safe indoor crafting experience.
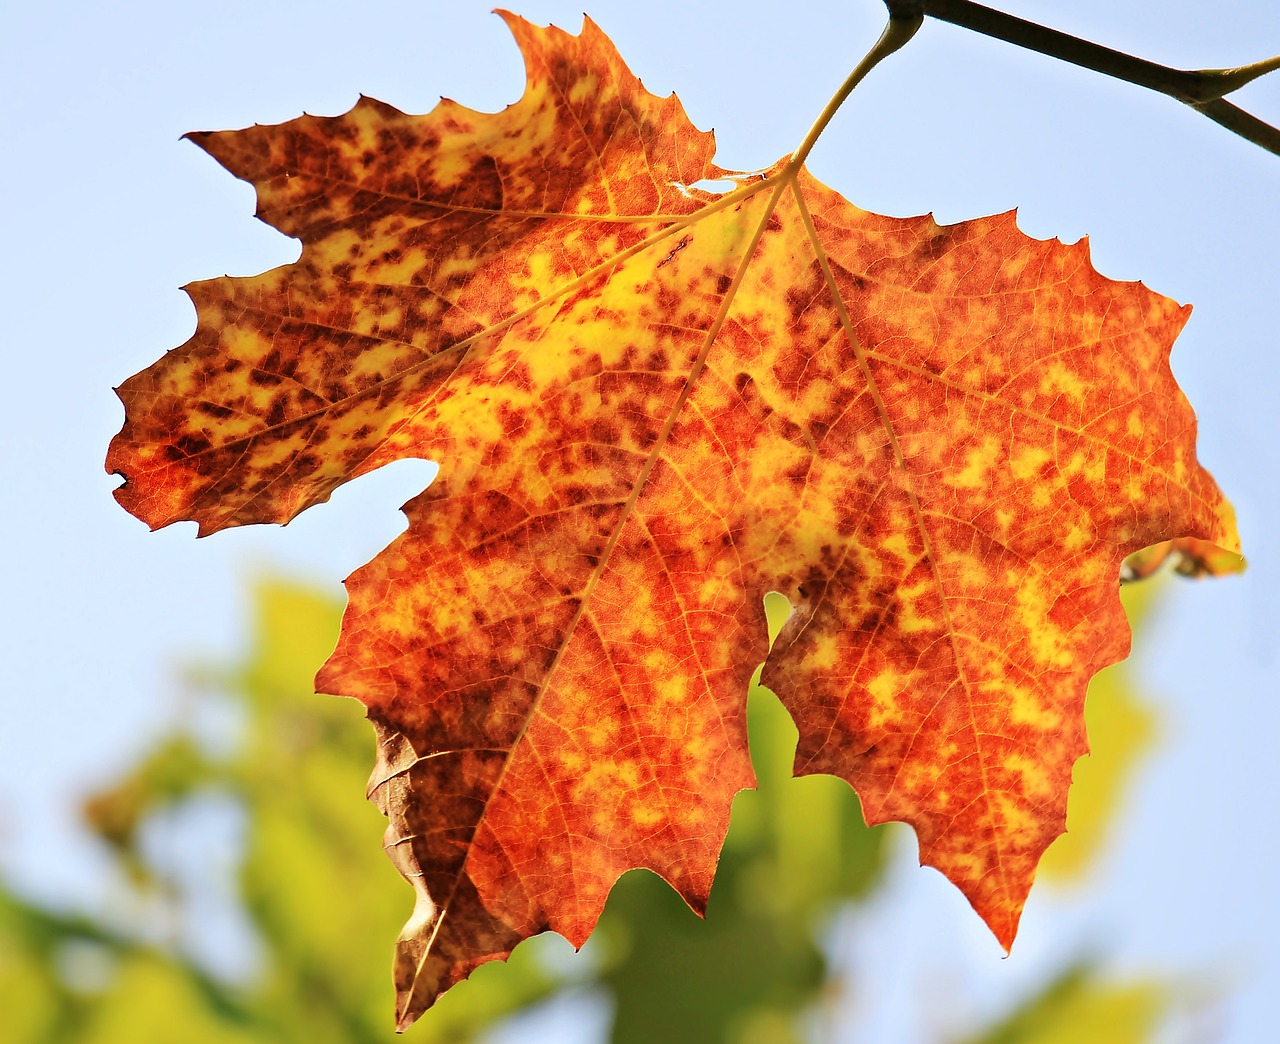
Preparing Leaves for Painting
Before diving into the colorful world of leaf painting, it's essential to properly prepare your leaves. This preparation is like setting the stage for a magnificent performance—everything needs to be just right for the best results! Start by collecting fresh leaves from your backyard or a nearby park. Choose leaves that are healthy and vibrant, as these will yield the most beautiful colors when painted.
Once you have your leaves, the first step is to clean them thoroughly. Gently rinse the leaves under cool water to remove any dirt or insects. It's important to handle them with care during this process, as leaves can be delicate and prone to tearing. After rinsing, lay the leaves flat on a clean towel or paper towel to dry. This step is crucial because any moisture left on the leaves can interfere with the paint's adherence.
Next, you’ll want to flatten the leaves for optimal painting. This can be achieved by placing them between the pages of a heavy book or using a rolling pin. By doing this, you create a smooth surface that allows the paint to glide on easily, making your artwork look professional and polished. However, if you prefer a more textured appearance, you can leave some leaves in their natural state, which can add an interesting dimension to your art.
After flattening, it’s time to arrange your leaves according to your artistic vision. You might want to experiment with different compositions on your paper before committing to a final layout. Consider how the shapes and colors of the leaves will interact with each other. You can even sketch a light outline of your design on the paper to guide you during the painting process.
Lastly, if you're working with younger children, it might be helpful to prepare a workspace that encourages creativity and minimizes mess. Spread out some old newspapers or a plastic tablecloth to protect your surfaces. Have all your materials within reach, including paints, brushes, and water cups for rinsing brushes. This preparation not only makes the process smoother but also keeps the focus on the fun of creating art!
By taking these steps to prepare your leaves, you set the foundation for a successful and enjoyable leaf painting experience. So gather your materials, get your hands a little messy, and let the creativity flow!
- What types of leaves are best for painting? Flat leaves like maple or oak are great for painting due to their smooth surfaces, while curved leaves can add unique shapes to your artwork.
- Can I use any type of paint? Yes! Acrylic and watercolor paints work well for leaf painting, but feel free to experiment with different types!
- How can I display my leaf art? You can frame your paintings, create a gallery wall, or even use them as unique greeting cards!
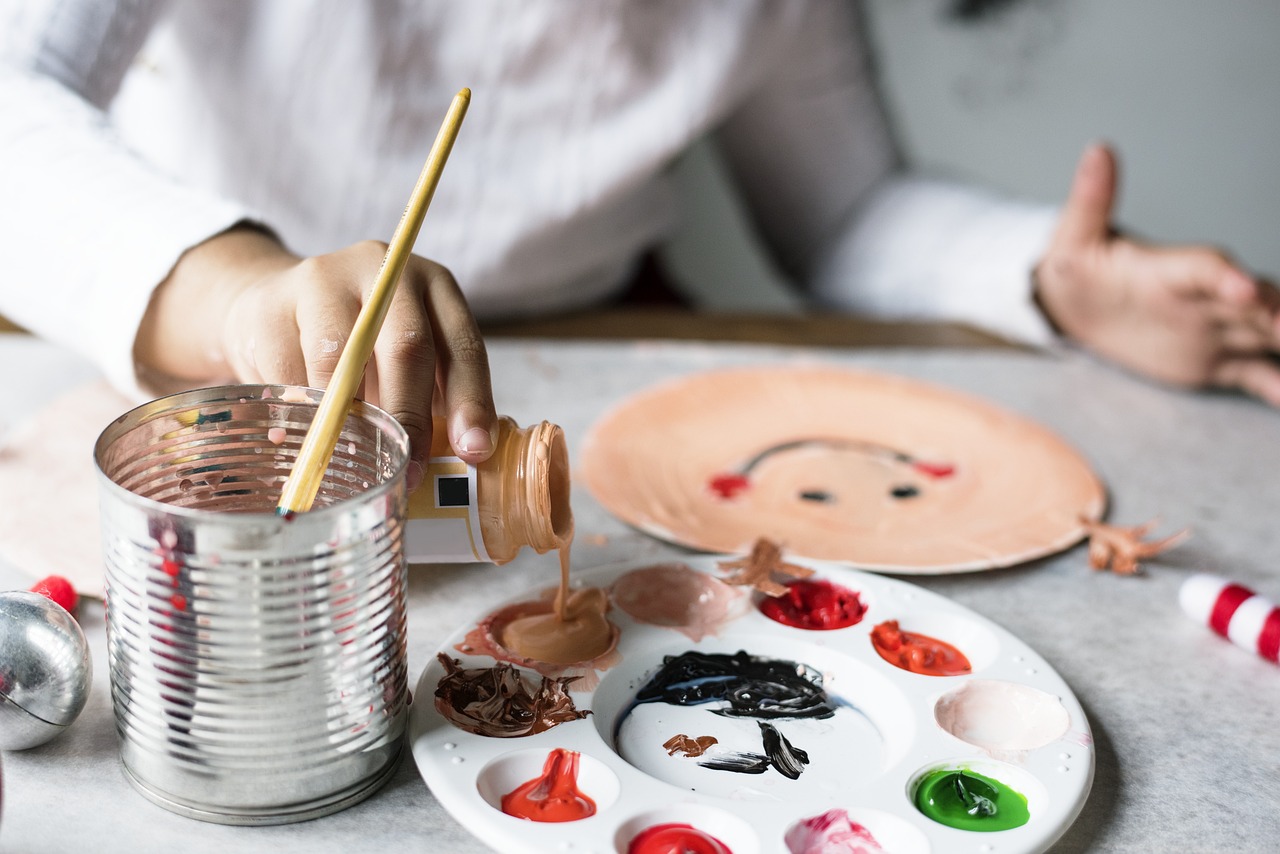
Painting Techniques to Explore
When it comes to leaf painting, the possibilities are as vast as an artist's imagination! Engaging kids in different painting techniques can turn a simple craft into an exciting adventure. Imagine the joy on their faces as they discover new ways to express their creativity using nature's own palette. Whether you're a seasoned artist or a curious parent, exploring these techniques can lead to some truly stunning results.
One of the most fun techniques to try is sponge painting. This method involves using a sponge to apply paint to the leaves, creating a unique texture that mimics the natural patterns found in nature. Kids will love the tactile experience of dabbing and swirling the sponge, and the results can be surprisingly beautiful. To get started, simply cut a sponge into small pieces, dip it in paint, and let the kids go wild! They can create backgrounds on paper or paint directly onto the leaves themselves.
Another exciting technique is leaf stamping. This method is not only simple but also allows for a fantastic exploration of shapes and colors. Children can apply paint directly onto the leaf's surface and then press it onto paper, creating a stunning print. The beauty of leaf stamping is that each print is unique, showcasing the intricate details of the leaf's veins and edges. Encourage kids to experiment with different colors and layering to see how they can transform their artwork.
For those looking to delve into a more eco-friendly approach, using natural dyes derived from fruits and vegetables is a fantastic option. Imagine the vibrant hues of beet juice or the sunny yellows from turmeric! Creating these natural dyes is simple and can be a fun science experiment in itself. Kids can help mash fruits or vegetables, strain the juice, and then use it as paint. This not only teaches them about color mixing but also instills a sense of connection to nature and sustainability.
Incorporating mixed media into leaf painting can elevate the artwork to new heights. By combining leaf prints with other materials like colored pencils, markers, or even collage elements, children can create multi-dimensional pieces that tell a story. For instance, after stamping leaves, they could draw insects or flowers around them, or even glue on bits of fabric or paper to enhance their creation. This technique allows kids to express their individuality and creativity, making each piece a true reflection of their vision.
Ultimately, the goal of exploring these painting techniques is to foster creativity and fun among children. Encouraging them to experiment with different methods not only enhances their artistic skills but also boosts their confidence. So gather those leaves, put on some paint-splattered clothes, and let the artistic journey begin!
- What types of paint work best for leaf painting?
It's best to use non-toxic acrylic paints or watercolors, as they adhere well to leaves and are safe for children. - Can we use any type of leaf for painting?
While most leaves can be used, flat leaves like maple or oak are ideal due to their smooth surfaces. Curved leaves can also be fun for unique shapes. - How do I prepare leaves for painting?
Make sure to clean the leaves gently with water and let them dry completely before painting to ensure the paint adheres well. - What should I do with the finished leaf paintings?
Displaying the artwork can be as simple as framing them or creating a gallery wall. You can also use them as personalized greeting cards!

Using Natural Dyes
When it comes to leaf painting, why not take a step further and embrace the beauty of nature by using natural dyes? These dyes, derived from fruits, vegetables, and even flowers, not only add vibrant colors to your artwork but also provide a unique, eco-friendly twist that kids will love. Imagine painting with colors that come straight from the earth! It's like bringing a piece of the outdoors right onto your canvas.
To get started with natural dyes, first, you’ll need to gather some ingredients from your kitchen or local market. Here’s a quick overview of some common items you can use:
| Ingredient | Color Produced | How to Use |
|---|---|---|
| Beets | Deep Red | Boil chopped beets in water, strain, and use the liquid as dye. |
| Spinach | Green | Blend fresh spinach with water, strain, and use the juice. |
| Turmeric | Bright Yellow | Dissolve turmeric powder in hot water for a rich yellow dye. |
| Red Cabbage | Blue/Purple | Boil red cabbage in water for a beautiful blue or purple hue. |
Once you have your natural dyes ready, the process is simple and fun! Start by preparing your leaves as discussed earlier. Next, dip your paintbrush into the natural dye and let your creativity flow. The colors from natural dyes can vary in intensity, so encourage the kids to experiment with different concentrations. For instance, a quick dip might yield a lighter shade, while soaking the brush longer can create a bolder hue.
Another exciting way to use natural dyes is through stamping. Simply apply the dye to the leaf and press it onto your paper. This technique not only creates a beautiful print but also allows kids to explore patterns and shapes in a hands-on way. It’s a fantastic way to engage their senses and spark their imagination.
Moreover, using natural dyes opens up discussions about sustainability and the environment. Kids can learn about where these colors come from and how they can make art while being mindful of nature. It’s a wonderful opportunity to teach them the importance of using natural materials, reducing waste, and appreciating the beauty that surrounds us.
So, the next time you embark on a leaf painting adventure, remember to incorporate natural dyes. Not only will you enrich your artistic experience, but you'll also provide a lesson in creativity, sustainability, and the joy of using what nature has to offer!
- Can I use any type of leaf for natural dyeing?
While many leaves can produce dyes, it's best to stick with those that are known for their color properties, such as red cabbage or spinach. - Are natural dyes safe for kids?
Yes, natural dyes made from fruits and vegetables are generally safe for children. However, always supervise young kids to avoid ingestion of non-food items. - How long do natural dyes last?
Natural dyes can fade over time, especially when exposed to sunlight. To prolong their vibrancy, display artwork in a shaded area.
Incorporating Mixed Media
When it comes to unleashing creativity, mixed media offers a thrilling opportunity to elevate leaf painting crafts to a whole new level. Imagine a canvas where vibrant colors from leaf paintings collide with textures and elements from other art forms—it's like a party for your imagination! By combining different materials and techniques, kids can explore their artistic expression in ways that are both fun and fulfilling. So, how do we dive into this colorful world of mixed media?
First off, let’s talk about the essentials. You can start with the beautiful leaf paintings you've created as your base. From there, think about adding layers of texture and depth. For example, why not use scrap paper, fabric, or even old magazines? These materials can be cut into shapes and glued onto your leaf artwork, providing a stunning contrast to the natural beauty of the leaves. The best part? Kids can experiment freely, creating a collage that tells a story or simply looks awesome!
Another exciting technique is to incorporate drawing and sketching into the mix. After painting the leaves, children can use colored pencils or markers to outline their creations or add whimsical details. This step not only enhances the artwork but also encourages kids to think about composition and design. Think of it like adding a splash of spice to a delicious dish—just a little can make a huge difference!
Additionally, using natural materials can further enrich the experience. Items like twigs, small stones, or even dried flowers can be glued onto the artwork. This not only adds a tactile element but also connects children with nature, allowing them to appreciate the world around them while they create. You could even have a nature walk to gather materials, making it a fun outing before the crafting begins!
To illustrate some of these ideas, here's a simple table that outlines various mixed media elements you can incorporate into your leaf painting projects:
| Mixed Media Element | How to Use It |
|---|---|
| Scrap Paper | Cut into shapes and glue onto the canvas for texture. |
| Fabric | Use pieces to create backgrounds or patterns. |
| Dried Flowers | Glue onto the artwork for an organic touch. |
| Markers/Pens | Add details, outlines, or doodles to enhance the painting. |
Finally, don’t forget about the importance of storytelling in art. Encourage kids to think about what their mixed media piece represents. Is it a magical forest? A sunny day at the park? By weaving a narrative into their artwork, children not only engage their creativity but also develop their ability to express themselves and share their thoughts with others. This is where art truly becomes a powerful tool for communication!
Incorporating mixed media into leaf painting crafts is all about experimentation and fun. The beauty of this approach lies in its flexibility—there are no hard and fast rules. So, grab those leaves, gather your materials, and let the creative juices flow. You might just be surprised at what amazing masterpieces your kids can create!
Q: What is mixed media art?
A: Mixed media art combines different artistic mediums, such as painting, drawing, collage, and more, into one piece of artwork. It allows for greater creativity and expression.
Q: Can I use any type of paint for leaf painting?
A: Yes! You can use acrylic, watercolor, or even natural dyes. Just make sure the paint adheres well to the leaves and paper.
Q: Are there any safety tips for kids when using mixed media?
A: Always supervise young children when using scissors or glue, and ensure that all materials are non-toxic.
Q: How can I display my child's leaf art?
A: Consider framing the artwork, creating a gallery wall, or even turning it into greeting cards for family and friends!
Displaying Leaf Art Creations
Once your little Picassos have completed their stunning leaf paintings, the next exciting step is showcasing these beautiful creations. After all, what’s the point of making art if you can’t share it with the world, right? There are countless ways to display your kids' leaf art that can turn your home into a vibrant gallery, and you don't need to be an art curator to do it!
One of the simplest yet most effective ways to display leaf art is by framing the pieces. You can purchase inexpensive frames at craft stores or even use frames you already have at home. Just make sure to choose frames that complement the colors in the artwork. For a personal touch, you might even want to let your kids decorate the frames themselves! This not only adds to the art's charm but also makes it a fun family activity.
Another fantastic idea is to create a gallery wall. Dedicate a wall in your home, perhaps in a hallway or a playroom, to display the leaf paintings. You can arrange the frames in a fun, eclectic style, mixing different sizes and orientations. This will not only showcase the art but also create a lively atmosphere that reflects your family's creativity. You could even change the displayed artworks periodically, keeping the gallery fresh and exciting!
For a more casual approach, consider using clipboards or clotheslines. Hang a string or wire across a wall and use clothespins to attach the leaf art. This method is super easy and allows for quick swaps when your kids create new masterpieces. Plus, it adds a whimsical touch to the decor!
If you're feeling a bit more adventurous, why not turn the leaf art into greeting cards? Simply cut the leaf paintings to size and fold them into cards. These unique creations can be used for birthdays, thank-you notes, or just to say hello. It’s a wonderful way to share your kids' creativity with friends and family, and it makes for a heartfelt gift!
Lastly, don’t forget about the option of creating a digital gallery. Take high-quality photos of the leaf paintings and compile them into a digital album. This is especially useful for preserving memories of larger or more delicate pieces that may not stand the test of time. You can even share these digital artworks through social media, allowing family and friends far away to appreciate the artistic talents of your little ones!
Displaying your children's leaf art not only boosts their confidence but also encourages them to keep creating. So, gather those beautiful pieces and get creative with how you show them off. Trust me, every time you walk past that gallery wall or see those adorable greeting cards, you’ll be reminded of those joyful moments spent crafting together.
- What materials do I need to display leaf art? You can use frames, clipboards, strings with clothespins, or even digital tools for a slideshow.
- How can I keep the leaf art from fading? Display them out of direct sunlight, and consider using UV-protective glass in frames.
- Can I sell my child's leaf art? Absolutely! If your child is interested, consider setting up an online store or participating in local craft fairs.
- What should I do if the leaves start to decay? You can preserve the art by taking photos or scanning them before they deteriorate.
Frequently Asked Questions
- What materials do I need for leaf painting?
To get started with leaf painting, you'll need a few essential materials: fresh leaves, non-toxic paints, brushes, and sturdy paper. You might also want to have a palette for mixing colors, some water for rinsing brushes, and paper towels for any spills. Having these supplies ready will make the process smooth and fun!
- How do I choose the right leaves for painting?
Choosing the right leaves is key to a successful painting experience! Look for leaves that are flat and have interesting shapes, like maple or oak. These types provide a great surface for paint. However, don’t shy away from curved leaves, as they can add unique textures and patterns to your artwork. Just make sure they are clean and fresh!
- What are some fun painting techniques to try?
There are so many exciting painting techniques to explore! You can try sponge painting for a textured effect, or stamping with the leaves to create beautiful prints. If you're feeling adventurous, consider using natural dyes made from fruits and vegetables for a vibrant and eco-friendly twist. Mixing media, like adding drawings or collages, can also elevate your leaf art!
- How can I display my child's leaf art creations?
Once your little artist has finished their masterpiece, it’s time to show it off! You can frame the artwork for a polished look or create a gallery wall at home. Using clothespins to hang the paintings on a string can also add a playful touch. Get creative with how you showcase their art – it’s all about celebrating their creativity!
- Can I use any type of paint for leaf painting?
While you can technically use any paint, it's best to stick with non-toxic, washable paints, especially if kids are involved. Acrylics work well for their vibrant colors and durability, but make sure they are safe for children. If you're looking for a more natural approach, consider using homemade natural dyes for a fun and safe alternative!


