Easy DIY Clock Ideas to Personalize Your Timekeeping
Timekeeping doesn’t have to be mundane or boring! In fact, it can be a fun and creative outlet that allows you to showcase your personality and style through unique clock designs. Whether you’re a seasoned DIY enthusiast or just looking for a weekend project, there are countless ways to craft a clock that not only tells time but also serves as a stunning piece of art in your home. Imagine walking into a room and being greeted by a clock that reflects your taste—how cool is that? In this article, we’ll explore various DIY clock ideas that cater to all skill levels, ensuring that everyone can join in on the fun of personalizing their timekeeping. So, grab your tools and let’s get started on this exciting journey to create something truly special!
The first step in your DIY clock adventure is selecting the right materials. This is crucial because the materials you choose will not only determine the clock's aesthetic but also its durability. You can go for classic options like wood for a rustic feel, or perhaps metal for a sleek, modern look. If you're feeling eco-conscious, consider using recycled materials, which can add character and charm to your clock while being friendly to the planet. Here’s a quick overview of some popular materials:
| Material | Pros | Cons |
|---|---|---|
| Wood | Warm, classic look | Can warp if not treated |
| Metal | Durable, modern appeal | Can be heavy and harder to work with |
| Recycled Items | Eco-friendly, unique | May require more creativity |
Choosing the right materials can set the tone for your entire project, so take your time and select what resonates with you!
If you're just starting out, simple wall clock designs are the way to go. They require minimal tools, making them perfect for beginners. Plus, they can add a pop of character to any room in your home. Think about how a well-designed clock can serve as both a functional piece and a conversation starter. You might want to explore designs that incorporate geometric shapes or even abstract art. The beauty of DIY clocks is that you can tailor them to match your existing decor or create a bold statement piece that stands out. Let’s dive into some specific ideas!
One of the most rewarding aspects of DIY clock-making is the opportunity to upcycle old items into something beautiful and functional. This approach not only saves money but also helps reduce waste. You can easily transform everyday objects into stunning timepieces. For example:
Turning decorative plates into clocks is a charming way to personalize your space. All you need is a beautiful plate, a clock mechanism, and some basic tools. Simply attach the clock mechanism to the back of the plate, and voilà! You have a unique clock that adds flair to your wall. You can even mix and match plates to create a gallery wall of clocks that showcases your eclectic taste.
If you have old vinyl records lying around, why not turn them into a retro-style wall clock? This project is perfect for music lovers! Just drill a hole in the center of the record, attach a clock mechanism, and you’ll have a funky timepiece that pays homage to your favorite tunes. It’s a great conversation starter and a nostalgic piece that will remind you of the good old days.
Crafting a desk clock allows you to express your creativity while ensuring functionality. A well-designed desk clock can fit perfectly on your workspace, reflecting your personal style. Consider using materials like glass or acrylic for a sleek look, or go for a more rustic vibe with reclaimed wood. You can even personalize your desk clock with paint or decals that resonate with your personality.
Artistic clock designs can elevate your timekeeping experience to a whole new level. Why settle for a plain clock when you can create a masterpiece? Incorporating painting, decoupage, or other artistic techniques can turn a simple clock into a stunning focal point. Let your creativity flow as you explore various methods to personalize your clock!
Painting is a fantastic way to add color and personality to your clock. You can experiment with different painting techniques, from stencils to abstract designs. Consider using bright colors to make your clock pop or muted tones for a more sophisticated look. The options are truly endless, so don’t be afraid to get a little messy and have fun with it!
Decoupage is a fantastic way to personalize your clock further. You can use paper, fabric, or even photos to create a unique timepiece. The process involves gluing your chosen material onto the clock's surface and sealing it with a protective finish. This technique allows you to incorporate meaningful images or patterns that resonate with you, making your clock truly one-of-a-kind.
Once your clock is complete, maintaining it is crucial. A little care can go a long way in ensuring your clock remains functional and visually appealing. Regularly check the clock mechanism to ensure it’s working correctly, and clean the surface with a soft cloth to keep it looking fresh. If you’ve used paint or decoupage, consider applying a protective sealant to preserve your artwork. Remember, a well-maintained clock not only tells time but also continues to tell your story.
- What materials are best for beginners? Wood and recycled materials are great starting points as they are easy to work with and widely available.
- How do I choose the right clock mechanism? Make sure to select a clock mechanism that fits the size and weight of your clock face.
- Can I use any type of paint on my clock? Yes, but it’s best to use paint that is suitable for the material you’re working with to ensure durability.
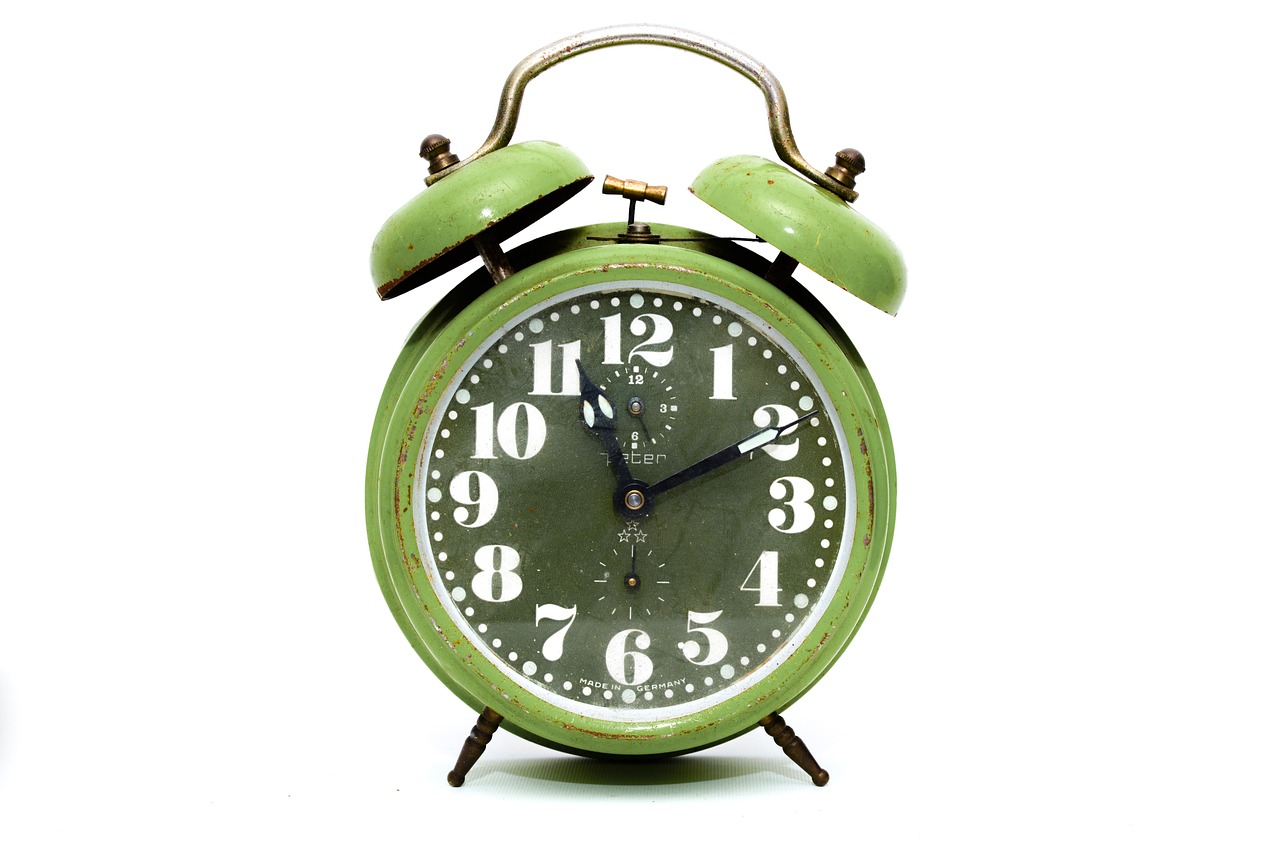
Choosing the Right Materials
When embarking on your DIY clock adventure, the choice of materials can make a world of difference. Imagine crafting a timepiece that not only tells time but also tells your story! Whether you're a novice or a seasoned DIYer, selecting the right materials is crucial for achieving the perfect look and functionality. You have a plethora of options at your fingertips, from natural elements like wood to modern choices like metal, and even the creative reuse of recycled materials.
Wood is a classic choice that brings warmth and charm to any clock design. You can opt for reclaimed wood for an eco-friendly touch, or choose a sleek, polished finish for a contemporary vibe. If you’re feeling adventurous, consider using different types of wood to create a stunning contrast. For example, pairing light pine with dark walnut can produce a visually appealing effect that captures attention.
Metal is another fantastic option, especially if you're looking for a more industrial or modern aesthetic. Think about using materials like copper, aluminum, or even brass. These metals can be shaped and painted to fit your design vision. Plus, they tend to be very durable, ensuring your clock stands the test of time—pun intended!
Now, let’s not forget about the charm of recycled materials. Upcycling old items not only saves money but also contributes to sustainability. You can use anything from old kitchen utensils to broken furniture parts. The beauty of this approach is that it allows for immense creativity; turning something that was once considered trash into a beautiful clock can be incredibly rewarding.
To help you visualize your options, here’s a simple table outlining some popular materials and their characteristics:
| Material | Characteristics | Best For |
|---|---|---|
| Wood | Warm, customizable, easy to work with | Traditional or rustic designs |
| Metal | Durable, modern, sleek finish | Industrial or contemporary designs |
| Recycled Materials | Eco-friendly, unique, creative | Whimsical or eclectic designs |
In summary, the materials you choose for your DIY clock project will significantly influence its final look and feel. Whether you lean towards the warmth of wood, the sleekness of metal, or the creativity of upcycled materials, make sure they resonate with your personal style. After all, the clock you create should not only keep time but also reflect who you are!
Simple Wall Clock Designs
When it comes to home decor, a clock can be more than just a timekeeper; it can be a statement piece that reflects your personal style. Simple wall clock designs are perfect for those who may not have extensive DIY experience but still want to create something unique. Imagine walking into a room and having a clock that not only tells you the time but also tells a story about who you are. Let's dive into some easy designs that can transform any wall into a canvas of creativity.
One of the simplest ways to create a wall clock is by using a basic clock mechanism and a unique base. You can use materials like wood, cardboard, or even a sturdy piece of fabric. The beauty of these designs lies in their versatility. For instance, if you have a piece of driftwood lying around, you can easily attach a clock mechanism to it, creating a rustic and natural look. Alternatively, a colorful piece of cardboard can serve as a canvas for your artistic flair. The options are endless, and the best part is that you can customize them to match your existing decor.
Another exciting approach to simple wall clock designs is to incorporate shapes and numbers in creative ways. You can choose to go for a minimalist design with just the clock hands and a blank background, or you can jazz it up with bold numbers and vibrant colors. Consider using stickers or stencils to create numbers or even words that resonate with you. For example, a clock that reads “Time to Relax” can serve as a gentle reminder to take a break during your busy day.
For those who enjoy a touch of whimsy, think about using unconventional materials. Imagine a clock made from a pizza pan, or a large, round mirror that doubles as a clock. These types of designs not only stand out but also spark conversations. You can paint the mirror frame in a color that complements your room, ensuring that your clock becomes an integrated part of your decor rather than just a functional item.
Here’s a quick overview of some simple wall clock designs you can explore:
| Design Idea | Description |
|---|---|
| Driftwood Clock | A rustic clock made from a piece of driftwood, perfect for a beachy vibe. |
| Cardboard Canvas | Use colorful cardboard as a base and decorate it with paint or stickers. |
| Mirror Clock | A large mirror that not only reflects your space but also tells the time. |
| Pizza Pan Clock | A fun and quirky clock that adds a playful touch to your kitchen. |
Remember, the key to creating a simple wall clock design is to let your personality shine through. Don’t be afraid to experiment with colors, shapes, and materials. The process of making your own clock can be just as rewarding as the final product. So gather your materials, unleash your creativity, and watch as your walls come alive with your unique timepiece!
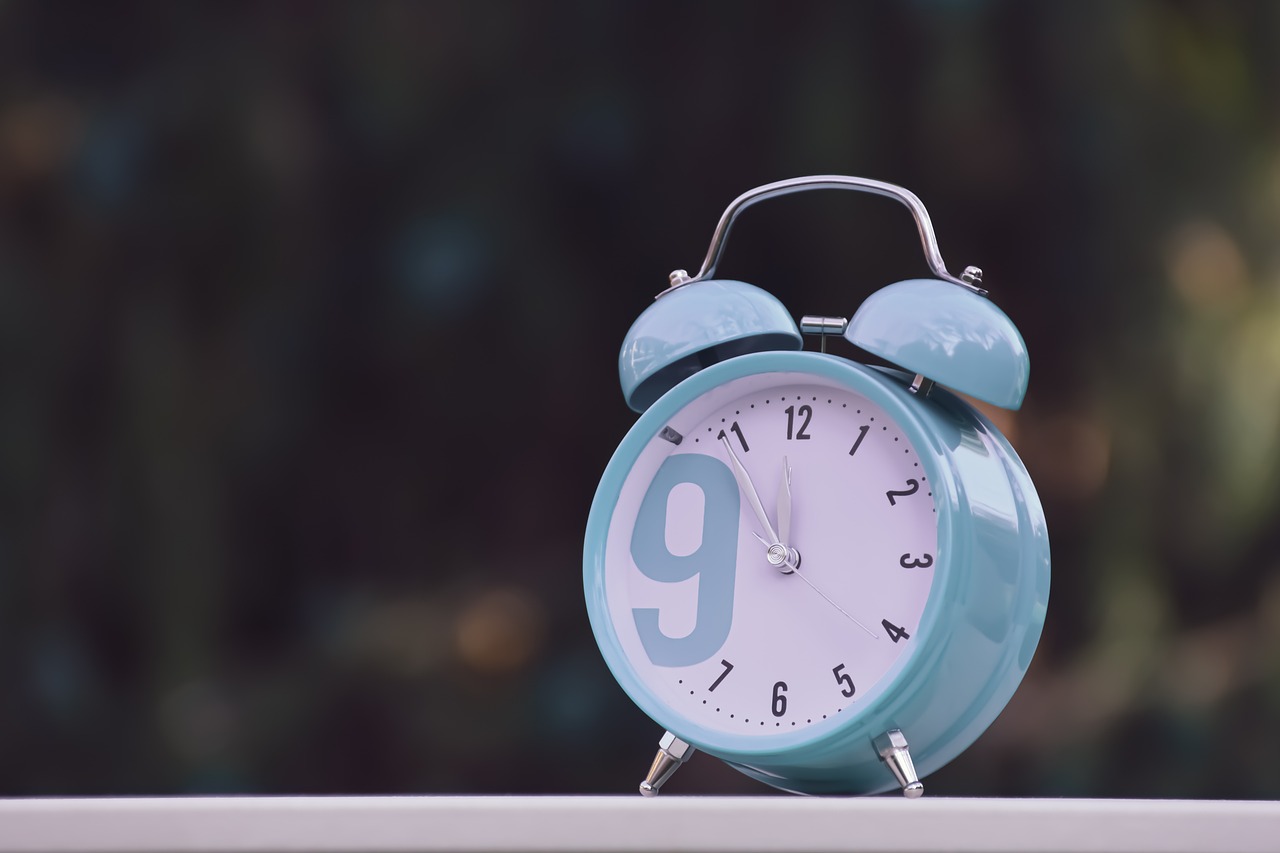
Using Upcycled Items
Upcycling is not just a trend; it's a movement that encourages creativity and sustainability. When you think about it, why throw away something that can be transformed into a stunning piece of art? Upcycling everyday items into clocks not only saves money but also adds a unique touch to your decor. Imagine walking into a room and seeing a clock that tells time while telling a story of its own! Let’s dive into some fantastic ideas for using upcycled items to create your very own clock.
One of the most charming ways to upcycle is by using old plates. Decorative plates, especially those with beautiful patterns or colors, can be effortlessly transformed into functional wall clocks. The process is simple: all you need is a clock mechanism, which can be purchased at a craft store or online. Start by selecting a plate that resonates with your style. For instance, a vintage floral plate can bring a touch of elegance to your kitchen, while a quirky patterned plate can add fun to a child's room. Once you have your plate, carefully mark the center for the clock mechanism. Drill a hole, attach the mechanism, and voilà! You now have a stunning plate clock that’s sure to be a conversation starter.
Another fantastic upcycling idea is to use old vinyl records. If you're a music lover, this project will resonate with you on a personal level. Vinyl records not only have a nostalgic charm but also make for a bold statement piece. To create a record clock, you’ll start by choosing a record that has a design you love. Next, you'll need to drill a hole in the center of the record to fit the clock mechanism. Once that's done, attach the clock hands, and you’re all set! This retro-style clock not only keeps time but also pays homage to the golden age of music. Hang it in your living room or home office to add a touch of personality and rhythm to your space.
Upcycling isn't just limited to plates and records; you can also explore other creative avenues. Here are a few ideas to consider:
- Old wooden spoons or forks can be turned into quirky clock hands.
- Using a picture frame, you can create a clock that showcases your favorite photos.
- Glass bottles can be turned upside down to create a unique base for a clock.
Incorporating upcycled items into your clock design not only helps reduce waste but also allows you to express your creativity. Each clock becomes a one-of-a-kind piece that reflects your personality and values. So, the next time you find yourself about to toss something out, pause for a moment and consider how it could be transformed into a stunning timepiece!
Q: What materials do I need to upcycle items into a clock?
A: You'll typically need the following materials: the item you want to upcycle (like a plate or record), a clock mechanism, clock hands, a drill (if necessary), and decorative elements if you wish to personalize further.
Q: Where can I buy clock mechanisms?
A: Clock mechanisms can be found at craft stores, online marketplaces like Amazon, or specialty clock supply stores.
Q: Can I use any type of plate or record?
A: Yes! However, ensure that the plate or record is in good condition and can handle the clock mechanism. Decorative plates work best for aesthetics, while sturdy records can provide a solid base.
Q: How do I maintain my upcycled clock?
A: Regularly check the clock mechanism for any dust or debris. If you used paint or other decorative elements, ensure they are sealed properly to avoid wear and tear.
Plate Clocks
Transforming decorative plates into clocks is not just a fun DIY project; it's an opportunity to create a stunning piece of art that reflects your personality and style. Imagine walking into your living room and being greeted by a beautiful clock that not only tells time but also serves as a conversation starter. The charm of plate clocks lies in their versatility; you can choose from various styles, colors, and designs, making them perfect for any space.
To get started, you'll need a few essential materials. First, select a decorative plate that resonates with your aesthetic. This could be a vintage find, a modern design, or even a plate that holds sentimental value. Next, you'll require a clock mechanism, which can easily be purchased online or at craft stores. Don't forget some basic tools, such as a drill or a screwdriver, to assemble your clock. The process is straightforward, and you’ll be amazed at how quickly you can create a functional piece of art!
Here’s a simple step-by-step guide to help you on your way:
- Step 1: Choose your plate and ensure it's clean and free of any residue.
- Step 2: Mark the center of the plate where you want to place the clock mechanism.
- Step 3: Carefully drill a hole through the center of the plate. Make sure to use a drill bit that matches the size of the clock mechanism's shaft.
- Step 4: Insert the clock mechanism through the hole and secure it according to the manufacturer's instructions.
- Step 5: Attach the clock hands and set the time. Voila! Your plate clock is ready to shine.
Once your clock is assembled, consider adding numbers or markers to enhance its functionality. You can paint them directly on the plate or use stickers for a more polished look. If you're feeling adventurous, why not try your hand at some artistic techniques? You could decoupage fabric or paper around the edges for an extra flair!
Remember, the beauty of DIY projects like this is that there are no strict rules. Each plate clock you create can be a unique reflection of your style. Whether you choose a whimsical floral design or a sleek modern plate, the end result will be a personalized timepiece that adds character to your home.
In conclusion, plate clocks are a charming way to blend functionality with creativity. They allow you to express yourself while also being practical. So gather your materials, unleash your creativity, and start crafting your very own plate clock today!
Record Clocks
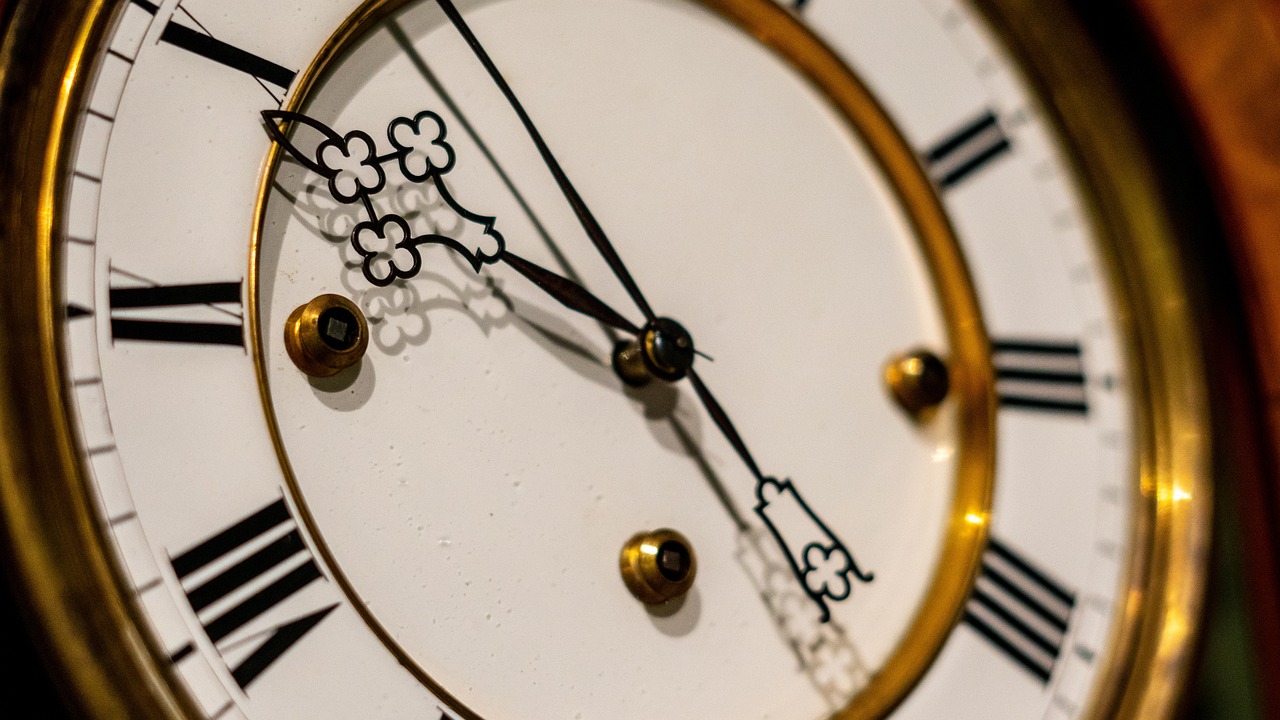
Transforming old vinyl records into unique wall clocks is not only a fun DIY project but also a fantastic way to celebrate your love for music. Imagine hanging a piece of your favorite album on the wall, not just as a decoration but as a functional timepiece! The process is surprisingly simple, and you’ll find that the end result is a conversation starter that will impress your guests.
To get started, you'll need a few materials. Here’s a quick list of what you’ll need:
- An old vinyl record (choose one that you love or one that has an interesting design)
- A clock mechanism kit (available at craft stores or online)
- Drill with a bit suitable for making a hole in the center of the record
- Optional: paint, stickers, or embellishments to personalize your clock
First, you’ll want to select a record that resonates with you—perhaps a classic rock album or a jazz masterpiece. Once you have your record, carefully drill a hole in the center. This is where your clock mechanism will fit, so make sure it’s centered and clean. If you’re feeling adventurous, consider painting or decorating the record before adding the clock parts. A splash of color or some funky stickers can transform a plain record into a vibrant piece of art!
After drilling the hole, it’s time to assemble your clock. Follow these simple steps:
- Insert the clock mechanism through the hole you’ve drilled.
- Secure the clock hands according to the instructions provided with your clock kit.
- Attach a hanger or use a stand if you prefer to display it on a shelf.
And just like that, you have a one-of-a-kind record clock! Not only does it keep time, but it also serves as a beautiful reminder of the music you cherish. You can experiment with different records, colors, and decorations to create a whole collection that reflects your musical journey.
As a bonus, this project is eco-friendly! By repurposing old records, you’re reducing waste and giving new life to something that might have otherwise ended up in a landfill. Plus, it’s a great way to engage with your creativity while enjoying a bit of nostalgia.
In summary, making a record clock is a delightful DIY project that combines functionality with personal expression. Whether you’re a music lover or simply looking for a unique piece of art to adorn your wall, this project is sure to please. So gather your materials, put on your favorite tunes, and get crafting!
Q: Can I use any type of vinyl record for this project?
A: Yes, you can use any vinyl record, but consider choosing one that you don’t mind altering, as drilling a hole will permanently change it.
Q: Where can I find clock mechanism kits?
A: Clock mechanism kits can be found at most craft stores, online marketplaces, or even in some home improvement stores.
Q: How do I ensure the clock keeps accurate time?
A: Make sure to follow the instructions provided with your clock mechanism and use a new battery to ensure it runs smoothly.
Creative Desk Clocks
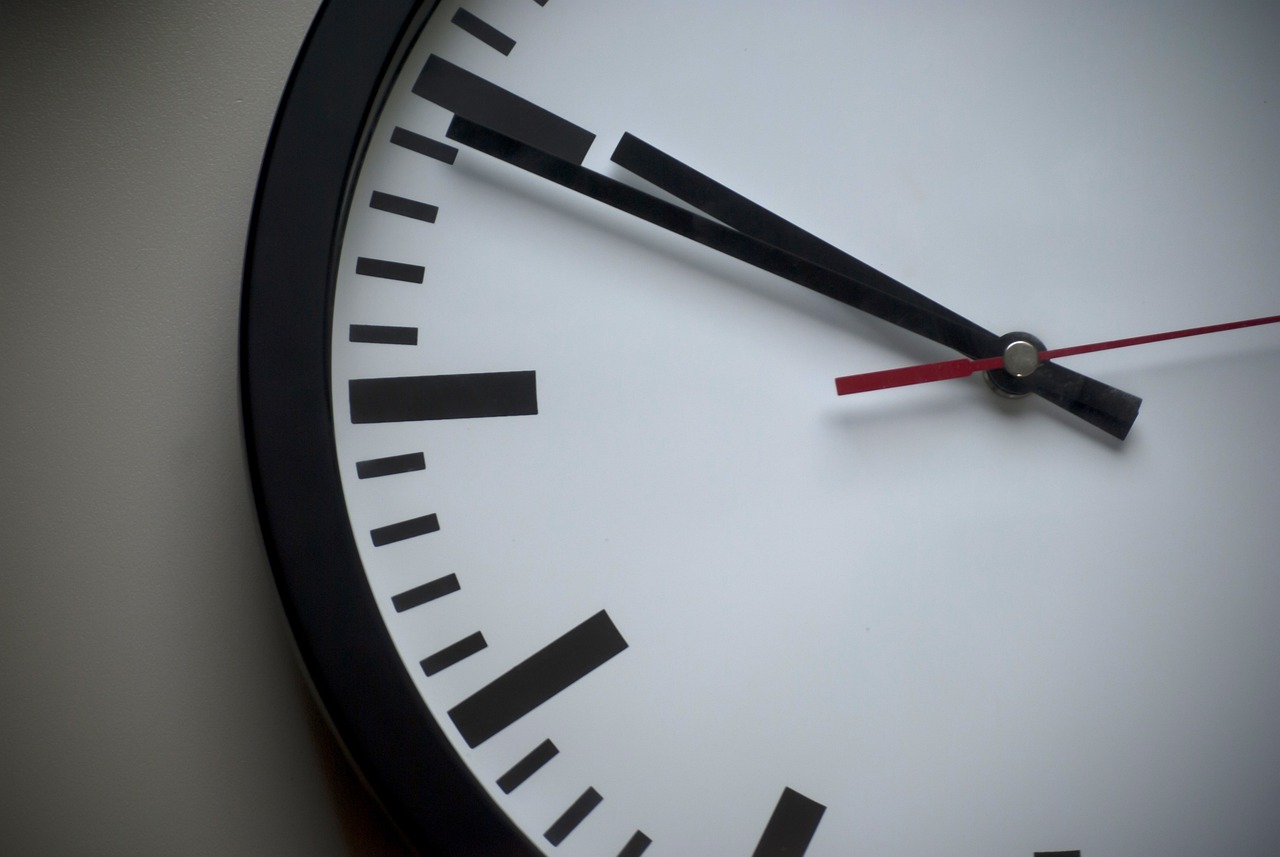
Crafting a desk clock is not just about telling time; it’s about showcasing your personality right on your workspace. Imagine a clock that not only serves its purpose but also reflects your style and creativity. Whether you're a minimalist at heart or someone who loves vibrant colors and intricate designs, the possibilities are endless. With just a few materials and a sprinkle of imagination, you can create a stunning desk clock that will be the envy of your colleagues.
When designing your desk clock, think about the theme you want to convey. Are you drawn to rustic charm, or do you prefer a sleek, modern look? Here are a few creative ideas to get your creative juices flowing:
- Wooden Block Clock: Use a simple wooden block as the base. Sand it down for a smooth finish, then paint or stain it to match your decor. Add clock numbers using vinyl stickers or paint, and attach a clock mechanism on the back.
- Photo Frame Clock: Combine functionality with sentimentality by creating a photo frame clock. Use a small frame, insert a favorite photo, and attach the clock mechanism in the center. This way, you can keep your loved ones close while keeping track of time!
- Plant Clock: If you’re a plant lover, why not create a clock that incorporates greenery? Use a shallow planter as a base, fill it with soil, and plant small succulents around the clock mechanism. It’s a fresh and lively way to keep time!
Don’t forget about the color scheme! Choose colors that resonate with your workspace. If you work in a creative field, vibrant hues can inspire energy and innovation. On the other hand, if your environment is more traditional, muted tones can create a calm atmosphere. You could even use washi tape to add patterns and designs to your clock face, giving it a fun and personal touch.
Lastly, consider the size of your desk clock. A large clock can serve as a statement piece, while a smaller one can be a subtle addition to your workspace. Balance is key—make sure it doesn’t overpower your desk but complements the overall aesthetic.
Incorporating a creative desk clock into your workspace not only enhances the decor but also serves as a reminder of your personal style. So, gather your materials, unleash your creativity, and let your desk clock tell time in a way that’s uniquely you!
Q: What materials do I need to create a desk clock?
A: You can use various materials such as wood, metal, or even recycled items. Basic clock mechanisms can be purchased online or at craft stores.
Q: How do I attach the clock mechanism?
A: Most clock mechanisms come with a simple installation guide. Usually, you will need to drill a hole in the center of your clock face and attach the mechanism from the back.
Q: Can I paint my clock?
A: Absolutely! Painting your clock is a great way to personalize it. Just ensure that the paint is suitable for the material you're using.
Q: How do I maintain my DIY desk clock?
A: Regularly check the clock mechanism to ensure it’s functioning correctly. Dust it occasionally to keep it looking fresh, and replace the battery as needed.
Incorporating Art into Clock Design
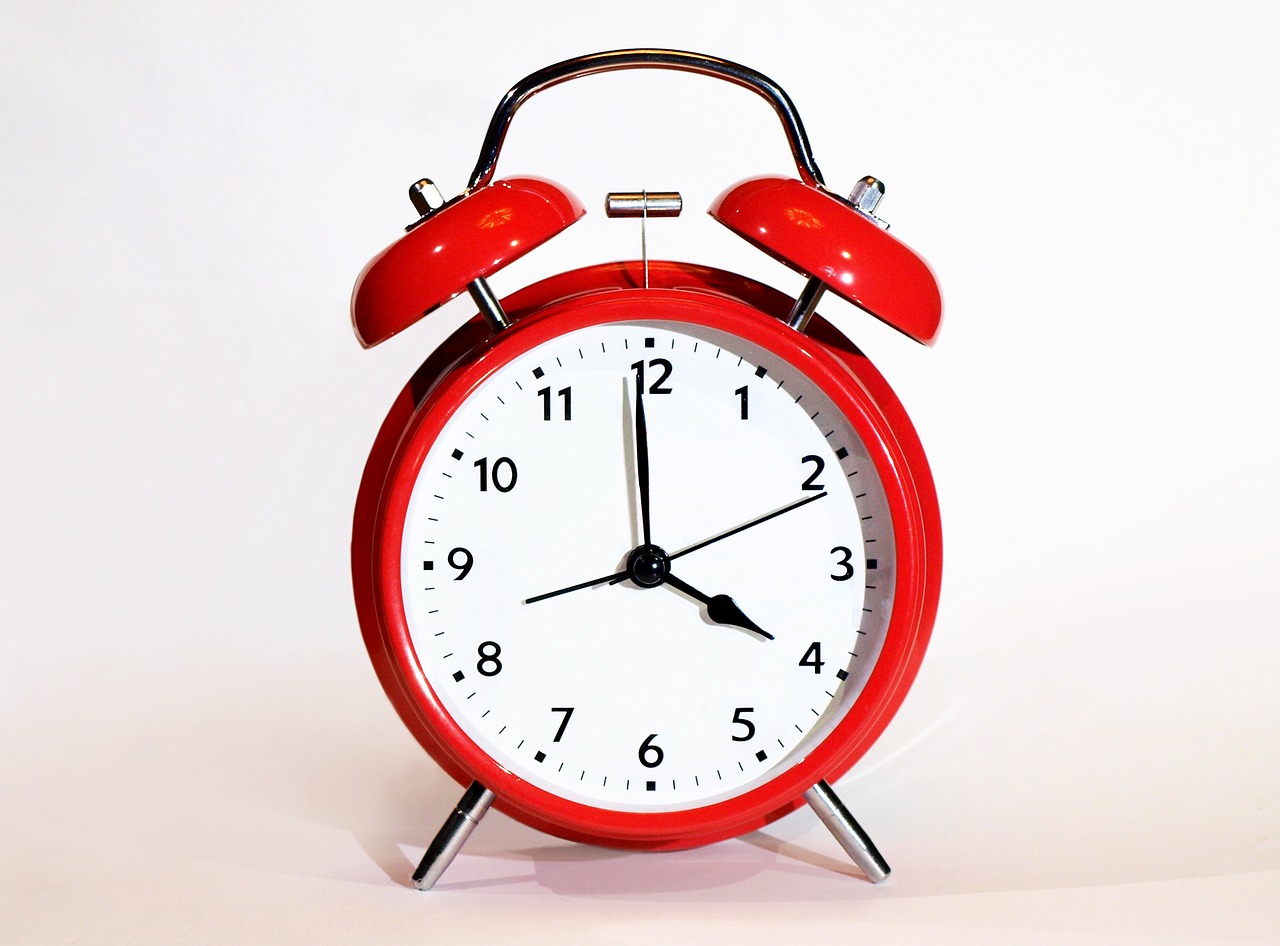
When it comes to DIY clocks, why settle for the ordinary when you can make a statement? Artistic clock designs not only serve the practical purpose of telling time but also add a splash of creativity to your space. Imagine walking into a room and being greeted by a clock that reflects your personal style—now that’s a conversation starter! Whether you’re an aspiring artist or just someone who loves to dabble in creativity, incorporating art into your clock design can elevate your project to a whole new level.
One of the most exciting aspects of designing your own clock is the freedom to explore various artistic techniques. You can unleash your inner artist by using methods such as painting, decoupage, or even collage. Each technique offers a unique way to personalize your clock, making it a true reflection of your taste. For instance, painting allows you to play with vibrant colors and patterns, while decoupage lets you incorporate textures and images that resonate with you.
Let’s dive into some of the artistic approaches you can take. If you’re a fan of painting, consider using stencils to create intricate designs. This method is especially great for beginners as it offers a structured way to achieve beautiful results without the stress of freehand painting. You could even explore abstract designs that evoke emotion and creativity—think of it as a canvas that tells time!
On the other hand, if you have a collection of beautiful papers, fabrics, or even old photos, decoupage can be an excellent choice. By layering these materials onto your clock, you can create a stunning visual effect. Imagine a clock adorned with snippets from your favorite magazines or fabric that reminds you of a cherished memory. The possibilities are endless! To give you a clearer picture, here’s a simple table comparing the two techniques:
| Technique | Pros | Cons |
|---|---|---|
| Painting |
|
|
| Decoupage |
|
|
Incorporating art into your clock design isn’t just about aesthetics; it’s about expressing who you are. Think of it as a canvas that not only keeps you on schedule but also showcases your creativity. So, why not take the plunge? Grab your materials, unleash your imagination, and create a clock that’s not just functional, but a piece of art!
Q1: What materials do I need to start my DIY clock project?
A1: You’ll need a clock mechanism, a base (like wood, metal, or upcycled items), and art supplies (paints, papers, etc.) to personalize it.
Q2: Can I use any type of paint on my clock?
A2: While acrylic paints are popular for DIY projects, ensure that whatever paint you use is suitable for the material of your clock base.
Q3: How do I care for my DIY clock?
A3: Regularly dust it to keep it clean, and avoid placing it in direct sunlight to prevent fading of the colors.

Painting Techniques
When it comes to personalizing your DIY clock, can turn an ordinary timepiece into a stunning work of art. The beauty of painting is that it allows you to express your creativity and style while adding a splash of color to your space. Whether you’re aiming for a sleek modern look or a whimsical vintage vibe, the right painting technique can make all the difference.
One of the most popular methods is using stencils. Stencils can help you achieve intricate designs without needing advanced painting skills. You can create patterns, numbers, or even quotes that resonate with you. Simply place the stencil on your clock face, secure it, and apply paint with a sponge or brush. This technique is especially effective for those who want to add a personal touch without going overboard.
If you’re feeling adventurous, consider trying out abstract painting. This technique is all about freedom and expression. You can use a variety of colors and brush strokes to create a unique design that reflects your personality. Just grab some acrylic paints, a few brushes, and let your imagination run wild. Remember, there are no mistakes in abstract art—only opportunities to explore!
Another fun technique is the ombre effect. This gradient style transitions from one color to another, creating a soft, blended look. To achieve this, start with a light color at the top of your clock and gradually mix in darker shades as you move down. This technique is perfect for adding depth and dimension to your clock, making it a standout piece in any room.
For those who love a rustic touch, distressing your clock can add character. This method involves painting your clock in a solid color and then lightly sanding the edges to reveal the underlying color or material. It gives your clock a vintage or worn look, perfect for farmhouse-style decor. Plus, it’s a great way to use up leftover paint!
Lastly, don’t forget about metallic paints. These can add a touch of glamour and elegance to your clock. Gold, silver, or copper accents can transform a simple design into something truly eye-catching. Consider using metallic paint for the clock hands or numbers to make them pop against a matte background.
Incorporating these painting techniques into your DIY clock project not only enhances its aesthetic appeal but also makes it a reflection of your personality. So grab your brushes, select your colors, and let your creativity shine!
- What type of paint should I use for my DIY clock? Acrylic paint is a great choice as it dries quickly and adheres well to various surfaces.
- Can I use spray paint for my clock? Yes, spray paint can provide a smooth finish, but be sure to spray in a well-ventilated area and use a primer if necessary.
- How do I seal my painted clock? After your paint has dried, apply a clear sealer to protect your design from scratches and moisture.

Decoupage Ideas
Decoupage is a fantastic way to infuse your DIY clock with personality and flair. Imagine transforming a plain clock into a vibrant piece of art that tells time! This technique involves adhering decorative paper, fabric, or even photos onto your clock's surface, creating a unique design that reflects your style. The beauty of decoupage lies in its versatility; you can choose from a myriad of materials and themes to suit your taste. Whether you're a fan of vintage designs or prefer modern aesthetics, the possibilities are endless.
To get started with decoupage, gather your materials. You’ll need a clock base (like wood or metal), decoupage glue (such as Mod Podge), a brush for application, and your chosen decorative elements. You can use scrapbooking paper, old magazine clippings, or even fabric swatches. Don't hesitate to mix and match different textures and patterns to create a visually appealing design. For instance, if you love nature, consider using floral patterns or leaves to bring a touch of the outdoors inside.
Once you've gathered your materials, begin by preparing the surface of your clock. Make sure it's clean and dry. Cut your decorative paper or fabric into desired shapes and sizes. This is where your creativity shines! You might want to create a collage of different images or go for a more uniform look with a single large piece. Apply a thin layer of decoupage glue to the clock surface, place your decorative element on top, and then brush another layer of glue over it to seal it in place. Repeat this process until your design is complete.
To ensure your clock remains functional, be mindful of the clock mechanism while applying your decoupage. You can create a hole for the clock hands or leave a space around the center to avoid any obstruction. Once your clock is fully decorated and dried, apply a final coat of decoupage glue to protect your design from wear and tear.
Here are a few creative decoupage ideas to inspire your project:
- Photo Memories: Use family photos or travel pictures to create a nostalgic clock that reminds you of cherished moments.
- Seasonal Themes: Change your clock's look with the seasons by using themed papers, like autumn leaves or winter snowflakes.
- Quotes and Sayings: Incorporate your favorite quotes or motivational sayings into your design for daily inspiration.
Decoupage not only allows you to personalize your clock, but it also serves as a wonderful conversation starter. Imagine guests admiring your unique creation and asking about the story behind it! Plus, it’s a fun activity that can be enjoyed alone or with friends and family. So, gather your supplies, unleash your creativity, and let your clock become a canvas for your artistic expression!
Q: Can I use any type of glue for decoupage?
A: While you can use various types of glue, decoupage glue like Mod Podge is specifically designed for this purpose and provides a durable finish.
Q: How do I protect my decoupage clock?
A: After your clock is decorated, apply a few layers of decoupage glue or a clear sealant to protect it from moisture and wear.
Q: What kind of paper works best for decoupage?
A: You can use a variety of papers including scrapbook paper, wrapping paper, or even fabric. Choose materials that resonate with your design vision.

Maintaining Your DIY Clock
After spending time and creativity crafting your own unique clock, it's essential to ensure that it remains both functional and visually appealing. Just like any other piece of art or furniture in your home, your DIY clock requires some care and attention to keep it ticking beautifully. So, what are the best practices for maintaining your clock? Let's dive in!
First and foremost, keeping your clock clean is crucial. Dust and grime can accumulate on the surface, dulling its appearance and potentially affecting the mechanics. Use a soft, dry cloth to gently wipe down the clock face and surrounding areas. If your clock has intricate designs or textures, a slightly damp cloth can help remove stubborn dirt, but be careful not to get moisture in the clock mechanism itself.
Next, regularly check the clock mechanism to ensure it's functioning correctly. If your clock is battery-operated, replace the battery every six months or as soon as you notice it running slow or stopping altogether. For quartz clocks, a simple battery change can work wonders. If your clock is mechanical, consider winding it regularly as per the manufacturer's instructions. This will help maintain its accuracy and longevity.
Another important aspect of maintenance is monitoring the environment where your clock is placed. Extreme temperatures and humidity can impact the materials used in your DIY project. For instance, wooden clocks should be kept away from direct sunlight and damp areas to prevent warping or fading. If your clock is made from upcycled materials, such as old records or plates, be mindful of their sensitivity to temperature changes.
Lastly, if your clock has any decorative elements like paint or decoupage, consider applying a clear sealant to protect these features. This will not only enhance the durability of your design but also keep it looking fresh and vibrant for years to come. Just be sure to choose a sealant that is appropriate for the materials you've used in your clock.
In summary, maintaining your DIY clock involves:
- Regular cleaning to remove dust and dirt.
- Checking and replacing the clock mechanism as needed.
- Keeping it in a suitable environment to prevent damage.
- Applying sealants for decorative elements to ensure longevity.
By following these simple maintenance tips, you can enjoy your personalized timepiece for many years to come, reminding you of your creativity and style every time you check the time!
Here are some common questions regarding the maintenance of DIY clocks:
| Question | Answer |
|---|---|
| How often should I clean my DIY clock? | It's best to clean your clock every few weeks, or more frequently if you notice dust accumulating. |
| What type of battery does my clock need? | Check the clock mechanism specifications, but most DIY clocks use standard AA or AAA batteries. |
| Can I use any sealant on my painted clock? | Make sure to choose a sealant that is compatible with the paint and materials used in your clock. |
Frequently Asked Questions
- What materials are best for making a DIY clock?
When it comes to crafting your own clock, the choice of materials can make all the difference! You can use a variety of options such as wood, metal, and even recycled items like old plates or vinyl records. Each material offers a unique aesthetic, so consider what fits your style best.
- How do I attach a clock mechanism to my DIY clock?
Attaching a clock mechanism is easier than you might think! First, you'll need to purchase a clock movement kit, which usually includes a mechanism, hands, and a mounting nut. Simply drill a hole in the center of your clock face, insert the mechanism from the back, and secure it with the nut. Then, attach the clock hands in the correct order, and voilà, you have a functioning clock!
- Can I use upcycled items to create a clock?
Absolutely! Upcycling is a fantastic way to create a unique clock while being eco-friendly. You can transform everyday objects like old plates, records, or even wooden pallets into stunning timepieces. It’s not just about saving the planet; it's about adding a personal touch to your decor!
- What are some easy designs for beginners?
If you're just starting out, consider simple wall clock designs that require minimal tools. A basic wooden clock face with painted numbers or a clock made from a decorative plate can be perfect for beginners. These designs are not only easy to make but also add a charming character to any room!
- How can I incorporate art into my clock design?
Incorporating art into your clock can elevate its appeal! You can use painting techniques like stenciling or abstract designs to add color. Additionally, decoupage with paper, fabric, or even photos can create a one-of-a-kind look. Let your creativity run wild!
- What maintenance does a DIY clock require?
Maintaining your DIY clock is key to ensuring it stays functional and beautiful. Regularly check the battery and replace it as needed. Dust the clock face and mechanism gently to keep it looking fresh. If you notice any issues with the timekeeping, make sure to check the clock mechanism and adjust it as necessary.


