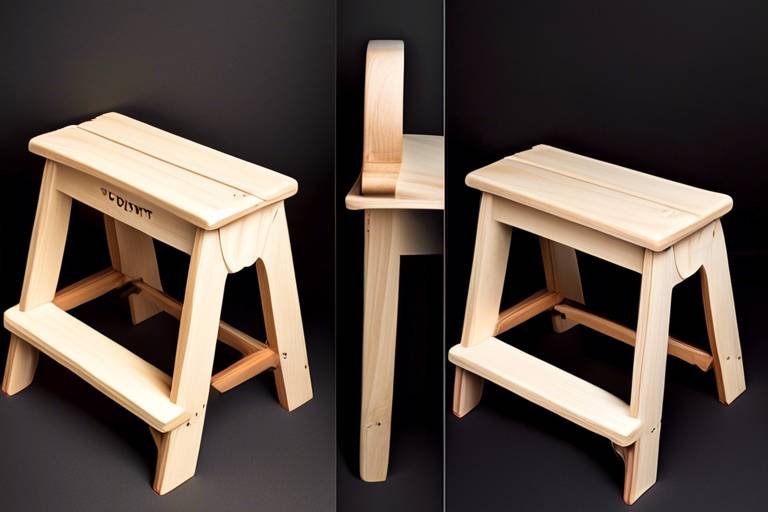
Designing a Wooden Pot Stand: A Beginner's Guide
Are you ready to unleash your inner craftsman? Designing a wooden pot stand is not just about function; it’s a chance to express your creativity while enhancing the beauty of your home. Whether you have a green thumb or simply love the aesthetic of plants, a pot stand can elevate your indoor or outdoor space. This guide provides essential tips and techniques for beginners looking to create a beautiful and functional wooden pot stand. From selecting the right materials to adding those final touches, you’ll discover everything you need to know to bring your project to life.
Selecting the appropriate type of wood is crucial for both durability and aesthetics. You want a material that not only withstands the test of time but also complements your home decor. Here are a few popular wood options to consider:
- Pine: Affordable and easy to work with, pine is a great choice for beginners. However, it may require more maintenance over time.
- Cedar: Naturally resistant to rot and insects, cedar is perfect for outdoor pot stands. Its rich color and aroma are added bonuses!
- Oak: Known for its strength and durability, oak adds a touch of elegance to any project. It’s a bit heavier but worth the investment.
When choosing wood, consider factors like weight, grain, and finish. The right wood can make or break your pot stand's overall look.
Having the right tools can make the building process smoother and more enjoyable. Here’s a quick rundown of essential tools you’ll need for crafting your wooden pot stand:
- Miter Saw: For precise cuts and angles.
- Drill: Essential for making holes and assembling pieces.
- Sander: To achieve a smooth finish.
- Tape Measure: Accuracy is key, and a good tape measure will ensure your dimensions are spot on.
Investing in quality tools not only enhances your experience but also improves the quality of your finished product.
Accurate measurements and cuts are vital for a successful project. Start by planning your design and measuring each piece carefully. It’s often said, “Measure twice, cut once,” and this couldn’t be more true! Use a pencil to mark your cuts, and always double-check your measurements before you start cutting.
A miter saw is an excellent tool for making precise cuts. It allows you to create clean angles and edges, which is essential for a professional-looking pot stand. When using a miter saw, remember to:
- Secure the wood properly before cutting.
- Always use safety goggles to protect your eyes.
- Practice on scrap wood if you’re unsure of your angles.
Understanding the differences between hand saws and power saws can influence your project’s outcome. Hand saws offer great control and are excellent for small, detailed cuts, while power saws, like circular saws, can handle larger pieces quickly. Choose based on your comfort level and the complexity of your design.
Sanding and finishing are crucial steps to enhance the appearance and longevity of your pot stand. Start with a coarse sandpaper to remove any rough edges, then gradually move to finer grits for a smooth finish. After sanding, consider applying a wood stain or sealant to protect your pot stand from the elements and enhance its natural beauty.
Designing your pot stand involves more than just aesthetics. You need to consider functionality, stability, and style. Think about where you’ll place your pot stand and the size of the plants it will hold. A well-designed pot stand not only looks good but also supports your plants effectively.
The height of your pot stand can impact both functionality and design. If you’re placing it indoors, consider the height of your furniture and the visibility of your plants. For outdoor stands, think about how they will fit into your garden design. A good rule of thumb is to have the top of the stand at eye level when you’re standing.
Adding decorative elements can personalize your pot stand and make it truly unique. Consider incorporating carvings, paint, or stains that reflect your personal style. You could even attach hooks for hanging plants or add shelves for additional storage. The possibilities are endless!
Q: What type of wood is best for outdoor pot stands?
A: Cedar is highly recommended due to its natural resistance to rot and insects. It’s durable and looks great outdoors!
Q: How do I ensure my pot stand is stable?
A: Make sure to use sturdy materials and consider the weight of your plants. A wider base will also help improve stability.
Q: Can I customize the design of my pot stand?
A: Absolutely! Feel free to add your personal touch with colors, shapes, and decorative elements to make it uniquely yours.

Choosing the Right Wood
When it comes to crafting your wooden pot stand, the choice of wood is not just a matter of preference; it’s a fundamental decision that can significantly affect both the durability and the aesthetic appeal of your final product. Think of wood as the foundation of your creation—much like a sturdy base for a house. If you don’t choose the right material, you might find your beautiful design crumbling under pressure or fading away in the elements.
There are several types of wood you can consider for your pot stand, each with its own unique characteristics. Here’s a quick overview to help you make an informed decision:
| Type of Wood | Characteristics | Best Uses |
|---|---|---|
| Softwood (Pine, Cedar) | Lightweight, easy to work with, and cost-effective. | Ideal for indoor use and decorative pot stands. |
| Hardwood (Oak, Maple) | Durable, dense, and resistant to wear. | Perfect for outdoor use and long-lasting projects. |
| Plywood | Strong, stable, and versatile. | Great for budget-friendly projects and unique designs. |
Softwoods like pine and cedar are fantastic for beginners due to their affordability and ease of use. These woods can be easily cut and shaped, making them perfect for those who are just starting out. However, keep in mind that while softwoods are great for indoor projects, they may not withstand the harsh elements of the outdoors as well as hardwoods.
On the other hand, hardwoods such as oak and maple provide unparalleled strength and durability. If you envision your pot stand enduring the test of time, these woods might be the way to go. They can handle the weight of larger plants and are less likely to warp or crack over time. However, they do come with a higher price tag and require more skill to work with due to their density.
Another option worth considering is plywood, which is made from layers of wood veneer glued together. This type of wood is incredibly versatile and can be a budget-friendly alternative for your pot stand. Plywood offers a unique aesthetic and can be used for various designs, making it a popular choice among DIY enthusiasts.
Ultimately, the best wood for your pot stand will depend on a few key factors:
- Location: Will it be indoors or outdoors?
- Weight Capacity: How heavy will your plants be?
- Budget: How much are you willing to spend?
- Skill Level: What tools and techniques are you comfortable using?
By considering these factors, you can choose the right wood that not only meets your functional needs but also complements your home decor. Remember, a well-chosen piece of wood can transform your pot stand from a simple plant holder into a stunning centerpiece that showcases your plants beautifully.
So, before you dive into your project, take a moment to explore your options. Whether you opt for the charm of softwood, the resilience of hardwood, or the adaptability of plywood, making the right choice will ensure your pot stand is both beautiful and functional.

Essential Tools for the Project
When diving into the world of woodworking, especially for a project like creating a wooden pot stand, having the right tools is akin to a painter having the perfect brushes. The right tools not only make the process smoother but also significantly enhance the quality of your final product. So, what tools do you need to get started? Let’s break it down.
First and foremost, a measuring tape is essential. Accurate measurements are the backbone of any successful woodworking project. You wouldn't want your pot stand to wobble or look off-kilter, right? A measuring tape helps ensure that every piece of wood is cut to the precise length you need. Alongside this, a square is vital for checking the right angles. Think of it as your best friend in the workshop, helping you maintain that perfect 90-degree angle.
Next up is the saw. Depending on your comfort level and the intricacies of your design, you might choose between a hand saw or a power saw. A power saw can speed up the process and provide cleaner cuts, while a hand saw offers more control for intricate designs. If you're a beginner, starting with a hand saw might be a great way to get a feel for the wood without the intimidation of power tools.
After cutting, you’ll need to smooth out those rough edges, and that’s where a sander comes into play. Sanding is crucial for achieving that professional finish. You can opt for a power sander for larger surfaces or sandpaper for smaller areas that need a bit more finesse. Remember, a well-sanded piece of wood not only looks better but also feels better, making it safer for handling.
Finally, let's not forget about the finishing tools. This includes brushes or cloths for applying stains or sealants. Finishing is what transforms your pot stand from a simple wooden structure into a stunning piece of art. The finish not only enhances the appearance but also protects the wood from moisture and wear.
Here’s a quick summary of the essential tools you'll need:
| Tool | Purpose |
|---|---|
| Measuring Tape | For precise measurements |
| Square | To ensure right angles |
| Saw (Hand or Power) | For cutting wood |
| Sander | For smoothing edges |
| Finishing Tools | For applying stains and sealants |
In conclusion, the right tools can make a world of difference in your woodworking journey. By equipping yourself with these essential tools, you're setting yourself up for success. Remember, every great craftsman started as a beginner, so don’t be afraid to get your hands dirty and enjoy the process of creating your beautiful wooden pot stand!
Q: Do I need a lot of expensive tools to start woodworking?
A: Not at all! While having quality tools can help, many beginners start with basic, affordable tools and gradually build their collection as they gain experience.
Q: Can I use recycled wood for my pot stand?
A: Absolutely! Recycled wood can add character and uniqueness to your project. Just ensure it’s in good condition and free from pests.
Q: How do I choose the right wood for my pot stand?
A: Consider the weight of the plants you’ll place on the stand, the climate conditions, and your desired aesthetic. Hardwoods like oak or maple are great for durability, while softer woods like pine are easier to work with for beginners.
Measuring and Cutting Techniques
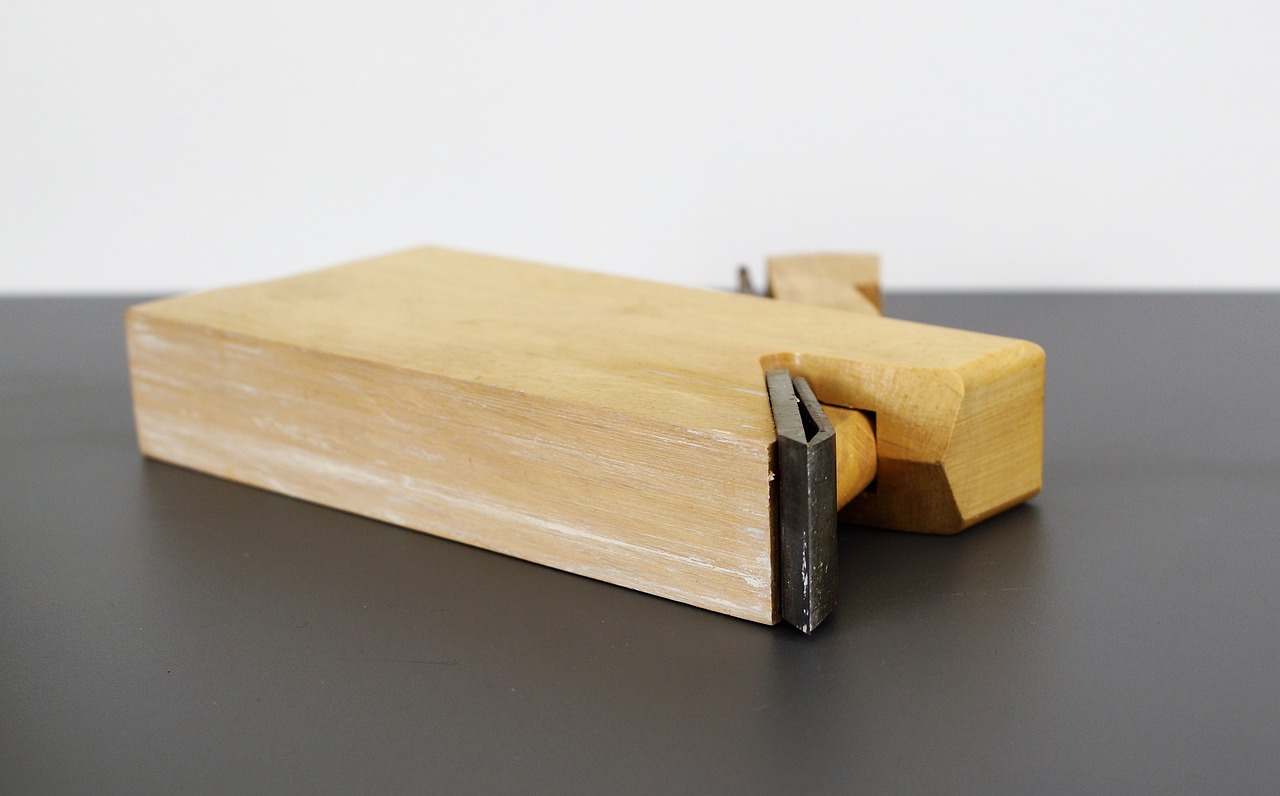
When it comes to crafting a wooden pot stand, accurate measurements and precise cuts are the backbone of a successful project. Imagine trying to assemble a puzzle with pieces that don’t fit; it’s frustrating, right? Well, the same principle applies here. If your cuts are off, your pot stand will be wobbly or worse, unusable. So, let’s dive into some essential techniques that will help you measure and cut like a pro!
First and foremost, always start with a clear plan. Sketch out your design on paper, including dimensions. This blueprint will serve as your guide throughout the project. Once you have your design, gather your materials and tools, and then measure twice—yes, twice!—before making any cuts. This old adage holds true: measure once, cut twice leads to wasted wood and time.
Next, consider using a measuring tape for longer pieces and a square for marking right angles. A square will help ensure your cuts are straight and true, which is crucial for the stability of your pot stand. For smaller sections, a caliper can be incredibly useful for precise measurements. Always mark your wood clearly with a pencil, as this will guide your cuts and prevent any confusion.
Now, let’s talk about cutting. Depending on your comfort level and the tools you have, you might choose between a hand saw or a power saw. If you’re a beginner, a hand saw might feel more manageable. But if you’re ready to dive into power tools, a miter saw can save you a lot of time and effort. Here are some tips for each:
- Hand Saw: Keep your hands steady and use long, even strokes. Let the saw do the work; don’t force it.
- Power Saw: Always follow the manufacturer’s safety guidelines. Use clamps to secure your wood, and never rush your cuts.
After cutting, it’s essential to check your pieces for accuracy. Lay them out according to your design to ensure everything fits snugly. If you notice any discrepancies, don’t panic! You can always make adjustments with sanding or by making additional cuts. Just remember, patience is key in woodworking.
Lastly, keep safety in mind at all times. Wear safety goggles and a dust mask to protect yourself from debris and dust. Your safety is paramount, and a little precaution can go a long way in ensuring a successful and enjoyable woodworking experience.
Q: What tools do I need for measuring and cutting wood?
A: Essential tools include a measuring tape, square, caliper, hand saw or power saw, and safety equipment like goggles and a dust mask.
Q: How can I ensure my cuts are straight?
A: Using a square to mark your cuts, securing your wood with clamps, and taking your time will help ensure straight cuts.
Q: What should I do if my cuts are not perfect?
A: You can make adjustments through sanding or by carefully making additional cuts to achieve the desired fit.
Using a Miter Saw
When it comes to crafting your wooden pot stand, precision is key, and that’s where a miter saw shines. This tool is designed specifically for making accurate crosscuts and miter cuts, which means you can achieve those clean angles and edges that elevate your project from basic to beautiful. Imagine trying to assemble a puzzle with pieces that don’t fit together; that’s what working with imprecise cuts feels like. A miter saw helps you avoid that frustration.
To get started, it’s essential to familiarize yourself with the different parts of the miter saw. The blade, which is the cutting component, is typically available in various sizes, with 10-inch and 12-inch being the most common. The base serves as the support for your wood, while the fence is what keeps your material in place. Understanding these components will make your experience smoother and more efficient.
Before making any cuts, always remember to measure twice and cut once. This age-old adage is especially true for miter saws. First, set your wood piece against the fence and align it with the blade. Next, adjust the angle if you’re making miter cuts—this is where the saw’s pivoting arm comes into play. Make sure to lock the arm in place to maintain accuracy.
Once everything is set, it’s time to make the cut. Here are some tips to ensure a clean finish:
- Use a steady hand: Keep your hands clear of the blade and maintain a firm grip on the wood.
- Check your settings: Ensure that the blade is sharp and the saw is properly calibrated.
- Wear safety gear: Always put on safety glasses and ear protection to safeguard against debris and noise.
After making your cuts, take a moment to inspect them. You’re aiming for smooth edges that require minimal sanding. If you notice any rough spots, don’t fret! A little sanding will help you achieve that polished look.
In summary, using a miter saw effectively can significantly enhance the quality of your wooden pot stand. By following these tips and practicing your technique, you’ll not only improve your skills but also gain the confidence to tackle more complex projects in the future. Remember, the journey of woodworking is as rewarding as the final product, so take your time and enjoy the process!
1. What is the difference between a miter saw and a circular saw?
A miter saw is designed for making precise crosscuts and miter cuts, while a circular saw is more versatile and can make a variety of cuts, including rip cuts.
2. Can I use a miter saw for cutting thicker wood?
Yes, but you need to ensure that the blade size and the miter saw's capacity can accommodate the thickness of the wood.
3. How do I maintain my miter saw?
Regularly clean the saw, check the blade for sharpness, and ensure that the moving parts are lubricated for smooth operation.
4. Is it safe to use a miter saw without experience?
While it’s possible to use a miter saw as a beginner, it’s crucial to read the manual, watch tutorials, and practice safety precautions to avoid accidents.
Hand Saw vs. Power Saw
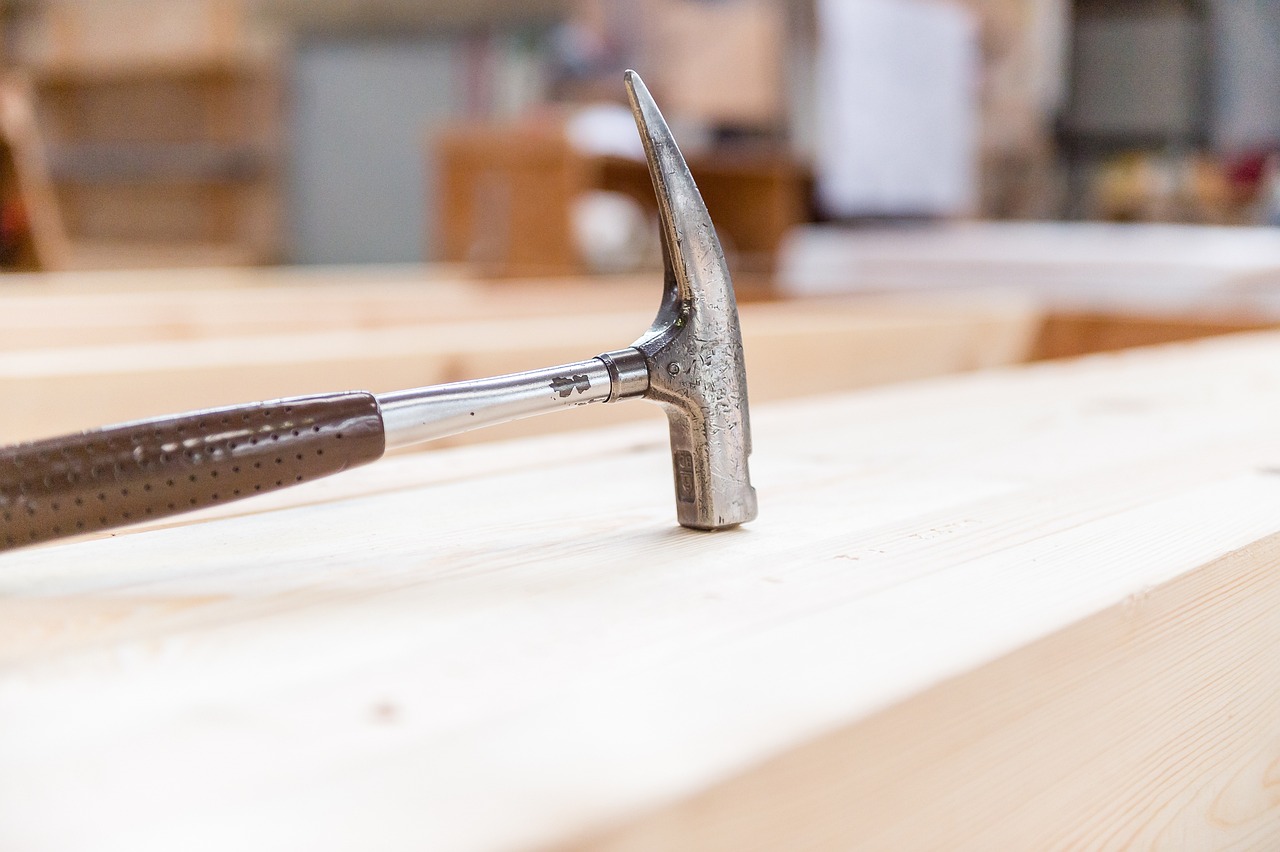
When it comes to woodworking, one of the most important decisions you'll face is choosing between a hand saw and a power saw. Each tool has its own set of advantages and disadvantages, and understanding these can significantly influence the outcome of your wooden pot stand project. Think of it like choosing between a classic, hand-crafted piece of art and a sleek, modern masterpiece; both have their charm, but the choice depends on your preferences and skill level.
Hand saws are the traditional choice for many DIY enthusiasts. They offer a level of control that can be hard to replicate with power tools. With a hand saw, you can make precise cuts, and the physical act of sawing can be quite satisfying. Additionally, hand saws are generally more affordable and require less maintenance than their power counterparts. However, they do demand a bit more physical effort and can be time-consuming, especially if you're working with thick or hardwoods.
On the other hand, power saws are designed for efficiency and speed. If you're looking to cut down on time and effort, a power saw might be your best friend. These tools can handle larger projects with ease, allowing you to slice through wood like butter. However, they come with a steeper learning curve, and you’ll need to be mindful of safety precautions. Power saws can be intimidating for beginners, but once you get the hang of them, they can become invaluable in your woodworking arsenal.
To help you decide which tool is right for you, consider the following comparison:
| Feature | Hand Saw | Power Saw |
|---|---|---|
| Control | High | Moderate |
| Speed | Slow | Fast |
| Cost | Low | High |
| Maintenance | Low | Moderate |
| Learning Curve | Easy | Steep |
Ultimately, the choice between a hand saw and a power saw boils down to your personal comfort and the specific demands of your project. If you enjoy the meditative process of woodworking and prefer a hands-on approach, a hand saw might be perfect for you. However, if you're after speed and efficiency, especially for larger projects, investing in a power saw could save you time and effort in the long run. Remember, the right tool can make all the difference in crafting a beautiful and functional wooden pot stand!
- What type of saw is best for beginners?
Hand saws are generally recommended for beginners due to their simplicity and ease of use. - Can I use a power saw for small projects?
Yes, power saws can be used for small projects, but they may be overkill for minor cuts. - How do I ensure safety while using a power saw?
Always wear safety goggles, keep your hands clear of the blade, and read the manual before use.
Sanding and Finishing Techniques
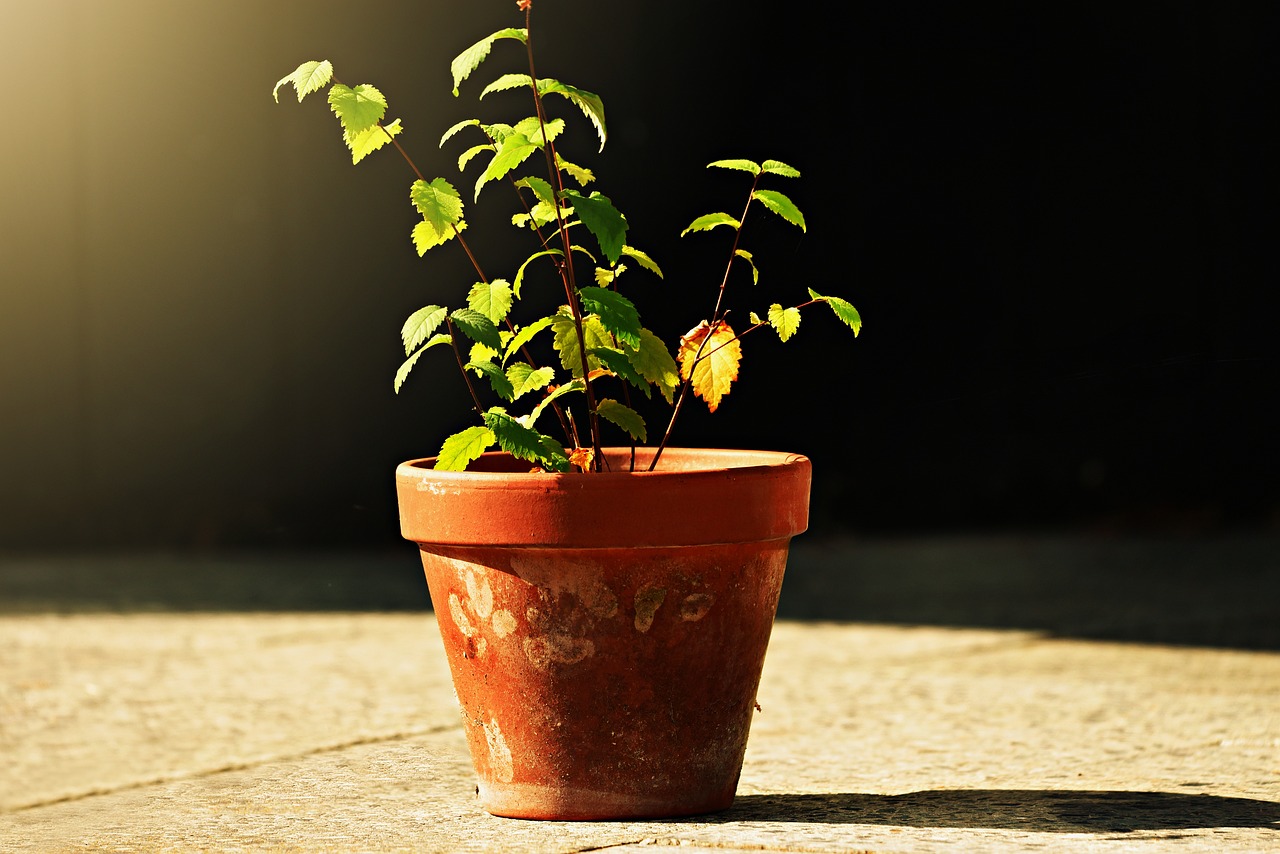
When it comes to crafting a wooden pot stand, sanding and finishing are not just optional steps; they are crucial for achieving a professional and polished look. Imagine the difference between a rough, splintery surface and a smooth, inviting one. The right sanding techniques can elevate your project from amateur to artisan in no time! So, let’s dive into the world of sanding and finishing, where every stroke of sandpaper can enhance the beauty of your wooden masterpiece.
First things first, let’s talk about sanding. It’s all about removing imperfections and preparing the wood for finishing. Start with a coarser grit sandpaper, like 80 or 100 grit, to tackle any rough spots or uneven surfaces. As you progress, switch to finer grits such as 150 and 220 to achieve that silky smooth finish. Remember, the goal is to create a surface that feels as good as it looks. A little elbow grease goes a long way, so don’t rush through this step!
Now, you might be wondering, “How do I know when I’ve sanded enough?” A good rule of thumb is to run your hand over the surface; it should feel smooth without any noticeable bumps or rough patches. If you can feel any imperfections, keep sanding until it’s just right. It’s like sculpting – you want to refine your creation until it’s perfect.
Once you’ve achieved that flawless surface, it’s time to move on to finishing. This step not only enhances the aesthetic appeal of your pot stand but also protects the wood from moisture and wear. There are various finishing options available, including paints, stains, and sealants. Each option offers a unique look and level of protection. For instance, if you want to showcase the natural grain of the wood, a clear sealant or stain might be the best choice. On the other hand, if you’re looking to add a pop of color, go for a vibrant paint.
Here’s a quick comparison of some popular finishing options:
| Finishing Option | Benefits | Best Use |
|---|---|---|
| Clear Sealant | Protects wood, enhances grain | Natural wood look |
| Wood Stain | Adds color, highlights grain | Custom color options |
| Paint | Bold colors, full coverage | Creative designs |
After selecting your finishing option, apply it evenly using a brush or cloth, depending on the product’s instructions. Allow it to dry thoroughly between coats, as this can make a significant difference in the final appearance. Remember, patience is key here; rushing can lead to drips and uneven coverage.
Lastly, don’t forget about the finishing touches! Once your pot stand is dry, consider adding a protective coat, such as a polyurethane finish, to ensure its longevity. This extra layer can help guard against scratches and spills, keeping your stand looking fabulous for years to come.
In summary, sanding and finishing are essential steps in creating a beautiful wooden pot stand. By taking the time to sand properly and choosing the right finishing option, you’ll not only enhance the appearance of your project but also extend its lifespan. So, roll up your sleeves, get your sandpaper ready, and let your creativity flow!
- What grit sandpaper should I start with? Begin with 80 or 100 grit sandpaper for rough surfaces, and gradually move to finer grits.
- How many coats of finish should I apply? Typically, 2-3 coats of finish are recommended for optimal protection and appearance.
- Can I use a power sander? Absolutely! A power sander can save time and effort, but be sure to use it carefully to avoid removing too much material.

Design Considerations
When embarking on the journey of designing your wooden pot stand, it’s essential to consider several factors that will not only impact the aesthetic appeal but also the functionality of your creation. You might think of it as creating a piece of art that also serves a purpose. Just like a painter chooses the right canvas, you must select the right dimensions and style for your pot stand to ensure it complements your home decor. Let's dive into some key design considerations!
One of the most critical aspects to think about is size. The dimensions of your pot stand should be tailored to fit the plants you intend to display. For instance, if you have tall, cascading plants, a taller stand might be necessary to allow for their growth without crowding. Conversely, smaller plants may look better on a lower stand. To help you visualize this, consider the following:
| Plant Type | Recommended Stand Height |
|---|---|
| Succulents | 12-18 inches |
| Ferns | 24-30 inches |
| Trailing Plants | 30-36 inches |
Next, let's talk about stability. A pot stand must be sturdy enough to support the weight of your plants, especially when they are watered. You wouldn’t want your beautiful creation to tip over at the slightest breeze! Incorporating a wider base or using thicker wood can significantly enhance stability. Think of it like building a solid foundation for a house; without it, everything else is at risk.
Style is another factor that plays a vital role in the design of your pot stand. Do you want a rustic look that blends seamlessly with a natural environment, or are you leaning towards a modern, sleek design? The choice of wood, finish, and even the shape of your stand can influence the overall vibe. For instance, a circular stand can evoke a softer, more organic feel, while a square stand may look more contemporary and structured. Consider the following styles:
- Rustic: Use reclaimed wood and a distressed finish.
- Modern: Opt for clean lines and a polished finish.
- Traditional: Incorporate intricate carvings or detailed legs.
Lastly, don’t forget about incorporating decorative elements that reflect your personality. This could range from simple carvings to vibrant paint or stains. These embellishments can transform a basic pot stand into a unique centerpiece in your home. Imagine a beautifully stained stand with intricate designs that draw the eye and spark conversation. It’s not just a pot stand; it’s a statement piece!
In summary, designing your wooden pot stand is an exciting opportunity to express your creativity while ensuring functionality. By paying attention to size, stability, style, and personal touches, you can create a piece that is both beautiful and practical, enhancing your home and showcasing your beloved plants.
Q: What type of wood is best for a pot stand?
A: Hardwoods like oak or maple offer durability and a beautiful finish, while softwoods like pine are more affordable and easier to work with.
Q: How can I ensure my pot stand is stable?
A: Use a wider base and thicker wood for the legs, and consider adding weight to the bottom if necessary.
Q: Can I customize my pot stand?
A: Absolutely! Adding personal decorative elements like paint, carvings, or even stencils can make your pot stand truly one-of-a-kind.

Choosing the Right Height
When it comes to designing your wooden pot stand, one of the most critical decisions you'll make is determining the right height. This isn't just about aesthetics; it also affects functionality and the overall look of your space. Imagine standing in front of your beautifully arranged plants, but they're either too low to the ground or so high that you can barely reach them. Frustrating, right? That's why getting the height just right is essential.
First, consider the types of plants you’ll be displaying. Different plants have varying heights and growth patterns. For instance, if you’re working with tall plants like fiddle leaf figs or snake plants, your pot stand should be taller to allow these beauties to thrive without being cramped. On the other hand, if you’re showcasing smaller plants like succulents or herbs, a lower stand may be more appropriate. Think of it as a stage; you want each plant to shine in its own spotlight!
Next, assess the space where your pot stand will reside. Is it in a bright corner of your living room, or perhaps on a balcony? The height of your stand should complement the surrounding furniture and decor. If your stand is too tall, it could overshadow other elements in the room, while a stand that's too short might get lost in the space. A good rule of thumb is to make sure that the top of your pot stand is roughly at eye level when you’re sitting down, especially if it’s in a living area.
To help you visualize the ideal height for your pot stand, here’s a simple table that outlines some common plant heights and corresponding stand heights:
| Plant Type | Average Plant Height | Recommended Pot Stand Height |
|---|---|---|
| Succulents | 6-12 inches | 12-18 inches |
| Herbs | 12-24 inches | 18-24 inches |
| Fiddle Leaf Fig | 3-6 feet | 30-48 inches |
| Snake Plant | 2-4 feet | 24-36 inches |
Lastly, don’t forget about the practical aspects. If you plan on watering your plants regularly, think about how easy it will be to reach them. A pot stand that’s too high might make it a hassle to tend to your plants, while a stand that’s too low could lead to back strain when you bend down. Finding that sweet spot where functionality meets style is key.
In conclusion, choosing the right height for your wooden pot stand is a blend of art and science. By considering the types of plants you’re using, the space they’ll occupy, and the ease of access, you can create a stunning display that not only looks good but also works well in your home. So, take a moment to measure, visualize, and plan before you start cutting that wood!
- What is the best height for a pot stand? - The best height depends on the plants you have and the space available. Aim for eye level when seated for optimal visibility.
- Can I adjust the height of my pot stand later? - Yes, you can always modify your pot stand by adding or removing legs, but it's best to plan the height carefully from the start.
- How do I ensure stability in my pot stand design? - Consider the width of the base and the weight of the plants to maintain stability. A wider base can help prevent tipping.
Incorporating Decorative Elements
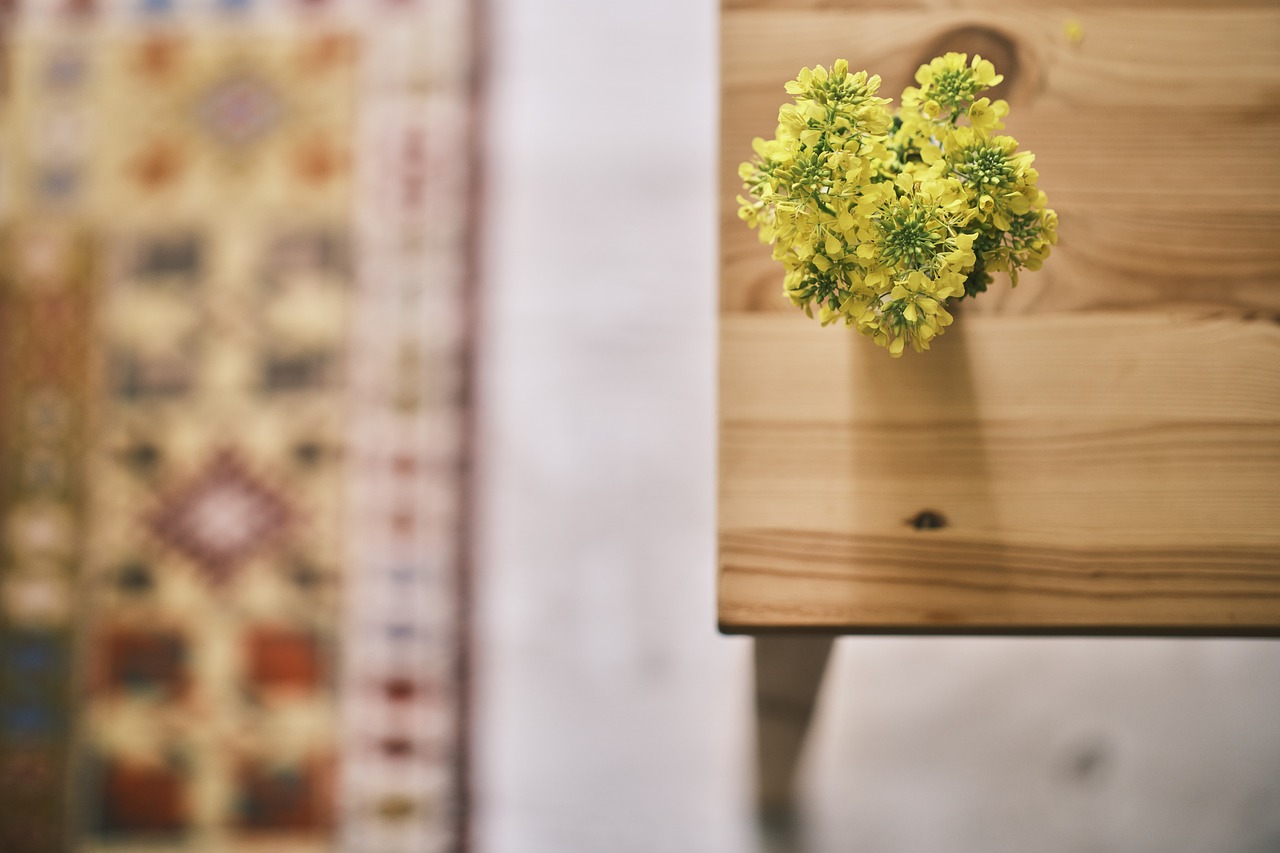
When it comes to designing your wooden pot stand, decorative elements can truly take your project from ordinary to extraordinary. Think of your pot stand as a blank canvas, waiting for your unique touch. Whether you want to keep it minimalist or go all out with intricate designs, the choices are endless. One of the simplest ways to add a personal flair is through carvings. You can carve out patterns or even your initials into the wood, giving it a custom feel. If you're not comfortable with carving tools, don't fret! You could also opt for stencils or wood-burning techniques that allow you to create beautiful designs without needing advanced skills.
Another fantastic way to enhance the visual appeal of your pot stand is through paint and stains. A fresh coat of paint can completely change the look of your stand, making it pop against your home decor. You can choose vibrant colors to make a statement or softer, earthy tones for a more natural look. If you prefer to highlight the wood's natural beauty, consider using a clear stain that accentuates the grain while providing protection. Remember, the finish you choose not only affects aesthetics but also the durability of the wood.
Incorporating decorative hardware can also add a unique touch to your pot stand. Think about using decorative brackets or handles that match your home’s style. For example, if you have a rustic theme, consider wrought iron accents. On the other hand, sleek metal finishes can add a modern touch. These elements not only serve a functional purpose but also enhance the overall design.
Don't forget about the plants themselves! The type of plants you choose can influence the decorative aspect of your pot stand. Opt for plants that cascade over the edges or those with vibrant flowers that draw the eye. You can even use colorful pots to add an extra layer of decoration. It’s like dressing up your stand with the perfect accessories!
Finally, consider adding lighting to your pot stand. Small LED lights can create a stunning ambiance, especially if you place your stand in a dimly lit area. Imagine how lovely it would be to have your plants softly illuminated at night, creating a cozy atmosphere. You could even use fairy lights intertwined with the plants for a whimsical touch.
In summary, incorporating decorative elements into your wooden pot stand is not just about aesthetics; it's about expressing your personality and creativity. From carvings and paints to hardware and lighting, each choice you make can transform your pot stand into a beautiful focal point in your home.
- What type of wood is best for a pot stand? Softwoods like pine are often easier to work with, while hardwoods like oak provide more durability.
- Can I use outdoor plants on my pot stand? Yes, but ensure that the wood is treated for outdoor use to withstand moisture.
- How do I maintain the finish on my pot stand? Regularly clean it and reapply stain or sealant as needed to protect against wear and fading.
- Are there any safety tips for using power tools? Always wear safety goggles and follow the manufacturer's instructions for each tool.
Frequently Asked Questions
-
What type of wood is best for a pot stand?
Choosing the right wood is essential for both durability and aesthetics. Hardwoods like oak or maple are great for their strength and beautiful grain, while softer woods like pine are more affordable and easier to work with. Consider your budget and the look you want to achieve!
-
What tools do I need to build a wooden pot stand?
You'll need a few essential tools to get started, including a miter saw for precise cuts, a power drill for assembling pieces, and sandpaper for finishing touches. Having the right tools can make your project smoother and more enjoyable!
-
How do I ensure my cuts are accurate?
Accurate measurements are key! Always measure twice and cut once. Use a square to mark your cuts and consider using a miter saw for clean, precise angles. Practice makes perfect, so don’t hesitate to do a few test cuts!
-
What is the best way to sand and finish my pot stand?
Start with a coarser sandpaper to smooth out rough edges, then gradually move to finer grits for a polished finish. For the final touch, consider using wood stain or sealant to protect your pot stand and enhance its beauty!
-
How tall should my pot stand be?
The ideal height depends on the type of plants you have and where you plan to place the stand. A general rule is to keep it at a level that allows for easy access to your plants while also complementing your decor.
-
Can I add decorative elements to my pot stand?
Absolutely! Personalizing your pot stand can make it truly unique. Consider adding carvings, paint, or decorative stains to enhance its visual appeal. Let your creativity shine!


