How to Repurpose an Old Dresser into a Kitchen Island
Transforming an old dresser into a kitchen island is not just a fun DIY project; it's a fantastic way to breathe new life into a piece of furniture that may have lost its charm. Imagine taking something that once held your clothes and turning it into a stunning centerpiece for your kitchen—a place where culinary magic happens and friends gather. In this article, we’ll explore the creative process of repurposing an old dresser, offering you practical tips, design ideas, and step-by-step instructions to make your kitchen island dreams a reality.
When it comes to selecting the ideal dresser for your kitchen island project, size, style, and material are key factors to consider. You want a dresser that not only fits comfortably in your kitchen space but also complements your existing decor. A tall, narrow dresser might work well in a smaller kitchen, while a wide, low dresser could be perfect for a more spacious area. Additionally, think about the style—do you want something vintage and rustic, or sleek and modern? The material is equally important; solid wood is durable and offers a classic look, while a painted or laminate dresser can provide a pop of color.
Before diving into the transformation, proper preparation is essential to ensure a successful outcome. Start by giving your dresser a thorough cleaning. This step is crucial as it removes dirt and grime, making the surface ready for refinishing. Use gentle cleaners that won’t damage the wood or finish. Next, you'll want to remove all hardware, including knobs and handles. This not only helps with cleaning but also allows for a fresh look when you repaint or refinish the dresser.
For effective cleaning, consider using a mixture of warm water and mild soap. A soft cloth or sponge works wonders for wiping down surfaces. If your dresser has stubborn stains or sticky spots, a little vinegar can help break down the grime. Remember to rinse thoroughly and allow it to dry completely before moving on to the next step.
Once the dresser is clean, it’s time to tackle the hardware. Use a screwdriver to carefully remove all knobs and handles. This step is essential for both cleaning and painting, as it allows you to reach every nook and cranny. Plus, it gives you the chance to upgrade the hardware later, which can significantly enhance the overall look of your kitchen island.
Take a close look at your dresser for any damages, such as scratches, dents, or loose joints. Addressing these issues is important to ensure that your kitchen island is not only visually appealing but also sturdy. For minor scratches, a wood filler can work wonders, while loose joints may require some wood glue or screws to tighten things up.
Now comes the fun part—sanding! Sanding the surface of your dresser creates a better bond for paint or stain, which is essential for achieving a long-lasting finish. Use medium-grit sandpaper to start, followed by a finer grit for a smooth surface. Once you’re satisfied with the sanding, it’s time to prime. Priming helps achieve a uniform finish, especially if you’re changing the dresser’s color significantly. A good primer will also prevent the paint from soaking into the wood, ensuring vibrant color.
With your dresser prepped and ready, it's time to get creative! Designing your kitchen island is where you can really make it your own. From paint colors to countertop materials, the choices you make can greatly enhance both functionality and aesthetics. Consider colors that either match or contrast with your kitchen's existing palette. A bright, bold color can make a statement, while a more subdued hue can blend seamlessly into your space.
Choosing the right paint or stain can dramatically change the look of your dresser. If you’re feeling adventurous, why not try a two-tone effect? Paint the body one color and the drawers another for a playful twist. Alternatively, a classic wood stain can bring out the natural beauty of the wood grain, giving your kitchen island a warm, inviting feel.
The countertop you choose is vital for both durability and style. Options include wood, granite, or butcher block, each offering unique benefits. Wood countertops provide a warm, rustic charm, while granite offers a sleek, modern look that’s incredibly durable. Butcher block is another great option, providing a practical surface for food prep while also being visually appealing.
To truly maximize the usability of your kitchen island, consider incorporating functional features. Think about adding storage solutions to utilize the dresser’s drawers and shelves effectively. This can keep your kitchen clutter-free and organized. Additionally, creating a seating area on one side of the island encourages social interaction while cooking or entertaining.
Utilizing the dresser’s drawers and shelves can provide ample storage for kitchen essentials. You might want to organize these spaces effectively by categorizing items—utensils in one drawer, baking supplies in another, and so on. This not only keeps your kitchen tidy but also makes it easier to find what you need when you need it.
Creating a cozy seating area can transform your kitchen island into a gathering spot. Choose bar stools or chairs that complement the dresser's design. This can turn your kitchen into a social hub where friends and family can gather, share meals, and enjoy each other’s company.
- Can any dresser be used for a kitchen island? - While most dressers can be repurposed, it's best to choose one that is sturdy and fits your kitchen space.
- How do I ensure the dresser is stable as an island? - Make sure to repair any loose joints and consider adding additional support if needed.
- What type of finish is best for a kitchen island? - A durable, water-resistant finish is ideal to withstand spills and daily use.

Choosing the Right Dresser
When it comes to transforming an old dresser into a stunning kitchen island, the first step is selecting the right piece. Not all dressers are created equal, and choosing the ideal one can make or break your DIY project. You want to consider a few key factors that will ensure your new kitchen island not only looks great but also functions well within your space.
First off, size is crucial! Think about the dimensions of your kitchen and how much space you have available. A large dresser may overwhelm a small kitchen, while a tiny dresser might get lost in a spacious area. Aim for a dresser that provides ample surface area for food prep or casual dining without crowding your kitchen. Measure your available space, and keep those measurements handy as you shop around.
Next, let’s talk about style. The dresser should harmonize with your existing kitchen decor. Are you going for a rustic farmhouse vibe, or do you prefer a sleek, modern look? If you have a contemporary kitchen, a vintage dresser might clash, while a rustic piece could add warmth and character. Consider the overall aesthetic of your kitchen and choose a dresser that complements it. You might even want to think about how you can incorporate elements like color and finish to create a cohesive look.
Lastly, the material of the dresser matters as well. Solid wood is durable and can withstand the rigors of daily use, making it an excellent choice for a kitchen island. However, if you stumble upon a beautiful dresser made of MDF or laminate, don’t shy away! Just be aware that it may not hold up as well in a busy kitchen environment. If you’re considering painting or refinishing, ensure the material can handle the transformation. A well-chosen dresser will not only serve its purpose but also become a conversation starter in your home.
To sum it up, keep these factors in mind when hunting for the perfect dresser:
- Size: Measure your kitchen space to find a dresser that fits well.
- Style: Choose a dresser that complements your kitchen’s decor.
- Material: Opt for durable materials that can withstand kitchen use.
By carefully considering size, style, and material, you’ll be well on your way to creating a beautiful and functional kitchen island that breathes new life into your old dresser. Remember, this is not just another DIY project; it’s about adding a personal touch to your home while maximizing functionality. So, take your time, explore your options, and get ready to unleash your creativity!
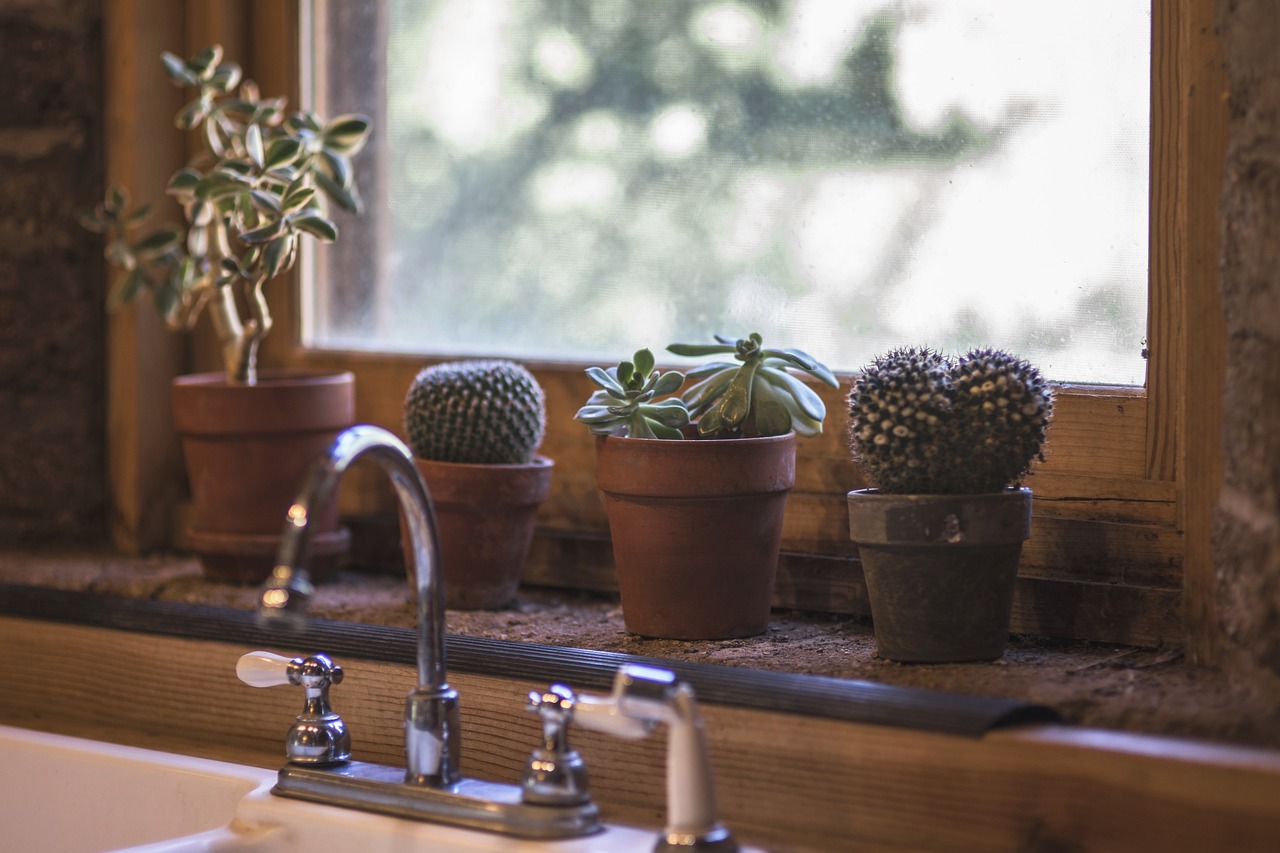
Preparing the Dresser
Before diving into the exciting transformation of your old dresser into a stylish kitchen island, it’s essential to ensure that the piece is ready for its new role. Proper preparation is the backbone of any successful DIY project, and this step is no exception. Think of it as laying the foundation for a house; without a solid base, everything else could crumble. So, let’s break down the preparation process into manageable steps that will set you up for success.
First and foremost, cleaning the dresser is crucial. You want to remove all the dirt and grime that has accumulated over the years. Use a gentle cleaner that won’t harm the wood or finish. A simple mix of warm water and mild soap can work wonders. Make sure to wipe down every nook and cranny, as this will not only prepare the surface for painting but will also reveal any hidden flaws that need addressing.
Once you've gathered your cleaning supplies, it’s time to get to work. Here are some effective cleaning techniques:
- Use a soft cloth or sponge to avoid scratching the surface.
- For stubborn stains, consider using a mixture of vinegar and water.
- Don’t forget to clean the insides of the drawers; they can be surprisingly dirty!
Next, you’ll want to remove all knobs and handles. This step is essential for both cleaning and painting. By taking off the hardware, you’ll ensure that every part of the dresser is properly cleaned and painted without any obstructions. Plus, it gives you the chance to update the hardware later, which can dramatically change the look of your kitchen island.
After cleaning and removing the hardware, it’s time to inspect the dresser for any damages. Look for scratches, dents, or loose joints. Addressing these issues is critical not just for aesthetics but also for the durability of your kitchen island. You might need wood filler for scratches and a little wood glue for any loose joints. Remember, a sturdy base will ensure that your kitchen island stands the test of time.
Now that your dresser is clean and in good shape, it’s time to move on to sanding. This step is crucial as it creates a rough surface for the paint or stain to adhere to. Use a fine-grit sandpaper to gently sand the entire surface, being careful around the edges and corners. After sanding, don’t forget to wipe away the dust with a damp cloth to prepare for priming.
Priming is the next step, especially if you're making a significant color change. A good primer will not only help the paint stick better but will also provide a uniform finish. Apply a coat of primer and allow it to dry completely before moving on to the fun part—painting!
In summary, preparing your dresser is a critical step in ensuring that your DIY kitchen island is not only beautiful but also functional and durable. By taking the time to clean, repair, sand, and prime, you’re setting yourself up for a successful transformation that you’ll be proud of for years to come. So roll up your sleeves, grab your tools, and let’s get this project started!
Cleaning Techniques
This article explores creative ways to transform an old dresser into a functional kitchen island, offering practical tips, design ideas, and step-by-step instructions for a successful DIY project.
Selecting the ideal dresser is crucial for your kitchen island project. Consider size, style, and material to ensure it complements your kitchen decor and meets your functional needs.
Before starting the transformation, proper preparation is essential. This includes cleaning, sanding, and repairing any damage to ensure a smooth surface for painting or refinishing.
Thorough cleaning is the first step in ensuring your dresser is ready for its new life as a kitchen island. You want to remove all the dirt, grime, and grease that may have built up over the years. Think of it as giving your dresser a fresh start, much like a spring cleaning for furniture! Start by using a soft cloth and a mild cleaner that won’t damage the wood. For tougher stains, a mixture of vinegar and water can work wonders. Just make sure to test any cleaning solution on a small, inconspicuous area first to avoid any unwanted surprises.
Once you’ve wiped down the surfaces, it’s time to focus on those hard-to-reach corners. A toothbrush or a small scrub brush can be incredibly helpful here. You’ll want to ensure that every nook and cranny is spotless, as this will help the paint or stain adhere better later on. After cleaning, let the dresser dry completely before moving on to the next step.
Next up, it’s essential to remove all knobs and handles from the dresser. Not only does this make cleaning easier, but it also allows for a fresh look when you repaint or refinish the surface. Keep all the hardware in a labeled bag so you won’t lose any pieces during the transformation process. If the hardware is particularly old or tarnished, consider giving it a new finish or replacing it altogether with something that better fits your kitchen's aesthetic.
After cleaning and removing hardware, take a close look at your dresser for any damages, such as scratches, dents, or loose joints. Addressing these issues is vital for ensuring your kitchen island is sturdy and visually appealing. For minor scratches, a bit of wood filler can work wonders. Just apply it, let it dry, and sand it down until smooth. If you find any loose joints, use wood glue to secure them, and clamp them until the glue sets. A little TLC goes a long way in making your dresser look brand new!
Sanding the surface creates a better bond for paint or stain. Priming helps achieve a uniform finish, especially when changing the dresser’s color significantly.
Consider various design options to customize your kitchen island. From paint colors to countertop materials, the choices can enhance functionality and aesthetics.
Choosing the right paint or stain can dramatically change the look of your dresser. Explore colors that match or contrast with your kitchen's existing palette.
Selecting a countertop material is vital for durability and style. Options include wood, granite, or butcher block, each offering unique benefits for your kitchen island.
Incorporating functional features can enhance the usability of your kitchen island. Consider storage solutions, seating arrangements, and additional workspaces to maximize efficiency.
Utilizing the dresser’s drawers and shelves can provide ample storage for kitchen essentials. Organizing these spaces effectively can keep your kitchen clutter-free.
Creating a seating area on one side of the island can encourage social interaction in the kitchen. Choose bar stools or chairs that complement the dresser's design.
Q: Can any dresser be turned into a kitchen island?
A: While most dressers can be repurposed, it's best to choose one that is sturdy and has enough surface area to serve as an island.
Q: How do I ensure the dresser is stable after transformation?
A: Make sure to repair any loose joints and consider adding a plywood base for additional stability.
Q: What type of paint is best for kitchen furniture?
A: Look for durable, washable paints or stains that are designed for furniture, preferably with a semi-gloss or satin finish for easy cleaning.
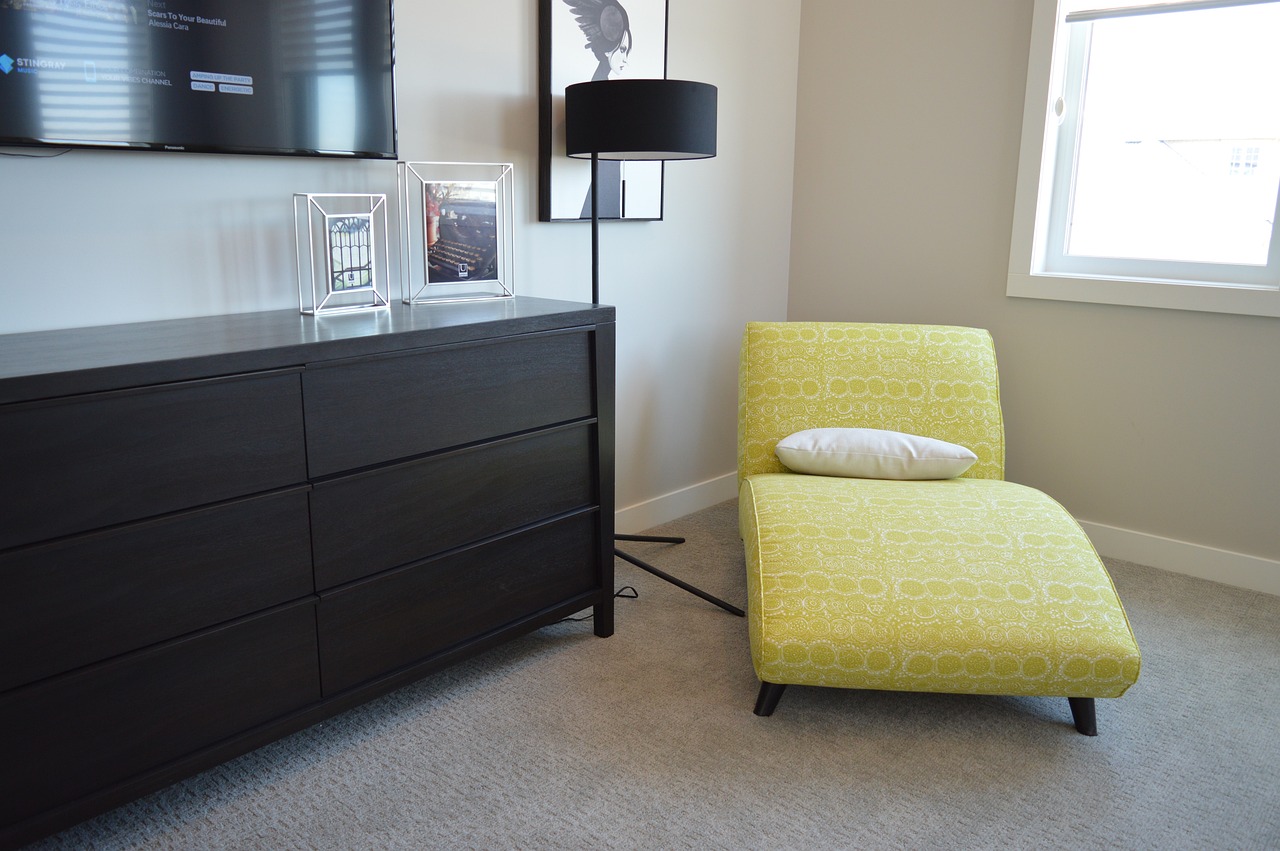
Removing Hardware
When you're diving into the exciting world of repurposing an old dresser into a stunning kitchen island, one of the first and most crucial steps is removing the hardware. You might be wondering, why is this so important? Well, think of it like preparing a canvas before painting; if you don’t clear away the old elements, your new masterpiece won’t shine as brightly. Removing hardware not only gives you a clean slate for painting or refinishing but also allows you to thoroughly clean every nook and cranny of the dresser.
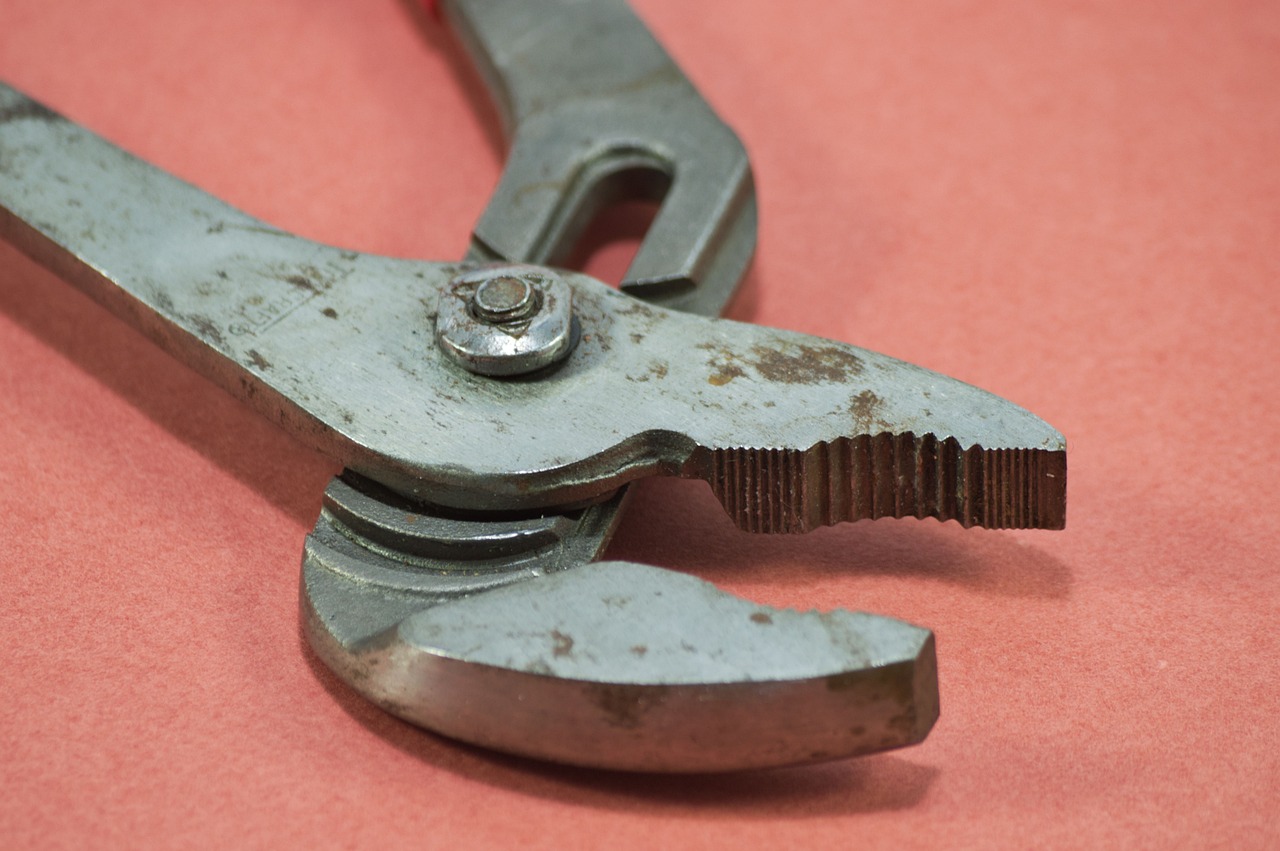
Start by gathering the right tools for the job. You’ll need a screwdriver (either flathead or Phillips, depending on your hardware) and possibly a pair of pliers if the knobs or handles are particularly stubborn. As you begin to unscrew the knobs and pulls, keep an eye out for any damaged parts that might need replacing or repairing later on. It’s a great opportunity to assess the condition of your dresser's hardware and decide if you want to keep it, replace it, or even upgrade to something more modern or stylish.
Once you’ve removed all the knobs, handles, and any other hardware, make sure to store them in a safe place. A small container or ziplock bag can work wonders to keep everything organized. You wouldn’t want to misplace that gorgeous antique handle you’ve been eyeing! If you plan to reuse the hardware after painting, consider cleaning it as well. A simple solution of vinegar and water can help remove any tarnish or dirt, giving your hardware a fresh look.
After the hardware is off, take a moment to admire your work. The dresser is now ready for its transformation, and you’re one step closer to creating a functional and stylish kitchen island. Remember, this process is all about attention to detail, so don’t rush it. Each step you take now will contribute to the overall success of your DIY project!
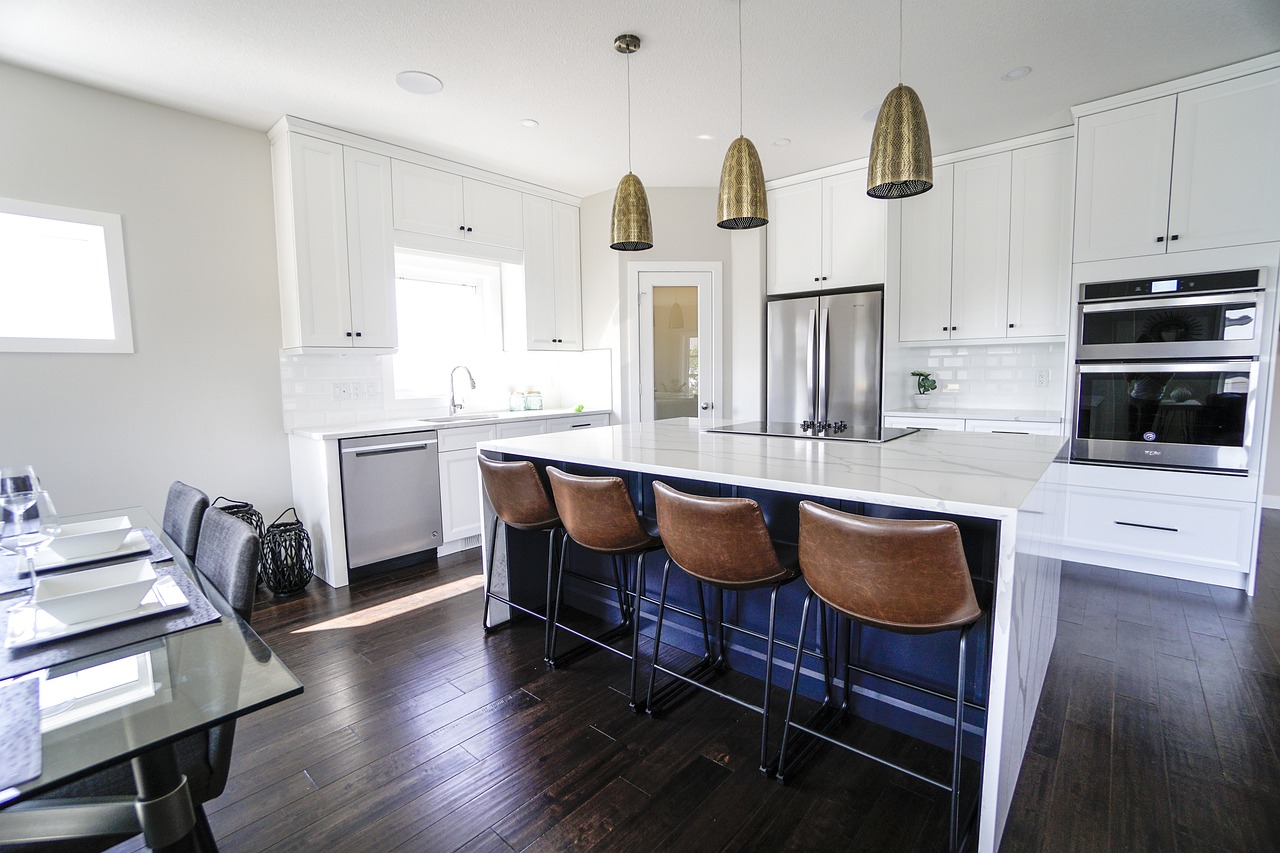
Repairing Damage
When it comes to transforming your old dresser into a stunning kitchen island, repairing any damage is a crucial step that should not be overlooked. After all, you want your new centerpiece to be not only beautiful but also sturdy and functional. Start by inspecting the dresser thoroughly. Look for any scratches, dents, or loose joints that could compromise its integrity. It's like giving your dresser a mini health check-up—if it's not in good shape, it won't serve you well in the long run!
If you discover scratches, don’t fret! You can easily fix them using wood filler. Just apply the filler to the damaged area, let it dry, and then sand it down until it's smooth. This process is akin to putting a band-aid on a cut, ensuring that your dresser is back in prime condition. For deep scratches or gouges, you might need to apply several layers of filler, sanding between each layer for a flawless finish.
Loose joints are another common issue. If you find that any of the dresser's joints are wobbly, consider using wood glue to secure them. Apply the glue generously, clamp the joint together, and let it sit for a few hours to set. This method is similar to giving your dresser a supportive hug, ensuring that everything holds together tightly. If the damage is severe, you might need to reinforce the structure with screws or brackets.
Lastly, don’t forget to check the legs of the dresser. They bear the weight of the entire piece, so any instability here can lead to bigger problems down the line. Tighten any loose screws or replace broken legs with sturdy replacements. Think of it as giving your dresser a solid foundation—without it, your kitchen island might end up wobbling like a toddler learning to walk!
By taking the time to repair any damage, you not only enhance the aesthetic appeal of your dresser but also ensure its longevity as a functional kitchen island. So roll up your sleeves, grab your tools, and get ready to breathe new life into that old piece of furniture!
- What type of wood filler should I use? Look for a wood filler that matches the type of wood your dresser is made from. For painted dressers, a paintable filler works best.
- How can I tell if my dresser is sturdy enough for an island? Check for any wobbling or loose joints. If it feels solid and stable, it should work well as an island.
- Do I need to sand the entire dresser? Yes, sanding the entire surface helps ensure a smooth finish and better paint adhesion.
Sanding and Priming
Sanding and priming are crucial steps in transforming your old dresser into a stunning kitchen island. Think of sanding as the foundation of a house; if you don't lay it right, everything built on top could crumble. Start by grabbing a medium-grit sandpaper (around 120-grit) to tackle the rough areas of the dresser. This step is essential for removing the old finish and creating a smooth surface that will allow the paint or stain to adhere better. As you sand, remember to follow the grain of the wood; this will help avoid scratches that can mar the final look. You might feel like you're just creating a mess, but trust me, this is where the magic begins!
Once you've sanded down the dresser, it's time to clean up the dust. You can use a damp cloth to wipe down the surfaces, ensuring that no particles remain. This step is like washing your hands before a meal; it keeps everything clean and ensures that your hard work doesn't go to waste. After cleaning, let the dresser dry completely. Now, it's time to prime! Applying a primer is like putting on a base coat before your makeup; it helps everything else go on smoother and last longer.
When choosing a primer, pick one that suits your dresser's material. For instance, if your dresser is made of wood, a water-based primer is often a great choice. It dries quickly and provides excellent adhesion. If you're working with a laminate surface, you might want to opt for a bonding primer specifically designed for that purpose. Apply the primer using a high-quality brush or roller, ensuring even coverage. Pay attention to corners and edges, as these areas tend to absorb more paint than flat surfaces.
After priming, allow the dresser to dry according to the manufacturer's instructions. This waiting period is crucial; it’s like letting the dough rise before baking a cake. If you want to achieve a truly professional finish, consider lightly sanding the primed surface with fine-grit sandpaper (around 220-grit) before applying your final coat of paint or stain. This step will help create a silky smooth finish that you’ll absolutely love!
In summary, sanding and priming are essential steps in your DIY kitchen island project. By taking the time to prepare your dresser properly, you’ll ensure that the final product not only looks fantastic but also stands the test of time. So grab your sandpaper and primer, and let’s get started on this exciting transformation!
- How long should I let the primer dry? It typically takes about 1-2 hours for most primers to dry, but always check the manufacturer's instructions for specific drying times.
- Can I skip sanding if the dresser looks smooth? Skipping sanding is not advisable, as it helps the paint adhere better and ensures a long-lasting finish.
- What type of paint should I use for the kitchen island? Choose a durable, washable paint, preferably one that’s designed for furniture to withstand the wear and tear of a kitchen environment.

Design Ideas for Your Kitchen Island
When it comes to transforming an old dresser into a stunning kitchen island, the design options are as vast as your imagination! The beauty of this DIY project lies in its versatility; you can customize every aspect to fit your personal style and the existing decor of your kitchen. So, where do you start? First, consider the color scheme. Do you want your kitchen island to blend seamlessly with your kitchen or stand out as a statement piece? Bold colors like deep navy or vibrant red can add a pop of excitement, while soft pastels or neutral tones create a calming atmosphere. It's like choosing the right outfit for a special occasion; you want to feel good about it!
Next up is the countertop material. This is not just about aesthetics; it's also about functionality. A sturdy countertop is essential for meal prep and entertaining. Here are a few popular options:
- Butcher Block: This classic choice is warm and inviting, perfect for a rustic kitchen. Plus, it’s easy to repair if it gets scratched!
- Granite: If you're looking for durability and elegance, granite is the way to go. It’s heat-resistant and adds a touch of luxury.
- Laminate: For those on a budget, laminate offers a wide variety of colors and patterns, making it a practical and stylish option.
After deciding on the color and countertop, think about adding decorative elements. Perhaps some stylish bar stools that match the dresser's aesthetic? Or decorative baskets for storing kitchen essentials? These elements not only enhance the functionality of your kitchen island but also add personality to the space. Imagine your guests sitting around, enjoying a glass of wine, while you whip up a delicious meal; a well-designed kitchen island can be the heart of such moments!
Lastly, don’t forget about lighting. Pendant lights hanging above your kitchen island can create a warm ambiance and highlight your beautiful transformation. Consider fixtures that complement the style of your dresser—vintage chandeliers for a rustic look or sleek, modern designs for a contemporary vibe. It’s like adding the finishing touch to a masterpiece!
In conclusion, designing your kitchen island from an old dresser allows for endless creativity. Whether you’re going for a chic, modern look or a cozy, farmhouse vibe, the key is to choose elements that reflect your personal style while enhancing the functionality of your kitchen. So roll up your sleeves, unleash your creativity, and let your kitchen island become a true reflection of your culinary personality!
Q: Can I use any dresser for this project?
A: While you can technically use any dresser, it's best to choose one that is sturdy and has enough surface area to function as an island. Look for solid wood options for durability.
Q: How do I ensure the dresser is stable once converted?
A: Make sure to properly secure the dresser to the wall if necessary, and consider adding leveling feet if your kitchen floor is uneven.
Q: What if I don't want to paint the dresser?
A: If painting isn't your style, you can opt for refinishing the wood or applying a stain to enhance its natural beauty.
Q: How can I incorporate seating into my kitchen island?
A: You can create overhangs on one side of the dresser to accommodate bar stools, allowing for a casual dining or socializing area.

Paint and Stain Options
When it comes to transforming your old dresser into a stunning kitchen island, choosing the right paint or stain can make all the difference. Think of paint and stain as the makeup for your furniture; it can completely change the appearance and vibe of your kitchen. The options are endless, but understanding the characteristics of each can help you make an informed decision. For instance, if you're aiming for a rustic farmhouse look, a light stain on a natural wood finish can beautifully highlight the grain, giving your kitchen a warm and inviting feel.
On the other hand, if you're leaning towards a more modern aesthetic, a bold, solid color could be the perfect choice. Colors like navy blue, forest green, or even a crisp white can add a contemporary touch to your kitchen island, making it a focal point of the room. But before you dive into painting, consider the following:
- Durability: Choose paints that are specifically designed for furniture or cabinetry, as they tend to withstand wear and tear better.
- Finish: Decide whether you prefer a matte, satin, or glossy finish. Each offers a different look and level of shine.
- Color Scheme: Think about how the color of your dresser will complement or contrast with your existing kitchen decor.
Stains can also provide a beautiful finish while allowing the natural beauty of the wood to shine through. If you opt for a stain, remember to test it on a small, hidden area first to see how it looks once dried. This way, you can avoid any surprises later on. Here’s a quick comparison of the two options:
| Option | Pros | Cons |
|---|---|---|
| Paint | Wide range of colors, hides imperfections | Can chip or scratch, may require more maintenance |
| Stain | Enhances natural wood grain, durable finish | Limited color options, may require more prep work |
Ultimately, the choice between paint and stain will depend on your personal style and how you want your kitchen island to fit into the overall aesthetic of your home. Don't be afraid to experiment a little! Swatches can help you visualize how different finishes will look in your space. Remember, this is your project, and the goal is to create a kitchen island that you love and that serves your needs.
Q: How do I prepare the surface before painting or staining?
A: Start by cleaning the dresser thoroughly, then sand it down to create a rough surface for better adhesion. If necessary, apply a primer before painting.
Q: Can I use chalk paint for my dresser transformation?
A: Absolutely! Chalk paint is a great option for a matte finish and can be used on various surfaces without extensive prep work.
Q: How do I maintain the finish after painting or staining?
A: Regularly clean the surface with a damp cloth and avoid harsh chemicals. For painted surfaces, consider applying a topcoat for extra protection.

Countertop Alternatives
When it comes to transforming your old dresser into a stunning kitchen island, one of the most critical decisions you'll make is selecting the right countertop material. This choice not only impacts the overall aesthetic of your kitchen but also determines the functionality and durability of your new island. Think of the countertop as the icing on the cake; it can elevate your project from ordinary to extraordinary. So, what are your options? Let’s explore some popular countertop alternatives that can suit various styles and needs.
First up, we have wood countertops. These are a classic choice that brings warmth and a natural feel to your kitchen. Imagine the rich grains and textures that can complement your dresser's finish! However, keep in mind that wood requires regular maintenance to prevent scratches and water damage. If you're a fan of rustic or farmhouse styles, a wood countertop could be your best bet.
Another fantastic option is granite countertops. Known for their durability and resistance to heat and scratches, granite can withstand the hustle and bustle of a busy kitchen. Plus, it comes in a variety of colors and patterns, allowing you to customize your island to match your kitchen's decor. Just picture a sleek, polished granite surface that not only looks stunning but also serves as a practical workspace.
If you're looking for something a bit more affordable yet stylish, consider butcher block countertops. These are made from strips of wood glued together, creating a sturdy surface perfect for food preparation. They offer a charming, homey vibe and are relatively easy to maintain. Just be sure to regularly oil your butcher block to keep it looking fresh and prevent any warping.
| Countertop Material | Durability | Maintenance | Style |
|---|---|---|---|
| Wood | Moderate | Regular oiling required | Rustic, Farmhouse |
| Granite | High | Occasional sealing | Modern, Elegant |
| Butcher Block | Moderate | Regular oiling required | Traditional, Cozy |
Finally, if you're feeling adventurous and want a contemporary touch, consider concrete countertops. These can be molded to fit your specific design and can be stained or painted to match your kitchen's color scheme. While they can be quite heavy and require professional installation, the unique look of concrete can set your kitchen island apart. Think of the industrial vibe it can bring, contrasting beautifully with the vintage charm of your dresser.
In conclusion, the countertop you choose for your kitchen island can significantly affect both its functionality and style. Whether you lean towards the warmth of wood, the elegance of granite, the charm of butcher block, or the boldness of concrete, each option has its unique benefits. So, take your time to weigh these alternatives carefully, and soon enough, you’ll have a kitchen island that not only serves a purpose but also becomes a focal point in your home!
- Can I use any type of dresser for a kitchen island? While you can technically use any dresser, it's best to choose one that is sturdy and has enough surface area for your needs.
- How do I care for my wood countertop? Regularly oil your wood countertop to maintain its beauty and prevent damage. Avoid using harsh chemicals for cleaning.
- Is it difficult to install a granite countertop? Yes, granite countertops are heavy and usually require professional installation to ensure they are properly fitted and supported.

Adding Functional Features
When transforming your old dresser into a stunning kitchen island, it's not just about aesthetics; functionality plays a vital role too. Think of your kitchen island as the heart of your kitchen, where family and friends gather to cook, eat, and socialize. By incorporating practical features, you can ensure it serves multiple purposes while looking fabulous. So, what functional elements can you add to make your kitchen island a true multitasker?
First off, consider the storage solutions. The beauty of using a dresser is that it already comes with built-in drawers and shelves, which can be a game-changer for keeping your kitchen organized. You can use the drawers to store utensils, napkins, or even small kitchen gadgets. To maximize space, think about adding dividers within the drawers. This way, you can separate items and find what you need without digging through a pile of things. Additionally, if your dresser has an open shelf, it can be a perfect spot to display cookbooks, decorative jars, or even a small herb garden.
Next, let's talk about seating arrangements. Imagine having a cozy spot where people can sit and chat while you whip up dinner. Adding seating to your kitchen island not only enhances its functionality but also creates a welcoming atmosphere. You can opt for bar stools or chairs that complement the dresser's design. When selecting seating, consider the height of your island and the comfort of the chairs. You want your guests to feel relaxed while they enjoy their time in the kitchen. A simple rule of thumb is to allow about 10-12 inches between the seat of the stool and the underside of the countertop for optimal comfort.
Furthermore, think about incorporating additional workspaces. If your dresser has a flat top, it can serve as extra prep space. You can even add a cutting board or a small butcher block on top for a dedicated area to chop vegetables or prepare meals. This not only makes your kitchen more efficient but also keeps your main countertops clear for other tasks. If you’re feeling adventurous, consider installing a small sink or a pull-out trash bin within the island to further enhance its functionality.
To wrap it all up, your kitchen island can be much more than just a pretty face. By adding functional features, you can transform it into an essential hub for cooking, dining, and socializing. The key is to think about how you use your kitchen and what will best suit your lifestyle. With the right additions, your old dresser will not only look amazing but also serve as a practical and inviting space for you and your loved ones.
- What type of dresser works best for a kitchen island? Look for a dresser that is sturdy, has enough storage space, and fits the style of your kitchen. Dressers with a solid wood construction are often the best choice.
- Can I use my kitchen island for cooking? Absolutely! Just make sure to add a protective surface like a butcher block or cutting board to handle food prep safely.
- How can I make my kitchen island more inviting? Adding seating, decorative elements, and personal touches like plants or artwork can create a warm and welcoming environment.

Storage Solutions
When it comes to transforming your old dresser into a kitchen island, one of the most exciting aspects is the potential for . A kitchen island isn't just a stylish addition; it's a functional workspace that can help you keep your kitchen organized and clutter-free. Imagine being able to store your pots, pans, and kitchen gadgets right at your fingertips! Utilizing the dresser's existing drawers and shelves can significantly enhance your kitchen's efficiency.
Start by evaluating the dresser's layout. Most dressers come with various drawer sizes and configurations, which can be perfect for different kitchen items. For instance, you might use the deeper drawers for larger items like mixing bowls or baking sheets, while the shallower ones could be ideal for utensils and kitchen towels. This way, everything has its place, and you won't find yourself rummaging through a chaotic kitchen.
Another great idea is to incorporate dividers within the drawers. Dividers can help you organize smaller items and keep them from getting lost in the shuffle. You can easily make dividers from scrap wood or even repurpose old cutting boards. Not only does this maximize the space, but it also adds a touch of personal flair to your kitchen island.
Don't forget about the shelves! If your dresser has open shelving or if you decide to remove some drawers to create more space, consider using decorative baskets or bins. These can not only store items but also add a pop of color or texture to your kitchen. Plus, they make accessing your kitchen essentials a breeze. You can label each basket for easy identification, making it simple to find what you need when you need it.
Additionally, you might want to incorporate a pull-out shelf or a cutting board on top of your dresser. This adds another layer of functionality, allowing you to prep food easily without taking up too much space. Imagine chopping vegetables with everything you need within arm's reach! The more functional your kitchen island is, the more you'll enjoy spending time in your kitchen.
In summary, the storage solutions you implement in your dresser-turned-kitchen-island can make a world of difference. By thoughtfully organizing the drawers, adding dividers, utilizing baskets, and incorporating additional surfaces, you'll create a space that's not only beautiful but also incredibly practical. So, roll up your sleeves, get creative, and enjoy the transformation!
- Can I use any dresser for this project? Yes, as long as it fits your kitchen space and meets your functional needs.
- What type of paint is best for a kitchen island? Look for durable, water-resistant paints that can withstand kitchen conditions.
- How do I ensure my dresser is sturdy enough for a kitchen island? Make sure to repair any damages and consider reinforcing the structure if necessary.
- Can I add wheels to my kitchen island? Absolutely! Adding wheels can make your island mobile, allowing for easy repositioning.
Seating Arrangements
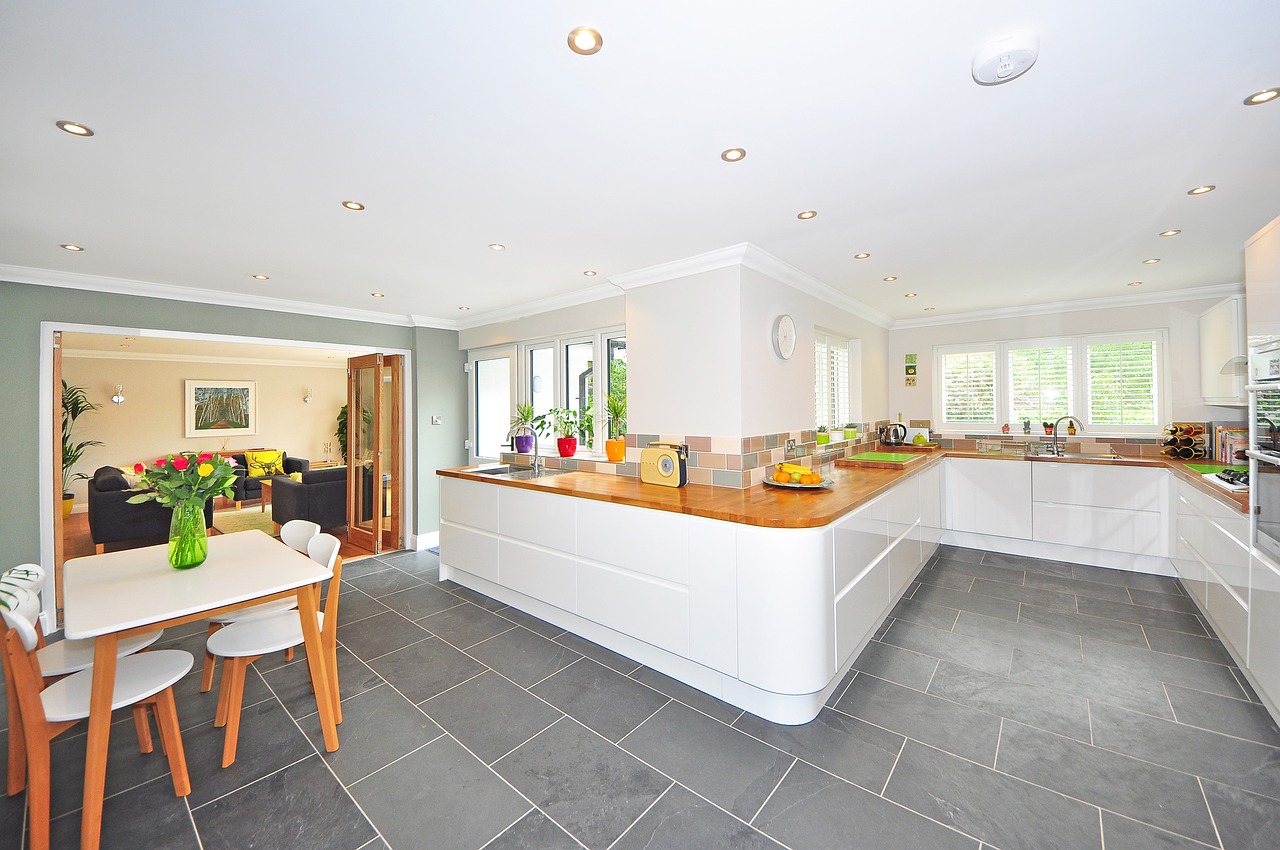
Creating a cozy and inviting seating area on your newly transformed kitchen island can dramatically enhance the social atmosphere of your kitchen. Imagine this: family and friends gathering around, sharing stories, and enjoying meals together. It's not just about functionality; it’s about creating memories! To achieve this, you’ll want to consider a few key elements that will make your kitchen island not just a cooking space, but also a hub for interaction.
First off, think about the height of your seating. Ideally, you want to choose bar stools or chairs that are not only comfortable but also complement the height of your kitchen island. If your island is bar-height, opt for stools that are around 30 inches tall. For a counter-height island, 24-inch stools will work best. This ensures that everyone can sit comfortably without feeling cramped. You can also consider adjustable stools, which offer flexibility for various users.
Next, let’s talk about style. The design of your seating should harmonize with the overall aesthetic of your kitchen. If your dresser has a rustic charm, consider wooden stools with a natural finish. For a more modern vibe, sleek metal stools can add an edgy touch. Don't forget about cushions! Adding cushions to your stools can provide extra comfort and a pop of color, enhancing the visual appeal. You might even want to coordinate the cushion fabric with the dresser's paint or stain to create a cohesive look.
Another important factor is the spacing. Aim for at least 24 inches of space between each stool to allow for easy movement and comfort. This spacing not only helps prevent crowding but also makes it easier for guests to slide in and out of their seats. If you’re planning to use your island for dining or casual meals, consider how many stools you can fit without compromising comfort. You want to create an inviting environment, not a cramped one!
Lastly, think about accessibility. Ensure that your seating arrangement allows easy access to the kitchen area. You don’t want to block pathways or make it difficult for anyone to reach the refrigerator or sink. A good rule of thumb is to keep at least 36 inches of clearance around the island, which will facilitate smooth traffic flow in your kitchen. This way, your kitchen island becomes a functional part of your home, making it easy for everyone to gather around without feeling restricted.
In summary, the right seating arrangements can greatly enhance your kitchen island experience. By considering height, style, spacing, and accessibility, you can create a space that encourages conversation and connection. So grab those stools, add some cushions, and get ready to enjoy countless meals and memories with your loved ones!
- What type of stools should I use for my kitchen island?
It's best to choose stools that match the height of your island, typically bar-height or counter-height, depending on your design. - How many stools can I fit around my kitchen island?
A good rule of thumb is to allow at least 24 inches of space per stool to ensure comfort and accessibility. - Can I mix and match seating styles?
Absolutely! Mixing styles can add character and charm to your kitchen island, as long as they complement each other.
Frequently Asked Questions
- What type of dresser works best for a kitchen island?
When choosing a dresser for your kitchen island, look for one that is sturdy and has enough surface area to serve your needs. A wider dresser with deep drawers can provide ample storage and workspace. Consider the style—something that complements your kitchen decor will enhance the overall aesthetic.
- How do I prepare the dresser before transforming it?
Preparation is key! Start by thoroughly cleaning the dresser to remove any dirt or grease. Next, remove all hardware like knobs and handles. If you find any scratches or loose joints, make sure to repair them. Finally, sand the surface to create a smooth finish for painting or staining.
- Can I change the color of the dresser easily?
Absolutely! Changing the color is one of the most exciting parts of the transformation. After sanding and priming, you can use paint or stain in any color that suits your kitchen. Just make sure to choose a high-quality product for the best results.
- What are some countertop options for my kitchen island?
There are several great countertop materials to consider, each with its unique benefits. Wood offers a warm, rustic feel, while granite provides durability and elegance. Butcher block is another popular choice, giving a classic kitchen vibe. Think about what fits your style and how you plan to use the island!
- How can I maximize storage in my kitchen island?
Utilizing the existing drawers and shelves of the dresser is a fantastic way to maximize storage. Consider organizing items by category—keep utensils in one drawer, pots and pans in another. You can also add baskets or dividers for better organization and easier access.
- Is it possible to add seating to my kitchen island?
Yes, adding seating can create a social hub in your kitchen! You can place bar stools or chairs on one side of the island. Make sure they match the dresser's style for a cohesive look. This setup encourages family and friends to gather around while you cook or entertain.


