Exploring Symmetry: Butterfly Crafts for Kids
Welcome to the enchanting world of symmetry, where creativity and learning collide in the most delightful ways! In this article, we’re diving into the fascinating concept of symmetry through engaging butterfly crafts that are perfect for kids. Why butterflies, you ask? Well, these beautiful creatures are not only stunning to look at, but they also provide a fantastic opportunity to explore the principles of symmetry in a fun and interactive manner. Whether you’re a parent, teacher, or simply someone looking to inspire a young mind, this article will guide you through various activities that promote creativity while teaching fundamental concepts of symmetry in an enjoyable way.
Imagine the joy on a child's face when they create their very own butterfly masterpiece! Not only are we going to explore the art of crafting butterflies, but we’ll also uncover how these activities can enhance observational skills, foster creativity, and instill an appreciation for balance in the natural world. Symmetry is everywhere—from the way a butterfly's wings mirror each other to the patterns found in leaves and flowers. By engaging with these crafts, children will not only learn about symmetry but also develop their fine motor skills and artistic abilities.
So, grab your scissors, paint, and a splash of imagination, and let’s embark on this colorful journey of symmetry through butterfly crafts. We promise it will be a delightful experience, filled with learning, laughter, and, of course, a lot of beautiful butterflies!

Understanding Symmetry
Symmetry is a captivating concept that can be found all around us, from the intricate designs of a butterfly's wings to the architecture of ancient buildings. But what exactly is symmetry? In simple terms, it refers to a balance or correspondence between different parts of an object or a design. Imagine folding a piece of paper in half; if both sides match perfectly, you’ve created a symmetrical shape! This fascinating principle is not only significant in art but also plays a vital role in nature. For children, recognizing symmetry enhances their observational skills and appreciation for the world around them.
When we think about symmetry, we often envision perfect shapes and designs that are pleasing to the eye. In art, symmetry is used to create harmony and balance, making the artwork more attractive. Have you ever noticed how many famous paintings utilize symmetry? Think of the Mona Lisa; her face is perfectly balanced, drawing our eyes to her enigmatic smile. Similarly, in nature, symmetry is everywhere! From the petals of a flower to the wings of a butterfly, these natural occurrences can serve as a great introduction for kids to the beauty of symmetry.
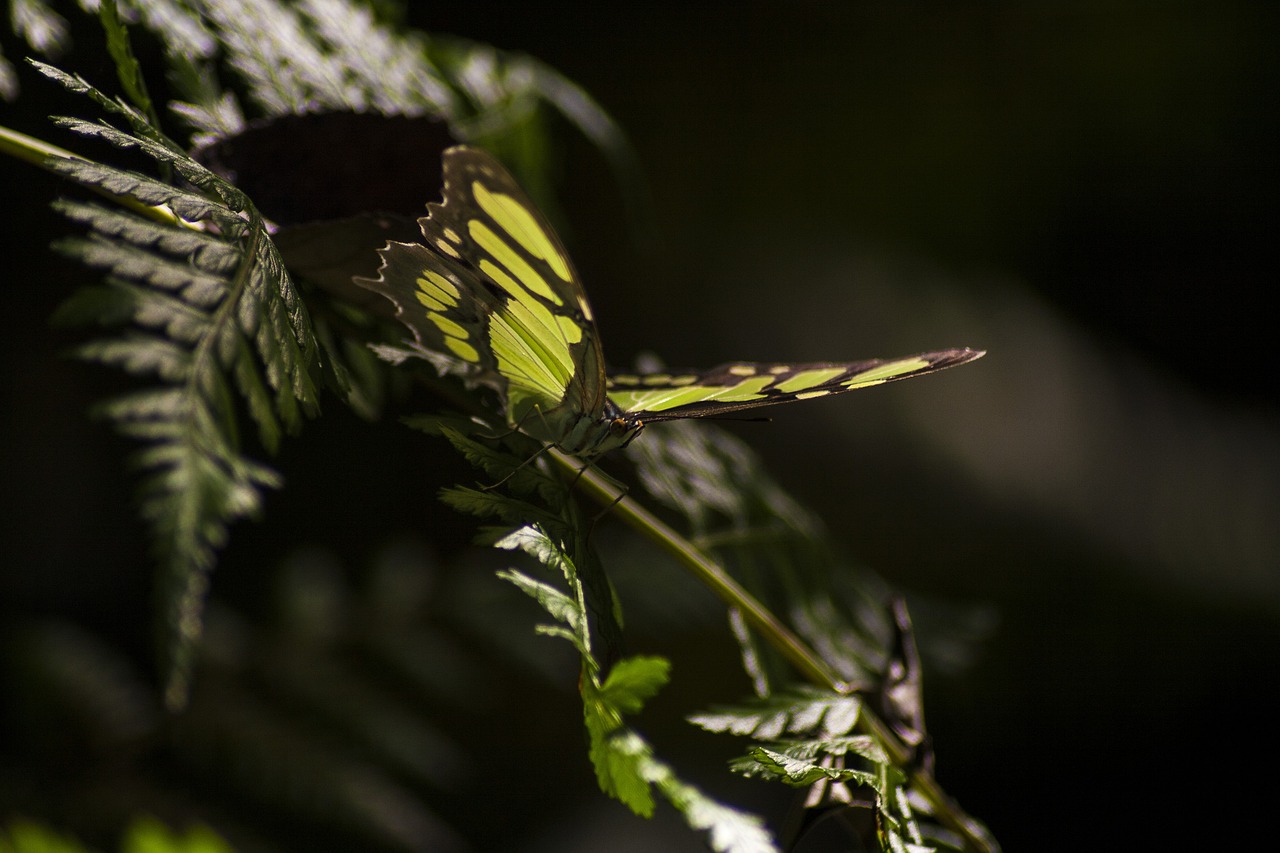
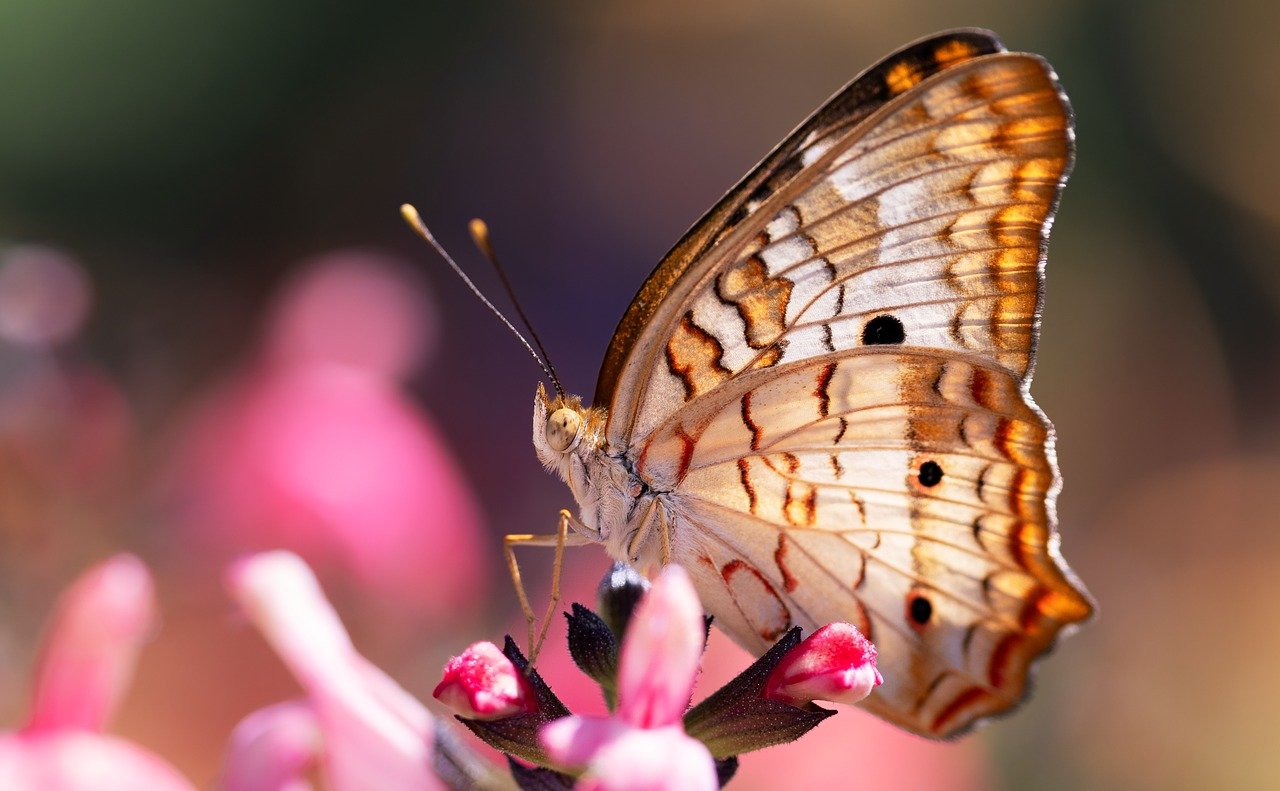
To further understand symmetry, let's explore its two main types: reflective symmetry and rotational symmetry. Reflective symmetry occurs when one half of an object is a mirror image of the other half. For instance, a butterfly has reflective symmetry, with each wing mirroring the other. On the other hand, rotational symmetry happens when an object can be rotated around a central point and still look the same. A classic example is a starfish, which can be rotated at certain angles and maintain its appearance. Understanding these concepts can be a fun and engaging way for children to interact with their surroundings.
By incorporating symmetry into butterfly crafts, children can explore these concepts hands-on. They can create their own symmetrical designs, which not only reinforces their understanding of symmetry but also sparks their creativity. Engaging in activities like these helps children grasp the fundamental ideas of balance and proportion, making learning both enjoyable and effective.
| Type of Symmetry | Description | Examples |
|---|---|---|
| Reflective Symmetry | One half is a mirror image of the other half. | Butterflies, Faces |
| Rotational Symmetry | An object can be rotated around a central point and look the same. | Starfish, Flowers |
In conclusion, symmetry is not just a mathematical or artistic concept; it's a fundamental part of how we perceive the world. By exploring symmetry through butterfly crafts, children can develop a deeper appreciation for beauty and balance in both nature and art. So, let’s get crafting and discover the wonders of symmetry together!
Materials Needed for Butterfly Crafts
Creating beautiful butterfly crafts with kids is not only a fun activity but also a fantastic opportunity to teach them about symmetry. To ensure a smooth crafting experience, it’s essential to gather all the necessary materials beforehand. This way, you can dive straight into the creative process without any interruptions. Here’s a breakdown of the essential materials you'll need:
First and foremost, paper is the foundation of any butterfly craft. There are several types of paper that can be utilized, each offering unique textures and colors. For instance, construction paper is a sturdy option that comes in a variety of vibrant colors, perfect for making bold and colorful butterflies. Tissue paper can add an elegant touch, allowing for beautiful layering effects that mimic the delicate wings of a butterfly. Additionally, don't overlook the option of using recycled materials such as old magazines or wrapping paper, which can add an eco-friendly twist to your crafts.
Next, you'll need an assortment of art supplies to bring your butterfly creations to life. Here’s a quick rundown of what you might want to gather:
- Scissors: Essential for cutting paper into the desired shapes.
- Glue: A strong adhesive is crucial for assembling various elements of the craft.
- Markers and Crayons: These are great for adding details and personal touches to your butterflies.
- Paint: If you're feeling adventurous, paint can be used to create stunning effects and patterns.
In addition to these basics, consider including some embellishments to make the butterflies even more special. Items such as glitter, sequins, and stickers can add a magical touch, transforming a simple craft into a dazzling masterpiece. With these materials at hand, you're all set to embark on a fun-filled journey of creativity and learning!
Paper Options
When it comes to making butterfly crafts, the type of paper you choose can significantly influence the final product. Each kind of paper brings its own unique qualities, allowing children to explore their creativity in different ways. For instance, construction paper is a classic choice due to its vibrant colors and sturdy texture. It’s perfect for cutting out butterfly shapes and allows for easy handling, making it ideal for younger children who are still mastering their scissor skills.
On the other hand, tissue paper offers a delicate and ethereal quality that can transform simple crafts into stunning masterpieces. Kids can layer different colors to create a beautiful stained-glass effect, which not only enhances their understanding of color blending but also introduces them to the concept of light and transparency. The fragility of tissue paper encourages careful handling, promoting patience and precision in their crafting.
Moreover, using recycled materials can be an exciting option for eco-conscious families. Old magazines, wrapping paper, or even newspapers can provide unique textures and patterns that make each butterfly truly one-of-a-kind. This not only teaches children about sustainability but also inspires them to think outside the box. Imagine a butterfly made from pages of a comic book or colorful advertisements—how fun and creative is that?
To summarize the various paper options, here’s a quick table to help you visualize the differences:
| Paper Type | Characteristics | Best For |
|---|---|---|
| Construction Paper | Vibrant colors, sturdy | Cutting and shaping |
| Tissue Paper | Delicate, translucent | Layering and color blending |
| Recycled Materials | Unique textures, patterns | Creative, eco-friendly crafts |
By exploring these different paper options, children not only engage in the crafting process but also learn valuable lessons about materials, textures, and the beauty of diversity in their creations. So, gather a variety of papers, and let the magic of symmetry unfold in your butterfly crafts!
Art Supplies
When it comes to crafting beautiful butterflies, having the right is essential. Not only do these tools help bring your child's creative visions to life, but they also enhance the overall crafting experience. Imagine a painter without a brush or a sculptor without clay—it's the same for our little artists! So, let's dive into what supplies you’ll need to make those fluttering creations.
First and foremost, a good pair of scissors is a must-have. Kids will need them to cut out their butterfly shapes and other decorative elements. It's important to choose scissors that are age-appropriate—safety first! For younger children, consider using safety scissors that are designed to prevent accidental cuts.
Next up is glue. Whether it's stick glue, liquid glue, or glue dots, this adhesive will be the magic that holds everything together. Encourage your kids to experiment with different types of glue to see which they prefer. A little tip: using a glue stick is often less messy, making it easier for younger crafters to handle.
Now, let's talk about markers and colored pencils. These are fantastic for adding vibrant colors and intricate designs to the butterfly crafts. Encourage your little ones to think outside the box—why not use glitter markers for an extra sparkle? And don't forget about paint! A splash of watercolor or acrylic can transform a simple paper butterfly into a stunning work of art. Just remember to cover the workspace to avoid any paint spills!
Lastly, consider adding some decorative elements to the mix. Things like sequins, beads, or even bits of fabric can add texture and dimension to the butterfly crafts. Kids can glue these embellishments onto their creations, making each butterfly unique. Here’s a quick table summarizing these essential art supplies:
| Art Supply | Purpose |
|---|---|
| Scissors | Cutting out shapes |
| Glue | Adhering pieces together |
| Markers | Adding color and detail |
| Paint | Creating colorful backgrounds |
| Decorative Elements | Enhancing the final look |
With these art supplies on hand, your children will be well-equipped to explore their creativity and express themselves through their butterfly crafts. The joy of crafting lies not just in the end product but in the process itself—watching their imaginations take flight is truly a rewarding experience!
Simple Butterfly Craft Ideas
When it comes to butterfly crafts, the sky's the limit! These delightful creatures not only captivate our imagination but also serve as a perfect canvas for creativity. Engaging in butterfly crafts is not just about making pretty art; it's a fantastic way to teach kids about the concept of symmetry in a hands-on manner. Here are some simple yet exciting butterfly craft ideas that you can easily do at home or in the classroom.
One of the most enjoyable activities is creating symmetrical butterfly prints. This craft requires just a few materials and offers a wonderful opportunity for kids to explore symmetry. Start by folding a piece of paper in half. Then, let the little ones use paint to decorate one side of the paper. They can use vibrant colors to make patterns, dots, or even splashes of paint. Once they are satisfied with their design, fold the paper back over and press down firmly. When they unfold it, they'll be amazed to see a perfectly symmetrical butterfly print! This activity not only teaches symmetry but also allows kids to express their artistic flair.
Another captivating craft is making origami butterflies. Origami is a fantastic way to enhance fine motor skills while exploring the concept of symmetry through folding techniques. To create an origami butterfly, kids will need a square piece of paper. Here’s a simple step-by-step guide:
- Start with the paper colored side up, fold it in half diagonally to form a triangle, and then unfold it.
- Fold the paper in half diagonally the other way, and unfold it again to create a crease pattern.
- Now, fold the top corners to the center crease to form a smaller triangle.
- Next, fold the bottom point up to the top edge, creating a triangle shape.
- Finally, fold the wings down at an angle, and you’ll have a beautiful origami butterfly!
This origami butterfly project not only fosters creativity but also helps children develop spatial awareness and concentration as they follow the folding instructions. Plus, they can decorate their butterflies with markers or stickers, making each creation unique!
For those who want to combine art with a bit of science, consider creating a butterfly life cycle mobile. This craft can be both educational and visually stunning. Kids can create different stages of a butterfly's life—from egg to caterpillar to chrysalis and finally, the butterfly itself. Using paper, string, and a hanger, they can suspend their creations in a way that showcases the beauty of transformation. This project not only reinforces the concept of symmetry but also teaches kids about the fascinating journey of butterflies.
In all these crafts, the key is to encourage kids to explore their creativity while understanding the principles of symmetry. Whether they are painting, folding, or assembling, each activity serves as a stepping stone to deeper learning. So gather your materials, roll up your sleeves, and let the butterfly crafting adventure begin!
Q: What age group is suitable for butterfly crafts?
A: Butterfly crafts can be enjoyed by children of all ages! Younger kids may need assistance with cutting and folding, while older children can take on more complex projects independently.
Q: Can I use recycled materials for butterfly crafts?
A: Absolutely! Recycled materials like old magazines, cardboard, and fabric scraps can add unique textures and colors to your butterfly creations.
Q: How can I incorporate learning into butterfly crafts?
A: Discuss the concept of symmetry, colors, and patterns while crafting. You can also introduce fun facts about butterflies and their habitats!
Symmetrical Butterfly Prints
Creating is not only a delightful craft but also an engaging way for children to grasp the concept of symmetry. Imagine the thrill of folding a piece of paper, dabbing it with vibrant colors, and then revealing a stunning, mirrored design! This hands-on activity encourages kids to explore their creativity while developing a keen eye for balance and proportion.
To start, gather the necessary materials: a sheet of paper, some washable paints, and a flat surface to work on. The beauty of this craft lies in its simplicity. Begin by folding the paper in half, ensuring that the edges align perfectly. This fold will serve as the central line of symmetry. Once the paper is folded, kids can use their fingers or brushes to apply paint on one side. The key here is to use bold colors, as they will create striking prints that will captivate anyone who sees them.
After the paint has been applied, carefully press the two sides of the paper together. This is where the magic happens! As the two halves meet, they will create a beautiful butterfly print, perfectly mirroring each other. When the paper is opened, the children will be amazed to see their creation. It’s a wonderful moment of surprise and joy, enhancing their understanding of symmetry in a fun and memorable way.
To further enrich this activity, consider discussing the concept of symmetry with the kids. Ask them questions like:
- What do you notice about the two sides of your butterfly?
- Can you find other objects around you that have symmetry?
- How does this butterfly compare to real butterflies you’ve seen?
By incorporating these discussions, you not only make the crafting process more educational but also help reinforce their observational skills. This activity can be a fantastic way to blend art with science, making learning both enjoyable and impactful. Plus, the end result can be proudly displayed as a testament to their creativity and understanding of symmetry!
Q: What is symmetry?
A: Symmetry refers to a balanced and proportionate similarity between two halves of an object. It can be found in nature, art, and various designs.
Q: What age group is suitable for butterfly crafts?
A: Butterfly crafts can be enjoyed by children of all ages, but younger kids may need assistance with cutting and folding, while older kids can take on more complex designs.
Q: Can we use other materials besides paper for butterfly prints?
A: Absolutely! You can experiment with fabrics, leaves, or even canvas to create unique butterfly prints. Each material will offer a different texture and appearance.
Q: How can I display the finished butterfly prints?
A: Consider framing the prints, creating a gallery wall, or even using them in a scrapbook. This not only showcases their work but also encourages pride in their artistic endeavors.
Origami Butterflies
Origami butterflies are not just beautiful creations; they are also a fantastic way for children to explore the concept of symmetry through the art of folding paper. The process of making origami involves precise movements and careful attention to detail, which can significantly enhance a child's fine motor skills and spatial awareness. Imagine the excitement on a child's face when they transform a simple square piece of paper into a stunning butterfly, all while learning about symmetry!
To get started, you'll need some basic materials, which are easily accessible. A square sheet of paper is essential, and you can choose from various types, such as colored origami paper, plain printer paper, or even recycled paper from old notebooks. The choice of paper can influence the overall look of the butterfly, allowing for a splash of creativity right from the start.
Here’s a simple step-by-step guide to creating your own origami butterfly:
- Start with a square piece of paper. If your paper is rectangular, simply cut it down to a square.
- Fold the paper in half diagonally. Make sure to crease it well, then unfold it to reveal a crease line.
- Fold the top two corners down to meet the center crease. This will create a triangle shape at the top.
- Flip the paper over. You should now see a triangle pointing downwards.
- Fold the bottom point of the triangle up to the top edge. This creates the body of the butterfly.
- Fold the top edges of the triangle down to create the wings. Adjust the angle to make the wings as wide or narrow as you like.
- Finally, gently pull the wings apart to reveal your beautiful origami butterfly!
As children engage in this activity, they can experiment with different colors and patterns, observing how folding techniques can create symmetry. Additionally, you can encourage them to decorate their butterflies with markers or stickers, making each piece a unique expression of their creativity.
Not only does this craft provide a hands-on learning experience, but it also opens the door for discussions about the natural world. For instance, you can talk about real butterflies and how their wings are often symmetrical, just like the ones they create. This connection between art and nature can deepen their understanding of the concept of symmetry in a fun and engaging way.
Incorporating origami into your crafting sessions is a delightful way to combine education with creativity. Plus, it’s an activity that can be enjoyed individually or in groups, making it perfect for playdates, classrooms, or family gatherings. So, gather your materials, and let the folding begin!
- What age group is suitable for origami butterfly crafts? Origami butterflies can be suitable for children aged 5 and up, with varying levels of supervision depending on the complexity of the folds.
- Do I need special paper for origami? While traditional origami paper is great, any square piece of paper will work. Experiment with different textures and colors!
- Can I incorporate other materials into this craft? Absolutely! Consider using markers, glitter, or stickers to decorate your origami butterflies for added flair.
Incorporating Learning into Crafts
Crafting isn't just about creating beautiful art; it's also a fantastic opportunity for learning! When kids engage in butterfly crafts, they can explore various educational concepts without even realizing it. Imagine this: as children cut, fold, and paint, they are not only expressing their creativity but also reinforcing their understanding of symmetry, patterns, and colors. This hands-on experience makes abstract concepts tangible and fun!
To make the most of these crafting sessions, parents and educators can incorporate discussions about the principles of symmetry while the kids are busy creating. For instance, while making symmetrical butterfly prints, you might ask, "What happens if we fold the paper differently? Will the design still be symmetrical?" This simple question encourages critical thinking and sparks curiosity.
Additionally, using a variety of colors can lead to conversations about color theory. Kids can learn about primary and secondary colors while mixing paints for their butterfly creations. You could even introduce the concept of color blending, asking them to predict what colors will emerge when they mix different paints. This not only enhances their artistic skills but also deepens their understanding of the world around them.
Moreover, incorporating math concepts can be incredibly beneficial. For example, while creating origami butterflies, children can practice measuring and folding, which helps develop their spatial awareness and fine motor skills. You might guide them through the process by saying, "Let’s measure this paper to see how we can make our butterfly the same size as the one we made last time!" This reinforces mathematical concepts in an engaging way.
Here are a few tips for incorporating learning into your butterfly crafts:
- Ask questions: Engage children by asking open-ended questions about their creations.
- Discuss symmetry: Highlight how symmetry is present in nature, especially in butterflies.
- Explore colors: Talk about color mixing and how different colors affect the mood of their artwork.
- Link to science: Discuss the life cycle of butterflies and their habitats, connecting art to nature.
By weaving educational elements into the crafting process, you create a rich learning environment that fosters curiosity and creativity. The beauty of these butterfly crafts lies not just in the final product but in the journey of discovery that children embark on while creating. So, the next time you sit down for a crafting session, remember that every snip of the scissors and stroke of the brush is a chance for learning!
Q: What age group is suitable for butterfly crafts?
A: Butterfly crafts can be enjoyed by children of all ages! Younger kids may need more guidance, while older children can explore more complex techniques.
Q: How can I make butterfly crafts more educational?
A: Incorporate discussions about symmetry, colors, and even basic math concepts like measuring and counting during the crafting process.
Q: What if I don't have craft supplies at home?
A: You can use recycled materials like old magazines, newspapers, or cardboard. Creativity knows no bounds!
Q: Can these crafts be done in a classroom setting?
A: Absolutely! Butterfly crafts are perfect for classrooms as they encourage teamwork and collaborative learning among students.
Displaying Butterfly Creations
Once the butterfly crafts are complete, the fun doesn’t have to stop there! Displaying these colorful creations can be a delightful way to celebrate your child’s hard work and creativity. Think of it as the grand finale of a spectacular performance; it's where all the effort comes together and shines! Not only does showcasing their art foster a sense of pride and accomplishment, but it also transforms your home into a vibrant gallery filled with unique expressions of creativity.
Consider creating a dedicated space in your home for displaying these butterfly masterpieces. This could be a wall in the living room, a bulletin board in the kitchen, or even the fridge! Imagine how beautiful it would be to walk into a room adorned with a kaleidoscope of colors fluttering on the walls. You can also rotate the displays regularly to highlight new creations, keeping the space fresh and exciting.
Here are some creative ideas to display those lovely butterfly crafts:
- Gallery Wall: Designate a wall to showcase the butterflies. Use frames or washi tape for a fun, casual look.
- Hanging Mobile: Create a mobile by hanging butterflies from a coat hanger or a wooden dowel. This adds a dynamic element as they flutter gently in the breeze.
- Nature Display: Incorporate real branches or twigs into the display. Attach butterflies to them to mimic how they would appear in nature.
In addition to these ideas, consider hosting a mini-exhibition at home. Invite family and friends over to admire the creations. It’s a great way to encourage your child to present their work, enhancing their confidence and communication skills. You could even provide small cards that describe each butterfly, allowing your little artist to explain their inspiration and the techniques they used. This not only makes the event interactive but also educational!
Finally, don't forget to document these creations. Take photographs of each butterfly before they are displayed, creating a digital scrapbook that you can look back on for years to come. This way, even if the crafts eventually fade or get damaged, the memories and the joy they brought will remain forever captured. So, let those butterflies fly high and make your home a canvas of creativity!
Q: What materials are best for displaying butterfly crafts?
A: You can use frames, string, adhesive putty, or even clothespins. Choose materials that complement your home decor while allowing the butterflies to stand out.
Q: How can I involve my child in the display process?
A: Involve your child by letting them choose where to display their crafts. Ask for their input on how they’d like to showcase their creations, and encourage them to explain their art to family and friends.
Q: What should I do if the crafts get damaged?
A: If a craft gets damaged, consider repairing it together or using it as an opportunity to create something new. You can also take a photo of the original craft before it was damaged, preserving the memory.
Frequently Asked Questions
- What is symmetry, and why is it important for kids to learn about it?
Symmetry is when two halves of an object are mirror images of each other. It’s important for kids to learn about symmetry because it enhances their observational skills and helps them appreciate balance in nature and art. Plus, it’s a fun way to engage with the world around them!
- What materials do I need for butterfly crafts?
To create butterfly crafts, you’ll need various papers like construction paper or tissue paper, along with art supplies such as scissors, glue, markers, and paint. Having these materials on hand will make the crafting experience smooth and enjoyable for everyone involved!
- Can you suggest some easy butterfly craft ideas for kids?
Absolutely! Some fun and easy butterfly craft ideas include making symmetrical butterfly prints using paint and folded paper, or creating origami butterflies. These activities not only spark creativity but also reinforce the concept of symmetry in a hands-on way!
- How can I incorporate learning into butterfly crafts?
You can incorporate learning by discussing symmetry, patterns, and colors while your kids are crafting. Ask them questions about what they see and encourage them to explain their creative choices. This turns a fun activity into a valuable learning experience!
- What are some creative ways to display the butterfly creations?
Once the crafts are complete, you can display them in various ways! Try hanging them on a wall, creating a butterfly gallery, or even using them as decorations for a special event. This not only showcases their work but also boosts their confidence and pride!


