Easy Button Crafts for Kids to Try
Crafting is not just a fun pastime; it's a wonderful way for kids to express their creativity and develop essential skills. One of the most delightful materials to work with is buttons! These small, colorful objects can transform into a world of imaginative creations. In this article, we will explore various button crafts that are not only easy to make but also provide a fantastic opportunity for parents and children to bond through the joy of crafting. Whether you’re looking to enhance fine motor skills, encourage artistic expression, or simply have a good time together, these button crafts are sure to bring smiles and laughter.
Imagine the joy on your child's face as they transform a simple button into a masterpiece! From button art to jewelry making, the possibilities are endless. Each craft not only allows kids to showcase their unique style but also teaches them valuable lessons about color, pattern, and design. So, gather your buttons, unleash your creativity, and let’s dive into some fun and easy button crafts that your kids will love!
Creating button art is a fun and imaginative way for kids to express themselves. With just a handful of buttons, they can form shapes, animals, or even abstract designs. This craft enhances their artistic skills while allowing them to explore their creativity. For example, a collection of buttons can be arranged to create a vibrant butterfly or a colorful tree. The only limit is their imagination!
Who doesn't love wearing their own creations? Kids adore making their own jewelry, and using buttons to create necklaces, bracelets, and rings allows them to personalize their accessories. Not only do they get to flaunt their unique pieces, but they also develop fine motor skills and creativity in the process. Just think of the pride they'll feel wearing something they made themselves!
Button bracelets are easy to make and can be customized with various colors and sizes. Children can learn about patterns and color combinations while enjoying this fun project. Imagine a bracelet made of bright red, blue, and yellow buttons, each representing a different memory or favorite color!
To get started on making button bracelets, you'll need a few simple materials:
- Elastic string
- Buttons of various sizes and colors
- Scissors
Having these items ready will ensure a smooth crafting experience.
Follow these clear, easy-to-follow instructions to guide kids through the bracelet-making process:
- Cut a length of elastic string, about 10 inches long.
- Choose your buttons and arrange them in a pattern you like.
- String the buttons onto the elastic, ensuring they fit snugly but can still move freely.
- Once you’ve added enough buttons, tie a secure knot to finish the bracelet.
And there you have it! A beautiful button bracelet that your child can wear with pride.
Making button necklaces is another exciting project. Kids can explore different designs and layering techniques to create unique pieces that showcase their personal style. Just like the bracelets, the necklaces can be made using a variety of buttons, allowing for endless creativity.
Button picture frames are a fantastic way for kids to display their favorite photos. This craft enhances creativity and allows children to personalize their frames with various button designs. Imagine a frame adorned with colorful buttons that tell a story of a cherished memory!
When it comes to decorating picture frames using buttons, the sky's the limit! Here are a few ideas:
- Choose a color theme: Go for a monochromatic look or a rainbow explosion!
- Experiment with arrangements: Create patterns or random designs for a more whimsical feel.
- Mix and match sizes: Use large buttons as focal points and smaller ones to fill in gaps.
These techniques can make the frames visually appealing and truly one-of-a-kind.
Button picture frames make wonderful gifts. Kids can create these frames for family members or friends, adding a personal touch to their presents. Imagine giving Grandma a frame filled with pictures of her grandchildren, all surrounded by colorful buttons crafted by little hands. It’s a heartfelt gift that shows love and creativity!
Q: What age group is suitable for button crafts?
A: Button crafts are great for children aged 5 and up, with adult supervision for younger kids.
Q: Are there any safety concerns with using buttons?
A: While buttons are generally safe, ensure that small buttons are kept away from very young children to prevent choking hazards.
Q: Can we use other materials with buttons?
A: Absolutely! Feel free to combine buttons with other materials like beads, strings, and fabric to enhance your crafts.
So, what are you waiting for? Grab some buttons and start crafting today!
Simple Button Art
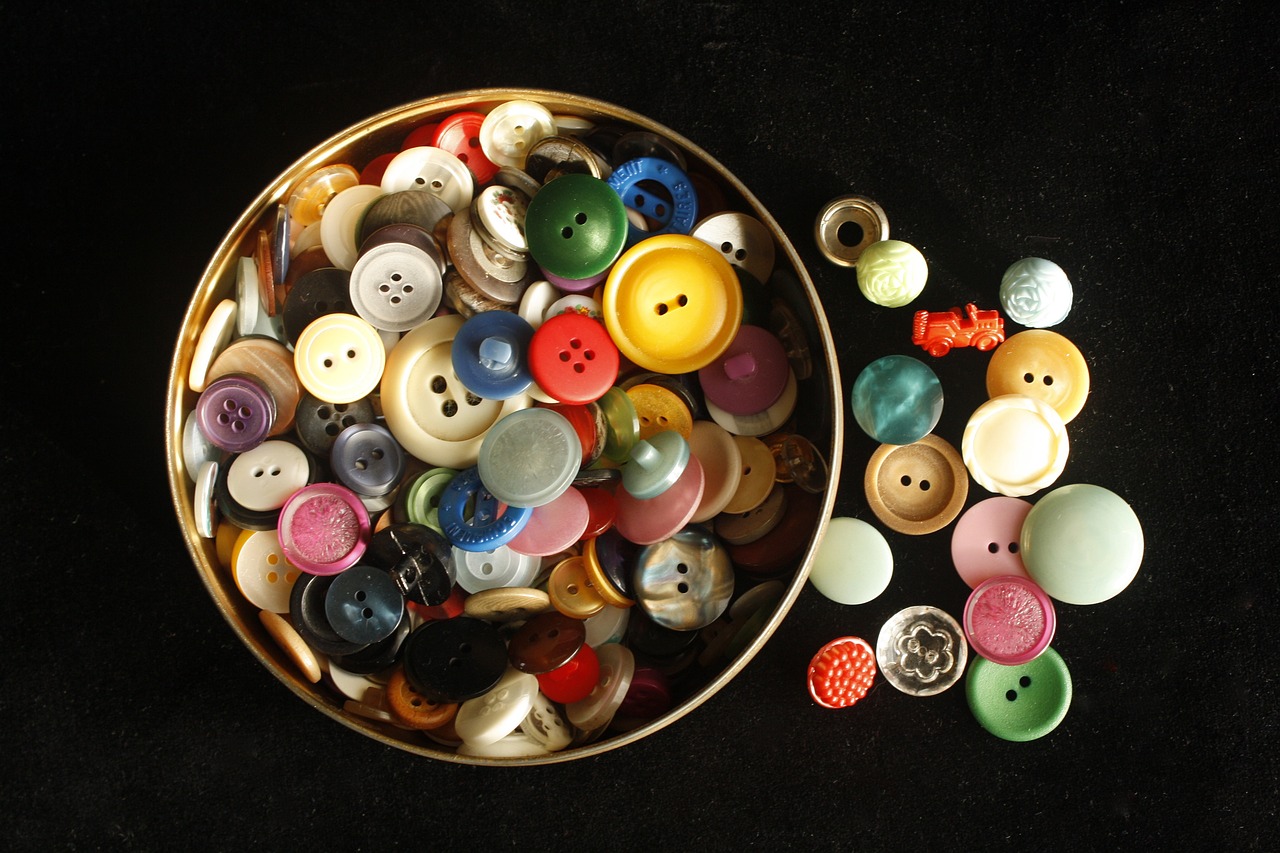
Creating button art is a fun and imaginative way for kids to express themselves. Imagine a blank canvas where colors and shapes come alive through the simple yet vibrant buttons scattered across it. This craft not only enhances artistic skills but also ignites a spark of creativity in young minds. Children can use buttons to form various shapes, animals, or even abstract designs, allowing them to explore their artistic flair without boundaries. The best part? It's a project that requires minimal materials and maximum imagination!
To get started, gather an assortment of buttons in different sizes, colors, and shapes. You can find these at craft stores, or even better, raid your old button stash at home! Once you have your buttons, grab a piece of cardboard or a canvas as your base. The tactile sensation of buttons—smooth, round, and colorful—will captivate your child and make the crafting experience even more enjoyable.
As kids dive into their button art project, they can create a variety of designs. For example, they might choose to make a button butterfly by arranging buttons in the shape of wings, or perhaps a button tree where the trunk is drawn, and the leaves are made of colorful buttons. The possibilities are endless! Encourage them to think outside the box: why not create a button rainbow or a button sun? Each creation is a unique masterpiece that reflects their personality.
Not only does button art foster creativity, but it also helps develop fine motor skills. As children pick up and place buttons, they enhance their dexterity and hand-eye coordination. This simple act of crafting becomes a fun exercise that supports their growth in a playful way.
Moreover, this activity can be a wonderful bonding experience. Parents can join in the fun, sharing ideas and techniques, or even collaborating on a larger piece. Imagine sitting together at the dining table, surrounded by buttons, laughter, and creativity flowing freely. It’s moments like these that create lasting memories and strengthen family connections.
In conclusion, button art is not just a simple craft; it's a gateway to creativity, learning, and bonding. So, gather those buttons, unleash your imagination, and let the artistic journey begin!
Here are some common questions parents might have about button art:
- What age is appropriate for button art? Most children aged 4 and up can enjoy button art, with varying levels of supervision depending on their age and skill level.
- What materials do I need? You will need buttons, a base (like cardboard or canvas), glue, and possibly some markers or paints for additional decoration.
- Can button art be used for educational purposes? Absolutely! It can teach kids about colors, shapes, and patterns while enhancing their fine motor skills.
Button Jewelry Making
Kids love the idea of creating their own jewelry, and what better way to do it than with colorful and vibrant buttons? is not just a fun craft; it's an engaging activity that allows children to express their creativity and individuality. Imagine your child sitting at the table, surrounded by a rainbow of buttons, their eyes sparkling with excitement as they design unique pieces that reflect their personal style. This hands-on project not only enhances their artistic abilities but also helps develop fine motor skills as they thread buttons and tie knots. Plus, it's a fantastic way for parents and kids to bond over a shared activity!
When it comes to making button jewelry, the possibilities are endless. From button bracelets to necklaces, each piece can be tailored to suit the maker's taste. Kids can mix and match different button shapes, sizes, and colors to create something truly special. They might even create themed jewelry, like a bracelet adorned with flowers for spring or a necklace featuring their favorite colors.
Creating button bracelets is one of the simplest yet most enjoyable projects. Children can learn about patterns and color combinations while having fun. The best part? They can wear their creations proudly or gift them to friends and family! To get started, gather a few essential materials:
| Material | Description |
|---|---|
| Elastic String | A stretchy cord that allows for easy wearability. |
| Buttons | Various sizes and colors to create unique designs. |
| Scissors | For cutting the elastic string to the desired length. |
Once you have gathered all the materials, it's time to dive into the crafting process. Here’s a simple guide to help kids make their very own button bracelets:
1. Start by measuring the elastic string around your wrist to determine the right length, adding a little extra for tying knots.
2. Cut the string and lay it out on a flat surface.
3. Begin threading the buttons onto the string, alternating colors and sizes to create a fun pattern. Encourage kids to be creative and experiment with different arrangements!
4. Once all the buttons are on, tie a secure knot at the end of the string to hold everything in place.
5. Trim any excess string, and voila! Your button bracelet is ready to wear!
Button necklaces are another exciting project that allows kids to explore different designs. They can layer buttons, create patterns, or even spell out their names using buttons. The process is similar to making bracelets, but with a longer string to accommodate the necklace length. Kids can use larger buttons as focal points and smaller ones to fill in the gaps, creating a beautiful piece that showcases their personality.
In conclusion, is a delightful way for kids to engage their creativity while developing essential skills. Whether they are making bracelets or necklaces, each piece becomes a unique expression of who they are. So, gather those buttons, and let the crafting adventure begin!
Q: What age group is suitable for button jewelry making?
A: Button jewelry making is suitable for children aged 5 and up, with adult supervision for younger kids, especially when using scissors.
Q: Can I use any type of buttons?
A: Yes! Just ensure the buttons have holes large enough for the elastic string to pass through easily.
Q: What if I don't have elastic string?
A: You can use any sturdy string or cord, but elastic is recommended for comfort and flexibility.
Button Bracelets
Button bracelets are not just a fun craft; they are a wonderful way for kids to express their individuality and creativity! Imagine your child sitting at the table, surrounded by a rainbow of buttons, each one a tiny burst of color and possibility. The best part? Making these bracelets is as easy as pie! All you need are a few simple materials, and your little one will be on their way to creating a unique accessory that reflects their personal style.
To start off, let’s talk about the materials you’ll need. The essentials include elastic string, a variety of buttons in different colors and sizes, and a pair of scissors. The elastic string is perfect because it stretches, allowing the bracelet to fit comfortably on the wrist. As for the buttons, the more diverse the selection, the better! Encourage your child to pick buttons that speak to them—perhaps some with fun patterns, bright colors, or even unique shapes.
| Material | Purpose |
|---|---|
| Elastic String | To create the base of the bracelet. |
| Buttons | To decorate the bracelet and add personality. |
| Scissors | To cut the elastic string to the desired length. |
Now that you have your materials ready, let’s dive into the fun part—making the bracelet! First, measure out a length of elastic string that is about twice the size of your child's wrist. This extra length will allow for tying knots later. Next, tie a knot at one end of the string to keep the buttons from slipping off. Now, let the creativity flow! Your child can string on buttons in any order they like, creating patterns or just a random assortment. It’s all about what makes them happy!
Once they’ve added enough buttons to make the bracelet the desired length, it’s time to finish it off. Simply tie another knot to secure the buttons in place, and trim any excess elastic. Voila! Your child now has a one-of-a-kind button bracelet that they can wear proudly or even gift to a friend. This crafting project not only enhances fine motor skills as they work with the buttons and string, but it also teaches them about patterns, colors, and the joy of creating something with their own hands.
Button bracelets can also be a fantastic way to bond with your child. Why not sit down together and make a few bracelets while chatting about their day? You can share stories, laugh, and create lasting memories, all while engaging in a fun and productive activity. As they craft, you might find that they open up about their thoughts and feelings, making the experience even more rewarding.
- What age is appropriate for making button bracelets? Most children aged 5 and up can enjoy this craft, especially with adult supervision.
- Can we use other materials besides buttons? Absolutely! You can incorporate beads, charms, or even small fabric pieces for added flair.
- How can we ensure the bracelet stays secure? Make sure to tie strong knots and consider using a double knot for extra security.
Materials Needed
This article explores fun and creative button crafts that kids can easily make. These projects encourage creativity, fine motor skills, and provide a wonderful opportunity for parents and children to bond through crafting.
Creating button art is a fun and imaginative way for kids to express themselves. They can use buttons to form shapes, animals, or even abstract designs, enhancing their artistic skills.
Kids love making their own jewelry! Using buttons to create necklaces, bracelets, and rings allows them to personalize their accessories while developing fine motor skills and creativity.
Button bracelets are easy to make and can be customized with various colors and sizes. Children can learn about patterns and color combinations while enjoying this fun project.
Gathering materials is the first step towards creating beautiful button bracelets. Here’s what you’ll need to kick off this exciting crafting adventure:
- Elastic String: This will serve as the base for your bracelet, allowing it to stretch and fit comfortably around the wrist.
- Buttons: A variety of buttons in different colors, shapes, and sizes will enable kids to unleash their creativity and design unique patterns.
- Scissors: Essential for cutting the elastic string to the desired length.
- Measuring Tape: This helps in measuring the wrist size to ensure the bracelet fits perfectly.
With these materials in hand, kids can dive into the world of button crafting. The beauty of this project lies not only in the final product but also in the process of creation. As they select buttons and experiment with designs, children will enhance their decision-making skills and artistic flair.
Clear, easy-to-follow instructions will guide kids through the bracelet-making process, ensuring a successful and enjoyable crafting experience.
Making button necklaces is another exciting project. Kids can explore different designs and layering techniques to create unique pieces that showcase their personal style.
Button picture frames are a fantastic way for kids to display their favorite photos. This craft enhances creativity and allows children to personalize their frames with various button designs.
This section provides ideas for decorating picture frames using buttons, including color themes and arrangement tips to make the frames visually appealing.
Button picture frames make wonderful gifts. Kids can create these frames for family members or friends, adding a personal touch to their presents while practicing their crafting skills.
Q: What age group is suitable for button crafts?
A: Button crafts are ideal for children aged 5 and up, but younger kids can also participate with adult supervision. It’s a great way to develop fine motor skills!
Q: Are there any safety concerns with using buttons?
A: Yes, it’s important to ensure that small buttons are kept away from very young children to avoid choking hazards. Always supervise crafting sessions.
Q: Can I use buttons from old clothes?
A: Absolutely! Upcycling buttons from old garments is a fantastic way to be eco-friendly while adding unique pieces to your crafts.
Q: How can I store leftover buttons?
A: Consider using small jars or divided containers to keep buttons organized by color and size, making it easier for kids to find what they need for their next project.
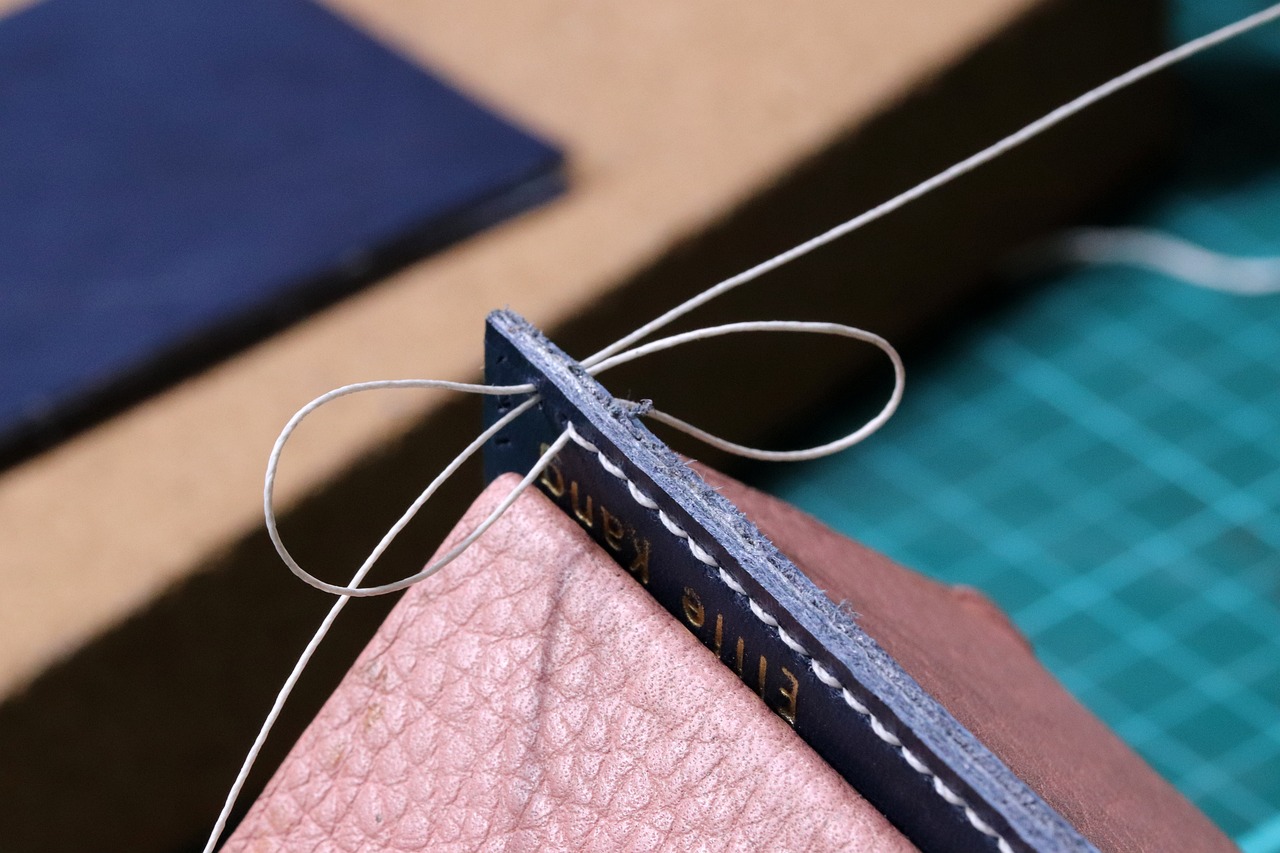
Step-by-Step Instructions
Creating your very own button bracelets is a delightful adventure that blends creativity with a touch of practicality. To kick things off, gather your materials. You'll need some elastic string, a variety of buttons in different colors and sizes, and a pair of scissors. Don’t worry if you don’t have a specific design in mind; the beauty of crafting is that you can let your imagination run wild!
Now, let’s dive into the fun part! First, cut a length of elastic string that is about 12 inches long. This length will give you enough room to work with while ensuring that the finished bracelet fits comfortably on your wrist. Remember, it’s always better to have a little extra string than to come up short!
Next, tie a knot at one end of the string to prevent the buttons from slipping off as you work. This knot is your safety net, so make sure it’s nice and tight. Once that’s done, it’s time to start threading those buttons! Here’s where the fun begins: choose your buttons based on their colors, shapes, and sizes. You can create a pattern or mix and match for a more eclectic style. As you thread each button, take a moment to appreciate how each one adds its unique flair to your bracelet.
As you continue adding buttons, keep an eye on the overall design. You might want to alternate colors or create a gradient effect. This is a fantastic opportunity for kids to learn about patterns and color combinations! If you’re feeling adventurous, try adding in some beads or charms between the buttons for an extra pop of creativity.
Once you’ve reached your desired length, it’s time to finish up. Carefully remove the bracelet from your wrist and tie a secure knot at the other end of the string. Make sure the knot is tight enough to hold all the buttons in place. You can also add a dab of glue to the knot for extra security. Finally, trim any excess string, and voila! You’ve crafted a beautiful button bracelet that showcases your personal style.
This step-by-step process not only allows kids to express their creativity but also enhances their fine motor skills as they manipulate the buttons and string. Plus, it’s a great way to spend quality time together, crafting something unique and memorable. So, gather those buttons and get started on your crafting journey!
Q: What types of buttons can we use for these crafts?
A: You can use any buttons you have at home! Consider using buttons of various sizes, shapes, and colors to add more variety to your projects. Vintage buttons can also add a unique touch!
Q: Can we use other materials besides buttons?
A: Absolutely! While buttons are the star of the show, you can also incorporate beads, charms, or even pieces of fabric to create a mixed-media effect in your crafts.
Q: How can we ensure the bracelet fits well?
A: Measure your wrist before cutting the elastic string. A good rule of thumb is to add a couple of extra inches to ensure a comfortable fit. Remember to tie the knots securely to avoid any accidents!
Q: What’s the best way to store our button crafts?
A: Keep your button crafts in a cool, dry place. You can use a small box or a craft organizer to prevent them from getting tangled or damaged. This way, you can admire your creations anytime!
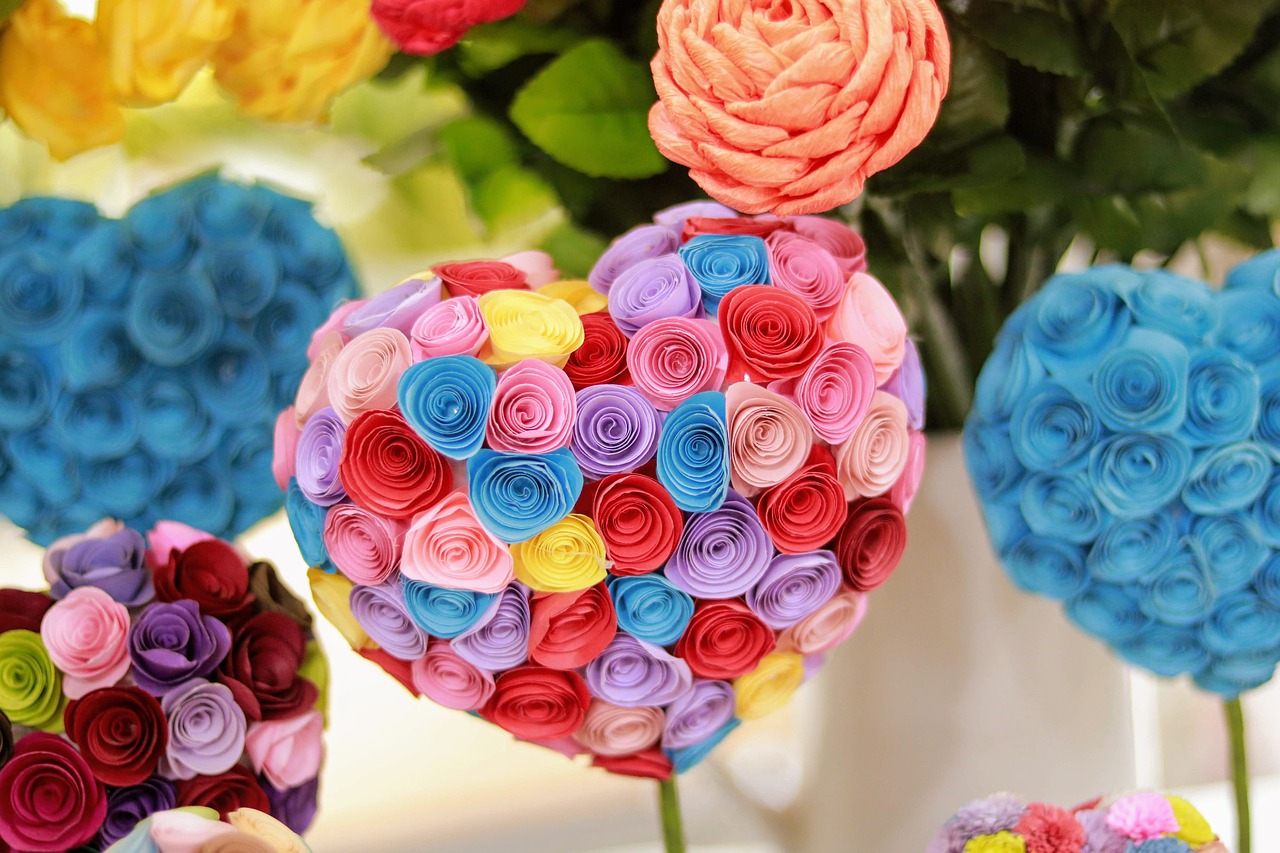
Button Necklaces
Making is another exciting project that allows kids to tap into their creativity and express their personal style. Imagine a colorful array of buttons strung together, each one telling a story or representing a favorite color. This hands-on activity not only fosters creativity but also helps children develop fine motor skills as they manipulate various buttons and string them together in unique designs. The beauty of button necklaces lies in their customizability; kids can mix and match colors, sizes, and shapes to create a piece that truly reflects their personality.
To start this delightful crafting adventure, gather a variety of buttons. You can find them in different shapes and colors at craft stores or even repurpose old clothing. Encourage your little ones to think outside the box—what about using heart-shaped buttons for a necklace that screams love, or vibrant buttons that reflect the colors of a rainbow? The possibilities are endless! This project not only serves as a fun way to spend time together but also teaches kids about color coordination and design principles.
Here’s a simple overview of how to create these charming necklaces. First, you’ll need some basic materials:
- Buttons of various sizes and colors
- Elastic string or cord
- Scissors
- A ruler (optional, for measuring)
Once you have your materials, it’s time to dive into the crafting process. The first step is to cut a length of elastic string that is long enough to fit comfortably around the child’s neck. It’s a good idea to add a little extra length to ensure it can easily be tied off later. Next, let your child arrange the buttons in a pattern that they love. This could be a simple alternating color scheme or a more complex design with larger buttons as focal points.
After they’ve settled on a design, it’s time to start stringing the buttons onto the elastic. This is where the true magic happens! As they thread each button, they’ll not only see their design come to life but also practice their hand-eye coordination. Once all the buttons are strung, tie the ends of the elastic together securely. You might want to double knot it to ensure it holds strong during playtime!
Finally, encourage your kids to wear their creations proudly or even gift them to friends and family. Button necklaces can become cherished keepsakes, reminding children of the fun times spent crafting. Plus, they can always revisit this project, experimenting with new designs and color combinations. It’s a wonderful way to keep that creative spark alive!
Q1: What age is appropriate for making button necklaces?
A1: Button necklaces are suitable for children aged 5 and up, with adult supervision for younger kids to ensure safety while using scissors and elastic string.
Q2: Can I use buttons from old clothing?
A2: Absolutely! Repurposing buttons from old clothes is a great way to recycle and adds a personal touch to the necklaces.
Q3: What if I don't have elastic string?
A3: If you don't have elastic string, you can use regular string or yarn, but make sure to tie it securely to prevent the necklace from falling apart.
Q4: How can I make the necklaces more durable?
A4: To enhance durability, consider using a stronger cord or adding a drop of glue to the knots after tying them for extra security.
Button Picture Frames
Button picture frames are a fantastic way for kids to display their favorite photos while unleashing their creativity. Imagine a world where every cherished memory is adorned with colorful buttons that reflect the personality of the child who crafted it. This project not only enhances their artistic skills but also allows them to personalize their frames in a way that is uniquely theirs. When kids engage in making button picture frames, they learn to think outside the box, experimenting with different layouts, colors, and themes, transforming a simple frame into a piece of art that tells a story.
To get started, gather a few basic materials: an old picture frame, a variety of buttons in different shapes, sizes, and colors, and some glue. The beauty of this project lies in its simplicity. Kids can choose buttons that match their favorite colors or even buttons that represent their interests, such as animals or sports. This selection process itself is an exciting journey, as they envision how their frame will look once it’s complete.
When it comes to decorating the frames, the possibilities are endless. Kids can create patterns by arranging buttons in rows, or they can go for a more chaotic, playful look by randomly placing them all over the frame. For example, they might start with a base layer of larger buttons and then fill in the gaps with smaller ones, creating depth and interest. Additionally, they can incorporate themes, such as a beach theme with blue and yellow buttons or a garden theme using floral-patterned buttons.
Here's a simple table to illustrate some popular decorating techniques:
| Technique | Description |
|---|---|
| Color Blocking | Group buttons of similar colors together for a bold look. |
| Random Placement | Scatter buttons of all shapes and sizes for a whimsical effect. |
| Layering | Use larger buttons as a base and smaller ones on top for dimension. |
Creating button picture frames also opens up opportunities for gift-giving. Imagine a child crafting a frame for their grandparents, carefully selecting buttons that represent family colors or themes. Not only does this act of creation foster a sense of pride, but it also strengthens family bonds as loved ones receive a heartfelt, handmade gift. These frames can be filled with pictures from family gatherings, vacations, or even silly selfies, making them cherished keepsakes.
As children work on their button picture frames, they develop fine motor skills as they manipulate the buttons and glue. They learn patience and precision, ensuring that each button is placed just right. This crafting experience can be a wonderful bonding activity for parents and children, where they can share stories, laugh, and create lasting memories together. So, gather those buttons and let your child's imagination run wild!
- What types of buttons can we use? You can use any buttons you have at home! Mix and match sizes, colors, and shapes for a fun look.
- Can we paint the buttons? Absolutely! Painting buttons can add a personal touch and allow for even more creativity.
- What if we don't have a picture frame? No worries! You can create a frame using cardboard or even a thick piece of paper.
- How can we display the finished frames? Hang them on the wall, place them on a shelf, or give them as gifts to family and friends!
Decorating Techniques
This article explores fun and creative button crafts that kids can easily make. These projects encourage creativity, fine motor skills, and provide a wonderful opportunity for parents and children to bond through crafting.
Creating button art is a fun and imaginative way for kids to express themselves. They can use buttons to form shapes, animals, or even abstract designs, enhancing their artistic skills.
Kids love making their own jewelry! Using buttons to create necklaces, bracelets, and rings allows them to personalize their accessories while developing fine motor skills and creativity.
Button bracelets are easy to make and can be customized with various colors and sizes. Children can learn about patterns and color combinations while enjoying this fun project.
Gathering materials like elastic string, buttons, and scissors is essential. This section outlines what you need to get started on making button bracelets.
Clear, easy-to-follow instructions will guide kids through the bracelet-making process, ensuring a successful and enjoyable crafting experience.
Making button necklaces is another exciting project. Kids can explore different designs and layering techniques to create unique pieces that showcase their personal style.
Button picture frames are a fantastic way for kids to display their favorite photos. This craft enhances creativity and allows children to personalize their frames with various button designs.
When it comes to decorating button picture frames, the possibilities are as endless as a rainbow! Kids can let their imaginations run wild, choosing buttons of different sizes, colors, and shapes to create a frame that truly reflects their personality. One effective technique is to establish a color theme. For example, using shades of blue and green can evoke a calming ocean vibe, while bright, bold colors can create a playful and vibrant look.
Another approach is to create a pattern using buttons. Kids can arrange buttons in a sequence, like alternating colors or sizes, which not only makes the frame visually appealing but also teaches them about patterns and symmetry. Additionally, layering buttons can add depth and texture to their creations. Imagine stacking a large button at the bottom and placing smaller ones on top—this can create a stunning 3D effect!
To further enhance their frames, children can incorporate other materials such as ribbons, glitter, or even small charms. These additions can bring a unique flair to their designs. For instance, wrapping a colorful ribbon around the edges of the frame can add a touch of elegance, while a sprinkle of glitter can make it sparkle like a starry night.
Ultimately, the goal is to encourage kids to experiment and have fun with their designs. The more they play around with different techniques, the more confident they will become in their crafting abilities. Remember, there are no right or wrong ways to decorate; it's all about enjoying the process and expressing oneself!
Button picture frames make wonderful gifts. Kids can create these frames for family members or friends, adding a personal touch to their presents while practicing their crafting skills.
Q: What age group is suitable for button crafts?
A: Button crafts are suitable for children aged 5 and up, with adult supervision for younger kids.
Q: Can we use buttons that are not matching?
A: Absolutely! Using mismatched buttons can create a unique and eclectic look that is very stylish.
Q: What if we don't have buttons?
A: If buttons are not available, you can use other materials like beads, bottle caps, or even paper cutouts to achieve similar crafting effects.
Q: How can we make the frames more durable?
A: To make button frames more durable, consider using a strong adhesive and applying a clear sealant over the finished frame.
Gift Ideas
Button picture frames are not just a fun craft; they also make incredibly thoughtful gifts that can bring a smile to anyone's face. Imagine a child creating a personalized frame for a grandparent, sibling, or friend! This hands-on project allows kids to express their love and creativity in a tangible way. By incorporating their favorite colors, patterns, and styles, children can craft a unique piece that reflects their personality and the recipient's taste.
When it comes to gifting button picture frames, the possibilities are endless. Here are a few ideas to inspire your crafting sessions:
- Family Photo Frame: Encourage kids to select a cherished family photo and decorate the frame with buttons that represent each family member's favorite colors.
- Birthday Gift: A button frame filled with a fun picture from a birthday party can be a delightful gift for a friend.
- Holiday Decor: Create themed frames for holidays like Christmas, Halloween, or Valentine's Day, making them perfect for seasonal decorations.
Not only do these frames serve as beautiful decorations, but they also hold sentimental value. Each button can tell a story, reminding the recipient of a special moment or a shared experience. As kids work on these projects, they learn about the joy of giving and the importance of making something special for someone they care about.
Moreover, you can take this gifting experience a step further by encouraging kids to write a heartfelt note to accompany their button picture frame. This simple addition can make the gift even more meaningful. A few lines expressing their feelings will surely touch the recipient’s heart.
So, gather those buttons, get creative, and let the kids dive into this wonderful crafting adventure. They will not only have fun but also create lasting memories and heartfelt gifts that can be cherished for years to come.
Q1: What age group is suitable for button crafts?
A1: Button crafts are great for kids of all ages! Younger children may need assistance with some tasks, while older kids can handle more complex projects independently.
Q2: What materials do I need for button crafts?
A2: Basic materials include buttons, glue, scissors, elastic string (for jewelry), and any additional decorative items like ribbons or markers.
Q3: Can button crafts be used for school projects?
A3: Absolutely! Button crafts can be a fun and creative way for kids to express their ideas in school projects, whether it's art assignments or gifts for teachers.
Q4: How can I ensure safety while crafting?
A4: Always supervise younger children when using scissors or small buttons. It’s also a good idea to use non-toxic glue and materials to keep the crafting experience safe and enjoyable.
Frequently Asked Questions
- What age is suitable for kids to start button crafts?
Button crafts are perfect for kids aged 4 and up! Younger children can enjoy simple projects with supervision, while older kids can take on more complex designs. It's all about letting their creativity shine!
- Are button crafts safe for children?
Absolutely! As long as you supervise younger children and use non-toxic materials, button crafts are very safe. Just make sure to avoid small buttons for toddlers who might put them in their mouths.
- What materials do I need for button jewelry making?
For button jewelry, you’ll need elastic string, buttons of various sizes and colors, scissors, and possibly some beads for extra flair. It’s a fun way to personalize accessories!
- Can button crafts help with fine motor skills?
Yes, definitely! Crafts like button bracelets and necklaces require kids to thread buttons and manipulate small objects, which enhances their fine motor skills and hand-eye coordination.
- How can I encourage my child to be creative with button crafts?
Let them experiment! Encourage your child to mix and match colors, shapes, and sizes. You can also provide inspiration by showing them examples of button art or jewelry to spark their imagination.
- What are some gift ideas using button crafts?
Button picture frames make fantastic gifts! Kids can create personalized frames for family photos or special occasions. They can also make button jewelry as thoughtful gifts for friends and relatives.
- Where can I find buttons for crafting?
You can find buttons at craft stores, online retailers, or even repurpose old clothing! It's a great way to recycle while adding unique touches to your projects.
- Can we use other materials along with buttons in crafts?
Definitely! You can combine buttons with paper, fabric, or even beads to create mixed media projects. It opens up endless possibilities for creativity!


