Tips for Refreshing Your Bedroom with DIY Decor
Transforming your bedroom into a personal sanctuary doesn’t have to break the bank. With a sprinkle of creativity and a dash of effort, you can embark on a delightful journey of DIY decor that reflects your unique style. Imagine walking into a space that feels not just like a room, but an extension of who you are. This article provides creative ideas and practical tips for transforming your bedroom using DIY decor projects, allowing you to personalize your space while staying within budget.
Selecting the right color palette is crucial for creating a refreshing atmosphere. Colors have a profound impact on our emotions and can dramatically influence the vibe of your bedroom. For instance, soft blues and greens can evoke tranquility and promote relaxation, while vibrant yellows and oranges can energize the space. Consider how you want to feel when you step into your room. Do you want it to be a calm retreat after a long day, or a lively space that inspires creativity? Choosing the right colors is like picking the perfect outfit; it sets the tone for everything else. Don't hesitate to experiment with different shades and combinations until you find the one that resonates with you.
Upcycling old furniture is an eco-friendly way to refresh your bedroom. Instead of tossing out that old dresser or bedside table, think about how you can breathe new life into it. Upcycling not only saves money but also allows you to create unique pieces that tell a story. Imagine transforming a drab, outdated piece into a stunning focal point of your room! Techniques such as sanding, painting, or adding new hardware can make a world of difference. If you’re wondering where to start, consider these innovative techniques to give your pieces a new life and unique character:
- Distressing: Create a vintage look by intentionally scuffing the surface.
- Decoupage: Use decorative paper or fabric to cover surfaces.
- Refinishing: Strip and re-stain wood to restore its natural beauty.
When it comes to painting your furniture, the possibilities are endless! Different painting techniques can dramatically change the look of your pieces. For example, an ombre effect can add a touch of whimsy, while a solid color can provide a sleek, modern look. Consider experimenting with layering colors or adding texture for a more dynamic finish. Painting is not just about color; it’s about creating a mood and atmosphere that aligns with your vision for the space.
Now, let’s talk about the tools of the trade. When deciding between chalk paint and spray paint, it’s essential to weigh the pros and cons of each. Chalk paint is fantastic for achieving that matte, vintage finish and is easy to distress. However, it can require a bit more prep work and sealing. On the other hand, spray paint offers a smooth finish and is perfect for intricate details, but it can be tricky to control and may require outdoor space due to fumes. Ultimately, your choice will depend on the look you’re aiming for and the time you’re willing to invest.
If you’re looking to add a personal touch to your furniture, consider stenciling! This technique allows you to incorporate patterns and designs that resonate with your style. Whether it’s a floral motif or geometric shapes, stenciling can elevate your furniture and make it truly one-of-a-kind. Plus, it’s an enjoyable project that can be done in a weekend!
Incorporating textiles like curtains, throw pillows, and rugs can significantly impact your bedroom's ambiance. Textiles add warmth and texture, making your space feel inviting. When choosing these elements, think about how they complement your color palette. For instance, if your walls are painted in soft pastels, consider adding bold-patterned pillows to create a striking contrast. The right textiles can transform your bedroom from ordinary to extraordinary!
Wall art is an excellent way to express your personality and enhance your bedroom's aesthetic. Instead of purchasing mass-produced pieces, why not create your own? DIY wall art allows you to showcase your creativity and make your space uniquely yours. From canvas paintings to framed photographs, the options are limitless!
A gallery wall can serve as a focal point in your bedroom. It’s like a visual storybook that captures your journey and interests. Explore creative arrangements and themes to curate a visually appealing display of art and photos. Mix and match frames, sizes, and styles to create a dynamic look that reflects your personality.
Understanding different framing techniques can elevate your DIY art projects. Choosing the right frames and styles can enhance the overall decor of your bedroom. Consider using vintage frames for a rustic feel or sleek, modern frames for a contemporary touch. The right frame can make your art pop and tie the entire room together.
Adding plants to your bedroom can improve air quality and create a calming environment. Not only do they purify the air, but they also bring life and color into your space. Consider low-maintenance options like snake plants or pothos if you’re new to plant care. Learn about the best plants for bedroom decor and how to arrange them creatively. Think of plants as the finishing touch that brings your room to life!
Q: How can I choose the right color palette for my bedroom?
A: Consider the mood you want to create. Soft, muted colors promote relaxation, while bright colors can energize the space. Test swatches on your walls to see how they look in different lighting.
Q: What are some easy upcycling projects for beginners?
A: Start with simple projects like repainting a chair or adding new hardware to a dresser. These small changes can have a big impact!
Q: How do I care for plants in my bedroom?
A: Ensure they receive adequate light, water them according to their needs, and occasionally wipe the leaves to keep them dust-free.
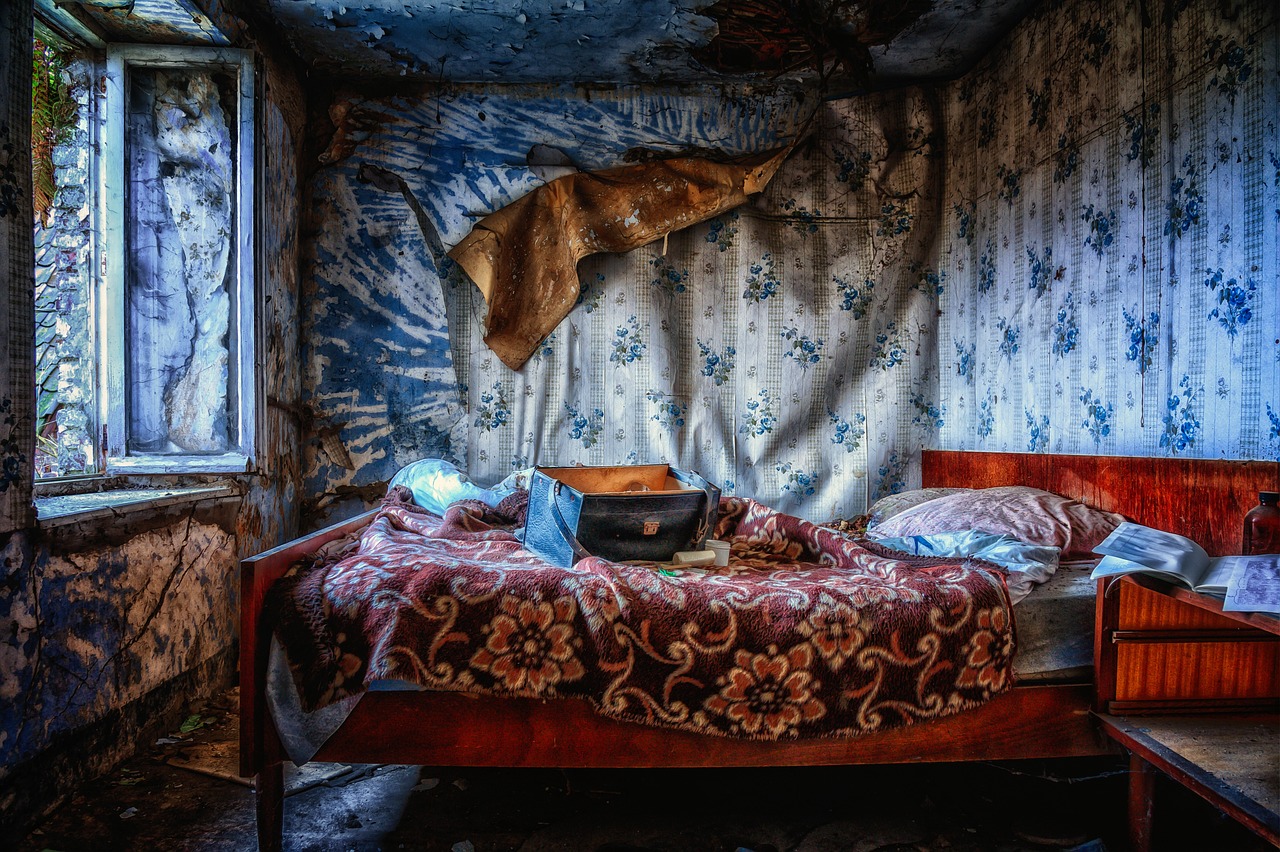
Choosing a Color Palette
When it comes to refreshing your bedroom, choosing the right color palette is absolutely essential. Think of your bedroom as a canvas; the colors you choose will dictate the mood and vibe of the entire space. Have you ever walked into a room and instantly felt relaxed or energized? That’s the power of color! Different hues can evoke various emotions and set the tone for your sanctuary. For instance, soft blues and greens can create a serene environment, while vibrant yellows and reds can add a splash of energy and creativity.
To kick off your color selection journey, consider the psychology of colors. Each color has its own unique vibe and can influence how you feel in your space. Here’s a brief overview:
| Color | Emotion | Best For |
|---|---|---|
| Blue | Calmness | Relaxation |
| Green | Balance | Nature-inspired themes |
| Yellow | Happiness | Bright, cheerful spaces |
| Red | Passion | Bold accents |
| Gray | Neutrality | Modern aesthetics |
Now that you have a sense of how colors can influence your mood, it’s time to think about how to combine them. A well-thought-out color scheme can tie your entire room together, making it feel cohesive and inviting. One popular approach is the 60-30-10 rule, where you use 60% of a dominant color, 30% of a secondary color, and 10% as an accent. This method can help you maintain balance while allowing for creativity. For example, if you choose a soft blue for your walls (60%), a deeper navy for your bedding (30%), and a bright yellow for your throw pillows (10%), you’ll create a harmonious yet dynamic look.
Don’t forget to consider the lighting in your bedroom as well. Natural light can drastically alter how colors appear, so it’s wise to test paint samples on your walls before fully committing. Observe how the colors change throughout the day and how they interact with your furnishings. You might find that a shade you loved in the store looks entirely different in your space!
Lastly, remember that your bedroom should reflect your personality. Whether you prefer a minimalist aesthetic or a bohemian vibe, your color choices should resonate with who you are. Don’t be afraid to experiment! Paint a small section of the wall or create a mood board with fabric swatches, paint samples, and decor items. This way, you can visualize how everything will come together.
In conclusion, choosing the right color palette is a pivotal step in refreshing your bedroom. By considering the psychology of colors, employing the 60-30-10 rule, and reflecting your personal style, you can create a space that not only looks stunning but also feels like home. So, grab that paintbrush and let your creativity flow!

Upcycling Furniture
Upcycling old furniture is not just a trend; it's a movement that encourages creativity and sustainability. Imagine transforming a worn-out chair into a stunning statement piece or giving a tired dresser a second life with a splash of color. The beauty of upcycling lies in its ability to breathe new life into items that might otherwise end up in a landfill. Plus, it's a fantastic way to personalize your bedroom and make it truly yours.
When you embark on an upcycling journey, the first step is to assess your existing furniture. Look around your space—what pieces do you have that could use a little love? Perhaps that old nightstand has potential, or maybe the vintage trunk in the corner could serve as a stylish storage solution. The key is to see beyond the surface and envision what these pieces could become.
Now, let's dive into some innovative techniques that can help you give your furniture a new lease on life. One popular method is painting. With the right paint and technique, you can transform even the dullest piece into a vibrant focal point. For instance, distressing your furniture can create a rustic, farmhouse vibe, while an ombre effect can add a contemporary flair. The options are endless, and the only limit is your imagination!
Speaking of painting, there are several techniques you can explore to achieve different looks. For example, chalk paint is perfect for achieving a matte finish and is easy to work with, making it ideal for beginners. On the other hand, spray paint can provide a smooth, even coat, but it requires more ventilation and protective gear. Each method has its pros and cons, so consider your project and choose accordingly.
Let's break down the differences between chalk paint and spray paint in a quick comparison:
| Feature | Chalk Paint | Spray Paint |
|---|---|---|
| Finish | Matte, textured | Smooth, glossy |
| Application | Brush or sponge | Aerosol can |
| Preparation | Minimal (no primer needed) | Requires priming for best results |
| Drying Time | Quick drying | Fast drying |
| Cleanup | Soap and water | Solvent required |
As you can see, both options have their merits. If you're looking for a more textured, vintage look, chalk paint might be your best bet. However, if you want a sleek, modern finish, spray paint could be the way to go. Ultimately, the choice depends on the style you want to achieve and the specific piece you are working on.
Another exciting way to elevate your upcycling project is through stenciling. This technique allows you to add intricate patterns and designs to your furniture, making it stand out even more. You can create a bold statement with geometric shapes or opt for delicate floral patterns for a softer look. The best part? Stenciling is relatively simple and can be done with minimal tools. Just pick your stencil, secure it in place, and apply your paint with a sponge or brush. Voila! You've transformed your furniture into a personalized masterpiece.
In conclusion, upcycling furniture is a rewarding endeavor that not only enhances your bedroom decor but also promotes sustainability. With a little creativity and some basic techniques, you can turn what was once discarded into something beautiful and functional. So, gather your tools, unleash your imagination, and let the upcycling adventures begin!
Q: What types of furniture can I upcycle?
A: Almost any piece of furniture can be upcycled! Common items include chairs, tables, dressers, and cabinets. Just make sure the piece is structurally sound.
Q: Do I need special tools for upcycling?
A: Basic tools such as sandpaper, brushes, and paint are usually sufficient. Depending on your project, you might need additional items like stencils or spray paint equipment.
Q: How can I ensure my upcycled furniture lasts?
A: Proper preparation and application are key. Always clean and sand your furniture before painting, and consider sealing your project with a protective finish for added durability.
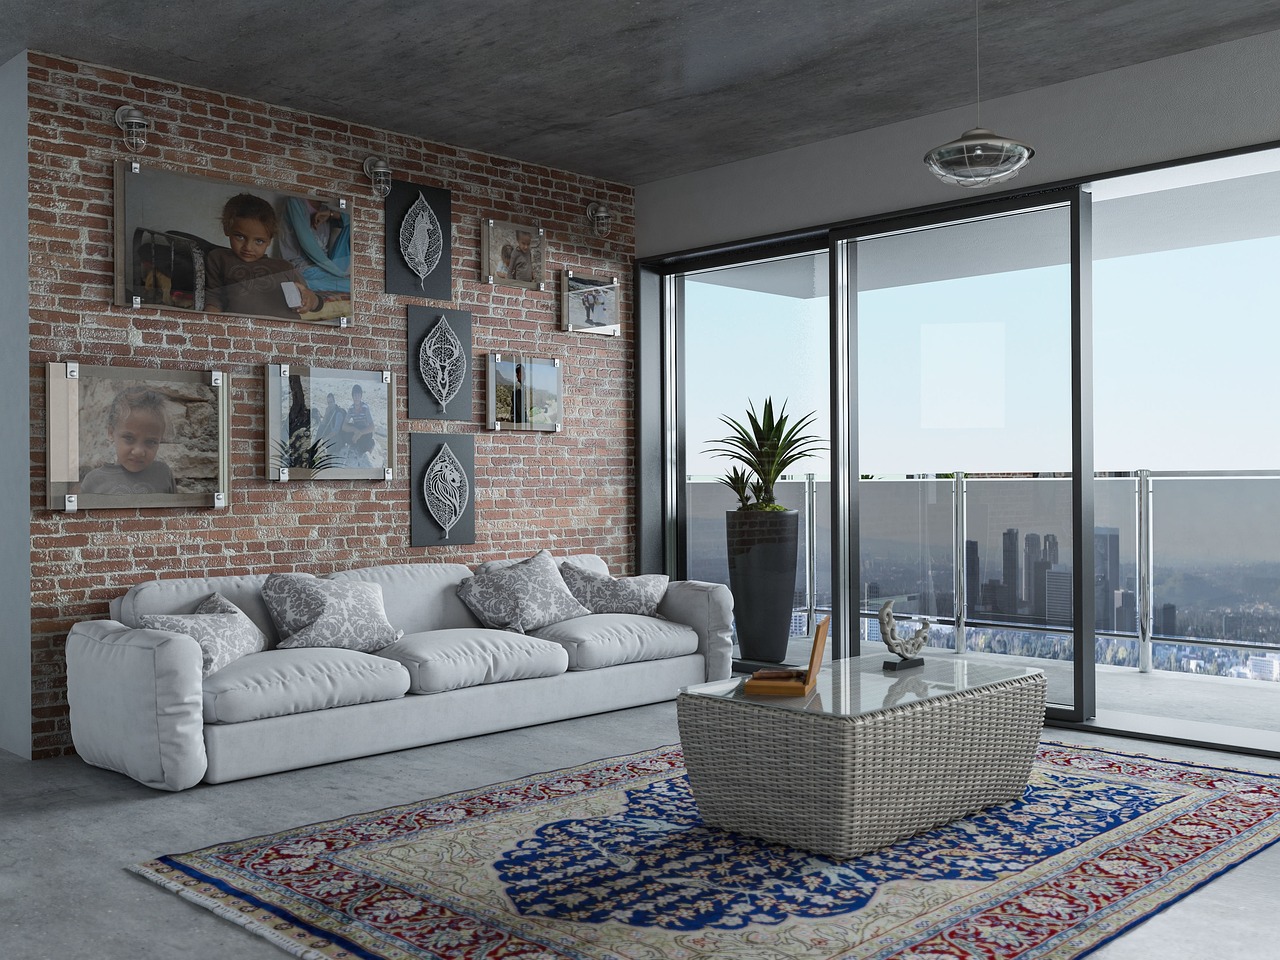
Painting Techniques
When it comes to refreshing your bedroom, can work wonders in transforming the look of your furniture and decor. Imagine taking a tired old dresser and turning it into a stunning centerpiece with just a few strokes of a brush! Different techniques can create various effects, so let’s dive into some popular methods that will help you achieve a unique and personalized vibe in your space.
One of the most popular techniques is distressing. This method gives your furniture a vintage or rustic look, making it appear as though it has a story to tell. To distress your furniture, you can start by painting it in your desired color, then use sandpaper to gently wear away the edges and corners. This creates a beautiful contrast and highlights the underlying wood or previous paint color, adding depth and character to your pieces.
Another exciting technique is the ombre effect. This gradient style can add a touch of elegance to your bedroom. To achieve this, choose two or three shades of the same color and blend them seamlessly. Start with the darkest shade at the bottom and gradually lighten as you move up. This technique works exceptionally well on dressers or headboards, making them a stunning focal point in your room.
Sponging is another fun technique that can add texture and depth to your furniture. By using a sponge to apply a second color over a base coat, you create a soft, mottled effect that feels both modern and inviting. This method is perfect for creating a playful atmosphere in your bedroom, especially if you choose vibrant colors that reflect your personality.
If you’re feeling particularly adventurous, consider trying out stenciling. This technique allows you to incorporate intricate designs onto your furniture, giving it a custom look. You can purchase or create your own stencils, then use a small brush or sponge to apply paint over the stencil. Whether you opt for geometric patterns or floral motifs, stenciling can elevate your decor and make your furniture truly one-of-a-kind.
To help you choose the right painting technique for your next DIY project, here’s a quick comparison of some methods:
| Technique | Effect | Best For |
|---|---|---|
| Distressing | Rustic, vintage look | Dressers, tables |
| Ombre | Gradient, elegant finish | Headboards, chests |
| Sponging | Textured, mottled effect | Accent pieces |
| Stenciling | Intricate designs | Any furniture piece |
Choosing the right painting technique can be a game-changer in your DIY decor journey. Not only does it allow you to express your creativity, but it also gives your bedroom a fresh and inviting atmosphere. So grab those brushes, put on some music, and let your imagination run wild as you transform your space!
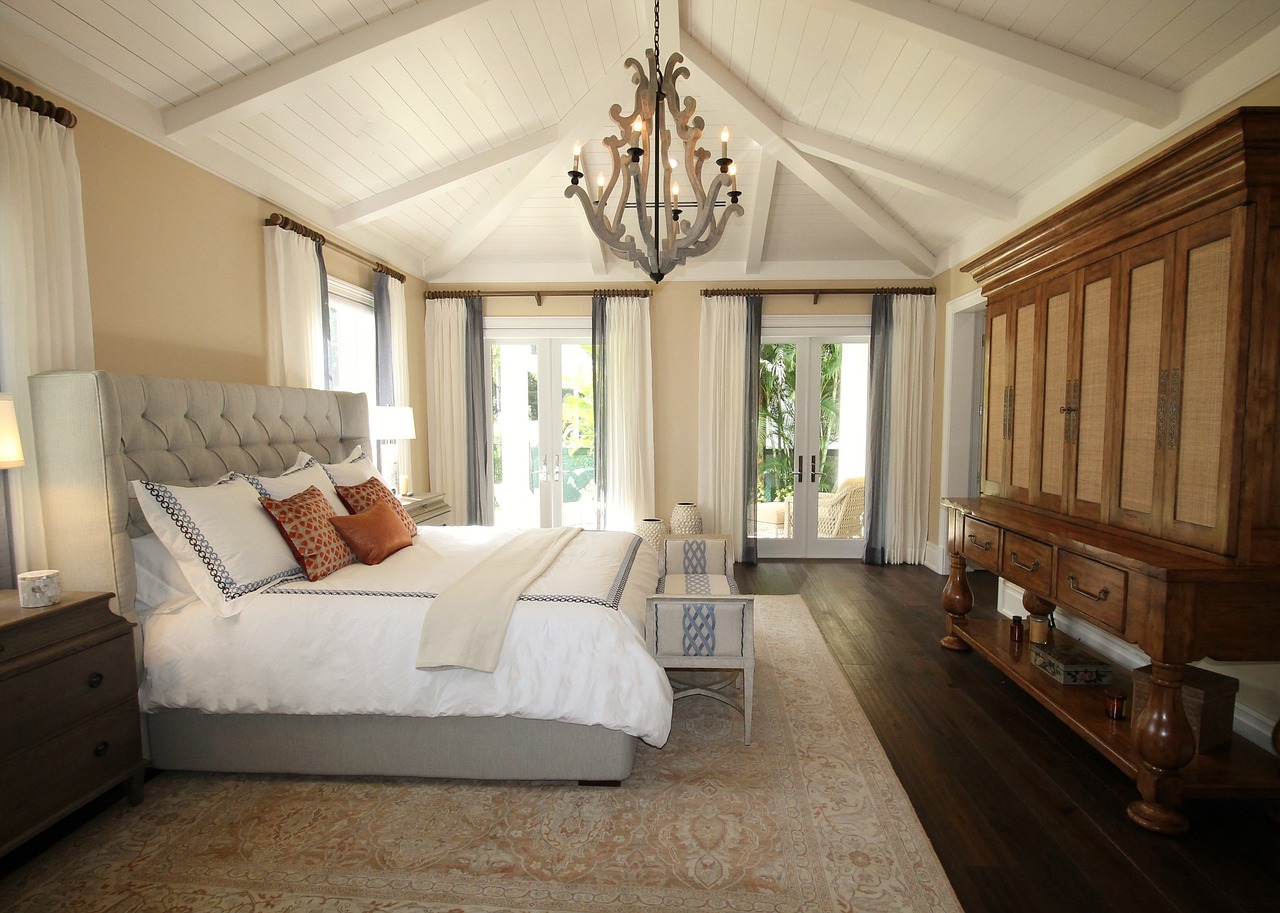
Chalk Paint vs. Spray Paint
When it comes to refreshing your bedroom furniture, the choice between chalk paint and spray paint can significantly affect both the outcome and the process of your DIY project. Each type of paint has its unique characteristics, benefits, and drawbacks, making it essential to understand them before diving into your next creative endeavor.
Chalk paint is loved for its matte finish and easy application. It adheres well to various surfaces without the need for extensive prep work, which is a huge plus for DIY enthusiasts. Chalk paint is perfect for achieving a vintage or distressed look, making it a favorite for shabby chic decor. However, it does require a protective topcoat, such as wax or polyurethane, to enhance durability and resilience against wear and tear. This additional step can be a bit time-consuming, but the end result is often worth it.
On the other hand, spray paint offers a fast and smooth finish, making it ideal for those who are looking for efficiency. It dries quickly, allowing you to complete your project in a fraction of the time it might take with chalk paint. Spray paint is great for achieving a sleek, modern look and is available in a wide range of colors and finishes, including glossy and metallic options. However, it can be tricky to apply evenly, and overspray can become an issue if you're not careful. Additionally, spray paint often requires more prep work, such as sanding and priming, especially for surfaces that are glossy or slick.
To help you make an informed decision, here’s a quick comparison:
| Feature | Chalk Paint | Spray Paint |
|---|---|---|
| Finish | Matte, distressed | Smooth, glossy, metallic |
| Application | Easy, minimal prep | Fast, requires careful technique |
| Durability | Needs topcoat for protection | Generally durable, but can chip |
| Color Variety | Limited, but customizable | Extensive range of colors |
Ultimately, the choice between chalk paint and spray paint boils down to your specific project needs and personal style. If you're aiming for a rustic, vintage vibe, chalk paint might be the way to go. However, if you prioritize speed and a sleek appearance, spray paint could be your best bet. Whichever you choose, both options can breathe new life into your bedroom furniture, making it uniquely yours.
Q: Can I use chalk paint on any surface?
A: Chalk paint adheres well to most surfaces, but it's best to clean and lightly sand glossy finishes for better adhesion.
Q: How long does spray paint take to dry?
A: Spray paint typically dries to the touch within 20-30 minutes, but it's advisable to wait 24 hours before handling.
Q: Do I need to seal chalk paint?
A: Yes, sealing chalk paint with a topcoat is recommended to protect the finish and enhance durability.
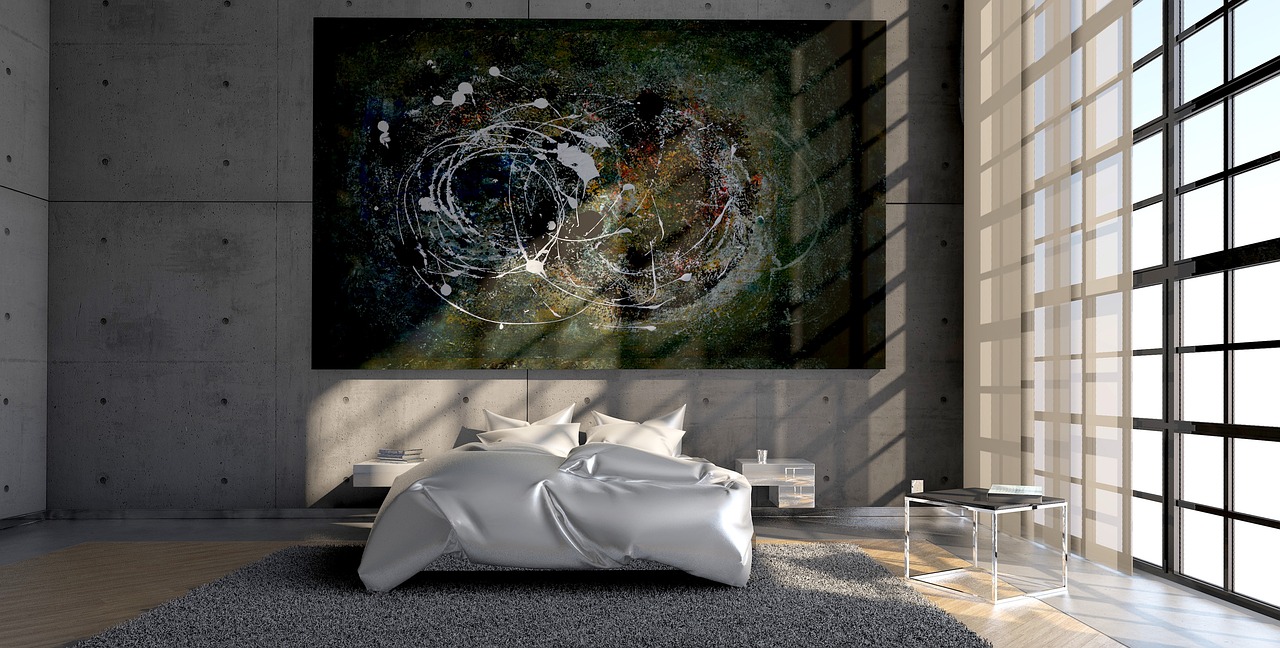
Stenciling Designs
Stenciling designs can truly transform the look of your furniture and add a unique flair to your bedroom decor. It’s like giving your old pieces a fresh coat of personality! Imagine taking a plain, wooden dresser and turning it into a statement piece that reflects your style. The beauty of stenciling lies in its versatility; you can choose from intricate patterns to bold graphics, depending on the vibe you want to create.
First things first, selecting the right stencil is crucial. You can find a plethora of options online or at your local craft store. Think about the overall theme of your bedroom. Are you going for a cozy, rustic feel, or something more modern and sleek? For a bohemian touch, floral or mandala designs can work wonders, while geometric shapes might suit a minimalist aesthetic. Once you have your stencil, the fun really begins!
Now, let’s talk about the application process. Here’s a quick rundown of steps to keep in mind:
- Preparation: Start by cleaning the surface of the furniture thoroughly. Make sure to sand it down if necessary, as this helps the paint adhere better.
- Positioning: Place your stencil on the desired area and secure it with painter’s tape to prevent it from moving around.
- Painting: Use a stencil brush or a sponge to apply the paint. This technique helps in achieving a clean finish. Remember, less is more! You can always add more paint, but it’s harder to take it away.
- Removing the Stencil: Carefully lift the stencil while the paint is still wet. This prevents smudging and allows for sharper edges.
After your stencil work is complete, consider sealing your masterpiece with a clear topcoat. This not only protects the design but also enhances the colors, making them pop! Additionally, stenciling isn’t just limited to furniture; you can apply the same techniques on walls, lampshades, or even fabric, giving you endless possibilities to personalize your space.
Stenciling can also be a fun project to do with friends or family. Gather some supplies, put on your favorite tunes, and let creativity flow! It’s a fantastic way to bond and create something beautiful together. Plus, you’ll end up with a one-of-a-kind piece that no one else has!
So, if you’re looking to breathe new life into your bedroom decor, stenciling is an excellent option. It’s affordable, customizable, and incredibly satisfying. Why not give it a try? Your furniture will thank you for it!
Q: Can I stencil on any type of furniture?
A: Yes! You can stencil on wood, metal, and even some fabrics. Just make sure to prep the surface properly for the best results.
Q: What type of paint should I use for stenciling?
A: Acrylic paint is a popular choice because it dries quickly and adheres well to various surfaces. However, you can also use chalk paint for a matte finish.
Q: How do I clean my stencils after use?
A: Simply wash them with warm, soapy water immediately after using them to prevent paint from drying and ruining the stencil.
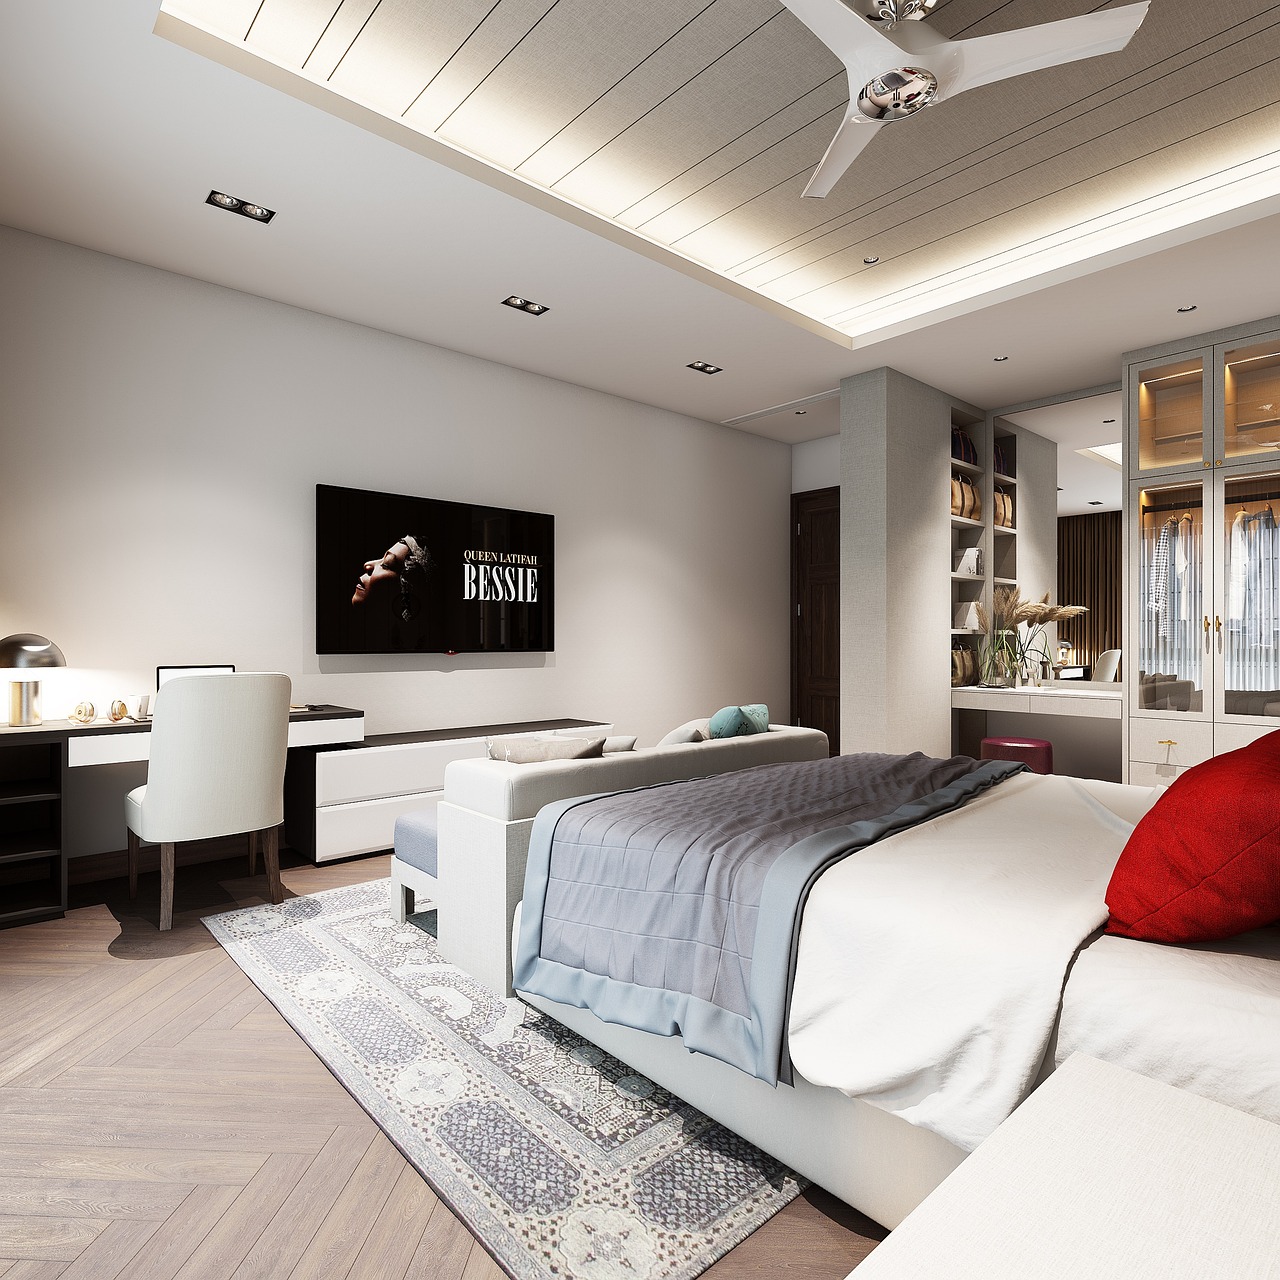
Accessorizing with Textiles
When it comes to transforming your bedroom into a cozy sanctuary, textiles play a pivotal role. Think of textiles as the icing on the cake; they can elevate the overall design while adding warmth and texture. From sumptuous curtains to vibrant throw pillows, the right textiles can make your space feel inviting and personalized. But how do you choose the right pieces to complement your existing decor? Let's dive into some tips and tricks!
First off, consider the color scheme of your bedroom. If you have a neutral palette, incorporating bold textiles can add a pop of color and personality. On the other hand, if your walls are already vibrant, opt for softer hues to create a balanced look. For instance, a rich navy blue bedspread can beautifully contrast against light gray walls, creating a striking yet harmonious effect.
Now, let’s talk about layering. Layering different textiles can add depth and interest to your bedroom. Start with your main pieces, such as a duvet cover or comforter, and then add layers with throw blankets and decorative pillows. A fluffy throw blanket draped over the corner of your bed can invite you to snuggle up with a good book. Don’t shy away from mixing patterns, either! Combining floral prints with geometric designs can create a dynamic look, just be sure to keep a common color throughout to tie everything together.
Another crucial element is curtains. The right curtains can completely change the feel of your room. Floor-to-ceiling drapes can make your space feel larger and more luxurious, while sheer curtains can infuse your bedroom with a soft, ethereal glow. If you want to play with light, consider using blackout curtains for those lazy weekend mornings when you want to sleep in. Remember, the texture of your curtains can also add to the overall atmosphere; think about rich fabrics like velvet or linen for an upscale feel.
Don't forget about rugs! A well-placed rug can anchor your space and provide a cozy spot for your feet. When choosing a rug, consider the size; it should be large enough to fit under the front legs of your furniture to create a cohesive look. Additionally, the texture of the rug can add warmth—think shaggy or woven styles for a more inviting feel. If you have hardwood floors, a soft area rug can also help absorb sound, making your bedroom a peaceful retreat.
Lastly, accessorizing with textiles is not just about looks; it's also about comfort. Choose textiles that feel good to the touch. Soft cotton sheets, plush pillows, and cozy blankets can all contribute to a restful sleep environment. After all, your bedroom is a place for relaxation, so why not make it as comfortable as possible?
In summary, accessorizing with textiles is an art that requires attention to color, layering, and texture. By thoughtfully selecting and combining various textile elements, you can create a bedroom that reflects your personal style while also providing comfort and warmth. So go ahead, get creative, and let your bedroom tell your story through its textiles!
- What types of textiles should I use in my bedroom? It depends on your personal style! Consider using a mix of curtains, bedding, throw pillows, and rugs that complement your color palette.
- How can I layer textiles effectively? Start with a main piece like a duvet, then add throws and pillows. Mixing patterns is great, but keep a common color to maintain harmony.
- Are there specific textiles that promote better sleep? Yes! Opt for breathable materials like cotton or bamboo for sheets, and choose soft, plush pillows for added comfort.

Creating Wall Art
When it comes to transforming your bedroom, wall art is like the cherry on top of a delicious sundae. It has the power to express your personality, evoke emotions, and set the tone for your space. Imagine walking into a room that feels like a reflection of you—how amazing would that be? Creating DIY wall art is not only a fun project, but it also allows you to personalize your bedroom without breaking the bank. You can explore different styles, techniques, and materials to craft pieces that truly resonate with you.
One popular approach to wall art is the gallery wall, which can serve as a stunning focal point in your bedroom. Think of it as a visual storybook, showcasing your favorite memories, artwork, or even quotes that inspire you. To create a gallery wall, you can play around with various arrangements and themes. For instance, you might want to mix framed photographs with abstract art, or even incorporate some handmade pieces. The key is to maintain a cohesive look while allowing your creativity to shine.
Now, let's dive into some framing techniques that can elevate your DIY art projects. The right frame can make a world of difference, transforming a simple piece into a stunning focal point. You can opt for classic wooden frames, sleek metal ones, or even go for a more rustic vibe with reclaimed materials. Don't forget about the color and style of the frames! Choosing frames that complement your bedroom decor can tie everything together beautifully. For example, if your room has a modern aesthetic, you might lean towards minimalistic frames, while a bohemian space could benefit from eclectic and colorful options.
To get those creative juices flowing, consider these ideas for your wall art:
- Use canvas to create your own abstract paintings with bold colors.
- Print out your favorite quotes in beautiful typography and frame them.
- Arrange a collection of postcards or travel memorabilia in a grid pattern.
- Incorporate natural elements, like pressed flowers or leaves, into your designs.
Creating wall art is not just about aesthetics; it’s an opportunity to tell your story and make your bedroom feel uniquely yours. So grab those paintbrushes, gather your frames, and let your imagination run wild! Remember, the only limit is your creativity, and every piece you create will add to the charm of your personal sanctuary.
Q: What materials do I need to start creating wall art?
A: You can start with simple materials like canvas, paint, brushes, and frames. Additionally, consider using paper, fabric, or even natural elements like wood or leaves for mixed media projects.
Q: How do I choose a theme for my gallery wall?
A: Think about what resonates with you! You can choose a color scheme, a specific subject (like travel or nature), or even a collection of quotes that inspire you. The key is to create a cohesive look that reflects your personality.
Q: Can I change my wall art frequently?
A: Absolutely! One of the great things about DIY wall art is that you can easily swap pieces in and out. This allows you to refresh your space whenever you feel like it, keeping your bedroom feeling new and exciting.
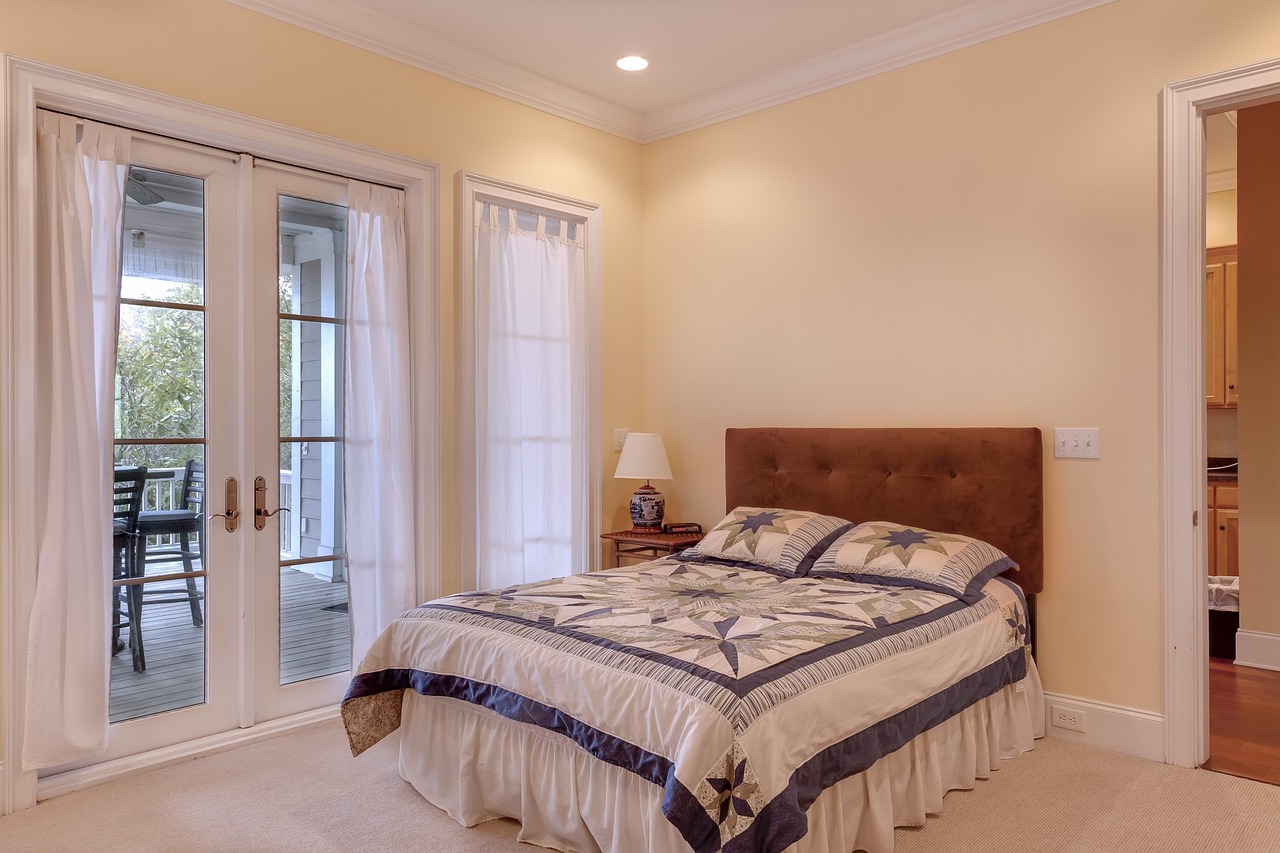
Gallery Wall Ideas
Creating a gallery wall in your bedroom is like crafting a visual story that reflects your personal journey. It’s a delightful way to showcase your favorite memories, art, and inspirations all in one place. Imagine walking into your room and being greeted by a vibrant display of photos and artwork that instantly lifts your spirits. But how do you go about designing a gallery wall that not only looks fantastic but also feels uniquely yours? Let’s dive into some creative ideas!
First off, consider the theme of your gallery wall. Are you drawn to a specific color palette, or perhaps a certain style? For instance, if your bedroom is adorned with soft pastels, you might want to incorporate art pieces that echo those hues. On the other hand, if you prefer a more eclectic look, mix and match different styles and frames to create a playful vibe. A cohesive theme helps tie everything together, making your gallery wall feel intentional rather than haphazard.
Next, think about the arrangement. You can go for a symmetrical layout for a clean and organized look, or opt for an asymmetrical design for a more dynamic and casual feel. Here are a few arrangements to consider:
- Grid Layout: Perfect for a uniform look, where all frames are the same size and aligned neatly.
- Salon Style: This involves mixing different sizes and styles, creating a casual, artistic feel.
- Linear Arrangement: A straight line of frames either horizontally or vertically can create a sleek, modern look.
When it comes to the actual artwork, it’s essential to choose pieces that resonate with you. This could be anything from family photos to your favorite quotes or even prints from local artists. Don’t shy away from incorporating three-dimensional elements like shadow boxes or small shelves to add depth to your display. These can hold small plants, trinkets, or even books that reflect your personality.
Additionally, consider the frames you use. Mixing different materials—like wood, metal, and acrylic—can add an interesting texture to your gallery wall. You can also paint some frames in coordinating colors to unify the look. Remember, the frames themselves can be a part of the art! Experiment with various shapes and sizes to see what works best for your space.
Lastly, don’t forget about the lighting. Proper illumination can make your gallery wall shine! Consider adding picture lights or using accent lighting to highlight specific pieces. Soft, warm lighting can create an inviting atmosphere, making your gallery wall not just a display, but a cozy corner of your bedroom.
In summary, a gallery wall is more than just a collection of pictures; it’s a canvas for your creativity and a reflection of your life. By carefully selecting a theme, arrangement, and lighting, you can create a stunning focal point that will bring joy and inspiration every time you walk into your bedroom.
- How do I choose the right size for my gallery wall?
Consider the size of the wall and the surrounding furniture. A larger wall can accommodate bigger frames or a more extensive collection, while a smaller wall might benefit from a few well-placed pieces. - Can I change the artwork on my gallery wall?
Absolutely! One of the best things about a gallery wall is its flexibility. You can easily swap out pieces to keep the display fresh and in line with your evolving style. - What types of art should I include?
Include a mix of personal photographs, prints, and even DIY art. The key is to choose pieces that resonate with you and tell a story.
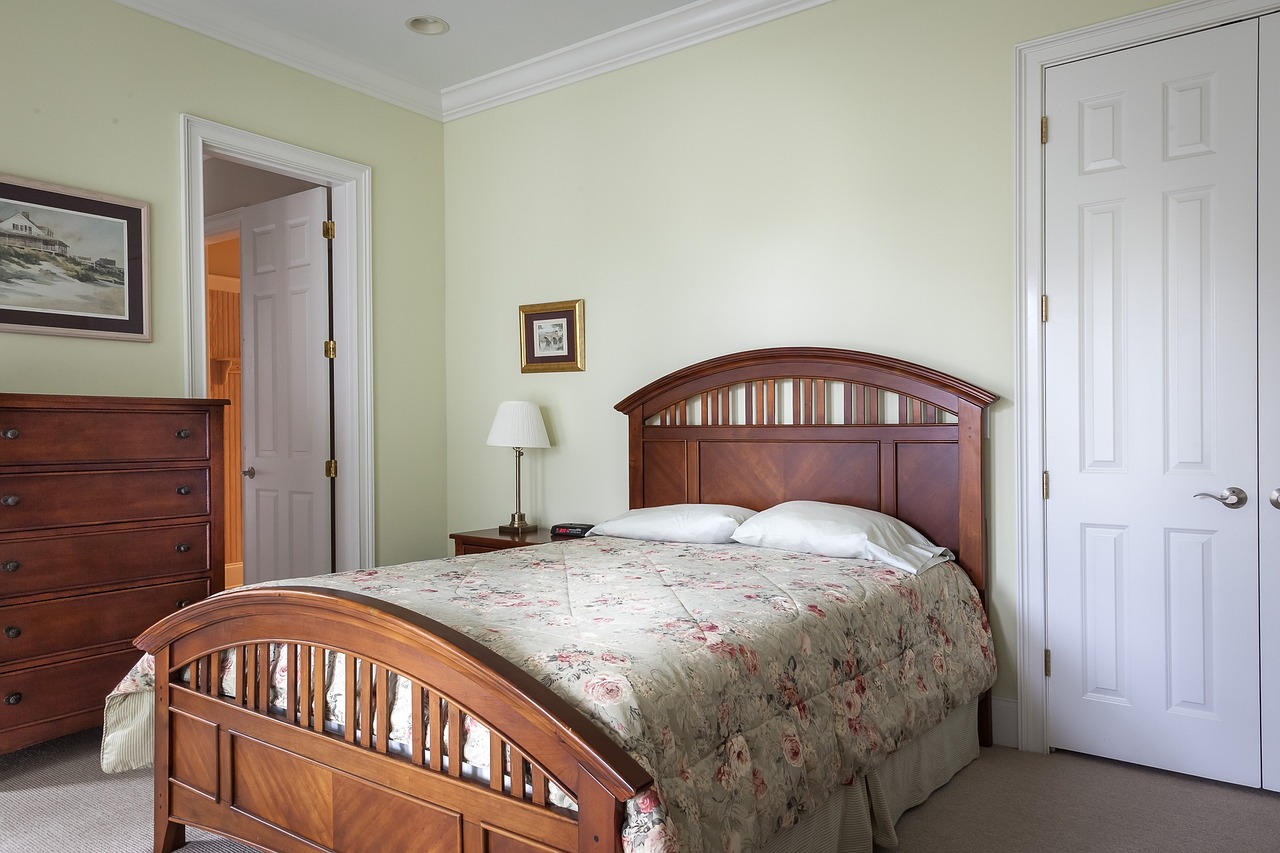
Framing Techniques
When it comes to showcasing your DIY wall art, the right can make all the difference. Think of a frame as the icing on a cake; it enhances the overall look and draws attention to the masterpiece inside. There are several approaches you can take to frame your artwork, each with its unique flair and style. For instance, you might consider using traditional wooden frames for a classic feel, or perhaps opt for sleek metal frames if you’re leaning towards a modern aesthetic.
One popular technique is the floating frame, which creates a stunning illusion that your artwork is suspended within the frame. This technique works marvelously for canvas art or pieces with texture, as it allows the edges to be visible, adding depth and interest. To achieve this, you’ll need a frame that’s slightly larger than your artwork and spacers to hold the piece in place. The result? A captivating display that feels both contemporary and sophisticated.
Another option is the matting technique, where you use a mat board to create a border around your artwork. This not only adds a professional touch but also helps to protect your art from dust and damage. When choosing a mat, consider colors that complement your artwork and bedroom decor. For example, a white or off-white mat can create a clean look, while a colored mat can introduce a pop of color that ties in with your room's palette.
If you’re feeling adventurous, why not try a gallery-style arrangement? This involves mixing and matching different frame styles and sizes to create a visually dynamic display. You can play with various shapes—think round, square, and rectangular frames—to add an exciting twist. Just remember to maintain a consistent color scheme or theme to ensure that the arrangement feels cohesive rather than chaotic.
Here’s a quick comparison of different framing techniques to help you decide which one suits your style:
| Framing Technique | Pros | Cons |
|---|---|---|
| Floating Frame | Modern look, enhances texture | Can be more expensive |
| Matting | Professional finish, protects artwork | Requires additional materials |
| Gallery Arrangement | Creative and unique display | Can be difficult to arrange |
Lastly, don’t forget about the importance of hanging techniques. The way you hang your framed art can drastically alter the room's vibe. For instance, hanging art at eye level creates an inviting atmosphere, while placing pieces higher can draw the eye upwards, making your ceiling feel taller. Experiment with different heights and arrangements until you find the perfect balance for your space!
- What type of frame is best for my DIY art? It depends on your style! Wooden frames offer warmth, while metal frames provide a sleek, modern look.
- How do I determine the right size frame? Measure your artwork and choose a frame that is slightly larger than the piece, especially if using a mat.
- Can I mix different frame styles in one gallery wall? Absolutely! Just ensure they share a common color scheme or theme for a cohesive look.
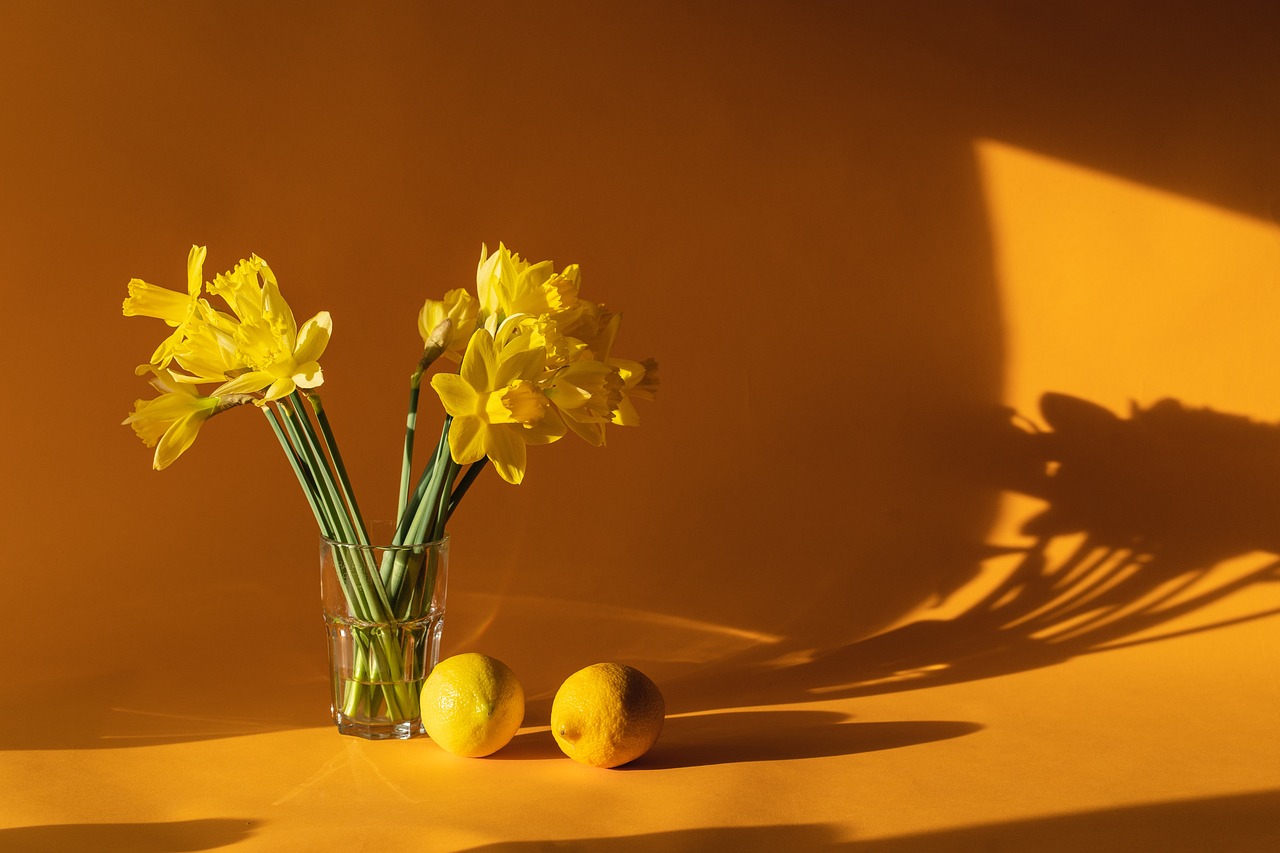
Incorporating Plants
Adding plants to your bedroom is not just about aesthetics; it's about creating a sanctuary that promotes relaxation and well-being. Imagine waking up to the gentle rustle of leaves and the subtle fragrance of fresh greenery. Plants can transform your space into a calming oasis, improving air quality and boosting your mood. But which plants should you choose, and how can you arrange them to maximize their beauty and benefits?
When selecting plants for your bedroom, consider those that thrive in low light and require minimal care. Here are some excellent options:
- Snake Plant: Known for its air-purifying qualities, it's nearly indestructible and can survive on neglect.
- Pothos: This trailing vine adds a touch of elegance and can thrive in various lighting conditions.
- Spider Plant: With its playful arching leaves, it’s not only easy to care for but also a great air purifier.
- Peace Lily: This beauty blooms with white flowers and thrives in low light, making it perfect for bedrooms.
Now that you know which plants to consider, let’s talk about arrangement. The placement of your plants can significantly affect the overall vibe of your room. For instance, placing a tall plant in a corner can draw the eye and create a sense of height, while smaller plants can be clustered on a windowsill or bedside table for a cozy feel. Think of your plants as living art pieces that can add depth and dimension to your decor.
Another fun idea is to use hanging planters. They can save space and add a unique touch to your bedroom. Imagine a lush green cascade of vines hanging from your ceiling, creating a whimsical atmosphere. You can also use shelves to display your plants at different heights, adding visual interest and making your space feel more dynamic.
Don’t forget about the pots! Choosing the right containers can enhance your bedroom's decor. Opt for colors and materials that complement your existing style. For a modern look, consider sleek ceramic pots; for a rustic vibe, wooden or woven baskets work wonders. The right pot can make a significant difference in how your plants fit into your overall design.
Incorporating plants into your bedroom is not just about decoration; it’s about creating a lifestyle that embraces nature. As you nurture your plants, you’ll find that they also nurture you, providing a sense of calm and connection to the natural world. So, why not start your journey into the world of indoor gardening today? Your bedroom will thank you!
Q1: What are the best plants for low light conditions?
A1: Plants like snake plants, pothos, and peace lilies thrive in low light, making them perfect for bedrooms.
Q2: How often should I water my bedroom plants?
A2: It depends on the plant, but a general rule is to water when the top inch of soil feels dry. Always check your plant's specific needs!
Q3: Can plants improve sleep quality?
A3: Yes! Certain plants, like lavender, can promote relaxation and improve sleep quality, while others purify the air, contributing to a healthier sleep environment.
Q4: How can I incorporate plants into a small bedroom?
A4: Use vertical space with wall-mounted planters, hanging pots, or shelves. Small plants on bedside tables or windowsills can also add a fresh touch without taking up much room.
Frequently Asked Questions
- What color palette should I choose for my bedroom?
Choosing a color palette depends on the mood you want to create. Soft blues and greens can evoke calmness, while vibrant yellows and oranges can energize the space. Think about how you want to feel in your bedroom and select colors that reflect that vibe!
- How can I upcycle old furniture for my bedroom?
Upcycling is all about creativity! You can sand down old wooden pieces and repaint them or even add new hardware for a fresh look. Consider using stencils for fun designs or mixing different textures to give your furniture a unique character. It's eco-friendly and budget-friendly!
- What painting techniques work best for furniture?
There are several fun techniques you can try! Distressing gives a vintage feel, while ombre effects can add a modern twist. Each technique can dramatically change the look of your furniture, so don’t be afraid to experiment until you find what fits your style!
- Should I use chalk paint or spray paint for my DIY projects?
Chalk paint is great for a matte finish and easy distressing, while spray paint provides a smooth, even coat that dries quickly. Your choice depends on the look you’re going for and the type of furniture you’re working with. Both have their pros and cons!
- How can I accessorize my bedroom with textiles?
Textiles like curtains, throw pillows, and rugs can completely transform your space! Mix and match patterns and textures to create a cozy atmosphere. Choose colors that complement your overall palette, and don’t shy away from bold prints to add some personality!
- What are some ideas for creating wall art?
Creating wall art can be as simple as framing your favorite photos or as intricate as painting your own pieces. Consider a gallery wall with a mix of art styles, or try your hand at DIY projects like canvas painting or fabric wall hangings to express your personal style!
- How do I arrange a gallery wall in my bedroom?
Start by selecting a theme or color scheme for your gallery wall. Lay out your frames on the floor first to find the best arrangement. You can create a symmetrical or asymmetrical design, depending on your taste. Just remember to leave some space between the frames for a balanced look!
- What are effective framing techniques for DIY art?
Choosing the right frame can elevate your artwork significantly! Consider using different frame styles and colors to create visual interest. You can also paint or distress frames to match your decor. Just make sure the frame complements the art without overpowering it!
- What plants are best for bedroom decor?
Plants like snake plants, peace lilies, and pothos are perfect for bedrooms! They’re not only beautiful but also help improve air quality. Choose plants that thrive in low light if your bedroom doesn’t get much sun, and arrange them in stylish pots for added decor!
- How can I creatively arrange plants in my bedroom?
Try grouping plants of varying heights together for a dynamic look. You can place taller plants in corners and smaller ones on shelves or nightstands. Hanging planters are also a fun way to save space and add a touch of greenery without cluttering surfaces!


