How to Join Quilting Squares: An Easy Guide for Beginners
Welcome to the wonderful world of quilting! If you're a beginner looking to dive into this creative and fulfilling hobby, you've come to the right place. Joining quilting squares might seem daunting at first, but with the right techniques and a little practice, you'll be crafting beautiful quilts in no time. This guide will walk you through everything you need to know, from understanding the basics of quilting to the final touches that will make your quilt truly shine. So, grab your fabric and let's get started!
Before diving into joining squares, it’s crucial to grasp the fundamental concepts of quilting. Think of quilting as a tapestry of stories woven together through fabric. You'll encounter various fabric types, quilt patterns, and essential terminology that will aid your quilting journey. For instance, knowing the difference between cotton and polyester fabrics can influence the texture and durability of your quilt. Familiarize yourself with terms like "block," which refers to the individual squares you’ll be joining, and "batting," the layer that provides warmth. By understanding these basics, you’ll set a solid foundation for your quilting adventure.
Equipping yourself with the right tools is vital for successful quilting. Imagine trying to cook a gourmet meal without the proper utensils; quilting is no different! Here’s a list of must-have tools:
- Rotary Cutter: This handy tool makes cutting fabric squares a breeze.
- Cutting Mat: Protects your surfaces and keeps your blades sharp.
- Ruler: Essential for measuring and cutting squares accurately.
- Sewing Machine: A reliable machine can speed up your quilting process significantly.
Having these tools at your disposal not only makes the process smoother but also enhances the quality of your work. Trust me, investing in good tools is like having a trusty sidekick on your quilting journey!
Selecting the appropriate fabric is key to a successful quilt. You want your quilt to be both functional and aesthetically pleasing. When choosing fabrics, consider the following:
- Fabric Types: Cotton is the most popular choice for quilting due to its durability and ease of use.
- Colors: Think about the mood you want to convey. Warm colors can create a cozy feel, while cool colors can add a refreshing touch.
- Patterns: Mixing and matching different patterns can add depth and interest to your quilt.
Don’t be afraid to experiment! Sometimes the most unexpected combinations create the most stunning results.
Proper preparation of your fabric squares is essential for achieving clean seams. Start by cutting your fabric into uniform squares using your rotary cutter and ruler. Remember, precision is key! After cutting, it’s time to press your squares. Use a hot iron to eliminate any wrinkles, as they can lead to uneven seams later on. A good tip is to press your seams open after sewing to reduce bulk, giving your quilt a polished look.
Now, let’s get to the fun part—joining those squares! There are two primary methods for joining quilting squares: hand sewing and machine sewing. If you’re a fan of the traditional approach, hand sewing can be meditative and allows for greater control. However, if you’re looking for efficiency, machine sewing is the way to go. For machine sewing, simply align the squares, pin them together, and sew along the edge, leaving a seam allowance. Don’t worry; we’ll dive deeper into these techniques in the following sections!
Understanding seam allowances is crucial for accurate quilting. A seam allowance is the space between the edge of the fabric and the line of stitching. Typically, a seam allowance of 1/4 inch is standard in quilting. Measure carefully to ensure your squares align perfectly when joined. This attention to detail will pay off, resulting in a quilt that looks professional and well-made.
Matching patterns in quilting can be challenging but rewarding. Here are some practical tips to help you align patterns seamlessly:
- Pinning: Use pins to hold your squares in place before sewing.
- Check Alignment: Always double-check that your patterns line up before making that first stitch.
- Practice: Don’t hesitate to practice on scrap fabric if you’re unsure.
With a little patience and practice, you’ll master the art of matching patterns, ensuring your quilt has a cohesive and professional look.
Once your squares are joined, it’s time for the finishing touches! This is where your quilt really comes to life. Consider adding borders to frame your quilt and give it a polished appearance. Next, you’ll want to quilt your layers together, which adds texture and durability. Finally, binding your quilt will give it a clean edge and complete the look. Take your time with these steps; they’re the cherry on top of your quilting masterpiece!
Q: What is the best fabric for beginners?
A: Cotton is highly recommended for beginners due to its ease of handling and availability.
Q: How long does it take to make a quilt?
A: The time it takes can vary widely based on the complexity of the design and your skill level. A simple quilt can take a few days, while more intricate designs may take weeks or months.
Q: Can I quilt without a sewing machine?
A: Absolutely! Hand sewing is a traditional method that many quilters still enjoy.

Understanding the Basics of Quilting
Before we dive headfirst into the world of quilting, it’s important to take a moment to understand the basics. Think of quilting as a beautiful tapestry of creativity and craftsmanship, where each square tells a story. At its core, quilting involves stitching together layers of fabric to create a warm, functional piece of art. But don’t let that intimidate you! With a little knowledge and practice, you'll be joining those squares like a pro in no time.
First off, let’s talk about fabric types. Quilting fabrics are typically cotton, but you can also find blends that incorporate polyester for added durability. Cotton is favored for its softness and ease of handling, making it perfect for beginners. When choosing your fabric, keep in mind the weight and texture, as these factors will influence how your quilt feels and drapes.
Next up is understanding quilt patterns. Patterns can range from simple squares to intricate designs that require advanced techniques. It’s like choosing between a classic black dress or a flamboyant, patterned outfit for a party—both have their charm, but it depends on the statement you want to make. Start with simpler patterns as you hone your skills, and don’t hesitate to explore more complex designs as your confidence grows.
Now, let’s not forget about the essential terminology. Familiarizing yourself with common quilting terms will help you navigate tutorials and patterns more easily. Here are a few key terms to get you started:
- Block: A single unit of a quilt, usually made up of several squares sewn together.
- Seam: The line where two pieces of fabric are stitched together.
- Quilt Sandwich: The layers of a quilt, which typically consist of the top fabric, batting (the middle layer), and backing fabric.
Understanding these fundamentals will not only make the process smoother but will also add a layer of enjoyment as you create your quilts. Remember, quilting is as much about the journey as it is about the final product. So, embrace the learning curve, and don’t hesitate to experiment with different fabrics, patterns, and techniques!
In summary, grasping the basics of quilting sets the stage for your creative journey. By knowing the types of fabrics available, recognizing the importance of quilt patterns, and being familiar with the terminology, you’ll find yourself more confident as you join those squares together. So, grab your fabric, and let’s move on to the next step in our quilting adventure!
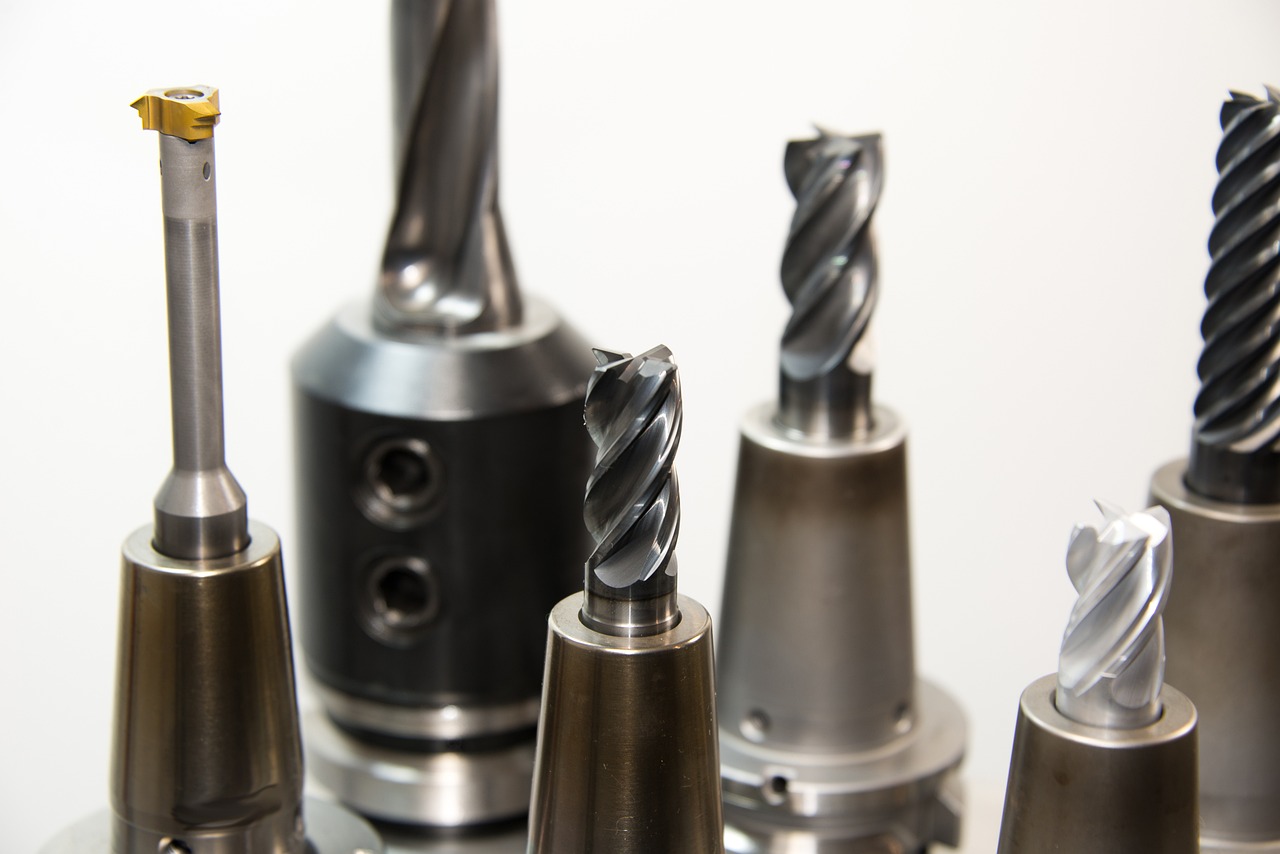
Essential Tools for Quilting
When it comes to quilting, having the right tools can make all the difference between a frustrating experience and a joyful one. Just like a chef needs the right knives to create a culinary masterpiece, a quilter needs specific tools to bring their fabric dreams to life. So, what are these essential tools? Let's dive in!
First and foremost, a rotary cutter is an absolute must-have. This handy tool allows you to cut through multiple layers of fabric with precision, making it a time-saver for any quilting project. Imagine trying to slice through a cake with a dull knife—frustrating, right? A rotary cutter is your sharp knife in the quilting world!
Next, you’ll need a cutting mat. This isn’t just any mat; it’s specially designed to protect your surfaces and prolong the life of your rotary cutter. Think of it as the protective layer between your fabric and your work table. A good cutting mat usually has grid lines that help you measure and cut accurately, ensuring your pieces are uniform and easy to join.
Another essential tool is a ruler. Quilting rulers come in various sizes, but a long, clear ruler is particularly useful for cutting straight lines. You can align it with the grid on your cutting mat to ensure that your cuts are as straight as an arrow. Plus, many quilting rulers have markings that help you cut specific measurements, which is a game-changer when precision is key.
Now, let’s talk about the sewing machine. While some enthusiasts enjoy hand sewing, a sewing machine can significantly speed up the process. Look for a machine that has a straight stitch and zigzag capabilities. This versatility allows you to tackle various quilting techniques with ease. Just imagine how much quicker you can finish a quilt when you let a machine do the heavy lifting!
Lastly, don’t underestimate the value of pins and a seam ripper. Pins help hold your fabric pieces together, ensuring that they stay aligned while you sew. A seam ripper, on the other hand, is your best friend when mistakes happen. It can save you from a lot of headaches by allowing you to easily undo stitches without damaging your fabric.
In summary, the essential tools for quilting include:
- Rotary Cutter
- Cutting Mat
- Ruler
- Sewing Machine
- Pins
- Seam Ripper
With these tools in your quilting arsenal, you’ll be well-equipped to embark on your quilting journey. It’s like having a toolbox filled with everything you need to build your fabric masterpiece. So, gather your tools, and let’s get quilting!
Q: Do I really need a rotary cutter, or can I just use scissors?
A: While scissors can work, a rotary cutter provides more precision and efficiency, especially when cutting multiple layers of fabric.
Q: Can I quilt without a sewing machine?
A: Yes, you can hand sew your quilt, but it will take significantly longer. A sewing machine can help you finish projects more quickly.
Q: What type of fabric is best for beginners?
A: Cotton fabric is generally recommended for beginners due to its ease of handling and availability in various patterns and colors.
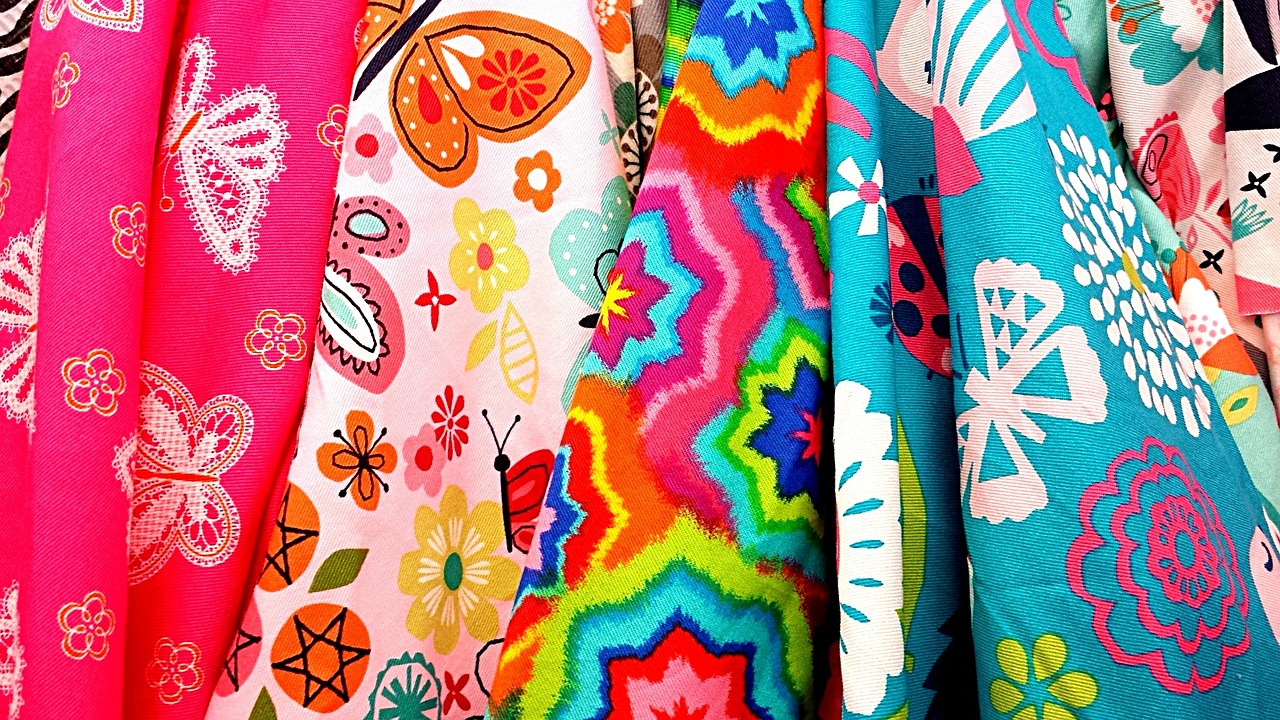
Choosing the Right Fabric
When it comes to quilting, the fabric you choose can make or break your project. It's like picking the right ingredients for a delicious recipe; the quality and compatibility of your fabric can significantly influence the final outcome of your quilt. So, how do you pick the right fabric? Let’s dive into the essentials!
First and foremost, consider the fabric types. Quilting fabrics are typically made from cotton because of its durability and ease of handling. However, you can also explore other materials like flannel, which adds a cozy touch, or linen for a more textured feel. Each fabric type has its unique characteristics, so think about the look and feel you want for your quilt. For instance, if you are making a quilt for a child, a soft flannel might be ideal, while a cotton fabric could be perfect for a more formal quilt.
Next up is color and pattern selection. This is where your creativity can truly shine! You want to choose colors that complement each other and create a harmonious look. A good rule of thumb is to select a color palette that includes:
- A main color that will dominate the quilt.
- A secondary color to add contrast.
- A neutral color to balance everything out.
Also, think about the patterns you want to incorporate. Mixing patterns can be fun, but you need to do it wisely. For example, if you choose a bold floral print, consider pairing it with a subtle polka dot or a solid color to avoid overwhelming the eye. Remember, quilting is like telling a story; the fabrics you choose should work together to convey a cohesive message.
Another important aspect to consider is the fabric weight. Heavier fabrics like canvas or upholstery materials may not be suitable for quilting as they can be difficult to sew and may not drape well. Light to medium-weight cotton fabrics are typically the best choice. They are easy to cut, sew, and press, making your quilting experience much smoother.
Lastly, don’t forget to think about the fabric care. Always pre-wash your fabrics before cutting them. This step is crucial as it helps to eliminate any shrinkage later on, which can distort your quilt. Additionally, some fabrics may bleed color, so washing them first ensures that your quilt maintains its beauty over time.
In summary, choosing the right fabric for your quilt involves considering the type of fabric, color and pattern selection, fabric weight, and care instructions. By paying attention to these details, you’ll set yourself up for success and create a quilt that not only looks stunning but also stands the test of time. So, gather your fabrics, unleash your creativity, and let’s get quilting!
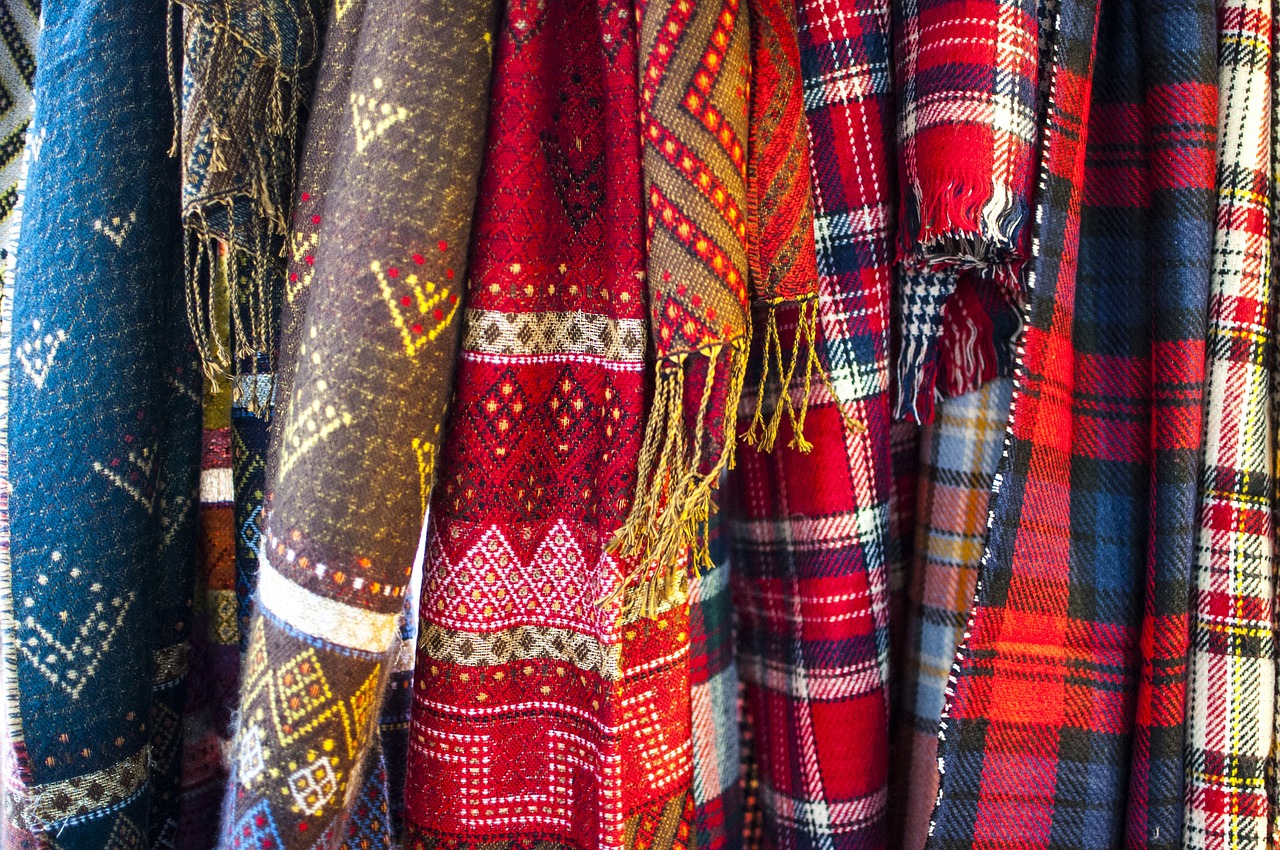
Preparing Your Squares
When it comes to quilting, the preparation of your fabric squares is absolutely crucial. Imagine trying to build a house on a shaky foundation; it just won't stand! The same principle applies to quilting. If your squares aren't properly prepared, you'll find yourself battling uneven seams and misaligned patterns, which can be frustrating and disheartening. So, let's dive into how to prepare your squares like a pro!
First off, cutting your fabric accurately is essential. You want to ensure that each square is the same size to create a harmonious quilt top. A rotary cutter is your best friend here. It's sharp, efficient, and allows for precision that scissors simply can't match. Make sure you have a good cutting mat underneath to protect your surfaces and to keep your blades sharp. When cutting, lay your fabric flat and smooth it out to avoid any wrinkles that could throw off your measurements.
Next, let's talk about pressing. After you cut your squares, it’s important to press them. This step might seem tedious, but trust me, it’s worth it! Pressing helps to eliminate any creases and ensures that your fabric lays flat. Use a steam iron for best results, and remember to press—don’t iron. Ironing can stretch your fabric, leading to uneven squares. Instead, lift the iron and press down gently, moving it from square to square.
Uniformity in size is key. To achieve this, I recommend using a ruler or a quilting square template. Measure twice, cut once, right? This old adage rings true in the quilting world. If you're cutting multiple squares from a larger piece of fabric, stack them neatly and cut through several layers at once. This not only saves time but also helps ensure that all your squares are identical.
Once you've cut and pressed your squares, it’s time to check for any imperfections. Look for frayed edges or any inconsistencies in size. If you spot any, trim them before you start joining. This attention to detail will pay off when you begin sewing, as it will help you achieve clean and professional-looking seams.
Finally, consider labeling your squares if you're working with multiple patterns or colors. A simple system using post-it notes or fabric markers can help you keep track of which squares go where, especially in more complex designs. This organization will save you time and confusion later on, making the joining process much smoother.
By following these preparation steps, you’ll set yourself up for success in your quilting journey. Remember, preparation may take time, but it’s the secret ingredient to a beautiful quilt!
- How do I ensure my squares are the same size? Use a rotary cutter and a ruler for precision, and always double-check your measurements before cutting.
- What should I do if my fabric is wrinkled? Use a steam iron to press out wrinkles before cutting to ensure a smooth, flat surface.
- Is it necessary to label my squares? Labeling can help keep your project organized, especially if you are using multiple patterns or colors.
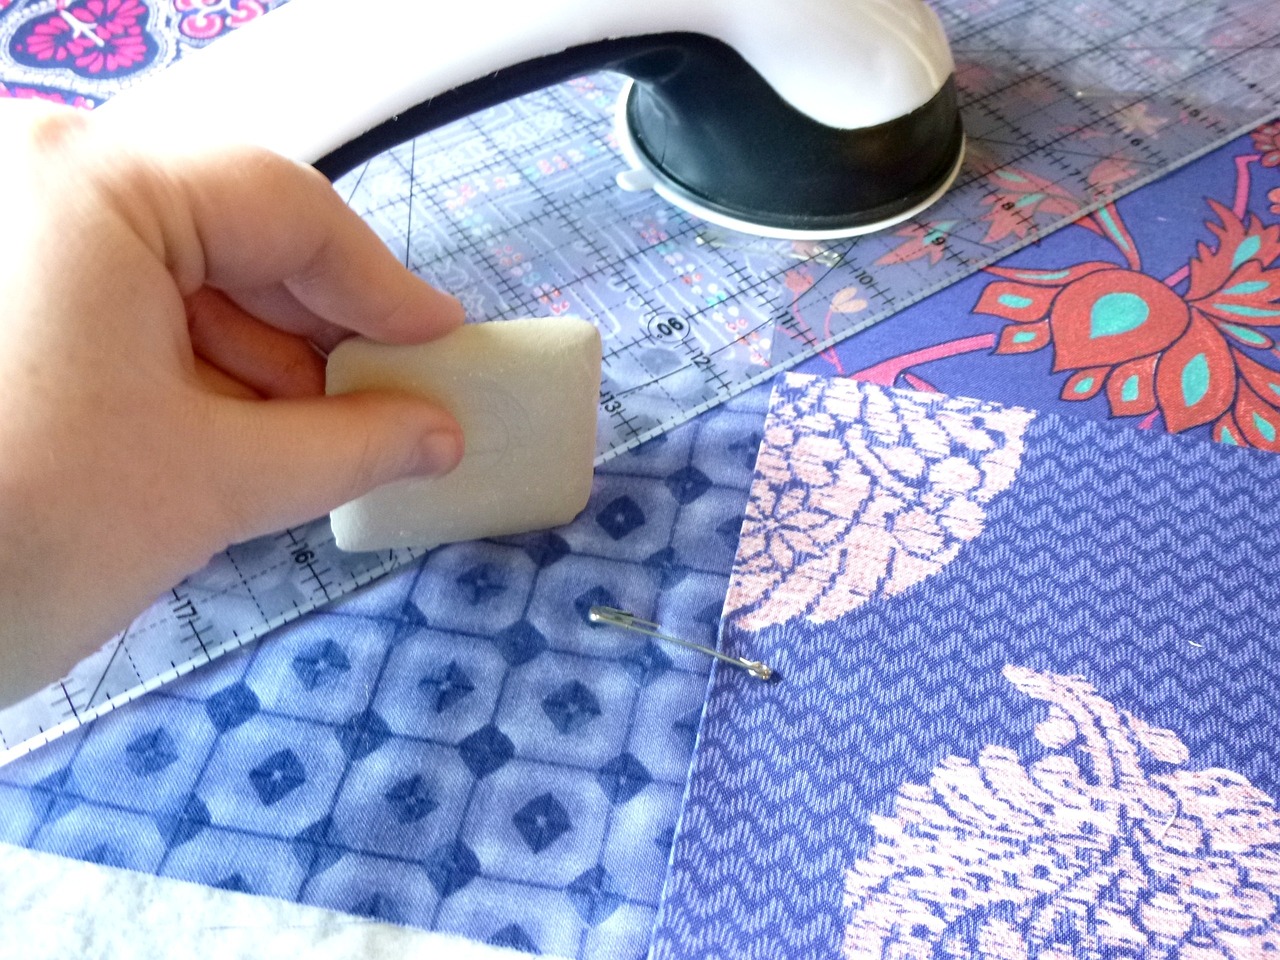
Basic Joining Techniques
When it comes to quilting, mastering the art of joining squares is like learning the first chord on a guitar—it's essential and opens the door to a world of creativity. Whether you're a novice or someone who has dabbled in quilting before, understanding the basic joining techniques can significantly enhance your quilting experience. There are two primary methods for joining quilting squares: hand sewing and machine sewing. Each technique has its unique charm and advantages, so let's dive into the details!
Hand Sewing is a traditional technique that many quilters cherish. It allows for a more personal touch, and the rhythmic motion can be quite meditative. To get started, you'll need a needle, thread, and a pair of scissors. Here’s a simple step-by-step guide:
- Thread your needle: Use a thread that matches your fabric for a seamless look.
- Align your squares: Place the squares right sides together, ensuring they are perfectly aligned.
- Start sewing: Begin at one corner and use a running stitch, making sure to keep your stitches small and even.
- Backstitch at the ends: This helps secure your seam and prevents it from unraveling.
On the other hand, Machine Sewing is a quicker method that can yield professional results. If you’re short on time or working on a larger quilt, this might be the way to go. Here’s how to do it:
- Set up your sewing machine: Choose a straight stitch and adjust the tension according to your fabric type.
- Pin your squares: Use pins to hold the squares together, ensuring they stay aligned as you sew.
- Sew the squares together: Start from one edge and sew a straight line, removing the pins as you go.
- Press the seams: After sewing, press the seams open or to one side to reduce bulk.
Both methods have their merits, and the choice often comes down to personal preference and the specific project at hand. Hand sewing can be more forgiving, allowing you to make adjustments as you go, while machine sewing offers speed and consistency. Regardless of which technique you choose, practice makes perfect. Don't be discouraged if your first few attempts aren't flawless; even the most seasoned quilters had to start somewhere!
As you become more comfortable with these joining techniques, you might find yourself experimenting with different stitches and patterns. For instance, using a zigzag stitch along the edges can add a decorative touch while also preventing fraying. Additionally, consider trying out decorative hand stitches like the whip stitch or slip stitch for a unique finish. The world of quilting is vast, and your creativity is your only limit!
In summary, whether you opt for hand sewing or machine sewing, the key is to enjoy the process. Each square you join is a step closer to creating a beautiful quilt that reflects your personal style. So grab your fabric, choose your technique, and let your quilting journey unfold!
Q: Can I use any type of fabric for quilting squares?
A: While you can technically use any fabric, it's best to choose cotton or cotton blends for durability and ease of handling.
Q: How do I know what seam allowance to use?
A: A standard seam allowance is typically 1/4 inch for quilting, but always check your pattern for specific requirements.
Q: Is it necessary to press seams?
A: Yes! Pressing seams helps to set the stitches and gives your quilt a polished look.
Q: What if my squares don’t match perfectly?
A: Don’t worry! Quilting is about creativity, and slight imperfections can add character to your quilt.
Creating Seam Allowances
Understanding seam allowances is crucial for any quilter looking to achieve a polished and professional finish on their projects. But what exactly are seam allowances? In simple terms, a seam allowance is the area between the edge of the fabric and the line of stitching. It acts as a buffer, ensuring that when you sew two pieces of fabric together, there’s enough material to hold the seams securely without compromising the overall structure of your quilt.
Typically, seam allowances range from 1/4 inch to 1/2 inch, depending on the pattern you are following. For quilting specifically, a 1/4 inch seam allowance is most commonly used, as it allows for accurate piecing of blocks and ensures that your finished quilt retains its intended dimensions. If you use a larger seam allowance, your quilt may end up smaller than expected, which can be quite frustrating!
Now, how do you measure and create these seam allowances? First, you’ll need a reliable sewing ruler or a seam gauge. Here’s a simple method to get it right:
- Place your fabric pieces right sides together.
- Using your ruler, measure 1/4 inch from the edge of the fabric and mark it with a fabric marker or chalk.
- Repeat this for all edges where you will be sewing.
Once marked, it’s time to sew! Align your fabric edge with the guide on your sewing machine foot that corresponds to your seam allowance. This will help you maintain a consistent distance from the edge as you sew. Remember, practice makes perfect! If you’re unsure, consider using scrap fabric to practice your seam allowances before working on your actual quilt.
Another important aspect of seam allowances is their role in the overall quilt durability. When you create a proper seam allowance, you’re not just making it easier to sew; you’re also ensuring that your quilt can withstand the test of time. The extra fabric can help prevent fraying and unraveling, especially after multiple washes. So, don’t skimp on those seam allowances!
In addition, if you’re working with patterned fabric, it’s essential to consider how your seams will affect the overall look of your quilt. For instance, if you’re piecing together squares with a defined pattern, aligning your seams properly can help maintain the integrity of that pattern, giving your quilt a more cohesive and professional appearance.
Finally, once you’ve sewn your squares together, be sure to press your seams open or to one side, depending on the pattern instructions. This will help reduce bulk and give your quilt a flatter finish, making it easier to work with when adding borders or layers later on.
In summary, creating seam allowances is a fundamental skill in quilting that can significantly impact the final outcome of your project. By measuring accurately, practicing consistently, and understanding the importance of these allowances, you’ll be well on your way to crafting beautiful quilts that are not only stunning but also durable.
Q: What is the standard seam allowance for quilting?
A: The standard seam allowance for quilting is typically 1/4 inch.
Q: Why are seam allowances important?
A: Seam allowances are important because they provide the necessary fabric to secure seams, prevent fraying, and maintain the intended dimensions of your quilt.
Q: How can I ensure consistent seam allowances?
A: Use a sewing ruler or seam gauge to measure and mark your fabric accurately, and align your fabric edges with the guide on your sewing machine foot.
Q: Can I use a different seam allowance size?
A: While you can use different seam allowance sizes, it’s essential to adjust your pattern accordingly to ensure your quilt retains its intended dimensions.

Tips for Matching Patterns
When it comes to quilting, one of the most rewarding yet challenging aspects is matching patterns. Imagine piecing together a beautiful quilt, only to find that the patterns don’t align perfectly. It can be disheartening! However, with a few simple tips, you can create a quilt that looks cohesive and professionally crafted. The key is to pay close attention to both your fabric choices and your sewing techniques.
First and foremost, consider the scale of your patterns. Large prints can overpower smaller ones, so it’s essential to balance them out. For example, if you’re using a large floral fabric, pair it with a smaller print, like polka dots or stripes, to create visual harmony. This contrast can make your quilt more dynamic and interesting. Additionally, be mindful of the color palette. Choosing fabrics that complement each other in color will enhance the overall look of your quilt.
Next, let’s talk about cutting techniques. Precise cutting is crucial for matching patterns. Always use a rotary cutter and a cutting mat for clean edges. When cutting your squares, ensure that the pattern is oriented correctly. You can use a template or a ruler to help maintain the right angle and alignment. This attention to detail will pay off when you start sewing your squares together.
Another important aspect is seam alignment. When joining your squares, take the time to pin them securely. This will help keep the patterns aligned as you sew. It can be tempting to skip this step, especially if you’re eager to see your quilt come together, but pinning helps prevent any shifting that could throw off your design. You might even want to use a leader fabric to practice your seam accuracy before working on your actual quilt pieces.
Also, don't forget about the importance of pressing. After sewing your seams, press them open or to one side, depending on your pattern. This not only helps to flatten the seams but also ensures that your patterns remain aligned. Pressing can make a significant difference in the final appearance of your quilt.
Lastly, if you’re working with complex patterns or multiple fabrics, consider creating a design wall. This is simply a space where you can lay out your fabric squares before sewing them together. A design wall allows you to visualize how the patterns will look together and make adjustments as needed. You can use a piece of flannel or batting hung on the wall to hold your fabric squares in place.
In summary, matching patterns is all about attention to detail and planning. By considering the scale of your fabrics, cutting accurately, aligning seams, pressing diligently, and using a design wall, you can create a quilt that looks polished and professional. So grab your fabric, and let your creativity flow!
Q: How do I choose fabrics that match well?
A: Look for fabrics that share a common color palette or theme. You can also use fabric swatches to see how they look together before making a final decision.
Q: What is the best way to ensure my seams are straight?
A: Use a 1/4 inch foot on your sewing machine and guide your fabric along the edge consistently. Pinning your fabric before sewing can also help keep everything aligned.
Q: Can I mix different fabric types in one quilt?
A: Yes, you can mix different fabric types, but make sure they have similar weights and textures to ensure they behave similarly when sewn together.
Q: How can I fix misaligned patterns?
A: If you notice misalignment after sewing, you can carefully unpick the seams and resew them, ensuring everything is lined up correctly this time.
Finishing Your Quilt
Congratulations! You've made it to the exciting part of your quilting journey—finishing your quilt. This stage is where all your hard work comes together, and it’s time to add those final touches that will transform your quilt from a collection of squares into a stunning piece of art. First things first, let’s talk about adding borders. Borders not only frame your quilt but also provide an opportunity to introduce new colors or patterns that enhance the overall design. Think of borders as the picture frame around a beautiful painting; they can either complement or contrast, depending on your vision.
Once you've decided on your borders, it's essential to cut them accurately and attach them securely. A well-measured border can add a polished look to your quilt, so take your time here. After the borders are in place, it’s time to consider the layers of your quilt. Typically, a quilt consists of three layers: the top (your beautiful squares), the batting (the fluffy middle layer), and the backing (the fabric that holds everything together). The batting adds warmth and dimension, while the backing provides a clean finish on the reverse side.
Now, let’s dive into the quilting process itself. Quilting is the technique of stitching through all three layers to hold them together, and it can be done in various ways. You can choose to quilt by hand for a traditional feel, or use a sewing machine for a quicker approach. Each method has its charm, but machine quilting tends to be faster, especially for larger projects. As you quilt, consider the design of your stitching. Simple straight lines can create a modern look, while intricate patterns can add a touch of elegance.
After quilting, the next step is binding your quilt. Binding is the final edge treatment that not only finishes the raw edges but also gives your quilt a professional appearance. You can make your own binding from fabric scraps or purchase pre-made binding. To attach the binding, fold it over the edge of the quilt, pin it in place, and sew it down. This step is crucial because it protects your quilt and ensures it lasts for years to come.
Finally, don’t forget to give your quilt a good press after finishing all these steps. A well-pressed quilt not only looks better but also helps to set the stitches and remove any creases that may have formed during the quilting process. Once you’ve pressed your quilt, step back and admire your handiwork. You’ve created something truly special!
As a final note, here are a few tips to keep in mind as you finish your quilt:
- Always use high-quality threads for binding and quilting to ensure durability.
- Experiment with different quilting patterns to find what suits your style best.
- Take your time with the finishing touches; they can make a significant difference.
With these finishing touches, your quilt will not only be a functional item but also a cherished piece of art that reflects your creativity and effort. Happy quilting!
Q: How do I choose the right batting for my quilt?
A: The right batting depends on your desired warmth and weight. Cotton batting is breathable, while polyester is lighter and fluffier. Consider the quilt's purpose when making your choice.
Q: Can I machine wash my finished quilt?
A: Yes, most quilts can be machine washed on a gentle cycle. However, always check the care instructions for your specific fabrics and batting.
Q: What should I do if my quilt is not lying flat after finishing?
A: If your quilt is not lying flat, you may need to adjust your quilting tension or give it a good press. Sometimes, using steam can help relax the fabric and flatten it out.
Frequently Asked Questions
- What is the best fabric to use for quilting squares?
When starting out, it's ideal to use 100% cotton fabric. It's durable, easy to sew, and comes in a wide range of colors and patterns. This fabric not only holds up well in the wash but also gives your quilt a beautiful finish!
- How do I ensure my quilt squares are the same size?
To achieve uniform squares, always use a rotary cutter and a cutting mat for precise cuts. Additionally, measure twice and cut once! Pressing your fabric before cutting can also help in achieving accurate dimensions.
- What tools do I need to start quilting?
Essential tools for beginners include a rotary cutter, cutting mat, quilting ruler, pins, and a sewing machine. These tools will make your quilting experience smoother and more enjoyable!
- Can I join quilting squares by hand?
Absolutely! Hand sewing is a great way to join quilting squares, especially for beginners. Just make sure to use a needle and thread suitable for quilting, and take your time to ensure neat stitches.
- What is a seam allowance and why is it important?
A seam allowance is the fabric between the edge of your fabric and the line where you sew. Typically, a seam allowance of ¼ inch is standard in quilting. It’s crucial for ensuring your quilt pieces fit together properly and look polished.
- How can I match patterns when joining squares?
To match patterns, carefully align the fabric pieces before sewing. You can use pins or clips to hold them in place. It might take a bit of practice, but once you get the hang of it, your quilts will look professional!
- What are some tips for finishing my quilt?
When finishing your quilt, consider adding a border for a polished look. Also, don't forget to quilt the layers together to secure them, and finally, bind the edges to give your quilt a neat finish. It's like putting a frame around a beautiful painting!


