
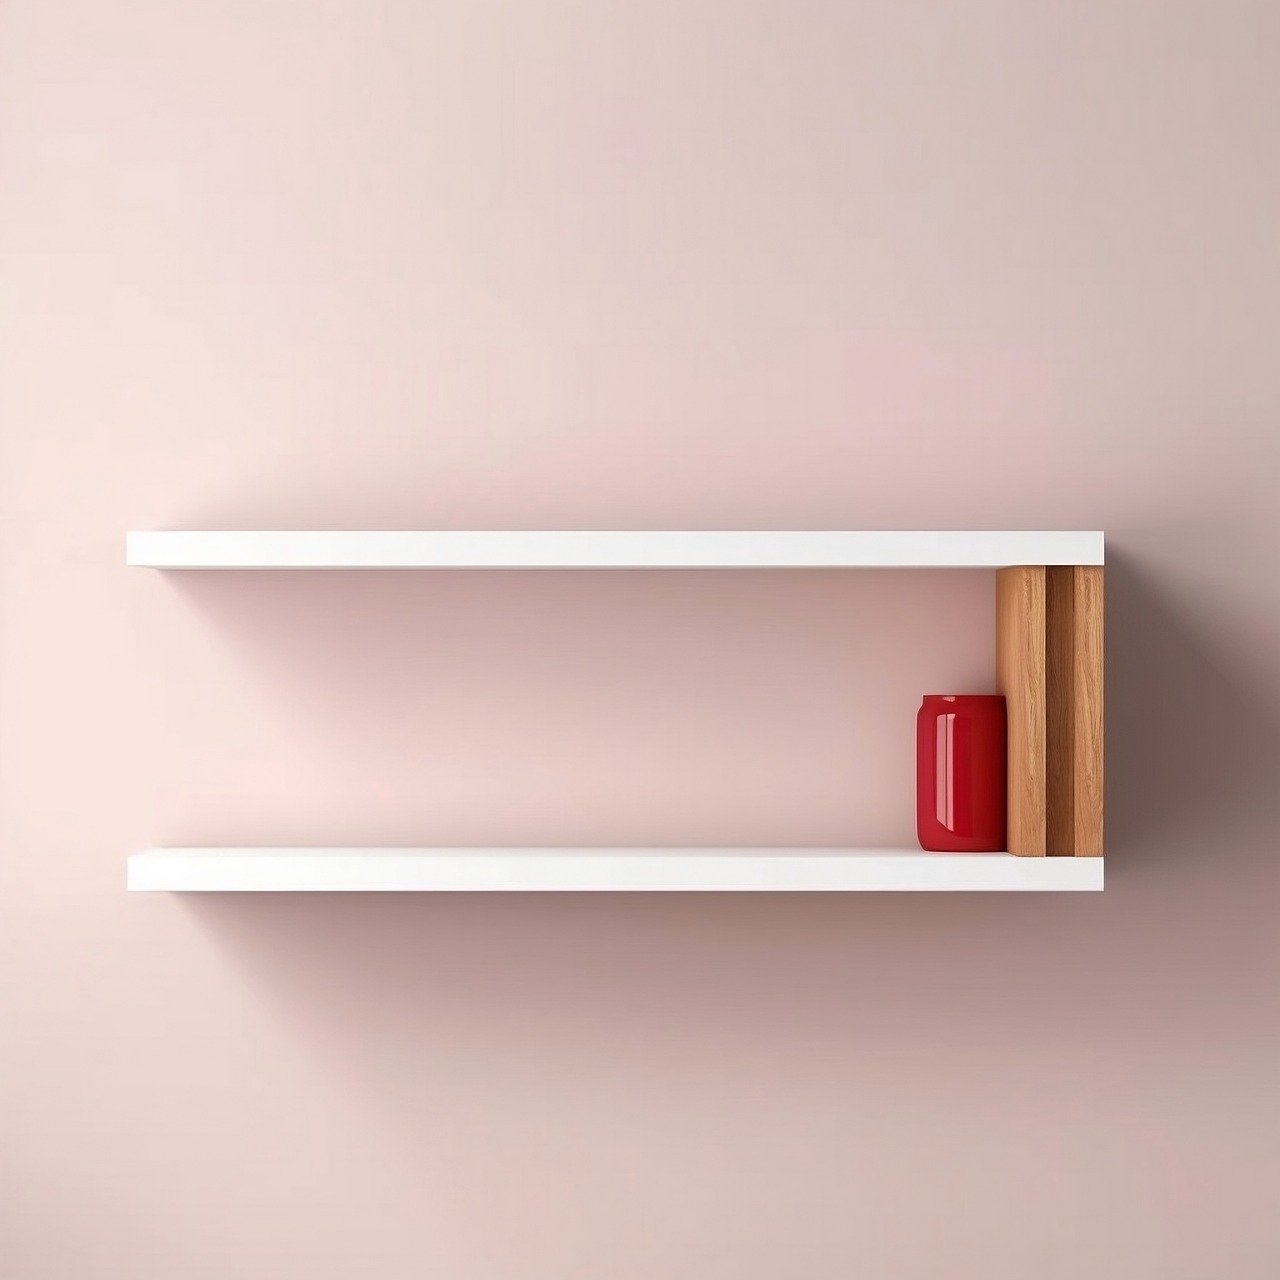
Creating a DIY Suspended Shelf for Your Bathroom
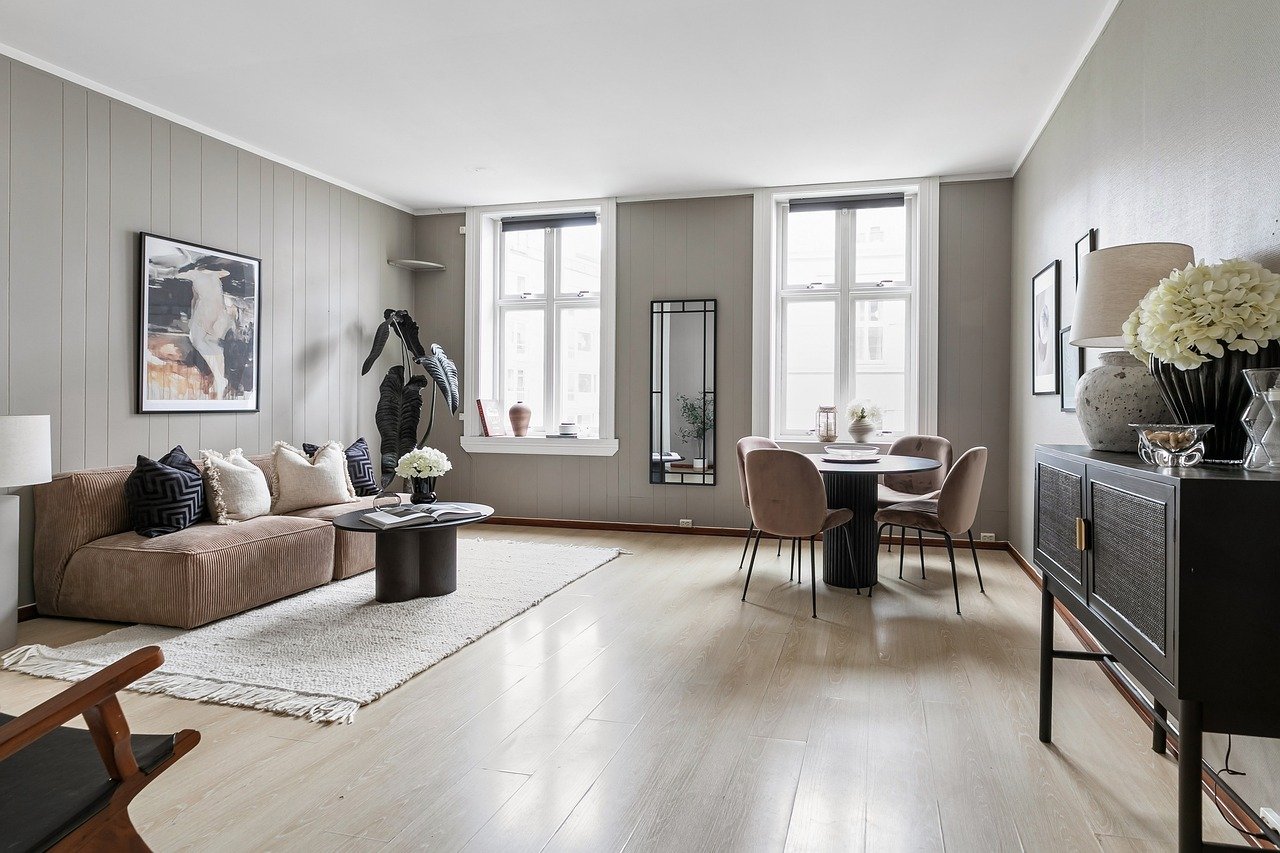
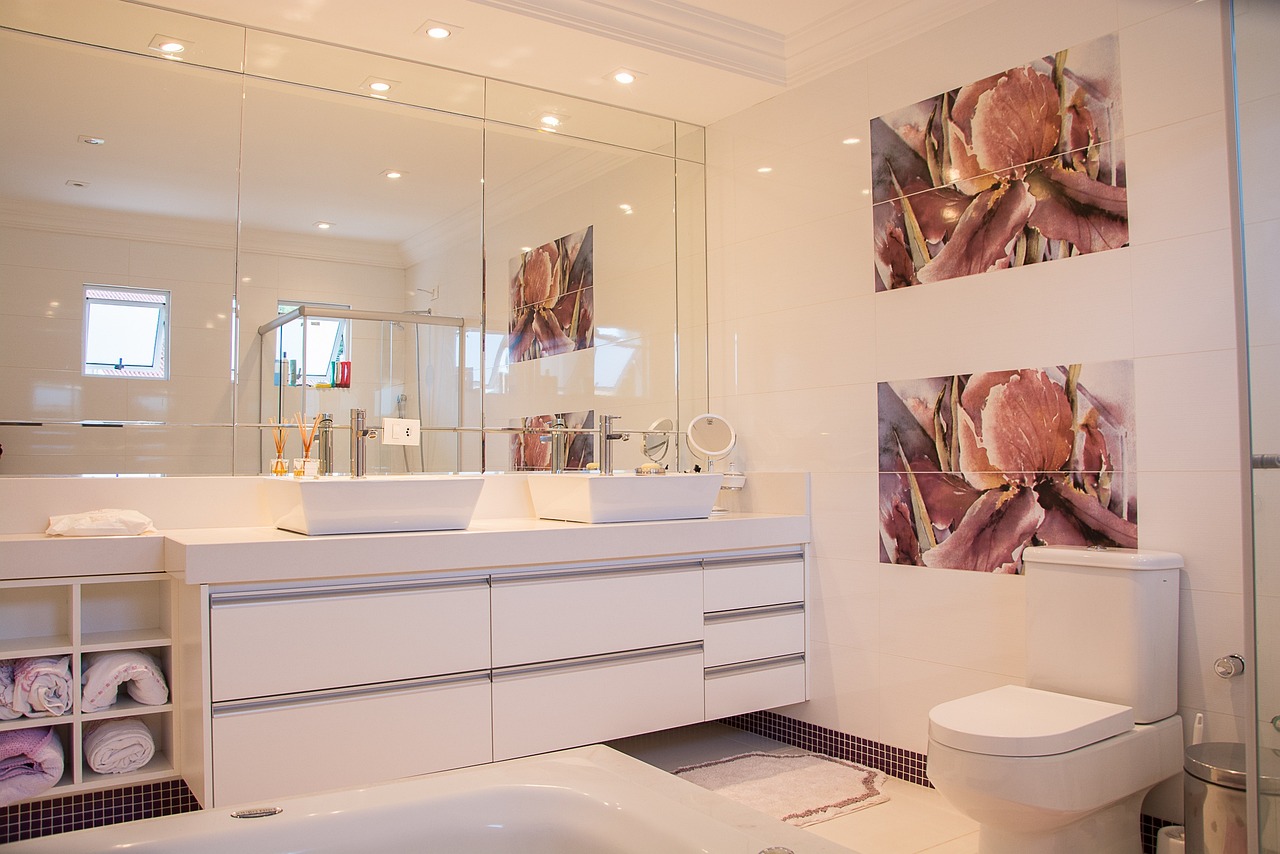
Are you tired of cluttered countertops and limited storage in your bathroom? Well, you're in luck! This article will guide you through the steps of building a stylish and functional suspended shelf for your bathroom, enhancing both storage and aesthetics in your space. Imagine transforming that empty wall into a chic display area for your favorite toiletries, plants, or decorative items. Not only will a suspended shelf free up valuable space, but it will also add a modern touch to your bathroom decor. So, grab your tools and let's dive into this exciting DIY project!
Before you start hammering away, it’s essential to gather all the necessary materials. Having everything on hand will make your project smoother and more enjoyable. Here’s a quick list of items you’ll need to create a durable and attractive suspended shelf:
- Wood Planks: Choose a type that suits your style, such as pine, oak, or plywood.
- Brackets: Select sturdy brackets that can support the weight of your shelf and items.
- Wall Anchors: These are crucial for securing your shelf to the wall.
- Paint or Stain: To finish your shelf, choose a color or stain that complements your bathroom.
- Sandpaper: For smoothing out any rough edges on your wood.
Having the right tools is crucial for a successful DIY project. Here, we will outline the tools you’ll need to effectively build your suspended shelf. Investing in quality tools will not only make your work easier but also ensure a professional finish.
Accurate measurements are vital for a well-fitted shelf. Using the right measuring tools can save you a lot of time and frustration. Here are the measuring tools you'll need to ensure precision in your project:
A tape measure is essential for measuring the dimensions of your shelf and the space it will occupy. Make sure to measure twice to avoid any mistakes. It’s like the old saying goes, “measure twice, cut once!”
Using a level ensures that your shelf is perfectly horizontal. No one wants a slanted shelf! This tool will help you achieve a professional finish by confirming that everything is aligned correctly.
Cutting tools will help you shape your materials. Depending on the size and thickness of the wood, you might need a circular saw or a handsaw. Ensure your cuts are straight and precise to avoid any gaps or unevenness in your shelf.
Now that you’ve gathered your materials and tools, it’s time to get down to business! Follow these detailed steps to create your suspended shelf. This section will provide a comprehensive guide to building and installing your shelf correctly.
Proper wall preparation is key to a secure shelf installation. Start by choosing the right wall that can support the weight of the shelf and its contents. Use your level to mark where the shelf will go, ensuring it’s straight. If you're mounting on drywall, be sure to find the studs for optimal support.
Learn how to assemble the components of your shelf. Begin by cutting your wood to the desired length. Once cut, sand down the edges to make them smooth. Next, attach the brackets to the wall using wall anchors for added stability. Finally, place your shelf on the brackets and secure it in place. Voila! You’ve just created a functional piece of art in your bathroom.
Adding finishing touches can elevate the look of your shelf. Consider painting or staining your shelf to match your bathroom decor. Not only does this add a personal touch, but it also protects the wood from moisture. Choose colors that blend harmoniously with your existing color scheme.
Choosing the right paint can enhance your shelf's appearance. You can opt for a sleek, glossy finish for a modern look or a matte finish for a more rustic feel. Don't forget to apply a sealant if you're using paint, as this will help protect it from humidity.
Incorporating decorative elements can personalize your shelf. Think about adding small potted plants, stylish jars for toiletries, or framed photos. These elements will not only make your shelf functional but also a focal point in your bathroom.
Q: How much weight can a suspended shelf hold?
A: It largely depends on the materials used and how well it’s mounted. Generally, a well-installed shelf can hold between 20 to 50 pounds.
Q: Can I use a suspended shelf in a small bathroom?
A: Absolutely! Suspended shelves are perfect for small spaces as they utilize vertical space without taking up floor area.
Q: What type of wood is best for a bathroom shelf?
A: Choose moisture-resistant wood like cedar or treated pine to ensure durability in a humid environment.
Materials Needed
Before diving into your DIY suspended shelf project, it's essential to gather all the materials you'll need. Having everything on hand not only streamlines the process but also saves you from those frustrating trips to the hardware store mid-project. Here’s a comprehensive list of the key materials you should consider:
- Wood Planks: Choose a sturdy type of wood, such as pine or oak, depending on your style and budget. The thickness and length will depend on the size of your shelf.
- Brackets: These will support your shelf and can be decorative or functional. Make sure they are rated for the weight you plan to put on the shelf.
- Screws: Opt for screws that are appropriate for the type of wood and wall material you’re working with. Wood screws are typically best for this project.
- Wall Anchors: If you're mounting your shelf on drywall, wall anchors are crucial for providing extra support and preventing the shelf from coming loose.
- Sandpaper: To achieve a smooth finish on your wood, sandpaper will be necessary. A finer grit will help give your shelf a polished look.
- Paint or Stain: Depending on your desired aesthetic, select either paint or wood stain to enhance the look of your shelf.
While the list above covers the basics, feel free to customize your shelf to suit your personal taste. For instance, if you want to add a touch of elegance, consider using decorative brackets or a unique wood finish. Remember, this is your project, so let your creativity shine!
In addition to the materials listed, you might also want to consider any decorative elements you plan to incorporate, such as plants, candles, or jars for storage. These can add a personal touch and make your shelf not just functional but also a beautiful part of your bathroom decor.
In summary, gathering the right materials is a crucial first step in building your suspended shelf. With the right wood, brackets, screws, and finishing touches, you'll be well on your way to creating a stylish and functional addition to your bathroom space.

Tools Required
When it comes to building a DIY suspended shelf, having the right tools is crucial for a smooth and successful project. Think of your tools as the magic wands that will help transform your vision into reality. Without them, you're just left with a pile of materials and a dream! So, let’s dive into the essential tools you'll need, ensuring you’re well-equipped to tackle this exciting endeavor.
First and foremost, you’ll need some measuring tools. Accurate measurements are the backbone of any DIY project. If your shelf isn’t measured correctly, it could end up looking crooked or worse, not fit in the space at all! The primary measuring tools to have on hand include:
- Tape Measure - This handy tool is essential for measuring the dimensions of your shelf and the space it will occupy. Not only is it easy to use, but it also allows for quick adjustments on the fly, making it an indispensable part of your toolkit.
- Level - Picture this: you’ve just installed your shelf, and it’s leaning to one side like a drunken sailor. A level will help you avoid that embarrassing scenario. It ensures that your shelf is perfectly horizontal, giving it that professional finish that will impress anyone who enters your bathroom.
Next up, we have the cutting tools. These tools will help you shape your materials to the desired dimensions. Whether you're cutting wood, metal, or other materials, having the right cutting tools is essential for achieving clean, precise cuts. Here are some common cutting tools you might need:
- Hand Saw - A simple hand saw can do wonders for cutting wood to size. It's straightforward and gives you good control over your cuts.
- Circular Saw - If you're looking for speed and efficiency, a circular saw is a powerful option that can cut through materials quickly, but be sure to follow safety precautions.
- Utility Knife - Perfect for smaller adjustments or cutting softer materials, a utility knife is a handy addition to your toolkit.
Finally, don’t forget about the assembly tools. These are the tools that will help you put everything together, ensuring your shelf is sturdy and secure. A drill is one of the most important tools in this category, as it will make your life so much easier when it comes to driving screws into the wall or shelf. Additionally, having a set of screwdrivers, both flat-head and Phillips, will allow you to tackle any screws that come your way.
In summary, assembling your DIY suspended shelf requires a combination of measuring, cutting, and assembly tools. By gathering these essential items beforehand, you’ll set yourself up for success and make the process much more enjoyable. Remember, the right tools can make all the difference between a smooth project and a frustrating one, so invest a little time in preparing your toolkit before diving in!

Measuring Tools
This article will guide you through the steps of building a stylish and functional suspended shelf for your bathroom, enhancing both storage and aesthetics in your space.
Before starting your project, gather all the necessary materials. This section will list essential items you'll need to create a durable and attractive suspended shelf.
Having the right tools is crucial for a successful DIY project. Here, we will outline the tools you’ll need to effectively build your suspended shelf.
Accurate measurements are vital for a well-fitted shelf. Without them, your shelf could end up crooked or worse, not fit at all! The right measuring tools will ensure that your project not only looks professional but also functions perfectly. Here’s a closer look at the essential measuring tools you'll need:
A tape measure is your best friend in this project. It's essential for measuring the dimensions of your shelf and the space it will occupy. When using a tape measure, remember to pull it taut to get an accurate reading. You don't want to be guessing the length of your shelf! For best results, follow these tips:
- Always start from the end of the tape measure for accurate measurements.
- Double-check your measurements before making any cuts.
- Use the locking feature to hold your measurement in place while you jot it down.
Using a level ensures that your shelf is perfectly horizontal, which is crucial for both functionality and aesthetics. A tilted shelf can lead to items sliding off, creating a mess! To use a level effectively, place it on the shelf once it’s mounted and adjust until the bubble is centered between the lines. This simple step will give your shelf that professional finish that will impress anyone who walks into your bathroom.
Cutting tools will help you shape your materials. This section covers the various cutting tools you might need for your DIY shelf project.
Follow these detailed steps to create your suspended shelf. This section will provide a comprehensive guide to building and installing your shelf correctly.
Proper wall preparation is key to a secure shelf installation. This subsection covers how to prepare your wall for optimal support.
Learn how to assemble the components of your shelf. This section will guide you through the process of putting everything together for a sturdy end product.
Adding finishing touches can elevate the look of your shelf. This section will explore various options for painting, staining, or decorating your suspended shelf.
Choosing the right paint can enhance your shelf's appearance. This subsection discusses different painting techniques and color choices for your project.
Incorporating decorative elements can personalize your shelf. This section offers ideas on how to style your new shelf to match your bathroom decor.
Got questions? We’ve got answers! Here are some common inquiries about building a DIY suspended shelf:
- How much weight can a suspended shelf hold? It depends on the materials used and the wall support, but with proper installation, it can hold a significant amount.
- Can I use any type of wood for the shelf? While you can use various woods, opt for sturdy options like pine or plywood for durability.
- What if I don’t have a level? You can use your smartphone's level app as an alternative!
Tape Measure
This article will guide you through the steps of building a stylish and functional suspended shelf for your bathroom, enhancing both storage and aesthetics in your space.
Before starting your project, gather all the necessary materials. This section will list essential items you'll need to create a durable and attractive suspended shelf.
Having the right tools is crucial for a successful DIY project. Here, we will outline the tools you’ll need to effectively build your suspended shelf.
Accurate measurements are vital for a well-fitted shelf. This subsection discusses the measuring tools you'll need to ensure precision in your project.
A is one of the most essential tools in your DIY toolkit, especially when it comes to constructing a suspended shelf. Think of it as your best friend in the world of measurements—without it, you might as well be sailing without a compass! The tape measure allows you to accurately gauge the dimensions of your shelf and the space where it will be installed, ensuring that everything fits just right.
When using a tape measure, there are a few tips to keep in mind:
- Extend with Care: Pull the tape out slowly and let it retract gently to avoid any kinks or damage.
- Read the Measurements: Make sure to read the tape at eye level to avoid misreading the numbers.
- Use the Hook: The metal hook at the end of the tape is designed to allow for accurate inside and outside measurements. Always hook it on the edge of the surface you’re measuring.
In addition to these tips, it’s also wise to double-check your measurements. As the saying goes, “measure twice, cut once.” This simple practice can save you from the frustration of having to redo your work. Remember, a well-measured shelf not only looks professional but also ensures that it can hold the weight of your bathroom essentials without a hitch!
Follow these detailed steps to create your suspended shelf. This section will provide a comprehensive guide to building and installing your shelf correctly.
Proper wall preparation is key to a secure shelf installation. This subsection covers how to prepare your wall for optimal support.
Learn how to assemble the components of your shelf. This section will guide you through the process of putting everything together for a sturdy end product.
Adding finishing touches can elevate the look of your shelf. This section will explore various options for painting, staining, or decorating your suspended shelf.
Choosing the right paint can enhance your shelf's appearance. This subsection discusses different painting techniques and color choices for your project.
Incorporating decorative elements can personalize your shelf. This section offers ideas on how to style your new shelf to match your bathroom decor.
Q: How much weight can a suspended shelf hold?
A: The weight capacity of a suspended shelf largely depends on the materials used and how well it is installed. Typically, a properly installed shelf can hold anywhere from 20 to 50 pounds.
Q: What materials are best for a bathroom shelf?
A: Water-resistant materials such as treated wood, metal, or composite materials are ideal for bathroom shelves due to the high humidity levels.
Q: Can I install a suspended shelf on drywall?
A: Yes, but it’s essential to locate the studs behind the drywall for secure installation. Use wall anchors if you can't find studs.
Level
When it comes to installing your suspended shelf, using a is not just a good idea; it’s an absolute necessity! Imagine putting in all that effort to build a beautiful shelf only to find that it’s tilted like the Leaning Tower of Pisa. Not exactly the look you’re going for, right? A level ensures that your shelf sits perfectly horizontal, making your space not only look more polished but also functionally sound. So, let’s dive into how to effectively use a level and why it’s so crucial for your project.
First off, you’ll want to choose the right type of level for the job. There are several options available:
- Bubble Level: This is the classic tool that uses a small bubble in a liquid-filled vial to indicate whether a surface is level. It's simple, effective, and perfect for DIY projects.
- Laser Level: For those looking to take it up a notch, a laser level projects a straight line across the wall, providing a clear visual reference. This is especially useful for longer shelves or when working in larger spaces.
- Digital Level: If you’re a tech enthusiast, a digital level might be your go-to. It gives precise measurements and often includes additional features like angle measurement.
Once you have your level, the next step is to use it properly. Here’s how:
- Mark Your Height: Before you start leveling, determine the height at which you want your shelf to be installed. Use a pencil to mark this height on the wall.
- Position the Level: Place the level against the wall at your marked height. If you’re using a bubble level, make sure the bubble is centered between the lines.
- Adjust as Necessary: If the bubble isn’t centered, adjust the height of your shelf brackets accordingly until it is. This is where having a second pair of hands can be incredibly helpful!
- Secure the Brackets: Once you’ve confirmed that everything is level, secure your shelf brackets to the wall. Double-check with the level once more before tightening everything down.
Remember, taking the time to ensure your shelf is level will save you from headaches down the road. A crooked shelf not only looks bad but can also lead to items sliding off or, worse, the shelf collapsing. So, grab your level, take a deep breath, and let’s make sure your new suspended shelf is the star of the show!
Q: How do I know if my wall can support a suspended shelf?
A: It's crucial to check the wall material. If it's drywall, ensure you’re anchoring into studs for maximum support. If you're unsure, consider using a stud finder or consult a professional.
Q: Can I use a level on uneven surfaces?
A: Yes, but you may need to adjust the height of your brackets on one side to compensate for the unevenness. A laser level can be particularly helpful in these situations.
Q: What if my shelf still looks crooked after using a level?
A: Double-check your measurements and the installation of your brackets. Sometimes, the wall itself may be uneven, so you might need to make slight adjustments to compensate.

Cutting Tools
When it comes to creating your DIY suspended shelf, having the right is crucial. These tools will help you shape your materials precisely, ensuring that everything fits together seamlessly. Think of cutting tools as the sculptor's chisel—they're essential for transforming raw materials into a beautiful, functional piece that enhances your bathroom's decor.
First up on the list is a circular saw. This tool is perfect for making straight cuts in larger pieces of wood. If you’re working with thick boards, a circular saw will save you time and effort, allowing you to make clean cuts with ease. Just remember to wear safety goggles and follow all safety precautions when using this powerful tool!
Next, you might want to consider a jigsaw. This versatile tool is excellent for making intricate cuts, especially if your shelf design features curves or unique shapes. A jigsaw can navigate tight corners and provide a level of creativity that a circular saw simply can’t match. Just be sure to choose the right blade for the material you’re cutting—there are blades specifically designed for wood, metal, and even plastic!
If precision is your priority, a hand saw can be your best friend. While it might require a bit more elbow grease, a hand saw offers ultimate control over your cuts. This is particularly useful for small projects where you need to make detailed adjustments. Plus, it’s quieter and doesn’t require electricity, which can be a bonus if you’re working in a shared space!
Lastly, don’t overlook the importance of a miter saw. If your design requires angled cuts, a miter saw is the tool for the job. It allows you to make precise cuts at various angles, ensuring that your shelf pieces fit together perfectly. Think of it as the secret weapon in your DIY arsenal—once you try it, you’ll wonder how you ever managed without it!
In summary, here’s a quick rundown of the cutting tools you'll need:
- Circular Saw: For straight cuts in larger boards.
- Jigsaw: Ideal for intricate or curved cuts.
- Hand Saw: Offers precision and control for detailed cuts.
- Miter Saw: Perfect for making angled cuts.
With the right cutting tools at your disposal, you’ll be well on your way to crafting a stunning suspended shelf that not only meets your storage needs but also enhances the overall look of your bathroom. So, gather your tools, and let’s get cutting!
Q: What type of wood is best for a suspended shelf?
A: Plywood and solid wood like oak or pine are great choices for durability and aesthetics. Choose a wood that matches your bathroom decor.
Q: Do I need special blades for my cutting tools?
A: Yes, different materials require specific blades. For wood, use a carbide-tipped blade; for metal, a bi-metal blade is ideal.
Q: Can I install a suspended shelf by myself?
A: Absolutely! With the right tools and instructions, you can successfully install a suspended shelf on your own.
Q: How do I ensure my shelf is level?
A: Use a level tool during installation to check that your shelf is perfectly horizontal. Adjust as needed before securing it in place.
Step-by-Step Instructions
Creating a suspended shelf may seem daunting at first, but with the right guidance, it can be a fun and rewarding project. Let’s break it down step by step, ensuring that you have a clear path from start to finish. First things first, gather all your materials and tools, as having everything at hand will make the process smoother and more enjoyable.
Next, you’ll want to prepare the wall. This is a crucial step because a well-prepared wall ensures that your shelf will be sturdy and safe. Start by identifying the location where you want to install the shelf. Use your tape measure to determine the exact height and width, and mark these points with a pencil. It’s essential to check for any plumbing or electrical wiring behind the wall, so using a stud finder here can save you from a potential disaster.
Once you've marked your spots, it’s time to drill pilot holes. Make sure you're drilling into studs for maximum support. If your wall is drywall, use wall anchors to provide extra stability. After you've drilled the holes, insert the anchors if necessary, and then you’re ready to assemble your shelf.
Now, let’s move on to assembling the shelf. Gather your shelf board and the brackets you’ve chosen. Align the brackets with the pilot holes you’ve drilled, ensuring they are level. This is where your level comes into play—place it on top of the shelf brackets to confirm they are perfectly horizontal before securing them with screws. Tighten the screws firmly, but be careful not to over-tighten, as this can strip the holes.
After securing the brackets, place your shelf board on top. If you’re using a floating shelf design, ensure that the brackets are hidden for a sleek look. Once everything is in place, take a step back and admire your work. At this stage, it’s important to double-check everything to ensure it’s secure and level.
Finally, don’t forget about the finishing touches. This is where you can let your creativity shine! Consider adding a fresh coat of paint or stain to match your bathroom decor. You might also want to incorporate some decorative elements to personalize your shelf. Think about adding small plants, candles, or decorative boxes to enhance the aesthetic appeal of your new shelf.
In summary, building a suspended shelf is a straightforward process that can greatly enhance your bathroom’s functionality and style. Just remember to take your time, measure carefully, and enjoy the process. With these steps, you’ll have a beautiful shelf that not only looks great but also serves a practical purpose.
Q: How much weight can a suspended shelf hold?
A: The weight capacity of your shelf depends on the materials used and how securely it is installed. Generally, if installed correctly into wall studs, a suspended shelf can hold anywhere from 50 to 100 pounds or more.
Q: Can I use this method for other rooms?
A: Absolutely! The same principles apply whether you’re installing a shelf in the bathroom, living room, or kitchen. Just make sure to adjust your materials and decor to fit the style of the room.
Q: What if I don’t have studs in the wall?
A: If you don’t have studs where you want to install your shelf, you can use heavy-duty wall anchors designed for drywall. However, be cautious as these may not support as much weight as a stud-mounted shelf.
Q: What type of wood is best for a bathroom shelf?
A: It’s best to use moisture-resistant wood, such as cedar or treated pine, especially in a bathroom where humidity can be high. You can also consider using a laminate or composite material for added durability.

Preparing the Wall
Before diving into the exciting world of DIY, it's crucial to ensure that your wall is ready to support your new suspended shelf. Think of your wall as the foundation of a house; if it’s not solid, everything else might come crashing down! Start by inspecting the wall surface where you plan to install the shelf. Look for any signs of damage, such as cracks or peeling paint, which could compromise the stability of your shelf.
Next, you'll want to identify the studs in your wall. Studs are vertical framing members that provide the necessary support for heavy items. You can use a stud finder, which is a handy tool that detects where these studs are located. If you don’t have one, you can gently knock on the wall and listen for a solid sound that indicates a stud is behind the drywall. Once you’ve located the studs, mark their positions with a pencil. This will be your guide for where to drill the holes for your shelf brackets.
Additionally, consider the overall height of your shelf. It should be positioned at a comfortable level for accessibility while also complementing the aesthetics of your bathroom. A good rule of thumb is to install the shelf at least 30 inches above the floor to avoid any obstructions and to allow for easy reach when you need to grab your toiletries or decorative items. If your bathroom has a lot of decor or fixtures, take a moment to visualize how the shelf will integrate into the existing layout.
Once you have marked the studs and decided on the height, it’s time to prepare the wall surface itself. Make sure to clean the area where the brackets will be attached. Dust, grime, or moisture can affect the adhesion of your shelf, leading to a less secure installation. You can use a damp cloth to wipe down the area, ensuring it’s dry before proceeding to the next step. If your wall has a textured finish, consider sanding it down slightly to create a smooth surface for better contact with the brackets.
Lastly, if your wall is made of a softer material like drywall, it’s wise to use wall anchors for added support. These little devices help distribute the weight of the shelf more evenly, preventing any sagging or potential collapse. Choose anchors that are rated for the weight you plan to place on your shelf, and make sure to follow the manufacturer's instructions for installation.
By taking the time to properly prepare your wall, you are setting yourself up for a successful DIY project that not only looks great but also stands the test of time. Remember, a little preparation goes a long way in ensuring that your suspended shelf is both functional and stylish!
Assembling the Shelf
Now that you have prepared your wall and gathered all the necessary materials, it's time to dive into the exciting part: assembling your suspended shelf. This process is where your vision starts to take shape, and with the right approach, you’ll create a stunning addition to your bathroom that is both practical and stylish.
First things first, ensure that you have a clean workspace. A clutter-free area will help you focus and reduce the chances of losing essential components. Begin by laying out all your materials—this includes the shelf boards, brackets, screws, and any decorative elements you plan to use. Having everything in sight will make the assembly process smoother and more efficient.
Next, let’s talk about attaching the brackets. The brackets are the backbone of your suspended shelf, providing the necessary support to hold your items securely. Start by aligning the brackets with the markings you made on the wall during the preparation phase. It’s crucial to use a level at this stage to ensure that the brackets are perfectly horizontal. If they’re even slightly off, your shelf will look crooked, and nobody wants that!
Once you have the brackets aligned, use a drill to secure them to the wall. Make sure to use the appropriate anchors if you’re drilling into drywall or plaster. These anchors will provide extra support and prevent the screws from pulling out over time. As you drill, pay attention to the sound—a steady, solid sound indicates that you’re hitting something substantial. If you hear a hollow sound, you might need to adjust your position or use a different type of anchor.
After securing the brackets, it’s time to place the shelf board. This is where the magic happens! Gently lift your shelf board and rest it on the brackets. Ensure that it sits evenly and snugly against the brackets. If you’re using multiple boards, repeat this process for each one, ensuring they are uniformly spaced for a cohesive look.
To further enhance stability, consider using screws to attach the shelf board to the brackets. This step is optional, but it adds an extra layer of security, especially if you plan to store heavier items on your shelf. Just remember to pre-drill holes to avoid splitting the wood.
Finally, take a step back and admire your work. Make any necessary adjustments, and once you’re satisfied with the positioning, it’s time to add your decorative elements. Whether it’s a coat of paint, some stylish baskets, or a few plants, these finishing touches will personalize your shelf and make it truly yours.
In summary, assembling your suspended shelf involves careful alignment, secure fastening, and a touch of creativity. With patience and attention to detail, you’ll create a beautiful and functional addition to your bathroom that not only enhances storage but also elevates the overall aesthetic of the space.
- How much weight can a suspended shelf hold? - The weight capacity of your shelf depends on the materials used and how well it’s secured to the wall. Generally, a properly installed suspended shelf can hold anywhere from 20 to 100 pounds.
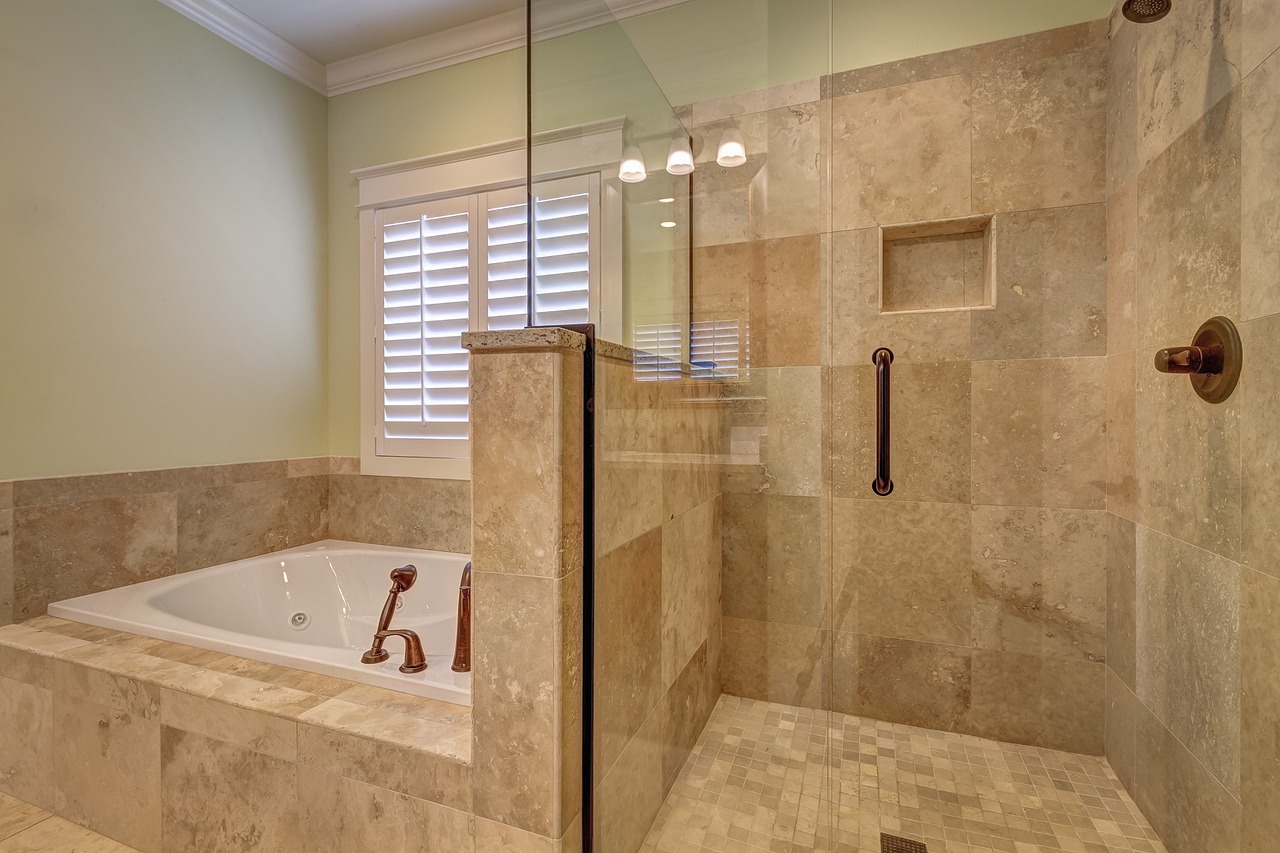
- Can I install a suspended shelf on a tiled wall? - Yes, but you’ll need a special drill bit designed for tile to avoid cracking it. Make sure to use wall anchors suitable for the type of wall you’re working with.
- What type of wood is best for a bathroom shelf? - Water-resistant woods like cedar or treated plywood are ideal for bathroom environments as they can withstand humidity without warping.

Finishing Touches
Once you’ve successfully built your suspended shelf, it’s time to focus on the that will truly make it shine. This stage is where your creativity can really take flight, transforming a simple shelf into a stunning focal point in your bathroom. Think of it like the icing on a cake; it’s what makes everything come together and look complete! So, let’s dive into some exciting options for enhancing the appearance of your new shelf.
First and foremost, consider the color and finish of your shelf. Whether you choose to paint, stain, or leave it natural, the right choice can dramatically influence the overall vibe of your bathroom. If your decor leans towards a modern aesthetic, a sleek white or gray paint might be your best bet. On the other hand, if you’re aiming for a rustic feel, a warm wood stain could be just what you need. Remember, the goal here is to create harmony between your shelf and the rest of your bathroom elements.
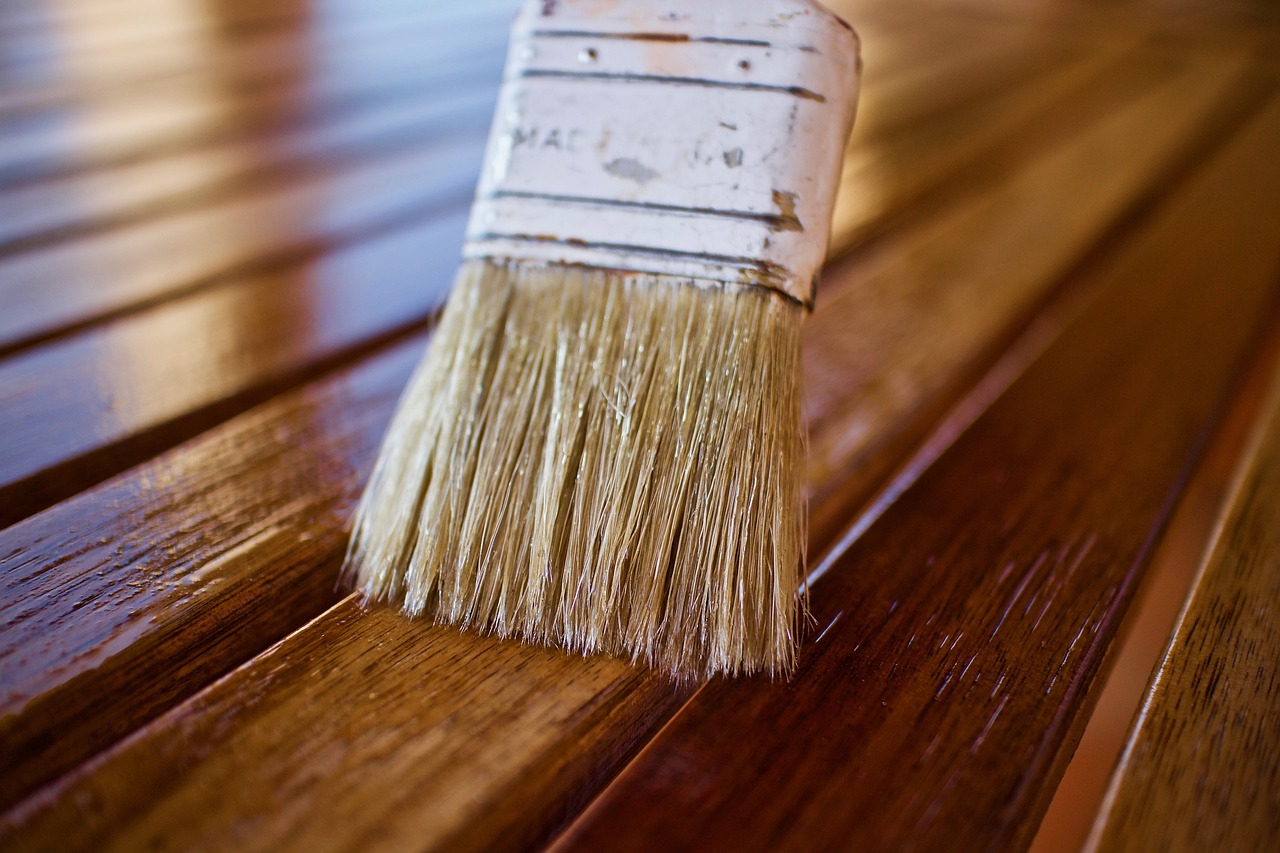
When it comes to painting options, there are several techniques you can explore. For a smooth, polished look, a traditional brush or roller may suffice. However, if you're feeling adventurous, why not try a spray paint for a flawless finish? Just ensure you work in a well-ventilated area and protect surrounding surfaces from overspray. If you're looking for something unique, consider using a stencil to add patterns or designs that resonate with your style. This could be anything from geometric shapes to floral motifs, adding a personal touch that reflects your personality.
Next, let’s talk about decorative elements. This is where you can really let your personality shine! Think about how you can incorporate items that not only serve a purpose but also enhance the visual appeal of your shelf. For instance, decorative baskets can be both functional and stylish, providing storage for toiletries while adding texture to your space. You might also consider placing small potted plants or succulents on your shelf. Not only do they bring a touch of nature indoors, but they also infuse life and color into your bathroom.
Additionally, consider the use of lighting to highlight your new shelf. A small LED strip light or a couple of wall sconces can create an inviting glow that draws attention to your shelf and its contents. This not only enhances the aesthetic but also adds a layer of functionality, making it easier to find what you need, even in low light.
Lastly, don’t forget to curate the items on your shelf. Think of it as styling a mini-exhibit! Arrange your items in a way that feels balanced and intentional. You can use the rule of thirds to guide your arrangement: group items in odd numbers for a more dynamic look, and vary the heights of the objects to create visual interest. This could mean stacking a few books, placing a tall vase next to a shorter candle, or mixing textures with glass and ceramic pieces. The key is to create a cohesive look that feels curated rather than cluttered.
Q1: What type of paint is best for a bathroom shelf?
A1: Look for moisture-resistant paint, such as acrylic or enamel, to ensure durability in a humid environment.
Q2: How can I prevent my shelf from sagging?
A2: Ensure you use sturdy brackets and secure them properly into wall studs for maximum support.
Q3: What decorative items work best on a bathroom shelf?
A3: Consider using a mix of functional items like baskets and decorative pieces like plants, candles, or framed photos for a balanced look.
Q4: Can I use reclaimed wood for my shelf?
A4: Absolutely! Reclaimed wood adds character and can be a sustainable choice, just ensure it's treated for moisture resistance.
Painting Options
When it comes to painting your DIY suspended shelf, the options are virtually limitless, and choosing the right finish can make all the difference in the world. Think of your shelf as a blank canvas, ready to showcase your creativity! First off, you'll want to consider the type of paint that will best suit your bathroom environment. Since bathrooms are often damp, it’s crucial to select a paint that can withstand humidity without peeling or fading.
One popular choice is water-resistant paint, which is specifically formulated for high-moisture areas. This type of paint not only protects your shelf but also offers easy cleanup and a beautiful finish. If you're feeling adventurous, you might explore using chalk paint. This option provides a lovely matte finish and can be distressed for a vintage look, giving your bathroom a charming aesthetic.
Now, let’s talk colors! The color you choose can dramatically alter the vibe of your bathroom. For a serene and spa-like atmosphere, consider soft pastels like mint green or pale blue. If you want to make a bold statement, rich colors like navy blue or deep burgundy can create a striking contrast against lighter walls. You can even opt for a two-tone effect, where the shelf is painted one color while the brackets are another, adding depth and interest to your design.
Before you dive into painting, preparation is key. Make sure to sand down any rough edges on your shelf, and apply a primer if you’re using a lighter color over a darker wood. This will help ensure an even coat and vibrant finish. After priming, you can start painting! For best results, use a high-quality brush or roller to apply the paint in thin layers, allowing each coat to dry thoroughly before adding the next.
Here’s a quick overview of some painting options:
| Type of Paint | Benefits | Best For |
|---|---|---|
| Water-Resistant Paint | Durable, easy to clean | High-moisture areas |
| Chalk Paint | Matte finish, vintage look | Decorative projects |
| Acrylic Paint | Fast-drying, versatile | General use |
Finally, don’t forget about the finishing touches. After your paint has dried, consider applying a clear sealant for extra protection against moisture and wear. This will not only enhance the durability of your shelf but also give it a polished look. Remember, your suspended shelf is not just a functional piece; it’s a reflection of your personal style. So take your time, enjoy the process, and let your creativity shine!
- What type of paint is best for a bathroom shelf? Water-resistant paint is highly recommended due to its durability in high-moisture environments.
- Can I use chalk paint in the bathroom? Yes, chalk paint can be used, but it’s advisable to seal it with a protective topcoat to enhance durability.
- How do I prepare the shelf for painting? Sand the surface to smooth out any rough spots, and apply a primer if necessary for better color adhesion.
Decorative Elements
When it comes to enhancing the aesthetic appeal of your suspended shelf, the decorative elements you choose can make all the difference. Think of your shelf as a blank canvas, ready for your personal touch. Whether you want to create a serene spa-like atmosphere or a vibrant, eclectic vibe, the right decor can elevate your bathroom's overall look and feel. So, how do you go about selecting these elements? Let’s dive into some creative ideas!
First off, consider incorporating plants. Small potted plants or succulents not only add a splash of color but also bring a touch of nature indoors. Imagine the freshness of greenery contrasting against the sleek lines of your shelf. Plus, plants can improve air quality, making your bathroom feel more inviting. If you're not confident in your plant care skills, opt for low-maintenance varieties like snake plants or pothos.
Next, think about using decorative boxes or baskets. These can serve a dual purpose: they keep your bathroom essentials organized while also adding texture and style. Choose materials that complement your shelf's design—woven baskets for a rustic look or sleek metal containers for a modern touch. You can even mix and match different textures to create visual interest. Just imagine a chic metal box sitting next to a cozy wicker basket; it’s all about balance!
Another fantastic idea is to showcase bathroom accessories that reflect your personal style. This could be anything from a beautifully designed soap dispenser to an elegant candle holder. These items can act as focal points on your shelf, drawing the eye and adding character. When selecting accessories, consider the color palette of your bathroom. A cohesive color scheme can tie everything together beautifully.
Lastly, don’t forget about artistic elements. A small framed picture or a piece of wall art can create a stunning visual impact. You could even hang a lightweight art piece directly above the shelf to draw the eye upward, creating an illusion of space. Not only does this add dimension to your bathroom, but it also gives guests a glimpse into your personality.
Incorporating these decorative elements will not only enhance the functionality of your suspended shelf but also transform it into a statement piece in your bathroom. Remember, it’s all about what resonates with you and your style. So, unleash your creativity and have fun with it!
- What materials are best for a suspended shelf? The best materials include sturdy wood, metal brackets, and durable screws to ensure stability.
- How much weight can a suspended shelf hold? It depends on the materials and installation method, but typically, a well-installed shelf can hold anywhere from 20 to 50 pounds.
- Can I install a suspended shelf myself? Yes! With the right tools and materials, a DIY suspended shelf is very achievable.
- What are the best decorative elements for a bathroom shelf? Plants, decorative boxes, stylish accessories, and artwork are all great options to enhance your shelf's appearance.
Frequently Asked Questions
- What materials do I need to create a suspended shelf?
To create a suspended shelf, you will need materials such as wood for the shelf itself, sturdy brackets or ropes for suspension, wall anchors, screws, and a finish of your choice like paint or stain. Make sure to choose materials that can withstand the humidity of a bathroom!
- What tools are essential for building a suspended shelf?
You'll need a few key tools for this project, including a tape measure for accurate dimensions, a level to ensure your shelf is straight, a saw for cutting the wood, and a drill for making holes in the wall and securing the brackets. Having the right tools can make all the difference!
- How do I prepare the wall for installation?
Preparing the wall involves finding the right studs to support the weight of your shelf. Use a stud finder to locate the studs, then mark their positions. Ensure the wall is clean and free from any moisture or debris before you start installing the brackets.
- Can I customize the size of my suspended shelf?
Absolutely! One of the best parts of a DIY project is the ability to customize it. You can adjust the dimensions of your shelf according to your space and storage needs. Just make sure to keep the proportions balanced for both aesthetics and functionality.
- What are some finishing touches I can add to my shelf?
Finishing touches can really elevate your shelf's appearance! You can paint or stain the wood to match your bathroom decor, add decorative brackets, or even incorporate plants and decorative items to personalize your space. Let your creativity shine!
- How do I ensure my shelf is level during installation?
Using a level is crucial for a professional look. After installing the brackets, place the level on the shelf to check for any discrepancies. Adjust the brackets as needed until the shelf is perfectly horizontal. A level shelf not only looks better but also functions better!
- Is it safe to store heavy items on a suspended shelf?
Yes, as long as you install it properly! Make sure to use sturdy brackets or ropes, and secure everything to the wall studs. Always check the weight capacity of your materials and avoid overloading the shelf to ensure safety and longevity.
- Can I install a suspended shelf in a small bathroom?
Definitely! A suspended shelf can be a great space-saving solution for small bathrooms. You can utilize vertical space without taking up floor area. Just make sure to choose a size that fits well in your space and complements your decor.


