5 Best DIY Decor Projects for Your Kitchen
Are you ready to transform your kitchen into a stylish and functional culinary haven? If you're looking to add a personal touch without breaking the bank, then you're in for a treat! In this article, we’ll explore five creative and budget-friendly DIY decor projects that will not only enhance the aesthetic appeal of your kitchen but also make it more organized and efficient. From custom spice racks to decorative backsplashes, these projects are perfect for anyone wanting to unleash their inner DIY enthusiast. So, grab your tools and let’s dive into these inspiring ideas!
A custom spice rack not only organizes your spices but also adds a personal touch to your kitchen. Imagine walking into your kitchen and seeing a beautifully arranged collection of spices, each one easily accessible and aesthetically pleasing. Creating a spice rack can be as simple as repurposing an old wooden pallet or building one from scratch using some basic woodworking skills. You can customize the size and design to fit your kitchen's decor perfectly. Plus, you can paint or stain the wood to match your existing cabinetry. This project is not just about functionality; it’s about creating a focal point that showcases your love for cooking!
Transforming glass jars into storage containers can add charm and practicality to your kitchen. Instead of tossing those empty jars, why not give them a new life? Upcycling jars is not only sustainable but also allows you to create unique storage solutions for various items, from pasta to snacks. You can use jars of different sizes and shapes to create a visually appealing display on your countertops or shelves. Not only will this reduce clutter, but it will also add a rustic touch to your kitchen decor.
Adding decorative labels to your upcycled jars enhances their visual appeal and makes organization easy. Think about how satisfying it is to see neatly labeled jars on a shelf! You can explore creative labeling ideas that suit your kitchen's style. For example, you might consider:
- Chalkboard Labels: These provide a versatile option for jar labeling, allowing for easy updates as contents change.
- Printed Labels: Offering a polished look, printed labels can complement your kitchen decor beautifully.
Chalkboard labels are a fun and interactive way to label your jars. You can easily write and erase as your pantry contents change. To apply these labels, simply cut them to size, adhere them to your jars, and use chalk or a chalk marker to write the contents. They’re perfect for those who love to change things up often!
If you prefer a more polished look, printed labels are the way to go. You can design your labels using graphic design software or even online templates. Once printed, simply adhere them to your jars for a clean and professional appearance. This method works especially well if you have a specific color theme in your kitchen.
Coordinating jar colors can create a cohesive look in your kitchen. By selecting colors that enhance your overall decor theme, you can create a harmonious space that feels inviting and well thought out. For instance, if your kitchen features earthy tones, consider using jars in shades of green, brown, or cream. This attention to detail can elevate your kitchen’s aesthetic significantly.
Creating your own wall art can personalize your kitchen space. Why settle for generic art when you can showcase your personality? DIY wall art allows you to express your style and culinary passion. You might consider making canvas prints featuring food quotes or images that resonate with you. Alternatively, framing cherished family recipes can serve as sentimental decor. Each piece of art can tell a story and bring warmth to your kitchen.
Canvas prints are a fantastic way to add character to your kitchen walls. You can create stunning canvas art with simple techniques, such as using stencils or even your own photographs. Imagine a large canvas featuring a vibrant image of fresh herbs or a motivational cooking quote. It’s an easy way to make a statement!
Framing cherished family recipes can serve as a beautiful reminder of your culinary heritage. You can use decorative frames that match your kitchen decor and arrange them in a gallery style on one wall. This not only showcases your love for family traditions but also adds a personal touch that guests will appreciate.
Crafting stylish pot holders can enhance both safety and decor in your kitchen. Pot holders are essential for protecting your hands from hot pots and pans, but they can also be a decorative element. Explore various designs and materials that can elevate your kitchen's aesthetic. Think about using vibrant fabrics or even quilting techniques to create a unique look.
Quilted pot holders offer a combination of functionality and style. Learning the basics of quilting can be a rewarding experience, and you can create beautiful, personalized pot holders that match your kitchen’s theme. Choose fabrics that are both durable and visually appealing!
Choosing the right fabric can impact both the look and durability of your pot holders. Consider materials that are heat-resistant and easy to clean, such as cotton or insulated fabric. This way, your pot holders will not only look good but also stand the test of time.
A decorative backsplash can instantly uplift your kitchen's appearance. It’s like the jewelry of your kitchen, adding a touch of elegance and personality. Explore DIY options for creating a stunning and unique backsplash that reflects your personality. Whether you opt for tiles, paint, or other materials, the right backsplash can transform your cooking space.
Peel-and-stick tiles provide an easy way to update your backsplash without a major renovation. These tiles come in various designs and colors, allowing you to achieve a high-end look with minimal effort. The installation process is straightforward—just peel off the backing and stick them on your wall!
If you’re feeling adventurous, painting your backsplash can be a creative and cost-effective solution. You can use stencils to create intricate designs or simply paint a bold color that complements your kitchen decor. Discover techniques and color schemes to achieve a stunning painted backsplash that will leave your guests in awe!
Q: What materials do I need for a custom spice rack?
A: You’ll need wood (like pine or plywood), screws, wood glue, sandpaper, and paint or stain for finishing.
Q: How can I ensure my upcycled jars are safe for food storage?
A: Make sure to clean the jars thoroughly and check for any cracks or chips before using them for food storage.
Q: What’s the best way to hang my DIY wall art?
A: Use picture hooks or adhesive strips for lightweight pieces. For heavier items, make sure to use wall anchors for added support.
Q: Can I wash my fabric pot holders?
A: Yes, most fabric pot holders can be machine washed. Check the fabric care instructions for the best results.
Q: How do I clean peel-and-stick tiles?
A: Simply wipe them down with a damp cloth and mild detergent. Avoid abrasive cleaners that could damage the surface.

1. Custom Spice Rack
Explore creative and budget-friendly DIY decor projects that can transform your kitchen into a stylish and functional space. Here are five inspiring ideas to enhance your culinary haven.
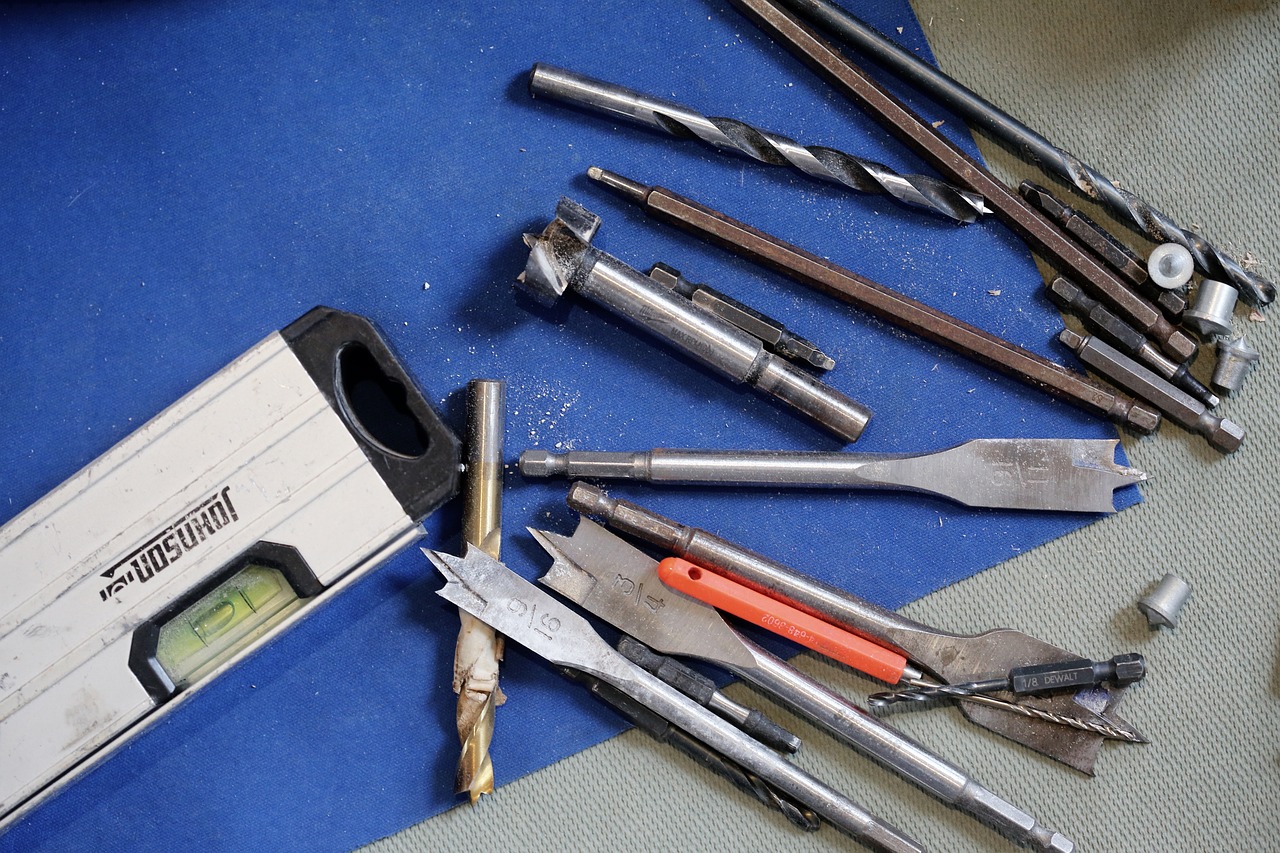
A custom spice rack is more than just a storage solution; it's an opportunity to express your personal style while keeping your spices organized and easily accessible. Imagine walking into your kitchen and seeing a beautifully crafted spice rack that not only enhances the decor but also makes cooking a breeze. You can create a spice rack that fits your kitchen's theme, whether it's rustic, modern, or eclectic. The best part? You can make it from materials you already have at home or find at your local hardware store, making it a budget-friendly project.
To start, consider the space you have available. Do you want a wall-mounted rack that saves counter space, or a freestanding model that can be placed on your countertop? Here are a few ideas to inspire your design:
- Wall-Mounted Spice Rack: This option is great for small kitchens. You can use reclaimed wood for a rustic look or sleek metal for a modern touch.
- Tiered Spice Rack: A tiered design allows you to see all your spices at a glance. You can make this with simple wooden shelves or even repurpose an old bookshelf.
- Magnetic Spice Rack: If you're short on space, consider using magnetic containers attached to your refrigerator or a magnetic board. This keeps your spices visible and adds a fun twist to your kitchen decor.
Once you decide on the type of rack, it’s time to think about the finishing touches. You can stain or paint the wood to match your kitchen's color scheme, or leave it natural for a more organic feel. Adding decorative labels to your spice jars can also enhance the overall look. Not only will it make your spices easy to identify, but it will also add a cohesive design element to your rack.
Here’s a simple step-by-step guide to creating your custom spice rack:
1. Gather materials: wood, screws, brackets, and paint or stain.
2. Measure the space and cut the wood to size.
3. Assemble the rack using screws and brackets.
4. Finish the wood with paint or stain.
5. Attach the rack to the wall or place it on the counter.
6. Organize your spices in jars and label them.
By taking on this DIY project, not only do you gain a functional piece of decor, but you also create a conversation starter in your kitchen. Every time you reach for a spice, you’ll be reminded of your creativity and effort. Plus, you’ll impress your friends and family with your unique and personalized kitchen accessory!
Q: What materials do I need to build a custom spice rack?
A: You will need wood (or other materials like metal or plastic), screws, brackets for mounting, and paint or stain if you want to finish it.
Q: Can I make a spice rack without any woodworking skills?
A: Absolutely! There are many designs that require minimal woodworking, such as using crates or repurposed furniture. You can also find pre-cut kits at craft stores.
Q: How do I keep my spices fresh in the rack?
A: Store spices in airtight containers and keep them in a cool, dark place to maintain their flavor.
2. Upcycled Jar Storage
Have you ever looked at a glass jar and thought, "This could be more than just a container"? Upcycling jars into storage solutions is not just a practical choice; it also adds a dash of charm and creativity to your kitchen. Imagine turning those empty pasta sauce jars into beautiful storage containers for your spices, grains, or even kitchen utensils. It’s like giving a second life to something that would otherwise end up in the recycling bin, and who doesn’t love a good DIY project that’s both eco-friendly and budget-friendly?
To get started, gather a collection of glass jars in various sizes. You can use anything from old jam jars to larger pickle jars. The beauty of upcycled jar storage is that each jar can serve a different purpose, so let your creativity run wild! You can paint them, wrap them in twine, or even leave them clear to showcase the contents inside. The choice is yours, and the end result will be a visually appealing and functional addition to your kitchen.
One of the best parts about upcycling jars is the ability to customize them. You can easily transform these jars into something that reflects your personal style. Whether you prefer a rustic farmhouse look or a sleek modern aesthetic, there are countless ways to make these jars fit your kitchen decor. For instance, you can use decorative labels to give each jar a unique identity. Not only do labels help you keep track of what’s inside, but they also add a personal touch to your kitchen organization.
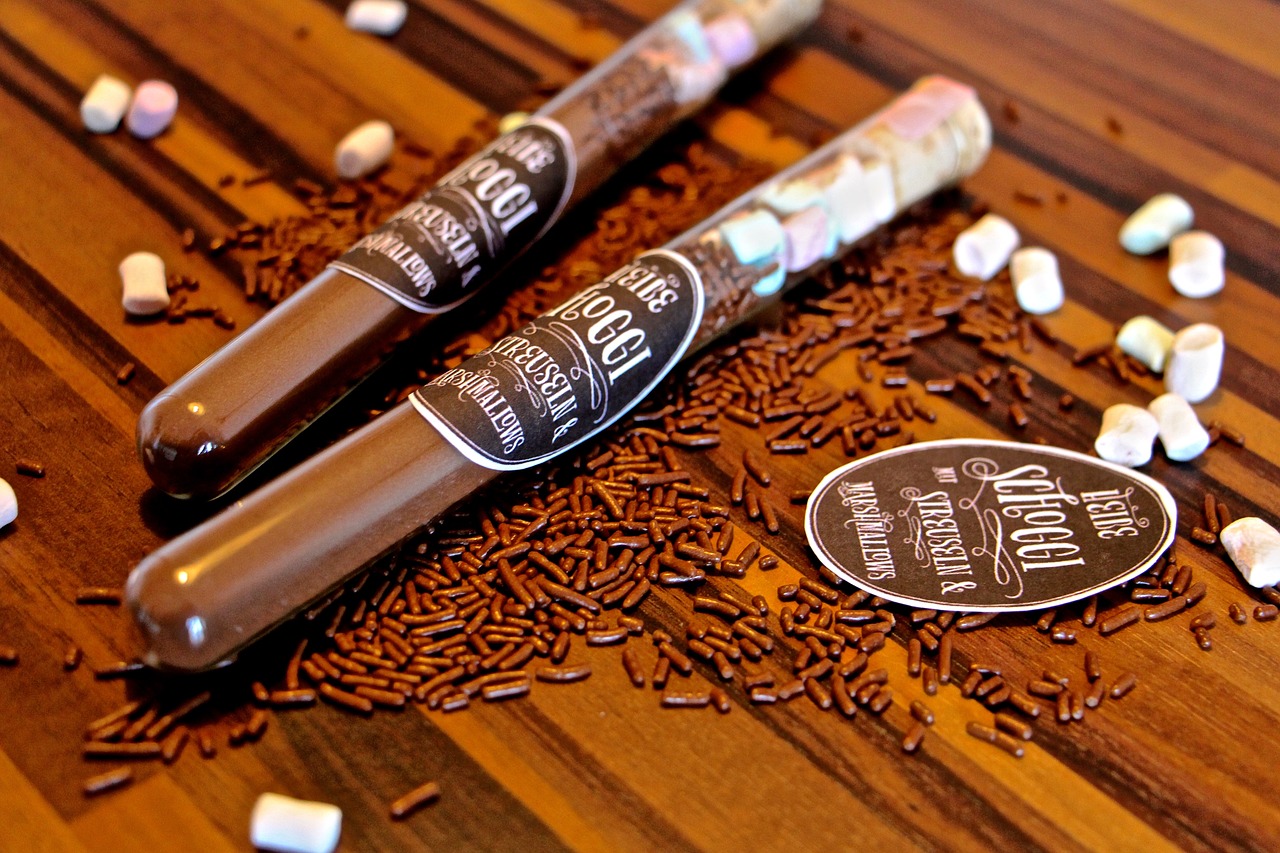
Adding decorative labels to your upcycled jars enhances their visual appeal and makes organization easy. Consider using chalkboard labels for a versatile option that allows for easy updates as contents change. They can be written on and wiped clean, making them perfect for jars that might have varying contents over time. Alternatively, printed labels can offer a more polished look, providing a cohesive theme that ties all your jars together. You can design and print these labels at home, selecting fonts and colors that match your kitchen's style.
Chalkboard labels are not only functional but also fun! You can easily write on them with chalk or a chalk pen, and when you want to change the contents of your jar, a simple wipe with a damp cloth will do the trick. To apply these labels, simply peel and stick them onto your jars. For a more rustic feel, consider using a distressed chalkboard paint on the jar lids or around the jar itself. This adds an extra layer of charm and creativity to your storage solutions.
If you prefer a more sophisticated look, printed labels are the way to go. You can design your labels using software like Canva or even Microsoft Word. Once you’ve created the perfect label, print it on adhesive paper, cut it out, and stick it onto your jars. This method allows you to create a uniform look across all your jars, making your kitchen not only organized but also visually appealing. You can even add a little personal touch by including the date you filled the jar or a fun fact about the contents!
Another way to elevate your upcycled jar storage is through color coordination. By selecting a color scheme that complements your kitchen decor, you can create a cohesive look that enhances the overall aesthetic of your space. For instance, if your kitchen features warm tones, consider painting your jars in soft hues of yellow, orange, and brown. Alternatively, if your kitchen has a modern vibe, sleek metallic or monochrome colors might be more suitable. The goal is to make your storage jars not just functional, but also a stylish part of your kitchen decor.
In conclusion, upcycled jar storage is a fantastic way to combine functionality with style. Not only do you get to organize your kitchen in a creative way, but you also contribute to a more sustainable lifestyle. So, gather those jars, unleash your creativity, and transform your kitchen into a personalized culinary haven!
- What types of jars can I use for upcycling? You can use any glass jars such as those from sauces, jams, or pickles. Just make sure they are clean and dry before using them.
- How can I safely remove labels from jars? Soak the jars in warm soapy water for a few hours, then gently scrape off the labels. For stubborn residue, a little bit of rubbing alcohol can help.
- Can I paint glass jars? Yes, you can paint glass jars! Use acrylic paint or spray paint designed for glass. Just ensure to let them dry completely before using them.
- How do I keep the contents of the jars fresh? Make sure to seal the jars properly, especially if you are storing food items. Using airtight lids can help maintain freshness.
2.1. Decorative Labels
When it comes to organizing your kitchen, decorative labels can be a game changer. They not only enhance the aesthetic appeal of your upcycled jars but also make it a breeze to find what you need when you need it. Imagine walking into your kitchen and seeing a row of beautifully labeled jars, each one telling you exactly what's inside. It’s like a little window into your culinary world!
Creating these labels can be a fun DIY project in itself. You can choose from a variety of materials and styles, depending on your personal taste and the overall decor of your kitchen. For instance, if your kitchen has a rustic vibe, you might opt for handwritten labels on kraft paper. On the other hand, a modern kitchen might call for sleek, printed labels with a minimalist design. The beauty of decorative labels lies in their versatility; they can be tailored to suit any theme or color scheme.
Here are a couple of popular options for decorative labels that you might consider:
- Chalkboard Labels: These are fantastic because they allow you to change the contents as needed. You can write on them with chalk or a chalk marker, making them reusable and perfect for ingredients that might change frequently.
- Printed Labels: For a more polished look, printed labels can be designed using your computer. You can incorporate fun fonts and colors that match your kitchen decor, giving a cohesive look to your storage area.
To add an extra layer of charm, consider incorporating some decorative elements into your labels. For example, you can use washi tape or decorative borders to frame the labels, making them pop even more. Additionally, think about using different shapes for your labels. Circular, rectangular, or even custom die-cut shapes can add a unique touch that sets your jars apart.
In terms of application, ensure that your labels are affixed securely. If you're using chalkboard labels, a simple wipe with a damp cloth will allow you to change the contents easily. For printed labels, consider using a waterproof adhesive to ensure they last through spills and splashes in the kitchen.
Ultimately, decorative labels are not just about organization; they are about creating a visual story in your kitchen. They can spark joy and creativity every time you reach for an ingredient. So, why not take a little time to craft some beautiful labels? Your kitchen will thank you, and you’ll feel a sense of pride every time you open those jars!
2.1.1. Chalkboard Labels
Chalkboard labels are a fantastic way to add a touch of creativity and functionality to your upcycled jars. These labels not only allow for easy identification of contents but also offer the flexibility to change the labels as needed. Imagine the convenience of simply wiping off the old label and writing a new one with a piece of chalk! This is especially useful in a bustling kitchen where ingredients can frequently change.
To create your own chalkboard labels, you'll need a few basic supplies: chalkboard paint, a paintbrush or sponge, and some adhesive labels or tags. Start by applying a layer of chalkboard paint to your chosen surface—this could be a small piece of wood, a plastic tag, or even directly onto the jar lid. Allow it to dry completely before writing on it. Once dry, you can use any chalk or chalk marker to label your jars.
One of the best parts about chalkboard labels is their versatility. You can use them in various ways:
- Identifying Ingredients: Label jars with the names of spices, grains, or other pantry items.
- Expiration Dates: Write the date of purchase or expiration for perishable items.
- Seasonal Themes: Change the labels to match holiday themes or events.
For those who love a neat and organized kitchen, these labels can be a game-changer. They also make great gifts for friends and family who enjoy cooking or crafting. Just imagine gifting a beautifully upcycled jar with a chalkboard label filled with homemade cookies or spices! It’s both a thoughtful and personalized gesture that anyone would appreciate.
When using chalkboard labels, it’s important to keep a few tips in mind for maintenance:
- Use a damp cloth to wipe the labels clean; avoid using harsh chemicals.
- For a more polished look, consider using chalk markers instead of traditional chalk, as they provide a finer tip and vibrant colors.
- Store jars in a cool, dry place to prevent the labels from wearing out too quickly.
In essence, chalkboard labels not only serve a practical purpose in your kitchen but also allow for a personal touch that reflects your style. Whether you’re going for rustic charm or modern elegance, these labels can seamlessly fit into your kitchen decor while keeping everything organized. So, grab some chalkboard paint and start transforming those jars into stylish storage solutions!

2.1.2. Printed Labels
When it comes to organizing your upcycled jars, printed labels can be a game changer. Not only do they provide a sleek and polished look, but they also help you maintain a sense of order in your kitchen. Imagine walking into your culinary space and instantly knowing where everything is, thanks to beautifully designed labels that match your kitchen decor.
Creating printed labels can be an enjoyable and creative process. You can customize them to reflect your personal style, whether you prefer a modern, minimalist look or something more rustic and charming. Here are some steps to help you get started:
- Choose Your Material: You can use adhesive label sheets, cardstock, or even printable vinyl. Each material has its own unique appeal, so pick one that aligns with your kitchen's aesthetic.
- Design Your Labels: Use design software or online tools to create your labels. Consider incorporating elements like your favorite colors, fonts, and even graphics that resonate with your cooking style.
- Print and Cut: Once you're satisfied with your designs, print them out. Make sure to cut them neatly to ensure they look professional.
- Apply to Jars: Clean the surface of your jars before applying the labels. This ensures they stick well and look great.
One of the best things about printed labels is their versatility. You can easily switch them out as your storage needs change or if you decide to re-organize your kitchen. Plus, they make it super easy for anyone to find what they need in your kitchen, from spices to grains. Just imagine your friends admiring your beautifully labeled jars during a dinner party, adding a touch of elegance and organization to your space.
To really elevate your printed labels, consider adding a few personal touches. You might want to include the date you filled the jar or even a short description of the contents. This not only adds a unique flair but also helps you keep track of freshness, especially for items like herbs and spices that can lose their potency over time.
In summary, printed labels are more than just functional; they can truly enhance the visual appeal of your upcycled jar storage. With a little creativity and effort, you can create labels that not only help you stay organized but also showcase your personal style in the heart of your home.

2.2. Color Coordination
When it comes to transforming your kitchen into a visually appealing space, color coordination plays a pivotal role. Imagine walking into a kitchen where the colors harmonize beautifully, creating an atmosphere that feels both inviting and stylish. It’s not just about slapping random colors together; it’s about creating a cohesive look that reflects your personality and enhances your culinary experience. So, how do you achieve this perfect blend?
First, consider the overall theme of your kitchen. Are you going for a rustic vibe, a modern aesthetic, or perhaps a vintage charm? Once you have a theme in mind, you can start selecting colors that complement it. For instance, if you lean towards a modern kitchen, you might want to stick with a palette of cool tones like blues, grays, and whites. On the other hand, a rustic kitchen might call for warm earth tones such as browns, greens, and muted yellows.
Next, think about the items you want to coordinate. Your upcycled jars can serve as a fantastic starting point. Here are a few tips to help you with color coordination:
- Choose a Dominant Color: Select one color that will be the main focus. This color can be used for larger items, such as your spice rack or wall art.
- Accent Colors: Pick two or three accent colors that complement your dominant color. These can be used for smaller items, like labels on your jars or pot holders.
- Consider Patterns: If you’re using patterned fabrics or decor, make sure they incorporate your chosen colors. This can help tie everything together.
Additionally, you might want to create a color palette by using a color wheel. This can help you visualize how different colors work together. For example, complementary colors (those opposite each other on the wheel) can create a vibrant look, while analogous colors (those next to each other) provide a more serene and harmonious feel.
To illustrate this concept further, consider the following color combinations:
| Dominant Color | Accent Colors | Theme |
|---|---|---|
| Soft Blue | White, Gray | Modern |
| Warm Beige | Rust, Olive Green | Rustic |
| Bright Yellow | Turquoise, Coral | Coastal |
Finally, don't forget to incorporate your personality into the color choices. Whether you prefer bold and bright hues or soft and muted tones, your kitchen should be a reflection of you. So grab those jars, paint them in colors that make you smile, and watch as your kitchen transforms into a space that feels uniquely yours!
Q: How do I choose the right colors for my kitchen decor?
A: Start by defining the theme of your kitchen. Choose a dominant color and select accent colors that complement it. Use a color wheel for guidance and don’t forget to reflect your personal style!
Q: Can I mix different patterns in my kitchen decor?
A: Yes! Mixing patterns can add depth to your decor. Just ensure that the colors in the patterns align with your overall color palette for a cohesive look.
Q: What are some easy ways to incorporate color into my kitchen?
A: You can paint your walls, use colorful kitchenware, add vibrant artwork, or upcycle jars in your chosen colors. Small changes can make a big impact!
3. DIY Wall Art
Creating your own wall art can be one of the most fulfilling DIY projects you embark on in your kitchen. Not only does it allow you to express your personal style, but it also transforms the space, making it feel more inviting and uniquely yours. Imagine walking into your kitchen and being greeted by vibrant colors and inspiring quotes that reflect your culinary passion! With just a bit of creativity and some simple materials, you can craft stunning pieces that will become conversation starters.
One of the simplest yet impactful ways to create wall art is through canvas prints. These can feature your favorite food quotes or beautiful images of ingredients that resonate with your cooking style. You don't need to be a professional artist to make these prints; just a little imagination and some basic supplies will do. You can use acrylic paints, stencils, or even print images from your computer to transfer onto canvas. The result? A personalized piece that adds character and warmth to your kitchen walls.
Another fantastic idea is to frame your cherished family recipes. This not only serves as a decorative element but also celebrates your culinary heritage. You can choose beautiful frames that match your kitchen's decor and arrange them in a gallery style on one wall. This way, every time you cook, you’ll be reminded of loved ones and the stories behind those recipes. Plus, it’s a great way to keep your family traditions alive!
Here are a few tips to consider when creating your DIY wall art:
- Choose a Theme: Whether it’s rustic, modern, or vintage, having a cohesive theme will tie your decor together.
- Color Palette: Select colors that complement your kitchen's existing color scheme to create a harmonious look.
- Mix and Match: Don’t be afraid to combine different styles and mediums. For example, a canvas print can look stunning next to a framed recipe card.
In addition to canvas prints and framed recipes, you could also explore the world of textile art. Think about using fabric remnants to create a colorful tapestry or wall hanging that adds texture to your kitchen. This not only enhances the aesthetic but also brings a cozy, homey feel to the space. And if you’re feeling particularly crafty, consider incorporating some 3D elements like wooden utensils or small pots with herbs as part of your wall decor.
Ultimately, the key to successful DIY wall art is to let your personality shine through. Your kitchen is a reflection of who you are, so make it as vibrant and lively as you wish! With these ideas in mind, you’ll be on your way to creating a kitchen that is not only functional but also a true expression of your culinary journey.
Q: What materials do I need to create canvas prints?
A: You will need canvas, acrylic paints, brushes, stencils, and optionally, printed images if you want to transfer them onto the canvas.
Q: How can I frame my recipes?
A: You can print your recipes on decorative paper or write them out by hand, then place them in frames that match your kitchen decor.
Q: Can I mix different styles of wall art?
A: Absolutely! Mixing styles can create an eclectic look that adds interest and character to your kitchen.
3.1. Canvas Prints
Creating your own canvas prints is a fantastic way to infuse your kitchen with personality and style. Imagine stepping into your culinary haven and being greeted by vibrant colors and inspiring quotes that reflect your passion for cooking. Not only do these canvas prints serve as a visual delight, but they also create a warm and inviting atmosphere that makes your kitchen feel like the heart of your home.
To get started, you don't need to be a professional artist. In fact, the beauty of DIY canvas prints lies in their simplicity and the personal touch you can add. You can choose to feature food quotes that resonate with you, or even showcase stunning images of your favorite dishes. The process is straightforward: grab some blank canvases, paint, and your creative ideas. You can use acrylic paints for bold colors or watercolors for a softer touch.
Here’s a quick breakdown of how to create your own canvas prints:
- Choose Your Inspiration: Think about what inspires you in the kitchen. Is it a favorite recipe, a beloved food quote, or even a colorful image of fresh produce?
- Gather Your Materials: You’ll need blank canvases, paints, brushes, and possibly stencils if you want to add text.
- Design Your Artwork: Sketch out your design on paper first. This will help you visualize how it will look on canvas.
- Paint Away: Start painting! Don’t be afraid to make mistakes; the beauty of DIY is in its imperfections.
- Let It Dry: Allow your artwork to dry completely before hanging it up.
Once your canvas prints are ready, think about how you want to display them. You can create a gallery wall by grouping several prints together, or hang a single statement piece that draws the eye. The key is to ensure that your artwork complements the overall decor of your kitchen. For instance, if your kitchen has a rustic feel, consider using earthy tones and natural imagery. If it’s more modern, bold colors and sleek designs might be the way to go.
In addition to being visually appealing, canvas prints can also serve as conversation starters. Imagine hosting friends and family, and they notice that beautiful canvas print featuring your favorite recipe or a witty cooking quote. It’s not just decor; it’s a reflection of who you are and what you love. Plus, every time you glance at it while whipping up a meal, it can inspire you to get creative in the kitchen!
So, roll up your sleeves, unleash your creativity, and transform your kitchen walls with custom canvas prints that are as unique as your culinary skills. It's a fun project that not only beautifies your space but also brings a smile to your face every time you step into your kitchen.
- What materials do I need for canvas prints? You will need blank canvases, acrylic or watercolor paints, brushes, and possibly stencils or markers for text.
- Can I use photos for my canvas prints? Absolutely! You can print your photos on canvas or use them as inspiration for your artwork.
- How do I hang my canvas prints? You can use picture hooks, nails, or adhesive strips, depending on the weight of your canvas and your wall type.
- How do I protect my canvas prints? Consider applying a clear varnish to protect your artwork from dust and moisture, especially in a kitchen environment.

3.2. Framed Recipe Cards
Framing cherished family recipes is not just a way to keep them safe; it’s also a beautiful way to celebrate your culinary heritage. Imagine walking into your kitchen and being greeted by the warm, nostalgic sight of your grandmother's handwritten lasagna recipe or your favorite chocolate chip cookie instructions. These framed recipe cards can serve as both sentimental decor and a source of inspiration for your next cooking adventure. Not only do they add a personal touch to your kitchen, but they also spark conversations with guests who admire your culinary legacy.
To get started, gather your favorite recipes—these could be passed down through generations or simply dishes that you love to prepare. Once you have your recipes, consider the following steps to create stunning framed recipe cards:
- Choose the Right Frame: Select frames that match your kitchen's aesthetic. Whether you prefer rustic wood, sleek metal, or colorful designs, the frame should complement the overall decor.
- Print or Handwrite: If you have beautiful handwriting, consider writing out the recipes by hand for a personal touch. Alternatively, you can type and print them using elegant fonts that reflect your style.
- Decorative Backgrounds: Enhance the visual appeal by using decorative scrapbook paper or fabric as a background for your recipe cards. This adds depth and character to your display.
Once your recipe cards are ready, think about how you want to display them. You can create a dedicated wall space in your kitchen or even use a small easel to showcase your favorite recipe on the countertop. Mixing and matching frames can create an eclectic look, or you can opt for a uniform style for a more cohesive appearance. The key is to let your personality shine through!
Additionally, framing recipes can be a fun project to involve your family in. Have a family night where everyone picks their favorite recipe, decorates their card, and shares the stories behind them. Not only does this create lasting memories, but it also results in a unique collection of framed recipes that truly represents your family's culinary journey.
In conclusion, framed recipe cards are more than just decor; they are a celebration of your love for cooking and the traditions that come with it. By incorporating these personalized pieces into your kitchen, you create a warm and inviting atmosphere that honors the past while inspiring future culinary creations.
Q: How can I preserve the original recipe cards while displaying them?
A: You can either make photocopies of the original cards or use a high-quality scanner to digitize them. Frame the copies instead of the originals to keep them safe.
Q: What materials do I need to frame recipe cards?
A: You will need frames, decorative backgrounds (like scrapbook paper), scissors, adhesive, and optionally, a printer if you choose to print your recipes.
Q: Can I use digital recipes for framing?
A: Absolutely! You can design your recipe cards digitally and print them out, ensuring they look polished and professional.
Q: How can I ensure my framed recipe cards last a long time?
A: Use acid-free materials for framing and consider glass or acrylic covers to protect the cards from dust and fading.
4. Stylish Pot Holders
When it comes to kitchen decor, pot holders are often overlooked, yet they play a crucial role in both function and style. Imagine whipping up a delicious meal and having your pot holders not only serve their purpose but also enhance the overall aesthetic of your kitchen. Crafting your own stylish pot holders is a fantastic way to combine creativity with practicality. Not only will they keep your hands safe from hot cookware, but they can also reflect your personal style, making your kitchen feel more inviting.
There are countless designs and materials you can choose from, allowing you to tailor your pot holders to fit seamlessly into your kitchen's theme. For instance, if your kitchen boasts a rustic vibe, consider using natural fabrics like cotton or linen, adorned with earthy tones or floral patterns. On the other hand, if you prefer a modern look, sleek fabrics in bold colors or geometric patterns can add a contemporary touch. The options are endless!
One popular choice for creating stylish pot holders is to make quilted pot holders. This technique not only adds an extra layer of insulation but also allows for a beautiful array of colors and textures. Quilting might sound intimidating at first, but it’s quite simple once you get the hang of it. You can start by choosing a few coordinating fabrics that resonate with your kitchen decor. After cutting them into squares, you can sew them together, adding a layer of batting in the middle for insulation. The result? A stunning, functional piece that you’ll be proud to display.
Another aspect to consider is the fabric choices. The right fabric can significantly impact both the look and durability of your pot holders. Here are some options to explore:
- Cotton: Breathable and easy to clean, cotton is a classic choice for pot holders.
- Silicone: For those who want something heat-resistant, silicone pot holders can be a stylish and practical option.
- Denim: Upcycling old jeans into pot holders adds a trendy, rustic feel to your kitchen.
In addition to the materials and designs, don’t forget about the finishing touches. Adding decorative elements like embroidery or patches can personalize your pot holders even more. You might even want to incorporate a fun quote or a beloved family recipe into the design. This not only makes them unique but also adds a touch of warmth to your kitchen.
In conclusion, stylish pot holders can be a delightful addition to your kitchen decor. They serve a practical purpose while allowing you to express your creativity. So, why not roll up your sleeves and start crafting? Your kitchen deserves it!
Q: How do I wash my fabric pot holders?
A: Fabric pot holders can typically be machine washed on a gentle cycle. However, always check the care label for specific instructions to keep them looking fresh.
Q: Can I use silicone pot holders in the oven?
A: Yes, silicone pot holders are designed to withstand high temperatures, making them safe for oven use. However, avoid direct contact with open flames.
Q: How can I ensure my pot holders are heat resistant?
A: To ensure heat resistance, opt for materials like cotton combined with batting or use silicone, which is naturally heat-resistant.
4.1. Quilted Pot Holders
Quilted pot holders are not just functional kitchen tools; they are an opportunity to showcase your creativity while ensuring safety in your culinary adventures. Imagine pulling a steaming casserole from the oven, your hands protected by a beautifully crafted pot holder that reflects your personal style. Crafting your own quilted pot holders can be a rewarding DIY project, allowing you to choose fabrics and patterns that resonate with your kitchen decor. Not only do they provide a practical solution for handling hot pots and pans, but they also serve as a charming decorative element that can brighten up your kitchen space.
To get started, you'll need a few basic materials: cotton fabrics, batting, and thread. The choice of fabric is crucial, as it can affect both the aesthetic and durability of your pot holders. Opt for vibrant colors or patterns that align with your kitchen's theme. For instance, if your kitchen has a rustic vibe, consider using floral or checkered fabrics. On the other hand, modern kitchens might benefit from bold geometric patterns. The key is to select fabrics that not only look good but can also withstand the heat.
When it comes to the quilting process, you can choose from various techniques. The most common method involves layering the fabric and batting, then sewing through all layers in a decorative pattern. This not only adds texture but also enhances the pot holder's heat resistance. You could even experiment with different stitching styles, such as diagonal lines or intricate designs, to make your pot holders truly unique.
Here’s a quick overview of the basic steps involved in making quilted pot holders:
- Choose your fabrics: Pick a combination of fabrics for the top, backing, and batting.
- Cut the pieces: Measure and cut your fabric into squares or rectangles, ensuring they are large enough to protect your hands.
- Layer the materials: Place the batting between the top fabric and backing fabric.
- Sew the layers: Use a sewing machine or hand stitch to quilt the layers together.
- Add binding: Finish the edges with a binding strip to give it a polished look.
As you create your quilted pot holders, don’t hesitate to let your imagination run wild! You can add personal touches like embroidered initials or decorative trims. Not only will these pot holders serve as a practical kitchen accessory, but they will also become cherished pieces that tell a story. Plus, they make fantastic gifts for friends and family who appreciate handmade items.
In conclusion, quilted pot holders are a delightful blend of functionality and artistry. They allow you to express your personality while ensuring safety in the kitchen. So why not roll up your sleeves, gather your materials, and start crafting your unique quilted pot holders today? You'll not only enhance your kitchen's aesthetic but also gain a sense of accomplishment from creating something with your own hands.
Q1: What materials do I need to make quilted pot holders?
A: You will need cotton fabric, batting, thread, and basic sewing tools like scissors and a sewing machine.
Q2: Can I use any fabric for pot holders?
A: It’s best to use cotton fabric as it can withstand heat better than synthetic fabrics. Avoid using materials that could melt or catch fire.
Q3: How do I clean quilted pot holders?
A: Most quilted pot holders can be machine washed on a gentle cycle. However, always check the care instructions for the specific fabrics you used.
Q4: Can I customize my pot holders?
A: Absolutely! You can choose any fabric patterns, colors, and even add personal touches like embroidery to make them unique.
4.2. Fabric Choices
Explore creative and budget-friendly DIY decor projects that can transform your kitchen into a stylish and functional space. Here are five inspiring ideas to enhance your culinary haven.
A custom spice rack not only organizes your spices but also adds a personal touch to your kitchen. Discover how to create a functional and aesthetically pleasing spice storage solution.
Transforming glass jars into storage containers can add charm and practicality to your kitchen. Learn how to upcycle jars for various storage needs while contributing to a sustainable environment.
Adding decorative labels to your upcycled jars enhances their visual appeal and makes organization easy. Explore creative labeling ideas that suit your kitchen's style.
Chalkboard labels provide a versatile option for jar labeling, allowing for easy updates as contents change. Discover tips for applying and maintaining these labels.
Printed labels can offer a polished look for your jars. Learn how to design and print labels that complement your kitchen decor.
Coordinating jar colors can create a cohesive look in your kitchen. Find out how to select colors that enhance your overall decor theme.
Creating your own wall art can personalize your kitchen space. Explore various DIY wall art ideas that reflect your style and culinary passion.
Canvas prints featuring food quotes or images can add character to your kitchen walls. Learn how to create stunning canvas art with simple techniques.
Framing cherished family recipes can serve as sentimental decor. Discover creative ways to display your favorite recipes in a decorative manner.
Crafting stylish pot holders can enhance both safety and decor in your kitchen. Explore various designs and materials that can elevate your kitchen's aesthetic.
Quilted pot holders offer a combination of functionality and style. Learn the basics of quilting to create beautiful, personalized pot holders.
Choosing the right fabric for your pot holders is crucial, as it impacts not only the look but also the durability and functionality of your creations. When selecting fabric, consider the following characteristics:
- Heat Resistance: Look for materials that can withstand high temperatures, such as cotton or silicone blends, ensuring safety while handling hot pots.
- Durability: Opt for fabrics that can endure frequent washing and heavy use. Canvas or denim are excellent choices for long-lasting pot holders.
- Design and Color: Think about the overall aesthetic of your kitchen. Choose fabrics that complement your existing decor—be it vibrant patterns, calming neutrals, or rustic prints.
Furthermore, mixing and matching different fabrics can create a unique and personalized look. For instance, combining a patterned fabric with a solid color can add depth and interest to your pot holders. Don't forget to consider the texture of the fabric as well; a soft, quilted finish can provide extra comfort while using the pot holders. Ultimately, the fabric you choose should reflect your personality and the style of your kitchen, making your DIY project not only functional but also a visual delight.
A decorative backsplash can instantly uplift your kitchen's appearance. Explore DIY options for creating a stunning and unique backsplash that reflects your personality.
Peel-and-stick tiles provide an easy way to update your backsplash without a major renovation. Learn about the installation process and design ideas.
Painting your backsplash can be a creative and cost-effective solution. Discover techniques and color schemes to achieve a stunning painted backsplash.
Q1: What is the best fabric for pot holders?
A1: Cotton is often recommended due to its heat resistance and durability, but blends with silicone can also offer excellent protection.
Q2: Can I use any fabric for my pot holders?
A2: It's best to avoid fabrics that are not heat resistant, such as polyester, as they can melt or catch fire.
Q3: How do I maintain my fabric pot holders?
A3: Regular washing in cold water is advisable, and air drying helps maintain the fabric's integrity.
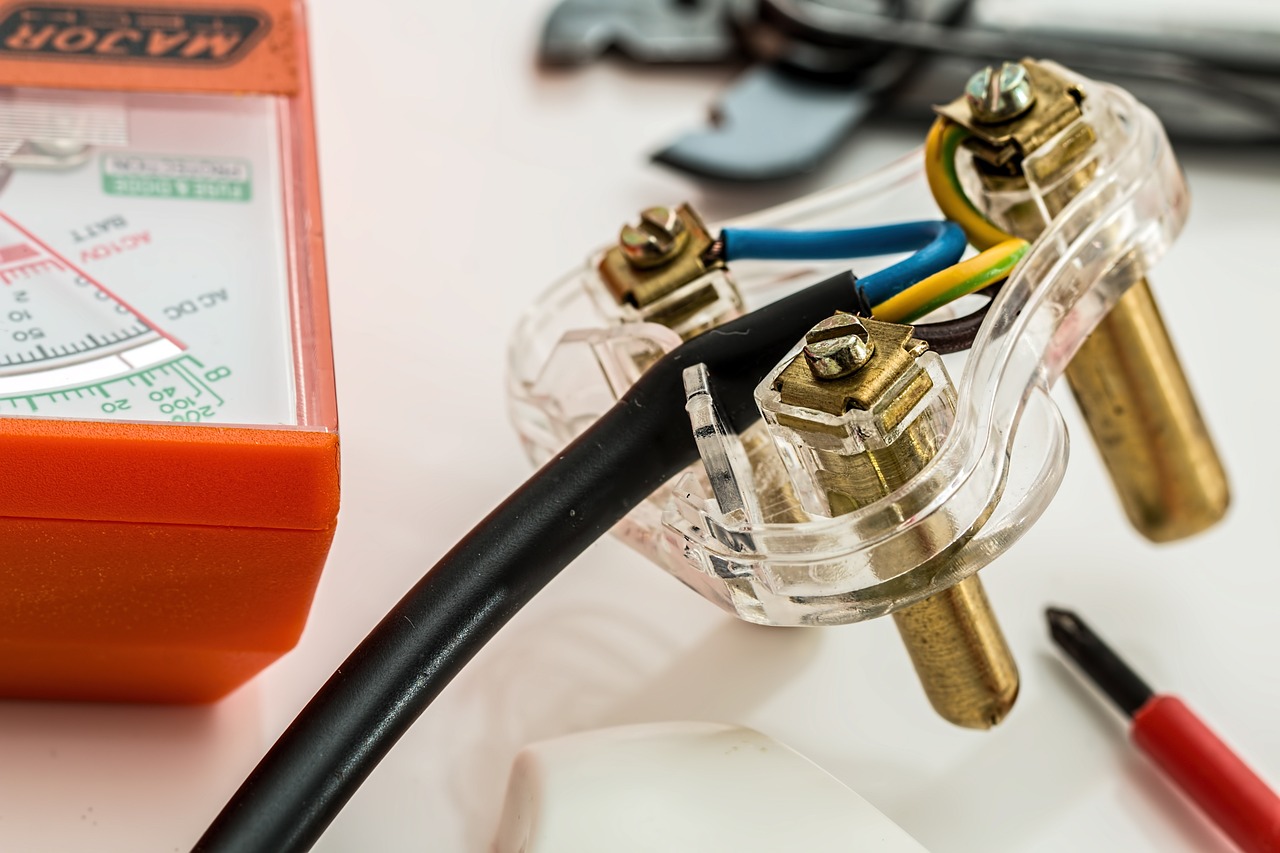
5. Decorative Backsplash
A decorative backsplash can be the *unsung hero* of your kitchen, instantly elevating its look and feel. Think of it as the *jewelry* of your culinary space—small but impactful. Whether you're preparing a gourmet meal or just brewing your morning coffee, a stunning backsplash can set the mood and reflect your personal style. The great news? You can achieve this transformation without breaking the bank. Let's dive into some exciting DIY options that will allow you to express your creativity while enhancing your kitchen's aesthetic.
One of the most popular and *affordable* options for a decorative backsplash is using peel-and-stick tiles. These tiles come in a variety of colors, patterns, and textures, making it easy to find something that suits your kitchen's vibe. The installation process is incredibly simple; you just peel off the backing and stick the tiles onto your wall. No need for messy adhesives or grout! This means you can have a *brand new look* in a matter of hours. Plus, if you ever want to switch things up, removing them is just as easy.
Another creative approach is to paint your backsplash. This option allows for *unlimited customization*. You can choose colors that complement your cabinets and countertops or go bold with a contrasting shade that makes a statement. Using stencils, you can even create intricate designs that become a focal point in your kitchen. The best part? If you get tired of the color, a fresh coat of paint can completely change the look again—talk about versatility!
When considering a backsplash, think about how it can tie together the elements in your kitchen. For instance, if you have a rustic farmhouse theme, you might opt for *subway tiles* in a soft white or a distressed wood look. On the other hand, a modern kitchen could benefit from sleek, metallic tiles that add a touch of glamour. The key is to ensure that your backsplash harmonizes with the overall design, creating a cohesive and inviting atmosphere.
To help you get started, here’s a quick comparison of the two options mentioned:
| Feature | Peel-and-Stick Tiles | Painted Backsplash |
|---|---|---|
| Cost | Moderate | Low |
| Installation | Easy | Moderate |
| Durability | Water-resistant | Varies |
| Customization | High | Unlimited |
Now that you have some ideas, why not grab your tools and get started on your backsplash project? Remember, it’s all about making your kitchen a place where you *love to spend time*. With a little creativity and effort, you can create a stunning backdrop that not only protects your walls but also reflects your unique style and personality.
- How do I clean a painted backsplash? - Generally, you can wipe it down with a damp cloth. For tougher stains, a mild soap solution works well.
- Are peel-and-stick tiles removable? - Yes, they can be removed without damaging the wall, making them perfect for renters!
- Can I mix and match different backsplash styles? - Absolutely! Mixing styles can create a unique and personalized look.
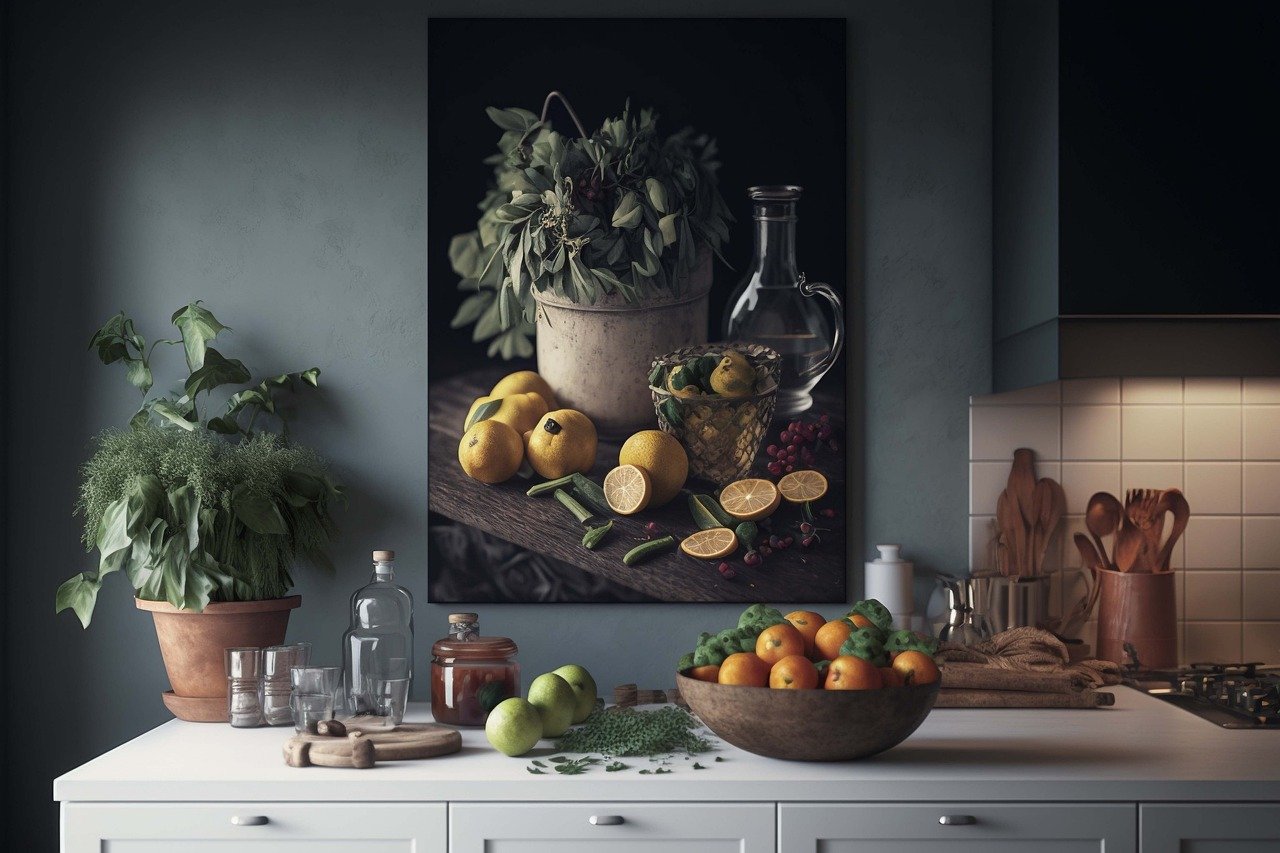
5.1. Peel-and-Stick Tiles
If you're looking to give your kitchen a quick and stunning makeover, peel-and-stick tiles are your best friend! These innovative tiles are not only easy to install but also come in a myriad of designs, colors, and finishes that can fit any kitchen aesthetic. Imagine transforming a dull wall into a vibrant focal point without the mess and hassle of traditional tiling. With peel-and-stick tiles, you can achieve a professional look in just a few hours, making them perfect for the DIY enthusiast.
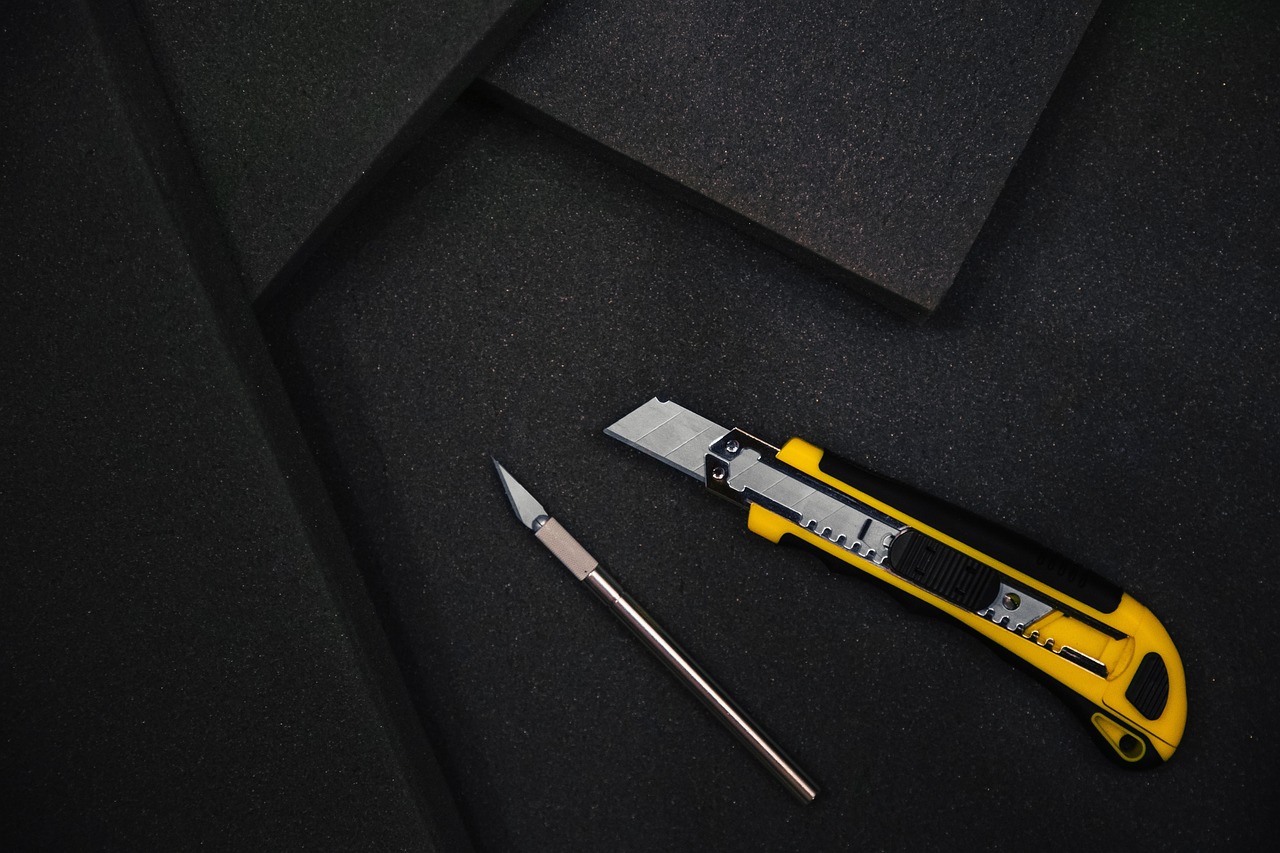
The installation process is as simple as it sounds. First, you need to prepare your wall by cleaning it thoroughly to ensure the tiles adhere properly. Once the surface is prepped, measure and cut the tiles as needed. The best part? You don't need any special tools—just a utility knife and a straight edge will do! Simply peel off the backing and stick the tile onto the wall. Press firmly to eliminate any air bubbles, and voilà! You have a stunning backsplash that can elevate your kitchen's style.
Here are a few design ideas to consider when using peel-and-stick tiles:
- Subway Tiles: Classic and timeless, these tiles can create a clean and modern look.
- Patterned Tiles: Add a pop of personality with bold patterns that can serve as a conversation starter.
- Metallic Finishes: For a touch of glamour, opt for tiles with metallic accents that catch the light beautifully.
Not only are peel-and-stick tiles visually appealing, but they are also incredibly practical. They are easy to clean, resistant to moisture, and can withstand the heat of a kitchen environment. If you ever want to change things up, removing them is just as easy as putting them on! Just peel them off, and you can start fresh without damaging your walls. This flexibility makes them an ideal choice for renters or anyone who loves to refresh their decor frequently.
In conclusion, peel-and-stick tiles are a fantastic way to add a unique touch to your kitchen without breaking the bank or spending weeks on installation. With a little creativity and effort, you can create a stunning backsplash that reflects your personal style and enhances the overall ambiance of your culinary space.
Q: Can I use peel-and-stick tiles in high-moisture areas?
A: Yes! Most peel-and-stick tiles are designed to be moisture-resistant, making them suitable for kitchens and bathrooms.
Q: How do I clean peel-and-stick tiles?
A: Simply wipe them down with a damp cloth and mild soap. Avoid abrasive cleaners that could scratch the surface.
Q: Can I remove and reposition the tiles?
A: Yes! Peel-and-stick tiles can be repositioned as long as they haven’t been pressed down too firmly or have been in place for an extended period.
Q: What surfaces can I apply peel-and-stick tiles to?
A: These tiles adhere best to smooth, clean surfaces, such as drywall, painted wood, or existing tile. Always check the manufacturer's recommendations.
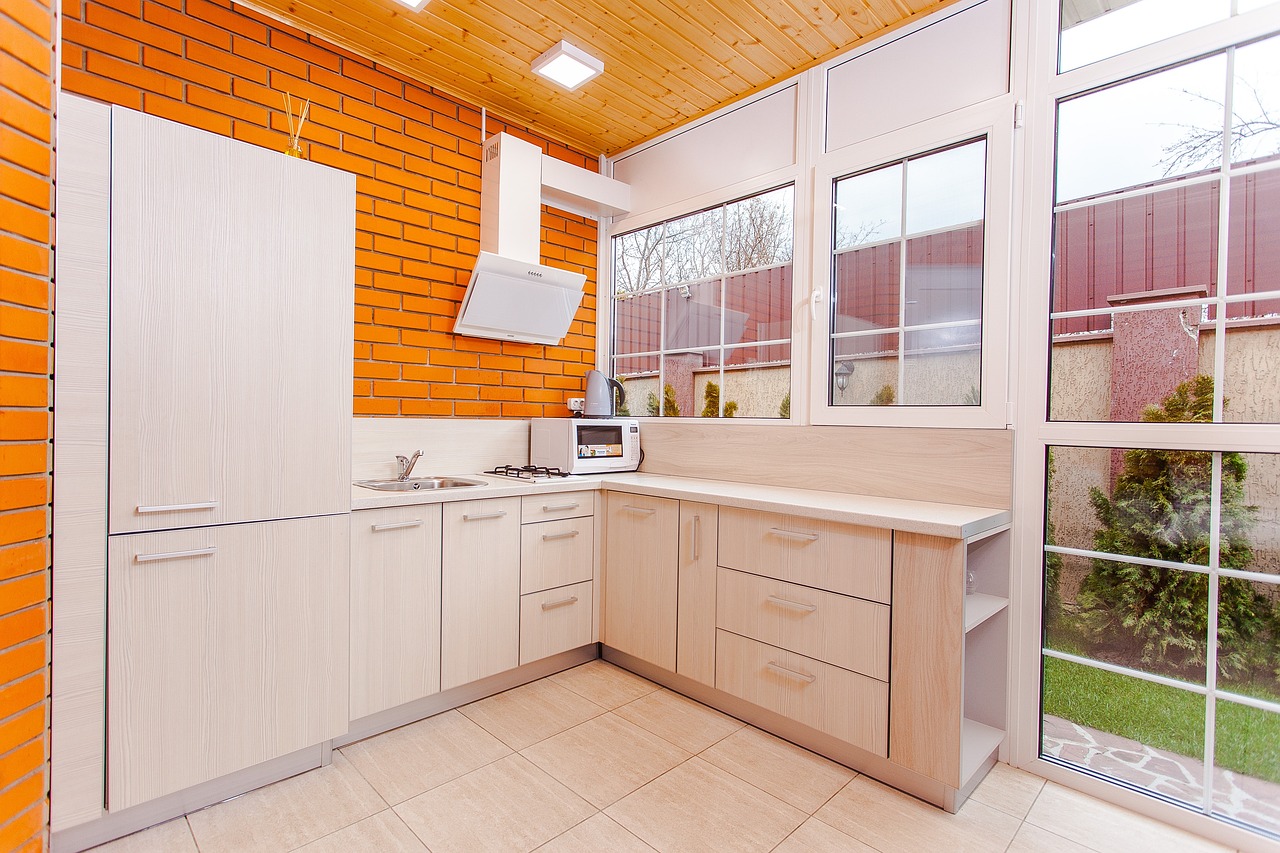
5.2. Painted Backsplash Ideas
When it comes to adding a splash of personality to your kitchen, a painted backsplash can be a game-changer. Imagine transforming a dull wall into a vibrant canvas that reflects your unique style and culinary passion. Not only is painting a backsplash a cost-effective solution, but it also allows you to experiment with colors and designs that might be too bold for other areas of your home. So, how do you go about it? Let’s dive into some inspiring ideas!
First off, consider the colors that resonate with you. Bright and bold hues can create a lively atmosphere, while soft pastels might lend a more serene vibe. Think about the overall theme of your kitchen. Are you going for a modern look, or do you prefer a rustic charm? Here are a few ideas to get your creative juices flowing:
- Monochromatic Magic: Choose a single color and use varying shades of it to create a gradient effect. This can add depth and sophistication.
- Geometric Patterns: Use painter's tape to create sharp lines and shapes. This method can produce a stunning visual impact without requiring advanced artistic skills.
- Chalkboard Paint: For a fun twist, why not paint your backsplash with chalkboard paint? This allows you to jot down recipes, grocery lists, or even doodle while you cook!
Once you've decided on a design, it’s essential to prep the surface properly. Start by cleaning the area thoroughly to remove any grease or grime. Next, consider applying a primer, especially if you're painting over a glossy surface. This step ensures that your paint adheres well and lasts longer. After priming, you can apply your chosen paint color. Use a high-quality brush or roller for a smooth finish, and don't forget to allow adequate drying time between coats.
After painting, you might want to protect your masterpiece. Applying a clear sealant can help shield the paint from moisture and splatters, ensuring that your backsplash remains as stunning as the day you painted it. With a little creativity and effort, your painted backsplash can become the focal point of your kitchen, sparking conversations and inspiring culinary adventures.
In conclusion, a painted backsplash is not just a practical addition; it’s an opportunity to express your creativity and style. So grab those brushes and unleash your inner artist! Your kitchen deserves a beautiful backdrop that makes cooking feel like a joy rather than a chore.
Q: Can I paint over existing tile?
A: Yes, you can! Just ensure you clean the tiles thoroughly and use a primer designed for glossy surfaces.
Q: What type of paint should I use for a backsplash?
A: It's best to use a high-quality, water-resistant paint, preferably semi-gloss or satin finish for easy cleaning.
Q: How do I maintain my painted backsplash?
A: Regular cleaning with mild soap and water is usually sufficient. Avoid abrasive cleaners that could damage the paint.
Q: Is it easy to change the color later?
A: Absolutely! If you ever want a new look, just repaint it. The process is straightforward and can be done anytime.
Frequently Asked Questions
- What materials do I need for a custom spice rack?
To create a custom spice rack, you'll typically need wood (like pine or plywood), screws, a saw, sandpaper, and paint or wood stain for finishing. You can also use hooks or magnetic strips for added functionality!
- How can I effectively upcycle glass jars for storage?
Upcycling glass jars is simple! Clean the jars thoroughly, then you can paint or decorate them as desired. Use them to store spices, grains, or even craft supplies. Just make sure to label them for easy identification!
- What are some creative ways to label my upcycled jars?
You can use chalkboard labels for a fun and changeable option, or printed labels for a sleek look. For a personal touch, consider hand-lettering your labels or using washi tape to create unique designs!
- How do I create DIY wall art for my kitchen?
Creating DIY wall art is all about expressing your style! You can make canvas prints with food quotes, or frame cherished family recipes. Just gather some materials, let your creativity flow, and hang your masterpieces!
- What types of fabric are best for making stylish pot holders?
When choosing fabric for pot holders, look for cotton or cotton blends as they are heat-resistant and durable. You can also consider insulated fabrics for added protection while cooking!
- How can I create a decorative backsplash without breaking the bank?
A great budget-friendly option is using peel-and-stick tiles, which are easy to install and come in various designs. Alternatively, painting your backsplash can be a fun DIY project that allows for endless creativity!


