How to Fix Common Pottery Missteps
Pottery can be a wonderfully rewarding hobby, but it’s not without its challenges. Whether you're a seasoned potter or just starting out, you’ve probably encountered some missteps along the way. The beauty of pottery lies not just in creating, but in learning from those mistakes. This article explores common mistakes made in pottery and offers practical solutions to enhance your skills. From glazing issues to firing errors, we provide insights to help you improve your pottery techniques.
Different clay types can greatly influence your pottery results. Did you know that the clay you choose can determine the outcome of your entire project? For instance, earthenware is known for its porous nature and vibrant colors, while stoneware is durable and great for functional pieces. On the other hand, porcelain is admired for its fine quality and translucence but can be tricky to work with. Understanding the characteristics of various clays can help you choose the right one for your projects and avoid common pitfalls. Here’s a quick overview:
| Clay Type | Characteristics | Best Uses |
|---|---|---|
| Earthenware | Porous, vibrant colors | Decorative pieces, low-fire glazes |
| Stoneware | Durable, non-porous | Functional items, dinnerware |
| Porcelain | Fine, translucent | Delicate items, high-end art |
Glazing can be tricky, and many potters face challenges with it. Have you ever applied a glaze only to find that it didn’t turn out as expected? It’s frustrating, right? Here, we’ll identify frequent glazing errors and provide tips on achieving a smooth, even finish without unwanted surprises. One common mistake is not shaking or stirring your glaze properly before application. This can lead to uneven color and texture. Additionally, applying too thick a layer of glaze can cause drips and runs. To achieve that professional look, consider these tips:
- Always stir your glaze thoroughly before use.
- Apply multiple thin layers instead of one thick one.
- Experiment with different application methods, such as dipping or spraying.
Selecting the appropriate glaze for your pottery is crucial. The right glaze can enhance the beauty of your work, while the wrong one can lead to disaster. Factors to consider include the firing temperature of the glaze, its compatibility with your clay, and the final effect you desire. For example, if you’re working with stoneware, you’ll want to choose a glaze that can withstand higher temperatures. Understanding these factors will help you make informed decisions that elevate your pottery.
Proper glaze application techniques can prevent drips and uneven surfaces. Have you ever admired a piece of pottery and wondered how they achieved that flawless finish? It often comes down to technique. Whether you’re brushing, dipping, or spraying, the method you choose can make a significant difference. For instance, when brushing, use a soft brush and apply in long, even strokes to avoid streaks. If you’re dipping, ensure that the piece is fully submerged for a consistent coat. Mastering these techniques will lead to stunning results!
Firing at the wrong temperature can ruin your glazing efforts. It’s like baking a cake at the wrong temperature; you end up with a collapsed mess instead of a delicious treat. To determine the correct firing temperature for your specific glaze and clay combination, always refer to the manufacturer’s guidelines. Keeping a firing log can also help you track the temperatures you’ve used and the results achieved, allowing you to fine-tune your process over time.
Cracks and flaws can be disheartening, but they are fixable. Have you ever pulled a piece out of the kiln only to find an unsightly crack? Don’t despair! Common causes of cracks include rapid drying, uneven thickness, or improper firing. Effective methods for repairing them include using slip to fill in cracks or re-firing the piece if it’s structurally sound. Remember, every flaw tells a story, and with a little creativity, you can turn imperfections into unique features.
Firing errors can lead to disappointing results. Perhaps you’ve experienced a piece that came out too brittle or one that just didn’t look right. Identifying common firing mistakes is the first step to ensuring your pottery turns out as intended. A frequent issue is not allowing enough time for your kiln to cool down. Rushing this process can cause thermal shock, leading to cracks. Always allow your kiln to cool naturally to avoid this problem.
Over-firing can damage your pottery. It’s like leaving your favorite dish in the oven for too long—it can go from perfect to ruined in a flash! We’ll explore how to recognize the signs of over-firing, such as excessive glossiness or warping, and strategies to avoid it. Always monitor your kiln’s temperature closely and consider investing in a reliable pyrometer to keep track of the firing process.
Under-firing can leave your pottery weak and unglazed. This can be incredibly frustrating, especially after putting in so much work. Recognizing under-firing issues is crucial; look for dull surfaces or pieces that feel overly soft. To correct under-firing, you may need to refire your pieces, but ensure you follow the correct temperature guidelines to avoid further damage. Remember, a well-fired piece will not only look beautiful but will also stand the test of time!
Q: What is the best clay for beginners?
A: Earthenware is often recommended for beginners due to its workability and vibrant colors.
Q: How can I avoid glazing mistakes?
A: Always stir your glaze thoroughly and apply in thin layers for the best results.
Q: What should I do if my piece cracks?
A: You can repair cracks with slip or consider re-firing if the piece is structurally sound.
Q: How can I tell if my piece is over-fired?
A: Signs include excessive glossiness, warping, or a change in color.
Understanding Clay Types
When it comes to pottery, understanding the different types of clay you can work with is absolutely essential. Each type of clay has its own unique characteristics that can significantly influence your final product. Whether you're a novice potter or a seasoned artist, knowing how to choose the right clay can mean the difference between a stunning creation and a frustrating failure.
Let's start with the most common types of clay:
- Earthenware: This is the most accessible type of clay for beginners. It's known for its low firing temperature and is often used for decorative pottery. Earthenware is porous and can be quite fragile, but it offers vibrant colors when glazed.
- Stoneware: Stoneware is a popular choice among potters due to its durability. It fires at a higher temperature than earthenware, making it less porous and more suitable for functional items like dishes and mugs. The finish can range from smooth to rough, depending on how you work with it.
- Porcelain: Often considered the "queen" of clays, porcelain is renowned for its strength and translucence. It requires high firing temperatures and can be challenging to work with, but the results are often breathtaking. Porcelain is perfect for fine art pieces and delicate dinnerware.
Choosing the right clay can help you avoid common pitfalls in pottery. For instance, if you're planning to create a functional piece, opting for stoneware or porcelain can provide the durability you need. On the other hand, if you're looking to make something decorative, earthenware might be your best bet.
Another important factor to consider is the moisture content of the clay. Each type has its own ideal moisture level, which affects how it can be shaped and fired. Too much moisture can lead to cracks during drying, while too little can make the clay difficult to work with. Therefore, it's crucial to familiarize yourself with the specific requirements of the clay you choose.
Additionally, consider the color of the clay body itself. This can impact the overall aesthetic of your finished work. For example, if you're using a white porcelain, it will allow your glazes to shine through beautifully, while darker clays can produce a more earthy, rustic look.
In summary, understanding the various types of clay and their properties will empower you to make informed choices in your pottery journey. By selecting the right clay for your projects, you can enhance your skills and avoid common mistakes that often lead to disappointment. So, the next time you’re at your local pottery supply store, take a moment to consider what type of clay will best suit your artistic vision!
Common Glazing Mistakes
Glazing can be one of the most exhilarating yet challenging aspects of pottery. It’s like dressing up your creations in their finest attire, but if you don’t get it right, the results can be disappointing. Many potters, both beginners and seasoned artists, run into glazing issues that can lead to frustration. You might find yourself staring at a piece that looked stunning in your mind, only to reveal a splotchy or uneven finish after firing. So, what are these common glazing mistakes, and how can you avoid them? Let’s dive in!
One of the most frequent errors is applying glaze too thickly. While it may seem like a good idea to slather on that beautiful color, too much glaze can lead to drips and runs that ruin the aesthetic of your piece. Think of it like putting on too much icing on a cake; it might look tempting, but it can overwhelm the taste. Instead, aim for a thin, even layer of glaze. This can be achieved by using a brush or spray method, ensuring that you cover the surface without overloading it.
Another common pitfall is not properly preparing your pottery before glazing. If there are dust particles or fingerprints on your piece, they can interfere with the glaze’s adherence. Imagine trying to paint a wall without cleaning it first; the results would be less than stellar. Always ensure your pottery is clean and dry before applying any glaze. A simple wipe with a damp sponge can work wonders!
Moreover, many potters overlook the importance of testing their glazes. Each glaze can react differently based on the clay body and firing temperature, leading to unexpected results. It’s wise to create small test tiles with your chosen glaze before applying it to a larger piece. This way, you can see how the glaze behaves and make adjustments as needed. Remember, testing is not just for beginners; even experienced potters can benefit from this practice.
When it comes to choosing a glaze, potters often fall into the trap of selecting based solely on color. While aesthetics are important, the compatibility of the glaze with your clay and firing method is crucial. A glaze that looks fantastic on paper may not perform well in practice. Always check the manufacturer's recommendations and consider factors such as the firing temperature and the clay body’s characteristics.
Lastly, let’s talk about the dreaded “glaze crawling.” This occurs when the glaze pulls away from the clay during firing, leaving bare spots that can be unsightly. Crawling can be caused by several factors, including applying glaze too thickly, using incompatible glazes, or firing too quickly. To combat this, ensure you apply a thin and even coat of glaze and allow your pieces to dry thoroughly before firing. It’s like letting your dough rest before baking; it helps everything come together perfectly!
In summary, glazing is an art that requires attention to detail and a bit of experimentation. By avoiding these common mistakes, you can enhance the beauty of your pottery and ensure that each piece turns out just as you envisioned. Remember, even the most experienced potters have faced glazing challenges, but with practice and patience, you’ll find your rhythm!
- What is the best way to apply glaze? The best way is to use a brush or spray method, ensuring a thin, even layer.
- How can I prevent glaze crawling? Apply a thin coat, ensure compatibility with your clay, and allow proper drying time.
- Should I test my glazes? Absolutely! Testing helps you understand how the glaze will react with your clay and firing conditions.
Choosing the Right Glaze
When it comes to pottery, choosing the right glaze is like picking the perfect outfit for a special occasion; it can make or break your creation. The glaze not only affects the aesthetic appeal of your pottery but also its functionality. So, how do you navigate this colorful world of glazes? First, you need to consider the type of clay you’re using. Each clay body has its own specific firing temperature and characteristics, which can greatly influence the final look of your piece. For instance, stoneware clays typically work well with glazes that mature at high temperatures, while earthenware clays are better suited for lower-temperature glazes.
Moreover, think about the finish you desire. Do you want a glossy, matte, or satin surface? Glossy glazes can enhance colors and add vibrancy, while matte glazes offer a more understated elegance. You might also want to consider the effect of layering different glazes. Just like a painter mixes colors on a palette, you can create unique effects by applying multiple glazes to your pottery. However, be cautious! Not all glazes play well together, and some combinations can lead to unexpected results.
Another crucial factor to consider is the functionality of your pottery. If you’re making dinnerware, for example, ensure that the glaze is food-safe and durable. Some glazes can leach harmful chemicals, so always check the labels or consult with your supplier. To help you make an informed decision, here's a quick comparison of common glaze types:
| Glaze Type | Finish | Best For |
|---|---|---|
| Glossy | Shiny and reflective | Functional ware, decorative pieces |
| Matte | Non-reflective | Artistic pieces, subtle designs |
| Satin | Between glossy and matte | Versatile use, modern aesthetics |
| Transparent | Clear, shows clay body | Layering, enhancing underglazes |
Finally, don’t hesitate to experiment! The world of glazes is vast and full of surprises. Keep a journal of your experiments and results, as it will help you refine your choices over time. Remember, even the most seasoned potters make mistakes; the key is to learn from them and keep pushing your artistic boundaries. So, grab your clay, choose your glaze, and let your creativity flow!
- What is the best glaze for beginners? - Start with a clear gloss glaze; it’s easy to apply and enhances the natural beauty of your clay.
- Can I mix different types of glazes? - Yes, but always test small batches first to see how they interact.
- How do I know if a glaze is food-safe? - Check the manufacturer’s specifications or labels for food safety guidelines.
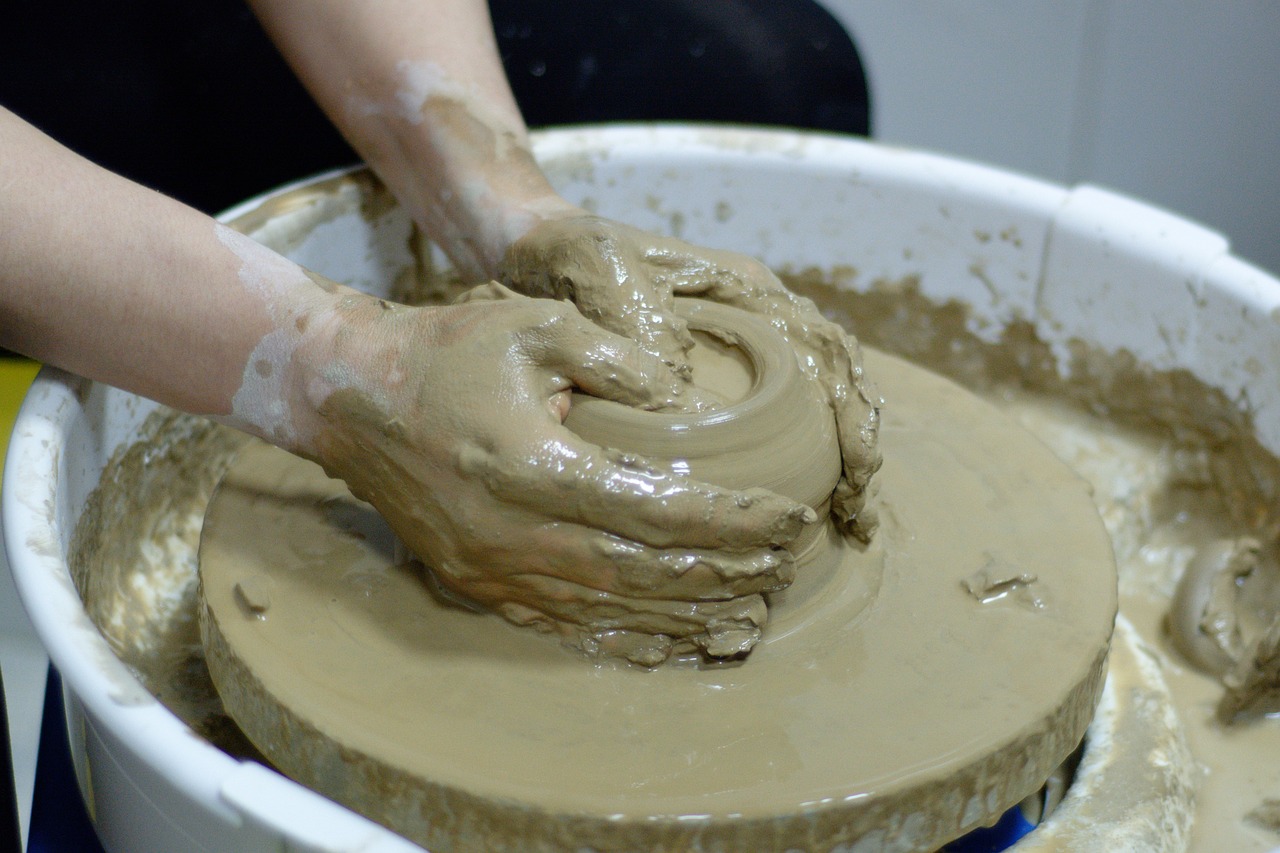
Understanding Glaze Application
When it comes to pottery, glaze application is one of the most crucial steps in the process. It can be the difference between a piece that looks amateurish and one that radiates professionalism. Many potters, especially beginners, struggle with this aspect, leading to disappointing results. So, how can we master the art of glaze application? First, it’s essential to understand that the technique you choose can significantly affect the final appearance of your work. Whether you prefer dipping, pouring, brushing, or spraying, each method has its unique advantages and challenges.
Let’s dive deeper into the various methods of applying glaze to your pottery. For instance, dipping is a popular technique that involves submerging your piece into a container filled with glaze. This method is great for achieving an even coat, but it requires careful control to avoid drips. On the other hand, brushing allows for more detailed work, especially on intricate designs, but it can lead to uneven surfaces if not done correctly. Pouring is another method that can produce stunning effects, particularly with layered glazes, but again, it demands a steady hand to prevent spills. Lastly, spraying can create a smooth, gradient-like finish, ideal for larger pieces.
Regardless of the method you choose, there are a few common pitfalls to avoid. For example, applying too much glaze can lead to drips and runs, while too little can leave areas unglazed. It’s essential to find that sweet spot. Additionally, ensure that your pottery is clean and free of dust before applying glaze, as any contaminants can interfere with adhesion and cause unsightly blemishes.
To help you visualize the differences in glaze application techniques, here’s a simple
| Application Method | Advantages | Challenges |
|---|---|---|
| Dipping | Even coverage | Risk of drips |
| Brushing | Detail-oriented | Uneven surfaces |
| Pouring | Layered effects | Spills |
| Spraying | Smooth finish | Requires special equipment |
One important aspect of glaze application is the drying time. Allowing your glaze to dry properly before firing is crucial. If you rush this process, you might end up with a less-than-desirable finish. A good rule of thumb is to let your glazed pieces sit for at least an hour before moving them to the kiln. This waiting period ensures that the glaze has adhered well to the surface and is less likely to run during the firing process.
In conclusion, mastering glaze application is a vital skill for any potter looking to elevate their work. By understanding the different methods and their respective advantages and challenges, you can choose the right technique for your project. Remember, practice makes perfect! Don't hesitate to experiment and find what works best for you. So, are you ready to dive into the colorful world of glazes? Your next masterpiece awaits!
- What is the best method for applying glaze? It depends on your project! Dipping is great for even coverage, while brushing allows for details.
- How long should I let my glaze dry? A minimum of one hour is recommended before firing.
- Can I mix different glazes? Yes! Mixing glazes can create unique effects, but be sure to test your combinations first.
Firing Temperature Considerations
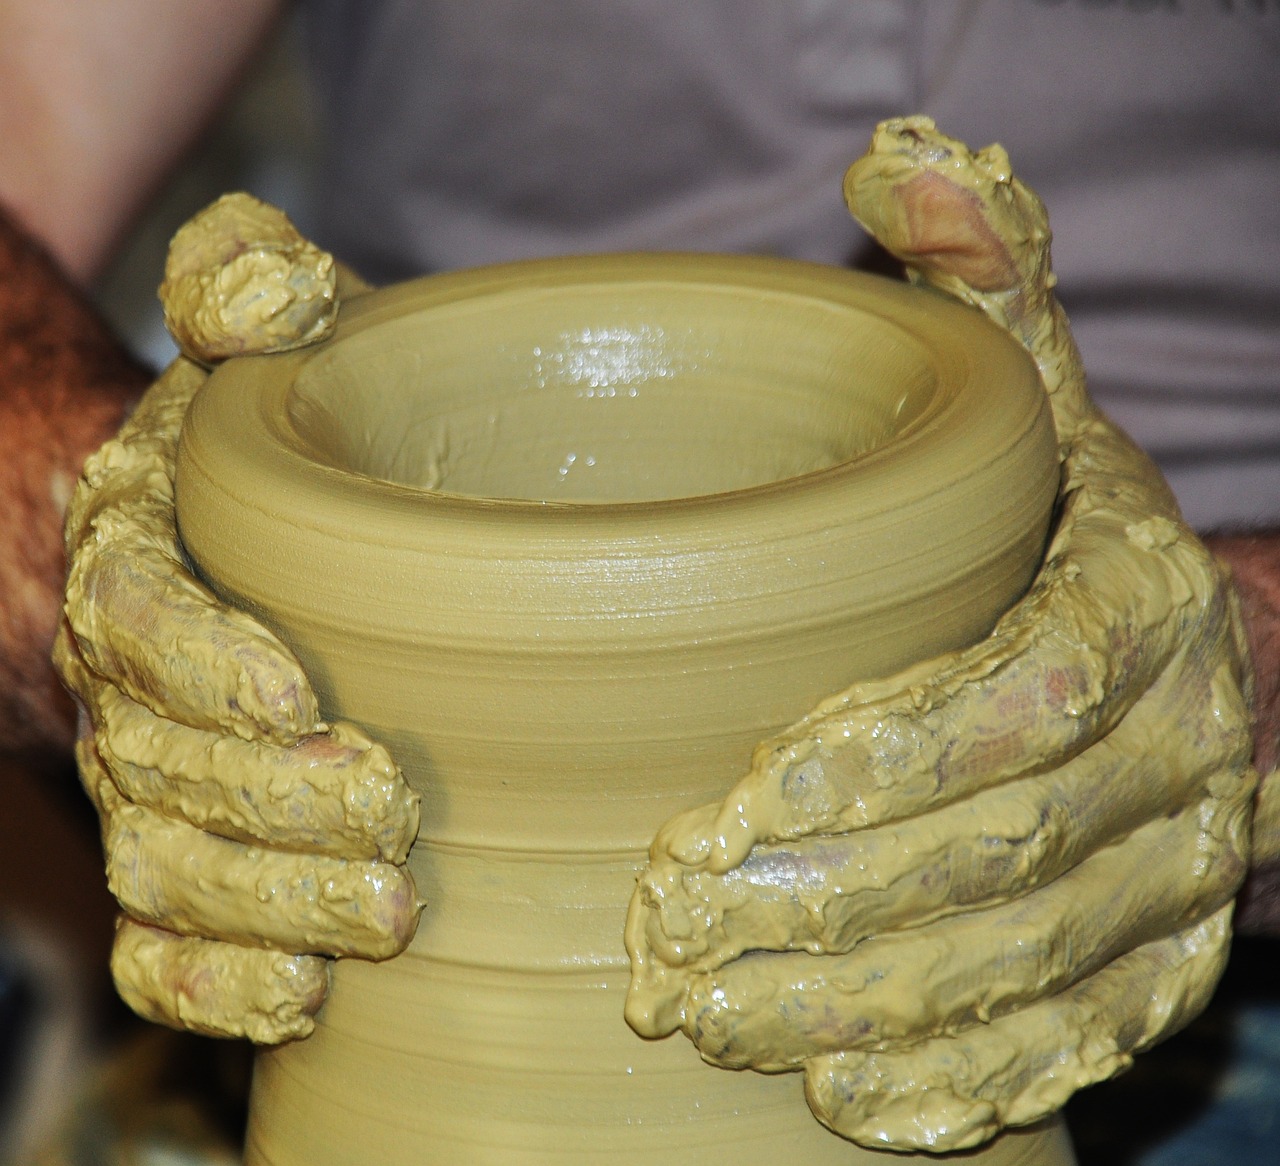
When it comes to pottery, firing temperature is one of the most crucial elements that can make or break your piece. Think of it as the final touch in a painting; if you get it wrong, the entire artwork can lose its brilliance. The right firing temperature ensures that your clay and glaze interact properly, resulting in a stunning finish. But how do you determine what that right temperature is?
Firstly, it's essential to understand that different types of clay require different firing temperatures. For instance, earthenware typically fires at lower temperatures (around 1,830°F to 2,100°F), while stoneware and porcelain need higher temperatures (approximately 2,190°F to 2,600°F). If you fire your pottery at the wrong temperature, you may end up with under-fired or over-fired pieces, both of which can be disappointing. Over-firing can lead to melted glaze and warped shapes, while under-firing can leave your pottery weak and porous.
To avoid these pitfalls, you should always refer to the specifications provided by your clay and glaze manufacturers. They often include recommended firing ranges that can guide you in your process. You can also conduct a test firing with small samples of your clay and glaze to find the perfect temperature that yields the results you desire. This way, you can experience firsthand how different temperatures affect your pottery.
Another important factor to consider is the kiln type you’re using. Electric kilns, for example, tend to have more precise temperature control compared to gas kilns. If you’re using a gas kiln, you may need to monitor the temperature closely, as fluctuations can occur. It's wise to invest in a reliable pyrometer, a device that measures the temperature inside the kiln, ensuring you maintain the right conditions throughout the firing process.
In addition to temperature, the firing schedule is also a key consideration. The ramp-up time (the speed at which the kiln heats up) can affect the final outcome of your pottery. A slow ramp-up can help prevent thermal shock, which can cause cracks in your pieces. Conversely, a rapid increase in temperature may be necessary for certain glazes to achieve the desired effects. It’s a balancing act that requires both knowledge and experience.
Finally, don't forget about cooling down! The cooling phase is just as important as firing. Rapid cooling can lead to cracking or shattering, so it’s often recommended to allow your kiln to cool down gradually. This gives your pottery the best chance to maintain its integrity and beauty.
In summary, firing temperature considerations are not just about hitting a number; they encompass a broader understanding of your materials, equipment, and techniques. By paying close attention to these factors, you can significantly enhance the quality of your pottery, ensuring that each piece is a true reflection of your skills and creativity.
Addressing Cracks and Flaws
Cracks and flaws in pottery can feel like a punch in the gut, especially after you've poured your heart and soul into a piece. But don’t despair! These imperfections are not the end of the road; in fact, they can be a stepping stone to becoming a better potter. Understanding the common causes of cracks is the first step towards addressing them effectively. Factors such as improper drying, thermal shock, and even the type of clay you use can lead to those pesky cracks that can ruin your masterpiece. The good news? Most of these issues can be fixed or even avoided altogether!
Let’s break down some of the most common causes of cracks:
- Improper Drying: If your pottery dries too quickly, it can lead to surface cracks. Always allow your pieces to dry slowly and evenly.
- Thermal Shock: Sudden temperature changes during firing can cause cracks. Make sure to preheat your kiln gradually to avoid shocking your pottery.
- Weak Clay Bodies: Some clay types are more prone to cracking. Choosing a stronger clay can help mitigate this issue.
Now that we’ve identified some common culprits, let’s talk about solutions. If you find cracks in your pottery, don’t throw it away just yet! Here are a few effective methods for repairing those flaws:
- Slip Repair: For small cracks, using a mixture of clay and water (known as slip) can be a great fix. Apply the slip to the crack and smooth it out to blend with the surrounding area.
- Reconstruction: If the crack is significant, you might need to reconstruct the piece. Carefully cut away the damaged area and reattach it using slip.
- Glazing Over Flaws: Sometimes, a well-placed glaze can hide a multitude of sins. Just ensure that the glaze you choose is compatible with your clay body.
Remember, every crack tells a story! They can add character to your work, and learning how to address them will only enhance your skills as a potter. With practice and patience, you can transform these missteps into opportunities for growth.
Q: Can I fix a crack after firing?
A: Yes, you can repair cracks after firing using methods like slip or reconstruction, but it’s important to ensure the repair is strong enough to withstand future use.
Q: How can I prevent cracks in the first place?
A: To prevent cracks, ensure even drying, avoid sudden temperature changes during firing, and choose a strong clay body. Taking these precautions will greatly reduce the chances of cracks appearing.
Q: Is it possible to salvage a piece that has cracked badly?
A: While it can be challenging, many potters have successfully salvaged badly cracked pieces through careful reconstruction and creative glazing. Don’t give up on your creations!
Fixing Firing Errors
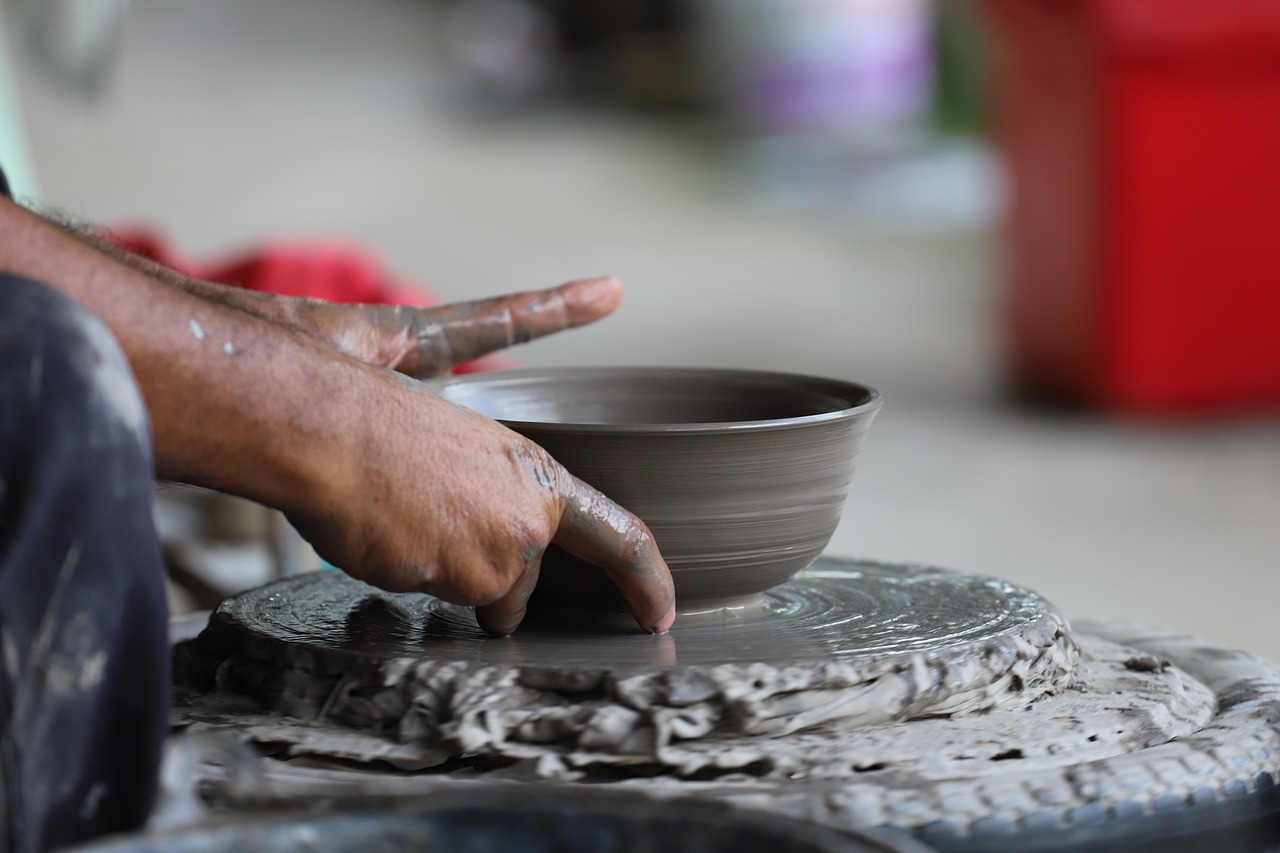
Firing errors can be a potter's worst nightmare, often leading to pieces that don't look or function as intended. Whether you're a novice or a seasoned ceramicist, understanding how to troubleshoot these issues is essential for creating stunning pottery. So, what are some common firing errors, and how can you fix them? Let's dive into the details!
One of the most frequent mistakes potters encounter is over-firing. This occurs when your pottery is subjected to higher temperatures than recommended, leading to a variety of issues, such as warping, discoloration, or even complete destruction of the piece. To prevent over-firing, it's crucial to familiarize yourself with the specific firing temperature range for your clay and glaze. You might want to keep a firing schedule handy, detailing the ideal temperatures for each material you use. Here’s a simple table to illustrate the ideal firing temperatures for common clay types:
| Clay Type | Bisque Firing Temperature (°F) | Glaze Firing Temperature (°F) |
|---|---|---|
| Earthenware | 1,830 - 1,940 | 1,830 - 2,050 |
| Stoneware | 2,185 - 2,230 | 2,185 - 2,350 |
| Porcelain | 2,220 - 2,350 | 2,220 - 2,450 |
By knowing the right temperatures, you can avoid the dreaded over-firing. But what if you find yourself in a situation where you've already over-fired a piece? Don't despair! While the damage may be irreversible for some items, you can often salvage the clay by recycling it. Simply crush the over-fired piece into a fine powder, add water, and rework it into a new form.
On the flip side, under-firing is another common issue that can leave your pottery weak and unglazed. This happens when your pieces do not reach the necessary temperatures, resulting in a porous and fragile final product. To identify if you've under-fired your pottery, look for a chalky texture or a dull appearance on the glaze. You can typically remedy this by re-firing the piece, but be cautious—ensure that you do not exceed the maximum temperature to avoid over-firing.
Here are some tips to help you prevent under-firing:
- Use a reliable pyrometer: This tool can help you monitor the temperature inside your kiln accurately.
- Conduct a test firing: Before committing to a full batch, consider doing a test run with a few pieces to gauge the firing results.
- Check kiln calibration: Regularly calibrate your kiln to ensure that it reflects the correct temperatures.
Another common firing error is uneven firing, which can lead to inconsistencies in color and texture across your pieces. This issue often arises from poor kiln loading. To achieve even firing, make sure to arrange your pottery pieces in a way that allows for proper airflow. Avoid stacking them too closely together, as this can obstruct heat distribution. Additionally, consider using kiln shelves to create a more organized layout.
In conclusion, fixing firing errors requires a combination of knowledge, attention to detail, and a bit of creativity. By understanding the common pitfalls in pottery firing and implementing the solutions discussed, you can significantly improve your results. Remember, every mistake is an opportunity to learn and grow as a potter!
- What should I do if my pottery cracks during firing?
Cracks can often be repaired with a slip mixture or by re-firing, but prevention is key. Make sure your pieces are completely dry before firing. - How can I tell if my kiln is firing too hot?
Look for signs of warping or melting in your pieces, and consider using a pyrometer for precise temperature readings. - Is it possible to re-fire glazed pottery?
Yes, you can re-fire glazed pieces, but ensure that they are clean and free of any contaminants to achieve the best results.
Preventing Over-Firing
Over-firing is a common pitfall in pottery that can lead to disastrous results, transforming your beautiful creations into unusable shards. Imagine pouring your heart and soul into a piece, only to have it crumble due to excessive heat! The key to preventing this unfortunate fate lies in understanding your kiln and the materials you’re working with. So, how can you ensure that your pottery emerges from the kiln in perfect condition?
First and foremost, it's essential to know the temperature range suitable for the clay and glaze you are using. Each type of clay has a specific firing temperature, often indicated by cone numbers (for example, Cone 04 for earthenware). Familiarize yourself with these temperatures and ensure your kiln is calibrated correctly. A simple way to check this is by using pyrometric cones, which bend at specific temperatures, giving you a visual cue of whether your firing is on target.
Another important factor is the kiln's atmosphere. Make sure your kiln is well-ventilated and that you’re using the right type of kiln for your pottery. Electric kilns, for instance, provide a more controlled environment compared to gas kilns, which can sometimes lead to variations in temperature. If you’re using a gas kiln, keep an eye on the flame color; a yellow flame can indicate incomplete combustion and potentially uneven heating.
It’s also wise to space your pieces properly within the kiln. Overcrowding can lead to uneven heat distribution, increasing the risk of over-firing in certain areas. Ensure that there’s enough space between each piece, allowing the heat to circulate freely. If you're unsure about the arrangement, consider creating a test batch of smaller pieces to see how they react to the firing conditions before committing to larger works.
Lastly, keeping a firing log can be immensely beneficial. Document the firing temperature, duration, and any observations you make during the process. This record will not only help you refine your technique over time but also serve as a valuable reference for future projects. Here’s a simple table format you can use for your firing log:
| Date | Piece Description | Clay Type | Glaze Used | Firing Temperature (°F) | Notes |
|---|---|---|---|---|---|
| MM/DD/YYYY | Example Piece | Stoneware | Glossy Blue | 2200 | Success |
By following these guidelines, you can significantly reduce the chances of over-firing and ensure that your pottery pieces maintain their intended beauty and functionality. Remember, pottery is as much about the journey as it is about the destination, so take the time to learn and adapt your techniques!
- What is over-firing in pottery? Over-firing occurs when pottery is exposed to higher temperatures than recommended, leading to deformation or destruction of the piece.
- How can I tell if my pottery has been over-fired? Signs of over-firing include a glassy surface, excessive shrinkage, or a warped shape.
- Can I fix pottery that has been over-fired? Unfortunately, over-fired pottery is typically irreparable, but understanding the causes can help you avoid it in the future.
- What tools can help me monitor kiln temperatures? Pyrometric cones and kiln thermocouples are great tools for monitoring and ensuring accurate firing temperatures.

Dealing with Under-Firing
Under-firing is a common issue that can leave your pottery feeling weak and looking less than desirable. It’s like baking a cake but pulling it out of the oven too early; you end up with a gooey mess instead of a delicious treat. When pottery is under-fired, it may not reach the necessary temperature to properly vitrify, which is crucial for achieving strength and durability. So, how do you recognize the signs of under-firing, and what can you do to correct it? Let's dive in!
First, it’s essential to understand the symptoms of under-firing. You might notice that your pottery has a chalky or dusty surface, which indicates that it hasn’t fully matured. Additionally, if you can easily scratch the surface with your fingernail, that's a red flag. The piece may also feel unusually light or fragile, suggesting that it hasn't achieved the desired density. If you’ve experienced any of these issues, don’t fret! There are ways to address under-firing and salvage your creations.
One effective method to deal with under-firing is to refire your pottery. This means placing the under-fired pieces back into the kiln for another firing cycle. However, it’s crucial to ensure that you don't over-fire them this time. To avoid this pitfall, pay close attention to the temperature settings and the specific requirements of the clay and glaze you are using. It’s always a good idea to consult the manufacturer's guidelines for the clay and glaze to determine the optimal firing temperature.
Another strategy involves adjusting your kiln’s firing schedule. If you consistently notice under-firing, consider extending the soak time at the peak temperature. This extra time allows the heat to penetrate deeper into the clay body, promoting better vitrification. You might also want to experiment with the ramp rate—the speed at which the kiln heats up. Slower ramp rates can help achieve a more even heat distribution, reducing the chances of under-firing.
Lastly, keeping a close eye on your kiln’s calibration is vital. Over time, kilns can drift from their original settings, leading to inaccurate temperature readings. Regularly check and calibrate your kiln to ensure it’s firing at the correct temperatures. Investing in a reliable pyrometer can help you monitor the kiln’s temperature more accurately.
In summary, dealing with under-firing can be a frustrating experience, but it’s not the end of the world. By recognizing the signs, refiring your pieces, adjusting your firing schedule, and maintaining your kiln, you can turn those under-fired mishaps into beautiful and durable pottery. Remember, every mistake is an opportunity to learn and grow as a potter!
- What is under-firing in pottery?
Under-firing occurs when pottery is not heated to the necessary temperature for proper vitrification, resulting in weak and porous pieces. - How can I tell if my pottery is under-fired?
Signs of under-firing include a chalky surface, ease of scratching with a fingernail, and a lightweight feel. - Can I refire under-fired pottery?
Yes, you can refire under-fired pottery, but be careful to avoid over-firing it during the process. - What should I do if my kiln is consistently under-firing?
Consider adjusting your kiln’s firing schedule, extending soak times, and regularly calibrating your kiln to ensure accurate temperature readings.
Frequently Asked Questions
- What are the best clay types for beginners?
For beginners, earthenware is often recommended due to its ease of use and forgiving nature. It fires at lower temperatures and is perfect for hand-building projects. Stoneware is another great option as it’s durable and versatile, suitable for both functional and decorative pieces.
- How can I avoid common glazing mistakes?
To avoid glazing mishaps, ensure you apply the glaze evenly and avoid overloading your brush. Always test your glaze on a small piece first, and remember to follow the manufacturer's guidelines regarding application thickness. Practice makes perfect!
- What should I do if my pottery cracks during firing?
If you notice cracks, don’t panic! First, identify the cause—was it due to rapid temperature changes or moisture in the clay? You can try repairing small cracks with clay slip or by using a specialized pottery adhesive for larger cracks. Prevention is key, so ensure your pieces are properly dried before firing.
- How do I know if I’ve over-fired my pottery?
Signs of over-firing include warping, discoloration, or a glassy texture that wasn’t intended. If your pottery looks excessively shiny or has melted areas, it’s likely over-fired. To prevent this, always monitor your kiln temperature closely and use a pyrometer for accuracy.
- What are the signs of under-firing?
Under-fired pottery may feel soft or weak and can have an uneven glaze that appears dull or patchy. If your pieces break easily, it’s a strong indication of under-firing. To avoid this, ensure you follow the firing schedule recommended for your specific clay and glaze type.
- Can I reuse leftover glaze?
Yes, you can reuse leftover glaze! Just make sure to store it properly in an airtight container to prevent it from drying out. Before using it again, give it a good stir to mix any settled particles back into the glaze.
- What is the best way to clean my pottery tools?
Cleaning your pottery tools is crucial for maintaining their longevity. Rinse them with water immediately after use to prevent clay from hardening. For tougher residues, use a sponge or brush with a mild soap solution. Remember, clean tools lead to better results!


