Gorgeous Ceramic Dishes to Make at Home
Have you ever gazed at a beautifully crafted ceramic dish and thought, "I wish I could make something like that?" Well, you're in luck! Creating your own ceramic dishes at home is not only a fulfilling hobby but also a fantastic way to express your creativity. Imagine serving your favorite meals on dishes that you crafted with your own hands, each piece telling a story of your artistic journey. In this guide, we’ll explore the exciting world of ceramics, from choosing the right clay to firing your masterpieces and displaying them in style.
Selecting the appropriate clay is crucial for your ceramic projects. Different types of clay offer unique properties, affecting the final appearance and durability of your dishes. For instance, earthenware is great for beginners due to its workability and vibrant colors, while stoneware is more durable and ideal for functional pieces. Porcelain, on the other hand, can create stunning, delicate dishes but requires more skill to work with. So, what’s your style? Are you looking for something rustic, or do you prefer a sleek, modern finish? Understanding your options can help you make the right choice.
Having the right tools can make all the difference in your pottery journey. Here’s a quick rundown of the must-have tools:
- Pottery Wheel: Essential for wheel throwing, allowing for symmetrical designs.
- Clay Tools: Includes rib tools, trimming tools, and needle tools for shaping and detailing.
- Glazing Brushes: Perfect for applying glazes evenly.
- Kiln: A necessity for firing your creations, transforming soft clay into durable pottery.
With these tools in hand, you’ll be well on your way to creating stunning ceramic dishes that will impress everyone!
Handbuilding is a versatile method for creating unique ceramic dishes. It’s like sculpting with your hands, allowing for a personal touch that makes each piece special. There are a few techniques you can try:
Pinch pots are simple yet beautiful. This technique involves shaping clay with your fingers, allowing for creative freedom and personal expression in your dish designs. You can make them as small or as large as you like, and each pinch adds a unique character to the piece. Just think of it like molding a soft dough—easy and satisfying!
Coil building allows for larger, more intricate forms. By stacking and smoothing coils of clay, you can create unique shapes and textures in your ceramic dishes. It’s a bit like building a tower with soft, pliable materials, and the results can be stunning. Plus, this method is great for adding height and dimension to your pieces.
Wheel throwing is an exciting technique that requires practice and skill. If you’ve ever watched a potter at work, you know how mesmerizing it can be! The key here is to center the clay on the wheel and use your hands to shape it into your desired form. It might take a few tries to get it just right, but the sense of accomplishment when you pull that perfect bowl from the wheel is absolutely exhilarating!
Glazing adds color and texture to your ceramic dishes. It’s like applying a finishing touch that can transform your work from ordinary to extraordinary. There are various glazing methods to explore:
Under glazing involves applying color before the final glaze. This technique allows for intricate designs and vibrant hues that can be showcased in your finished pieces. Think of it as painting a canvas before adding a protective layer—your artwork shines through!
Over glazing is applied after the initial firing. This method can create a glossy finish and add depth to your ceramic dishes, making them stand out on any table. It’s like adding a shiny coat to your favorite shoes—suddenly, they look brand new!
Firing is a critical step in the ceramic-making process. It’s where your clay transforms into a sturdy material. There are two main types of firing:
Bisque firing prepares your ceramics for glazing. This initial firing removes moisture and strengthens the clay, making it easier to handle during the glazing process. Think of it as the foundation of a house—essential for stability!
Glaze firing melts the glaze, creating a beautiful finish. Understanding the timing and temperature for this process is essential for achieving the desired look and durability of your dishes. It’s like baking a cake—you need the right temperature for the best results!
Once your ceramic dishes are complete, showcasing them beautifully is essential. Explore creative ways to display your handmade pieces, adding charm and character to your home. You could use them as:
Incorporating your ceramic dishes into table settings elevates your dining experience. Discover tips for arranging your creations alongside complementary elements for a stunning presentation. A well-set table can turn an ordinary meal into a special occasion!
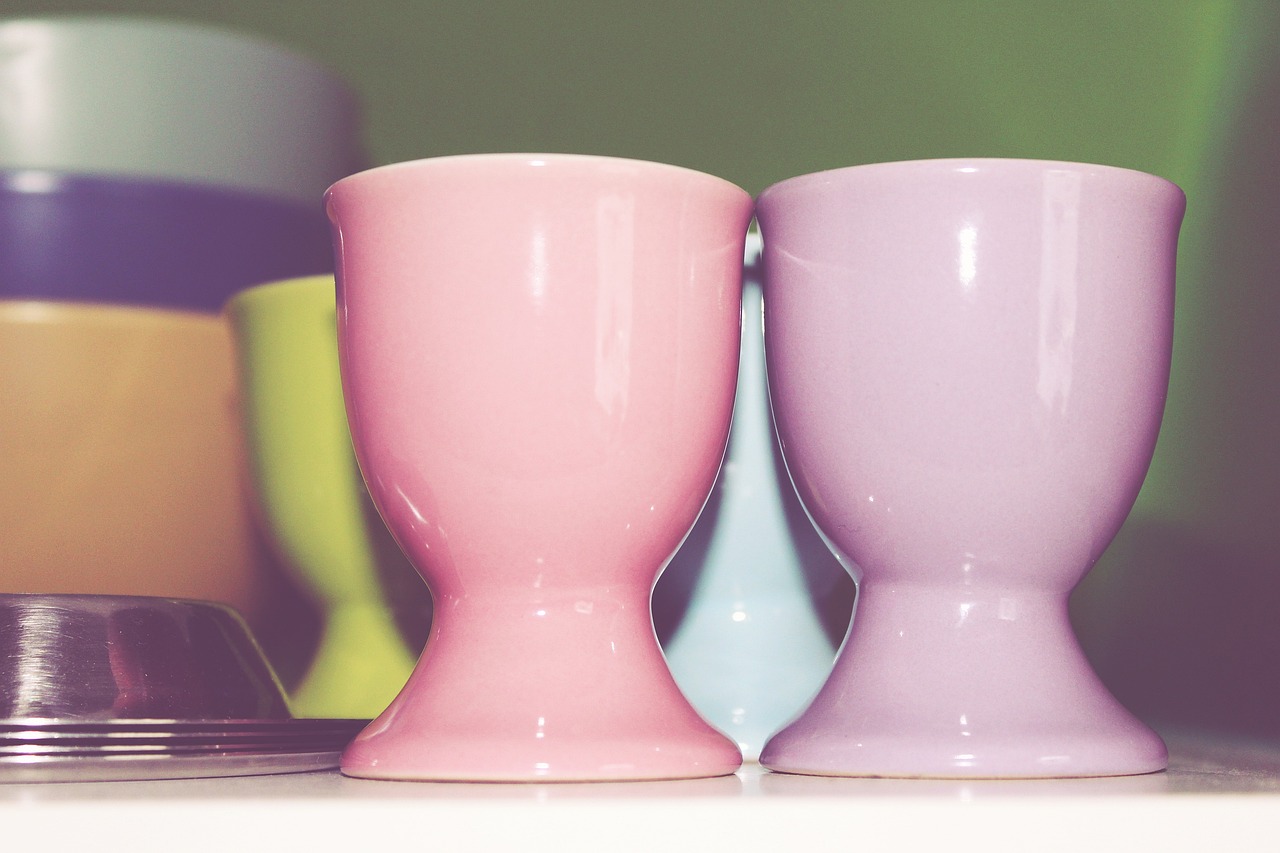
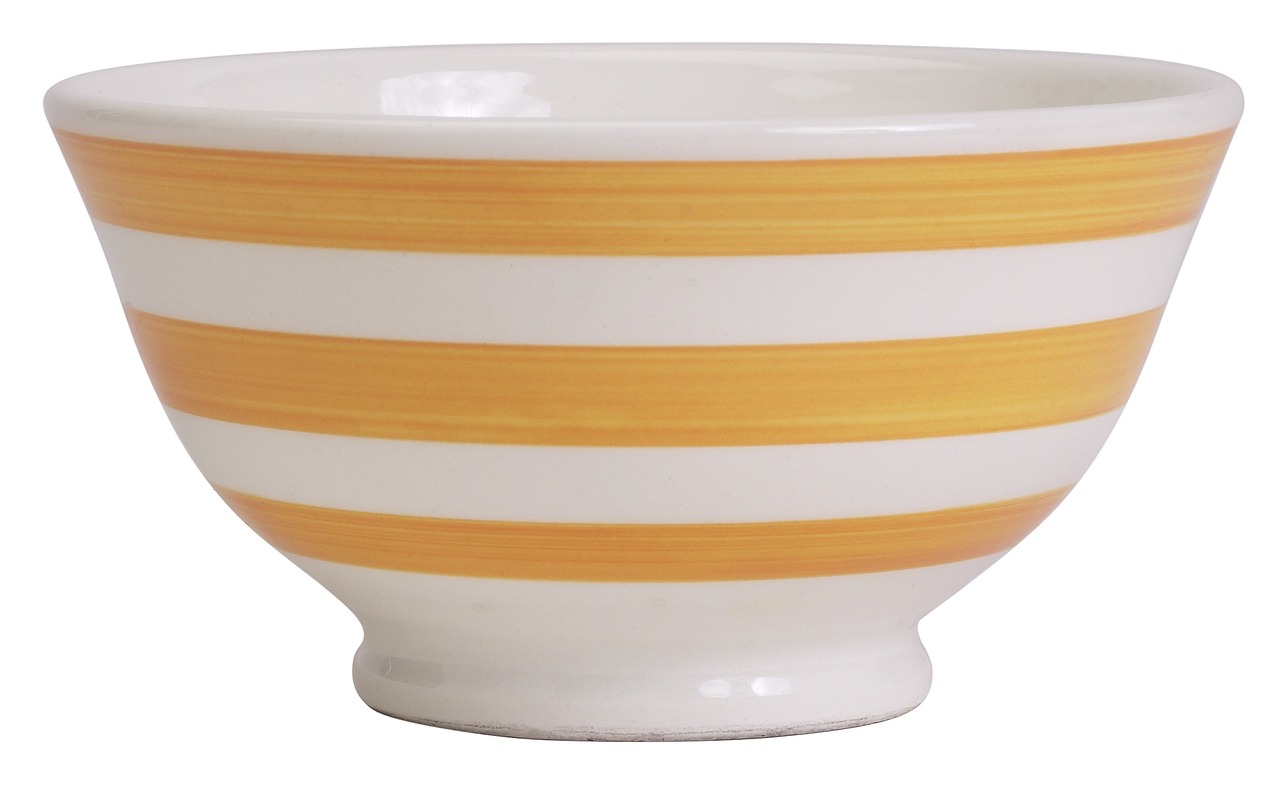
Your ceramic dishes can also serve as decorative elements in your home. Whether displayed on a shelf or used as centerpieces, they add personality and warmth to any space. Imagine a colorful ceramic bowl filled with fresh fruits—functional and beautiful!
Here are some common questions that might help you on your ceramic journey:
- What type of clay is best for beginners? Earthenware is often recommended for beginners due to its ease of use and vibrant colors.
- Do I need a kiln to make ceramics? Yes, a kiln is essential for firing your pieces, but some alternatives like microwave kilns are available for small projects.
- Can I use regular paint on my ceramic dishes? No, regular paint is not suitable for ceramics as it won’t withstand the heat of firing. Always use ceramic glazes.
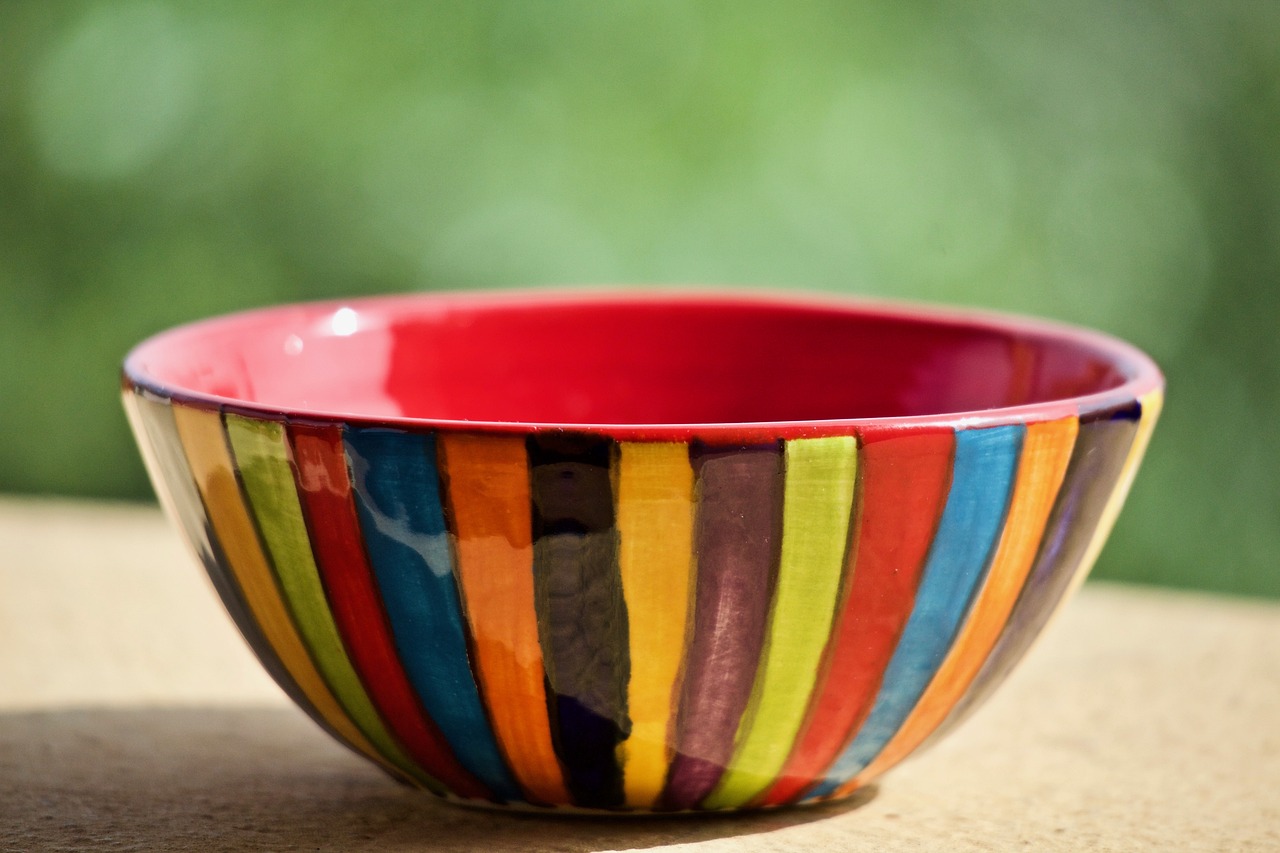
Choosing the Right Clay
When embarking on your ceramic journey, one of the most important decisions you'll make is . This choice not only influences the aesthetics of your finished pieces but also affects their durability and functionality. There are several types of clay available, each with unique properties that cater to different artistic needs. So, how do you know which clay is right for you? Let’s explore the main types of clay and their characteristics!
First off, we have earthenware. This is the most common type of clay used by beginners and hobbyists. It fires at a lower temperature, typically around 1,830°F (1,000°C), which makes it easier to work with. Earthenware is porous and often requires glazing to make it waterproof. Its vibrant colors and textures make it perfect for decorative pieces, but be cautious as it can chip easily.
Next, there's stoneware, which is a fantastic choice for those looking to create functional dishware. Stoneware is fired at a higher temperature, around 2,190°F (1,200°C), which makes it more durable and less porous than earthenware. This clay is perfect for creating dishes that can withstand daily use, and it often has a beautiful, earthy finish that complements any table setting.
Then we have porcelain, known for its elegance and translucency. This clay requires a high firing temperature, usually between 2,192°F (1,200°C) and 2,372°F (1,300°C). Porcelain is less forgiving in terms of handling, but the results are stunning. If you’re aiming for fine, delicate pieces that exude sophistication, porcelain is your go-to. However, it’s essential to have some experience before diving into porcelain work.
To help you further, here’s a quick comparison table of the three main types of clay:
| Type of Clay | Firing Temperature | Characteristics | Best For |
|---|---|---|---|
| Earthenware | 1,830°F (1,000°C) | Porous, vibrant colors, easy to work with | Decorative pieces |
| Stoneware | 2,190°F (1,200°C) | Durable, less porous, earthy finish | Functional dishware |
| Porcelain | 2,192°F - 2,372°F (1,200°C - 1,300°C) | Elegant, translucent, requires skill | Fine, delicate pieces |
Ultimately, the right clay for you depends on your skill level, the type of projects you want to create, and your personal aesthetic preferences. Don’t be afraid to experiment with different types of clay until you find the one that feels just right! Remember, the journey of creating ceramics is as rewarding as the final product itself.
Essential Tools for Ceramics
When diving into the world of ceramics, having the right tools can make all the difference between a frustrating experience and a joyful creative journey. Imagine trying to cook a gourmet meal without the proper utensils—it's a bit like that with pottery! Certain tools are essential for shaping, glazing, and firing your ceramic dishes effectively. Below, I've outlined some of the must-have tools that every ceramicist should consider stocking in their workshop.
First and foremost, a good pottery wheel is crucial for those who want to explore wheel throwing. This tool allows you to create symmetrical pieces with ease. If you're just starting, don’t worry about investing in the most expensive model; there are plenty of affordable options that will do the job just fine. Pair your wheel with a bat system to easily remove your work without disturbing its shape.
In addition to a pottery wheel, you'll need a variety of hand tools to assist in shaping and detailing your creations. These include:
- Wire cutters for slicing through clay with precision.
- Ribs for smoothing and shaping your pieces.
- Loop tools for carving and detailing.
- Sponges to keep your clay moist and workable.
Another essential aspect of ceramics is glazing, and for that, a set of glazing brushes is invaluable. These brushes come in various sizes, allowing you to apply glaze with precision, whether you're going for a bold splash of color or delicate detailing. Don't forget to invest in glazing tongs, which will help you handle your pieces without smudging the glaze before firing.
Finally, let’s talk about the importance of a good kiln. This is where the magic happens! Firing your pieces is essential for transforming soft clay into durable ceramics. If you're serious about your craft, having access to a kiln will open up a world of possibilities. You can choose between electric and gas kilns, depending on your preferences and space availability. If purchasing a kiln isn’t feasible, consider joining a local pottery studio where you can access their equipment.
In summary, equipping yourself with the right tools is like laying a solid foundation for a house; it sets you up for success in your ceramic endeavors. Whether you're handbuilding or wheel throwing, these tools will help you create stunning pieces that you'll be proud to showcase. Now that you have a good grasp of the essential tools, you’re well on your way to crafting beautiful ceramic dishes that can elevate your dining experience!
- What type of clay is best for beginners? For beginners, earthenware clay is often recommended due to its workability and lower firing temperature.
- Can I use regular paint for decorating my ceramics? No, regular paint is not suitable for ceramics as it won't withstand the firing process. Always use ceramic glazes.
- How long does it take to learn ceramics? The learning curve varies; however, with consistent practice, you can start creating basic pieces within a few weeks.
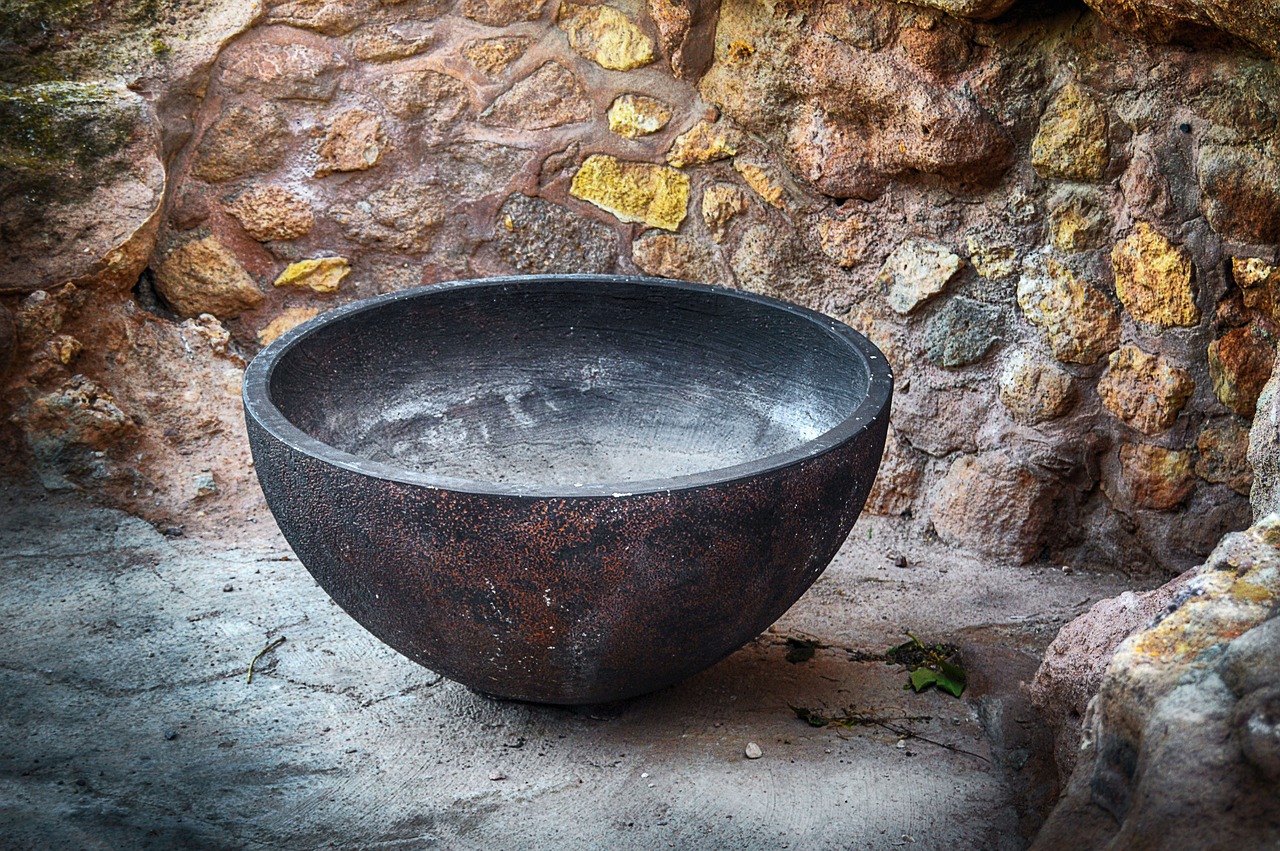
Handbuilding Techniques
Handbuilding is not just a technique; it's a wonderful way to express your creativity and individuality in ceramic dish creation. Unlike wheel throwing, which requires a bit of finesse and practice, handbuilding allows you to dive right in with just a few basic skills. Think of it as sculpting with clay, where your hands are the primary tools. This method includes various techniques, each offering a unique approach to crafting beautiful dishes. You can create everything from simple bowls to intricate designs that tell a story.
One of the most popular handbuilding techniques is the pinch pot method. It’s as straightforward as it sounds—just take a ball of clay and pinch it into shape. This technique not only gives you control over the form but also allows for a lot of personal expression. You can create organic, flowing shapes or more structured forms, depending on your mood and inspiration. The beauty of pinch pots lies in their simplicity, yet they can be quite stunning when finished.
Another exciting handbuilding technique is coil building. This method involves rolling out long, snake-like coils of clay and stacking them to build up your dish. The coils can be smoothed together to create seamless designs or left textured for a more rustic look. Imagine crafting a large, elegant bowl that not only serves a purpose but also serves as a conversation starter at your dinner table. The possibilities are endless with coil building, and it’s perfect for those who want to create larger, more intricate pieces.
Lastly, there’s the slab construction technique, which allows you to create flat pieces of clay that can be shaped into dishes. By rolling out slabs of clay, you can cut and assemble them into unique forms. This method is particularly useful for creating geometric shapes or more structured designs. Think of it as crafting with paper, but in this case, you’re using clay to build your masterpiece. Slab construction is fantastic for creating dinner plates or serving platters that are not only functional but also a work of art.
Whether you opt for pinch pots, coil building, or slab construction, handbuilding offers a delightful way to explore your creativity. Each technique has its charm and allows you to create pieces that reflect your personality and style. So, roll up your sleeves, get your hands dirty, and let your imagination flow as you embark on your ceramic dish-making journey!
- What is the easiest handbuilding technique for beginners? Pinch pots are often recommended for beginners because they are simple and allow for a lot of creative freedom.
- Can I combine different handbuilding techniques? Absolutely! Combining techniques like coil building and slab construction can lead to unique and innovative designs.
- Do I need a kiln for handbuilt ceramics? Yes, firing your pieces in a kiln is essential to harden the clay and make it durable.
- How can I decorate my handbuilt dishes? You can use underglazes, glazes, or even natural materials like leaves and flowers for texture and patterns.

Pinch Pots
Pinch pots are a delightful and accessible technique for anyone looking to dive into the world of ceramics. Imagine the sensation of soft, pliable clay between your fingers, inviting you to shape it into something uniquely yours. This method is not only simple but also allows for a great deal of creative freedom. To get started, all you need is a lump of clay and your hands. As you pinch and mold the clay, you're not just creating a dish; you're expressing your personality and artistic flair.
The beauty of pinch pots lies in their imperfections. Each piece you create will have its own character, showcasing the textures and shapes that your hands have imparted. You can make them as small or as large as you like, and they can serve various purposes—from functional bowls for snacks to decorative pieces that add charm to your home. The process is incredibly satisfying, and you might even find it meditative as you get lost in the rhythm of shaping the clay.
To create a pinch pot, follow these simple steps:
- Start with a Ball of Clay: Begin with a small ball of clay, roughly the size of a tennis ball.
- Pinch the Clay: Press your thumb into the center of the ball, then pinch the sides with your fingers. Rotate the ball as you pinch to create an even thickness.
- Shape the Pot: Continue pinching and shaping until you reach your desired height and width. Don't worry about making it perfect; the charm of pinch pots is in their unique shapes.
- Smooth the Surface: Use a damp sponge or your fingers to smooth out any rough spots or fingerprints.
- Let it Dry: Allow your pinch pot to dry completely before firing it in the kiln.
Once your pinch pot is fired and ready, you can choose to leave it natural or decorate it with glazes or underglazes. This is where you can really let your creativity shine! Think of vibrant colors, intricate patterns, or even simple designs that reflect your style. Remember, the goal is to have fun and enjoy the process of creating something beautiful.
In summary, pinch pots are not just a beginner's project; they are a canvas for your imagination. Whether you're making them for yourself or as gifts for friends and family, these little creations will surely bring joy and a personal touch to any space. So, roll up your sleeves, get your hands dirty, and start pinching your way to stunning ceramic art!
Frequently Asked Questions
1. Can I use any type of clay for pinch pots?
Yes, you can use various types of clay, but earthenware or stoneware is often recommended for beginners due to their workability and durability.
2. How long does it take for pinch pots to dry?
Drying time can vary based on the thickness of your pot and environmental conditions, but generally, it takes 1-3 days for them to dry completely before firing.
3. Can I decorate my pinch pot before firing?
Absolutely! You can add texture or designs before the first firing, and you can also apply glazes or underglazes afterward for added color.
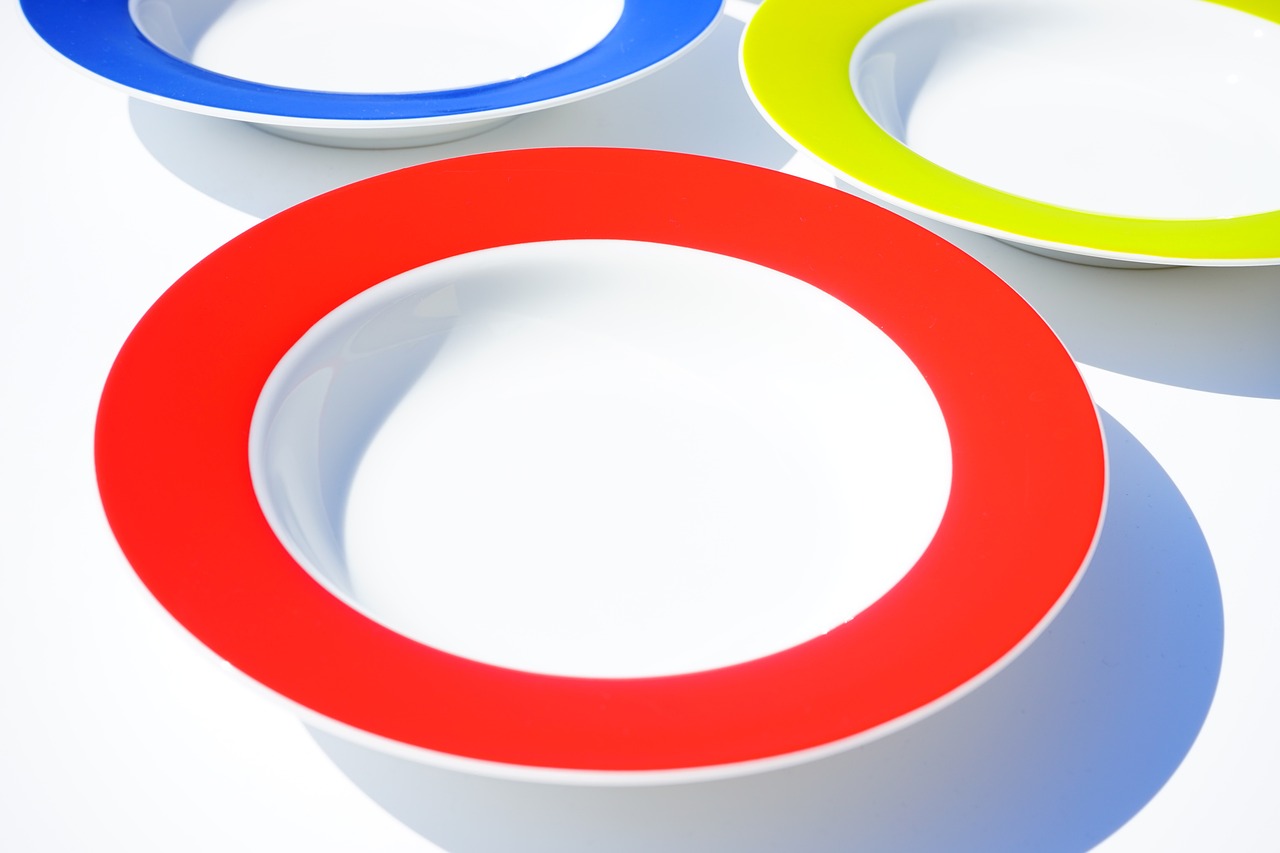
Coil Building
Coil building is a captivating technique in the world of ceramics that allows artists to create larger and more intricate forms than simpler methods like pinch pots. Imagine stacking rings of clay, much like building a tower with soft, pliable dough. This method not only enables you to craft unique shapes but also offers a fantastic opportunity for personal expression. The beauty of coil building lies in its versatility; you can create anything from elegant bowls to decorative vases, each piece telling its own story.
To start your coil building journey, you'll need to prepare your clay. Ideally, you want a clay body that is both pliable and strong, which will hold the shape of your coils while allowing you to manipulate them easily. Once your clay is ready, roll out long strands, or coils, of your desired thickness. A common practice is to aim for a thickness of about half an inch, but feel free to experiment! The thickness of your coils will influence the final look and feel of your dish.
As you stack these coils, remember that the way you blend them together is crucial. Use your fingers or a smoothing tool to gently press and blend the coils at their seams. This not only strengthens the structure but also creates a seamless appearance that enhances the aesthetic of your piece. You can choose to keep the texture of the coils visible for a rustic look or smooth them out for a more refined finish. The choice is entirely yours!
One of the exciting aspects of coil building is the ability to incorporate different textures and patterns into your designs. You can add decorative elements by impressing tools into the clay or carving designs onto the surface. This is where your creativity can truly shine. Think about how different textures can impact the final piece; a rough exterior can evoke a natural feel, while a smooth finish may lend an air of elegance.
As you work, don’t forget to keep your coils moist. Dry clay can crack and break, leading to frustration. If you find that your coils are drying out, simply mist them with a little water to keep them workable. Once you’re satisfied with the shape and design of your piece, it’s time to let it dry completely before firing. This drying process is essential to ensure that your creation holds its shape and doesn’t warp in the kiln.
In summary, coil building is not just a technique; it’s a journey of creativity and exploration. Whether you are crafting simple bowls or elaborate sculptures, this method allows you to express your individuality and artistic flair. So grab your clay, roll those coils, and let your imagination run wild!
- What type of clay is best for coil building?
Stoneware or earthenware clays are often recommended for coil building due to their strength and workability.
- Can I use coil building for functional dishes?
Absolutely! Many potters create beautiful functional items like bowls and plates using the coil building technique.
- How do I prevent cracks while building with coils?
Keep your coils moist and work slowly to blend them well. Avoid applying too much pressure, which can lead to cracks.
- What tools do I need for coil building?
Basic tools include a rolling pin, a knife or wire cutter, and various smoothing tools. You may also want to have a spray bottle for keeping your clay moist.
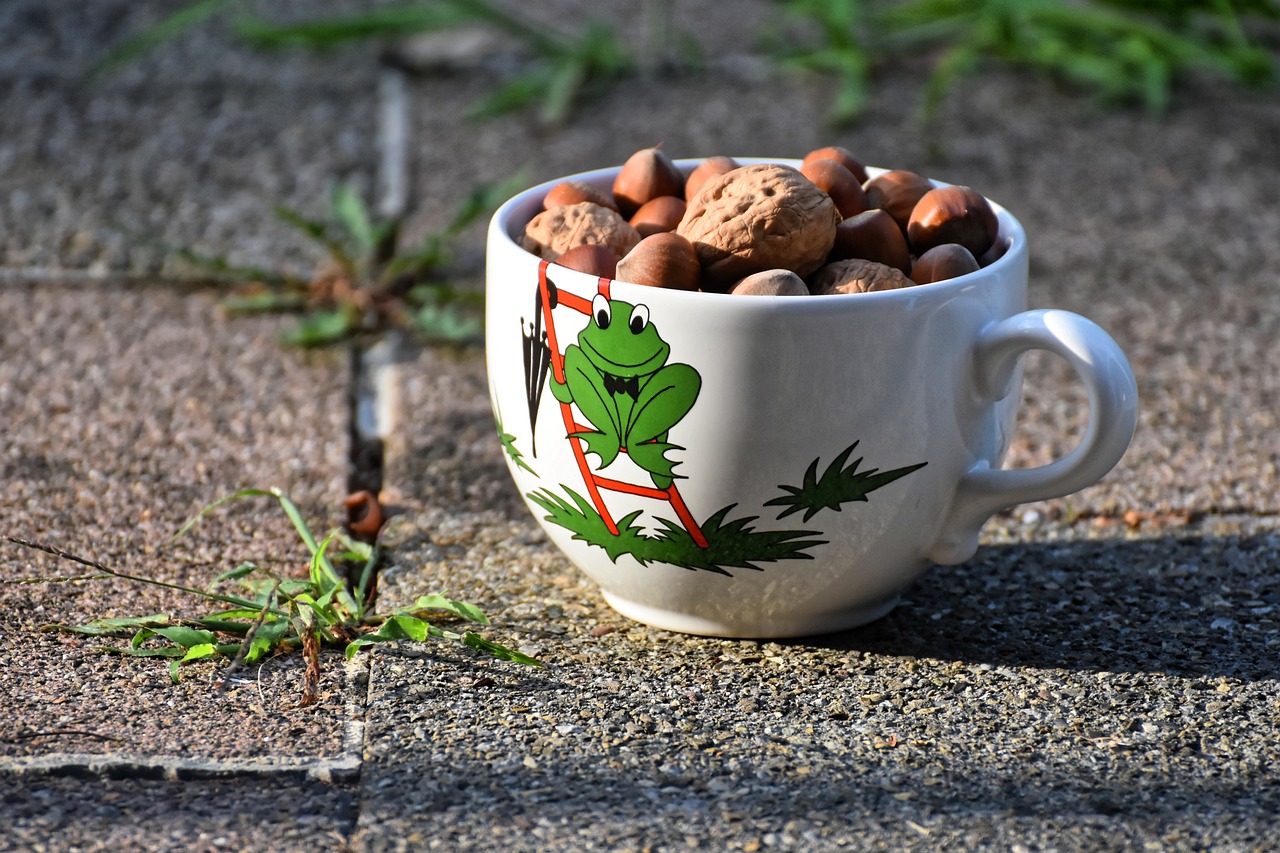
Wheel Throwing Basics
Wheel throwing is an exhilarating technique that transforms a lump of clay into a beautifully symmetrical piece of art. Imagine sitting at a pottery wheel, the soft clay spinning beneath your hands, as you mold it into a stunning dish. This method might seem daunting at first, but with practice and patience, you can master the art of wheel throwing and create pieces that are not only functional but also works of art.
Before you dive in, it’s essential to understand the basic components of wheel throwing. You’ll need a pottery wheel, clay, water, and a few essential tools. The pottery wheel is your best friend here; it spins the clay, allowing you to shape it evenly. The right type of clay is crucial as well; stoneware or porcelain are popular choices for wheel throwing due to their plasticity and durability.
Once you have your materials ready, the first step is centering the clay. This is a fundamental skill that every potter must master. To center the clay, you’ll start by throwing a lump of clay onto the wheel head and then wetting it with water. As the wheel spins, use your hands to apply pressure to the clay, pushing it downward and inward until it is perfectly centered. This might take a few tries, but don’t get discouraged! Think of it like learning to ride a bike; it may be wobbly at first, but with practice, you’ll find your balance.
After centering, it’s time to shape your dish. You can create various forms, from bowls to plates, by pulling the clay upwards and outwards. Use your fingers and tools to refine the shape, creating the desired depth and width. Remember, the beauty of wheel throwing lies in the subtle imperfections that make each piece unique. Embrace the process and let your creativity flow.
Another crucial aspect of wheel throwing is understanding trimming. Once your piece is leather-hard, which means it’s firm but still damp, you can trim the bottom to create a clean finish. This step not only enhances the aesthetic appeal but also ensures that your dish sits flat and stable. Trimming is like giving your piece a haircut; it tidies up the edges and brings out its best features.
Finally, don’t forget the importance of drying and firing. After shaping and trimming, allow your dish to dry completely before firing it in a kiln. The firing process solidifies the clay and prepares it for glazing, which we’ll explore in more detail later. Think of firing as the transformation stage; it’s where your creation goes from a soft, malleable form to a sturdy, finished product.
In conclusion, wheel throwing is a rewarding experience that combines skill, creativity, and a bit of patience. As you practice these basics, you’ll find your own style and develop a deeper appreciation for the art of ceramics. So, roll up your sleeves, get your hands dirty, and let the wheel lead you to create stunning ceramic dishes that will impress everyone at your table!
- What type of clay is best for wheel throwing? Stoneware and porcelain are excellent choices for wheel throwing due to their workability and strength.
- How long does it take to learn wheel throwing? It varies from person to person, but with regular practice, many beginners start feeling comfortable within a few weeks.
- Can I use a regular pottery wheel for large pieces? Yes, but ensure that your wheel is sturdy enough to handle the weight and size of larger clay forms.
- What should I do if my clay keeps wobbling? Focus on centering your clay properly. If it’s still wobbly, try adjusting your pressure and speed on the wheel.
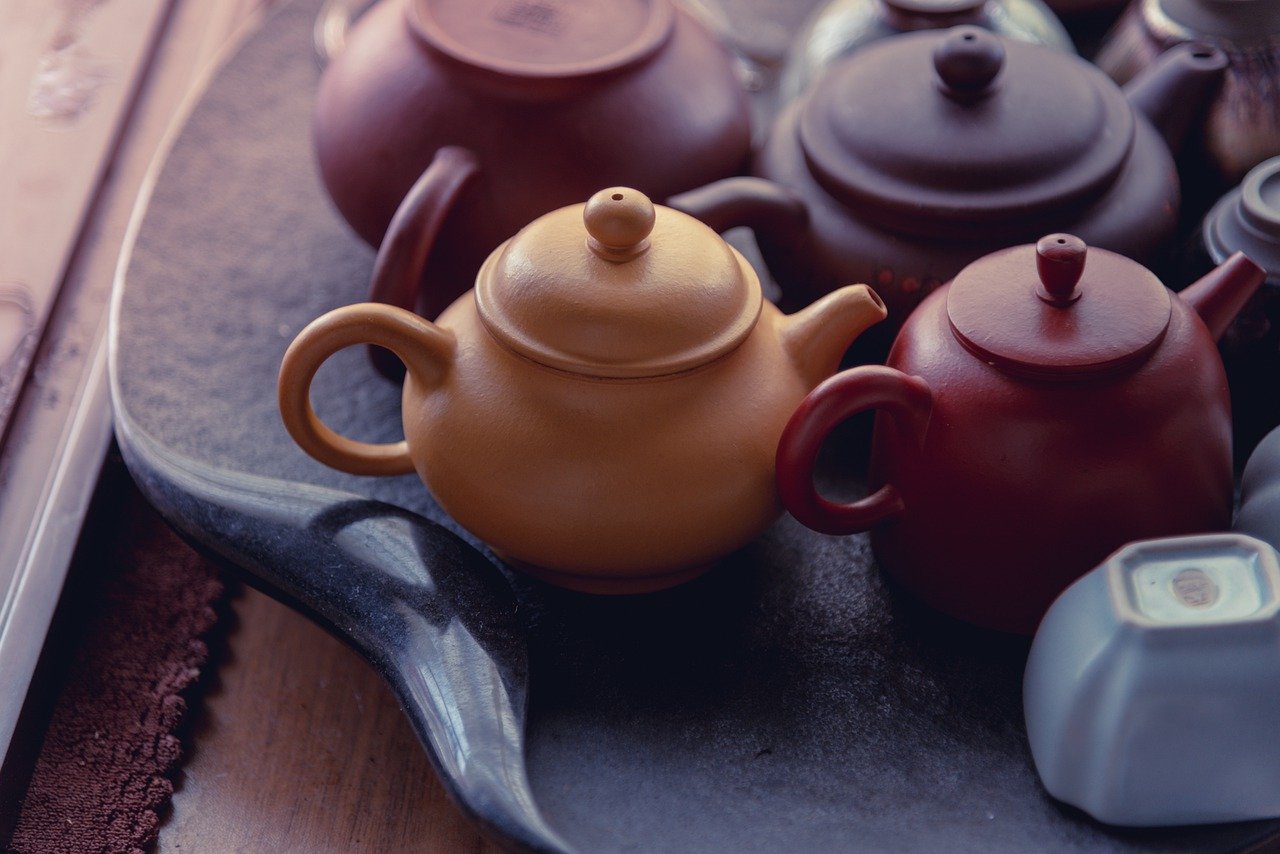
Glazing Techniques
Glazing is where the magic truly happens in ceramic dish making. It’s not just about adding color; it’s about enhancing the beauty and functionality of your pieces. Think of glazing as the final brushstroke on a masterpiece. It transforms your raw clay into something that can dazzle on any dining table. With various glazing techniques available, you can experiment and find the one that best suits your style and the effect you want to achieve.
One of the most exciting aspects of glazing is the variety of methods you can use. Each technique can significantly influence the final look of your ceramic dishes. For instance, under glazing involves applying color to your piece before the final glaze coat. This method allows for intricate designs and vibrant hues, letting you showcase your creativity. Imagine painting a canvas before applying a protective layer; it’s the same concept. You get to create patterns and images that will shine through once everything is fired.
On the other hand, over glazing is applied after the initial firing, which can create a glossy finish that adds depth and richness to your pieces. This technique can be particularly useful if you want to add a shiny, glass-like layer that makes your dishes pop. It’s like adding a layer of frosting on a cake—suddenly, it becomes more appealing and inviting! When you’re glazing, consider the colors and textures you want to achieve. Will you go for a matte finish, or do you want something that glimmers under the light?
As you explore these glazing methods, it’s essential to keep in mind the types of glazes available. Here’s a brief overview:
| Type of Glaze | Description |
|---|---|
| Matte Glaze | Has a soft, non-reflective finish that gives a more earthy feel. |
| Glossy Glaze | Shiny and reflective, perfect for vibrant colors and detailed designs. |
| Transparent Glaze | Allows the underlying clay body or underglaze decoration to show through. |
| Opaque Glaze | Completely covers the clay body, ideal for bold colors and patterns. |
Experimenting with different glazes can be a fun journey. You might find that a specific combination of under and over glazing creates a unique effect that makes your dish stand out. Don’t hesitate to play around with layering glazes. Just like a chef experiments with spices to create the perfect dish, you can mix and match glazes to achieve stunning results.
Remember, the key to successful glazing lies in practice and patience. As you gain experience, you’ll learn how different glazes react during firing, which can lead to unexpected yet beautiful results. So, embrace the process and let your creativity flow. After all, each piece you create is a reflection of your artistic vision. Happy glazing!
Q: What is the difference between under glazing and over glazing?
A: Under glazing is applied before the final glaze and allows for vibrant designs, while over glazing is applied after the initial firing to add a glossy finish.
Q: Can I mix different glazes?
A: Yes! Mixing glazes can create unique colors and textures, but it's essential to test combinations on small samples before applying them to larger pieces.
Q: How do I know which glaze to use for my project?
A: Consider the final look you want to achieve. Matte glazes offer a more subdued look, while glossy glazes add shine and vibrancy. Experiment to find what works best for your style!
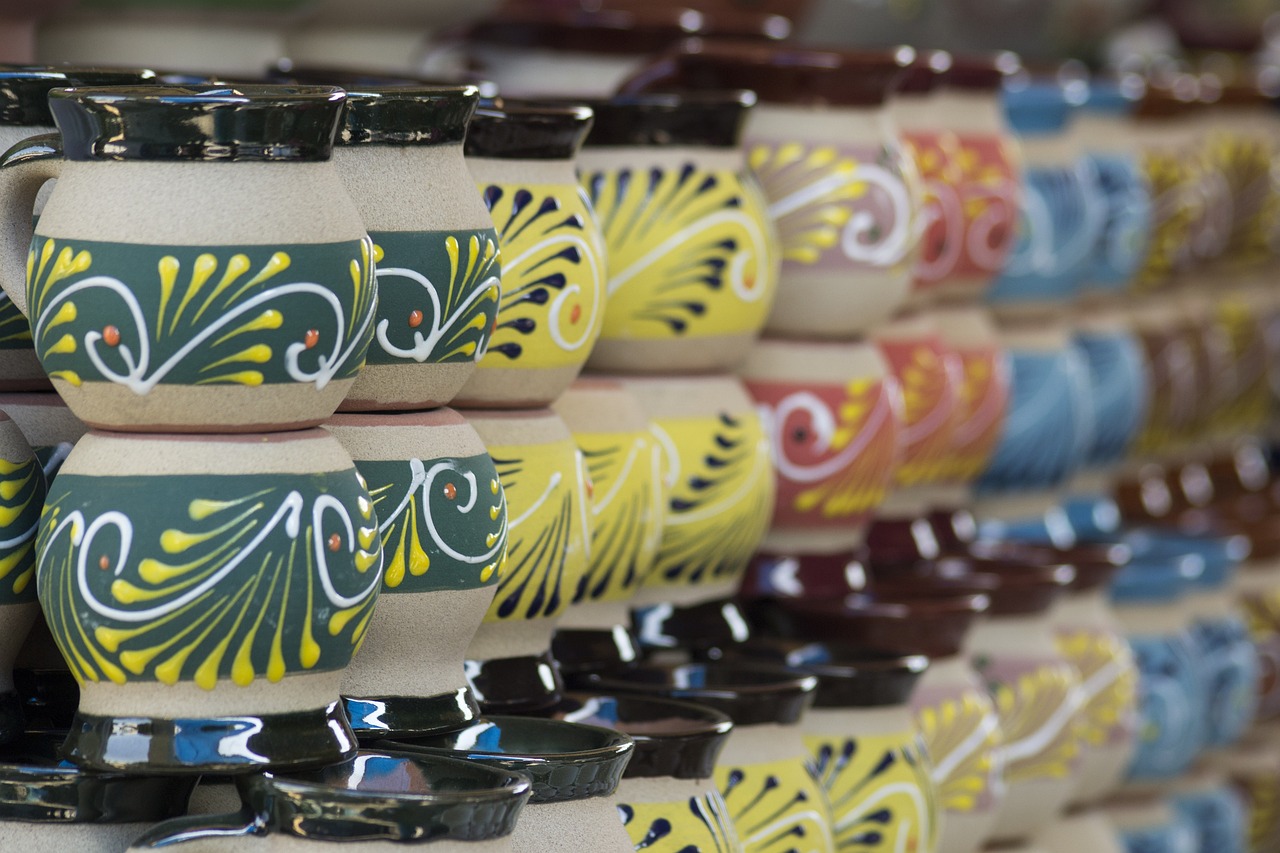
Under Glazing
Under glazing is a fascinating technique that allows you to bring your ceramic creations to life with vibrant colors and intricate designs. By applying color to the clay body before the final glaze, you can achieve stunning visual effects that enhance the overall aesthetic of your dishes. This method is particularly appealing because it offers a level of control over the colors and patterns, enabling you to express your creativity fully.
One of the key advantages of under glazing is the ability to layer colors. This means you can create depth and complexity in your designs. For instance, you might start with a light base color and then add darker shades or patterns on top. The result? A piece that not only looks beautiful but also tells a story through its color choices. Imagine a plate that features a serene blue background, adorned with delicate white flowers; the contrast can be simply breathtaking!
When you're ready to start under glazing, there are a few essential tips to keep in mind:
- Choose the Right Underglaze: There are various types of underglazes available, each with unique properties. Some are more opaque, while others are transparent and allow the clay color to show through. Experimenting with different brands can lead to exciting discoveries.
- Work on Bisque Ware: Always apply underglaze to bisque-fired pottery. This porous surface absorbs the underglaze better, ensuring vibrant colors and preventing smudging.
- Layering Techniques: Don’t hesitate to try layering different colors. Just remember to allow each layer to dry before applying the next to avoid muddying your colors.
After applying your underglaze, it’s crucial to follow up with a clear glaze. This final layer not only protects your design but also enhances the colors, making them pop and giving your dishes a glossy finish. The transformation from a matte underglaze to a shiny surface is nothing short of magical!
In conclusion, under glazing is a powerful tool in your ceramic arsenal. It opens up a world of possibilities for personal expression and creativity. Whether you’re crafting a simple bowl or an elaborate serving platter, under glazing can elevate your work to new heights, making each piece a unique masterpiece. So grab your brushes and let your imagination run wild!
Q: Can I use regular paint for under glazing?
A: No, it's essential to use ceramic underglazes specifically designed for pottery. Regular paint will not withstand the firing process and can be hazardous.
Q: How do I know when the underglaze is dry?
A: Underglaze usually dries to a matte finish, which indicates it's ready for the next step. Ensure it's completely dry before applying any additional layers or glazes.
Q: Will my underglaze colors change after firing?
A: Yes, underglaze colors may shift slightly during firing. It’s a good idea to test your colors on a small piece before committing to a larger project.

Over Glazing
Over glazing is a fascinating technique that can transform your ceramic dishes into stunning works of art. This method involves applying a layer of glaze after the initial firing, which can enhance both the aesthetic appeal and functionality of your creations. Imagine your dish as a blank canvas, and the over glaze as the vibrant paint that brings it to life! This technique not only adds a glossy finish but also allows you to create depth and dimension in your designs.
One of the most exciting aspects of over glazing is the variety of effects you can achieve. Depending on the type of glaze you choose, you can create everything from a smooth, glass-like surface to a textured finish that invites touch. The application process can be done with brushes, sponges, or even spray techniques, allowing for a high degree of creativity. It's like being an artist in your own studio!
When working with over glaze, timing and temperature are crucial. After your initial bisque firing, you'll want to let your pieces cool before applying the glaze. This is where the magic begins. The glaze must be applied evenly to avoid drips and runs, which can detract from the overall look of your dish. Once applied, the piece is fired again, and this second firing melts the glaze, resulting in a beautiful, durable finish that showcases your hard work.
Here’s a quick overview of what you need to keep in mind when mastering over glazing:
- Choose the Right Glaze: There are many types of over glazes available, including transparent, opaque, and specialty glazes that can create unique effects.
- Application Tools: Utilize brushes, sponges, or spray methods to apply the glaze. Each tool can produce different textures and finishes.
- Firing Temperature: Ensure you know the correct firing temperature for your chosen glaze to achieve the best results.
- Experiment: Don’t be afraid to try different techniques and combinations to find what works best for your style.
In conclusion, over glazing is an essential technique in ceramics that can elevate your dishes from simple to spectacular. By experimenting with different glazes and application methods, you can create pieces that not only serve a purpose but also become conversation starters at your dining table. So, roll up your sleeves, grab your tools, and let your creativity flow!
Q1: What is the difference between under glazing and over glazing?
A1: Under glazing involves applying color before the initial firing, while over glazing is done after the first firing to add a glossy finish and enhance the design.
Q2: Can I use any type of glaze for over glazing?
A2: Not all glazes are suitable for over glazing. It's essential to choose a glaze compatible with your clay body and intended firing temperature.
Q3: How do I avoid drips and runs when applying over glaze?
A3: To avoid drips, apply the glaze in thin layers and ensure an even application. Practice and patience are key!
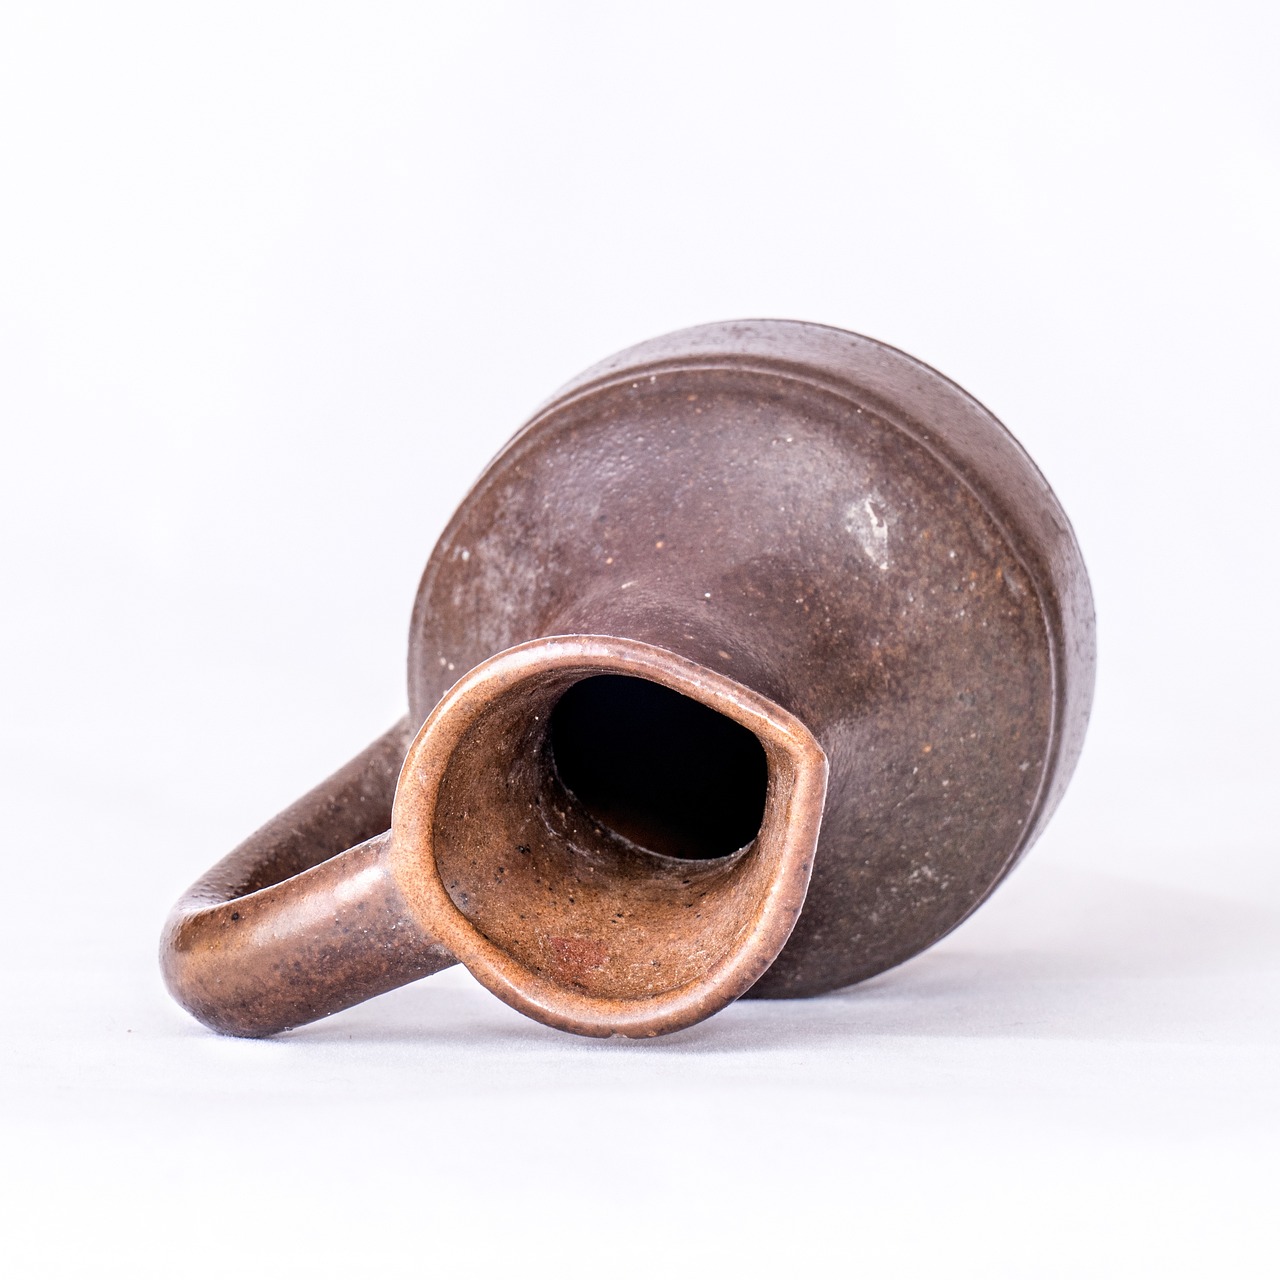
Firing Your Ceramics
Firing is a critical step in the ceramic-making process that transforms your clay creations into durable, functional art. Without firing, your beautiful dishes would remain fragile and unusable. There are two main stages in the firing process: bisque firing and glaze firing. Each stage serves a specific purpose and requires careful attention to detail to achieve the best results.
During bisque firing, your ceramics undergo their first firing at a lower temperature. This initial stage is essential as it removes any remaining moisture from the clay and strengthens it, making it more manageable for glazing. The bisque firing typically occurs at temperatures ranging from 1,600°F to 1,900°F (870°C to 1,040°C), depending on the type of clay used. It’s like giving your dishes a solid foundation before adding the finishing touches!
After the bisque firing, your ceramic pieces will be porous, allowing them to absorb glazes effectively. This is where the magic happens! You can apply various glazes, which will enhance the color and texture of your creations. But wait, there’s more! The next step is glaze firing, where the real transformation occurs. This firing is done at a higher temperature, usually between 1,830°F and 2,400°F (1,000°C to 1,315°C), which melts the glaze and fuses it to the surface of the ceramics, creating a beautiful and durable finish.
Understanding the firing process is essential for achieving the desired look and durability of your dishes. Here’s a quick overview of the firing stages:
| Firing Stage | Purpose | Temperature Range |
|---|---|---|
| Bisque Firing | Strengthens clay and removes moisture | 1,600°F - 1,900°F (870°C - 1,040°C) |
| Glaze Firing | Melts glaze and fuses it to the ceramic | 1,830°F - 2,400°F (1,000°C - 1,315°C) |
Timing and temperature control are vital during both firing stages. If the temperature is too low, the glaze may not melt properly, resulting in a dull finish. Conversely, firing at too high a temperature can lead to melting or warping of your dishes. It's like baking a cake; just the right amount of heat is necessary to achieve that perfect rise!
In summary, firing your ceramics is an art in itself. By mastering the bisque and glaze firing processes, you can ensure that your handmade dishes not only look stunning but also stand the test of time. So, grab your kiln, keep an eye on those temperatures, and watch your beautiful creations come to life!
- What is the difference between bisque and glaze firing?
Bisque firing prepares the clay for glazing by removing moisture, while glaze firing melts the glaze to create a beautiful finish. - How do I know when my kiln has reached the right temperature?
Most kilns have temperature gauges, and you can also use pyrometric cones to monitor the firing process accurately. - Can I fire my ceramics at home?
Yes! Many potters use small electric kilns at home, but ensure you follow safety guidelines and local regulations.
Bisque Firing
Explore the art of creating beautiful ceramic dishes in your own home. This guide will cover techniques, materials, and tips for crafting stunning pieces that elevate your dining experience.
Selecting the appropriate clay is crucial for your ceramic projects. Different types of clay offer unique properties, affecting the final appearance and durability of your dishes.
Having the right tools can make all the difference in your pottery journey. This section covers the must-have tools for shaping, glazing, and firing your ceramic dishes effectively.
Handbuilding is a versatile method for creating unique ceramic dishes. Learn about pinch pots, coil building, and slab construction to craft one-of-a-kind pieces.
Pinch pots are simple yet beautiful. This technique involves shaping clay with your fingers, allowing for creative freedom and personal expression in your dish designs.
Coil building allows for larger, more intricate forms. By stacking and smoothing coils of clay, you can create unique shapes and textures in your ceramic dishes.
Wheel throwing is an exciting technique that requires practice and skill. Discover the fundamentals of using a pottery wheel to produce symmetrical and elegant ceramic dishes.
Glazing adds color and texture to your ceramic dishes. Explore various glazing methods to enhance your creations and make them visually striking and functional.
Under glazing involves applying color before the final glaze. This technique allows for intricate designs and vibrant hues that can be showcased in your finished pieces.
Over glazing is applied after the initial firing. This method can create a glossy finish and add depth to your ceramic dishes, making them stand out on any table.
Firing is a critical step in the ceramic-making process. Learn about bisque and glaze firing, including temperature settings and kiln types for achieving the best results.
Bisque firing is an essential stage in the ceramic-making process that prepares your creations for glazing. During this initial firing, the clay undergoes a transformation that removes moisture and strengthens its structure. This process is crucial because it allows you to handle the ceramic pieces without fear of breaking them during the glazing stage. Think of bisque firing as the foundation of a house; without a solid foundation, the rest of the structure is at risk.
The typical temperature range for bisque firing is between 1,830°F to 1,940°F (999°C to 1,060°C). This ensures that the clay is adequately hardened without reaching the melting point. The firing process can take several hours, and the cooling period is equally important, as rapid cooling may lead to cracks. Patience is key!
Here are some key points to remember about bisque firing:
- Moisture Removal: Ensures all moisture is evaporated from the clay.
- Strengthening: Increases the durability of the ceramic, making it easier to handle.
- Preparation for Glazing: Sets the stage for applying glaze, which will later enhance the appearance of your dishes.
Understanding the bisque firing process is vital for any aspiring ceramic artist. It not only prepares your pieces for the next step but also contributes to the overall quality of your finished products. So, as you embark on your pottery journey, remember that every great dish starts with a solid bisque firing!
Once your ceramic dishes are complete, showcasing them beautifully is essential. Explore creative ways to display your handmade pieces, adding charm and character to your home.
Incorporating your ceramic dishes into table settings elevates your dining experience. Discover tips for arranging your creations alongside complementary elements for a stunning presentation.
Your ceramic dishes can also serve as decorative elements in your home. Explore various ways to incorporate them into your décor, adding personality and warmth to any space.
Q: What type of clay should I use for beginners?
A: For beginners, earthenware is a great choice as it is easy to work with and forgiving during the firing process.
Q: How long does it take to complete a ceramic dish?
A: The time can vary, but typically, it may take several days to weeks depending on the complexity of the design and drying times.
Q: Can I use my ceramic dishes for food?
A: Yes, as long as they are properly glazed and fired, they can be safe for food use. Always check if the materials used are food-safe.
Glaze Firing
Glaze firing is a pivotal moment in the ceramic-making process, where all your hard work truly comes to life! This stage is not just about applying a shiny finish; it’s the moment when your ceramic dishes transform into functional art. To understand glaze firing, it’s essential to grasp the concept of heat and chemistry at play. The kiln heats your pieces to a specific temperature, allowing the glaze to melt and fuse into a smooth, glass-like surface. But beware! This is not a one-size-fits-all process. Different glazes require different firing temperatures, and understanding these nuances can make or break your piece.
Typically, glaze firing occurs after bisque firing, which prepares the clay body for glazing. The temperatures for glaze firing generally range from 1,830°F (1,000°C) to 2,380°F (1,300°C), depending on the type of glaze used. Here’s a quick overview of common glaze types and their firing ranges:
| Glaze Type | Firing Temperature (°F) | Firing Temperature (°C) |
|---|---|---|
| Low Fire | 1,830 - 2,100 | 1,000 - 1,150 |
| Mid Fire | 2,100 - 2,230 | 1,150 - 1,220 |
| High Fire | 2,230 - 2,380 | 1,220 - 1,300 |
As you prepare for glaze firing, it’s crucial to ensure that your pieces are clean and free of dust. A good practice is to rinse your bisque-fired pieces with water and let them dry completely before applying the glaze. This step helps the glaze adhere better, ensuring an even coat. When applying glaze, consider using a brush, dipping, or spraying, depending on the effect you want to achieve. Each method offers a unique finish, so don’t hesitate to experiment!
Timing is another critical factor in glaze firing. The kiln must reach the desired temperature and hold it for an appropriate amount of time to allow the glaze to mature. This process is often referred to as "soaking" and can vary depending on the glaze type. For instance, low-fire glazes may need a shorter soaking time compared to high-fire glazes, which require more time to develop their full potential. Remember, patience is key!
Once the glaze firing is complete, allow the kiln to cool down gradually. Opening the kiln too soon can lead to thermal shock, which may crack your beautiful creations. After the kiln has cooled, you can finally unveil your masterpieces! The moment you open that door and see the vibrant colors and glossy finishes is nothing short of magical. It’s like unwrapping a gift that you’ve poured your heart and soul into.
In summary, glaze firing is a transformative experience that solidifies your artistic vision. By understanding the science behind it, preparing your pieces properly, and allowing for the right timing, you can elevate your ceramic dishes to new heights. So, get ready to fire up that kiln and watch your creations shine!
- What is the difference between bisque firing and glaze firing? Bisque firing is the initial firing that hardens the clay, while glaze firing is the second firing that melts the glaze to create a finished surface.
- Can I glaze my pieces before bisque firing? No, it’s essential to bisque fire your pieces first to ensure that they can properly absorb the glaze.
- How long does a glaze firing take? The duration can vary, but typically it takes several hours to reach the desired temperature, followed by a cooling period that can take up to 24 hours or more.
- What should I do if my glaze runs during firing? If your glaze runs, it may be due to too much glaze applied or firing at too high a temperature. Experimenting with glaze application and firing schedules can help prevent this.
Displaying Your Creations
Once you've poured your heart and soul into crafting those gorgeous ceramic dishes, the next exciting step is showcasing them to the world—or at least to your friends and family! Displaying your creations is not just about putting them on a shelf; it's about creating a visual story that reflects your style and the effort that went into making each piece. Think of your ceramics as not just functional items, but as art pieces that can elevate the atmosphere of your home.
One of the most effective ways to display your handmade ceramics is through thoughtfully arranged table settings. Imagine hosting a dinner party and setting the table with your unique dishes. It immediately transforms a meal into a special occasion. Here’s how you can do it:
- Choose a Theme: Consider the overall vibe you want to create—rustic, modern, or eclectic.
- Layer Textures: Mix your ceramic dishes with different materials like wood, linen, or glass to add depth.
- Use Color Wisely: If your dishes are colorful, opt for neutral tablecloths and napkins to let them shine.
- Incorporate Natural Elements: Fresh flowers, herbs, or fruits can complement your ceramics beautifully.
But your ceramic creations aren't just limited to the dining table. They can also serve as stunning home décor pieces. Think about how you can integrate them into your living space:
For instance, you can use a large, beautifully glazed bowl as a centerpiece on your coffee table. It can hold seasonal fruits or even serve as a catch-all for keys and small items. Smaller dishes can be displayed on shelves or in a cabinet, where they can be admired even when not in use. You might also consider creating a dedicated display area, such as a floating shelf or a glass cabinet, where your dishes can be the star of the show.
Additionally, consider using your ceramic pieces in unexpected ways. A plate can become a wall hanging with the right mounting, or a cup can serve as a small plant holder. The possibilities are endless, and the key is to let your creativity flow.
As you think about how to showcase your ceramic dishes, remember that the goal is to celebrate your craftsmanship. Each piece tells a story, and displaying them thoughtfully allows that narrative to shine through. So, whether you’re setting the table for a festive gathering or finding a cozy nook for your creations, let your ceramics reflect your unique style and passion.
| Question | Answer |
|---|---|
| Can I use my ceramic dishes in the oven? | It depends on the type of clay and glaze used. Always check the manufacturer's guidelines before using them in the oven. |
| How do I care for my ceramic dishes? | Hand wash them with mild soap and avoid abrasive materials to keep them looking their best. |
| Can I display my ceramics outside? | While some ceramics can withstand outdoor conditions, it's best to bring them inside during harsh weather to prevent damage. |
Table Settings
Creating a stunning table setting with your handmade ceramic dishes is like painting a masterpiece on a canvas—it requires thought, creativity, and a little flair! Imagine inviting friends over for dinner and showcasing your unique creations, making each meal feel like a special occasion. The right table setting not only enhances the aesthetic appeal of your dining area but also elevates the entire dining experience.
To begin, think about the color palette of your ceramic dishes. Are they vibrant and bold, or soft and muted? This will guide the choice of table linens and other elements. For instance, if your dishes are adorned with earthy tones, consider using a rustic tablecloth or placemats that complement these colors. On the other hand, if your dishes boast bright hues, a simple white or neutral table setting can provide a beautiful contrast that allows your ceramics to shine.
Next, consider the arrangement of your dishes. A well-organized table can be visually appealing and functional. Here’s a simple guideline for setting your table:
| Item | Placement |
|---|---|
| Plates | Center of the setting, with the main plate on the bottom and smaller plates on top. |
| Cutlery | Forks on the left, knives and spoons on the right, with the knife blade facing the plate. |
| Glasses | Placed above the knives, with the water glass being the first on the right. |
| Napkins | Folded neatly on the plate or to the left of the forks. |
Don’t forget to add a touch of personality! Incorporating elements like fresh flowers, candles, or even seasonal decorations can create a warm and inviting atmosphere. For instance, a small vase of wildflowers can bring a pop of color and a hint of nature to your table. Candles can add a cozy ambiance, especially for evening meals, creating a setting that feels intimate and special.
Finally, consider the functional aspect of your table setting. Ensure that your ceramic dishes are not only beautiful but also practical. If you have larger serving dishes, make sure they are accessible and that there’s enough space for each guest to comfortably reach their food. Remember, the goal is to create a setting that is not only visually stunning but also enhances the dining experience for you and your guests.
So, as you prepare your table, think of it as a stage where your ceramic dishes are the stars. With a little creativity and attention to detail, you can craft a dining experience that is both memorable and delightful, leaving your guests in awe of your artistic talents!
- What type of tablecloth works best with ceramic dishes? A neutral or complementary color tablecloth can enhance the beauty of your ceramic dishes without overpowering them.
- How can I make my table setting more inviting? Incorporate personal touches like flowers, candles, or themed decorations that reflect your style.
- Should I use matching or mixed dishware? Mixing dishware can create an eclectic and charming look, while matching sets can offer a more formal appearance.
Home Décor Ideas
Once you've crafted your stunning ceramic dishes, the next step is to showcase them in your home. Think of your handmade pieces as not just functional items, but as unique works of art that can add character and charm to any space. One of the most delightful ways to incorporate your ceramic creations into your home décor is by using them as statement pieces. Imagine a beautifully crafted bowl filled with fresh fruits sitting on your kitchen counter, not just serving a purpose but also elevating the entire aesthetic of the room.
Another fantastic idea is to create a dedicated display area, such as a shelf or a side table, where your ceramic dishes can shine. You can mix and match different styles and colors to create a visually appealing arrangement. For instance, consider pairing a vibrant, hand-painted platter with simpler, more neutral pieces. This contrast can draw the eye and create a dynamic focal point in your living space.
Don't forget about using your ceramic dishes in unexpected ways! For example, a shallow dish can serve as a chic catch-all for keys and mail in your entryway, while a larger, decorative bowl can be used as a centerpiece on your dining table. The versatility of ceramic dishes means that they can be functional and decorative at the same time.
To further enhance your home décor, consider incorporating your ceramic pieces into seasonal decorations. During the holidays, for instance, you can fill a large ceramic bowl with ornaments or seasonal fruits, instantly transforming it into a festive focal point. Similarly, during the spring, a collection of small ceramic pots can hold fresh flowers, bringing life and color into your home.
Here are a few more creative ideas for displaying your ceramic dishes:
- Wall Art: Hang smaller plates on the wall for a unique gallery effect. This can add texture and interest to otherwise plain walls.
- Table Centerpieces: Use your ceramic dishes as part of a larger centerpiece arrangement, combining them with candles, greenery, or other decorative items.
- Open Shelving: If you have open shelves in your kitchen or dining room, arrange your ceramic dishes alongside cookbooks or glassware for a curated look.
As you explore these home décor ideas, remember that the key is to let your personality shine through. Whether you prefer a minimalist style or a more eclectic vibe, your ceramic dishes can play a significant role in creating a space that feels uniquely yours. So, get creative, and let your imagination run wild as you find new and exciting ways to incorporate your handmade ceramic art into your everyday life!
Q: How do I care for my ceramic dishes?
A: To maintain your ceramic dishes, gently hand wash them with mild soap and water. Avoid abrasive scrubbers that could scratch the surface. If your pieces are glazed, they are usually dishwasher safe, but it's always best to check the manufacturer's guidelines.
Q: Can I use my ceramic dishes in the oven or microwave?
A: It depends on the type of clay and glaze used. Many ceramic dishes are oven and microwave safe, but always check for specific instructions. If unsure, it's best to err on the side of caution.
Q: How can I prevent my ceramic dishes from chipping?
A: To prevent chipping, handle your ceramic pieces with care. Store them in a safe place, away from the edge of counters or tables, and consider using padding or dividers if stacking them.
Q: What should I do if my ceramic dish breaks?
A: If your ceramic dish breaks, you can attempt to repair it with a strong adhesive specifically designed for ceramics. However, if the break is significant, it may be best to repurpose the pieces for art projects or decorative displays.
Frequently Asked Questions
- What type of clay should I use for making ceramic dishes?
Choosing the right clay is crucial! For beginners, earthenware is a great option as it's easy to work with and fires at lower temperatures. If you're looking for something more durable, stoneware or porcelain can be fantastic choices, offering strength and a refined finish. Each type has its own unique properties, so pick one that aligns with your project goals!
- What essential tools do I need for ceramics?
You'll need a few key tools to get started on your pottery journey! Here’s a quick list:
- Pottery Wheel: For wheel throwing techniques.
- Clay Tools: A variety of tools for shaping and detailing your work.
- Glazing Brushes: For applying glazes smoothly.
- Kiln: Essential for firing your creations to harden the clay.
These tools can make a world of difference, so invest in quality ones if you can!
- What are the different handbuilding techniques?
Handbuilding is super fun and allows for a lot of creativity! The main techniques include:
- Pinch Pots: Simple and personal, just pinch the clay into shape.
- Coil Building: Stack coils of clay to create larger pieces.
- Slab Construction: Roll out slabs of clay to form your dishes.
Each method has its own charm, so don’t be afraid to experiment!
- How do I apply glaze to my ceramic dishes?
Glazing can be a game changer for your creations! You can use under glazing to apply color before the final glaze, which allows for intricate designs. On the other hand, over glazing is applied after the initial firing, giving a glossy finish. Just remember to follow the instructions for your specific glazes to achieve the best results!
- What is the firing process in ceramics?
Firing is a critical step that transforms your clay into durable ceramics. Bisque firing is the first stage, which prepares your pieces for glazing by removing moisture. After glazing, you'll do a glaze firing to melt the glaze, creating that beautiful finish we all love. Make sure to pay attention to the temperature settings for each firing to get the best results!
- How can I display my ceramic dishes at home?
Displaying your handmade ceramic dishes can add a unique touch to your home! Consider using them in table settings to enhance your dining experience or as part of your home décor. You can arrange them on shelves, use them as centerpieces, or even hang them on walls as art pieces. Let your creativity shine!


