How to make homemade pottery: Easy projects for anyone
Have you ever looked at a beautiful piece of pottery and thought, "I wish I could make that"? Well, guess what? You can! Homemade pottery is not just for the professionals; it's a fantastic way to unleash your creativity, relax, and even impress your friends and family with your artistic flair. In this article, we'll explore some simple pottery-making projects that are perfect for beginners. Whether you're looking to create functional items like bowls and mugs or decorative pieces to brighten up your home, this guide will provide you with essential techniques, tools, and tips to help you get started on your pottery journey.
Pottery-making is an ancient art form that has been practiced for thousands of years. Think of it as a blend of science and creativity—you're not just molding clay; you're also understanding its properties and how it reacts to different techniques and firing methods. This article will walk you through everything you need to know, from choosing the right clay to glazing your finished pieces. So grab your apron, roll up your sleeves, and let’s dive into the wonderful world of pottery!
When it comes to pottery, the type of clay you choose can make a world of difference. There are three primary types of clay you'll encounter: earthenware, stoneware, and porcelain. Each has its unique characteristics, and understanding these can help you select the best option for your projects.
| Type of Clay | Characteristics | Best Use |
|---|---|---|
| Earthenware | Soft, porous, and often red or brown in color. | Great for beginners and decorative pieces. |
| Stoneware | Durable, non-porous, and often gray or brown. | Ideal for functional items like dishes and mugs. |
| Porcelain | Fine, smooth, and typically white or translucent. | Perfect for intricate designs and fine art pottery. |
Choosing the right clay is crucial for your success in pottery-making. If you're just starting out, earthenware is a fantastic choice due to its workability and forgiving nature. Once you gain more experience, you might want to experiment with stoneware or porcelain to expand your skills and creativity.
Now that you’ve picked your clay, it’s time to gather the tools that will help you bring your pottery dreams to life. Having the right tools can streamline your pottery-making process and make your experience more enjoyable. Here’s a quick rundown of some must-have tools:
- Pottery Wheel: A fantastic tool for shaping clay into symmetrical forms.
- Sculpting Tools: Essential for adding details and textures to your pieces.
- Glazing Supplies: Necessary for adding color and a protective finish to your pottery.
With these tools in hand, you'll be well-equipped to embark on your pottery journey. Remember, the right tools can make all the difference, so invest in quality items that will last.
Using a pottery wheel can be intimidating for newcomers, but it’s also one of the most rewarding aspects of pottery-making. When selecting a pottery wheel, consider factors like size, portability, and your budget. Once you have your wheel, practice is key. Start with centering the clay, which is crucial for creating even pieces. Don’t be afraid to make mistakes; every potter has been there!
If you're not ready to dive into wheel throwing, don't worry! Handbuilding is a fantastic way to start without the need for a wheel. Techniques like pinch pots, coil building, and slab construction allow you to create unique pieces using just your hands. Handbuilding can be incredibly freeing and allows for a lot of personal expression.
Once you're comfortable with the wheel, you can start learning basic throwing techniques. This includes centering, pulling, and shaping the clay. These skills are essential for crafting functional pottery items. With practice, you’ll soon be able to create bowls, vases, and more!
Glazing is where the magic happens! It adds color and a protective finish to your pottery. There are various glazing techniques you can experiment with, from dipping to brushing. Each technique can yield different effects, so don’t hesitate to try them all. Remember, glazing can be unpredictable, so embrace the surprises it brings!
Firing is a critical step in pottery making. It transforms your clay into a durable ceramic piece. There are two primary firing methods: bisque firing and glaze firing. Understanding how to properly use a kiln is essential for achieving the best results for your creations.
Safety is paramount in pottery. Always ensure proper ventilation when working with clays and glazes, and be cautious when handling tools. Wearing a mask and gloves can help protect you from dust and chemicals. By following these safety precautions, you’ll ensure a safe and enjoyable pottery experience.
Even experienced potters make mistakes. Common pitfalls include uneven thickness in pieces, not properly wedging the clay, or rushing the drying process. By being aware of these challenges and learning how to overcome them, you’ll enhance your skills and boost your confidence in your pottery projects.
Q: Do I need a pottery wheel to make pottery?
A: No, you can create beautiful pottery using handbuilding techniques without a wheel!
Q: How long does it take for pottery to dry?
A: It typically takes 1-2 days for pottery to dry completely, depending on the thickness and humidity.
Q: Can I use regular paint to decorate my pottery?
A: It's best to use glazes specifically designed for pottery to ensure they are food-safe and durable.
Q: What is the best clay for beginners?
A: Earthenware is often recommended for beginners due to its ease of use and forgiving nature.
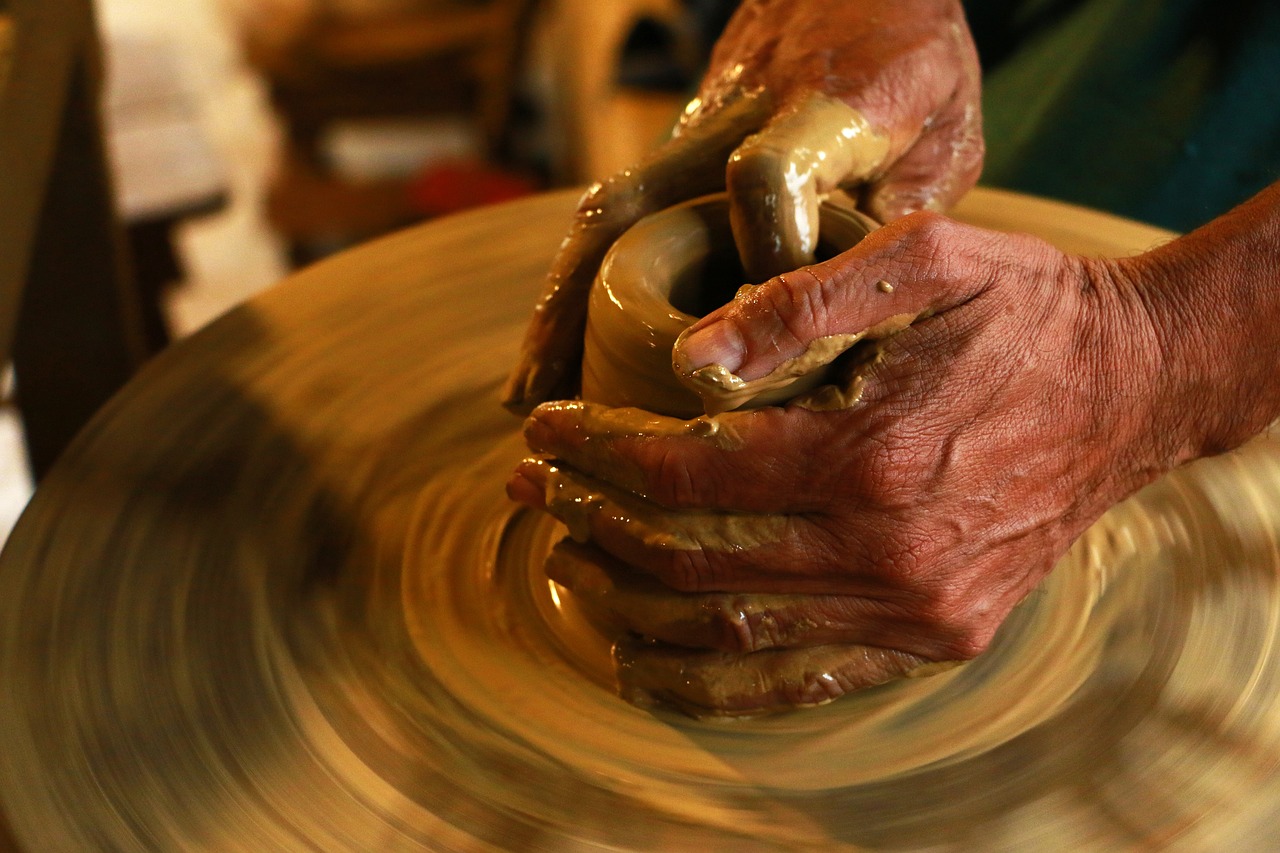
Choosing the Right Clay
When diving into the world of pottery, one of the first and most important decisions you'll face is . The type of clay you select not only influences the final appearance of your piece but also affects the techniques you can use and the overall experience of working with it. Think of clay as the foundation of your creative journey; it’s essential to understand its characteristics before you start molding your artistic vision.
There are three primary types of clay that every budding potter should be familiar with: earthenware, stoneware, and porcelain. Each type has its unique properties and best uses, making it crucial to choose wisely based on your project goals.
| Type of Clay | Characteristics | Best Uses |
|---|---|---|
| Earthenware | Soft, porous, and easy to mold; fires at low temperatures | Decorative pieces, flower pots, and functional items with a rustic look |
| Stoneware | Durable, non-porous, and versatile; fires at high temperatures | Functional dinnerware, bakeware, and sturdy decorative items |
| Porcelain | Fine, delicate, and translucent; fires at very high temperatures | High-end dinnerware, intricate sculptures, and detailed decorative pieces |
Let's break it down a bit further:
- Earthenware: This is the clay that most beginners start with. It’s affordable and easy to work with, making it perfect for practice. However, keep in mind that it’s more porous, which means it might not be ideal for items that need to hold water without glazing.
- Stoneware: If you're looking for durability, stoneware is your best friend. It can withstand higher temperatures, making it perfect for functional pottery like mugs and plates. Plus, it has a beautiful, earthy finish that many potters adore.
- Porcelain: Now, this is where things get fancy! Porcelain is known for its elegant finish and strength, but it can be a bit tricky to work with, especially for beginners. It requires higher firing temperatures and can be less forgiving if you're just starting out.
Choosing your clay is like picking the right canvas for a painter. Each type offers a different texture and finish, allowing you to express your creativity in unique ways. So, take your time exploring these options and consider what you want to create. Are you aiming for a rustic, cozy look, or do you want something sleek and modern? Your choice of clay will set the stage for your artistic journey!
As you embark on your pottery-making adventure, remember that experimenting with different types of clay can lead to unexpected and delightful results. Don’t hesitate to try a few different kinds to see which one resonates with you the most. After all, the beauty of pottery lies not only in the finished product but also in the process of creation itself!
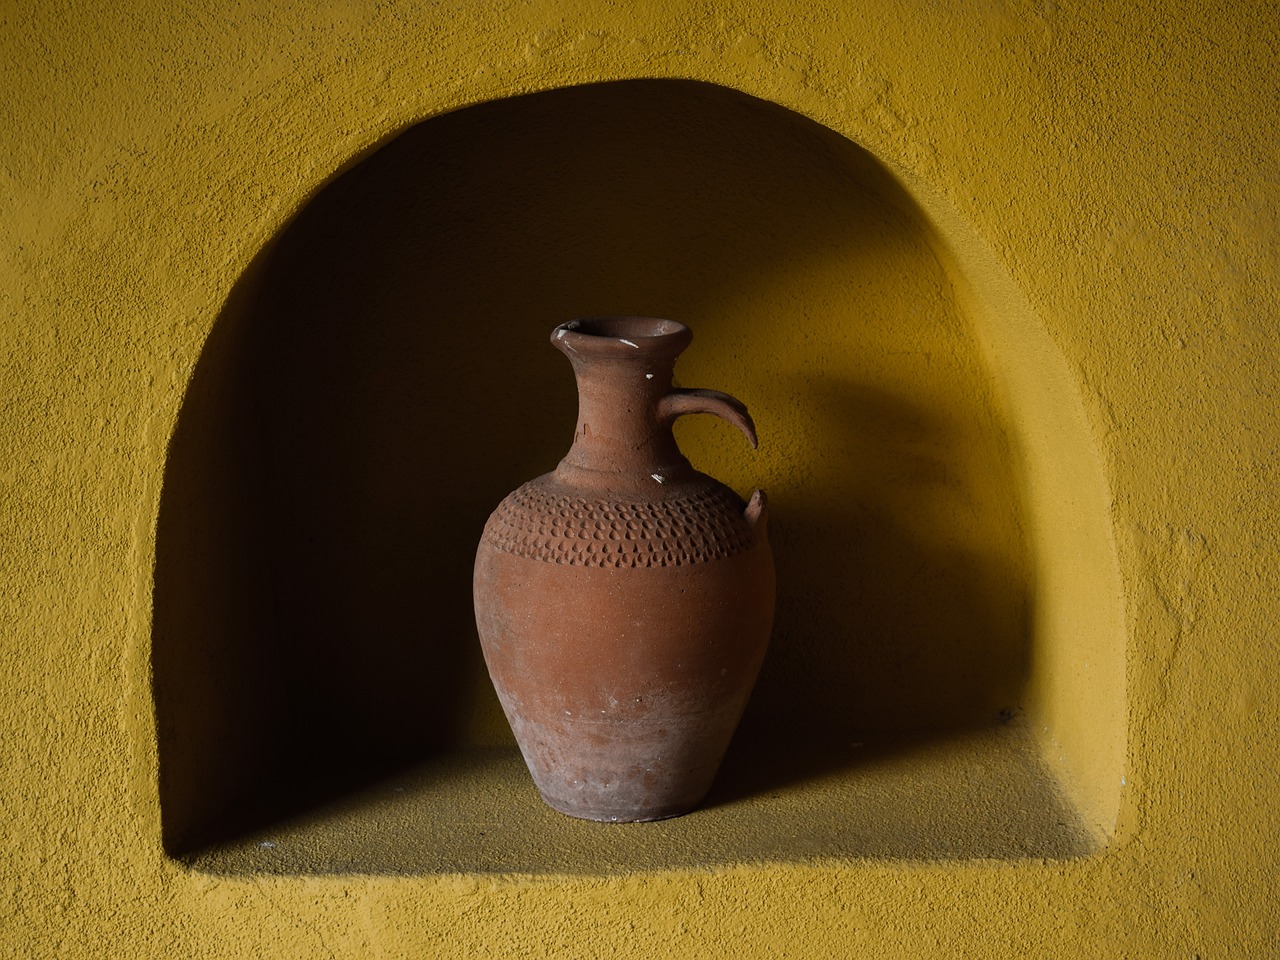
Essential Tools for Pottery
When diving into the world of pottery, having the right tools is like having a trusty toolbox for any DIY project. You wouldn’t start building a house without a hammer, right? Similarly, the tools you choose can significantly impact your pottery-making experience. From shaping your clay to adding the final touches, each tool plays a vital role in your creative journey. So, let’s explore some essential tools that will help you craft beautiful ceramic pieces.
First and foremost, a pottery wheel is often considered the heart of the pottery studio. While it may seem intimidating at first, mastering the wheel opens a world of possibilities for shaping your clay. If you’re a beginner, look for a wheel that is user-friendly and stable. Many wheels come with adjustable speeds, which can be a game-changer as you learn to control the clay’s movement.
In addition to the wheel, you'll need a set of sculpting tools. These handy tools come in various shapes and sizes and are perfect for refining your work. Whether you’re smoothing edges, carving designs, or adding intricate details, having a variety of sculpting tools at your disposal can elevate your pottery. Here’s a quick rundown of some must-have sculpting tools:
- Loop tools: Great for trimming and carving.
- Wooden modeling tools: Perfect for smoothing and shaping.
- Wire cutters: Essential for cutting clay and removing pieces from the wheel.
Another crucial component of your pottery toolkit is glazing supplies. Glazes not only add color but also provide a protective layer to your creations. You’ll need brushes, sponges, and dipping tools to apply your glazes effectively. Additionally, investing in a variety of glazes can help you experiment with different finishes and effects, allowing your creativity to shine through.
Don’t forget about kilns! A kiln is essential for firing your pottery, transforming your soft clay into durable ceramic. If you’re serious about pottery, consider investing in a small kiln for home use. There are electric kilns that are user-friendly and designed for beginners, making it easier to get started. If purchasing a kiln isn’t feasible, many local studios offer kiln services, so you can still fire your pieces.
Lastly, let’s talk about safety gear. While pottery can be a fun and creative activity, it’s crucial to prioritize safety. Make sure to have a good dust mask to protect yourself from clay dust and a pair of sturdy gloves when handling sharp tools. Safety goggles are also a wise choice when working with glazes and firing your pieces, ensuring that you keep your eyes protected from any splashes or debris.
In summary, having the right tools for pottery can make all the difference in your crafting experience. With a pottery wheel, sculpting tools, glazing supplies, a kiln, and proper safety gear, you’ll be well on your way to creating stunning ceramic pieces. Remember, each tool has a purpose, and as you grow in your pottery skills, you’ll find your own unique way of using them. So gather your tools, unleash your creativity, and enjoy the wonderful world of pottery!
What is the best clay for beginners?
Earthenware is often recommended for beginners due to its workability and lower firing temperature.
Do I need a pottery wheel to start?
No, you can start with handbuilding techniques, which require fewer tools and can be just as rewarding!
How long does it take to learn pottery?
It varies by individual, but with consistent practice, you can start creating simple pieces within a few weeks.
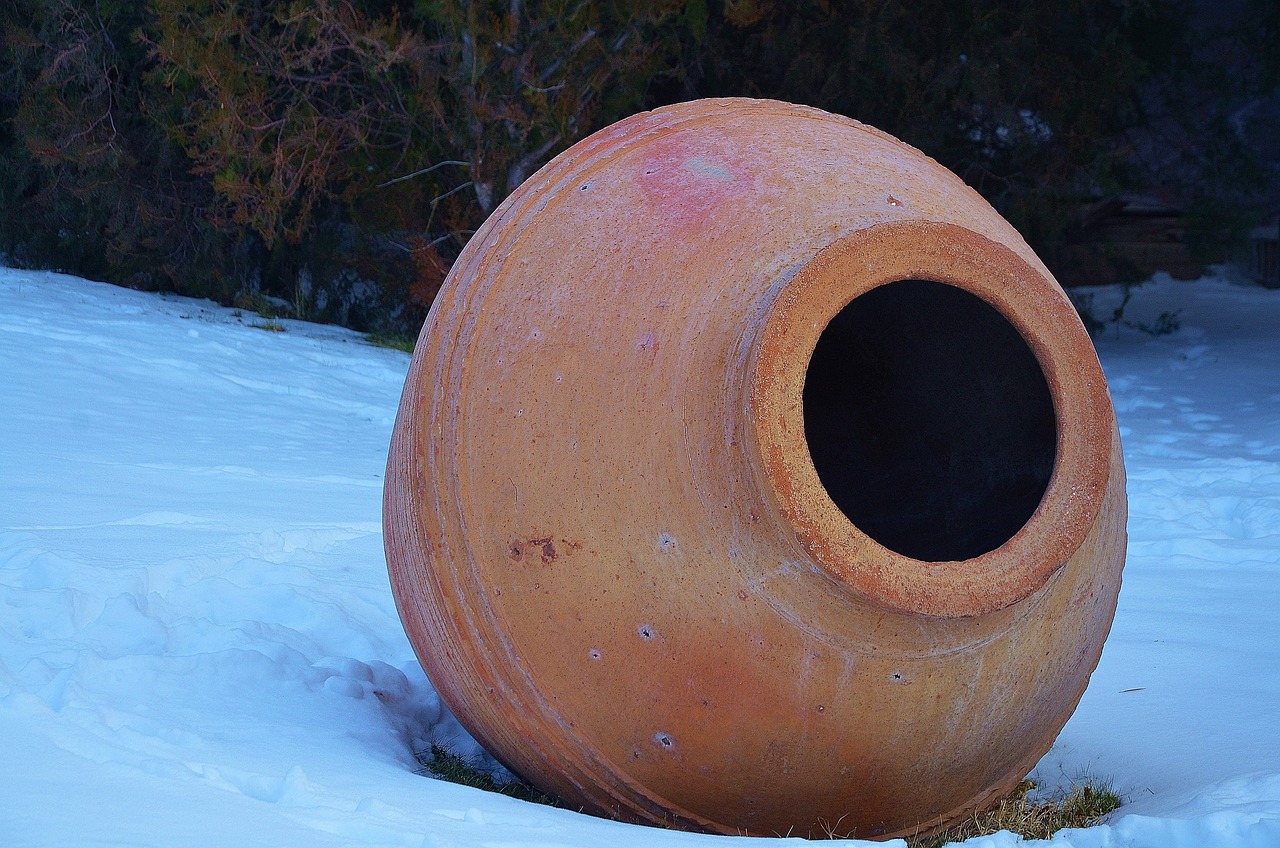
Pottery Wheels: A Beginner's Guide
Stepping into the world of pottery can feel like stepping onto a rollercoaster for the first time—exciting yet a bit intimidating! One of the most thrilling rides in this creative journey is the pottery wheel. If you're a beginner, the thought of using a wheel might make you feel like you're about to juggle flaming torches. But fear not! With the right guidance, you'll soon be shaping clay like a pro.
First things first, let's talk about choosing the right pottery wheel. There are two main types: electric and kick wheels. Electric wheels are excellent for beginners since they allow for smoother operation and require less physical effort. On the other hand, kick wheels offer a more traditional experience, giving you a sense of connection to the craft. Consider what suits your style best. If you’re looking for something that allows you to focus on the clay without the need for constant footwork, an electric wheel may be your best bet.
Once you have your wheel, it’s time to get familiar with its parts. The wheel head is where the magic happens—this is the flat circular surface where you’ll place your clay. You’ll also find a foot pedal (on electric wheels) that controls the speed. Understanding these components is like knowing the controls of a spaceship before taking off; it sets the stage for a successful adventure!
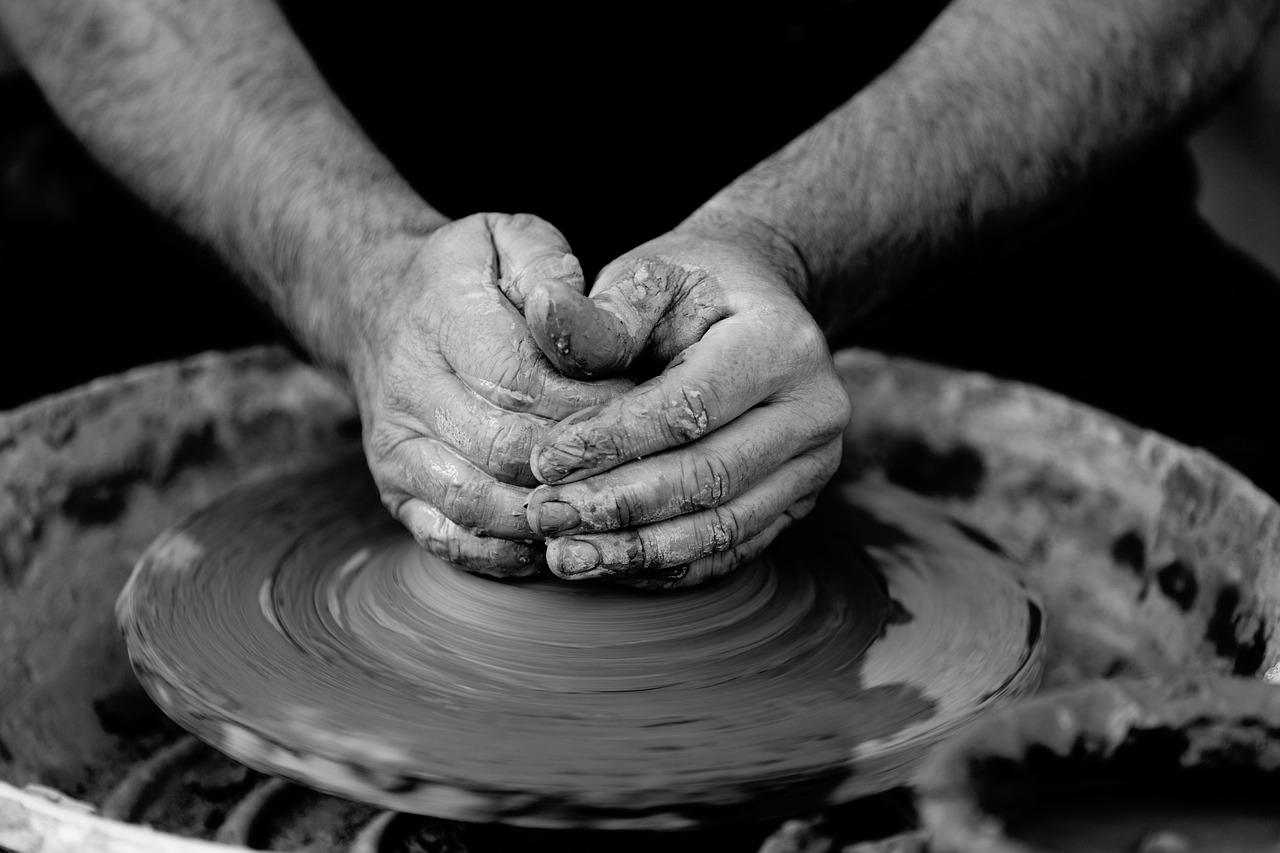
Now, let’s dive into the basics of using a pottery wheel. Start by centering your clay. This is a crucial step that can make or break your pottery experience. To center your clay, you’ll want to throw a lump of clay onto the wheel head and then wet your hands. As the wheel spins, apply even pressure with your palms to push the clay into a centered mound. Think of it like trying to balance a top; if it’s off-center, it wobbles and falls apart.
After mastering centering, you can move on to pulling and shaping. Pulling involves using your fingers to gently lift and shape the clay as it spins. This is where your creativity can really shine! You can create bowls, cups, or even intricate sculptures. Just remember, practice makes perfect. Don’t be discouraged by the first few attempts; even the best potters had to start somewhere!
As you become more comfortable, try experimenting with different techniques. For instance, you can use tools to carve designs or textures into your pieces. This is where the fun really begins! Each piece you create will be unique, reflecting your personality and style. Whether it’s a simple mug or an elaborate vase, your creations will tell a story.
Finally, let’s not forget about the importance of cleaning and maintenance of your pottery wheel. After each session, take the time to clean the wheel head and surrounding area. This not only keeps your workspace tidy but also ensures that your wheel remains in great condition for future projects. A clean workspace is like a blank canvas, ready for your next masterpiece!
In summary, using a pottery wheel is a journey filled with creativity and discovery. Embrace the learning process, and don’t shy away from making mistakes. Each wobble and uneven edge is a stepping stone toward mastering your craft. Soon enough, you’ll be spinning clay into beautiful pottery pieces that you can proudly display or gift to loved ones.
- What type of clay should I use for wheel throwing? For beginners, stoneware clay is often recommended due to its versatility and durability.
- How long does it take to learn to use a pottery wheel? It varies by individual, but with regular practice, many beginners start feeling comfortable within a few weeks.
- Can I use a pottery wheel at home? Yes! Many beginners invest in a small electric wheel for home use, making it convenient to practice anytime.
- What should I do if my clay keeps collapsing? This is a common issue for beginners. Ensure you are properly centering your clay and applying even pressure as you pull.
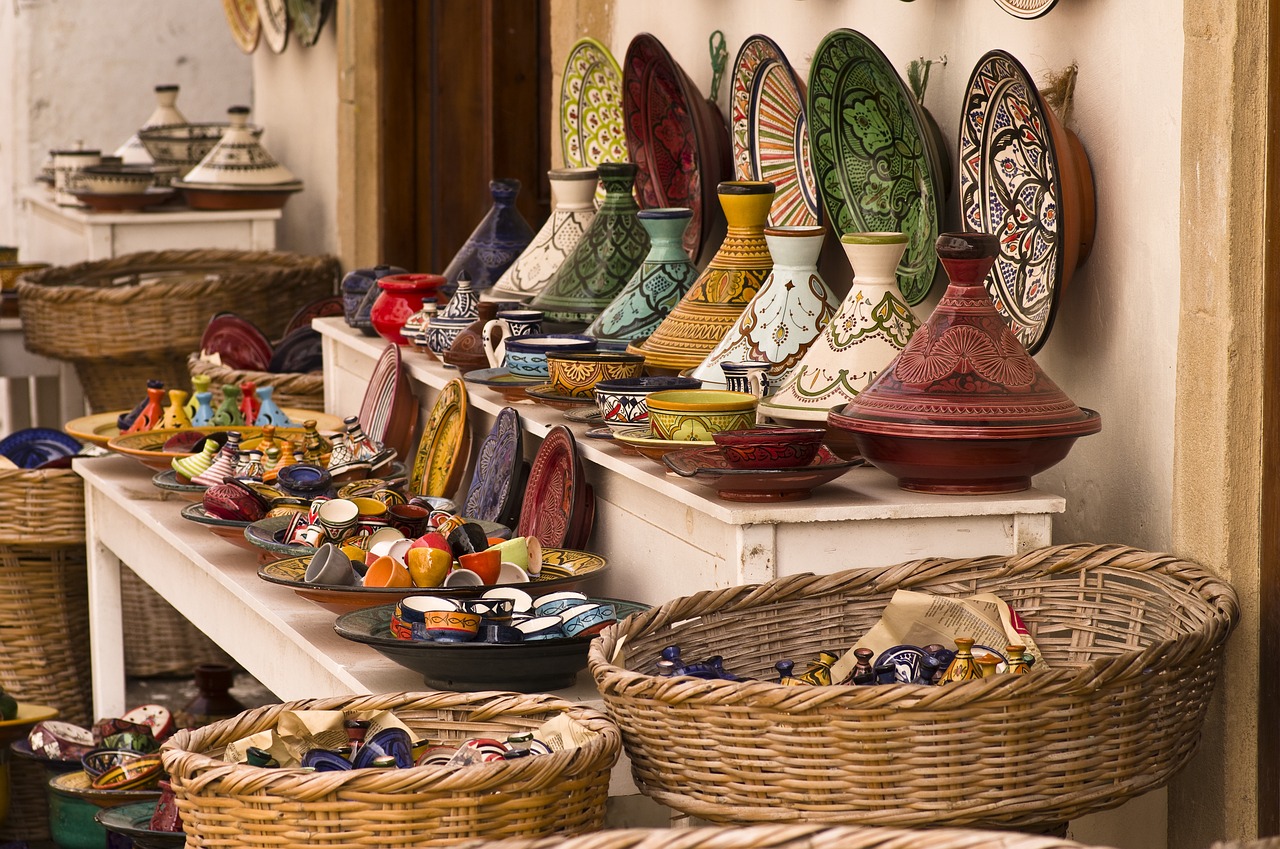
Handbuilding Techniques
Handbuilding is an exciting and accessible way to create pottery without the need for a wheel. For beginners, it can feel like diving into a world of endless possibilities where your hands become your most valuable tools. Imagine molding clay with your fingers, shaping it into something uniquely yours. There are a few fundamental techniques that can help you get started on your handbuilding journey.
One of the most popular methods is the pinch pot technique. This technique involves taking a ball of clay and using your thumb to create an indentation. As you pinch the clay with your fingers, you can gradually shape it into a bowl or a small container. It's like sculpting with playdough, and the best part is that there’s no right or wrong way to do it! Each pinch pot will have its own character, reflecting your personal style.
Another fascinating technique is coil building. This method involves rolling out long, snake-like pieces of clay and stacking them to form walls. Think of it as building a clay tower; as you add coils, you can shape them in various ways to create different structures. You can smooth the joints where the coils meet to create a seamless finish, or leave them textured for a rustic look. This technique is perfect for making larger pieces, such as vases or planters.
Lastly, the slab construction technique allows you to create flat pieces of clay that can be joined together to form three-dimensional shapes. You can roll out slabs of clay using a rolling pin, just like you would with dough, and then cut them into shapes. This technique is fantastic for making boxes, plates, or even tiles. You can get creative with the designs by adding textures or patterns to the slabs before assembling them.
To help visualize these techniques, here’s a quick overview:
| Technique | Description | Best For |
|---|---|---|
| Pinch Pot | Creating bowls or small containers by pinching the clay. | Small, organic shapes |
| Coil Building | Stacking rolled coils to form walls and structures. | Larger pieces like vases and pots |
| Slab Construction | Joining flat pieces of clay to create three-dimensional forms. | Boxes, plates, and tiles |
Each of these handbuilding techniques offers a unique way to explore your creativity. If you’re feeling adventurous, why not combine them? For instance, you could start with a pinch pot base and add coil decorations or use slabs for a lid. The beauty of handbuilding is that it encourages experimentation, so don’t be afraid to make mistakes. They can often lead to unexpected and delightful results!
As you progress in your handbuilding skills, remember that practice makes perfect. The more you work with clay, the more comfortable you’ll become. So, roll up your sleeves, get your hands dirty, and let your imagination run wild!
Q: Do I need a pottery wheel to create pottery?
A: No, you can create beautiful pottery using handbuilding techniques without a wheel.
Q: What type of clay is best for handbuilding?
A: Earthenware or stoneware clays are great for beginners, as they are easy to work with and forgiving.
Q: How do I keep my clay from drying out while I work?
A: Keep a damp cloth over your clay or cover it with plastic to retain moisture.
Q: Can I combine different handbuilding techniques?
A: Absolutely! Mixing techniques can lead to unique and creative pieces.
Basic Wheel Throwing Techniques
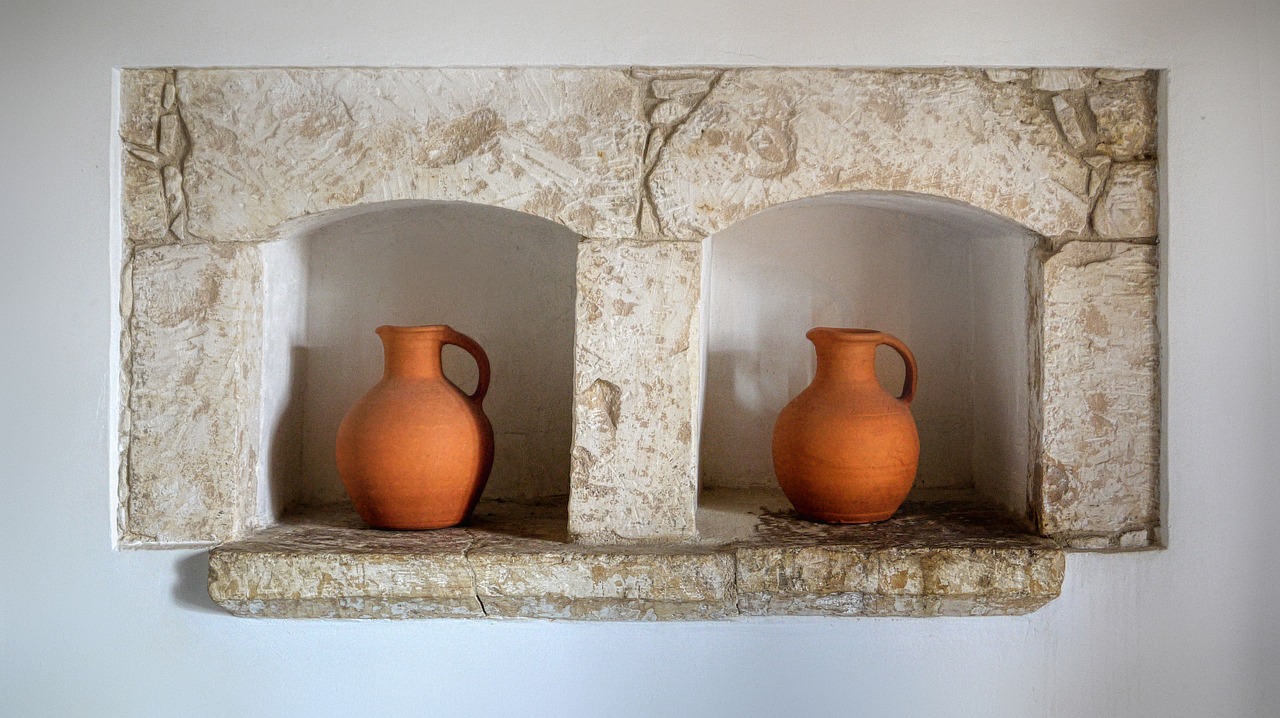
Once you've taken the plunge and decided to embrace the art of pottery, mastering the basic wheel throwing techniques is your next exciting step. Think of it as learning to ride a bike; at first, it may feel wobbly and intimidating, but with practice, you’ll find your balance and soon be creating stunning pieces. The pottery wheel is a magical tool that transforms a lump of clay into beautiful forms, but it requires some essential techniques to get started.
The first technique you’ll want to master is centering. This is the foundation of all wheel throwing. Imagine trying to build a tower on a shaky base; it just won’t work! Centering involves getting the clay perfectly balanced on the wheel head, which allows you to shape it evenly. To center your clay, start by wedging it to remove air bubbles, then place it on the wheel. As you turn the wheel, apply gentle pressure with your hands to mold the clay into a symmetrical mound. It may take several attempts, but patience is key.
Once your clay is centered, the next step is pulling. This technique involves using your hands to gradually lift the walls of your piece. It’s like pulling taffy; you want to stretch it without tearing it. Start by applying pressure from the inside of the clay while supporting it from the outside. As you pull, rotate the wheel at a moderate speed to help maintain control. Remember, it’s all about finesse; too much pressure can lead to uneven walls or collapse. Practice makes perfect!
Shaping is the final technique in this trio. Think of it as the icing on the cake. Once you have pulled your walls to the desired height, it’s time to refine the shape of your piece. You can create various forms, from bowls to vases, by gently pushing and pulling the clay into the shape you envision. Use your fingers and tools like rib or sponge to smooth out the surface and enhance the design. Don’t be afraid to experiment; the beauty of pottery lies in its imperfections!
To help you visualize these techniques, here’s a simple table that summarizes the basic steps:
| Technique | Description |
|---|---|
| Centering | Balancing the clay on the wheel to create a stable base. |
| Pulling | Gradually lifting the walls of the clay to the desired height. |
| Shaping | Refining the form of the piece using hands and tools. |
As you practice these techniques, keep in mind that every potter has their unique style. Don’t be discouraged by initial challenges; even the most experienced potters had to start somewhere. Celebrate your progress, no matter how small, and remember that each piece you create tells a story of your growing skills and creativity.
Q: How long does it take to learn wheel throwing?
A: The learning curve varies for everyone, but with consistent practice, you can start creating simple pieces within a few weeks. Remember, patience is key!
Q: What type of clay should I use for wheel throwing?
A: Stoneware and earthenware are great options for beginners, as they are forgiving and easier to work with. Porcelain can be more challenging due to its delicate nature.
Q: Can I use any pottery wheel?
A: While most pottery wheels will work, it’s best to choose one that suits your needs and budget. Electric wheels are popular for beginners, but kick wheels can also be fun to learn on.
By embracing these basic wheel throwing techniques, you’ll be well on your way to creating stunning pottery pieces that reflect your unique style and creativity. So grab that clay, and let your imagination run wild!
Glazing Your Pottery
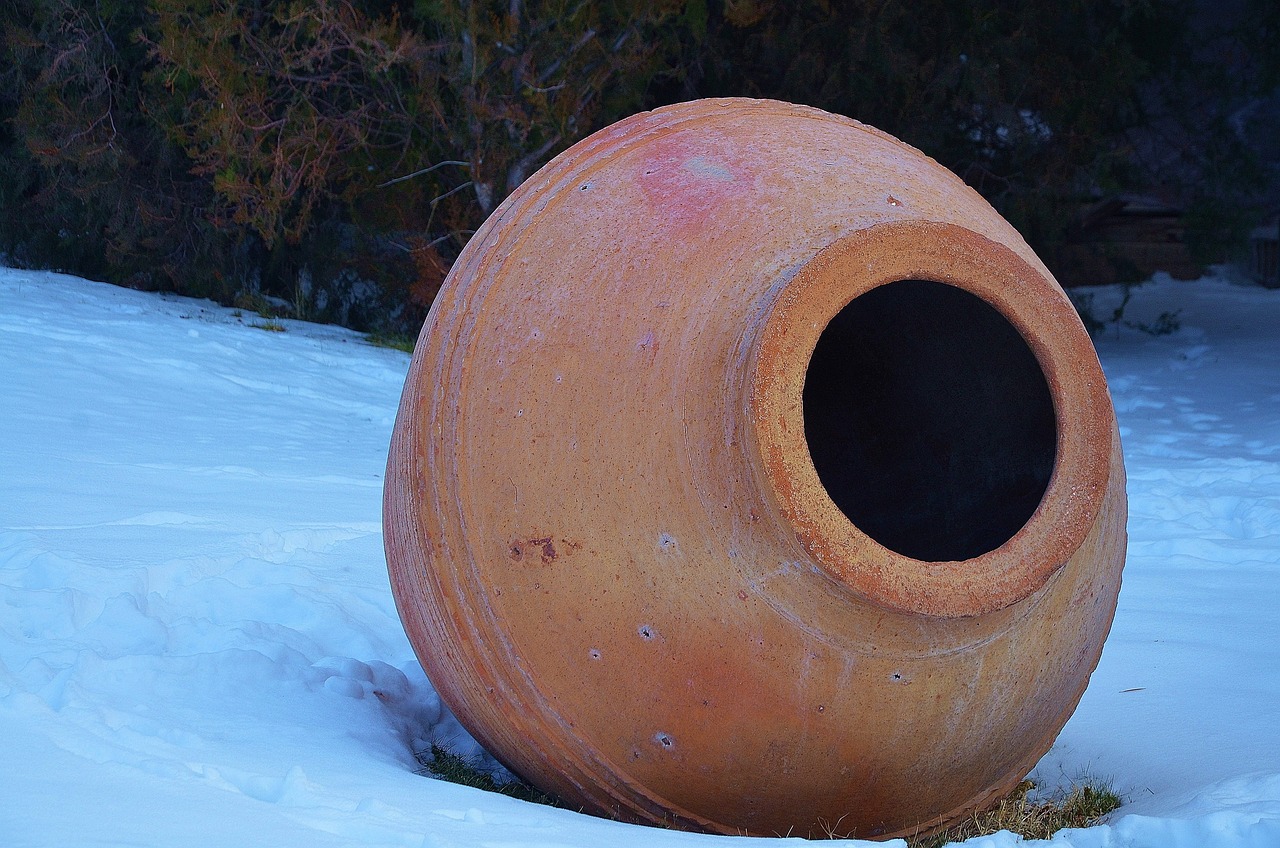
Glazing your pottery is like putting the cherry on top of a delicious cake—it's the finishing touch that transforms your creation from a simple clay object into a stunning piece of art. But what exactly is glazing? In simple terms, glazing involves applying a liquid glass-like substance to your pottery, which, when fired in a kiln, creates a hard, shiny surface that not only enhances the visual appeal but also makes your pieces functional. Isn't that fascinating? Imagine having a plate that not only looks beautiful but is also safe to eat from!
Before you dive into the glazing process, it's essential to understand the different types of glazes available. Each type brings its own unique characteristics to your pottery. For instance, you have glossy glazes, which offer a shiny finish, and matte glazes, which provide a more subdued look. Then there are transparent glazes, allowing the clay body to show through, and opaque glazes, which completely cover the surface. Choosing the right glaze can dramatically affect the final look of your piece, so take your time to explore your options.
One of the most exciting aspects of glazing is the variety of techniques you can use. You might opt for dipping your pottery in glaze for an even coat, brushing it on for more control, or even using a spray gun for a smooth finish. Each technique offers a different level of complexity and can lead to unique outcomes. For example, dipping is perfect for beginners as it provides a consistent layer, while brushing allows for more creativity and detail. Just imagine the possibilities!
When you're ready to get started, make sure to prepare your pottery properly. Your pieces should be clean and free of dust or grease. A quick wipe with a damp sponge can do wonders. Also, remember to apply your glaze in thin layers; thick applications can lead to drips and uneven surfaces. If you're feeling adventurous, you can experiment with layering different glazes to create stunning effects. Just think of it as painting a masterpiece on a canvas!
Once you've applied your glaze, the next step is firing. This is where the magic happens. The kiln heats the glaze, causing it to melt and fuse to the clay, creating that beautiful finish we all love. There are various firing methods you can choose from, including electric, gas, and wood firing, each offering different results. If you're new to pottery, an electric kiln might be the easiest option to start with.
After firing, don’t forget to inspect your pottery! This is where the excitement builds—will the colors be vibrant? Will the finish be smooth? Sometimes, you might find surprises in the glaze effects that you didn’t expect. It’s like opening a present; you never know what you’re going to get! And if you find that a piece didn’t turn out as you hoped, don’t be discouraged. Every potter has had their share of mishaps. The key is to learn from them and keep experimenting.
Here are some common questions that beginners often have about glazing:
- Can I glaze pottery that has been fired before? Yes, you can apply glaze to bisque-fired pottery. Just ensure it's clean before applying.
- What happens if I don't glaze my pottery? Unfinished pottery will be porous and not food-safe. Glazing seals the surface and makes it functional.
- How do I fix mistakes in glazing? If you make a mistake, you can often sand it down or re-glaze and fire it again.
In conclusion, glazing your pottery opens up a world of creativity and expression. It's not just about making your pieces look good; it's about exploring textures, colors, and finishes that reflect your unique style. So grab those glazes, let your imagination run wild, and enjoy the journey of bringing your pottery to life!
Firing Your Pottery
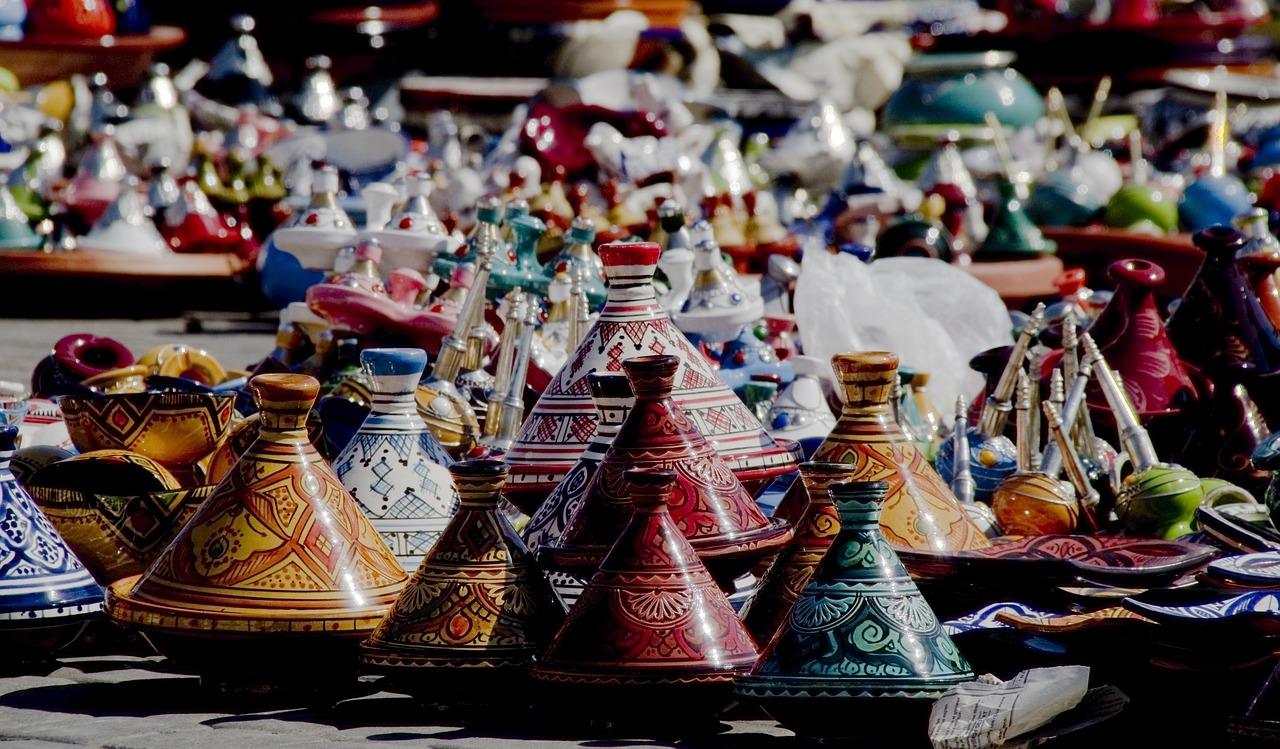
Firing your pottery is like sending your creations on a transformative journey. It’s the moment when your soft, malleable clay becomes a sturdy, beautiful piece of art. Understanding the firing process is crucial, as it not only solidifies your work but also enhances its aesthetic appeal. There are two primary firing stages you need to be familiar with: bisque firing and glaze firing.
Bisque firing is the first stage and it prepares your pottery for glazing. During this process, the clay is fired at a lower temperature, usually between 1,830°F and 1,940°F (1,000°C to 1,060°C). This stage removes moisture and organic materials from the clay, making it more durable and porous, which is essential for the next step. Think of it as giving your pottery a solid foundation; without this, your glaze won't adhere properly.
Once your pieces have successfully undergone bisque firing, it’s time for the glaze firing. This is where the magic happens! Glaze firing occurs at a higher temperature, typically between 1,830°F and 2,380°F (1,000°C to 1,300°C), depending on the type of glaze and clay used. During this phase, the glaze melts and fuses to the surface of your pottery, creating a glass-like finish that not only adds color but also makes your pieces functional and waterproof.
To give you a clearer picture of the firing process, here’s a simple table summarizing the key differences between bisque firing and glaze firing:
| Firing Stage | Temperature Range | Purpose |
|---|---|---|
| Bisque Firing | 1,830°F - 1,940°F (1,000°C - 1,060°C) | Prepares clay for glazing by removing moisture and organic materials |
| Glaze Firing | 1,830°F - 2,380°F (1,000°C - 1,300°C) | Fuses glaze to the pottery, creating a glass-like finish |
When you’re ready to fire your pottery, it’s essential to ensure that your kiln is properly loaded and that you follow the firing schedule recommended for your specific clay and glaze. This might sound daunting, but think of it as following a recipe—each step is critical to achieving the desired outcome. Also, be mindful of the cooling process; it’s important to let your kiln cool down gradually to prevent cracking or breaking your pieces due to thermal shock.
In addition to the technical aspects, firing your pottery can also be an exhilarating experience. The anticipation of opening the kiln to see the final results is akin to waiting for a surprise gift. Will the colors be vibrant? Will the glaze have pooled beautifully? Each firing offers a unique outcome, making pottery a delightful journey of discovery.
As you embark on your pottery-making adventure, remember that firing is not just a step in the process; it’s an essential part of creating lasting art. Embrace the unpredictability and enjoy the transformation of your work from clay to a finished masterpiece!
Q: How long does the firing process take?
A: The entire firing process can take anywhere from several hours to a couple of days, depending on the kiln and the specific firing schedule you are following.
Q: Can I fire my pottery at home?
A: Yes, if you have a kiln, you can fire your pottery at home. However, make sure to follow safety guidelines and understand the firing process thoroughly.
Q: What happens if I fire my pottery too quickly?
A: Firing too quickly can lead to cracking or breaking due to thermal shock. It’s important to follow the recommended firing schedule for the clay and glazes you are using.
Q: Do I need to glaze my pottery?
A: While glazing is not mandatory, it adds a protective layer and enhances the visual appeal of your pottery. Unglazed pottery can be more porous and less durable.
Safety Tips for Pottery Making
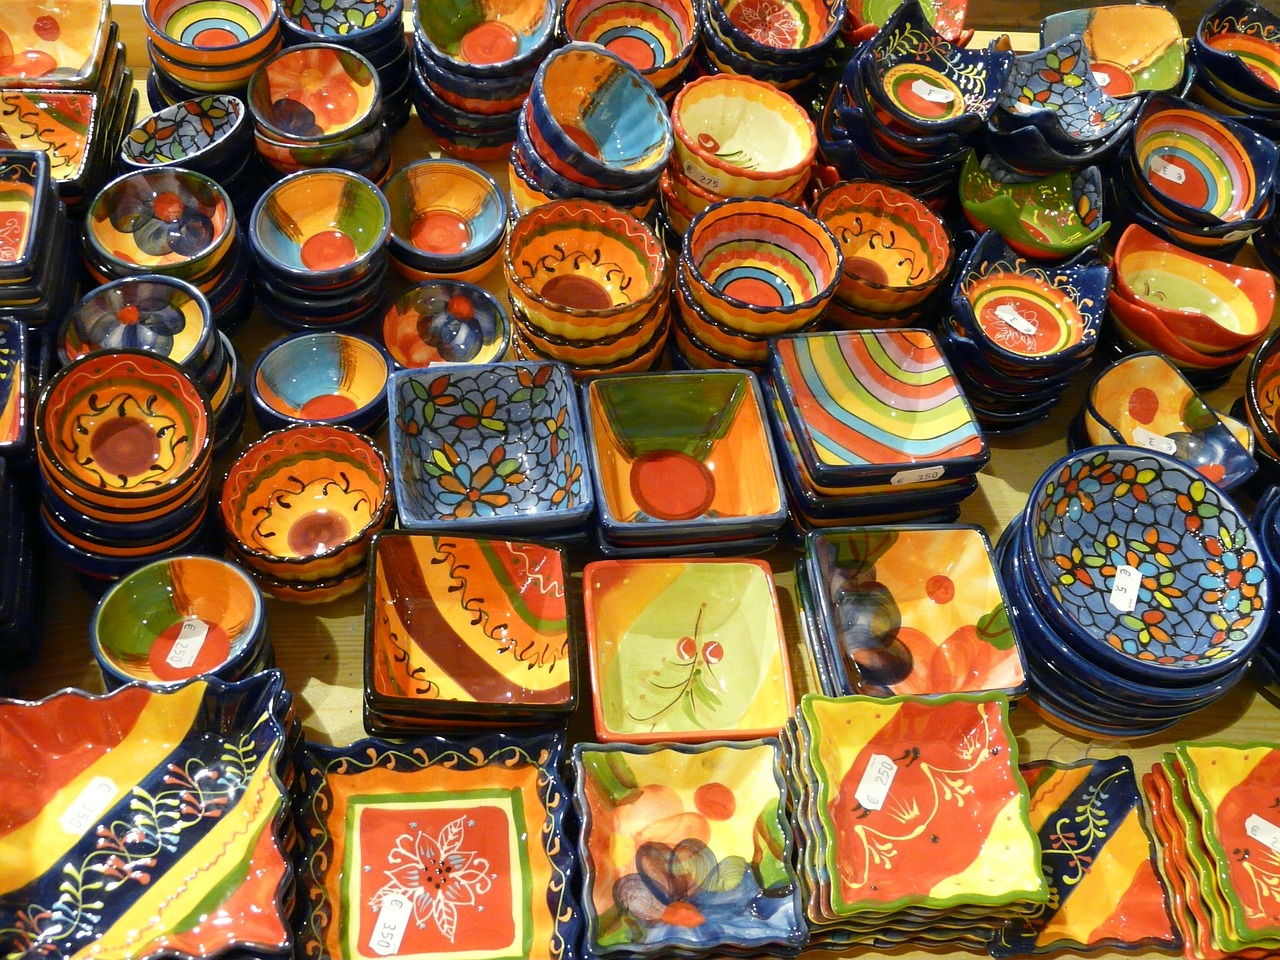
When diving into the world of pottery, safety should always be your top priority. Just like wearing a seatbelt in a car, taking precautions in your pottery studio can prevent accidents and ensure a smooth creative process. First and foremost, always work in a well-ventilated area. Clay dust and fumes from glazes can be harmful if inhaled, so opening windows or using fans can help maintain a fresh airflow. If you're working with materials that produce dust, consider wearing a mask to protect your lungs.
Another important aspect is to always wear appropriate clothing. Long sleeves and closed-toe shoes are your best friends in the studio. Pottery can be messy, and you don’t want to risk cuts or scrapes from sharp tools or falling objects. Speaking of tools, it’s crucial to handle them with care. Pottery tools can be sharp or heavy, so always be mindful of where you place them and how you use them. Keep your workspace organized to reduce the risk of accidents.
When it comes to working with glazes, understanding their composition is essential. Some glazes can contain toxic materials, so always read labels carefully and use gloves when necessary. If you're mixing your own glazes, ensure you're doing so in a well-ventilated area and wearing a mask to avoid inhaling any dust. And remember, never eat or drink in your workspace to avoid contamination.
Lastly, familiarize yourself with the kiln’s operation if you plan to fire your pottery at home. Kilns can reach extremely high temperatures, and improper handling can lead to severe burns or even fires. Always follow the manufacturer’s instructions and never leave a kiln unattended while it’s in use. By taking these safety precautions seriously, you can enjoy the art of pottery making while keeping yourself and your workspace safe.
Q: What should I do if I accidentally cut myself while working with pottery tools?
A: If you cut yourself, clean the wound immediately with soap and water, apply an antiseptic, and cover it with a bandage. If the cut is deep or bleeding heavily, seek medical attention.
Q: Are there specific gloves I should use when handling clay or glazes?
A: It’s best to use nitrile gloves when working with glazes, as they provide a barrier against chemicals. For general clay work, you can use any durable gloves that allow for dexterity.
Q: How can I ensure my workspace is safe for pottery making?
A: Keep your workspace clean and organized, ensure proper ventilation, and regularly check your tools and equipment for any damage. Always have a first aid kit on hand just in case!
Common Pottery Mistakes to Avoid
Pottery can be a wonderfully rewarding craft, but like any art form, it comes with its fair share of challenges. Even seasoned potters occasionally find themselves making mistakes that can hinder their creative flow. To help you avoid some common pitfalls, let’s dive into a few of the most frequent errors and how to sidestep them. After all, learning from mistakes is part of the journey!
One of the most significant mistakes beginners make is not properly preparing their clay. Imagine trying to bake a cake without mixing your ingredients well; the result would be uneven and unsatisfactory. Similarly, if your clay isn’t wedged properly, it can lead to air bubbles, weak spots, and even cracking during firing. Always take time to knead your clay thoroughly before starting your project. This simple step can save you a lot of frustration down the line.
Another common issue is the lack of patience during the drying process. Clay needs to dry slowly and evenly to avoid warping or cracking. Rushing this step can lead to heartache when you realize your carefully crafted piece has fallen apart. Consider covering your work with plastic to slow down the drying process or placing it in a shaded area. Remember, good things come to those who wait!
When it comes to glazing, many beginners underestimate the importance of applying an even coat. A thick layer of glaze can cause drips and uneven surfaces, while too little can leave your pottery looking dull. Think of glazing as icing on a cake; it should enhance the beauty of your piece without overwhelming it. Aim for a smooth, even application, and don’t hesitate to practice on test pieces before glazing your final work.
Finally, don’t overlook the significance of kiln safety and operation. Many newcomers feel confident loading their kiln but neglect to double-check their work. Improperly placed pieces can lead to disastrous results, such as melting or sticking together. Always refer to your kiln's manual and ensure that your pottery is arranged properly to allow for adequate airflow. It’s a small step that can make a huge difference in the outcome of your firing.
To summarize, here’s a quick reference table of common mistakes and their solutions:
| Mistake | Solution |
|---|---|
| Improper clay preparation | Wedge clay thoroughly to remove air bubbles |
| Rushing the drying process | Cover pieces with plastic and dry slowly |
| Uneven glaze application | Practice on test pieces and apply evenly |
| Neglecting kiln safety | Double-check placement and airflow |
By keeping these common mistakes in mind and actively working to avoid them, you’ll not only enhance your pottery skills but also enjoy the creative process much more. Remember, every potter has been where you are now, and each mistake is just another stepping stone on your artistic journey!
Q: What is the best type of clay for beginners?
A: Earthenware is often recommended for beginners due to its forgiving nature and ease of use. It fires at lower temperatures and is more accessible for home studios.
Q: How can I speed up the drying process without risking cracks?
A: You can place your pottery in a warm, dry area but ensure it’s not in direct sunlight. Covering it with a plastic bag can also help control the drying rate.
Q: What should I do if my glaze runs during firing?
A: If your glaze runs, it may be due to applying it too thickly. In the future, ensure an even coat and consider using a lower firing temperature if necessary.
Q: How can I avoid air bubbles in my clay?
A: Always wedge your clay thoroughly before use. This process helps eliminate air pockets that can cause issues during firing.
With these tips and insights, you're well on your way to creating beautiful pottery. Happy crafting!
Frequently Asked Questions
- What type of clay should I use for beginners?
For beginners, earthenware is often the best choice. It's easy to work with, affordable, and forgiving for those just starting out. Once you get the hang of it, you can explore stoneware and porcelain for more advanced projects.
- Do I need a pottery wheel to create pottery?
No, you don’t need a pottery wheel! You can start with handbuilding techniques like pinch pots, coil building, or slab construction. These methods allow you to create beautiful pieces just using your hands and basic tools.
- How do I choose the right glazing technique?
Choosing the right glazing technique depends on the look you want to achieve. For a smooth finish, consider using brush-on glazes. If you prefer a more textured appearance, try dipping or spraying your pieces. Experimentation is key!
- What safety precautions should I take while making pottery?
Safety is super important in pottery making. Always ensure adequate ventilation when working with clays and glazes, wear a mask if you're sanding, and always handle tools with care. Keeping your workspace organized helps prevent accidents!
- What are some common mistakes to avoid in pottery?
Common mistakes include not properly wedging your clay, which can lead to air bubbles, and rushing through the drying process. Always take your time to ensure your pieces are well-formed and dried evenly before firing.
- How do I fire my pottery at home?
Firing pottery at home typically requires a kiln. You can opt for a bisque firing to harden your clay, followed by a glaze firing to finish your pieces. Make sure to follow the kiln's instructions for temperature settings and timing!
- Can I use regular paint on my pottery?
Regular paint is not recommended for pottery that will be used for food or drink. Instead, use ceramic glazes that are specifically designed for pottery. These glazes are safe and will give your pieces a beautiful finish!


