Turn Your Old Keyboard into Jewelry
Have you ever looked at your old keyboard and thought, "What on earth am I going to do with this?" Well, it's time to think outside the box because your discarded tech can be transformed into stunning jewelry pieces! Imagine wearing a necklace that tells a story, or sporting a bracelet made from the very keys that once typed your favorite messages. This article explores creative ways to repurpose old keyboards into unique jewelry, highlighting materials, techniques, and inspiration for turning your obsolete gadgets into fashionable accessories. Let's dive into the exciting world of DIY keyboard jewelry!
Before diving into your jewelry project, it's essential to gather the right materials. You’ll need a few basic tools to get started, and having everything on hand will make the process smoother. Here’s a quick rundown of what you’ll need:
- Old keyboard: The star of the show!
- Small screwdriver: A flathead or Phillips head will do.
- Jewelry wire: For stringing keys together.
- Pliers: Both round-nose and flat-nose are useful.
- Jump rings: To connect different elements.
- Chain: For necklaces and bracelets.
- Cleaning supplies: Rubbing alcohol and cloths.
With these materials ready, you’re one step closer to creating something truly unique. The beauty of using old keyboards is not just in the creativity but in the sustainability of it too. You're giving a second life to something that would otherwise end up in a landfill!
Selecting the perfect keys is crucial for your design. When you’re sifting through your old keyboard, think about the color, shape, and texture of the keys. Do you want a vibrant piece that pops with color or a more subdued, elegant look? Keys can vary significantly, and this diversity can help you create visually appealing jewelry. For instance, keys from gaming keyboards often have funky designs and colors, while standard office keyboards might offer a more classic aesthetic.
As you choose your keys, consider how they will work together. Mixing different colors can create an eye-catching contrast, while a monochromatic scheme can offer a sleek, modern vibe. Don’t forget about the textures; some keys have a matte finish, while others are glossy, adding another layer of interest to your jewelry.
Now that you’ve selected your keys, it’s time to remove them from the keyboard. This step is vital to preserve their integrity. Use your small screwdriver to gently pry off the keys. Start from the edges and work your way in to avoid breaking the clips that hold them in place. It’s like performing surgery on your keyboard—precision is key! If you’re struggling with a stubborn key, a gentle wiggle can often help release it without damage.
Safety is paramount when working with tools. Always wear safety glasses to protect your eyes from any flying debris, and ensure your workspace is clean and well-lit. When using your screwdriver, apply even pressure and avoid using excessive force, which could lead to slipping and potential injuries. Remember, a safe workspace is a happy workspace!
Once you’ve successfully removed the keys, they need to be cleaned and prepared for crafting. Use rubbing alcohol and a soft cloth to wipe down each key, removing any grime or residue. This step not only ensures that your jewelry looks great but also helps any adhesives stick better during assembly. Think of it as giving your keys a spa day before they become fabulous accessories!
Creating a design is the next step in your project. Grab a sketchbook and start brainstorming ideas! Think about how you want to incorporate the keys into your jewelry. Would a simple pendant necklace work, or do you envision a more elaborate multi-key bracelet? Sketching your ideas can help you visualize the final product and make adjustments as needed. Don’t be afraid to let your creativity flow; the sky's the limit when it comes to transforming keyboard keys into wearable art!
Assembling your jewelry requires specific techniques to ensure both durability and aesthetics. Start by laying out your keys in the order you want them before attaching them together. This way, you can play around with arrangements and make sure you love the look before committing to it. When you’re ready to connect the keys, using jewelry wire and jump rings is a great option. They provide a sturdy hold while allowing flexibility in your design.
Wire and chains are essential for creating necklaces and bracelets. Cut your wire to the desired length, keeping in mind that you'll want enough extra to make secure loops at the ends. Use your pliers to create small loops that will hold the keys in place. For chains, simply attach your keys using jump rings, and you’ll be well on your way to wearing your creativity!
To elevate your keyboard jewelry, consider incorporating other materials. Mixing keyboard keys with beads, leather, or fabric can add a unique and personalized touch. For example, threading colorful beads between keys can create a stunning contrast, while leather strips can give your piece a rustic feel. The combination of materials can tell a story, making your jewelry not just an accessory but a conversation starter!
1. Can I use any type of keyboard?
Yes! While mechanical keyboards often have more interesting keys, any old keyboard can work for this project.
2. How do I ensure the keys don’t break during removal?
Use a gentle touch and start prying from the edges. If you feel resistance, stop and adjust your approach.
3. What if I don’t have jewelry-making experience?
No worries! This project is perfect for beginners. Just take your time and follow the steps carefully.
4. Can I use other parts of the keyboard?
Absolutely! The casing and other components can also be repurposed into unique pieces.
Gathering Materials
Before diving into the exciting world of transforming your old keyboard into stunning jewelry, it's essential to gather the right materials. Think of this phase as setting the stage for a grand performance; you want to have everything you need at your fingertips to make the process smooth and enjoyable. First and foremost, you'll need an old keyboard. Don’t worry if it’s a little dusty or worn out; in fact, that adds character! You can often find these treasures at thrift stores, garage sales, or even in your own home, collecting dust in a forgotten corner.
Next up, let’s talk tools. Here’s a quick rundown of what you’ll require:
- Keycap Puller: This handy tool will help you remove the keys without damaging them.
- Wire Cutters: Perfect for trimming wires and chains to the right length.
- Jewelry Pliers: Essential for bending and twisting wire, making your assembly process a breeze.
- Glue: A strong adhesive will be crucial for attaching components securely.
- Sandpaper: This will help smooth any rough edges on your keys after cutting.
In addition to these tools, consider gathering some embellishments to really make your pieces pop. Think about incorporating beads, chains, or even leather strips. These materials can add a splash of color and texture, turning your keyboard keys into unique pieces of wearable art. You might also want some jump rings and clasps for assembling necklaces or bracelets, making sure your creations are not only beautiful but also functional.
Now, let’s not forget about the workspace. Creating jewelry can get a bit messy, so setting up a dedicated area with good lighting is key. A clean, flat surface will allow you to spread out your materials and work efficiently. You might even want to lay out your tools and supplies in a way that keeps everything organized. This way, when inspiration strikes, you won’t waste time searching for that elusive keycap puller!
Lastly, keep your creative juices flowing by gathering some inspiration. Browse through jewelry-making websites, Pinterest boards, or even Instagram feeds to see how others have transformed their keyboards into art. Sometimes, a little visual inspiration can spark your imagination and lead to a design that’s truly one-of-a-kind!
Choosing the Right Keys
When it comes to transforming your old keyboard into stunning jewelry, the keys you choose can make or break your design. It's like picking the right ingredients for a recipe; the final dish depends on the quality and compatibility of those ingredients. So, let’s dive into how to select the perfect keys that will not only stand out but also tell a story.
First off, consider the color of the keys. Keyboards come in a variety of colors, from classic black and white to vibrant hues like blue, red, or even neon shades. Depending on your personal style and the overall aesthetic you aim to achieve, you might want to mix and match colors for a more eclectic look or stick to a monochromatic palette for elegance. Imagine a necklace where each key is a different color, creating a playful and lively accessory that catches the eye!
Next, think about the shape of the keys. Keys can vary in size and form, from standard rectangular shapes to special function keys that might have unique designs. Selecting a mix of shapes can add depth and interest to your jewelry. For instance, using larger keys as the centerpiece of a bracelet surrounded by smaller keys can create a balanced yet dynamic piece. It’s like arranging a bouquet of flowers—different shapes and sizes can create a visually appealing arrangement.
Texture is another important factor. Some keys have a smooth finish, while others might have a textured surface or even a glossy sheen. Mixing textures can add another layer of intrigue to your designs. For example, pairing a matte key with a glossy one can create a striking contrast that draws attention. Think of it as dressing up; a textured top paired with smooth pants can create a stylish outfit that stands out.
To help you visualize the possibilities, here’s a quick table outlining different key characteristics to consider:
| Key Characteristic | Examples | Design Tips |
|---|---|---|
| Color | Black, White, Neon, Pastel | Mix colors for vibrancy or match for elegance. |
| Shape | Rectangular, Round, Special Function | Use a variety of shapes for visual interest. |
| Texture | Smooth, Textured, Glossy | Combine different textures for contrast. |
Lastly, don’t forget to consider the sentimental value of the keys. Perhaps you have keys from a keyboard that belonged to a loved one, or maybe you’re drawn to specific keys that represent something meaningful to you. Incorporating these keys into your jewelry can add a personal touch that elevates your piece from just an accessory to a cherished keepsake. It’s like wearing a piece of your history, making your jewelry not just fashionable, but also deeply personal.
So, as you sift through your collection of old keyboards, keep these factors in mind. Choosing the right keys is not just about aesthetics; it’s about creating a piece that resonates with you and reflects your unique style. Get creative, have fun, and let your imagination run wild as you curate your selection of keyboard keys for your next jewelry project!
Q: Can I use any type of keyboard keys for my jewelry?
A: Yes, you can use keys from any type of keyboard! However, consider the aesthetic and durability of the keys you choose.
Q: How do I ensure the keys stay attached in my jewelry?
A: Proper assembly techniques and using the right materials, such as strong adhesives or wire, will help keep your keys securely in place.
Q: What if I don't have a lot of colorful keys?
A: You can paint or decorate the keys to achieve the desired color and design. Just make sure to use materials that adhere well to plastic!
Key Removal Techniques
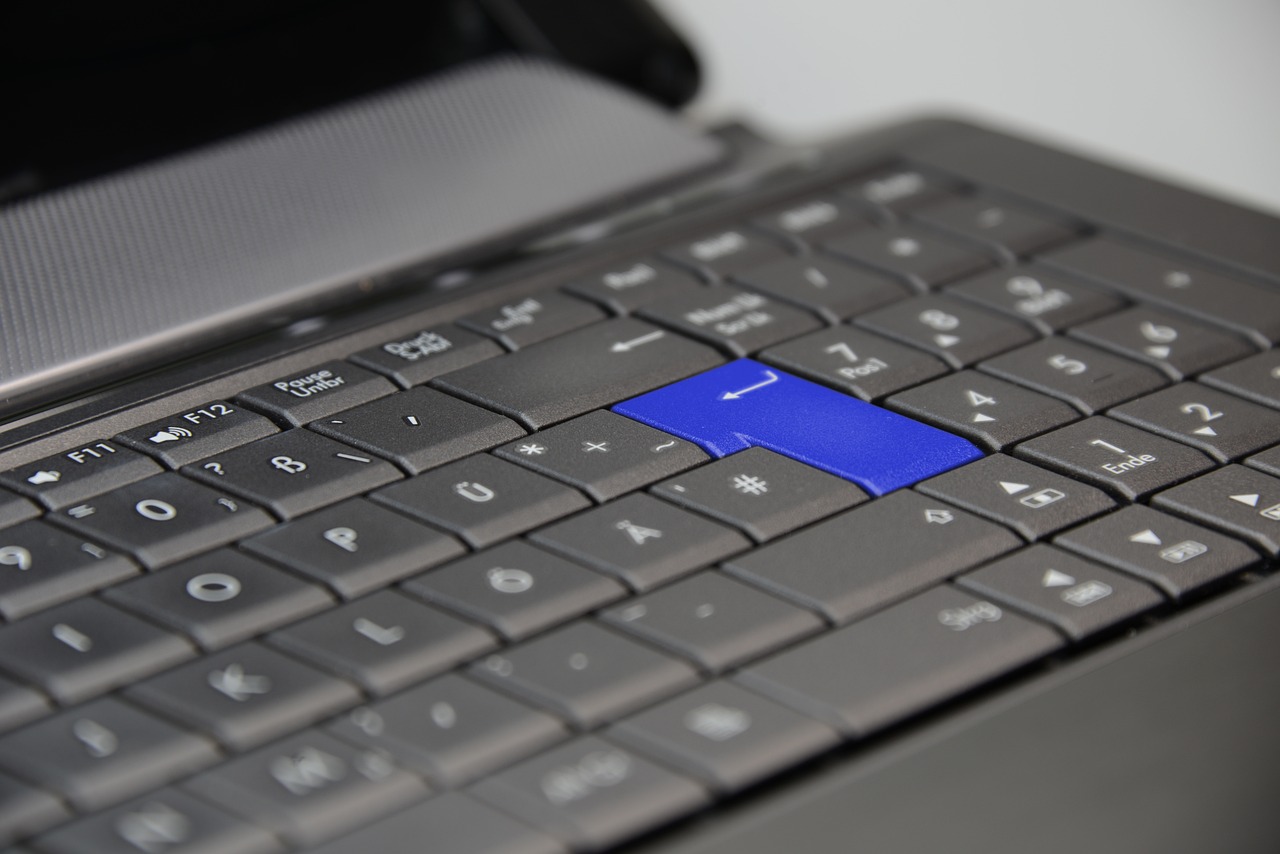
Removing keys from your old keyboard might seem like a daunting task, especially if you're worried about breaking them. But fear not! With the right techniques, you can detach those keys safely and effectively, preserving their integrity for your jewelry project. First and foremost, you’ll want to gather some basic tools. A small flathead screwdriver or a keycap puller is ideal for this job. If you don’t have a keycap puller, a flathead screwdriver can work just as well, but you need to be cautious to avoid damaging the keys.
Start by turning your keyboard upside down and giving it a gentle shake. This will help dislodge any loose debris and prepare it for key removal. Next, identify the keys you want to remove. It’s best to start with the larger keys, like the space bar or enter key, as these can be more challenging to detach. Carefully slide the screwdriver or keycap puller under the edge of the keycap, applying gentle pressure. You should feel the key start to pop off. If it resists, don’t force it—check for any clips or mechanisms holding it in place.
For smaller keys, the process is similar but requires a bit more finesse. Make sure to apply even pressure on both sides of the key to avoid bending or breaking it. Once you’ve successfully removed a key, take a moment to inspect it. Look for any damage or wear, as this will affect how it looks in your final jewelry piece. If you’re planning to use the entire keyboard, consider removing keys in batches rather than one at a time. This will save you time and help you keep track of which keys you’ve already taken off.
After you’ve gathered the keys, it’s crucial to keep them organized. You can lay them out on a clean cloth or in small containers to avoid losing any pieces. This organization will come in handy later when you start designing your jewelry. Remember, the keys can vary significantly in color and texture, so grouping them by type or color can spark some creative ideas for your designs.
In summary, key removal is a straightforward process if you approach it with the right tools and techniques. Just remember to be gentle and patient, and you’ll have a collection of beautiful keys ready for your next crafting adventure!
- What tools do I need to remove keys from a keyboard? A small flathead screwdriver or a keycap puller is recommended for safely detaching keys.
- Can I remove keys from any keyboard? Most keyboards allow for key removal, but it’s best to check if your keyboard has a different mechanism that might complicate the process.
- What should I do if a key breaks while removing it? If a key breaks, don’t panic! You can still use the remaining parts for your jewelry, or you can look for replacement keys online.
- How do I clean the keys after removal? You can clean the keys with mild soap and water, or use rubbing alcohol for a more thorough clean. Just make sure they are completely dry before using them in your jewelry.

Using Tools Safely
When diving into a creative project like transforming old keyboard keys into jewelry, safety should always be your top priority. It’s easy to get caught up in the excitement of crafting, but without proper precautions, you could end up with a minor injury or worse. So, how can you ensure a safe crafting experience? First, make sure you have the right tools for the job. Here’s a quick checklist of essential tools you might need:
- Keycap puller or flathead screwdriver
- Wire cutters
- Pliers
- Drill (if you plan to make holes in the keys)
- Safety goggles
- Work gloves
Before you even start removing keys, it’s crucial to set up a clean and organized workspace. A cluttered area can lead to accidents, so make sure you have enough room to work comfortably. Additionally, consider wearing protective gear, such as safety goggles and gloves, to shield your eyes and hands from any potential hazards. Remember, a little precaution goes a long way!
When using tools like wire cutters or drills, always follow the manufacturer’s instructions. Take your time and don’t rush through the process. If you’re unfamiliar with a tool, watch a tutorial or ask someone experienced for guidance. This is especially important if you're drilling holes in keys, as improper handling can lead to injury or damage to the keys themselves.
Another tip is to keep your tools in good condition. Dull blades or rusted tools can be dangerous, so regularly inspect and maintain them. If a tool isn’t functioning properly, it’s best to replace it rather than risk injury. Also, ensure that your workspace is well-lit, as good visibility can help you avoid accidents and make your crafting experience more enjoyable.
Lastly, always be mindful of your surroundings. If you’re working around pets or children, make sure they are at a safe distance to prevent any unexpected interruptions. Crafting can be a fun and rewarding experience, but it’s essential to prioritize safety to ensure you can enjoy your new jewelry without worry.

Cleaning and Preparing Keys
Once you've successfully removed the keys from your old keyboard, the next step in your creative journey is cleaning and preparing them for crafting. This step is crucial because it ensures that your jewelry pieces not only look good but are also hygienic and ready for wear. After all, you wouldn't want to wear something that still has remnants of dust and grime, right?
To start, gather the necessary cleaning supplies. You'll need:
- Warm, soapy water
- A soft cloth or sponge
- Isopropyl alcohol (optional for deeper cleaning)
- A small brush (like an old toothbrush)
Begin by soaking the keys in warm, soapy water for about 10-15 minutes. This will help loosen any dirt or debris stuck in the crevices. After soaking, use the soft cloth or sponge to gently scrub each key, focusing on the edges and any grooves where grime might accumulate. If you encounter stubborn stains, a little isopropyl alcohol can work wonders. Just apply it with a cotton swab for precision.
Once your keys are clean, it's essential to dry them thoroughly. You can lay them out on a towel or use a hairdryer on a cool setting to speed up the process. Make sure they are completely dry before proceeding to the next step, as moisture can lead to discoloration or damage when you start assembling your jewelry.
After drying, take a moment to inspect each key. Look for any imperfections or scratches that might affect the overall aesthetic of your jewelry. If you find any keys that are too worn out, consider setting them aside for different projects or recycling them. Remember, quality over quantity is key when it comes to crafting beautiful pieces.
Finally, to prepare the keys for assembly, you might want to consider applying a protective finish. A clear acrylic spray can enhance their appearance and provide a layer of protection against scratches and wear. Just be sure to apply it in a well-ventilated area and let it dry completely before using the keys in your jewelry designs.
By following these simple yet effective cleaning and preparation steps, you'll ensure that your keyboard keys are ready to be transformed into stunning jewelry pieces that are not only unique but also a conversation starter!
Q: Can I use any type of keyboard keys for this project?
A: While you can use keys from any keyboard, some materials like plastic may be easier to work with than others. Mechanical keyboard keys often have a more robust design, making them ideal for jewelry.
Q: How do I ensure the keys stay attached in my jewelry?
A: Using strong adhesives and proper assembly techniques will help ensure that your keys remain securely attached to your jewelry pieces.
Q: Can I add paint or embellishments to the keys?
A: Absolutely! Feel free to get creative with paint, glitter, or other embellishments to personalize your jewelry even further.
Q: Is it safe to wear jewelry made from keyboard keys?
A: Yes, as long as you properly clean and prepare the keys, they are safe to wear. Just ensure that there are no sharp edges left after crafting.
Designing Your Jewelry
This article explores creative ways to repurpose old keyboards into unique jewelry pieces, highlighting materials, techniques, and inspiration for transforming discarded tech into fashionable accessories.
Before starting your jewelry project, it's essential to collect the right materials. This section will outline the necessary tools and supplies needed to turn your old keyboard into stunning wearable art.
Selecting the perfect keys is crucial for your design. Here, we’ll discuss how to pick keys based on color, shape, and texture to create visually appealing jewelry pieces.
Properly removing keys from your keyboard is vital to preserve their integrity. This subheading covers effective methods for detaching keys without damage, ensuring they remain usable for your jewelry project.
Safety is paramount when working with tools. This section provides tips on how to handle tools correctly to avoid injuries while removing keys from your keyboard.
Once keys are removed, they need to be cleaned and prepared for crafting. This part discusses effective cleaning methods to ensure your keys are ready for transformation.
Creating a design is the next step in your project. This is where the fun really begins! Think of your old keyboard keys not just as remnants of technology, but as the building blocks of your next fashion statement. Start by brainstorming ideas that resonate with your personal style or the message you want to convey through your jewelry. Will it be quirky and fun, or sophisticated and elegant? Grab a sketchbook and let your imagination run wild!
When designing, consider the color palette you want to work with. The beauty of keyboard keys lies in their variety—some are vibrant, while others have a more muted tone. Mixing and matching different keys can create a stunning visual effect. For instance, you might want to pair bright blue keys with softer pastel shades for a playful look. Don't be afraid to experiment!
Additionally, think about the shapes and textures of the keys. Some keys have interesting designs or textures that can add depth to your jewelry. For example, the textured surface of a key can create a unique tactile element when worn. You might even consider using keys from different keyboards to achieve a more eclectic style. Remember, the key (pun intended!) to a great design is balance—mixing different elements while ensuring they complement each other.
As you sketch your ideas, keep in mind the functionality of the jewelry. Will it be a necklace, a bracelet, or perhaps a pair of earrings? Each piece will require different considerations in terms of weight and comfort. For instance, a chunky necklace may need a sturdy chain, while lighter keys may work better for earrings. Don't hesitate to create a few prototypes to test how your designs look and feel!
Finally, gather inspiration from various sources. Look at existing jewelry designs, explore fashion blogs, or even check out social media platforms like Pinterest or Instagram. You might discover a style that sparks your creativity and leads you to a unique design that you wouldn’t have thought of otherwise. Remember, the goal is to create something that reflects your personality and stands out as a conversation starter!
Assembling your jewelry requires specific techniques to ensure durability and aesthetics. This subheading will cover various methods for connecting keys and adding additional components to your pieces.
Wire and chains are essential for creating necklaces and bracelets. This section explains how to effectively use these materials to enhance your keyboard jewelry designs.
Adding other materials can elevate your jewelry. Here, we’ll explore how to mix keyboard keys with beads, leather, or fabric for a unique and personalized touch.
- Can I use any keyboard for this project? Yes, you can use any old keyboard, but consider the style and color of the keys for your design.
- What tools do I need to remove the keys safely? Basic tools like a flathead screwdriver, pliers, and a cleaning cloth will suffice.
- How do I clean the keys before using them? You can use warm soapy water and a soft brush to clean the keys thoroughly.
- Are there any safety precautions I should take? Always wear protective eyewear and gloves when working with tools and materials.
Assembly Techniques
As you dive into the exciting world of transforming old keyboard keys into fabulous jewelry, the you choose will play a crucial role in the overall durability and aesthetic appeal of your creations. Think of this process as putting together a puzzle; each piece must fit perfectly to create a beautiful picture. Whether you're crafting a necklace, bracelet, or earrings, the way you connect your keyboard keys will define the final product. So, let’s explore some effective methods to ensure your jewelry not only looks great but also stands the test of time.
One of the most popular assembly methods involves using jump rings and lobster clasps. These small metal loops are fantastic for connecting pieces together while allowing flexibility in movement. When you attach keys using jump rings, ensure you open them with pliers and twist rather than pull apart, as this maintains their shape. Once you’ve secured your keys, you can easily attach a lobster clasp to create a functional closure for necklaces or bracelets.
Another technique that can elevate your designs is the use of beading wire. This method is particularly useful for creating more intricate designs. By threading your keys onto the wire, you can incorporate various patterns and colors, making each piece truly unique. To finish off your beaded creations, you can use crimp beads to secure the ends, ensuring everything stays in place. This technique not only adds a professional touch but also allows for a bit of flexibility in your design, giving you room to express your creativity.
When assembling your pieces, don't forget to consider the overall balance and weight of the jewelry. You want your pieces to be comfortable to wear. For instance, if you're creating a large statement necklace, consider using lighter keys or balancing heavier keys with beads or other materials. This attention to detail will enhance the wearability of your jewelry.
Additionally, incorporating other materials can add depth to your designs. Imagine combining keyboard keys with leather strips or fabric to create a more textured look. You can sew or glue keys onto these materials, allowing for a mix of styles that will make your jewelry stand out. For example, a leather bracelet adorned with colorful keys can be a striking accessory that showcases your creativity.
Lastly, always remember to take your time during the assembly process. Rushing can lead to mistakes that may compromise the integrity of your jewelry. Instead, enjoy the journey of creating something unique and personal. With patience and practice, you'll master the assembly techniques that will transform your old keyboard keys into stunning jewelry pieces that you can proudly wear or gift to others.
- Can I use any type of keyboard keys for jewelry? Yes! However, keep in mind that some keys may be more visually appealing than others. Experiment with different styles to see what works best for your designs.
- What tools do I need for assembling my jewelry? Basic tools include pliers, jump rings, and beading wire. Depending on your design, you may also need glue, scissors, and crimp beads.
- How can I ensure my jewelry is durable? Use high-quality materials and pay attention to how you connect the keys. Techniques like crimping and using jump rings correctly can enhance durability.
- Is it safe to use old keyboard keys? Generally, yes, but make sure to clean them thoroughly to remove any dirt or grime before use.
Using Wire and Chains
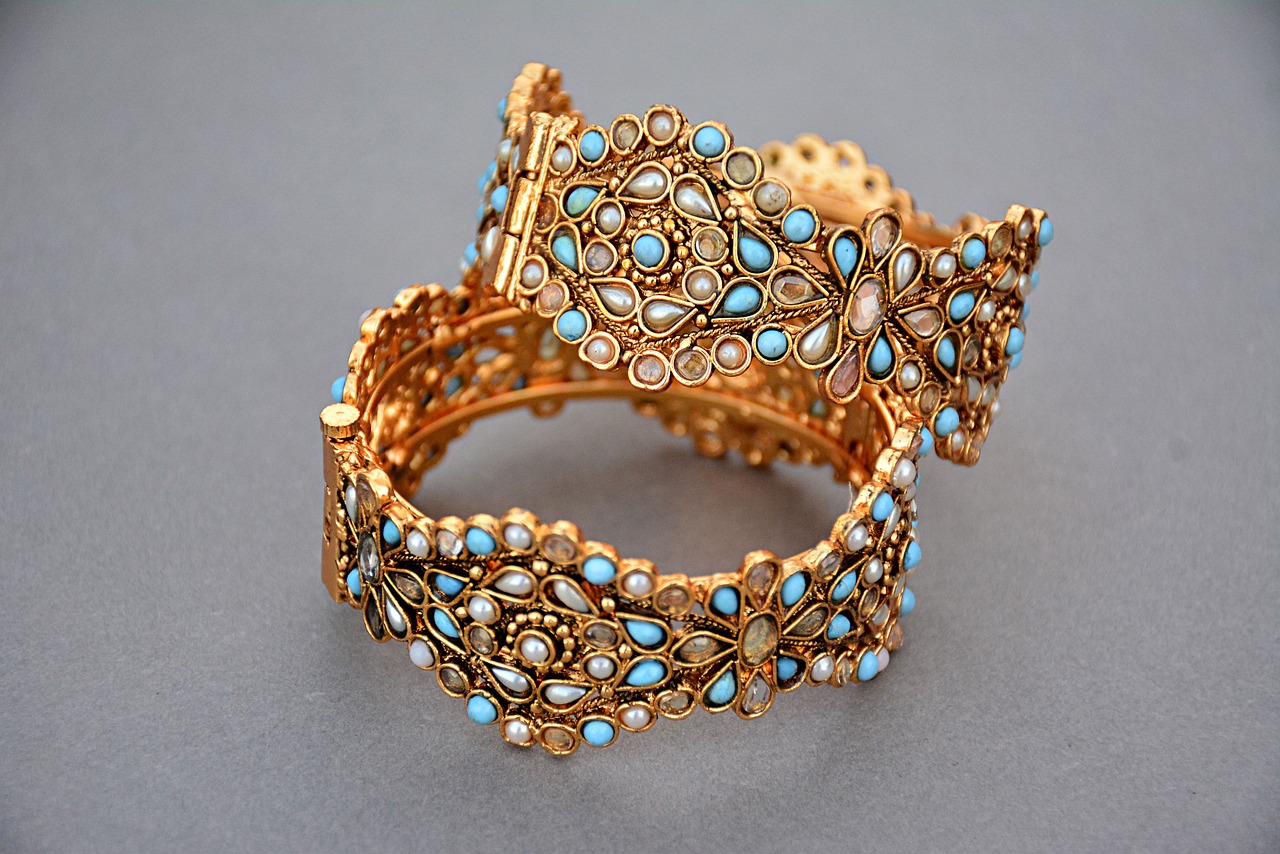
When it comes to creating stunning jewelry from your old keyboard keys, wire and chains are your best friends. These materials not only provide the structural integrity needed to hold your pieces together, but they also add an element of style and sophistication. Imagine your keyboard keys dangling gracefully from a delicate chain or being artfully intertwined with colorful wire. The combination of these elements can transform a simple piece of tech into a striking accessory that tells a story.
Before diving into the assembly process, it's essential to choose the right type of wire and chains. For example, you might opt for gold-plated chains for a touch of elegance, or perhaps a funky, colored wire to match your keys' hues. The choice you make will greatly influence the overall aesthetic of your jewelry. Consider the following types of wire and chains:
- Beading Wire: This is flexible and easy to work with, making it perfect for stringing keys together.
- Craft Wire: Available in various gauges and colors, craft wire can be shaped and twisted to create unique designs.
- Chain Links: Choose from various styles, such as curb, cable, or rolo chains, to complement your keyboard keys.
Now, let’s talk about assembly techniques. One popular method is to use jump rings to connect your keys to chains. This allows for easy movement and adds a playful element to your jewelry. To attach a key, simply open a jump ring, thread it through the key's hole, and then attach it to the chain before closing the ring securely. It’s important to ensure that the jump rings are closed tightly to prevent your keys from falling off.
Another technique involves wrapping wire around the keys themselves. This can create a more organic look and allows you to incorporate beads or other decorative elements into your design. For instance, you can wrap colorful wire around the stem of a key, allowing a few beads to dangle from the end. This not only adds visual interest but also gives your piece a personalized touch.
As you work with wire and chains, remember to keep your design balanced. If you’re using multiple keys, consider their sizes and colors to create a cohesive look. For example, pairing a large, vibrant key with smaller, muted ones can create a stunning focal point. Don’t be afraid to experiment—sometimes the most unexpected combinations yield the most beautiful results!
Lastly, always consider the wearability of your jewelry. Ensure that any wire ends are tucked away or finished properly to avoid snagging on clothing or causing discomfort. A little attention to detail will go a long way in creating a piece that not only looks good but feels good to wear.
So, gather your wire and chains, unleash your creativity, and watch as your old keyboard transforms into one-of-a-kind jewelry that reflects your unique style!
Q: Can I use any type of wire for my keyboard jewelry?
A: While you can use various types of wire, beading wire and craft wire are the most common for jewelry making due to their flexibility and ease of use.
Q: How do I ensure my jewelry is durable?
A: Make sure to securely close all jump rings and properly finish any wire ends to prevent breakage and ensure comfort while wearing.
Q: Where can I find chains and wire?
A: Most craft stores carry a wide selection of chains and wire. You can also find them online, often with a variety of colors and styles to choose from.
Incorporating Other Materials
This article explores creative ways to repurpose old keyboards into unique jewelry pieces, highlighting materials, techniques, and inspiration for transforming discarded tech into fashionable accessories.
Before starting your jewelry project, it's essential to collect the right materials. This section will outline the necessary tools and supplies needed to turn your old keyboard into stunning wearable art.
Selecting the perfect keys is crucial for your design. Here, we’ll discuss how to pick keys based on color, shape, and texture to create visually appealing jewelry pieces.
Properly removing keys from your keyboard is vital to preserve their integrity. This subheading covers effective methods for detaching keys without damage, ensuring they remain usable for your jewelry project.
Safety is paramount when working with tools. This section provides tips on how to handle tools correctly to avoid injuries while removing keys from your keyboard.
Once keys are removed, they need to be cleaned and prepared for crafting. This part discusses effective cleaning methods to ensure your keys are ready for transformation.
Creating a design is the next step in your project. This section will guide you through brainstorming ideas and sketching designs that incorporate keyboard keys into beautiful jewelry.
Assembling your jewelry requires specific techniques to ensure durability and aesthetics. This subheading will cover various methods for connecting keys and adding additional components to your pieces.
Wire and chains are essential for creating necklaces and bracelets. This section explains how to effectively use these materials to enhance your keyboard jewelry designs.
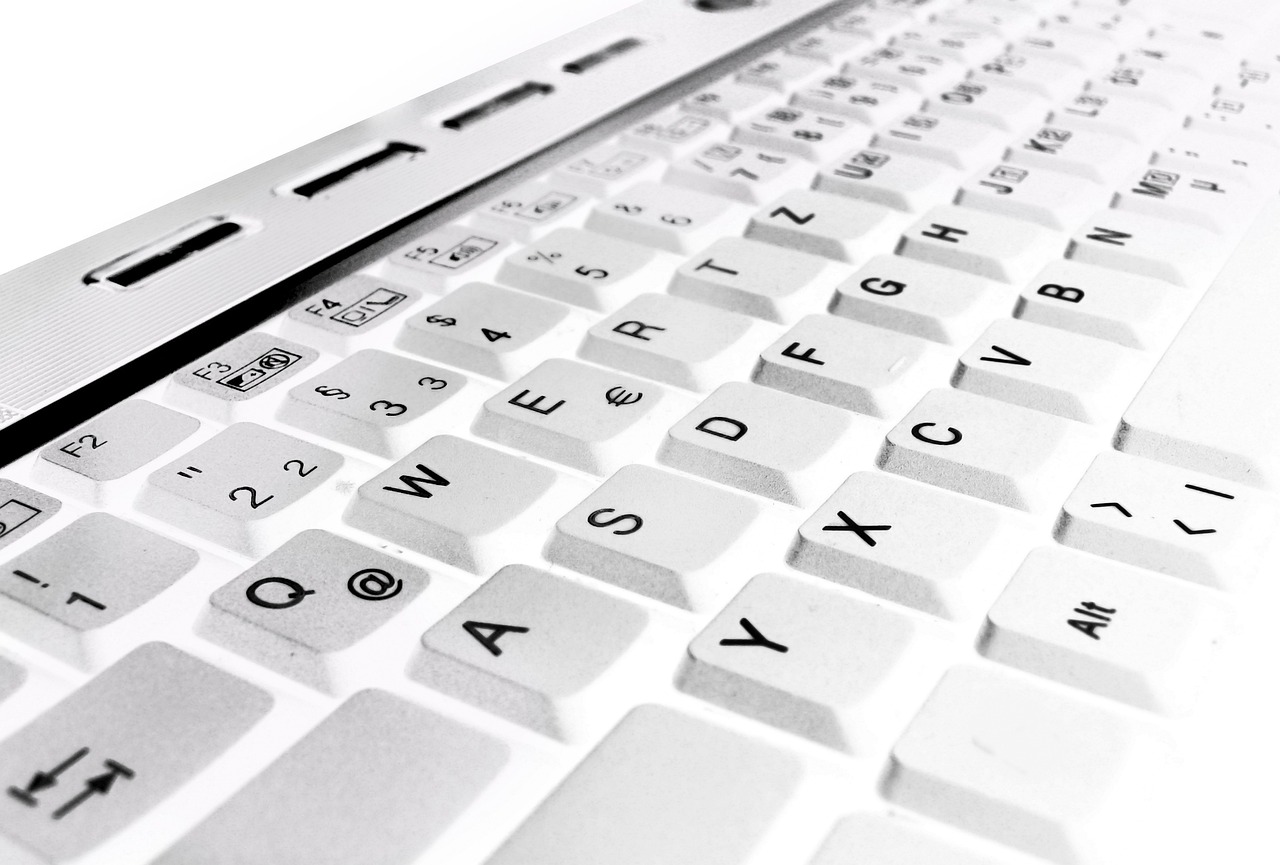
Adding other materials can truly elevate your keyboard jewelry from ordinary to extraordinary. Think of your keyboard keys as the canvas, and the additional materials as the vibrant colors that bring your masterpiece to life. You can mix and match various elements to create a unique style that reflects your personality. For example, consider using beads to add a splash of color or leather for a rustic touch. Fabrics can also introduce texture and softness, making your pieces stand out even more.
Here are a few ideas to get your creative juices flowing:
- Beads: Incorporate colorful beads to create a playful contrast with the keys. You can string them together with the keys to form a necklace or bracelet.
- Leather Strips: Use leather strips as connectors or backing for your keys. This not only adds durability but also a chic, bohemian vibe.
- Fabric: Add fabric elements, like small patches or ribbons, to soften the look of your jewelry. This can be especially effective in earrings where movement is key.
When combining these materials, think about the overall aesthetic you want to achieve. A minimalist design might benefit from subtle leather accents, while a bold statement piece could use vibrant beads and a mix of textures. The goal is to create something that not only looks great but also tells a story. Each piece of jewelry can represent a moment in time, a memory associated with the keyboard, or simply your artistic vision.
Q: Can I use any type of keyboard for this project?
A: Yes, you can use any old keyboard! However, keep in mind that some keyboards have keys that are easier to remove than others, so choose wisely.
Q: What tools do I need to remove the keys?
A: A small flathead screwdriver and pliers are generally sufficient for removing keys without causing damage.
Q: How do I clean the keys after removal?
A: You can soak the keys in warm soapy water and scrub them gently with a soft brush to remove dirt and grime.
Q: Are there any safety precautions I should take?
A: Always wear safety goggles when working with tools, and be careful not to apply too much force when removing keys to avoid injury.
Frequently Asked Questions
- Can I use any keyboard for this project?
Absolutely! While any old keyboard can work, it's best to choose one with keys that have interesting colors and textures. Mechanical keyboards often have unique designs that can make your jewelry stand out even more!
- What tools do I need to remove keys safely?
You'll need a few basic tools such as a flathead screwdriver or a keycap puller. These tools will help you gently pry the keys off without damaging them. Just remember to be careful and patient—no need to rush!
- How do I clean the keys after removing them?
Cleaning the keys is super simple! You can soak them in warm soapy water for a bit, then scrub them gently with a soft brush. Rinse them off and let them dry completely before you start crafting. This ensures your jewelry looks fresh and clean!
- What types of jewelry can I make from keyboard keys?
The possibilities are endless! You can create necklaces, bracelets, earrings, or even keychains. Think of it as a canvas—your imagination is the limit! Mix and match different keys to create unique pieces that reflect your personal style.
- Can I incorporate other materials with the keyboard keys?
Definitely! Adding beads, leather, or fabric can give your jewelry a unique twist. It’s all about combining textures and colors to create something truly one-of-a-kind. Don't be afraid to experiment!
- Is it safe to use tools for this project?
Yes, but safety should always come first. Make sure to handle tools carefully, wear safety goggles if you're worried about flying debris, and keep your workspace tidy to avoid accidents. A little caution goes a long way!
- How do I ensure my jewelry is durable?
Using strong adhesives and good assembly techniques is key to durability. Make sure to securely attach all components and consider using wire or chains that can withstand daily wear. Your beautiful creations deserve to last!
- Where can I find inspiration for my designs?
Inspiration is everywhere! Check out online platforms like Pinterest or Instagram, where many artists share their unique creations. You can also look at nature, art, or even your favorite colors to spark some creative ideas!


