DIY Leather Crafts: Sophisticated Addition to Home Decor
Explore the world of DIY leather crafts, where creativity meets elegance, transforming your home decor with unique, personalized items that reflect your style and craftsmanship. Imagine walking into your living space and being greeted by the rich textures and warm tones of leather accents, each piece telling a story of your own making. Whether you’re a seasoned crafter or a curious beginner, diving into leather crafting can be an incredibly rewarding experience. It’s not just about creating beautiful objects; it’s about the journey of bringing your ideas to life and adding a touch of sophistication to your home.
Leather is a versatile material that can be molded into various forms, from stunning wall art to practical storage solutions. When you embark on this creative journey, you’re not just crafting items; you’re making lasting memories and enhancing your environment. The beauty of DIY leather crafts lies in their ability to seamlessly blend with any decor style, be it modern, rustic, or eclectic. Plus, the satisfaction of saying, "I made that!" is unmatched. So, grab your tools and let’s dive into the wonderful world of leather crafting!
Before you start crafting, it’s essential to understand the different types of leather available for your projects. Each type has its unique characteristics, which can significantly affect the outcome of your work. Here’s a quick overview of the most popular leather types:
| Type of Leather | Characteristics | Best For |
|---|---|---|
| Full-Grain | Durable, natural grain, develops a patina over time | High-quality items, bags, shoes |
| Top-Grain | Soft, smooth surface, more affordable than full-grain | Wallets, belts, and furniture |
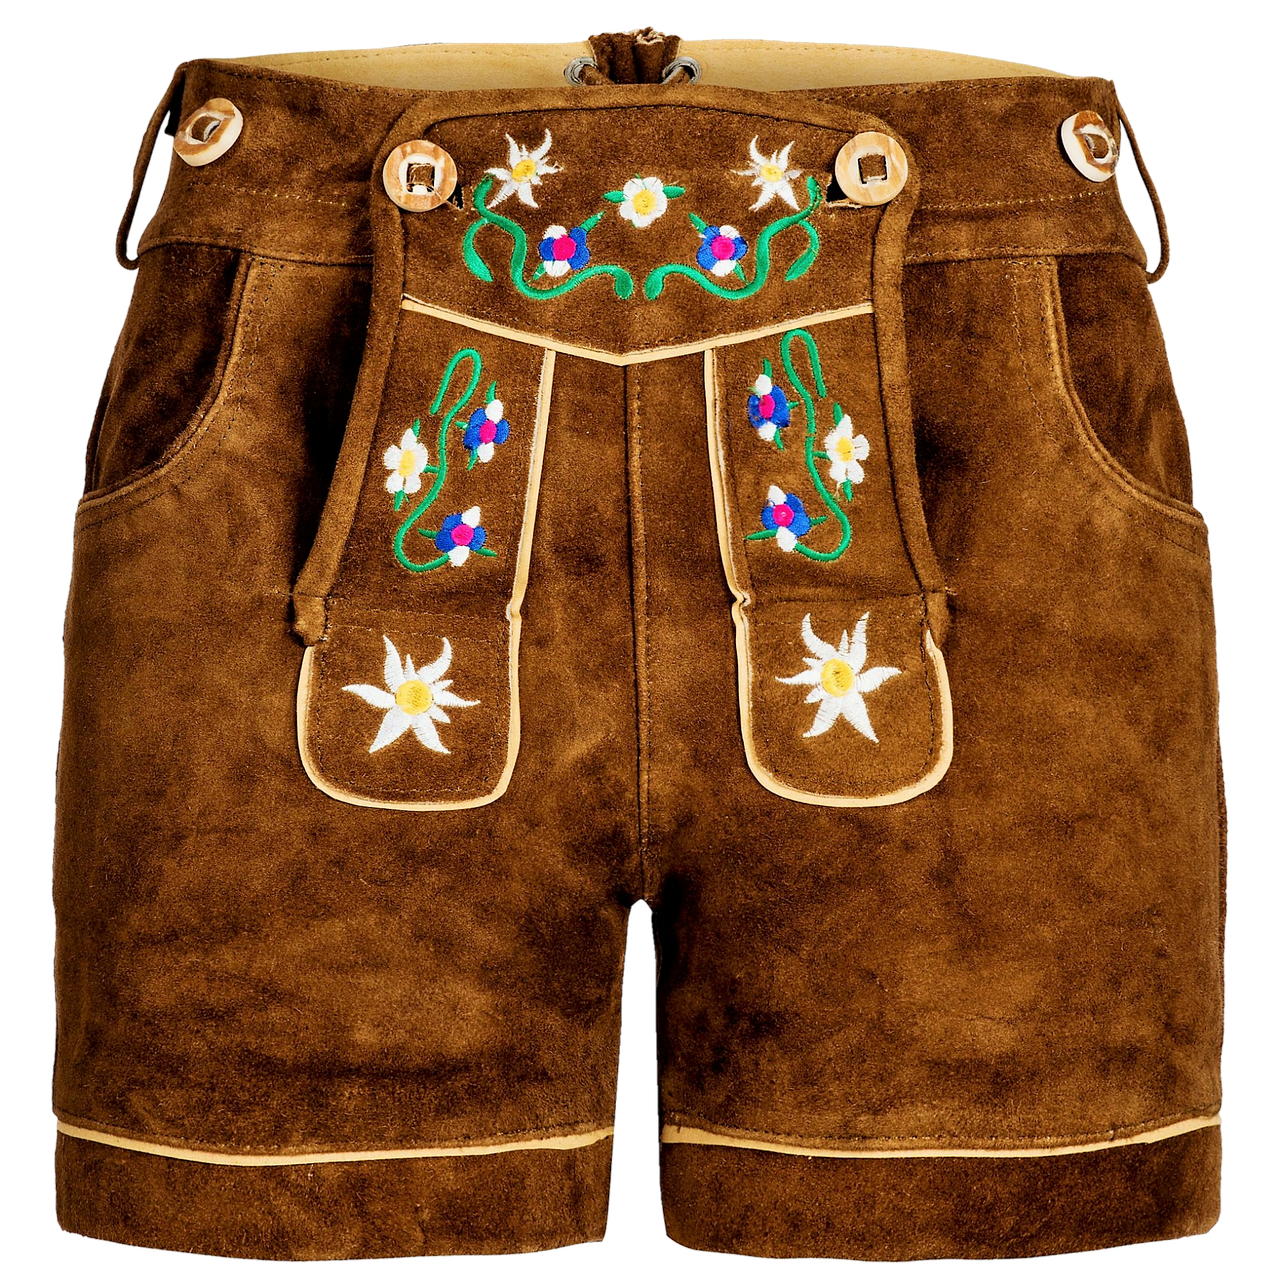
| Suede | Soft, fuzzy texture, less durable | Fashion items, accents, and upholstery |
Understanding these types will help you choose the right leather for your specific project, ensuring that your creations are both beautiful and functional.
To kickstart your leather crafting journey, you’ll need a few essential tools. While the list may seem daunting, don’t worry! With just a handful of tools, you can create stunning pieces. Here are the must-haves:
- Cutting Tools: A sharp utility knife or rotary cutter will make precise cuts.
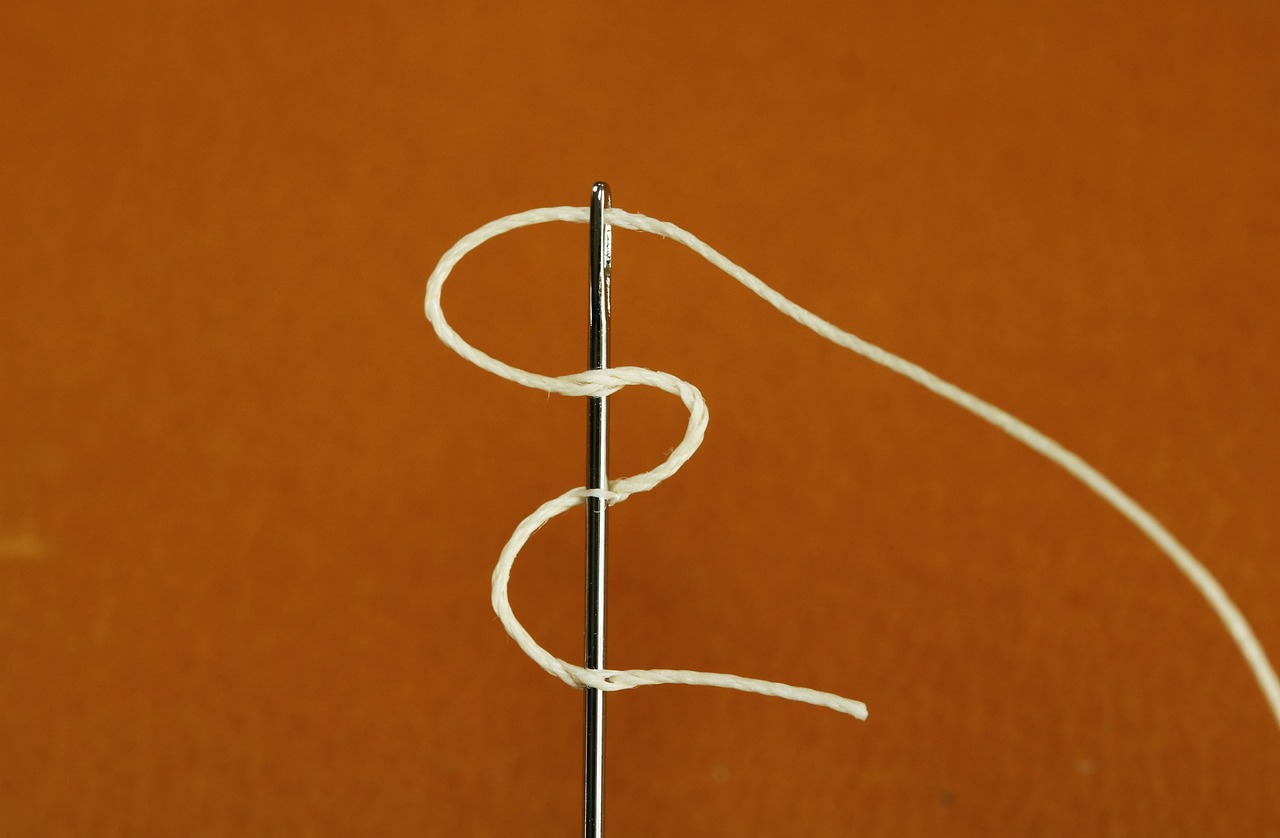
- Stitching Supplies: Invest in needles and waxed thread for durability.
- Edge Tools: Burnishing tools will give your edges a professional finish.
- Stamping Tools: Personalize your items with unique designs.
These tools will be your best friends as you explore the endless possibilities of leather crafting. Remember, it’s not about having the most expensive tools; it’s about using what you have to create something beautiful!
Mastering a few fundamental techniques will set you up for success in your leather crafting endeavors. Start with cutting, ensuring you measure twice and cut once to avoid waste. Next, learn the art of stitching; a simple saddle stitch can add strength and beauty to your projects. Finally, don’t overlook the finishing touches—burnishing and dyeing can elevate your work from basic to breathtaking.
One of the most exciting projects you can tackle is crafting leather wall art. Think of it as a canvas, but instead of paint, you’re using leather. You can create geometric shapes, abstract designs, or even personalized quotes. The warmth of leather brings a unique aesthetic to any wall, making your space feel more inviting and sophisticated.
Leather coasters are not just functional; they’re a chic addition to your coffee table. They protect your surfaces while adding a touch of elegance. Plus, they’re incredibly easy to make! Cut your leather into circles or squares, and use a simple stitch or glue to finish the edges. You can even personalize them with initials or designs.
Who doesn’t love a good storage solution? Leather organizers and baskets can help keep your space tidy while looking fabulous. They’re perfect for holding everything from magazines to craft supplies. The best part? You can customize the size and shape to fit your needs perfectly.
Make your leather items truly one-of-a-kind by personalizing them. Techniques like stamping and dyeing can transform a simple piece into a treasured keepsake. Whether it’s a gift for someone special or a treat for yourself, personalized leather items are always appreciated.
To ensure your leather crafts remain beautiful for years to come, proper maintenance is key. Regularly clean your items with a soft cloth and use leather conditioner to keep them supple. Avoid exposing them to direct sunlight or moisture, as this can cause damage over time. With a little care, your creations will stand the test of time.
Q: Can I use any type of leather for my projects?
A: While you can use various types of leather, it’s essential to choose the right one based on the project’s requirements. Full-grain leather is great for durability, while suede is better for fashion items.
Q: What’s the best way to cut leather?
A: A sharp utility knife or rotary cutter works best for cutting leather. Always use a cutting mat to protect your surfaces and ensure clean cuts.
Q: How do I prevent my leather crafts from drying out?
A: Regular conditioning with a leather conditioner will keep your items supple and prevent drying. Avoid exposing them to heat or direct sunlight.
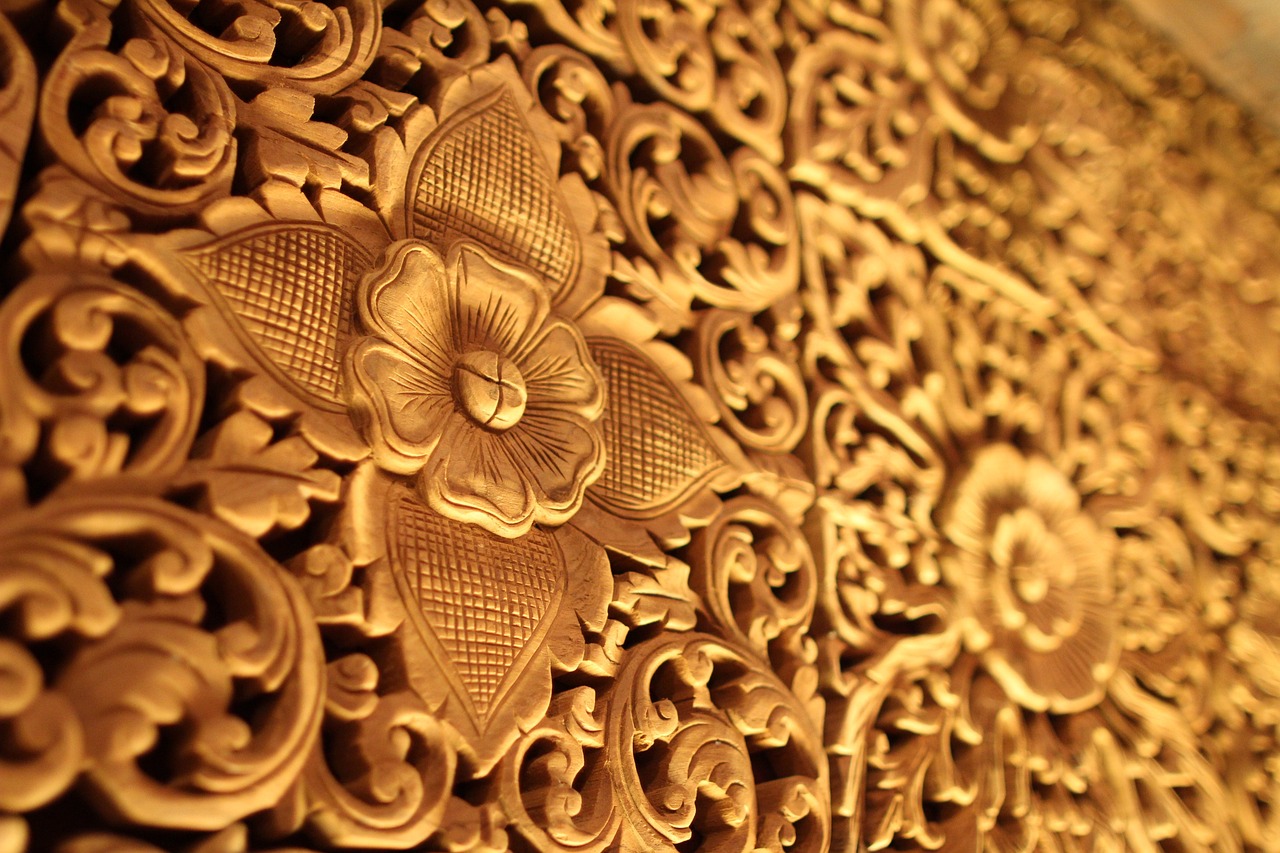
Understanding Leather Types
When diving into the world of DIY leather crafts, it’s crucial to understand the different types of leather available. Each type comes with its own unique characteristics, textures, and durability, making them suitable for various projects. Let’s explore the three most common types of leather you’ll encounter: full-grain, top-grain, and suede.
Full-grain leather is the crème de la crème of leather types. It’s made from the top layer of the hide, which contains all the natural grain and imperfections. This type of leather is incredibly durable and develops a beautiful patina over time, adding character to your creations. Imagine crafting a leather wallet or a bag that tells a story through its wear and tear – that’s the charm of full-grain leather! It’s perfect for items that you want to last a lifetime.
Next up is top-grain leather, which is similar to full-grain but has been sanded and treated to remove imperfections. This gives it a more uniform appearance, making it a popular choice for furniture and accessories. While it’s slightly less durable than full-grain, it still offers a good balance between aesthetics and functionality. If you’re looking for a sleek, polished finish for your home decor items, top-grain leather might just be your best bet.
Lastly, we have suede, which is made from the underside of the hide. Suede has a soft, velvety texture that’s perfect for creating cozy and inviting pieces. However, it’s important to note that suede is less durable than the previous two types, making it more suitable for decorative items rather than everyday use. Think of suede as the soft blanket of the leather world – it adds warmth and texture but requires a bit more care to maintain its beauty.
To summarize, here’s a quick comparison of the three types of leather:
| Type of Leather | Durability | Texture | Best For |
|---|---|---|---|
| Full-grain | High | Natural, rugged | Long-lasting items |
| Top-grain | Medium | Smooth, polished | Furniture, accessories |
| Suede | Low | Soft, velvety | Decorative items |
Understanding these types of leather will not only help you choose the right material for your projects but also enhance your overall crafting experience. Whether you’re looking to create a stunning leather wall art piece or functional coasters, knowing the properties of each leather type will guide you in making informed decisions that reflect your personal style and craftsmanship.
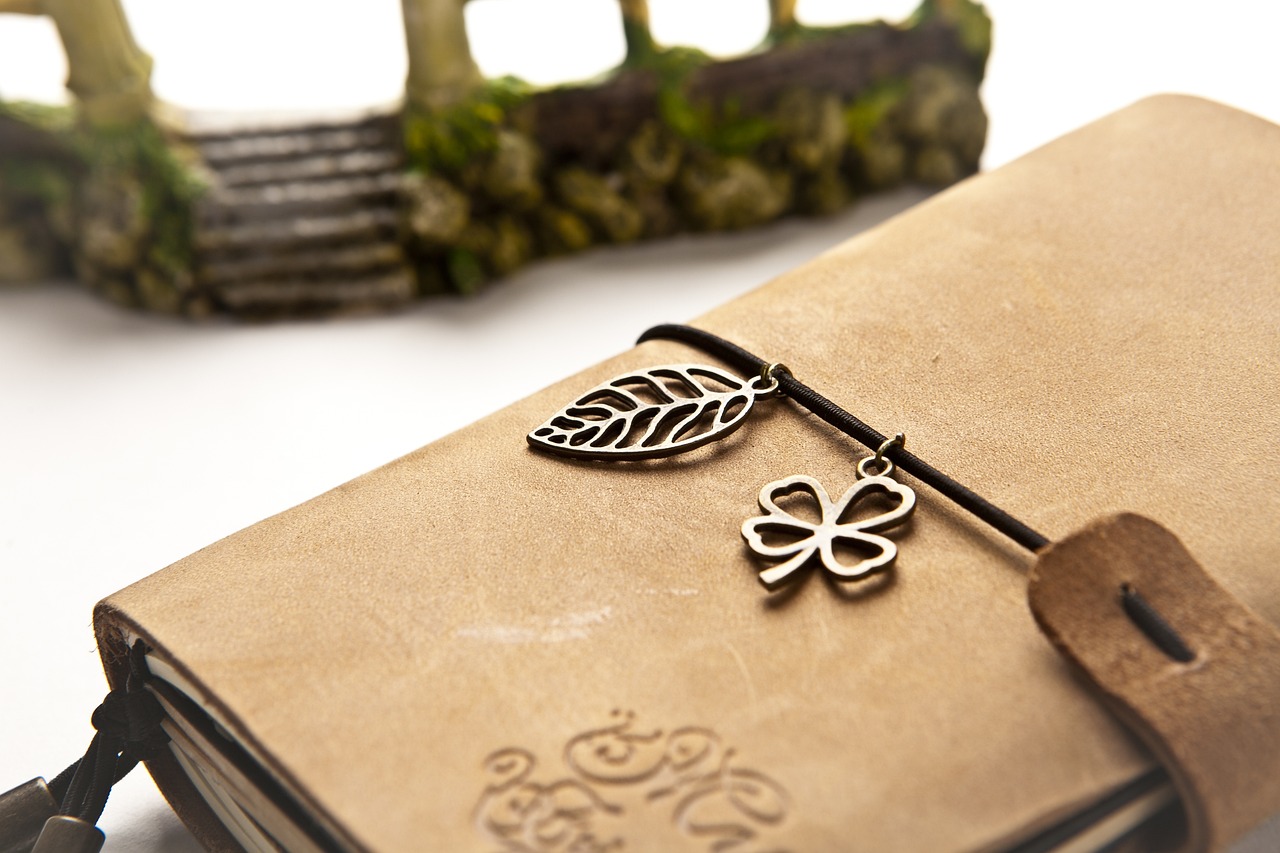
Essential Tools for Leather Crafting
When it comes to leather crafting, having the right tools is like having a painter's palette—it's essential for creating a masterpiece. Whether you’re a seasoned artisan or just starting out on your leather crafting journey, the tools you choose can make all the difference. Imagine trying to sculpt a beautiful statue without the right chisel; the same goes for leather. So, what tools should you have in your arsenal?
First and foremost, a good quality cutting tool is essential. A sharp rotary cutter or a utility knife will help you achieve clean, precise cuts, which are crucial for any leather project. Think of it as the foundation of your work; without it, everything else can crumble. Additionally, a sturdy cutting mat will protect your surfaces and keep your blades sharp.
Next, let’s talk about stitching supplies. A reliable set of needles and thread is vital. Leather needles are specifically designed to pierce through tough material, while waxed thread holds up beautifully against wear and tear. You wouldn’t want your beautiful creations falling apart, would you? A stitching awl can also be a game-changer, allowing you to create holes for stitching with precision.
Don’t overlook the importance of measuring tools. A good ruler or a straight edge will help you achieve accuracy in your cuts, and a compass can assist in creating perfect circles and curves. Think of these tools as your guiding stars; they’ll help you navigate through the complexities of your projects.
To enhance your crafting experience, consider investing in a leather mallet. This handy tool is perfect for driving punches and setting rivets without damaging your leather. It’s like having a gentle giant by your side, providing the strength you need without the risk of injury to your delicate materials.
Finally, a solid finishing toolset is crucial for giving your projects that professional touch. Edge tools, burnishers, and leather conditioners will help you finish your pieces beautifully. You wouldn’t want to serve a gourmet meal on a chipped plate, right? The same principle applies to your leather crafts; a polished finish elevates your work from ordinary to extraordinary.
Here’s a quick summary of the essential tools you’ll need:
| Tool | Purpose |
|---|---|
| Cutting Tool | For precise cuts |
| Stitching Supplies | For assembling pieces |
| Measuring Tools | For accuracy |
| Leather Mallet | For driving punches and setting rivets |
| Finishing Toolset | For polishing and conditioning |
With these tools at your disposal, you’ll be well-equipped to tackle any leather crafting project that comes your way. Each tool plays a pivotal role, and together they create a symphony of craftsmanship that can transform simple pieces of leather into stunning works of art. So, are you ready to dive into the world of leather crafting and let your creativity flow?
Q: What type of leather is best for beginners?
A: For beginners, vegetable-tanned leather is a great choice as it is easy to work with and readily available.
Q: Can I use regular sewing thread for leather?
A: It’s best to use waxed thread specifically designed for leather, as it holds up better against wear and tear.
Q: How do I maintain my leather tools?
A: Regularly clean your tools and apply oil to metal parts to prevent rust. Store them in a dry place to prolong their lifespan.

Basic Leather Craft Techniques
When diving into the world of leather crafting, it’s essential to grasp the basic techniques that form the backbone of this art. Think of it as learning to ride a bike; once you master the fundamentals, you can explore more complex creations with confidence and flair. The three primary techniques every budding leather artisan should familiarize themselves with are cutting, stitching, and finishing. Each of these skills not only enhances your craftsmanship but also elevates the overall aesthetic of your projects.
Let’s start with cutting. Precision is key when it comes to cutting leather. Using a sharp knife or rotary cutter, aim for clean, straight edges. You might want to invest in a self-healing cutting mat to protect your surfaces and keep your blades sharp. It’s helpful to use a ruler or a straight edge to guide your cuts, ensuring that each piece fits together perfectly. Remember, a well-cut piece of leather is the foundation of any stunning creation!
Next up is stitching, which is where your project really starts to come together. There are several methods to stitch leather, but the most common are hand stitching and using a sewing machine. Hand stitching allows for a more personal touch and is often preferred for smaller projects or intricate designs. The backstitch is a popular choice among leather crafters for its strength and durability. If you’re using a sewing machine, ensure that you have the right needle and thread designed for leather. This will prevent any mishaps and keep your stitches looking neat and professional.
Finally, let’s talk about finishing. This step is crucial as it protects your leather and enhances its appearance. You can apply various finishes, such as waxes, oils, or dyes, depending on the look you want to achieve. For instance, a natural finish can highlight the leather's grain, while dyes can transform it into a vibrant piece of art. Always remember to test any finish on a scrap piece of leather first to see how it reacts. A well-finished piece not only looks great but also stands the test of time.
To summarize, mastering these basic leather craft techniques will set you on the path to creating beautiful, personalized items. As you practice cutting, stitching, and finishing, you’ll find your confidence growing, allowing you to experiment with more advanced techniques and designs. So grab your tools, and let your creativity flow!
- What type of leather is best for beginners? For beginners, vegetable-tanned leather is often recommended due to its workability and availability.
- Do I need special tools for leather crafting? Yes, essential tools include cutting mats, sharp knives, needles, and thread specifically designed for leather.
- Can I use regular paint on leather? No, it’s best to use dyes or paints specifically made for leather to ensure proper adhesion and durability.
- How do I care for my leather projects? Regularly clean your leather with a damp cloth and apply a conditioner to keep it supple and prevent cracking.
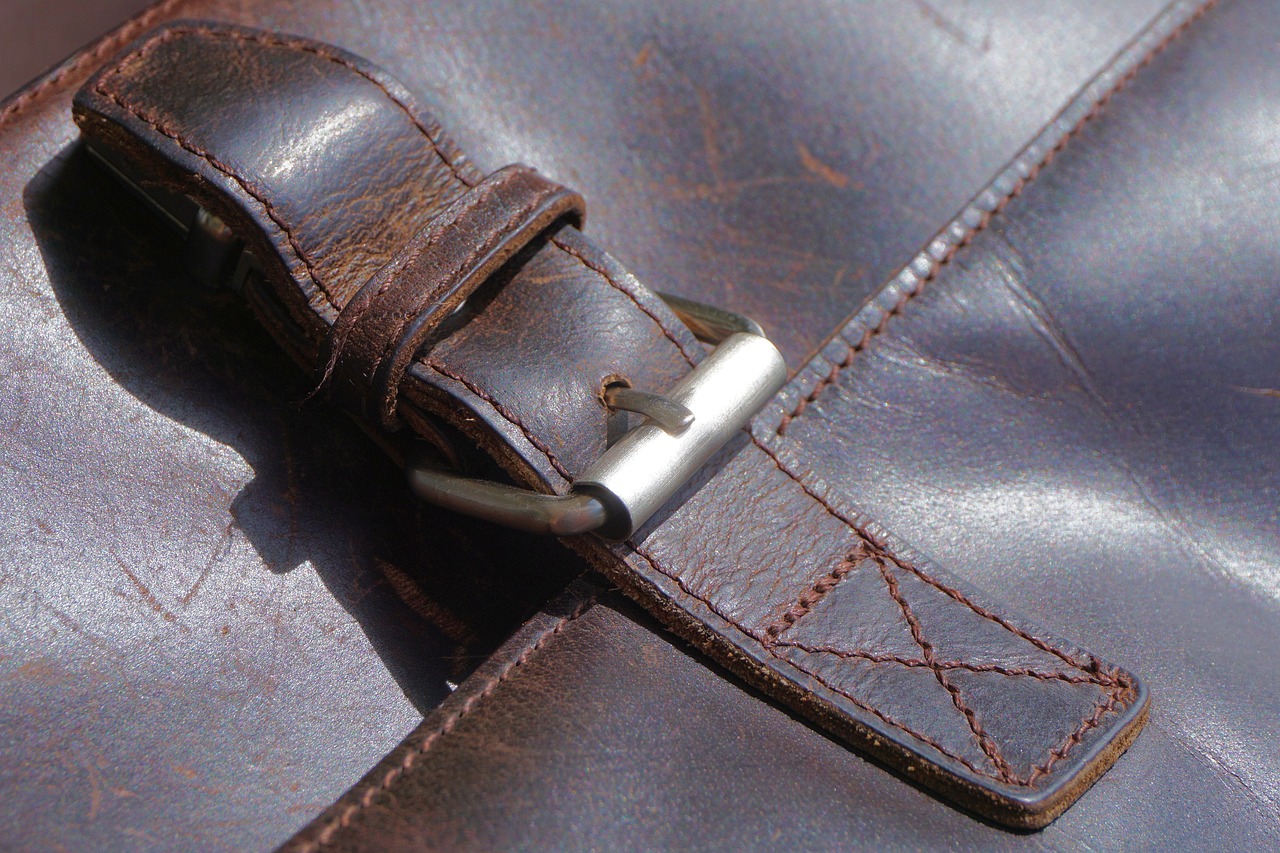
Creating Leather Wall Art
When it comes to adding a touch of sophistication to your home, leather wall art is a stunning choice that can transform any space. Imagine walking into a room where your eyes are immediately drawn to a beautifully crafted leather piece, rich in texture and depth. The best part? You can create these unique works of art yourself! With a little creativity and some basic techniques, you can turn simple leather into a captivating focal point. So, why not dive into the world of leather crafting and unleash your artistic side?
One of the first things to consider when creating leather wall art is the type of leather you want to use. Full-grain leather offers a rugged look that showcases natural imperfections, while suede provides a softer, more luxurious feel. Think about the overall aesthetic of your space. Do you want something bold and eye-catching, or subtle and elegant? The choice of leather will play a crucial role in achieving your desired effect.
Once you've selected your leather, it's time to brainstorm design ideas. Here are a few creative concepts to get you started:
- Abstract Shapes: Cut the leather into various geometric shapes and arrange them on a canvas for a modern art piece.
- Nature-Inspired Designs: Create wall art that mimics the beauty of nature, like leaves or flowers, using different leather textures.
- Personalized Quotes: Use leather to craft a meaningful quote or saying, adding a personal touch to your decor.
After you've decided on a design, the next step is to gather your tools. Essential tools for leather wall art include a sharp utility knife for cutting, a cutting mat to protect your surfaces, and a strong adhesive for attaching the leather to your chosen backing. If you're feeling adventurous, consider incorporating stitching to add an extra layer of detail and texture to your piece. This can be done using a simple needle and thread or a leather sewing machine for more intricate designs.
Once your leather pieces are cut and ready, it’s time to assemble them. Start by laying out your design on the backing material before committing to glue. This allows you to visualize the final product and make any necessary adjustments. When you’re satisfied with the arrangement, carefully adhere each piece, ensuring they are securely attached. For an added touch of elegance, consider framing your leather wall art in a simple wooden frame that complements the leather's natural hues.
Finally, don’t forget to maintain your leather wall art. Regular dusting and occasional conditioning with a leather conditioner will keep it looking fresh and vibrant. By following these steps, you’ll not only create a stunning piece of art but also a conversation starter in your home!
Q: What type of leather is best for wall art?
A: Full-grain leather is ideal for a rugged look, while suede offers a softer, more refined appearance. It ultimately depends on your personal style and the ambiance you wish to create.
Q: Can I paint on leather?
A: Yes! You can use leather paints or dyes to add color to your designs. Just ensure you prepare the leather properly before applying any paint.
Q: How do I hang my leather wall art?
A: You can use picture hooks, adhesive strips, or even create a hanging system with leather straps for a unique touch.
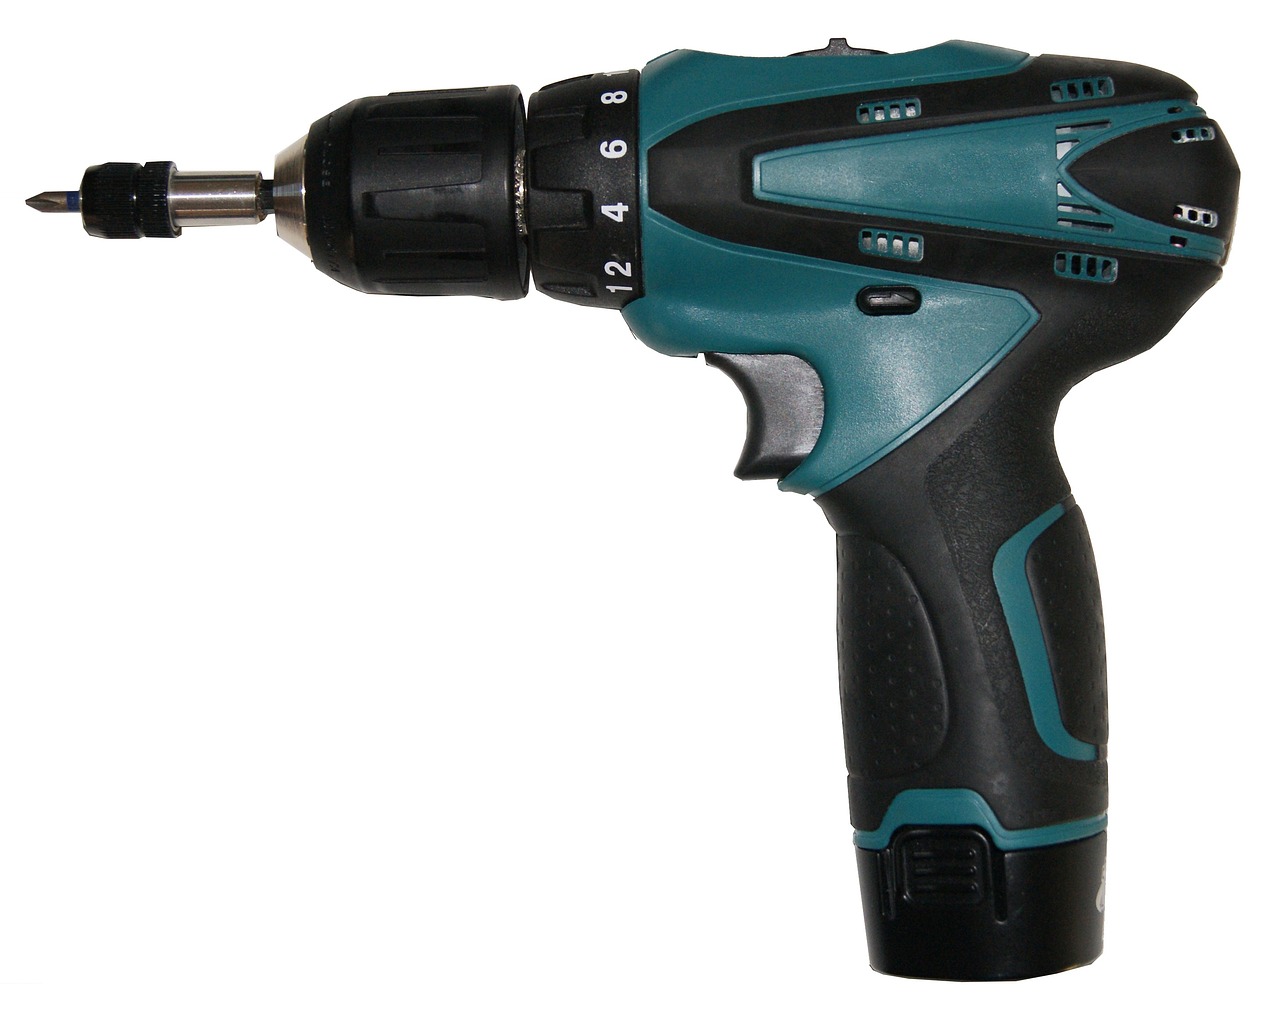
Making Leather Coasters
Creating leather coasters is not only a fun and rewarding project, but it also adds a touch of elegance to your home decor. Imagine sipping your favorite beverage while resting it on a beautifully crafted leather coaster that you made yourself! It's a fantastic way to showcase your creativity and craftsmanship. Plus, leather coasters are incredibly durable and can withstand the test of time, making them a practical addition to any coffee table or dining area.
To get started, you'll need some basic materials and tools. First, choose your leather. Full-grain leather is often recommended for coasters because of its durability and natural beauty. However, top-grain leather can also work well. You'll also need a cutting mat, a utility knife or rotary cutter, a ruler, and some cutting templates to ensure your coasters are perfectly shaped. A hole punch and some decorative elements like stamps or dyes can elevate your design, allowing you to personalize each piece.
Once you have your materials ready, the process begins! Start by measuring and cutting your leather into squares or circles, depending on your desired coaster shape. A standard size is about 4 inches by 4 inches, but feel free to experiment with different dimensions. After cutting, smooth out the edges with sandpaper to prevent any rough surfaces that could scratch your furniture.
Next, consider adding a personal touch. You can use a hole punch to create decorative holes around the edges or stamp a design onto the leather. If you're feeling adventurous, try dyeing the leather to match your home decor. Just remember to let it dry completely before moving on to the next step!
After your coasters are cut and decorated, it’s time to finish them. Applying a leather conditioner will not only enhance the color but also protect the leather from spills and stains. This is crucial, especially since coasters will inevitably come into contact with moisture. For added protection, you can also apply a waterproof sealant, which will help keep your coasters looking pristine for years to come.
Finally, the best part is showcasing your handmade coasters! Place them on your coffee table or gift them to friends and family. They make for wonderful housewarming gifts, combining practicality with a personal touch. And if you really want to impress, consider crafting a matching set of coasters that complement your home’s aesthetic.
In summary, making leather coasters is a straightforward yet fulfilling project that allows you to express your style while creating functional home decor. So, roll up your sleeves, gather your materials, and let your creativity flow! Your guests will surely be impressed by your handmade creations.
- What type of leather is best for coasters? Full-grain leather is ideal for its durability, but top-grain leather can also work well.
- Can I dye my leather coasters? Yes! Dyeing is a great way to personalize your coasters and match them to your decor.
- How do I care for my leather coasters? Use a leather conditioner regularly and avoid exposing them to excessive moisture. A waterproof sealant can also help protect them.
Crafting Leather Storage Solutions
When it comes to keeping our spaces organized, a little creativity can go a long way. not only helps declutter your home, but it also adds a touch of elegance and sophistication to your decor. Imagine walking into a room where everything has its place, and each item is beautifully encased in a handmade leather organizer. Sounds dreamy, right? Let’s dive into how you can make this dream a reality!
First, consider the types of storage solutions you need. Do you require a stylish desk organizer to hold your pens, papers, and miscellaneous items? Or perhaps a chic basket for your living room throws? Whatever your needs, leather can be the perfect material due to its durability and timeless appeal. It’s like the fine wine of materials—improving with age and developing character over time.
To start crafting your leather storage solutions, gather your essential tools. You’ll need:
- High-quality leather
- Cutting tools (like a rotary cutter or utility knife)
- Stitching supplies (needles, thread, and a stitching pony)
- Measuring tools (ruler and measuring tape)
- Leather glue or adhesive
Once you have your materials, sketch out your designs. Visualizing your project can make the crafting process smoother. For instance, if you’re making a leather basket, think about the size and shape that will best fit your space. You can opt for a round, oval, or rectangular basket, depending on your style. Don’t forget to consider the color and texture of the leather, as these will significantly impact the final look of your storage solution.
Now, let’s talk about the actual crafting process. Start by measuring and cutting your leather pieces according to your design. If you’re creating a basket, cut a long strip for the sides and a circular piece for the bottom. For a desk organizer, create compartments by cutting additional pieces that will serve as dividers. Remember, precision is key here—take your time to ensure each cut is straight and accurate.
Once your pieces are cut, it’s time to assemble them. Use leather glue to attach the bottom piece to the side strips, and allow it to dry completely. For added durability, you can stitch the pieces together. This not only strengthens the joints but also adds a decorative element to your design. You might find that the stitching process is meditative, allowing you to focus on the rhythm of your work while creating something beautiful.
After assembling, you can personalize your storage solution. Consider adding your initials or a unique design through stamping or dyeing techniques. This is where your creativity can really shine! You could even add pockets or compartments to your organizer for better functionality. The possibilities are endless, and each piece you create can be a reflection of your personal style.
Finally, once your leather storage solutions are complete, it’s essential to care for them properly. Leather is a natural material that requires maintenance to keep it looking its best. Regularly clean your leather items with a soft cloth and apply a leather conditioner to keep them supple and prevent cracking. Just like a well-loved book, your leather crafts will tell a story over time, and with the right care, they’ll remain beautiful for years to come.
In conclusion, crafting leather storage solutions is not just a practical endeavor; it’s an artistic journey that allows you to express your style while enhancing your home decor. So gather your tools, unleash your creativity, and transform your living space with these elegant, personalized storage solutions!
1. What type of leather is best for storage solutions?
Full-grain leather is often the best choice for storage solutions due to its durability and ability to develop a beautiful patina over time. However, top-grain leather is also a great option if you prefer a softer feel.
2. Do I need special tools for leather crafting?
While you can start with basic tools like a utility knife and thread, investing in specialized leather tools can make the crafting process easier and more enjoyable.
3. How can I personalize my leather storage solutions?
You can personalize your items through stamping, dyeing, or even adding unique stitching patterns. This adds a personal touch that makes your creations truly one-of-a-kind.
4. How do I care for my leather crafts?
Regularly clean your leather items with a soft cloth and apply a leather conditioner to keep them looking their best. Avoid exposing them to excessive moisture and direct sunlight.
Personalizing Leather Items
When it comes to , the sky’s the limit! Imagine walking into your home and seeing a beautifully crafted leather piece that not only serves a purpose but also tells your unique story. Personalization can transform ordinary leather goods into extraordinary treasures that resonate with your personality. So, how can you add that special touch to your leather crafts? Let’s dive into some exciting techniques!
One of the most popular methods for personalization is stamping. This technique involves using metal stamps to create designs, initials, or even quotes on the leather surface. It’s like giving your leather a signature! Stamping is relatively easy and can be done with a few essential tools: a mallet, metal stamps, and a cutting mat. Picture this: you stamp your initials on a leather wallet, making it not just a functional item but a personal keepsake.
Another fantastic way to personalize your leather items is through dyeing. This process allows you to change the color of the leather or create beautiful, intricate patterns. You can use leather dyes to achieve a range of effects, from deep, rich hues to vibrant splashes of color. It’s like painting on a canvas, but the canvas is leather! Just be sure to use a dye that’s specifically designed for leather to ensure a lasting finish. Imagine a bright blue leather bag that stands out in a crowd or a subtle, earthy tone that complements your home decor.
For those who love a more hands-on approach, consider embroidery. Adding embroidered designs or text to your leather items can create a stunning visual impact. This technique involves stitching patterns or words directly onto the leather, offering a tactile and aesthetic appeal. Think of a leather journal adorned with your favorite quote stitched beautifully across the cover. It not only serves as a functional item but also as a piece of art.
Additionally, you can explore the art of patchwork. This involves sewing different pieces of leather together to create unique designs. You can mix and match colors, textures, and patterns to create something that’s truly one-of-a-kind. It’s like a quilt, but instead of fabric, you’re using leather! This method allows for endless creativity, and the result is a stunning piece that reflects your personal style.
Lastly, don’t forget about hardware accents. Adding buckles, rivets, or snaps can elevate your leather items to a whole new level. These elements not only add functionality but also serve as decorative features. Imagine a leather belt with a unique buckle design that showcases your style or a bag with eye-catching rivets that add a bit of edge. The right hardware can transform a simple leather piece into a statement accessory.
In summary, personalizing leather items is all about expressing yourself and adding a touch of individuality to your creations. Whether you choose stamping, dyeing, embroidery, patchwork, or hardware accents, the key is to have fun and let your creativity shine. Your leather crafts will not only be functional but will also carry a piece of your personality, making them truly special.
- What type of leather is best for personalizing? Full-grain leather is often recommended due to its durability and ability to hold stamps and dyes well.
- Can I personalize leather items at home? Absolutely! Many personalization techniques can be done at home with the right tools and materials.
- How do I care for personalized leather items? Regularly clean them with a soft cloth and use leather conditioner to maintain their beauty and longevity.
Maintaining and Caring for Leather Crafts
When it comes to leather crafts, proper maintenance is key to ensuring that your creations remain as stunning as the day you made them. Leather, while durable and beautiful, can be sensitive to environmental factors and wear over time. Think of it as a treasured book; without the right care, it can fade and show signs of aging. So, how do you keep your leather items looking fresh and fabulous? Let’s dive into some essential tips!
First off, it’s crucial to keep your leather crafts away from direct sunlight. Just like how a sunbather might slather on sunscreen to protect their skin, leather needs shielding from harsh rays that can cause fading and drying. Instead, opt for a cool, shaded area for storage. Additionally, humidity can be a double-edged sword; too much moisture can lead to mold, while too little can cause the leather to crack. A relative humidity of around 40-60% is ideal for maintaining leather's integrity.
Cleaning your leather crafts regularly is also a must. Dust and dirt can accumulate and damage the surface over time. Use a soft, dry cloth to gently wipe down your items. For deeper cleaning, a damp cloth with a little mild soap can work wonders—just be sure to follow up with a dry cloth to avoid any moisture lingering on the leather. If you notice any stubborn stains, consider using a specialized leather cleaner. Always test any product on a small, inconspicuous area first to ensure it won’t discolor your masterpiece.
Another essential aspect of leather care is conditioning. Leather can dry out, much like our skin, leading to cracks and wear. To keep it supple, apply a leather conditioner every few months. This will not only nourish the leather but also enhance its natural sheen. Remember, a little goes a long way; over-conditioning can lead to a greasy finish. Always follow the manufacturer's instructions for the best results.
Lastly, if you want your leather crafts to last for generations, consider investing in protective treatments. There are sprays available that can help repel water and stains, providing an extra layer of defense against everyday mishaps. However, it’s important to reapply these treatments periodically, as their effectiveness can diminish over time.
In summary, maintaining and caring for your leather crafts involves a few simple yet effective practices:
- Keep away from direct sunlight
- Maintain ideal humidity levels
- Regularly clean and condition
- Use protective treatments as needed
By following these guidelines, you can ensure that your leather creations remain not only beautiful but also functional for years to come. After all, a well-cared-for leather item tells a story of craftsmanship and love, becoming even more cherished over time.
Q: How often should I clean my leather crafts?
A: It's best to clean your leather items regularly—about once a month. However, if they are exposed to more dirt or spills, increase the frequency accordingly.
Q: Can I use regular soap to clean leather?
A: While mild soap can be used, it's advisable to opt for a cleaner specifically designed for leather to avoid damaging the material.
Q: What should I do if my leather item gets wet?
A: If your leather gets wet, gently blot the moisture with a soft cloth and allow it to air dry naturally, away from direct heat sources.
Q: Is it necessary to use a leather conditioner?
A: Yes, conditioning your leather is crucial to keep it supple and prevent cracking. Aim to condition it every few months.
Frequently Asked Questions
- What types of leather are best for DIY projects?
When diving into the world of DIY leather crafts, it's essential to choose the right type of leather. Full-grain leather is the most durable and develops a beautiful patina over time, making it perfect for items that will be used frequently. Top-grain leather offers a slightly softer feel and is easier to work with, while suede provides a unique texture that can add a touch of elegance to your projects. Each type has its own charm, so pick one that resonates with your vision!
- What tools do I need to get started with leather crafting?
Starting your leather crafting journey doesn't have to be overwhelming! Essential tools include a sharp utility knife or rotary cutter for precise cutting, a cutting mat to protect your surfaces, and a set of stitching supplies like needles and waxed thread. Don't forget about a hole punch for making neat holes and a ruler for accurate measurements. With these tools in hand, you're all set to unleash your creativity!
- How can I personalize my leather crafts?
Personalizing your leather items is a fantastic way to make them truly unique! You can use techniques like stamping to imprint designs or initials onto the leather. Dyeing is another option that allows you to add vibrant colors or subtle shades to your projects. With a little creativity, you can transform a simple piece into a stunning reflection of your personal style!
- What are some ideas for leather wall art?
Leather wall art can be a stunning focal point in any room! Consider creating geometric shapes, abstract designs, or even nature-inspired pieces like leaves or animals. You can also experiment with layering different colors and textures of leather to add depth and interest. The possibilities are endless, and each piece can tell a story that resonates with your home decor!
- How do I maintain and care for my leather crafts?
Taking care of your leather crafts is crucial for their longevity. Start by regularly dusting them with a soft cloth to keep them clean. For deeper cleaning, use a damp cloth and a gentle soap solution, but avoid soaking the leather. Applying a leather conditioner periodically will help keep it supple and prevent cracking. With proper care, your leather items will remain beautiful for years!
- Can I use leather for storage solutions?
Absolutely! Leather is not only stylish but also incredibly functional for storage solutions. You can craft organizers, baskets, and even stylish pouches to keep your space tidy. The durability of leather ensures that these storage items will withstand daily use while adding a touch of sophistication to your home.


