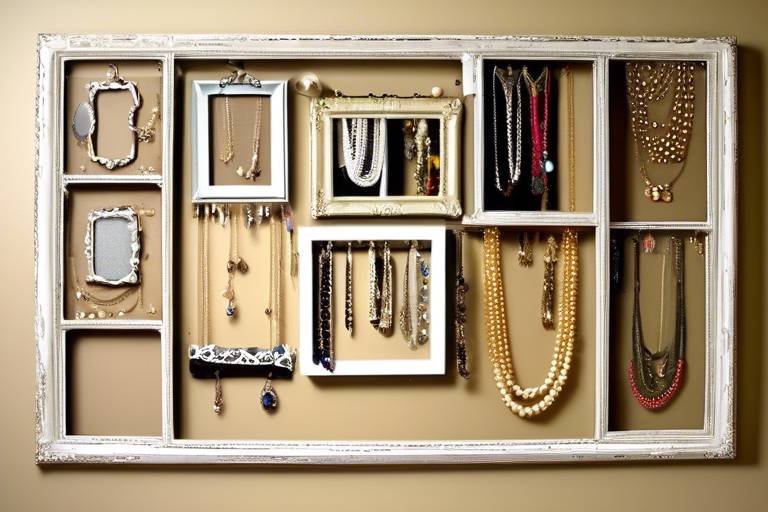
Upcycle Your Old Knitting Supplies into Crafty Creations
Are you sitting on a pile of old knitting supplies, wondering what to do with them? You're not alone! Many crafters find themselves with an abundance of unused yarn, needles, and other materials that seem to gather dust over time. Instead of letting these treasures go to waste, why not transform them into something beautiful and functional? Upcycling is not just a trend; it’s a fantastic way to breathe new life into your crafting supplies while also being environmentally friendly. In this guide, we’ll explore some innovative and exciting ways to turn your old knitting materials into crafty creations that can enhance your home and showcase your creativity.
Imagine walking into your living space and spotting a stunning wall hanging made from leftover yarn, or a charming plant holder crafted from old knitting needles. These projects not only serve a purpose but also tell a story—your story. Each piece you create is a reflection of your journey as a crafter, capturing moments of inspiration, creativity, and resourcefulness. So, grab your old supplies, roll up your sleeves, and let’s dive into the wonderful world of upcycling!
Leftover yarn can be a goldmine for creativity. Instead of tossing those scraps into the trash, consider the myriad of projects you can embark on. From vibrant wall hangings that add a splash of color to your walls to unique coasters that can impress your guests, the possibilities are endless. For instance, you could create a colorful wall tapestry that not only beautifies your space but also serves as a conversation starter. Think of it as a canvas where you can express your artistic flair using various yarn colors and textures.
Additionally, why not make coasters that reflect your personality? You can mix and match colors, creating a set that’s not only functional but also a delightful addition to your coffee table. Remember, the key is to maximize your yarn’s potential while adding a personal touch to your home. So, let your imagination run wild!
Your old knitting needles don’t have to retire quietly in a drawer. Instead, they can be transformed into stylish jewelry or functional home decor items. For example, have you ever thought about making earrings or bracelets from knitting needles? This unique approach allows you to showcase your creativity in a wearable form. Imagine wearing a pair of earrings that not only look stunning but also tell a story about your love for knitting.
Crafting jewelry from knitting needles is a fun and unique way to express your creativity. You can create a variety of pieces such as earrings, bracelets, and necklaces that stand out and tell a story. The beauty of this project is that it allows you to combine your love for knitting with fashion. Plus, you can customize each piece to match your personal style or to give as thoughtful gifts to fellow knitting enthusiasts.
One of the easiest and most captivating projects involves combining knitting needles with colorful beads to create eye-catching bracelets. This simple yet effective project allows for endless customization. You can choose beads that reflect your personality or even incorporate colors that match your favorite outfits. Not only do these bracelets make for wonderful personal accessories, but they also serve as heartfelt gifts for friends and family.
Transforming a single knitting needle into a stunning pendant necklace is another creative option. With a bit of imagination and some basic jewelry-making skills, you can design a unique piece that reflects your style and passion for knitting. Whether you prefer a minimalist look or something more elaborate, the possibilities are endless. This is not just jewelry; it’s a wearable piece of art!
Old knitting needles can also be repurposed into charming home decor items. From plant holders that bring life to your living space to picture frames that showcase your favorite memories, there are countless ways to incorporate these tools into your home. Imagine a beautiful plant holder made from knitting needles, elegantly displaying your favorite greenery. It’s a perfect way to combine your love for knitting with your passion for home decor.
Don’t throw away those yarn scraps! Instead, learn how to turn them into useful items like pom-poms, tassels, or even a colorful rug. These projects not only reduce waste but also inspire creativity. For instance, colorful pom-poms are a fun and easy way to use up yarn scraps. They can be added to various projects, from hats to home decor, adding a playful touch to your creations. Imagine a cozy blanket adorned with vibrant pom-poms that bring warmth and cheer to your space!
Pom-poms are a delightful way to use up yarn scraps. They can be added to hats, scarves, or even used as decorative accents in your home. The best part? They’re incredibly easy to make! Just gather your yarn scraps, and with a bit of time and creativity, you can create a bunch of fluffy pom-poms that are sure to brighten up any project.
Creating a rug from yarn scraps is a sustainable way to enhance your home. This project not only reduces waste but also allows for endless creativity in design and color combinations. Picture a beautiful rug made from various yarn colors, each piece telling a story of its own. It’s a perfect way to add a splash of color and warmth to your living space while being eco-friendly.
As you upcycle, consider how to store your newly created items and leftover supplies. Discover innovative storage solutions that keep your crafting space organized and inspiring. For example, transforming old boxes or containers into stylish storage bins for your knitting supplies is a fantastic project. This not only allows you to personalize your storage but also ensures everything is easily accessible when inspiration strikes.
Transforming old boxes or containers into stylish storage bins for your knitting supplies is a great way to keep your crafting area organized. You can paint them, cover them with fabric, or decorate them with your favorite crafting motifs. This project allows you to add a personal touch to your storage while ensuring that all your supplies are neatly organized and easy to find.
Showcase your crafty creations with unique display ideas. From wall-mounted shelves to decorative jars, find ways to turn your upcycled items into beautiful focal points in your home. Imagine a shelf adorned with your handmade items, each piece telling a part of your crafting journey. This not only enhances your decor but also inspires you and others to embrace creativity.
Q: What can I do with leftover yarn?
A: Leftover yarn can be used for a variety of projects, including wall hangings, coasters, pom-poms, tassels, and even colorful rugs.
Q: How can I repurpose old knitting needles?
A: Old knitting needles can be transformed into jewelry, decorative items, or even functional home decor like plant holders and picture frames.
Q: Are there any eco-friendly storage solutions for knitting supplies?
A: Yes! You can upcycle old boxes or containers into stylish storage bins, ensuring your crafting space stays organized while being environmentally friendly.

Creative Knitting Yarn Projects
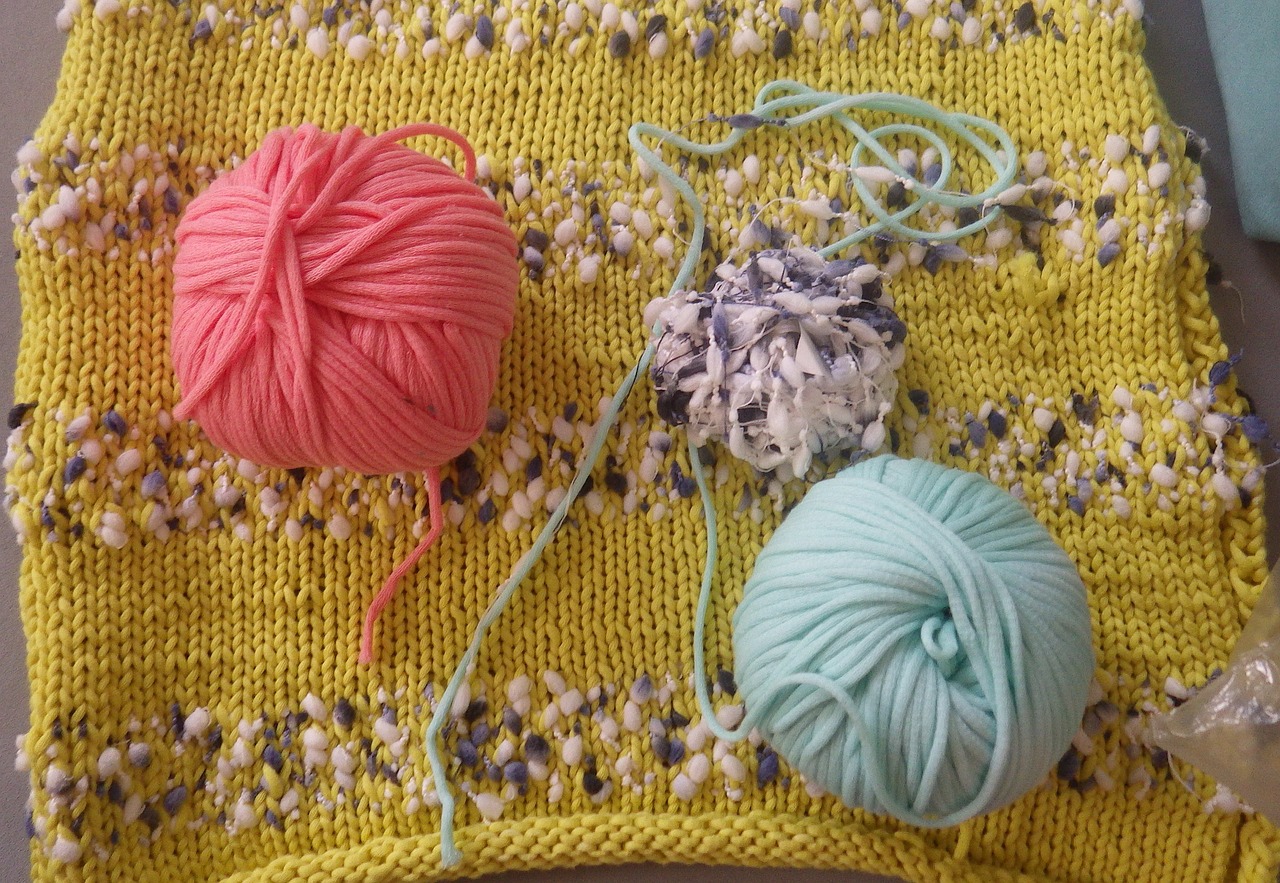
If you’ve ever found yourself with a stash of leftover yarn that’s just sitting there, collecting dust, it’s time to unleash your creativity! There are countless innovative projects you can embark on that not only utilize those colorful strands but also add a personal touch to your home decor. Imagine transforming those neglected balls of yarn into vibrant wall hangings, chic coasters, or even playful decorative items. Let’s dive into some exciting ideas that will inspire you to maximize the potential of your yarn!
One fantastic project is to create a colorful wall hanging. This can be done by weaving together different yarns to form a beautiful tapestry that adds warmth and personality to any room. You don’t need to be a master weaver; just grab a wooden dowel and some yarn, and you’re ready to go! The beauty of this project lies in the freedom to choose your colors and patterns, making each piece unique to your style.
Another delightful idea is to make coasters from your leftover yarn. Not only are they practical, but they also serve as a charming conversation starter when guests visit. You can crochet or knit small squares or circles, incorporating various colors to create a stunning mosaic effect. These coasters can be customized to match your existing decor, and they’re an excellent way to show off your knitting skills!
Additionally, you might want to consider crafting yarn bowls. These bowls are not only functional for holding your current project’s yarn but also add an artistic touch to your crafting space. You can create them by coiling and stitching yarn together, forming a sturdy and beautiful bowl that showcases your creativity. Plus, they make for great gifts for fellow knitting enthusiasts!
To further spark your imagination, here are some quick project ideas that you can try:
- Yarn-Wrapped Letters: Create personalized decor by wrapping yarn around wooden or cardboard letters that spell out a word or name.
- Yarn Balls: Use leftover yarn to create decorative yarn balls that can be placed in bowls or as part of centerpieces.
- Yarn-Wrapped Vases: Transform plain glass vases into stunning decor pieces by wrapping them in colorful yarn.
These projects not only help you clear out your yarn stash but also allow you to express your creativity in delightful ways. The best part? You’ll have beautiful, handmade items that are full of character and charm. So, gather your supplies and let the crafting begin!
Q: What types of yarn are best for these projects?
A: Any leftover yarn can work, but consider using cotton or wool for durability, especially for items like coasters or bowls.
Q: Do I need special tools for these projects?
A: Basic knitting or crochet tools like hooks or needles are helpful, but many projects can be done with just your hands and some creativity!
Q: Can I mix different types of yarn?
A: Absolutely! Mixing textures and colors can enhance the visual appeal of your projects, making them even more unique.
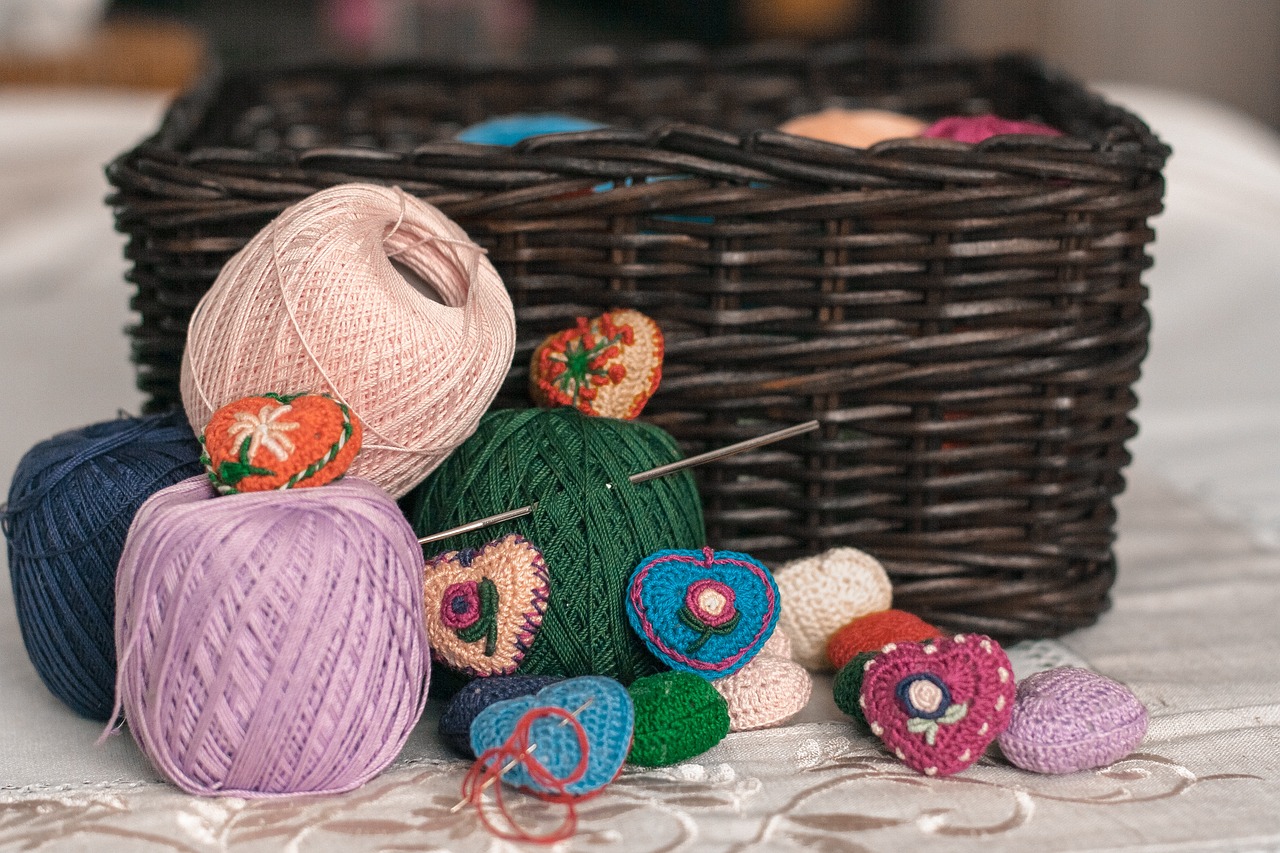
Repurposing Knitting Needles
Have you ever looked at your old knitting needles and thought, "What on earth am I going to do with these?" Well, it's time to **change that perspective**! Instead of letting them gather dust in a forgotten corner, why not transform them into something **beautiful and functional**? Repurposing knitting needles can be a thrilling adventure that not only sparks your creativity but also adds a personal touch to your home and wardrobe. From stylish jewelry to charming home decor, the possibilities are endless!
First up, let’s dive into the world of **knitting needle jewelry**. This is not just about wearing something pretty; it’s about wearing a piece of your passion. Imagine crafting a pair of earrings or a necklace that tells your knitting story. The best part? You can customize these pieces to match your style! It’s like wearing a little piece of your heart.
Crafting jewelry from knitting needles is a fun and unique way to showcase your creativity. You can create stunning pieces that stand out and tell a story. For instance, you can take a few old needles and combine them with colorful beads to make **eye-catching bracelets**. This simple project allows for endless customization, making it a perfect gift for a fellow knitting enthusiast or a personal accessory that reflects your artistic flair.
To create a beaded needle bracelet, start by selecting your favorite **colorful beads**. You can choose beads that match your favorite outfits or ones that reflect the seasons. Simply thread the beads onto the knitting needle, and voilà! You have a unique piece of jewelry that is not only stylish but also a conversation starter. Plus, it’s a fantastic way to use those leftover beads you have lying around!
Now, if you're looking to make a statement, consider transforming a single knitting needle into a **stunning pendant necklace**. This project is simple yet impactful. All you need is a knitting needle, some wire, and a few decorative elements like beads or charms. Wrap the wire around the needle, attach your charms, and string it onto a chain. This necklace will not only showcase your love for knitting but also serve as a unique accessory that can elevate any outfit.
Old knitting needles are not just for wearing; they can also be used to create **charming home decor**. Think about making plant holders, picture frames, or even wall art. For example, you can arrange a bunch of knitting needles in a stylish vase to create an eye-catching centerpiece. Alternatively, you could use them to frame your favorite knitting project or a cherished photo. The key is to let your imagination run wild!
Incorporating these repurposed items into your home is a fantastic way to showcase your creativity while also serving a functional purpose. Not only will you have unique decor, but you’ll also have a great conversation piece that reflects your personality and your love for knitting.
So, the next time you find yourself with old knitting needles, don’t toss them aside! Instead, embrace the challenge of repurposing them into something beautiful and meaningful. Whether you choose to create jewelry or decorative items, you’ll find that the act of transforming these tools can be incredibly rewarding.
Q: What types of knitting needles are best for repurposing?
A: Any type of knitting needle can be repurposed, but larger needles, like those made of bamboo or metal, are often easier to work with for jewelry projects.
Q: Can I use broken knitting needles for these projects?
A: Absolutely! Broken needles can still be used creatively, especially in jewelry or decorative items where the length may not matter.
Q: Do I need special tools for these projects?
A: Basic crafting tools like pliers, wire cutters, and glue are often sufficient. For more intricate designs, you may want to invest in additional crafting supplies.
Q: How can I ensure my repurposed items are durable?
A: Using strong adhesives and securing beads or charms properly will enhance durability. Additionally, avoid exposing items to excessive moisture or heat.
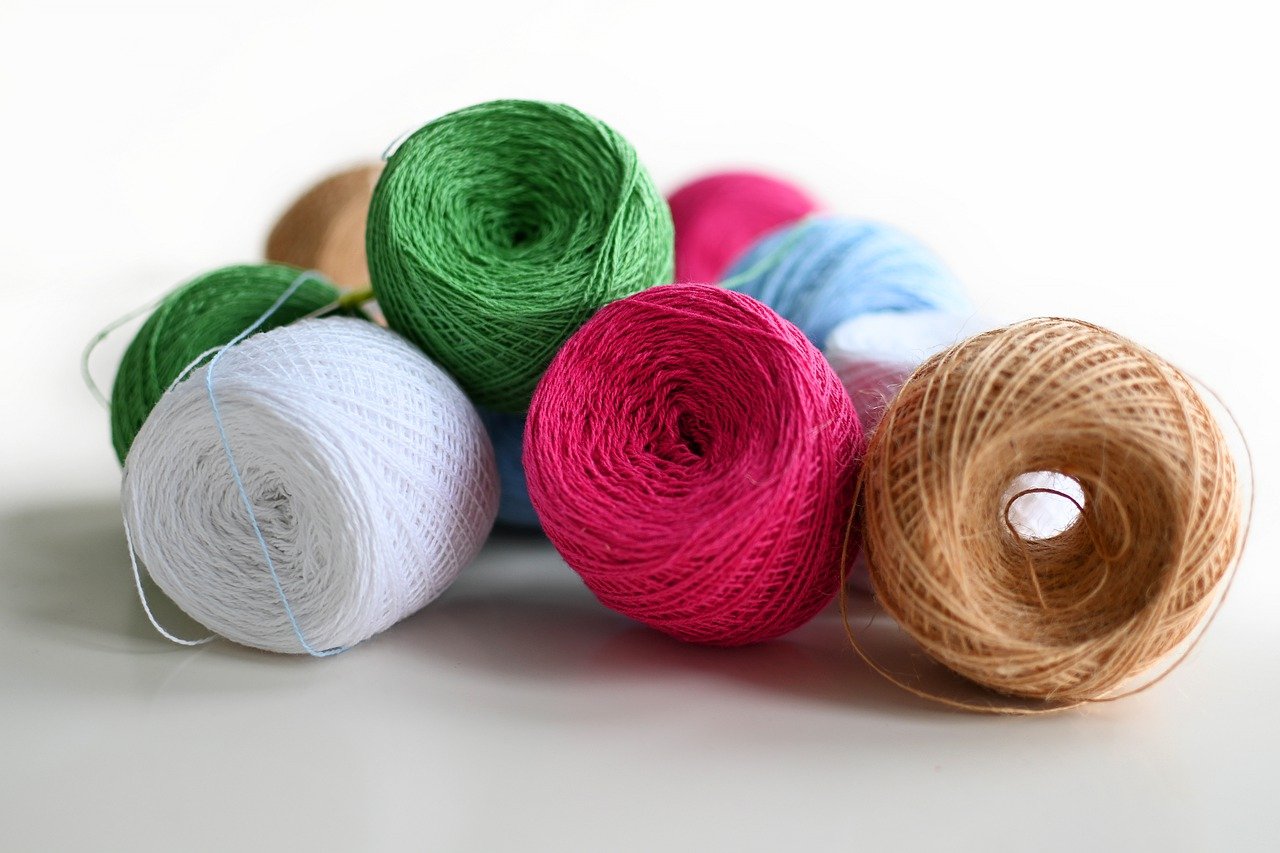
Knitting Needle Jewelry
Crafting jewelry from old knitting needles is not just a creative outlet; it’s a fun and unique way to showcase your personality and passion for knitting. Imagine transforming those forgotten tools into stunning pieces that you can wear or gift to friends! The beauty of this craft lies in its versatility—you can create anything from playful earrings to elegant necklaces, all while giving new life to materials that would otherwise gather dust.
To get started, gather your supplies. You’ll need:
- Old knitting needles (preferably metal or wooden)
- Colorful beads and charms
- Jewelry wire or string
- Jewelry pliers
- Clasps for necklaces or bracelets
Once you have your materials ready, let’s dive into some techniques that will help you create beautiful pieces:
1. Beaded Needle Bracelets: One of the simplest yet most eye-catching projects is making beaded needle bracelets. Start by cutting your knitting needle into smaller sections, depending on how long you want your bracelet to be. Then, thread colorful beads onto the needle sections, mixing and matching colors to create a design that reflects your style. Finally, use jewelry wire to secure everything together and add a clasp. This project not only allows for customization but also makes for a perfect gift for fellow crafters!
2. Needle Pendant Necklaces: For a more dramatic statement piece, consider transforming a single knitting needle into a stunning pendant necklace. You can leave the needle as is for a minimalist look, or you can embellish it with beads, charms, or even fabric. Attach it to a chain or cord, and voilà! You have a piece of jewelry that tells a story—your story as a knitter. This necklace can be a conversation starter, sparking discussions about your love for knitting and creativity.
In addition to being a creative endeavor, making jewelry from knitting needles is also an eco-friendly choice. Instead of tossing out old tools, you’re recycling them into something beautiful and functional. Plus, every piece you create is one-of-a-kind, ensuring that your jewelry collection is as unique as you are. So, why not gather those old needles and start crafting today? You might just discover a new hobby that combines your love for knitting with the art of jewelry making!
Q: Can I use plastic knitting needles for jewelry making?
A: Yes, you can use plastic knitting needles, but they may not have the same durability and aesthetic appeal as metal or wooden ones. However, they can still be transformed into fun jewelry pieces!
Q: What types of beads work best with knitting needle jewelry?
A: You can use a variety of beads, including glass, wooden, or acrylic beads. Choose beads that complement your knitting needle colors for a cohesive look.
Q: Do I need special tools to make knitting needle jewelry?
A: While basic jewelry-making tools like pliers and wire cutters are helpful, you can start with just a few simple tools to create beautiful pieces.
Beaded Needle Bracelets
Crafting is not only a delightful way to repurpose your old knitting supplies, but it also allows you to express your unique style! Imagine transforming a simple, forgotten knitting needle into a stunning piece of jewelry that sparkles and shines. This project is incredibly easy to tackle, making it perfect for both seasoned crafters and those just starting their creative journey.
To begin, gather your materials. You will need:
- Old knitting needles (preferably those with a bit of character)
- Colorful beads of various shapes and sizes
- Elastic jewelry cord or thin wire
- Scissors
- A glue gun (optional, for added security)
Once you have everything ready, the first step is to choose your knitting needle. Think about the colors and patterns of beads you want to use—this will help you decide which needle will be your base. Remember, the beauty of this project lies in the combination of colors and textures, so don’t shy away from mixing and matching!
Next, cut a length of elastic cord or wire that’s about twice the size of your wrist. This will ensure that your bracelet has a comfortable fit. Begin stringing your chosen beads onto the cord, alternating between different colors and sizes to create a visually appealing design. You can use a simple pattern or go for a more random approach—whatever feels right for you!
Once you’ve added enough beads to fit comfortably around your wrist, it’s time to incorporate the knitting needle. Carefully slide the beaded section onto the needle, positioning it in the center. If you’re using elastic, tie a secure knot at the ends to keep everything in place. If you opted for wire, twist the ends together tightly. For added security, you might want to apply a small dab of glue where the beads meet the needle, ensuring they won’t slip off over time.
Now comes the fun part! Try on your new beaded needle bracelet and admire your handiwork. It’s amazing how something so simple can turn into a beautiful piece of jewelry that tells a story. You can even create matching sets or experiment with different styles by varying the bead colors and sizes.
Not only do these bracelets make for fabulous personal accessories, but they also serve as great gifts for friends and family. Imagine gifting a handmade bracelet that reflects the recipient’s personality, crafted with love from your old knitting supplies. It’s a heartfelt gesture that showcases your creativity and resourcefulness.
In conclusion, beaded needle bracelets are a wonderful way to upcycle your old knitting needles while creating something beautiful and meaningful. So, gather your supplies, unleash your creativity, and start crafting your unique pieces today!
Q1: Can I use any type of knitting needle for this project?
A1: Yes, you can use any type of knitting needle, but consider using ones that are lightweight and have a unique design for added flair!
Q2: What type of beads should I use?
A2: You can use a variety of beads, including wooden, glass, or plastic. Just make sure they fit well on the knitting needle and complement your design!
Q3: How do I ensure the bracelet is durable?
A3: To enhance durability, use a strong elastic cord or wire and consider adding glue to secure the beads in place.
Q4: Can I personalize my bracelet further?
A4: Absolutely! You can add charms or pendants to the knitting needle for a more personalized touch.

Needle Pendant Necklaces
Transforming a single knitting needle into a stunning pendant necklace is not just a creative endeavor; it's a beautiful way to express your passion for knitting while wearing a unique piece of art. Imagine walking into a room and having people ask about your necklace, each piece telling its own story of creativity and craftsmanship. The process is surprisingly simple, yet the results can be absolutely breathtaking.
To get started, you’ll need just a few materials: an old knitting needle, some jewelry wire, a clasp, and any embellishments you wish to add, such as beads or charms. The beauty of this project lies in its versatility. You can choose to leave the needle as is for a minimalist look, or you can dress it up with vibrant beads or even small charms that reflect your personality. The first step is to carefully cut the knitting needle to your desired length, ensuring that it’s safe and comfortable to wear.
Next, you can use the jewelry wire to create a loop at the top of the needle, which will serve as the attachment point for your necklace chain. This is where your creativity can really shine! Think about incorporating different colors of wire or even using multiple needles to create a layered effect. The possibilities are endless!
Once your pendant is ready, simply attach it to a chain or cord of your choice. You can opt for a simple leather cord for a rustic vibe or a delicate chain for a more elegant look. Whichever you choose, your new necklace will be a fabulous conversation starter, showcasing your love for knitting in a stylish way.
Here are a few tips to keep in mind while crafting your needle pendant necklace:
- Safety First: Always be cautious when cutting the knitting needle to avoid injury.
- Embellish Wisely: Choose embellishments that complement the needle without overwhelming it.
- Experiment: Don’t hesitate to try different styles and techniques until you find the perfect look for you.
In conclusion, creating a needle pendant necklace is not just about upcycling; it’s about celebrating your love for knitting and crafting in a wearable form. So gather those old needles, unleash your creativity, and wear your passion proudly!
Q: Can I use any type of knitting needle for this project?
A: Yes, you can use any type of knitting needle, but consider using ones made from materials like bamboo or metal for a more polished look.
Q: Do I need any special tools to make the necklace?
A: Basic jewelry-making tools such as wire cutters and pliers will be helpful, but you can get creative with what you have at home!
Q: How can I ensure the needle is safe to wear?
A: Make sure to smooth out any sharp edges after cutting the needle and consider applying a protective coating if needed.
Decorative Home Items
Old knitting needles can be transformed into charming and functional home decor items that not only enhance your living space but also showcase your creativity. Imagine walking into a room adorned with unique pieces that tell a story of your crafting journey. From plant holders to picture frames, the possibilities are endless! You can easily incorporate these repurposed items into your home, adding a touch of whimsy and personality.
One delightful idea is to create knitting needle plant holders. By arranging old needles into a geometric shape, you can design an eye-catching holder for your favorite potted plants. This not only gives your plants a stylish new home but also serves as a conversation starter for guests. You can even paint the needles in vibrant colors to match your decor, making it a truly personalized piece.
Another fantastic project is to use knitting needles to craft picture frames. With just a few needles and some glue, you can create a rustic frame that beautifully displays your cherished memories. Imagine framing a family photo or a piece of art in a frame that you made yourself! You can customize the size and design to fit your space, and even add embellishments like beads or ribbons for an extra touch of flair.
To further inspire your creativity, consider these additional decorative ideas:
- Wall Art: Create a stunning wall display by arranging knitting needles in various patterns. You can paint them or leave them in their natural state for a rustic look.
- Table Centerpieces: Use old needles to craft unique centerpieces for your dining or coffee table. Pair them with candles or flowers for a beautiful arrangement.
Incorporating these decorative home items into your space not only helps reduce waste but also allows you to express your individuality. Each piece becomes a reflection of your personality and passion for knitting. So, gather those old needles and let your imagination run wild! The best part? You’ll be able to enjoy the satisfaction of creating something beautiful and functional from what might have otherwise been discarded.
Q: What types of knitting needles are best for upcycling into home decor?
A: Any type of knitting needle can be used for upcycling! However, larger needles tend to work better for projects like plant holders or picture frames due to their sturdiness.
Q: Can I paint my knitting needles for decorative projects?
A: Absolutely! Painting your knitting needles can add a personal touch and allow you to match them with your home decor. Just make sure to use non-toxic paint if you'll be using them for items that will hold plants or other organic materials.
Q: How do I clean old knitting needles before upcycling?
A: To clean your old knitting needles, simply wash them with warm soapy water and a soft cloth. Rinse thoroughly and let them dry before starting your projects.
Upcycling Yarn Scraps
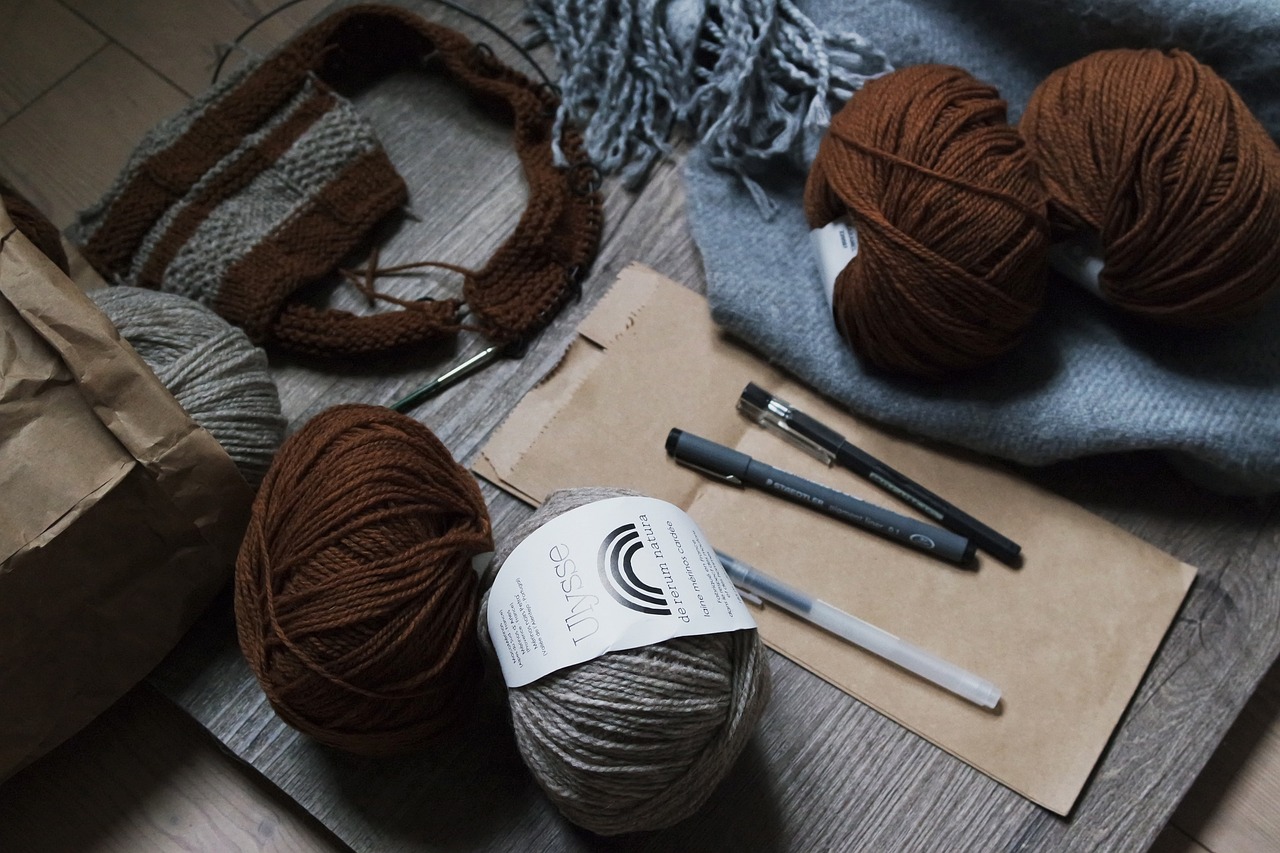
Don’t throw away those yarn scraps! Instead, let your imagination run wild and learn how to turn them into useful and beautiful items. Upcycling yarn scraps not only helps reduce waste but also opens the door to endless creativity. Think about it: every little piece of yarn can be transformed into something special, adding a personal touch to your home or wardrobe. From vibrant pom-poms to cozy rugs, the possibilities are as vast as your creativity allows.
One of the simplest yet most delightful projects you can undertake with your leftover yarn is making colorful pom-poms. These fluffy little balls can add a playful flair to a variety of items. Imagine adorning your winter hats, embellishing gift packages, or even using them as keychains. The process is straightforward and requires minimal supplies. All you need is yarn, scissors, and a pom-pom maker or your hands. The best part? You can mix and match colors, creating a unique look for every project!
Another fantastic way to utilize those yarn scraps is by creating a yarn scrap rug. Not only does this project help in reducing waste, but it also allows for a beautiful, colorful addition to your home. You can weave together various textures and hues to design a rug that reflects your personality. The process may take some time, but the satisfaction of stepping onto a rug made from your own hands is unmatched. Plus, it’s a great conversation starter when guests come over! You can even involve your kids in this project, teaching them the value of recycling while having fun.
When tackling these projects, keep in mind some essential tips to maximize your upcycling efforts:
- Sort your yarn scraps by color or texture to make it easier to find what you need.
- Experiment with different techniques and patterns; don’t be afraid to mix and match!
- Consider the size of your scraps; smaller pieces can be perfect for pom-poms, while larger pieces can be used for rugs.
As you embark on your upcycling journey, remember that every bit of yarn has the potential to become something extraordinary. Embrace the challenge and let your creativity shine through! Not only will you be contributing to a more sustainable world, but you’ll also be crafting items that carry your unique touch and story.
Q: What can I do with very small yarn scraps?
A: Small yarn scraps can be used to create pom-poms, tassels, or even small decorative items. They’re perfect for adding a pop of color to various projects!
Q: How do I make a yarn scrap rug?
A: To make a yarn scrap rug, you can crochet or weave the scraps together. Start by gathering your yarn and deciding on a pattern or color scheme. Then, use a simple crochet stitch or weaving technique to create your rug.
Q: Can I mix different types of yarn?
A: Absolutely! Mixing different types of yarn can add interesting textures and colors to your projects. Just make sure they are compatible in terms of washing and care instructions.
Colorful Pom-Poms
Pom-poms are not just a childhood memory; they're a fun and versatile way to use up those pesky yarn scraps that often accumulate after your knitting projects. Imagine transforming those leftover bits of yarn into vibrant, fluffy pom-poms that can add a splash of color and personality to any item! Whether you’re looking to embellish a hat, jazz up a scarf, or create a whimsical garland, pom-poms can do it all. Plus, they’re incredibly easy to make, which means you can dive right in and start crafting without needing advanced skills.
To get started, all you need are a few basic supplies: some yarn scraps, scissors, and your fingers or a pom-pom maker. The process is straightforward and can be quite therapeutic. Simply wrap the yarn around your fingers or the pom-pom maker, tie it off tightly, and voila! You’ve got yourself a fluffy ball of joy. You can experiment with different colors and sizes, creating a whole collection of pom-poms that reflect your unique style.
Here are some creative ways to incorporate your colorful pom-poms into various projects:
- Hat Embellishments: Attach a large pom-pom to the top of a knitted hat for a playful touch.
- Garlands: String together multiple pom-poms to create a festive garland for parties or home decor.
- Home Decor: Use pom-poms as accents on pillows, blankets, or even as a decorative touch on curtains.
- Gift Wrapping: Add a pom-pom to gift packages as a charming finishing touch.
Not only do pom-poms add a playful element to your crafting, but they also allow you to express your creativity. You can mix and match colors, experiment with different yarn textures, and even try out various sizes. The possibilities are endless! Plus, creating pom-poms can be a great activity to do with kids or friends, making it a fun bonding experience. So, the next time you find yourself with leftover yarn, don’t toss it aside. Instead, grab those scraps and start making colorful pom-poms that will bring joy to your projects!
Q1: Can I use any type of yarn for pom-poms?
Yes! You can use any type of yarn, but keep in mind that thicker yarns will create larger pom-poms, while thinner yarns will create smaller ones. Experiment with different textures for unique results.
Q2: How do I attach pom-poms to my projects?
You can sew them on using a needle and thread, or for some projects, you can simply glue them in place. Just make sure they’re secure, especially if the item will be used frequently.
Q3: How do I store my pom-poms?
Store your pom-poms in a breathable bag or container to keep them fluffy. Avoid crushing them under heavy items, as this can flatten their shape.
Q4: Can I dye my yarn scraps before making pom-poms?
Absolutely! If you want to customize the colors of your pom-poms, dyeing your yarn scraps can add an exciting twist. Just be sure to let them dry completely before starting your project.
Yarn Scrap Rugs
If you've ever found yourself with a pile of yarn scraps that seem too small to be useful, it's time to think again! Creating a yarn scrap rug is not only a fantastic way to reduce waste but also a delightful opportunity to unleash your creativity. Imagine stepping onto a cozy, colorful rug made entirely from remnants of your previous knitting projects. It's like walking on a patchwork of memories, each strand telling a story of a finished project.
To get started on your yarn scrap rug, you don’t need to be an expert. In fact, this project is perfect for knitters of all skill levels! First, gather your scraps—think of all the vibrant colors and textures you’ve accumulated over time. The beauty of a yarn scrap rug lies in its uniqueness; no two rugs will ever be the same. You can use a variety of yarn types, from soft cotton to luxurious wool, which will add different textures and warmth to your finished piece.
One popular method for making these rugs is to crochet or knit them together. If you're crocheting, you can create a simple chain stitch or use a more intricate pattern, depending on your comfort level. For knitting, consider using a large needle to accommodate the thickness of the yarn. The process is quite forgiving, allowing you to experiment with different stitches and techniques. As you work, you might find yourself inspired by the colors and textures, leading you to create a design that’s entirely your own.
Here’s a simple breakdown of how to make your own yarn scrap rug:
- Gather Your Supplies: Collect all your yarn scraps, a pair of scissors, a crochet hook or knitting needles, and a large canvas or fabric as a base.
- Choose a Technique: Decide whether you want to crochet or knit your rug. Each method has its own charm and can lead to different textures.
- Start Creating: Begin attaching your yarn scraps to the base, working your way in a circular or rectangular pattern, depending on your desired shape.
- Finish Off: Once you’ve reached your desired size, secure the ends of the yarn and trim any excess threads.
As you create your rug, don't hesitate to let your imagination run wild. You can incorporate various patterns, shapes, and even embellishments like pom-poms or tassels. A yarn scrap rug is not just a functional item; it's a piece of art that can brighten up any room. Plus, it’s a conversation starter! Imagine telling your friends that the beautiful rug they’re standing on is made from your leftover yarn. It’s a wonderful way to showcase your crafting skills while promoting sustainability.
In addition to being a fun project, making a yarn scrap rug can also be a therapeutic experience. The rhythmic motion of crocheting or knitting can be incredibly calming, allowing you to unwind after a long day. So, grab those scraps, put on your favorite music, and let the creativity flow. You might just find that your yarn scrap rug becomes a cherished piece in your home, full of warmth, color, and personal history.
Q: Can I use any type of yarn for my scrap rug?
A: Yes! You can use any type of yarn, but keep in mind that different fibers will create different textures. Mixing them can add an interesting visual appeal.
Q: How do I clean my yarn scrap rug?
A: Most yarn scrap rugs can be gently hand-washed in cold water. Avoid harsh detergents, and lay flat to dry to maintain their shape.
Q: Is there a size limit for my rug?
A: Not at all! You can make your rug as big or as small as you want. Just keep adding scraps until you reach your desired size!
Knitting Supply Storage Solutions
As you embark on your journey of upcycling and creating beautiful crafts from your old knitting supplies, it's equally important to consider how to store these newly crafted items and the leftover materials. An organized crafting space not only enhances your creativity but also makes it easier to find inspiration when you're ready to dive back into your next project. Imagine walking into a room where everything is neatly arranged, colors harmoniously blending, and every tool is within reach. Sounds inviting, right? In this section, we’ll explore some innovative storage solutions that will keep your knitting supplies in check while adding a touch of style to your crafting area.
First off, let’s talk about upcycled storage bins. Old boxes, containers, and even jars can be transformed into stylish storage solutions. With a bit of paint, fabric, or decorative paper, you can give these items a new lease on life. For instance, an empty cereal box can become a chic yarn holder with just a few snips and some wrapping. This not only keeps your yarn organized but also adds a personal touch to your space. Here’s a quick guide on how to create your own upcycled storage bins:
| Materials Needed | Instructions |
|---|---|
| Old boxes or containers | 1. Clean and dry the containers. 2. Cut them to your desired height if necessary. 3. Decorate with paint or fabric. 4. Label them for easy identification. |
| Jars | 1. Remove labels and clean the jars. 2. Use spray paint for a uniform look or leave them clear for a vintage vibe. 3. Fill with knitting needles, buttons, or yarn scraps. |
Next, think about creative display ideas for your crafty creations. Instead of hiding your handmade items away, why not showcase them? Wall-mounted shelves can serve as functional storage while acting as a beautiful gallery for your work. You could even use decorative jars to display colorful yarn balls, turning them into an eye-catching centerpiece. Picture this: a cozy corner in your living room adorned with shelves holding your knitted masterpieces, each telling a story of creativity and passion. It’s not just storage; it’s a celebration of your craft!
Additionally, consider using hanging organizers. These can be made from old fabric scraps or even repurposed from clothing. Hang them on the back of a door or on a wall peg, and use them to store smaller items like scissors, stitch markers, and other essential tools. This method not only saves space but also keeps everything visible and easy to grab when inspiration strikes.
Finally, don’t overlook the power of labeling. A simple label maker or even handwritten tags can make a world of difference in keeping your supplies organized. Imagine searching for that perfect shade of blue yarn and finding it in seconds because you’ve labeled your bins! It’s a small step that can save you time and frustration in the long run.
In summary, creating a well-organized knitting supply storage solution doesn’t have to be a daunting task. By upcycling old containers, showcasing your work, and implementing clever storage strategies, you can create a crafting space that inspires creativity and joy. So, roll up your sleeves, get crafty with your storage solutions, and enjoy the process of making your space as beautiful as your creations!
- What are some easy ways to upcycle old knitting supplies? You can transform old yarn into pom-poms, create jewelry from knitting needles, or even make decorative home items!
- How can I keep my crafting space organized? Use upcycled containers, hang organizers, and labels to keep everything in its place and easy to find.
- Can I use any type of container for storage? Absolutely! Any box, jar, or container can be upcycled for storage as long as it fits your needs and style.
Upcycled Storage Bins
Are you tired of clutter in your crafting space? Do you find yourself rummaging through a pile of supplies to find that one perfect skein of yarn? Well, it's time to get creative with your storage solutions! Upcycled storage bins not only keep your knitting supplies organized but also add a personal touch to your crafting area. Imagine transforming an old shoe box or a vintage tin into a stylish storage solution that reflects your personality and love for crafting.
One of the best parts about creating upcycled storage bins is the endless possibilities. You can paint, decorate, and customize them to suit your style. Here’s a simple idea: take an old cardboard box and cover it with fabric or wrapping paper that matches your decor. Not only will this give the box a fresh look, but it will also make it sturdy enough to hold your supplies. Alternatively, you can use mason jars for smaller items like buttons or needles. They’re not just practical; they also add a rustic charm to your workspace.
When it comes to creating your upcycled storage bins, consider the following materials:
- Old cardboard boxes
- Plastic containers
- Glass jars
- Wooden crates
- Old suitcases
Once you've gathered your materials, let your imagination run wild! You can paint the boxes in vibrant colors, stencil on fun designs, or even decoupage them with your favorite knitting patterns. The goal is to make these storage solutions not just functional, but also visually appealing. After all, a well-organized space can be incredibly inspiring and motivate you to dive into your next project.
Additionally, consider how you arrange your upcycled bins. Group similar items together, such as all your yarn in one bin and your knitting needles in another. This organization method not only makes it easier to find what you need but also creates a visually appealing display. You can even label the bins to make it easier to locate supplies at a glance. Remember, organization is key to a productive crafting session!
Incorporating upcycled storage bins into your crafting space is a fantastic way to reduce waste and showcase your creativity. Not only will they help keep your supplies in check, but they also serve as a reminder that crafting can be both sustainable and stylish. So, gather your materials, unleash your creativity, and watch as your crafting area transforms into a beautifully organized haven!
1. What materials can I use to make upcycled storage bins?
You can use a variety of materials such as old cardboard boxes, plastic containers, glass jars, wooden crates, and even old suitcases. The key is to choose materials that are sturdy enough to hold your supplies.
2. How can I decorate my upcycled storage bins?
You can paint them, cover them with fabric or wrapping paper, use stencils, or decoupage them with fun designs. Let your creativity shine through!
3. How should I organize my upcycled storage bins?
Group similar items together, such as yarn in one bin and knitting needles in another. You can also label the bins for easy access.
4. Can I use these bins for other crafting supplies?
Absolutely! These upcycled storage bins can be used for any crafting supplies, including scrapbooking materials, sewing notions, or even art supplies.
Creative Display Ideas
When it comes to showcasing your crafty creations, the right display can turn your handmade items into stunning focal points that spark joy and conversation. Think of your home as a gallery, where each piece tells a story and reflects your unique personality. One of the simplest yet most effective ways to create an inviting display is by using wall-mounted shelves. These shelves not only save space but also allow you to arrange your items in a visually appealing manner. Imagine a collection of colorful yarn bowls, pom-poms, and knitted treasures elegantly arranged, drawing the eye and inviting admiration.
Another fantastic option is to repurpose decorative jars or glass containers. These can serve as both storage and display solutions, allowing you to showcase your yarn scraps, knitting needles, or even completed projects. Fill a jar with vibrant yarn balls, and suddenly, it becomes a piece of art in itself. You can even label the jars for a personal touch, adding an element of organization to your creative chaos.
For those who love a bit of whimsy, consider creating a hanging display. This can be achieved using branches or driftwood, which can be adorned with your knitted creations, such as small seasonal decorations or colorful pom-poms. Hang it in a corner of your living room or above your crafting space; it will not only look delightful but also bring a sense of nature indoors.
Don’t forget the power of color! When arranging your displays, think about color coordination. Group items by color or theme to create a cohesive look. For instance, if you have a collection of blue and green yarns, display them together in a way that mimics the colors of the ocean. This approach not only enhances the visual appeal but also tells a story—your story.
Lastly, consider incorporating your displays into everyday life. Use knitted coasters or placemats as part of your dining decor. This way, your creations become functional art that enhances your daily experiences. By blending your crafts with your living space, you not only celebrate your creativity but also inspire others to appreciate the beauty of handmade items.
Q: How can I display my knitting supplies creatively?
A: You can use wall-mounted shelves, decorative jars, or even create a hanging display with branches. Group items by color or theme for a cohesive look.
Q: What are some unique ways to repurpose old knitting needles?
A: Old knitting needles can be transformed into stylish jewelry, such as earrings and bracelets, or used to create decorative home items like plant holders and picture frames.
Q: What can I do with leftover yarn scraps?
A: Leftover yarn can be used to make colorful pom-poms, tassels, or even a vibrant rug, allowing you to reduce waste while being creative.
Q: How can I store my knitting supplies while keeping them organized?
A: Upcycled storage bins made from old boxes or containers can be personalized and used to keep your supplies organized. Creative display ideas can also double as storage solutions.
Frequently Asked Questions
- What can I do with leftover knitting yarn?
Leftover knitting yarn can be transformed into a variety of fun and creative projects! You can make colorful wall hangings, unique coasters, or even pom-poms and tassels. The possibilities are endless, and it's a great way to add a personal touch to your home decor while maximizing your yarn's potential!
- How can I repurpose old knitting needles?
Old knitting needles can be given a second life in many ways! You can craft stylish jewelry, such as earrings, bracelets, and necklaces, or create decorative home items like plant holders and picture frames. With a little creativity, you can turn these tools into beautiful and practical items that showcase your love for knitting.
- What are some easy projects for using yarn scraps?
Yarn scraps can be used in a multitude of easy projects! You can create colorful pom-poms to embellish hats or home decor items, or even weave them into a vibrant rug. These projects not only reduce waste but also allow for endless creativity in design and color combinations.
- How can I store my knitting supplies effectively?
To store your knitting supplies effectively, consider upcycling old boxes or containers into stylish storage bins. You can personalize these bins to fit your aesthetic while keeping everything organized and easily accessible. Additionally, creative display ideas like wall-mounted shelves or decorative jars can help showcase your crafty creations beautifully!
- Are there any tips for making knitting needle jewelry?
Absolutely! When making knitting needle jewelry, start by selecting colorful beads that resonate with your style. You can combine them with the needles to create eye-catching bracelets or necklaces. Don't be afraid to experiment with different designs and techniques to make pieces that truly reflect your personality!


