How to Handle and Prevent Pottery Failures
Creating pottery is like embarking on a thrilling adventure—there's excitement in every spin of the wheel and every stroke of the brush. However, just like any journey, it's not without its bumps along the way. Pottery failures can be disheartening, especially for those who pour their heart and soul into their creations. But fear not! This article explores common pottery failures and offers practical tips for handling and preventing them, ensuring a smoother pottery-making experience for both beginners and experienced artisans.
Before we dive into solutions, let's first understand the enemy: the various types of pottery failures that can occur. Cracks, warping, and glaze issues are the most common culprits that can turn a masterpiece into a disaster. Cracks can occur during drying or firing, often due to uneven thickness or rapid temperature changes. Warping, on the other hand, might happen if the clay is not properly centered on the wheel or if it dries too quickly. Glaze issues can arise from improper application or compatibility with the clay body. Understanding these failures is crucial because, like a detective solving a mystery, knowing the cause is the first step in finding a solution.
Now that we know what can go wrong, let's talk about how to set ourselves up for success. Proper clay preparation is key. Techniques like wedging and kneading help eliminate air bubbles and inconsistencies that could lead to failures later on. Think of wedging as giving your clay a good workout—it helps to align the clay particles, making it more uniform and less prone to cracking. Kneading is similar to making dough; it ensures that the clay is pliable and ready to be shaped into your desired form. By investing time in these techniques, you're laying a solid foundation for your pottery.
Not all clays are created equal, and choosing the right one for your project can significantly impact the final outcome. Imagine trying to build a sandcastle with wet sand versus dry sand—your choice of material can make or break your creation. There are various types of clay available, each with its unique properties. For example, earthenware is great for beginners due to its low firing temperature, while stoneware is more durable and suited for functional pieces. Understanding these differences can help you select the best clay for your specific project.
When selecting clay, consider its characteristics such as plasticity, firing temperature, and color. Plasticity refers to how easily the clay can be shaped, which is essential for creating intricate designs. Firing temperature affects durability and the final appearance of your piece. For instance, high-fire clays like porcelain can withstand higher temperatures and often yield a more refined finish. Knowing these properties will empower you to make informed choices that align with your pottery goals.
Before diving headfirst into a project, it's wise to conduct simple tests on clay samples. This ensures their suitability for your specific needs. You can perform a simple pinch test to assess plasticity or fire a small piece to see how it reacts under heat. By taking these precautionary steps, you can avoid potential pitfalls and set yourself up for a successful pottery-making experience.
Firing is a critical stage in pottery creation, and it's where many artists face their biggest challenges. To avoid common issues like cracking and glaze defects, it's essential to follow best practices. Make sure your kiln is properly calibrated and that your pieces are evenly spaced to allow for optimal airflow. Additionally, consider the firing schedule—slow and steady wins the race! Gradually increasing the temperature can help your pieces adjust without shock, ensuring they come out intact and beautiful.
Glazing can enhance the beauty of pottery, but it can also lead to failures if not done correctly. To achieve desired results without issues, pay attention to the compatibility of your glaze with your clay body. Mismatches can lead to defects that ruin your hard work. Think of it like pairing wine with food—certain combinations just work better together!
Glaze compatibility is crucial for a harmonious finish. If the glaze expands or contracts differently than the clay during firing, it can lead to crazing or shivering. Always check the manufacturer's guidelines and conduct test firings if you're experimenting with new glazes. This way, you can avoid surprises that could leave you feeling deflated.
There are various glazing application methods, including dipping, brushing, and spraying. Each technique can affect the final appearance and durability of your pottery. Dipping provides an even coat, while brushing allows for more control and detail. Spraying can create stunning effects but requires practice to master. Experiment with different methods to find what works best for you and your artistic vision.
Proper care and handling after firing are crucial for maintaining the integrity of your pottery. Treat your creations with care, as they can still be susceptible to chipping or cracking. Store them in a safe place, away from heavy objects that could cause damage. Regular cleaning with a soft cloth can also help preserve their beauty. Remember, just like a cherished memory, your pottery deserves to be handled with love and respect.
- What should I do if my pottery cracks during drying? - If your pottery cracks while drying, you can try to repair it with slip or clay. However, if the cracks are extensive, it may be best to start over.
- How can I prevent warping in my pottery? - To prevent warping, ensure that your clay is evenly centered on the wheel and avoid rapid drying by covering your pieces with plastic.
- What are the best glazes for beginners? - Beginners often find that low-fire glazes are easier to work with. They come in a variety of colors and are forgiving in application.
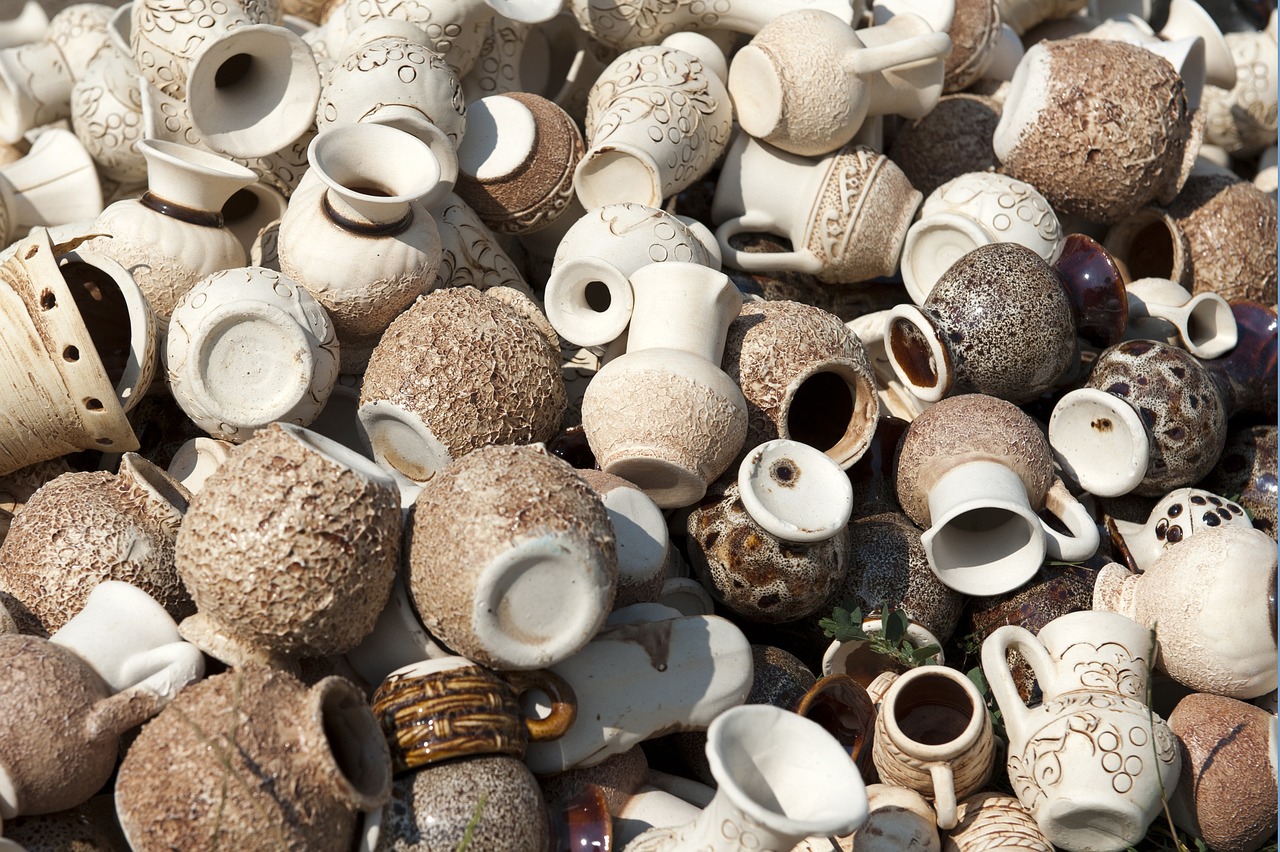
Understanding Common Pottery Failures
This article explores common pottery failures and offers practical tips for handling and preventing them, ensuring a smoother pottery-making experience for both beginners and experienced artisans.
As any pottery enthusiast knows, creating beautiful pieces can sometimes feel like walking a tightrope. One moment you’re crafting a stunning vase, and the next, you’re staring at a cracked disaster. is crucial for both beginners and seasoned artists alike. Let’s dive into the most frequent issues you might encounter, their causes, and how you can tackle them head-on.
First up are cracks. These can appear at any stage of the pottery-making process, from the initial shaping to the final firing. Cracks often result from rapid drying or uneven heating during firing. Imagine your clay piece as a sponge; if one part dries out too quickly, it shrinks faster than the rest, leading to cracks. To prevent this, it’s essential to control the drying process by covering your work with plastic or damp cloths and ensuring a consistent environment.
Next, we have warping, which can be a real headache. This occurs when your clay piece dries unevenly or is subjected to sudden temperature changes during firing. Think of warping like a pizza that’s not cooked evenly—the edges might crisp up while the center remains doughy. To combat warping, always ensure a uniform thickness in your pieces and consider using a kiln with a reliable temperature control system. A well-calibrated kiln is your best friend in achieving even firing.
Another common issue is glaze defects. These can manifest as pinholes, crawling, or even an unsightly orange peel texture. Glaze problems often arise from improper application or incompatibility between the glaze and clay body. It’s like trying to fit a square peg in a round hole; if the two don’t match, you’re bound to run into trouble. Ensuring that your glaze is compatible with your clay is vital, and always test your glazes on sample pieces before committing to your main project.
To summarize, the most common pottery failures include:
- Cracks
- Warping
- Glaze defects
By understanding these issues, you can better prepare yourself to handle and prevent them. Remember, every mistake is a stepping stone to improvement. Embrace the learning process, and don’t let failures discourage you—think of them as part of your artistic journey!
Discover essential techniques for preparing clay, including wedging and kneading, which help eliminate air bubbles and inconsistencies, reducing the likelihood of failures during the pottery-making process.
Explore the different types of clay available and how selecting the appropriate one for your project can significantly impact the final outcome and minimize failures.
Understand the unique properties of different clays, such as plasticity and firing temperature, to make informed choices that align with your pottery goals.
Learn how to conduct simple tests on clay samples to determine their suitability for specific projects, ensuring a successful pottery-making experience.
Firing is a critical stage in pottery creation. This section discusses best practices for firing pottery to avoid common issues like cracking and glaze defects.
Glazing can enhance the beauty of pottery, but it can also lead to failures. This section provides guidance on glazing techniques to achieve desired results without issues.
Explore the importance of glaze compatibility with clay bodies and how mismatches can lead to defects, ensuring a harmonious finish for your pottery.
Learn about various glazing application methods, including dipping, brushing, and spraying, and how each technique can affect the final appearance and durability of your pottery.
Proper care and handling after firing are crucial for maintaining the integrity of pottery. This section covers essential tips to prevent damage during this stage.
If you're new to pottery or even if you're a seasoned artisan, you might have some questions. Here are a few frequently asked questions about pottery failures:
- What causes cracks in pottery? Cracks can be caused by rapid drying, uneven heating during firing, or even stress from improper handling.
- How can I prevent warping? Ensure even thickness in your pieces, control the drying process, and use a reliable kiln to manage firing temperatures.
- What should I do if my glaze has defects? Always test your glazes on sample pieces first and ensure compatibility with your clay body before applying them to your final work.

Proper Clay Preparation Techniques
When it comes to pottery, proper clay preparation is the foundation of success. Think of it as the warm-up before a big game; if you don’t prepare adequately, you’re setting yourself up for failure. The first step in preparing your clay involves wedging and kneading. These techniques are essential for eliminating air bubbles and inconsistencies in your clay, which can lead to cracks and other issues during firing. By taking the time to properly prepare your clay, you're not just avoiding potential disasters; you're enhancing the overall quality of your work.
Wedging is a technique that involves manipulating the clay with your hands to create a uniform consistency. It’s much like kneading dough; you want to push, fold, and turn the clay until it feels smooth and pliable. This process not only removes air pockets but also aligns the clay particles, making it easier to shape and mold. If you skip this step, you might end up with a piece that looks great but is structurally weak. Imagine building a house on a shaky foundation; it’s bound to collapse!
Another important aspect of clay preparation is the choice of clay itself. Not all clays are created equal, and selecting the right one for your project can significantly impact the outcome. For instance, stoneware clay is durable and versatile, making it ideal for functional pieces, while porcelain is known for its delicate beauty but can be more challenging to work with. Understanding the characteristics of various clays can help you make informed decisions that align with your pottery goals.
When selecting clay, consider factors such as plasticity, firing temperature, and intended use. Plasticity refers to how easily the clay can be shaped without cracking, while firing temperature indicates the heat level required for the clay to mature. If you’re unsure which clay to use, conducting simple tests can be incredibly beneficial. For example, you can take small samples of different clays and try wedging and shaping them to see which one feels the best in your hands.
Here’s a quick look at some common types of clay and their characteristics:
| Type of Clay | Plasticity | Firing Temperature (°F) | Best Uses |
|---|---|---|---|
| Earthenware | Moderate | 1,830 - 2,200 | Decorative pieces, low-fire pottery |
| Stoneware | High | 2,190 - 2,400 | Functional dinnerware, durable items |
| Porcelain | Very High | 2,300 - 2,600 | Fine art, delicate pieces |
By understanding these characteristics, you can choose the right clay that will not only suit your project but also minimize the chances of failure. Remember, the better your clay is prepared, the more successful your pottery will be!
Before diving into a new project, it's wise to conduct a few simple tests on your clay samples. This can save you a lot of heartache down the line. You can try a stretch test by rolling a small piece of clay into a coil and stretching it. If it cracks, it might not be suitable for your intended use. Additionally, consider the shrinkage test by making a small test piece and measuring it before and after firing. This will give you a good indication of how much the clay will shrink, helping you adjust your designs accordingly.
In conclusion, proper clay preparation techniques are crucial for anyone looking to create beautiful and functional pottery. By investing time in wedging, kneading, and selecting the right clay, you set yourself up for success. So, next time you sit down at your pottery wheel, remember that a little preparation can go a long way!
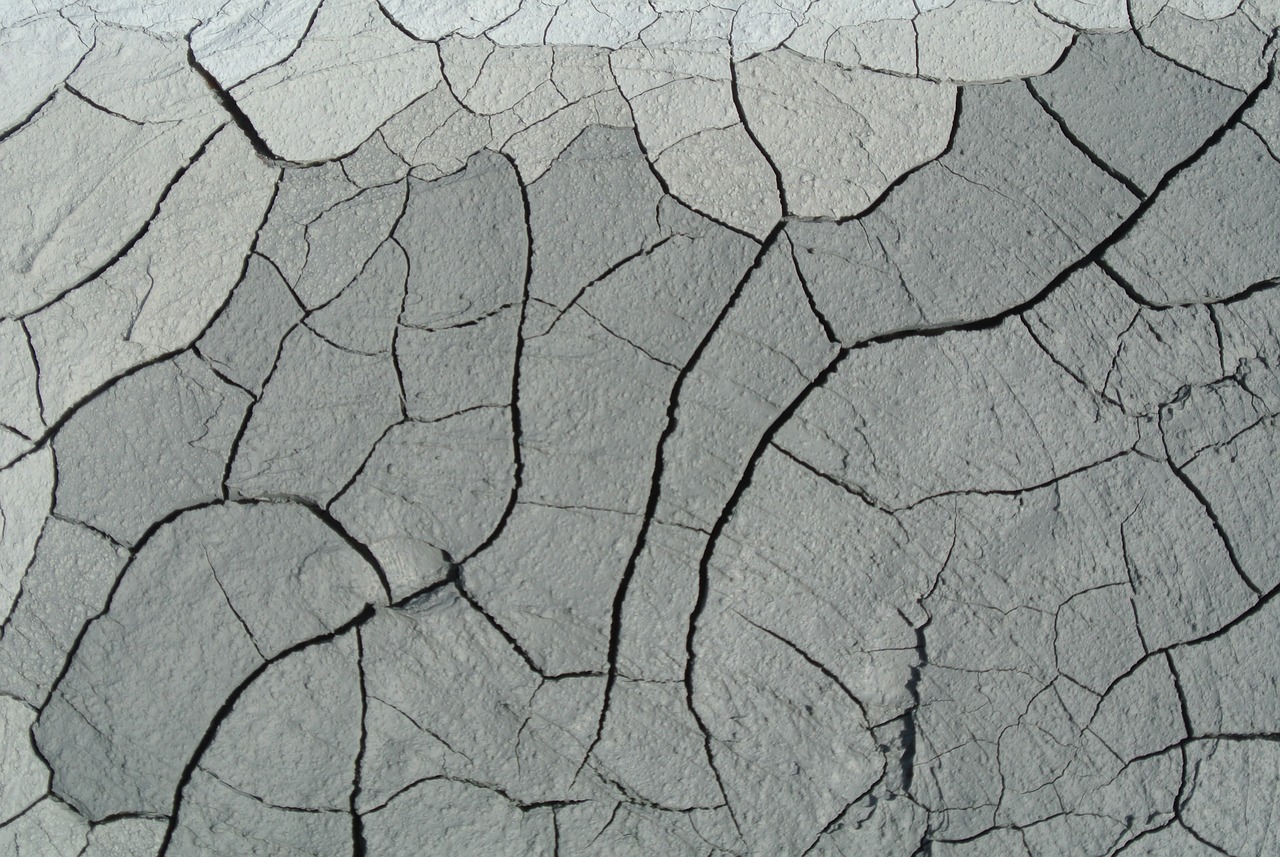
Choosing the Right Clay
When it comes to pottery, the clay you choose can make or break your project. It’s like picking the right ingredients for a recipe; if you start with subpar materials, no amount of skill can salvage the dish. So, how do you ensure you're selecting the best clay for your masterpiece? First, consider the type of project you’re undertaking. Different clays have unique properties that cater to specific techniques and finishes. For instance, if you’re aiming for a delicate porcelain piece, you wouldn’t want to use a heavy stoneware clay, right? Understanding the characteristics of various clays is essential.
There are several types of clay available, each with its own set of qualities. Below are some common types you might encounter:
- Earthenware: This is a low-fire clay that is easy to work with and great for beginners. It’s porous and often used for decorative pieces.
- Stoneware: Known for its durability, stoneware is a mid to high-fire clay that can withstand the rigors of everyday use. It’s perfect for functional pottery like mugs and plates.
- Porcelain: This high-fire clay is prized for its fine texture and translucence. It requires a bit more skill to work with but offers stunning results.
- Raku: This type of clay is used for a specific firing technique that creates unique finishes and colors, perfect for artistic pieces.
Next, you should think about the plasticity of the clay. Plasticity refers to the clay’s ability to be molded and shaped without cracking. If you’re a beginner, you might want to start with a clay that has higher plasticity, as it will be more forgiving during the shaping process. On the other hand, if you're more experienced and looking for precise details, a less plastic clay might suit your needs better.
Another factor to consider is the firing temperature. Each type of clay has a specific range of temperatures at which it should be fired. If you fire your clay at a temperature that’s too high or too low, you risk ruining your piece. For example, earthenware typically fires between 1,830°F to 2,100°F, while stoneware requires higher temperatures, around 2,192°F to 2,372°F. Always check the specifications of your chosen clay to avoid any surprises during the firing process.
To ensure you’re making the right choice, you might want to test the clay before committing to a larger project. A simple method is to create small test pieces and fire them to see how they react to the heat. This practice will help you gauge the clay's shrinkage, color changes, and overall performance. It’s like trying on clothes before buying them—you want to make sure they fit well and look good!
In summary, choosing the right clay is crucial for the success of your pottery project. By considering factors such as the type of project, plasticity, firing temperature, and conducting tests, you can significantly reduce the chances of failure. Remember, the right clay is the foundation of your artistic expression, so take the time to select wisely!
1. What is the best clay for beginners?
Earthenware is often recommended for beginners due to its ease of use and forgiving nature.
2. Can I mix different types of clay?
Mixing different clays can be tricky, as they may have different firing temperatures and shrinkage rates. It’s best to test before mixing.
3. How do I know if my clay is dry enough to fire?
A good rule of thumb is to wait until your clay feels bone dry and is no longer cool to the touch.
4. What happens if I fire my clay at the wrong temperature?
Firing at the wrong temperature can lead to issues like cracking, warping, or even complete destruction of your piece.
5. How can I improve the plasticity of my clay?
You can improve plasticity by wedging the clay properly and adding a small amount of water if it feels too dry.
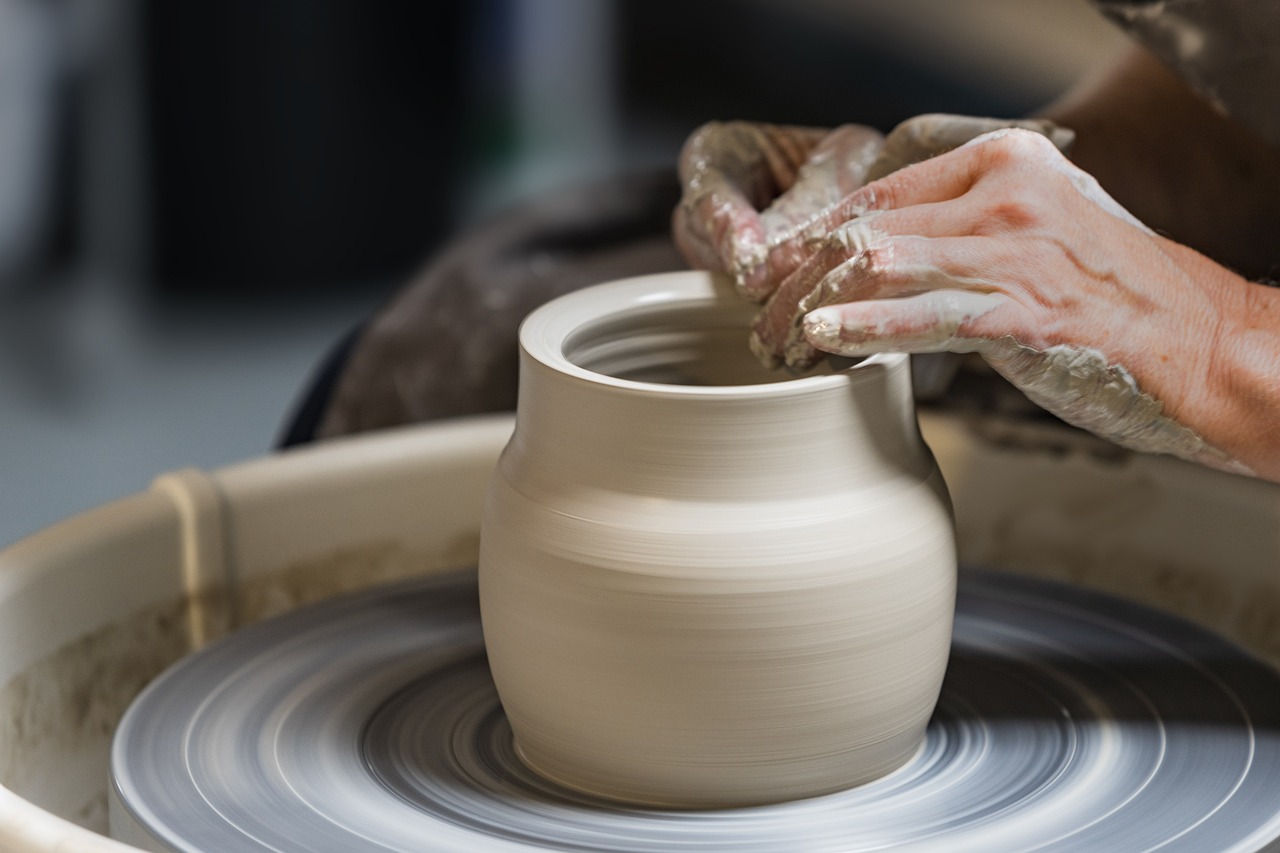
Characteristics of Various Clays
When it comes to pottery, understanding the is essential for achieving your desired results. Each type of clay possesses unique properties that can significantly influence your work, from the initial shaping to the final firing. For instance, some clays are more plastic, meaning they can be easily molded and shaped without cracking, while others may be more brittle, making them less forgiving during the forming process.
Let’s delve deeper into the characteristics that define different clays:
| Type of Clay | Plasticity | Firing Temperature | Common Uses |
|---|---|---|---|
| Earthenware | Low | Low (1830°F - 2100°F) | Functional and decorative pottery |
| Stoneware | Medium | Medium (2100°F - 2400°F) | Dinnerware, bakeware, and functional items |
| Porcelain | High | High (2300°F - 2500°F) | Fine china, art pieces, and delicate items |
Each of these clays has its own firing temperature, which is crucial to consider. For example, earthenware is fired at a lower temperature, making it easier to work with but also less durable. On the other hand, stoneware and porcelain require higher temperatures, resulting in a more robust final product. This is why knowing the firing range of your chosen clay can prevent potential failures during the firing process.
Another important aspect is the plasticity of the clay. High plasticity means the clay can be easily manipulated without breaking. This is particularly beneficial for beginners who are still mastering their techniques. Conversely, low plasticity clays might not hold their shape as well, which can lead to frustration if you're not prepared for it.
Lastly, consider the shrinkage rate of the clay. During the drying and firing processes, different clays will shrink at different rates. If you’re combining clays or layering materials, mismatched shrinkage can lead to cracks or even complete breakage. Therefore, it’s essential to test and understand how your selected clay behaves throughout the pottery-making process.
In summary, the characteristics of various clays are fundamental in pottery. By understanding their plasticity, firing temperatures, and shrinkage rates, you can make informed choices that align with your artistic vision and technical requirements. Remember, the right clay can be the difference between a successful piece and a frustrating failure!
- What is the best clay for beginners? Earthenware is often recommended for beginners due to its low firing temperature and ease of use.
- How do I test clay for plasticity? You can perform a simple test by rolling a small piece of clay into a coil and bending it. If it cracks, it has low plasticity.
- Can I mix different types of clay? Yes, but be cautious of their firing temperatures and shrinkage rates to avoid issues.
- What happens if I fire clay at the wrong temperature? Firing clay at the incorrect temperature can lead to underfired pieces that are weak or overfired pieces that may warp or melt.
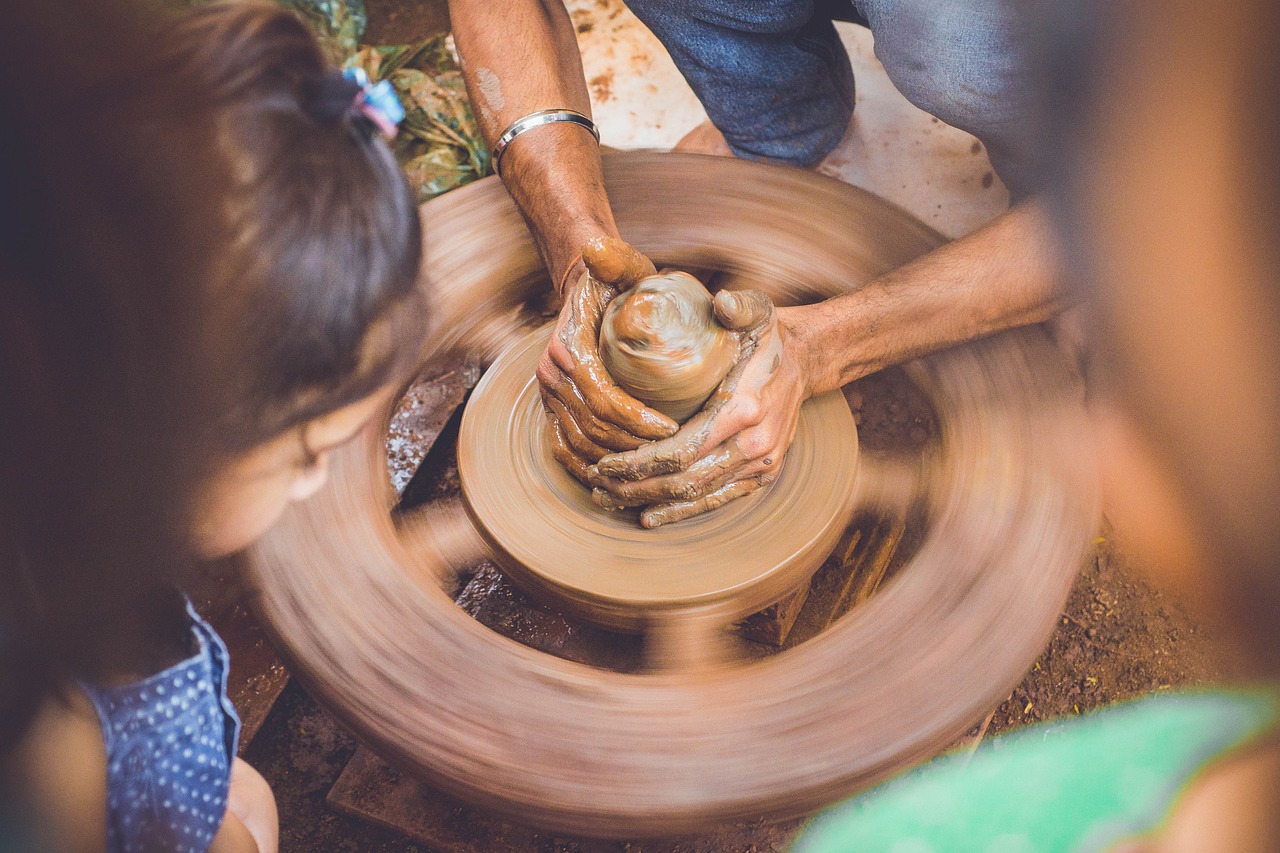
Testing Clay for Suitability
When it comes to pottery, the right clay can make all the difference between a masterpiece and a mishap. But how do you know if the clay you have is suitable for your project? Testing clay for suitability is not just a smart move; it's essential for ensuring your artistic vision comes to life without any unexpected surprises. Think of it as a pre-flight check before embarking on a journey; you want to make sure everything is in order before you take off.
One of the simplest methods to test clay is the plasticity test. Take a small piece of your clay and roll it into a coil. Then, gently bend the coil into a circle. If it breaks easily, your clay may be too dry or not plastic enough for your intended use. On the flip side, if it bends without cracking, you’re on the right track! This test helps you assess the workability of the clay, which is crucial for shaping and forming.
Another important test is the drying test. Shape a small amount of clay into a thin slab and allow it to dry completely. Once dry, check for cracks or warping. If your clay shrinks excessively or develops cracks, it may not be suitable for your project. You want to avoid a situation where your beautiful creation falls apart just because the clay wasn’t up to par.
Additionally, consider conducting a firing test. Take a small sample of your clay and fire it in your kiln. Observe the results: does it hold its shape? Are there any unexpected changes in color or texture? This test will provide insight into how your clay behaves under high temperatures and help you determine its firing range. Remember, different clays have different firing temperatures, and knowing where your clay stands can save you from future headaches.
Lastly, if you’re working with a specific glaze in mind, it’s wise to conduct a glaze compatibility test. Apply your chosen glaze to a small piece of the fired clay and fire it again. This will help you see if the glaze adheres well and produces the desired finish. Mismatched glazes can lead to unsightly defects that ruin the aesthetic of your pottery.
In summary, testing your clay for suitability involves a few straightforward techniques that can save you a lot of trouble down the line. Remember to check for plasticity, conduct drying and firing tests, and ensure glaze compatibility. By taking these steps, you’ll be setting yourself up for a successful pottery-making experience, allowing your creativity to flow without the fear of failure!
- How do I know if my clay is too dry? If your clay breaks easily when rolled into a coil or shows cracks when shaped, it may be too dry.
- What should I do if my clay shrinks too much when drying? Consider adding more water during the kneading process or using a different type of clay with better workability.
- Can I mix different types of clay? Yes, but be cautious about their firing temperatures and plasticity to ensure compatibility.
- How important is the firing test? Extremely! It helps you understand how your clay will perform under heat and prevents unexpected results.
Techniques for Successful Firing
Firing is arguably one of the most critical stages in the pottery-making process, where all your hard work can either culminate in a stunning piece or lead to disappointing failures. To ensure that your pottery emerges from the kiln in perfect condition, it’s essential to adopt best practices during this phase. One of the first things to consider is the temperature at which you're firing your pieces. Each type of clay has a specific firing temperature range, and exceeding this can lead to issues such as warping or even complete destruction of the piece. Therefore, it’s crucial to familiarize yourself with the firing temperature of the clay you're using.
Another important factor is the kiln atmosphere. The atmosphere inside the kiln can significantly affect the outcome of your firing. For instance, an oxidizing atmosphere can bring out vibrant colors in glazes, while a reducing atmosphere can create unique effects. To achieve the desired results, monitor your kiln's atmosphere closely. This can be done by using specific kiln types or adding materials that influence the atmosphere during firing.
Additionally, the loading technique is vital. How you position your pieces inside the kiln can determine how evenly they’re heated. Make sure to leave enough space between items to allow for proper air circulation. If pieces are too close together, they may not fire evenly, leading to potential cracks or glaze issues. Consider using kiln shelves and posts to create a stable environment for your pottery.
Moreover, pre-firing preparation is key to a successful firing. Ensure that your pottery is completely dry before placing it in the kiln. Any residual moisture can create steam during firing, which can result in cracks. A good rule of thumb is to let your pieces dry for at least 24 hours before firing, depending on the thickness and size of the work. You might also want to consider doing a test firing with smaller pieces to gauge how your specific clay and glaze react under firing conditions.
Finally, always keep an eye on the cooling process. Rapid cooling can lead to thermal shock, causing cracks or breaks in your pottery. Allow your kiln to cool down gradually before opening the door. This patience can make all the difference in preserving the integrity of your creations.
In summary, successful firing requires a combination of understanding your materials, careful planning, and patience. By paying attention to temperature, atmosphere, loading techniques, pre-firing preparation, and cooling processes, you can minimize the risks of failures and maximize the beauty of your pottery.
- What temperature should I fire my pottery?
Each type of clay has a specific firing temperature range. Always refer to the manufacturer's guidelines for the best results. - How can I prevent cracks during firing?
Ensure your pottery is completely dry before firing and avoid rapid cooling after the firing process. - What is the best way to load a kiln?
Leave enough space between pieces for air circulation and use kiln shelves for stability. - How do I know if my glaze is compatible with my clay?
Conduct tests on small samples to see how the glaze reacts with the clay during firing.
Glazing Tips for Success
Glazing is like the cherry on top of a beautifully crafted pottery piece; it can transform a simple object into a stunning work of art. However, if not done correctly, glazing can also lead to a nightmare of defects and disappointments. So how can you ensure that your glazing process is a success? First, it’s essential to understand the importance of glaze compatibility with your clay body. Mismatched glazes can lead to issues like crazing, crawling, or even complete glaze failure. Think of it as trying to fit a square peg into a round hole; it just won’t work. By selecting glazes that are specifically formulated for the type of clay you are using, you can avoid these pitfalls and achieve a beautiful finish.
Once you've chosen the right glaze, the application method becomes crucial. There are several techniques to apply glaze, each with its own set of advantages and potential drawbacks. For instance, dipping is a quick method that allows for even coverage, but it can also lead to thick spots if not done carefully. On the other hand, brushing offers more control and can create beautiful textures, but it requires a steady hand and can sometimes result in streaks. Spraying can provide a smooth and even finish, but it requires specialized equipment and a well-ventilated area to avoid inhaling fumes. Here’s a quick comparison of these methods:
| Application Method | Advantages | Disadvantages |
|---|---|---|
| Dipping | Quick and even coverage | Risk of thick spots |
| Brushing | Control over application | Can leave streaks |
| Spraying | Smooth and even finish | Requires equipment and ventilation |
Another important aspect of glazing is the firing process. The temperature at which you fire your pottery can dramatically affect the glaze. Some glazes require higher temperatures to mature properly, while others may be designed for lower firing ranges. Always consult the manufacturer's guidelines for firing temperatures and schedules to ensure that your glaze performs as expected. Remember, firing is not just about heat; it’s about creating the right environment for your glaze to shine. Think of it like baking a cake; if you don’t set the oven to the right temperature, you might end up with a soggy mess instead of a fluffy dessert!
Finally, don’t forget about testing your glazes before committing to a larger piece. Creating test tiles can save you a lot of heartache down the line. Apply the glaze to small samples of your clay, fire them, and observe the results. This way, you can see how the glaze interacts with the clay and make adjustments as necessary. It’s like a dress rehearsal for your pottery—better to find out what works before the big show!
Q: How do I know if my glaze is compatible with my clay?
A: Always check the manufacturer's specifications for both the glaze and the clay. They often provide compatibility guidelines to help you make the right choice.
Q: Can I mix different glazes?
A: Yes, but be cautious! Mixing glazes can lead to unpredictable results. Always test your mixtures on small samples first.
Q: What should I do if my glaze crawls during firing?
A: Crawling can occur if the glaze is applied too thickly or if the clay body is too porous. Ensure that you're applying the glaze evenly and consider adjusting your clay body if issues persist.
By keeping these tips in mind, you can navigate the glazing process like a pro, turning your pottery pieces into stunning works of art that are not only beautiful but also durable. Happy glazing!
Understanding Glaze Compatibility
When it comes to pottery, one of the most crucial aspects to consider is glaze compatibility. You might be wondering, what does that even mean? Well, think of it as a relationship between the clay body and the glaze you choose. Just like in any relationship, if there’s a mismatch, things can go awry. The right glaze can enhance your pottery’s beauty, while the wrong one can lead to disastrous results, such as cracks, crazing, or even complete failure of the piece. So, let's dive deeper into this fascinating world of glaze compatibility!
First off, it's essential to understand that every clay body has its unique properties, including its firing temperature and shrinkage rate. These factors play a significant role in how well a glaze will adhere to the clay. If you select a glaze that has a different thermal expansion rate than your clay, you may end up with issues post-firing. For instance, if the glaze expands more than the clay during firing, it can lead to cracks or even flaking off. To avoid such heartbreak, always check the manufacturer's specifications for both your clay and glaze.
Another key factor to consider is the chemistry of the glaze. Each glaze is made up of various materials, and their interactions can significantly influence the final outcome. For example, some glazes contain high levels of silica, which can create a glossy finish, while others may have more alumina, resulting in a matte appearance. Understanding these chemical compositions can help you predict how the glaze will behave on your clay body. You wouldn’t want to pair a high-silica glaze with a clay that can’t handle the heat, right?
To ensure that you’re making the right choices, conducting a few simple tests can be incredibly beneficial. Consider creating small test tiles using your chosen clay and glaze combination. Fire these tiles to see how they react together. This way, you can visually assess the outcome and make adjustments as necessary. It’s like a sneak peek into the future of your pottery!
In addition, keep an eye on the application method of your glaze. Different application techniques can also affect glaze compatibility. For instance, dipping a piece in glaze might yield different results than brushing it on. Each method can change how the glaze interacts with the clay surface, which is why experimentation is key. Don’t be afraid to try out various methods to see which one works best for your specific project.
In summary, glaze compatibility is not just a technical detail; it’s a fundamental aspect of pottery-making that can make or break your artistic vision. By understanding the properties of your clay and glaze, conducting tests, and experimenting with application methods, you can avoid common pitfalls and create stunning pottery pieces that stand the test of time. Remember, the harmony between your clay and glaze is the secret ingredient to a successful pottery journey!
- What is glaze compatibility? Glaze compatibility refers to how well a glaze adheres to a specific clay body during firing, based on their thermal expansion rates and chemical compositions.
- How can I test glaze compatibility? You can create small test tiles using your chosen clay and glaze combination, fire them, and assess the results to determine compatibility.
- Why is glaze compatibility important? Mismatches can lead to defects such as cracking, crazing, or flaking, which can ruin your pottery pieces.
- What are some common signs of glaze incompatibility? Look for cracks, crazing (tiny cracks on the surface), or glaze that has flaked off after firing.
Application Methods for Glazing
When it comes to glazing, the application method you choose can dramatically influence both the aesthetics and durability of your pottery. Think of glazing as the final touch on a beautiful painting; it’s what brings everything together and can either elevate your work or lead to unexpected failures. There are several methods available, each with its unique benefits and challenges. Understanding these methods will empower you to make informed decisions that suit your artistic vision.
One of the most popular methods is dipping. This technique involves submerging your pottery piece into a bucket of glaze, allowing for an even coat that can create stunning effects. Dipping is especially useful for larger pieces, as it ensures that every nook and cranny is covered. However, it’s crucial to control the depth of the dip; too deep, and you risk having glaze pooling at the bottom, which can lead to unsightly drips or even complete failures if the piece sticks to the kiln shelf during firing.
Another common method is brushing. This technique allows for greater control and precision, making it ideal for intricate designs or detailed work. With brushing, you can layer glazes to create depth and texture, but it does require a steady hand and a good understanding of how different glazes interact. It’s also important to apply multiple thin layers rather than one thick layer to avoid issues like uneven drying or cracks.
Then there’s the spraying method, which is often used for larger studio pieces or when achieving a specific effect. Spraying can create a smooth, even finish and allows for gradients and subtle variations in color that brushing or dipping might not achieve. However, this method requires specialized equipment and a well-ventilated area, as the fine mist can be hazardous to inhale. Additionally, it can be tricky to master, so practicing on test pieces is advisable before applying it to your main project.
For those looking for a less traditional approach, pouring is an innovative method where glaze is poured directly onto the piece. This can create beautiful, organic patterns and is particularly striking when used with multiple colors. However, similar to dipping, it requires careful control to avoid excess glaze pooling in unwanted areas.
Regardless of the method you choose, it’s essential to consider the compatibility of your glaze with the clay body. Mismatched materials can lead to defects that ruin your hard work. Always conduct a test on a small piece before committing to a larger project. This way, you can ensure that your chosen application method and glaze work harmoniously together.
In summary, each glazing application method has its own set of advantages and challenges. Whether you prefer the even coat of dipping, the precision of brushing, the creativity of pouring, or the smooth finish of spraying, understanding these techniques will help you achieve the results you desire. So, grab your tools, experiment with different methods, and let your creativity flow!
- What is the best glazing method for beginners? Dipping is often recommended for beginners due to its simplicity and ability to provide an even coat.
- Can I mix glazes? Yes, you can mix glazes, but always test the combination on a small piece first to ensure compatibility.
- How do I fix glaze runs? If you notice glaze runs after firing, you cannot fix them, but you can learn from the experience to adjust your application technique in future projects.
Post-Firing Care and Handling
Once your pottery has been fired and is ready to leave the kiln, it's essential to handle it with care. Just like a delicate flower, freshly fired pottery can be both beautiful and fragile. The post-firing stage is critical because it’s when your hard work can either shine or shatter. So, how do you ensure your creations remain intact and stunning? Here are some key points to consider:
First and foremost, always allow your pottery to cool slowly in the kiln. Rushing this process can lead to thermal shock, which is akin to taking a hot pan and throwing it into cold water. Instead, let the kiln temperature drop gradually. Once it’s cool enough to touch, you can safely remove your pieces, but be gentle! Avoid using any sudden movements that could cause stress on the pottery.
Next, when it comes to transporting your pottery, think of it like carrying a newborn baby. You wouldn’t just toss a baby into a car seat, right? Similarly, support your pottery from the bottom and avoid gripping it too tightly. If your piece is large or particularly heavy, consider using a padded box or wrapping it in bubble wrap for extra protection. This will help safeguard against any bumps along the way.
Now, let’s talk about cleaning. Your pottery might look perfect, but it can still harbor dust or residue from the firing process. Use a soft, damp cloth to gently wipe down the surface. Avoid abrasive cleaners or scrubbing pads, as these can scratch or damage the glaze. If your pottery is food-safe, it’s also important to know how to clean it properly to maintain its integrity. Always refer to the glaze manufacturer’s instructions for the best cleaning practices.
Additionally, consider the environment where you display your pottery. Just as you wouldn’t leave a delicate plant in direct sunlight all day, avoid placing your pottery in areas with harsh lighting or extreme temperatures. A stable environment ensures that your pieces remain vibrant and intact. If you live in a humid area, be cautious about where you store your pottery, as excessive moisture can lead to mold or other issues.
Finally, if you’re planning to use your pottery for food or drink, it’s crucial to ensure that it is properly sealed and food-safe. Not all glazes are created equal, and some may contain harmful materials. Always verify that your glazes are non-toxic and suitable for food use. This information is typically available from the glaze supplier or manufacturer.
- How long should I wait before removing pottery from the kiln?
It's best to wait until the kiln has cooled down to a safe handling temperature, which can take several hours. Patience is key! - Can I use my pottery in the microwave?
Only if the glaze is labeled microwave-safe. Always check the manufacturer's guidelines before using your pottery in the microwave. - What should I do if my pottery gets scratched?
Small scratches can sometimes be polished out with a fine polishing compound, but for deeper scratches, consider consulting a professional restorer. - How can I prevent my pottery from breaking?
Handle your pottery with care, avoid sudden temperature changes, and store it in a safe place away from potential impacts.
Frequently Asked Questions
- What are the most common pottery failures?
The most common pottery failures include cracks, warping, glaze defects, and issues with adhesion. These problems can arise from various factors such as improper clay preparation, incorrect firing temperatures, and incompatible glaze choices.
- How can I prevent cracks in my pottery?
To prevent cracks, ensure that you properly wedge and knead your clay to eliminate air bubbles. Additionally, avoid rapid temperature changes during firing and allow your pottery to dry evenly before firing.
- What type of clay should I choose for my project?
Choosing the right clay depends on your project goals. Consider factors like plasticity, firing temperature, and the desired finish. For example, stoneware is great for functional pieces, while earthenware is ideal for decorative items.
- How do I test clay for suitability?
You can test clay by making small test pieces and firing them to see how they perform. Look for signs of cracking, warping, or glaze adhesion issues to determine if the clay is suitable for your project.
- What are the best practices for firing pottery?
Best practices include gradually increasing the temperature during firing, ensuring proper ventilation in the kiln, and using the appropriate firing schedule for the type of clay and glaze you are using. Always monitor the kiln closely during the firing process.
- How can I achieve successful glazing?
To achieve successful glazing, ensure that your glaze is compatible with your clay body. Experiment with different application methods like dipping, brushing, or spraying, and always test your glazes on sample pieces before applying them to your final work.
- What should I do after firing to care for my pottery?
After firing, handle your pottery with care to prevent chipping or cracking. Store pieces in a safe place, away from heavy objects, and consider applying a sealant if your pottery will be exposed to moisture or food.


