DIY Metal Crafting: Turning Scrap into Decor
Welcome to the fascinating world of DIY metal crafting, where creativity knows no bounds and scrap materials take on new life! Have you ever looked at a pile of discarded metal and thought, "What can I do with that?" Well, you're in for a treat! In this article, we will explore how you can transform everyday scrap into stunning decor pieces that not only beautify your space but also tell a story of sustainability and innovation.
The beauty of metal crafting lies in its versatility. Whether you're an experienced artisan or a curious beginner, there’s something here for everyone. Imagine turning old car parts, rusty tools, or even tin cans into eye-catching art pieces that spark conversation. Not only does this form of crafting allow you to express your creativity, but it also promotes a zero-waste lifestyle, making it a win-win for both you and the environment.
Throughout this article, we will delve into essential tools and materials you’ll need to get started. We'll cover safety precautions to keep you protected during your crafting adventures, and share basic techniques that will set you on the right path. Plus, we’ll provide you with a treasure trove of project ideas that will inspire you to unleash your imagination. So, grab your safety goggles and let’s dive into the art of turning scrap into decor!
Before you embark on your metal crafting journey, it’s crucial to equip yourself with the right tools and materials. You don’t need to break the bank; many tools can be found at local hardware stores or even in your garage! Here’s a quick rundown of essentials:
- Safety Gear: Always wear gloves, goggles, and a mask to protect yourself from sharp edges and dust.
- Basic Tools: A metal saw, pliers, a hammer, and a welding machine (if you plan to join metal pieces).
- Scrap Metal: Look for old appliances, car parts, or even leftover metal from construction projects.
Once you have your tools ready, it’s time to learn some basic techniques. Start with simple cuts and shapes, and gradually progress to more complex projects as your skills improve. Remember, practice makes perfect! And don’t forget to have fun along the way.
Now that you’re geared up and ready to go, let’s explore some creative project ideas that will make your heart skip a beat! The possibilities are endless, and the only limit is your imagination. From whimsical garden art to elegant home decor, scrap metal can be transformed into beautiful and functional items.
Your garden is a canvas waiting to be filled with vibrant metal sculptures and decorations. Picture a stunning metal flower that never wilts, or a playful dragonfly that dances in the breeze. These creations not only enhance your outdoor space but also add a touch of personality. Here’s a sneak peek into some projects you can try:
What better way to enjoy a sunny day than with the soothing sounds of wind chimes? Using scrap metal, you can create delightful wind chimes that not only look beautiful but also sing in the wind. Gather old utensils, bottle caps, or even pieces of metal tubing, and follow these simple steps:
- Cut your metal pieces into varying lengths for different pitches.
- Drill holes at the top of each piece and thread them onto a sturdy string.
- Hang them from a branch or a hook and enjoy the music!
Why not add a touch of elegance to your plants with stylish metal planters? You can repurpose old buckets, cans, or even discarded metal sheets to create unique planter designs. Just remember to add drainage holes to keep your plants healthy!
Metal crafting isn’t just for the outdoors; it can elevate your interior design as well! From wall art to functional furniture, the options are endless. Consider creating:
- Wall Art: Use scrap metal to create abstract designs or even personalized signs.
- Bookends: A pair of metal bookends can add a rustic touch to your bookshelf.
- Furniture Accents: Incorporate metal elements into your furniture for a modern twist.
Now that you have some project ideas, let’s dive into the techniques that will help you bring your visions to life. Mastering these skills will take your crafting to the next level and ensure that your creations are both beautiful and durable.
Cutting metal can seem daunting, but with the right tools and techniques, you can achieve clean cuts and desired shapes. Use a metal saw for straight cuts, and a grinder for more intricate designs. Remember to take your time and measure twice to avoid mistakes!
When it comes to joining metal pieces, you have several options. Welding is a popular method that creates strong bonds, while riveting can provide a decorative touch. Each technique has its pros and cons, so choose the one that best suits your project.
Finally, let’s talk about finishing touches! Applying a finish to your metal crafts not only enhances their appearance but also protects them from rust and wear. Consider painting your pieces, applying patinas for an antique look, or using protective coatings to keep them looking fresh.
Q: Do I need special skills to start metal crafting?
A: Not at all! Start with simple projects and gradually build your skills as you go.
Q: Where can I find scrap metal?
A: Look in your garage, visit local scrap yards, or check online marketplaces for discarded metal.
Q: What safety precautions should I take?
A: Always wear gloves, goggles, and a mask. Work in a well-ventilated area and be cautious with sharp edges.
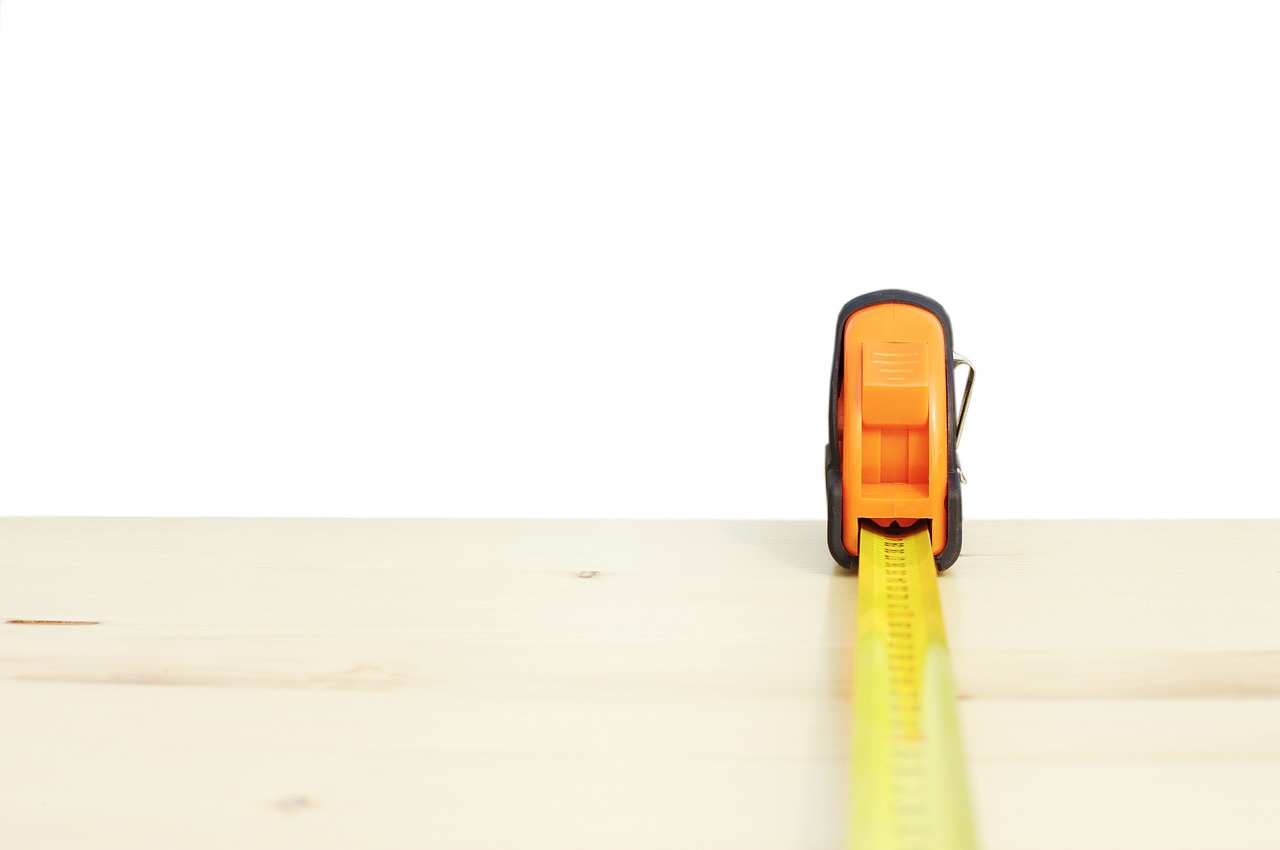
Getting Started with Metal Crafting
Are you ready to dive into the exciting world of metal crafting? Before you start transforming scrap into stunning decor, it's crucial to arm yourself with the right tools and knowledge. First things first, let’s talk about the essential tools you’ll need. A good set of tools can make or break your crafting experience. You might want to gather:
- Safety Gear: Always prioritize safety! Equip yourself with gloves, goggles, and a dust mask to protect against sharp edges and metal particles.
- Cutting Tools: A metal saw, tin snips, or an angle grinder will be your best friends when it comes to cutting scrap metal into the desired shapes.
- Joining Tools: Depending on your project, you might need a welder or rivet gun to join pieces together securely.
- Finishing Tools: Sandpaper or a metal file can help smooth out rough edges for a polished look.
Now that you have your tools, let’s discuss the materials. Choosing the right scrap metal is pivotal. You can find scrap metal in various places, such as junkyards, construction sites, or even your garage. Look for metals like aluminum, steel, or copper, as they are commonly used in DIY projects. Each type of metal has its unique properties, so consider what you want to create before diving in.
Before you get started, it’s essential to understand some basic techniques. For instance, cutting metal requires precision. Take your time and measure twice to avoid mistakes. If you’re new to welding, practice on scrap pieces first to get a feel for the equipment. Remember, patience is key in crafting. You wouldn’t rush an artist, right? Every cut and weld contributes to the masterpiece you’re creating.
Safety should always be your top priority. Ensure your workspace is well-ventilated, especially if you’re working with welding equipment that produces fumes. Keep a first-aid kit nearby, just in case. And don’t forget to clean up your workspace after each session; a tidy area not only keeps you safe but also helps you stay organized for your next crafting adventure.
With the right tools, materials, and safety precautions in place, you’re now ready to embark on your metal crafting journey. Whether you’re creating functional pieces like furniture or whimsical garden art, the possibilities are endless. So, roll up your sleeves, let your creativity flow, and remember: every expert was once a beginner!
Creative Project Ideas
Unleashing your creativity with scrap metal can lead to some truly stunning and unique decor pieces. The beauty of DIY metal crafting lies in its versatility—what might seem like a pile of junk can be transformed into a treasure with just a little imagination and effort. Whether you're looking to spruce up your garden or add some flair to your home, there are countless project ideas waiting for you to explore. So, grab your tools, and let’s dive into the world of metal crafting!
One of the most exciting aspects of working with scrap metal is the endless possibilities for garden art. Imagine creating whimsical sculptures that not only serve as decorations but also reflect your personality. For instance, you could create a vibrant metal flower garden or a playful insect sculpture that will surely catch the eye of anyone passing by. To get you started, here are a couple of project ideas:
- Metal Flowers: Bend and shape scrap metal into beautiful flowers that can be placed in your garden or even indoors.
- Garden Stakes: Use old tools or utensils as garden stakes to add a quirky touch to your plant displays.
Another fantastic way to utilize scrap metal is by crafting functional items for your home. From stylish metal planters to unique candle holders, the options are vast. For example, you can create a rustic planter by welding together pieces of scrap metal, giving your plants a modern yet industrial vibe. The beauty of these projects is that they not only serve practical purposes but also become conversation starters in your home.
For those who love to entertain, consider making metal serving trays or coasters. These items are not only useful but can be customized to match your decor style. You can even incorporate designs or patterns by cutting or engraving the metal, adding a personal touch that will impress your guests.
Now, let’s talk about some specific project ideas that you can tackle:
| Project | Description | Materials Needed |
|---|---|---|
| Wind Chimes | Create a melodic addition to your garden that dances in the breeze. | Scrap metal pieces, string, a sturdy base. |
| Metal Planters | Stylish containers for your favorite plants. | Old buckets, cans, or sheets of metal. |
| Wall Art | Transform your walls with stunning metal art pieces. | Flat metal sheets, tools for cutting and shaping. |
As you embark on these projects, remember that the key to successful DIY metal crafting is to have fun and let your creativity shine. Don’t be afraid to experiment with different techniques and styles. The more you practice, the more skilled you'll become, and you might just surprise yourself with the masterpieces you can create!
Q: What type of scrap metal is best for crafting?
A: The best scrap metal for crafting includes aluminum, copper, and steel. Each type has its own unique properties, making them suitable for various projects.
Q: Do I need special tools for metal crafting?
A: While some basic tools like pliers and a hacksaw are essential, you may want to invest in a welder or a metal cutting tool for more advanced projects.
Q: How do I ensure safety while working with metal?
A: Always wear protective gear, including gloves and safety goggles. Ensure your workspace is well-ventilated, especially when welding or cutting.
In conclusion, the world of DIY metal crafting is not just about creating decor; it's about expressing yourself and giving new life to discarded materials. So why wait? Dive into your next crafting adventure and transform scrap into stunning decor!

Garden Art Creations
Transforming your garden into a vibrant oasis can be both an enjoyable and fulfilling experience, especially when you incorporate whimsical metal sculptures and decorations made from scrap materials. Imagine stepping into your garden and being greeted by a stunning metal butterfly or a charming wind spinner that dances in the breeze. These creations not only enhance the beauty of your outdoor space but also reflect your unique personality and creativity. So, let’s roll up our sleeves and dive into some exciting ideas that will help you unleash your artistic side!
One of the most delightful projects you can embark on is creating metal garden sculptures. These can range from simple geometric shapes to elaborate designs that tell a story. For instance, you might consider crafting a quirky snail from old tin cans or a majestic bird using discarded metal parts. The beauty of using scrap metal is that it allows for endless possibilities; what might seem like junk to one person can become a stunning piece of art in your hands!
To get started, gather your scrap metal. Look for items like old tools, broken appliances, or even leftover pieces from previous projects. The key is to choose materials that inspire you. Once you have your scrap, sketch out your design. This doesn’t have to be a masterpiece; even a rough outline can help guide your creation. Remember, the goal is to have fun and let your imagination run wild!
Next, let’s talk about some specific projects that can really make your garden pop. Here are a couple of ideas:
- Metal Flowers: Using scrap metal, you can create beautiful flowers that won’t wilt away! Cut out petal shapes from old metal sheets and weld or rivet them together to form a stunning flower. You can even paint them in vibrant colors to add a splash of life to your garden.
- Garden Stakes: Transform old forks, spoons, or other utensils into unique garden stakes. Simply bend them into interesting shapes and drive them into the ground to mark your plants or just to add a quirky touch to your garden.
Another fantastic project to consider is making wind chimes. Not only do they add a melodic touch to your garden, but they can also be personalized to reflect your style. You can use an assortment of scrap metal pieces, from old pipes to discarded bottle caps, to create a beautiful sound. Hang them from a sturdy branch or a metal frame, and let the gentle wind create music in your outdoor sanctuary.
Lastly, don’t forget about metal planters. You can repurpose old buckets, cans, or even large metal bowls into stylish planters. With a little creativity, you can design planters that not only hold your favorite flowers but also serve as eye-catching decor. Consider painting them or adding embellishments to make them stand out even more. Just make sure to drill drainage holes to keep your plants healthy!
In conclusion, the world of garden art creations is vast and full of potential. By using scrap metal, you can craft unique pieces that not only beautify your garden but also express your creativity. So, gather your materials, let your imagination soar, and start creating art that will make your garden a captivating place to relax and enjoy!
Q: What types of scrap metal are best for garden art?
A: Almost any scrap metal can be used, but items like old tools, appliances, and metal sheets work particularly well. Just ensure that they are safe to handle and free from sharp edges.
Q: Do I need special tools for metal crafting?
A: While basic hand tools like pliers and hammers can get you started, having access to cutting tools and welding equipment can enhance your projects. Safety gear is also essential!
Q: How can I protect my metal creations from rust?
A: Applying a protective coating, such as a clear sealant or paint, can help prevent rust. Regular maintenance, like cleaning and reapplying finishes, will also keep your art looking fresh.

Wind Chimes and Mobiles
Creating wind chimes and mobiles from scrap metal is not just a fun project; it’s a fantastic way to add a touch of whimsy and melody to your outdoor space. Imagine stepping into your garden and being greeted by the gentle tinkling of metal chimes swaying in the breeze. It's like nature's own music, and the best part? You get to make it yourself!
To start your journey into crafting these delightful pieces, gather some scrap metal. Old spoons, forks, and discarded metal pieces can all be transformed into beautiful chimes. You might also want to look for items like tin cans or even old bicycle parts—anything that can catch the wind and produce sound. The beauty of using scrap is that each piece tells a story, and your wind chimes will be unique.
When you’re ready to assemble your wind chimes, consider the following steps:
- Design Your Chime: Sketch out your ideas. How many pieces will you use? What sounds do you want to create? Think about the arrangement and how the pieces will hang.
- Prepare Your Metal: Clean the metal thoroughly to remove any rust or grime. You can use sandpaper or a wire brush for this. This step is crucial for both aesthetics and longevity.
- Drill Holes: Use a drill to create holes in the metal pieces. This is where you’ll attach them to the main structure, usually a sturdy branch or a circular frame made from metal or wood.
- Assemble: Start stringing your pieces together, ensuring they’re spaced evenly. You can use fishing line, twine, or even wire to secure them. Be creative with your connections!
- Finish Up: Once assembled, hang your wind chimes in a spot where they can catch the wind. You might want to add a decorative touch, like painting or applying a patina for an aged look.
Making mobiles is a similar process, but with a focus on balance and visual appeal. You might want to create a mobile that spins gently in the wind, using a combination of shapes and colors. Consider incorporating other materials like glass or wood to add contrast and interest. The key here is to find a way to balance your pieces, so they hang evenly and move gracefully.
Whether you choose to create wind chimes or a mobile, the joy of crafting with scrap metal lies in the freedom to express your creativity. Each piece you make not only enhances your garden but also serves as a reminder that beauty can be found in the most unexpected places. So, gather your materials, unleash your imagination, and let the music of your handiwork fill the air!
Q: What materials are best for making wind chimes?
A: Look for scrap metals like old utensils, cans, or pipes. You can also use beads and shells for added visual appeal.
Q: How can I ensure my wind chimes produce sound?
A: Choose metals that resonate well and ensure your pieces are spaced correctly to allow for movement and sound production.
Q: Can I paint my wind chimes?
A: Yes! Just make sure to use outdoor paint or sealant to protect your chimes from the elements.
Q: Where should I hang my wind chimes?
A: Hang them in a spot where they can catch the wind, ideally in an area that is sheltered from strong storms.
Metal Planters
Creating from scrap materials is not only a sustainable choice but also a fantastic way to add a unique touch to your garden or home. Imagine transforming old cans, discarded metal sheets, or even rusty pipes into stunning planters that not only serve a purpose but also become conversation starters. The beauty of metal planters lies in their versatility; they can be shaped, painted, and finished in countless ways to suit your personal style.
Before diving into the crafting process, it's important to gather the right materials. Look around your garage or local scrap yard for items that can be repurposed. Common materials used for metal planters include:
- Old buckets
- Metal trays
- Sheet metal
- Used tin cans
- Rusty pipes
Once you've collected your scrap metals, it's time to get creative! Start by deciding on the design of your planter. Will it be a hanging planter, a wall-mounted piece, or a freestanding one? Sketching out your ideas can help visualize the final product. For instance, a simple bucket can be transformed into a rustic planter by drilling drainage holes at the bottom, adding some paint, and hanging it with sturdy rope. Or, you can stack old metal trays to create a tiered planter that showcases different plants at varying heights.
When assembling your metal planters, consider the following tips:
- Drainage: Always ensure that your planters have adequate drainage holes. This prevents water from accumulating, which can lead to root rot.
- Rust Protection: If you’re using rusty metals, consider applying a rust-resistant primer before painting to prolong the life of your planter.
- Finishing Touches: Don’t shy away from adding embellishments like decorative stones, paint, or even metal accents to enhance the visual appeal.
After crafting your metal planters, it's time to fill them with soil and your favorite plants. Whether you choose vibrant flowers, aromatic herbs, or lush greenery, your new planters will surely stand out. Plus, the reflective surface of metal can add an interesting dynamic to your garden, catching the light beautifully as the sun shines. So, roll up your sleeves, gather your scrap metal, and let your imagination run wild!
Q: Can I use any type of metal for planters?
A: While you can use a variety of metals, it's best to avoid metals that can leach harmful chemicals into the soil, such as galvanized steel, unless properly treated.
Q: How do I ensure my metal planter lasts?
A: To prolong the life of your metal planter, apply a protective coating or paint specifically designed for metal surfaces. Regular maintenance, such as checking for rust, will also help.
Q: What plants are best suited for metal planters?
A: Most plants can thrive in metal planters as long as you ensure proper drainage and soil quality. Succulents, herbs, and annual flowers are popular choices.
Home Decor Inspirations
When it comes to home decor, the possibilities are as vast as your imagination! Using scrap metal, you can create unique pieces that not only enhance your living space but also tell a story. Imagine walking into your home and being greeted by a stunning metal wall art piece that sparks conversation. It's not just decor; it's a reflection of your creativity and resourcefulness. So, let’s dive into some inspiring ideas that will make your home shine with personality!
One of the most exciting aspects of metal crafting is the ability to repurpose everyday items into something extraordinary. For instance, old utensils can be transformed into a quirky wall hanger or a stunning sculpture. Think about using forks, spoons, and knives to create a unique piece that not only serves as decor but also as a functional item. You could even make a beautiful garden trellis from scrap metal, which would not only support your plants but also add a rustic charm to your outdoor space.
Another brilliant idea is to create a metal photo display. Using flat metal sheets, you can craft a stylish frame that showcases your favorite memories. Attach clips or magnets to hold your photos in place, and you’ve got a dynamic decor piece that you can change with the seasons or your mood. This not only personalizes your space but also gives it a modern twist.
For those who love a touch of industrial chic, consider designing a metal bookshelf. By combining scrap metal with reclaimed wood, you can create a stunning focal point in your living room or study. The contrast between the metal and wood adds depth and character to your space. Plus, it’s a great way to display your favorite books and decorative items!
If you’re looking to make a bold statement, consider crafting a metal chandelier. This project may require a bit more skill, but the end result is worth it. Using scrap metal pipes and connectors, you can design a striking light fixture that becomes the centerpiece of your dining area or living room. Imagine the ambiance created by a beautifully crafted chandelier hanging above your dinner table, illuminating your gatherings with a warm glow.
Lastly, don’t overlook the power of metal accents. Small items like candle holders, coasters, and decorative bowls can be made from scrap metal and scattered throughout your home. These little touches can tie a room together and add that extra flair that makes your decor pop. Plus, they’re incredibly easy to customize, so you can match them to your existing decor theme.
In summary, the world of DIY metal crafting offers endless opportunities for home decor. Whether you’re creating a statement piece or adding subtle accents, each project allows you to express your creativity and make your home uniquely yours. So gather your scrap metal, unleash your imagination, and start crafting your way to a more beautiful home!
1. What types of scrap metal can I use for home decor projects?
You can use a variety of scrap metals, including aluminum, steel, copper, and brass. Look for old tools, appliances, or even discarded furniture to find materials that can be repurposed.
2. Do I need special tools for metal crafting?
While some projects may require specific tools like welding equipment or metal cutters, many can be accomplished with basic hand tools such as pliers, hammers, and a drill. Always prioritize safety and wear protective gear when working with metal.
3. How can I ensure my metal decor lasts?
Applying protective coatings, such as rust inhibitors or sealants, can help preserve your metal creations. Additionally, consider the environment where your decor will be placed; indoor items may require less protection than outdoor pieces.
4. Can I paint my metal crafts?
Absolutely! Painting your metal projects can add a splash of color and personal flair. Use spray paint designed for metal surfaces for the best results.
Techniques for Working with Metal
When it comes to DIY metal crafting, mastering the right techniques is crucial for transforming your creative visions into reality. Whether you’re a novice or have some experience under your belt, understanding the essential methods of working with metal can significantly enhance your projects. From cutting and shaping to joining pieces together, each technique has its own set of tools and skills that can elevate your crafting game. So, let’s dive into the world of metalworking and explore what you need to know!
First off, let’s talk about cutting and shaping metal. This is where the magic begins! You’ll need a variety of tools depending on the thickness and type of metal you’re working with. For thin sheets, a simple pair of metal snips might do the trick, while thicker materials may require a more robust tool like a jigsaw or even a plasma cutter for those more ambitious projects. Always remember to wear safety gear—gloves, goggles, and a mask—because, let’s face it, safety first!
To achieve clean cuts and desired shapes, it’s essential to plan your cuts ahead of time. Sketching out your design on paper or directly on the metal can save you a lot of time and frustration. Here’s a quick overview of some common cutting tools:
| Tool | Best For | Tip |
|---|---|---|
| Metal Snips | Thin sheets | Use straight snips for straight cuts and curved snips for curves. |
| Jigsaw | Medium thickness | Opt for a metal cutting blade for best results. |
| Plasma Cutter | Thick materials | Great for intricate designs but requires practice. |
Once you have your pieces cut out, the next step is joining metal pieces. This is where your creativity can really shine! There are several methods to join metal, each with its own advantages and disadvantages. The most common techniques include:
- Welding: This method involves melting the metal pieces together using heat. It’s ideal for creating strong, permanent bonds but requires a welding machine and some skill.
- Riveting: This technique uses metal fasteners to hold pieces together. It’s particularly useful for thinner materials and can add a decorative touch.
- Bolting: If you want a non-permanent solution, bolting is a great option. It allows for easy disassembly and reconfiguration.
Each method has its place in the crafting world, so consider the look you’re going for and the strength required for your project. For example, if you’re creating a garden sculpture, welding might be your best bet for durability. On the other hand, if you’re putting together a decorative piece that you might want to take apart later, riveting or bolting could be the way to go.
Lastly, let’s not forget about the finishing touches. Once your pieces are joined, you might want to add some flair! This could involve sanding down sharp edges, applying a finish to prevent rust, or even painting your metal creations. Using a protective coating is essential, especially for outdoor pieces, as it helps them withstand the elements.
In conclusion, the techniques for working with metal are varied and exciting. By mastering cutting, joining, and finishing techniques, you’ll be well on your way to creating stunning metal crafts that not only look great but also stand the test of time. So, gather your tools, put on your safety gear, and let your creativity run wild!
Q: What tools do I need to start metal crafting?
A: Essential tools include metal snips, a jigsaw, welding equipment, and safety gear like gloves and goggles.
Q: Can I use scrap metal for my projects?
A: Absolutely! Scrap metal is perfect for DIY projects and can be transformed into beautiful decor.
Q: Is welding difficult to learn?
A: Welding can be challenging, but with practice and patience, many find it a rewarding skill to develop.
Q: How do I protect my metal crafts from rust?
A: Applying a protective coating or paint can help prevent rust and keep your creations looking fresh.
Cutting and Shaping Metal
When it comes to , having the right tools and techniques is crucial for achieving the results you desire. Imagine trying to sculpt a masterpiece from a block of marble without the proper chisels—it’s nearly impossible! The same principle applies to metal crafting. Whether you're a novice or a seasoned pro, understanding the various methods available will empower you to transform scrap metal into stunning designs.
First off, let's talk about the tools you'll need. The most common tools for cutting metal include angle grinders, band saws, and plasma cutters. Each tool has its unique advantages and is suited for different types of projects:
| Tool | Best For | Pros | Cons |
|---|---|---|---|
| Angle Grinder | General cutting and grinding | Versatile and portable | Can produce sparks; requires safety gear |
| Band Saw | Curved cuts and intricate designs | Precise cuts; less waste | Less portable; requires a power source |
| Plasma Cutter | Thick metal cutting | Fast and efficient | Expensive; requires skill to use |
Once you have your tools ready, the next step is mastering the cutting technique. For straight cuts, using a straight edge as a guide can help you achieve clean lines. Mark your cut line with a marker or chalk to ensure accuracy. When using an angle grinder, maintain a steady hand and let the tool do the work; forcing it can lead to jagged edges and uneven cuts.
For shaping metal, techniques can vary based on the desired outcome. You might want to bend, curve, or even twist the metal to achieve your vision. This is where metal brakes and hammers come into play. A metal brake allows you to create precise bends, while a hammer can be used for more artistic shaping. Just remember, practice makes perfect! Experimenting with scrap pieces can help you build your confidence.
Lastly, safety should always be your top priority. Always wear protective gear such as gloves, goggles, and ear protection when working with metal. The sparks and noise can be intimidating, but with the right precautions, you can enjoy a safe and rewarding crafting experience. So, are you ready to cut and shape your way to a stunning metal creation?
- What type of metal is best for beginners? Aluminum is an excellent choice for beginners due to its lightweight and ease of cutting.
- Can I use household tools for metal crafting? While some household tools can work, investing in specific metalworking tools will yield better results.
- How do I maintain my cutting tools? Regular cleaning and proper storage will prolong the life of your tools. Always check for wear and tear before use.
Joining Metal Pieces
When it comes to DIY metal crafting, knowing how to join metal pieces is crucial for creating sturdy and visually appealing projects. Whether you're building a functional piece of furniture or a whimsical garden sculpture, the method you choose for joining your metals can significantly affect the durability and aesthetic of your creation. There are several techniques available, each with its own set of advantages and disadvantages. Let's dive into some of the most popular methods!
Welding is often the go-to choice for joining metal pieces, especially for larger projects that require a strong bond. This technique involves melting the edges of the metal pieces and fusing them together as they cool. It's essential to have the right equipment, such as a MIG or TIG welder, and to wear appropriate safety gear, including gloves and a welding helmet. While welding creates a robust joint, it does require some skill and practice to master. If you're a beginner, consider starting with smaller projects to build your confidence.
On the other hand, riveting offers a more straightforward approach to joining metal. This method involves using metal fasteners, called rivets, to hold pieces together. Riveting is particularly useful for thin metals and can be done with minimal tools—often just a hammer and a rivet gun. One of the benefits of riveting is that it doesn't require the same level of technical skill as welding, making it an excellent option for beginners. However, keep in mind that while riveting provides a solid connection, it may not be as strong as a welded joint.
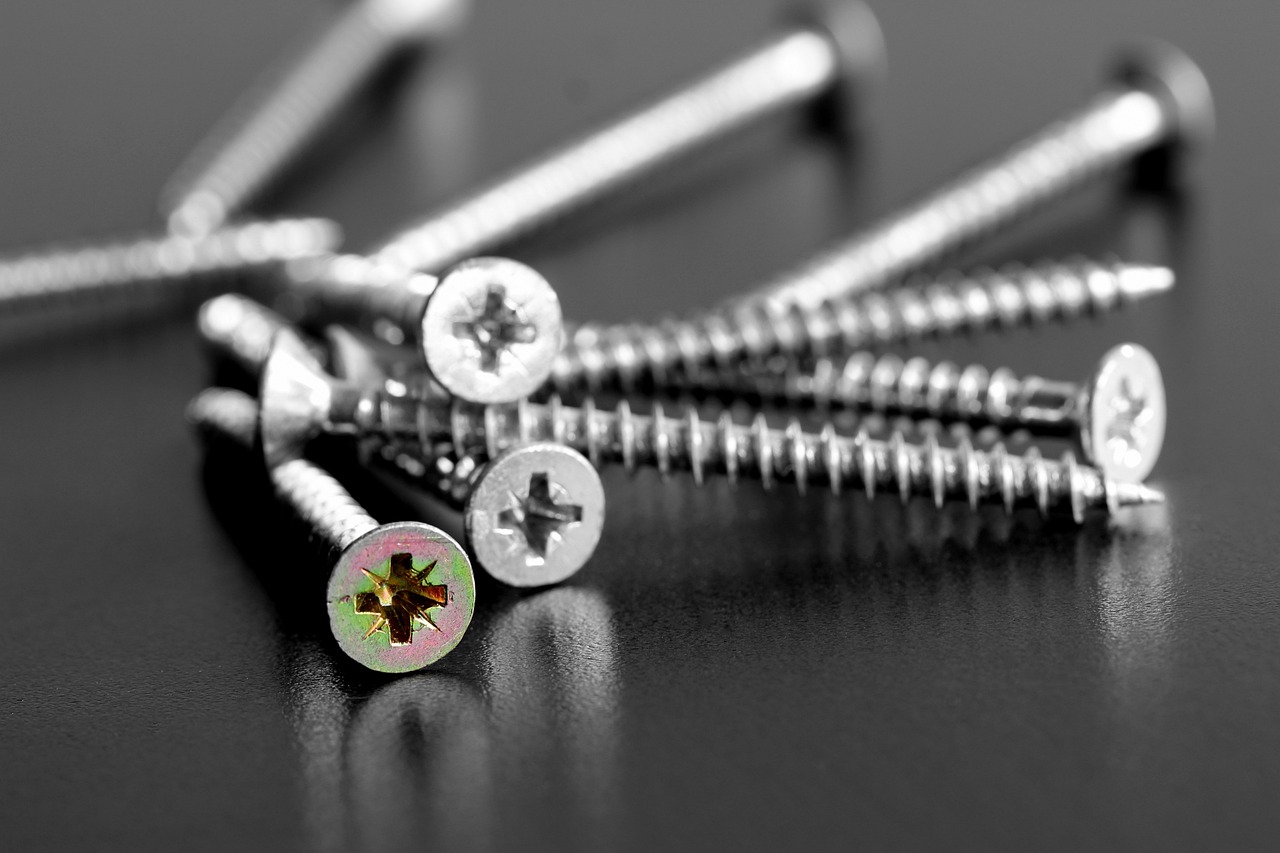
Another method worth mentioning is screwing or bolting. This technique is incredibly versatile and allows for easy disassembly if needed. Using screws or bolts to join metal pieces is particularly effective for projects that may require adjustments or repairs in the future. However, ensure that the screws or bolts you choose are appropriate for the type of metal you're working with, as different metals may require specific types of fasteners.
Lastly, adhesives can also be used for joining metal pieces, especially for smaller projects or decorative items. There are various metal adhesives available on the market that provide a strong bond without the need for welding or mechanical fasteners. While this method is often easier and less time-consuming, it may not offer the same level of strength as the other techniques mentioned. It's essential to read the manufacturer's instructions carefully to ensure a secure bond.
In conclusion, the choice of joining technique will largely depend on your specific project requirements, your skill level, and the tools you have at your disposal. Each method has its own unique advantages, and experimenting with different techniques can lead to exciting results. So, whether you're welding, riveting, screwing, or gluing, embrace the journey of creating something beautiful from scrap metal!
- What is the best method for joining metal pieces as a beginner? If you're just starting, consider using screws or rivets, as they require less skill and equipment compared to welding.
- Can I join different types of metals together? Yes, but it's essential to choose the right joining method and ensure compatibility between the metals to achieve a strong bond.
- How do I know if my welds are strong enough? A good weld should appear shiny and smooth, with no gaps or cracks. Testing the strength with gentle pressure can also help assess the bond.
- Are there any safety precautions I should take when joining metal pieces? Absolutely! Always wear protective gear like gloves, goggles, and a mask when welding or using adhesives, and ensure you work in a well-ventilated area.
Finishing Touches
When it comes to DIY metal crafting, the finishing touches can make all the difference between a project that looks good and one that looks truly stunning. Applying the right finishes not only enhances the aesthetic appeal of your creations but also provides essential protection against the elements. Think of it like dressing up for a special occasion; the right outfit can elevate your look and leave a lasting impression!
One of the first things to consider is the type of finish that suits your project best. Do you want a sleek, modern look, or are you aiming for a rustic, weathered appearance? Here are some popular finishing techniques:
- Painting: Using spray paint or brush-on paint can add vibrant colors to your metal crafts. Make sure to use a primer specifically designed for metal to ensure better adhesion and durability.
- Patinas: This technique involves applying chemicals to create a natural aging effect on the metal. It can give your projects a unique character, especially for garden art.
- Protective Coatings: Clear sealants can be applied to protect your metal pieces from rust and corrosion, especially if they will be exposed to moisture.
Let’s break down some of these techniques further. For instance, when painting, it’s essential to prep the surface. Start by cleaning the metal thoroughly to remove any grease or dirt. Then, sand it lightly to create a rough surface for the paint to adhere to. After priming, you can apply your chosen color in thin, even coats. This method not only ensures a smooth finish but also prevents drips and runs.
On the other hand, if you’re leaning towards a patina finish, you’ll find it a fascinating process. You can achieve different colors and textures by using various chemicals like vinegar, salt, or commercial patina solutions. Just remember to wear protective gear and work in a well-ventilated area, as some of these substances can be hazardous.
Lastly, applying a protective coating is crucial for longevity. A clear coat will help seal in your paint or patina and provide a barrier against moisture and UV rays. This step is especially important for outdoor pieces, which can be subjected to harsh weather conditions.
In summary, the finishing touches in metal crafting are not merely about aesthetics; they are about ensuring your hard work lasts for years to come. With the right techniques and materials, you can transform your scrap metal projects into stunning decor that showcases your creativity and craftsmanship.
Q: What type of paint is best for metal crafts?
A: Look for spray paints or brush-on paints specifically formulated for metal surfaces. These paints typically contain rust inhibitors and provide better adhesion.
Q: How can I create a patina effect on my metal projects?
A: You can create a patina by applying a mixture of vinegar and salt or by using commercial patina solutions. Be sure to follow safety precautions and work in a well-ventilated area.
Q: Is it necessary to seal my metal crafts?
A: Yes, sealing your metal crafts with a clear protective coating is recommended, especially for outdoor pieces. It helps prevent rust and extends the life of your project.
Frequently Asked Questions
- What tools do I need to get started with DIY metal crafting?
To dive into the world of DIY metal crafting, you'll need a few essential tools. Start with safety gear like gloves and goggles to protect yourself. For cutting, a hacksaw or metal snips will come in handy. You'll also want a drill for making holes, and a welding machine or rivets for joining pieces together. Don't forget a sturdy workbench to keep everything steady while you create!
- Where can I find scrap metal for my projects?
Finding scrap metal is easier than you might think! Check local recycling centers, hardware stores, or even your own garage. Old appliances, discarded furniture, and construction sites can also be gold mines for scrap materials. Just make sure to ask for permission if you're scavenging from private property!
- Are there safety precautions I should take while working with metal?
Absolutely! Safety should always be your top priority. Wear protective gear, including gloves, goggles, and a dust mask, especially when cutting or grinding metal. Make sure your workspace is well-ventilated and free from clutter. If you're welding, ensure you have a fire extinguisher nearby and work in a safe area away from flammable materials.
- What are some creative project ideas for scrap metal?
The possibilities are endless! You can create stunning garden art, like metal sculptures or wind chimes, that will add character to your outdoor space. Inside your home, consider making metal planters, wall art, or even unique furniture pieces. Let your imagination run wild and transform everyday scrap into something beautiful!
- How do I finish my metal projects for durability?
Finishing touches are key to making your metal crafts last! You can apply a protective coating like clear sealant or paint to guard against rust and wear. Consider experimenting with patinas for a unique look. Just remember to follow the manufacturer's instructions for the best results and to ensure your creations stay beautiful over time.
- Can I use any type of metal for crafting?
While you can use a variety of metals, some are better suited for crafting than others. Steel and aluminum are popular choices due to their durability and ease of handling. Copper and brass can add a touch of elegance to your projects. Just keep in mind that different metals may require different tools and techniques, so choose wisely based on your project!
- What are the best techniques for joining metal pieces?
Joining metal pieces can be done in several ways, including welding, riveting, and using adhesives. Welding provides a strong bond but requires some skill and equipment. Riveting is a great option for beginners and can add an interesting design element. Adhesives can work well for lighter pieces, but make sure they're suitable for metal. Choose the method that best fits your project and skill level!


