
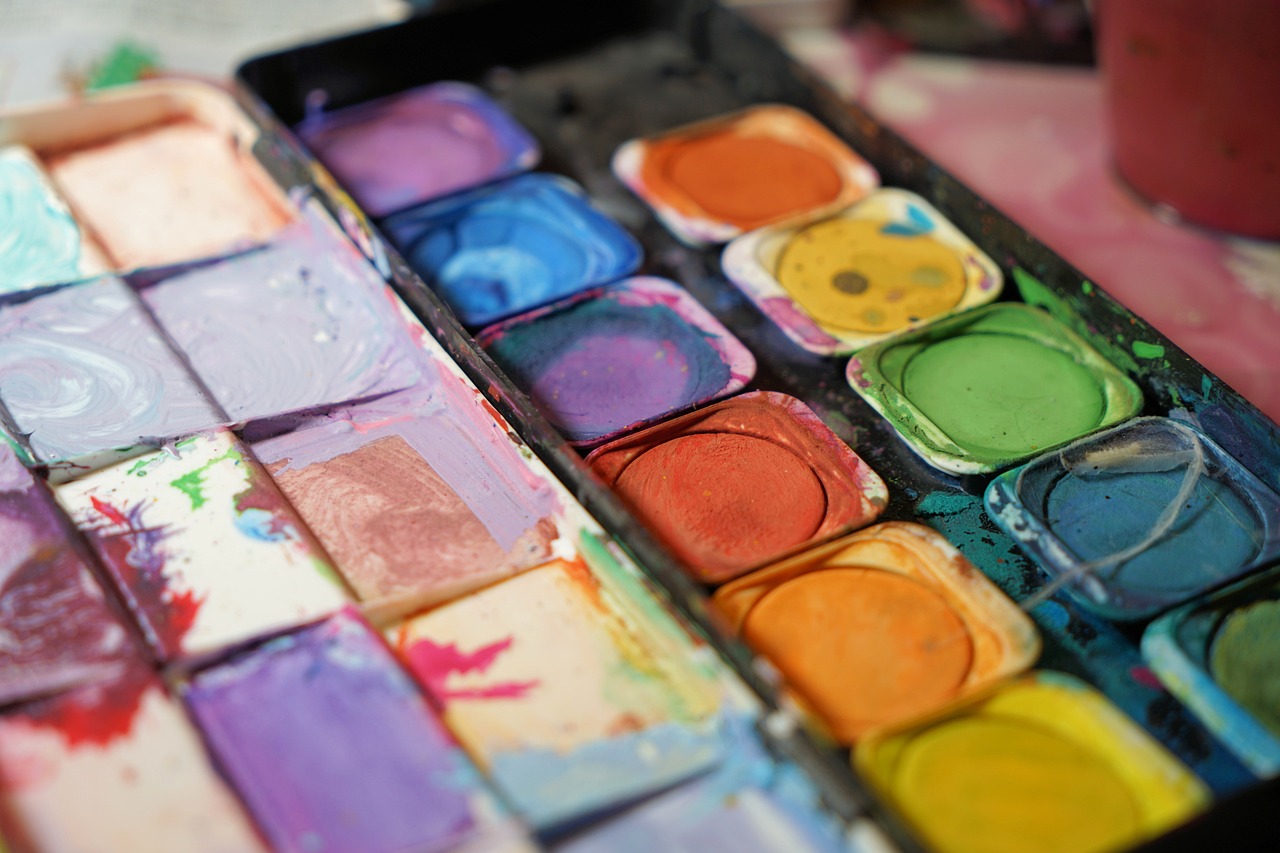
5 Paint-dipping Crafts for Kids
Are you ready to unleash your child's creativity with some fun and colorful paint-dipping crafts? These exciting projects not only engage children's imaginations but also help develop their fine motor skills. Imagine the joy on your little one's face as they dive into a world of vibrant colors and artistic expression! Whether it's creating beautiful decorations or crafting unique gifts, these paint-dipping activities are perfect for young artists eager to explore their creative sides.
In this article, we will delve into five fantastic paint-dipping crafts that are simple yet engaging. Each project offers a unique opportunity for kids to experiment with colors, textures, and designs. From making painted paper flowers to crafting vibrant painted T-shirts, these activities will not only keep your children entertained but also inspire them to express themselves through art. So, grab your paint, gather some supplies, and let’s get started on these colorful adventures!
Creating vibrant paper flowers using paint-dipping techniques is a delightful way for kids to explore color mixing and design. Start by cutting various flower shapes out of sturdy paper. Set up a paint station with different colors and let the kids dip the paper flowers into the paint. As they experiment with various hues, they'll discover how colors blend and create new shades. Once dry, these flowers can brighten up any room or make heartfelt gifts for friends and family. It's like bringing a garden indoors, but without the watering!
Dipping rocks in paint creates unique, colorful designs that are perfect for outdoor exploration. Take a family trip to gather some smooth stones, and then let the kids dip them in vibrant paints. They can create patterns, dots, or even their favorite cartoon characters. Once dry, these decorated rocks can serve as garden decorations, paperweights, or even gifts. This craft not only encourages creativity but also gets kids outside, connecting with nature while they search for the perfect rocks!
Using paint-dipping methods, children can create stunning paper mache bowls that are both functional and artistic. Start by preparing a simple paper mache mixture using flour and water, and then have the kids dip strips of newspaper into the mixture. Once the strips are applied to a bowl mold, they can paint the outside with their favorite colors. This project combines the fun of dipping with the satisfaction of crafting something useful. Imagine their pride in using a bowl they made themselves for snacks or trinkets!
Transforming plain T-shirts into wearable art with paint-dipping techniques is an exciting way for kids to customize their clothing. Set up a dipping station with fabric paints and let them dip their shirts in various colors. They can create patterns, stripes, or even abstract designs. As they learn about fabric paint and the importance of color application, they’ll also enjoy wearing their unique creations. It’s like having a personal art gallery right on their chest!
Capture the beauty of nature by dipping leaves and flowers in paint to create stunning prints. This craft fosters an appreciation for the environment while encouraging artistic expression. Kids can collect leaves and flowers from the backyard or park, dip them in paint, and press them onto paper. The results are beautiful, nature-inspired artworks that can be framed or used as cards. It’s a wonderful way to teach children about the beauty of the world around them while having fun!
Q: What type of paint is best for these crafts?
A: For most projects, non-toxic acrylic paint or washable tempera paint works well. If you are doing fabric projects, make sure to use fabric paint to ensure the designs last through washes.
Q: Can these crafts be done indoors?
A: Absolutely! Just be sure to cover surfaces with newspaper or a plastic tablecloth to protect against spills. However, outdoor projects, like dipping rocks, can be a lot of fun too!
Q: How can I encourage my child to be creative during these projects?
A: Encourage them to experiment with colors, shapes, and designs. Remind them that there are no mistakes in art—only opportunities to explore and learn!
So, what are you waiting for? Grab those paintbrushes and let the creativity flow! These paint-dipping crafts are bound to provide hours of fun and artistic exploration for your little ones.
1. Painted Paper Flowers
Creating vibrant painted paper flowers is not only a delightful craft but also an exciting way for kids to explore their creativity! This project allows children to dive into the world of color mixing and design while making beautiful decorations that can brighten up any room. Imagine a sunny afternoon filled with laughter as your little ones dip their brushes into an array of colors and transform simple sheets of paper into stunning floral masterpieces.
To start this colorful journey, gather some basic supplies: colored paper, non-toxic paint, paintbrushes, and scissors. The process is simple yet engaging. Kids can cut out flower shapes from the colored paper, and then they can dip the edges of these shapes into different colors of paint. This technique not only teaches them about color theory but also enhances their fine motor skills as they maneuver the paintbrush and paper.
As they paint, encourage them to experiment with various techniques. For instance, they can try swirling the brush to create a marbled effect or layering colors to see how they blend together. This craft is a wonderful way to stimulate their imagination and help them develop a keen eye for design. Plus, the end result is a beautiful bouquet of colorful flowers that they can proudly display or gift to loved ones!
Here's a quick overview of the steps involved in making painted paper flowers:
| Step | Description |
|---|---|
| 1 | Gather materials: colored paper, paint, brushes, and scissors. |
| 2 | Cut flower shapes from the colored paper. |
| 3 | Dip edges into paint and explore different colors. |
| 4 | Allow flowers to dry and arrange them in a vase or gift them. |
Not only do these painted paper flowers serve as lovely decorations, but they also make fantastic gifts for family and friends. Imagine the joy on Grandma's face when she receives a handmade bouquet from her grandchild! This craft fosters a sense of accomplishment and pride in their work, making it a win-win for both kids and parents.
In conclusion, painted paper flowers are a fantastic way for children to express their artistic flair while learning valuable skills. So, gather those supplies and let the creativity flow. Who knows? You might just end up with a beautiful garden of colorful paper flowers that will brighten up your home!
- What age group is this craft suitable for?
This craft is perfect for children aged 4 and up, with adult supervision for younger kids. - Can I use any type of paint?
It's best to use non-toxic, washable paint to ensure safety and easy cleanup. - How can we display the finished flowers?
Once dry, you can arrange them in a vase, attach them to a card, or even hang them as decorations!
2. Colorful Dipped Rocks
Imagine a sunny afternoon, the birds chirping, and your little ones bursting with creativity. What better way to channel that energy than by creating colorful dipped rocks? This craft not only sparks imagination but also encourages outdoor exploration—perfect for kids who love to collect treasures from nature!
To get started, all you need are some smooth rocks, vibrant paints, and a splash of enthusiasm. The beauty of this craft lies in its simplicity. Kids can gather rocks from their backyard or a nearby park, transforming ordinary stones into extraordinary pieces of art. Once the rocks are collected, the real fun begins. Set up a paint station with different colors, and let the kids dip the rocks into the paint. They can swirl, twist, and turn the rocks to create unique designs that reflect their personalities.
As they dip their rocks, children will not only enjoy the tactile sensation of the paint but also engage in important learning experiences. For instance, they can explore color mixing by combining different paints, discovering how primary colors blend to form new hues. This hands-on activity is a fantastic way to teach kids about color theory in a fun and interactive manner.
Once the rocks are painted, they can be used in various creative ways:
- Garden Decor: Place the colorful rocks in flower beds or along pathways to add a whimsical touch to your garden.
- Rock Pets: Kids can turn their dipped rocks into adorable creatures by adding googly eyes and other craft supplies.
- Paperweights: These vibrant creations can also serve as functional paperweights for desks or study areas.
In addition to the creativity and fun, this craft promotes fine motor skills as kids practice their hand-eye coordination while dipping and painting. Plus, it’s an excellent opportunity for parents to bond with their children, sharing laughter and stories as they work side by side. So, gather those rocks, unleash your inner artist, and let the paint-dipping adventure begin!
| Question | Answer |
|---|---|
| What type of paint is best for dipping rocks? | Acrylic paint works best as it adheres well to the rock surface and dries quickly. |
| Can we use other materials besides rocks? | Absolutely! You can use wood pieces, pine cones, or even seashells for similar dipping crafts. |
| How can we seal the painted rocks for outdoor use? | Apply a clear acrylic sealer once the paint is dry to protect the designs from the elements. |
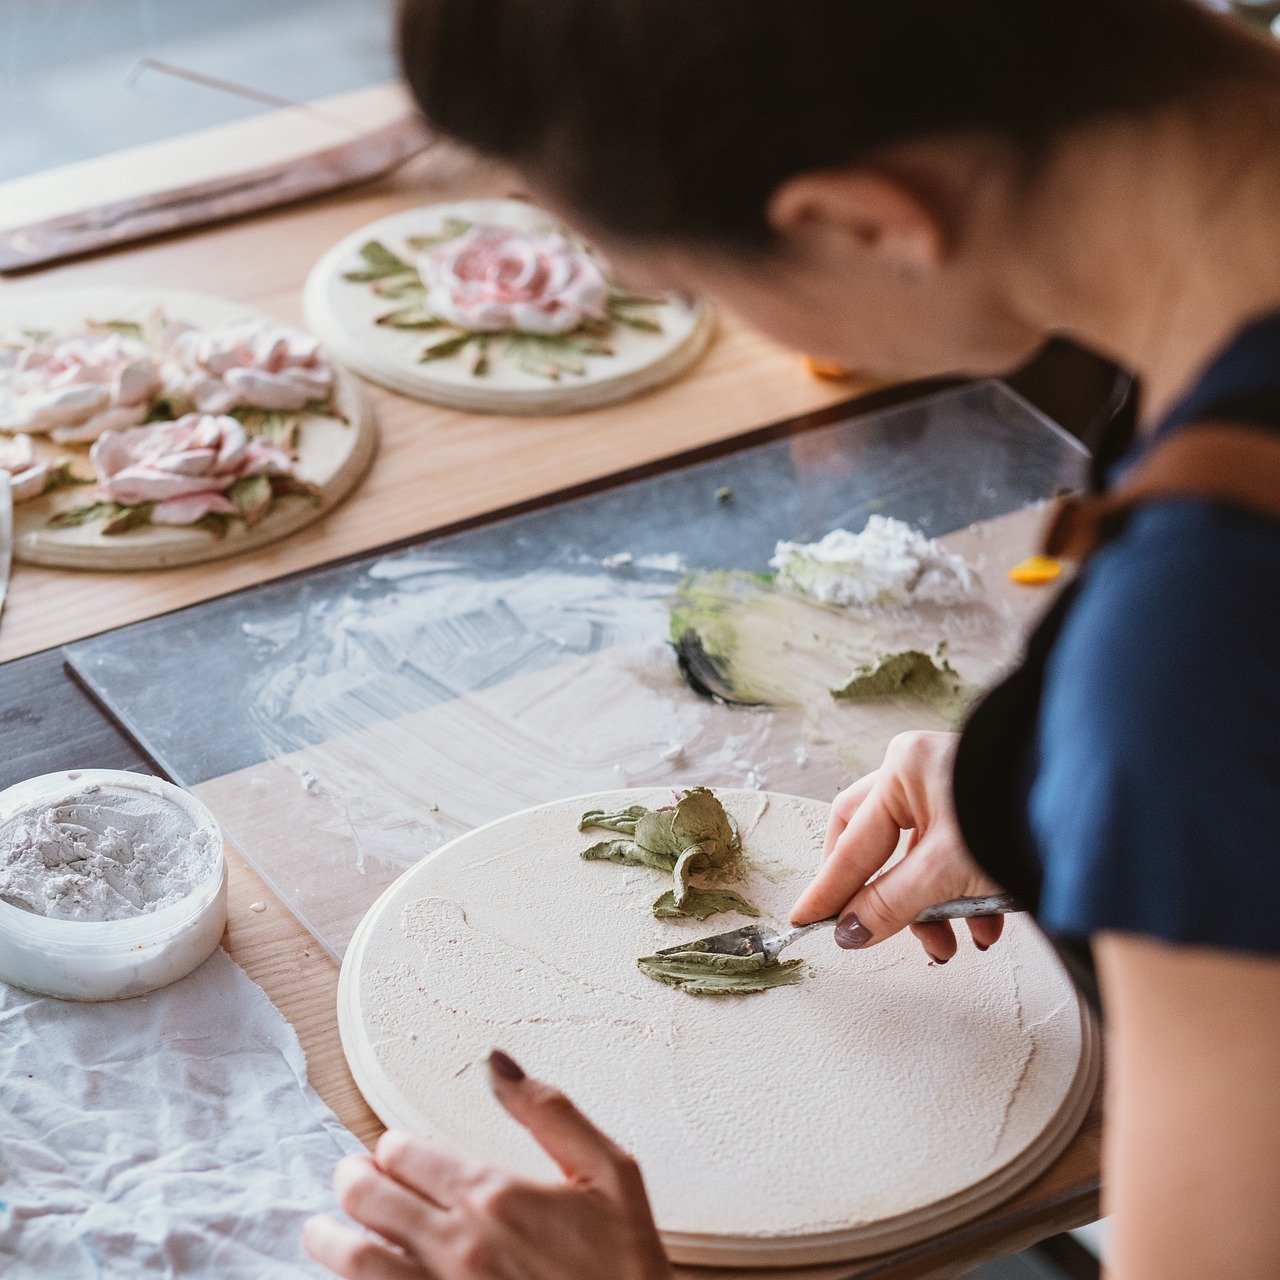
3. Artistic Paper Mache Bowls
Imagine a world where creativity knows no bounds, where kids can transform simple materials into stunning art pieces. Artistic paper mache bowls are not only a delightful craft project but also a fantastic way for children to explore their artistic flair while honing their fine motor skills. By using paint-dipping techniques, children can create bowls that are as unique as their imaginations. The process is simple yet gratifying, allowing young artists to dive into a world of color and texture.
To start this exciting project, gather a few basic supplies: old newspapers, a balloon, glue, water, and of course, an array of colorful paints. The beauty of this craft lies in its flexibility; kids can choose any color palette they like, making each bowl a personal masterpiece. As they dip pieces of torn newspaper into a glue-water mixture, they can layer them over an inflated balloon, creating the foundational shape of their bowl. This step is not only fun but also teaches kids about layering and structure.
Once the paper mache layers dry, which usually takes about 24 hours, the real fun begins! Kids can unleash their creativity by painting their bowls using vibrant colors. They can experiment with color mixing, patterns, and even textures, turning a simple bowl into a work of art. This project encourages self-expression and allows children to take pride in their creations. Plus, these bowls can serve multiple purposes; they can be used as decorative pieces, storage for small items, or even as gifts for family and friends.
Here’s a quick overview of the process in a table format:
| Step | Description |
|---|---|
| 1. Prepare Materials | Gather newspapers, a balloon, glue, water, and paint. |
| 2. Create the Base | Tear newspaper into strips and dip them into the glue mixture; layer over the balloon. |
| 3. Drying | Let the bowl dry completely, usually overnight. |
| 4. Painting | Once dry, paint the bowl using various colors and designs. |
This craft is not just about making bowls; it’s about the joy of creating something from scratch. Kids learn patience as they wait for their creations to dry, and they experience the thrill of seeing their ideas come to life. It’s a wonderful way to bond with family and friends, as they can work together on a project that encourages collaboration and creativity. So, gather those supplies, roll up those sleeves, and let the artistic adventure begin!
- What age group is this craft suitable for? Artistic paper mache bowls are perfect for children aged 5 and up, with adult supervision recommended for younger kids.
- How long does it take for the bowls to dry? The drying time can vary, but generally, it takes about 24 hours for the paper mache to dry completely.
- Can we use other materials instead of newspapers? Yes! You can use tissue paper, old magazines, or any paper product that can be easily torn.
- How can we seal the painted bowls? To protect the paint and make the bowls more durable, consider applying a clear acrylic sealant once the paint is dry.
4. Vibrant Painted T-Shirts
Transforming plain T-shirts into wearable art is not just a fun activity; it’s a fantastic way for kids to express their creativity! With paint-dipping techniques, children can dive into a world of colors and designs, making each shirt a unique masterpiece. Imagine your little artist dipping their hands into vibrant paints, swirling them around, and then pressing them onto fabric. The result? A stunning, one-of-a-kind T-shirt that showcases their personality and flair!
Before diving in, it’s essential to gather all the necessary materials. Here’s a quick checklist:
- Plain cotton T-shirts (preferably light-colored for better paint visibility)
- Fabric paints in various colors
- A shallow tray or container for paint
- Protective coverings for the workspace (like newspapers or plastic sheets)
- Gloves to keep little hands clean
Once everything is set up, the process is simple yet exhilarating! Kids can choose their favorite colors and dip their hands or sponges into the paint. They can then press, swirl, or stamp the paint onto the T-shirts, creating patterns that are as unique as they are. This hands-on approach not only enhances their fine motor skills but also allows them to explore color mixing and design concepts. Plus, it’s a great opportunity for them to learn about the importance of color application and how different techniques can yield various effects.
After the T-shirts are beautifully adorned, it's crucial to let them dry completely. Depending on the type of fabric paint used, you may need to set the paint with an iron (always follow the paint manufacturer’s instructions). Once dry, these vibrant creations can be worn proudly, washed, and enjoyed for years to come.
This craft is not only about making art; it’s about creating memories. Whether it's a birthday party, a family gathering, or just a fun afternoon at home, painting T-shirts can be a delightful bonding experience. Kids can even gift their painted shirts to friends or family, adding a personal touch that store-bought items simply can't match. So, roll up those sleeves, grab some paint, and let the creativity flow!
Q: What type of paint should I use for T-shirts?
A: It's best to use fabric paint specifically designed for textiles. This ensures that the colors remain vibrant after washing and that the fabric stays soft.
Q: Can I use regular acrylic paint?
A: While you can use acrylic paint, it may not hold up well in the wash unless mixed with a fabric medium. Fabric paint is recommended for durability.
Q: How do I set the paint so it doesn't wash out?
A: After the T-shirt has dried completely, you can set the paint by placing a cloth over the design and using a hot iron to apply heat for a few seconds. Always check the paint instructions for specific setting methods.
Q: Can I use this technique on other clothing items?
A: Absolutely! This paint-dipping technique can be applied to tote bags, aprons, and even pillowcases. The possibilities are endless!
5. Dipped Nature Prints
Dipped nature prints are a fantastic way for kids to explore their creative sides while connecting with the great outdoors. Imagine taking a stroll through a lush park, collecting vibrant leaves and delicate flowers, and then transforming them into stunning pieces of art! This craft not only fosters an appreciation for nature but also encourages artistic expression in a fun and engaging way. All you need are some natural materials, paint, and a bit of imagination.
To start this delightful project, gather a variety of leaves and flowers. Different shapes and sizes will yield unique prints, so encourage the kids to collect a diverse selection. Once you have your natural treasures, it’s time to set up your workspace. Lay down some newspaper or a drop cloth to protect your surfaces, and get your paint ready. You can use non-toxic acrylic paint, which is vibrant and easy to work with.
Now, here comes the fun part! Dip each leaf or flower into the paint, ensuring it's fully coated. This is where kids can really get their hands dirty (in a good way!). After dipping, press the painted leaf or flower onto a piece of paper or canvas. The result? A beautiful print that captures the intricate details of nature. The contrast between the organic shapes and the bright colors creates a stunning visual effect that is sure to impress.
For an added twist, consider creating a nature-themed gallery wall with the finished prints. Frame them in colorful frames or simply hang them up with clothespins on a string for a whimsical display. This not only showcases the children's artwork but also serves as a reminder of the beauty found in nature, right in your own home.
Here are a few tips to enhance the experience:
- Experiment with color mixing by combining different paint colors before dipping.
- Try using different types of paper, such as textured or colored backgrounds, to see how they affect the prints.
- Encourage storytelling by asking kids to describe the plants they collected and their favorite colors.
Incorporating nature into art not only nurtures creativity but also helps children develop a deeper appreciation for the environment. So, the next time you're outside, keep an eye out for those perfect leaves and flowers just waiting to be transformed into art! This craft is a perfect blend of fun, education, and creativity, making it a must-try for young artists.
Q: What type of paint is best for nature prints?
A: Non-toxic acrylic paint works great for this project, as it provides vibrant colors and is safe for kids.
Q: Can we use other materials besides leaves and flowers?
A: Absolutely! You can experiment with other natural items like twigs, feathers, or even fruits and vegetables for unique prints.
Q: How do we preserve the prints once they are dry?
A: Once the prints are dry, you can frame them or seal them with a clear acrylic spray to protect them from fading.
6. Creative Paint-Dipped Gift Wrap
When it comes to gift-giving, presentation is just as important as the gift itself. What better way to make your presents stand out than with Creative Paint-Dipped Gift Wrap? This craft not only adds a splash of color and personality to your gifts but also allows kids to express their creativity in a fun and engaging way. Imagine the excitement on a friend's face when they receive a beautifully wrapped gift that looks like a piece of art!
To create your own paint-dipped gift wrap, you’ll need a few simple materials. Gather some plain wrapping paper, various colors of paint, and a shallow dish or tray for dipping. The process is straightforward and can be done in just a few steps:
- Prepare Your Workspace: Lay down some old newspapers or a plastic tablecloth to protect your surfaces from paint splatters.
- Choose Your Colors: Select a palette of colors that complement each other. Think about the occasion—bright colors for birthdays, pastels for baby showers, or festive colors for holidays.
- Dip and Wrap: Dip the edges of your wrapping paper into the paint, allowing the colors to blend and create unique patterns. You can experiment with different techniques, such as swirling or splattering, to achieve various effects.
Once your wrapping paper is dry, it’s time to wrap your gifts! This is where the fun continues. Kids can help with the wrapping process, adding their personal touch by folding and securing the paper with colorful ribbons or embellishments. Not only does this craft enhance the overall look of your gifts, but it also makes the act of wrapping a cherished family activity.
Moreover, paint-dipped gift wrap is environmentally friendly! Instead of buying mass-produced wrapping paper, you’re creating something unique that can be made from recycled materials. This aspect not only teaches children about sustainability but also encourages them to think creatively about repurposing items around the house.
In addition to wrapping gifts, these painted papers can also be transformed into other decorative items, such as:
- Handmade cards
- Gift tags
- Decorative banners
Each of these items can be personalized further, making every gift truly special. So, the next time you have a gift to wrap, consider involving your kids in this creative paint-dipping project. It’s a wonderful way to bond, express creativity, and make your gifts shine!
Q1: What type of paint should I use for paint-dipped gift wrap?
A1: Acrylic paints work best as they adhere well to paper and provide vibrant colors. However, you can also use washable tempera paints for easier cleanup.
Q2: Can I use this technique on other surfaces?
A2: Absolutely! This paint-dipping technique can be applied to fabric, canvas, or even cardboard to create unique art pieces or decorations.
Q3: How long does the paint take to dry?
A3: Drying time varies based on the thickness of the paint and the ambient temperature, but generally, it takes about 30 minutes to an hour for the paint to dry completely.
7. Fun Paint-Dipped Bookmarks
Creating paint-dipped bookmarks is not just a fun craft; it’s a delightful way for kids to express their creativity while also encouraging a love for reading! Imagine this: your child, armed with vibrant colors and a splash of imagination, transforms a simple piece of cardstock into a colorful masterpiece that can mark their place in a book. It’s like giving a book a little personality! Plus, these bookmarks make perfect gifts for friends or family members who enjoy reading.
The process is incredibly simple and engaging. Start by gathering your materials, which include:
- Cardstock or thick paper
- Washable paint in various colors
- Shallow containers for dipping
- Paintbrushes (optional for adding details)
- String or ribbon (for added flair)
Begin by cutting the cardstock into bookmark-sized strips—about 2 inches wide and 6-8 inches long. This size is perfect for slipping into books without sticking out too much. Once you have your strips, it’s time to dip! Pour some paint into the shallow containers, allowing your child to dip one end of the bookmark into the paint. They can swirl it around to create unique patterns or simply let the paint drip for a more abstract look. The beauty of this craft is that there are no strict rules; each bookmark will be a reflection of their personality and artistic flair.
After dipping, lay the bookmarks flat on a drying rack or a sheet of wax paper. This is where the magic happens as the colors blend and dry into stunning designs. If your child wants to add some extra flair, they can use a paintbrush to add details like dots, stars, or even their name! Once everything is dry, consider finishing off the bookmarks with a piece of string or ribbon tied at the top. This not only adds a decorative touch but also makes it easier to find the bookmark later on.
These paint-dipped bookmarks are not just practical; they can also serve as beautiful decorations in your child's room. Hang them on a bulletin board, or even frame a few as art pieces! It's a great way to celebrate their creativity and encourage them to read more. Plus, every time they pick up a book, they’ll be reminded of the fun they had creating their unique bookmarks.
In conclusion, paint-dipped bookmarks are a fantastic craft that combines art, creativity, and reading—all in one! So, gather your supplies, unleash your child's creativity, and watch as they create something beautiful that they can cherish for years to come.
Q: What type of paint should I use for paint-dipped bookmarks?
A: Washable paint is ideal, especially for younger kids, as it’s easy to clean up and safe to use. You can also use acrylic paint, but be sure to supervise and protect surfaces as it can stain.
Q: How can I make the bookmarks more durable?
A: To make your bookmarks last longer, consider laminating them after they dry. This will protect them from wear and tear, especially if they’re used frequently.
Q: Can I use other materials besides cardstock?
A: Absolutely! You can experiment with different materials like thin wood slices, fabric, or even plastic. Just remember that the dipping technique may vary depending on the material.
8. Dipped Balloon Art
Imagine the thrill of transforming something as simple as a balloon into a stunning piece of art! Dipped Balloon Art is not just a craft; it's an adventure waiting to unfold. This activity is not only fun but also allows kids to explore their creativity in a way that’s both messy and magical. The idea is simple: dip balloons in vibrant paints, and watch as they emerge with unique patterns and colors that are truly one-of-a-kind.
To get started, gather some materials: balloons, a variety of paints (acrylic or washable), and a large container or tray filled with paint. Kids can choose their favorite colors and get ready to dive in. The process involves inflating the balloons and then dipping them into the paint, which creates beautiful splashes and swirls. As the balloons are rolled and rotated in the paint, they produce mesmerizing designs that can be quite surprising!
What makes this craft particularly engaging is the element of surprise. Just like opening a mystery box, kids won’t know exactly how their balloon will turn out until it’s done. This unpredictability encourages them to experiment with different colors and dipping techniques. For instance, they can try:
- Dipping half of the balloon in one color and the other half in another.
- Rolling the balloon in paint to create stripes or polka dots.
- Layering colors by dipping the balloon multiple times.
Once the balloons are painted, let them dry completely. This could take a few hours, but the anticipation makes it even more exciting! Once dry, kids can display their creations as colorful decorations around the house or give them as gifts. The best part? When the balloons are popped, kids can keep the painted remnants as unique wall art or use them in other craft projects.
This craft not only fosters creativity but also helps develop fine motor skills as kids learn to control the balloons while dipping them into the paint. It's a fantastic way to spend an afternoon, allowing for laughter, creativity, and a little bit of mess—what more could you ask for?
Q: What type of paint is best for dipped balloon art?
A: Acrylic or washable paint is recommended, as they adhere well to the balloon surface and are easy to clean up.
Q: How do I prevent the balloons from popping while painting?
A: Be gentle when handling the balloons, and try to avoid sharp objects or excessive pressure during the dipping process.
Q: Can we use this technique on other surfaces?
A: Absolutely! This technique can also be applied to paper or canvas for creating unique art pieces.

9. Paint-Dipped Holiday Ornaments
When the holiday season rolls around, there’s nothing quite like the joy of creating your own decorations. Paint-dipped holiday ornaments are a fantastic way for kids to express their creativity while adding a personal touch to your festive decor. Imagine the sparkle in their eyes as they dip various shapes into vibrant colors, transforming simple materials into beautiful, eye-catching ornaments that can be cherished for years to come.
To get started, gather some basic supplies that you likely already have at home. You’ll need:
- Clear plastic or wooden ornaments
- A variety of paint colors (acrylic or fabric paints work best)
- Paintbrushes
- Paper plates or trays for paint
- Glitter (optional, but who doesn’t love a little sparkle?)
- Ribbons or strings for hanging
Once you have your supplies ready, the fun really begins! First, set up a crafting station where the kids can work comfortably. Make sure to cover the surfaces with newspaper or a plastic tablecloth to catch any paint drips. Encourage the kids to unleash their imagination—let them dip the ornaments in paint, swirl them around, or even use brushes to create patterns. The beauty of this craft is that there are no strict rules; it’s all about having fun and experimenting with colors.
As they paint, you might want to discuss color theory with them. For instance, mixing red and green can create a festive hue, while blue and silver might give their ornaments a wintery feel. This is a great opportunity to sneak in a little learning while they’re having a blast!
Once the ornaments are painted and dried, the next step is to add some finishing touches. This is where the glitter can come in handy. A light sprinkle of glitter can turn an already beautiful ornament into a shimmering masterpiece. After that, simply attach a ribbon or string for hanging, and voila! You have unique, homemade holiday ornaments that can adorn your tree or be gifted to family and friends.
To make this activity even more special, consider hosting a paint-dipped ornament party with friends or family. Set up multiple stations with different colors and styles of ornaments, and let everyone create their own. It could become a cherished holiday tradition that brings everyone together to celebrate creativity and joy.
In summary, paint-dipped holiday ornaments are not just a fun craft; they are a delightful way to engage children in the holiday spirit. They offer an opportunity for artistic expression, family bonding, and the creation of lasting memories. So, roll up those sleeves, grab some paint, and let the holiday crafting begin!
Q: What type of paint is best for paint-dipped ornaments?
A: Acrylic paint works wonderfully for this project because it adheres well to most surfaces and dries quickly. If you're using plastic ornaments, ensure the paint is suitable for that material.
Q: Can we use real ornaments for this craft?
A: Absolutely! Glass ornaments can be used, but be sure to supervise young children closely to avoid breakage. Plastic or wooden ornaments are safer options for younger kids.
Q: How can we store our paint-dipped ornaments?
A: Once dried, store your ornaments in a safe box with tissue paper or bubble wrap to prevent them from getting scratched or damaged. Label the box for easy access next holiday season!
Q: Can we use this technique for other crafts?
A: Definitely! The paint-dipping technique can be applied to various projects, such as creating unique gift tags, decorating picture frames, or even making colorful bookmarks.
Frequently Asked Questions
- What age group is suitable for paint-dipping crafts?
Paint-dipping crafts are perfect for children aged 4 and up! Younger kids can enjoy supervised activities, while older children can explore their creativity more independently. It’s all about having fun and letting their imaginations run wild!
- What materials do I need for paint-dipping crafts?
You'll need a few basic supplies: non-toxic paint, a shallow container for dipping, paper or fabric items to dip, and optional items like brushes or sponges for added effects. Don't forget to cover your workspace to avoid any messy surprises!
- How can I ensure the paint is safe for kids?
Always choose non-toxic, washable paints specifically labeled as safe for children. You can find these at craft stores or online. It's a good idea to read labels carefully and avoid any paints with harmful chemicals.
- Can I use any type of paper for these crafts?
Absolutely! You can use construction paper, cardstock, or even recycled paper. Each type will give a different texture and effect, so feel free to experiment and see what works best for your project!
- What do I do if the paint isn't sticking well?
If the paint isn't adhering properly, make sure the surface is clean and dry. You might also want to try using a primer or base coat if you're working with fabric. Additionally, check if the paint is suitable for the material you're using.
- How do I clean up after a paint-dipping session?
Cleaning up can be easy! Start by soaking any brushes or sponges in warm, soapy water. For surfaces, a damp cloth will usually do the trick. Just remember to act quickly before the paint dries!
- Can paint-dipping crafts be done indoors?
Yes, but it’s best to do them in a space that can handle a little mess. Lay down some old newspapers or a plastic drop cloth to protect your surfaces. If you’re worried about spills, outdoor sessions can be a blast too!
- Are there any tips for making the crafts more fun?
Absolutely! Try playing music while crafting, or turn it into a friendly competition to see who can create the most colorful design. You can also encourage kids to tell a story about their creations, making it a more engaging experience!
- What should I do with the finished projects?
Display them proudly! You can hang painted flowers, use the bookmarks, or gift the colorful rocks to friends and family. Each piece tells a story, and sharing them can inspire others to get creative too!


