Crafts to Teach Kids about Different Cultures
This article explores various crafts that can help children learn about and appreciate diverse cultures around the world, fostering creativity and understanding through hands-on activities.
Cultural crafts provide a unique way for children to engage with the traditions and values of different societies. They serve as a bridge, connecting kids to the rich tapestry of human experience. Imagine sitting down with your child, surrounded by colorful materials, as you embark on a journey through time and space, exploring the customs of far-off lands. Crafts not only stimulate creativity but also ignite curiosity about the world. When children create something with their hands, they are not just making art; they are building a deeper understanding of the cultures that inspire their projects. This hands-on approach allows them to appreciate the stories, symbols, and significance behind each craft, making cultural education both fun and meaningful.
Beadwork is a vibrant tradition in many African cultures, rich with history and symbolism. It’s not just about stringing beads together; each piece tells a story, representing the identity and values of the community. Kids can dive into this colorful world by creating their own jewelry, learning about the different meanings behind the colors and patterns they choose. For instance, did you know that in some cultures, red symbolizes strength, while blue represents peace? By engaging in beadwork, children not only develop fine motor skills but also gain insight into the cultural significance of their creations.
Gathering the right materials is essential for successful beadwork. Here’s a simple list of what you’ll need:
- Colorful beads (glass, wooden, or plastic)
- String or elastic cord
- Scissors
- Glue (optional, for securing ends)
With these supplies in hand, your child is ready to embark on their beadwork journey!
Let’s guide your little artist through a simple project to create a beautiful beaded bracelet. Follow these steps:
- Cut a piece of string about 12 inches long.
- Choose a variety of beads and lay them out in a pattern.
- String the beads onto the cord, leaving some space at the end.
- Once all beads are on, tie a knot to secure them in place.
- Trim any excess string and, if desired, add a drop of glue to the knot for extra security.
Voila! Your child has created their own piece of wearable art, infused with cultural significance.
Origami, the art of paper folding, is a beloved Japanese tradition that captivates children and adults alike. It’s like magic—transforming a flat piece of paper into intricate shapes and figures! But beyond the folds and creases, origami teaches patience, precision, and the beauty of simplicity. Kids can explore this ancient art form while learning about its cultural significance, such as the symbolism of the crane, which represents peace and hope. Imagine the joy on your child's face as they create their first origami figure, feeling a sense of accomplishment while connecting to Japanese culture.
Understanding basic origami folds is crucial for beginners. Here are some fundamental techniques:
- Valley Fold: Folding the paper towards you.
- Mountain Fold: Folding the paper away from you.
- Squash Fold: A technique used to flatten a folded section.
With these techniques in mind, your child will be well-equipped to dive into the world of origami!
Engaging projects can inspire creativity in children. Here are a few easy origami projects that kids can enjoy making:
- Origami Cranes: A symbol of peace, these are a classic project.
- Paper Flowers: Perfect for brightening up any room.
- Origami Animals: Fun creatures that can be made with just a few folds.
Each project not only enhances their folding skills but also connects them to the cultural stories behind these shapes.
Native American crafts are rich in history and symbolism, reflecting the diverse cultures of various tribes. These crafts often incorporate natural materials, and each piece carries deep meaning. By engaging in Native American crafts, children can learn about the values of respect for nature, community, and storytelling. For instance, creating a dreamcatcher is not just a fun activity; it’s a way to understand the significance of dreams and protection in Native American culture. These crafts serve as a reminder of the importance of heritage and the stories that shape our world.
Dreamcatchers are traditional Native American crafts with deep meaning. Here’s how kids can create their own:
- Gather materials such as a hoop (can be made from a twig or wire), string, beads, and feathers.
- Start by wrapping the hoop with string.
- Create a web pattern using more string, incorporating beads for decoration.
- Attach feathers to the bottom for added flair.
As they craft, children can learn the story behind dreamcatchers and their purpose in Native American culture.
Pottery is another significant aspect of Native American culture. It’s not just about making pots; it’s about connecting with the earth and tradition. Children can explore clay art by making simple pottery items, like bowls or figurines. Working with clay allows kids to express their creativity while learning about the techniques and tools used by Native American artisans. Plus, it’s a tactile experience that engages their senses and imagination!
Q: Why are cultural crafts important for children?
A: Cultural crafts provide a hands-on way for children to learn about and appreciate diverse cultures, fostering creativity and understanding.
Q: What age is appropriate for these crafts?
A: Most crafts can be adapted for various age groups, but it's best to start with simpler projects for younger children and progressively introduce more complex ones.
Q: How can I incorporate these crafts into learning?
A: You can integrate discussions about the culture, history, and significance of each craft, making it a comprehensive learning experience.
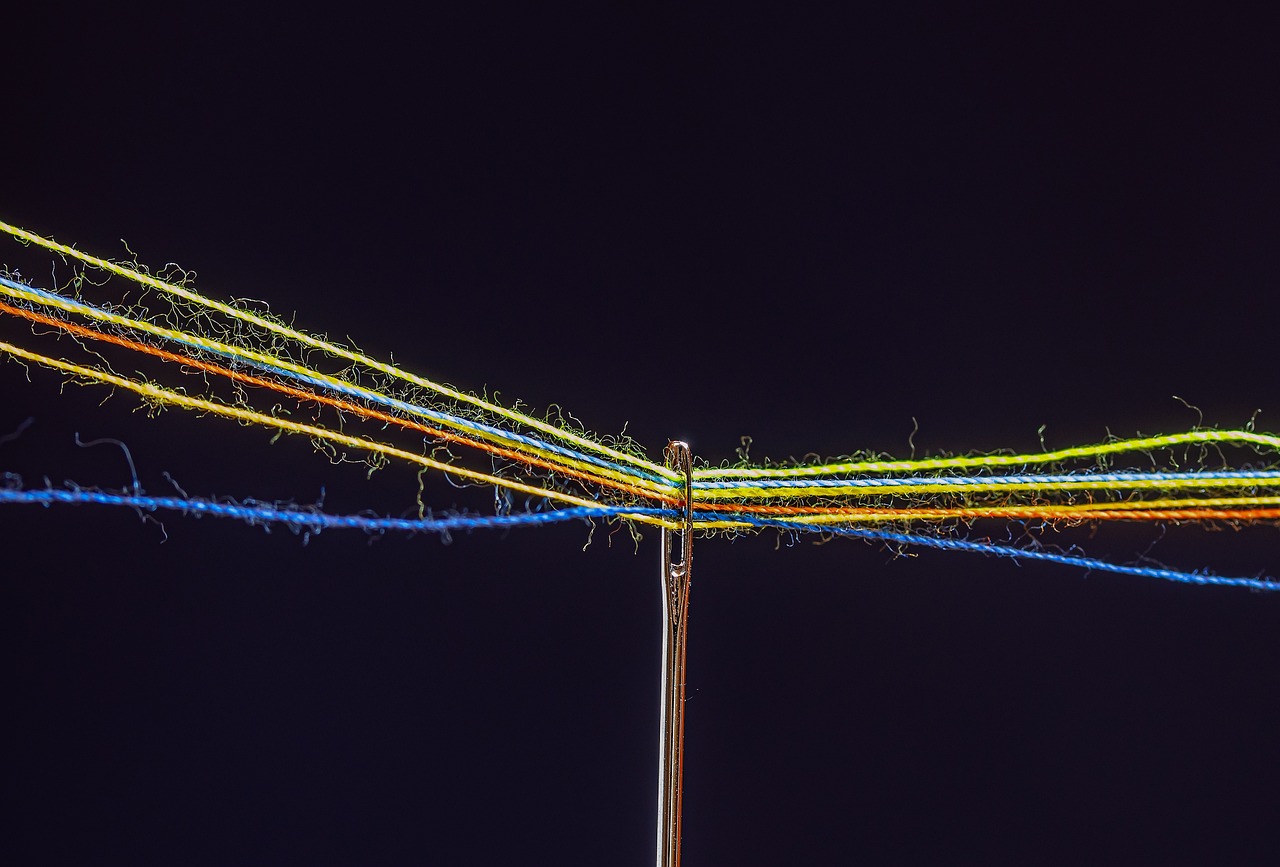
Introduction to Cultural Crafts
Cultural crafts provide a unique and engaging way for children to dive deep into the heart of different societies. Imagine a world where kids can travel without leaving their homes, exploring the vibrant tapestries of global traditions through their own hands! Crafts not only foster creativity but also serve as a bridge that connects young minds to the history, values, and stories of various cultures. When children engage in crafting, they are not just making something beautiful; they are also learning the significance behind each piece, understanding the cultural narratives that have been passed down through generations.
The beauty of cultural crafts lies in their ability to promote diversity and inclusion. By introducing children to different artistic expressions, we encourage them to appreciate the rich mosaic of human experience. Take, for example, the intricate designs of African beadwork or the delicate folds of Japanese origami. Each craft carries its own story and significance, allowing children to step into the shoes of others and see the world from a different perspective. This hands-on approach not only enhances their creativity but also nurtures empathy and understanding.
Engaging in cultural crafts can also serve as a fantastic educational tool. Parents and educators can use these activities to spark discussions about geography, history, and social studies. For instance, while creating a Native American dreamcatcher, children can learn about the symbolism behind the design and its purpose in Native American culture. This multi-dimensional learning experience can ignite a passion for exploration and curiosity about the world around them.
In essence, cultural crafts are more than just activities; they are a pathway to understanding and appreciating the vast array of cultures that enrich our global community. By integrating these crafts into education, we not only enhance creativity but also cultivate a generation of culturally aware individuals who celebrate diversity. So, let's roll up our sleeves and embark on this creative journey that promises to be as enlightening as it is fun!
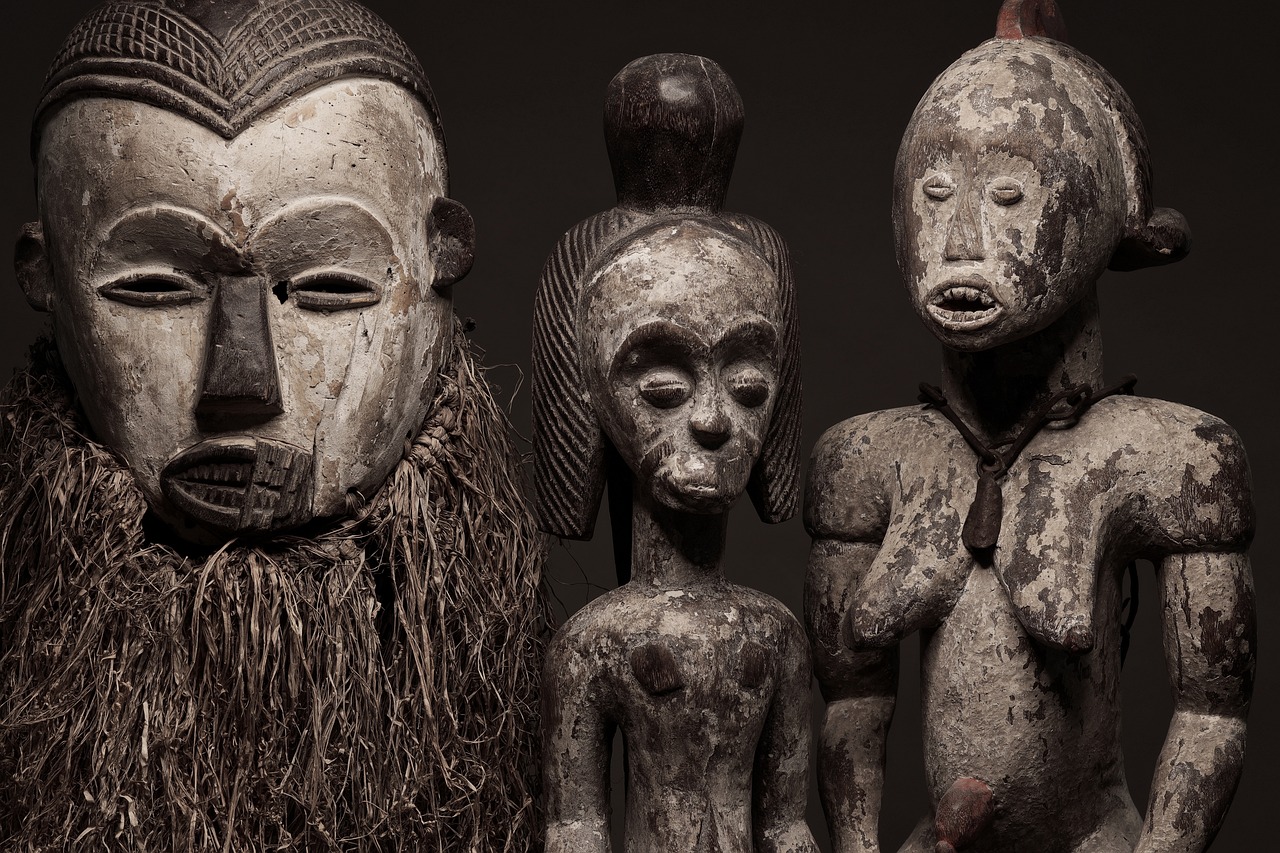
African Beadwork
African beadwork is not just a craft; it's a vibrant expression of culture, history, and identity. For centuries, various African tribes have used beads to tell stories, celebrate milestones, and signify social status. Imagine wearing a necklace that not only looks beautiful but also carries the weight of tradition and meaning! Each bead can represent a different aspect of life, from love and friendship to ancestry and spirituality. As children engage in beadwork, they don’t just create colorful pieces; they also connect with the rich tapestry of African heritage.
Beadwork varies greatly across the continent, with each region offering its unique style and significance. For instance, the Maasai people of Kenya and Tanzania are famous for their intricate beadwork that often features bold colors and geometric patterns, while the Zulu tribe in South Africa employs a more subtle approach, using beads to create delicate, intricate designs. By exploring these different styles, children can gain a deeper appreciation for the diverse cultures that make up Africa.
Before diving into the creative process, it’s essential to gather the right materials. Here’s a simple list of what you’ll need:
- Beads: Choose a variety of colors, shapes, and sizes.
- String or Wire: This will hold your beads together; ensure it’s durable.
- Scissors: For cutting the string or wire to the desired length.
- Glue (optional): Useful for securing knots or adding embellishments.
Having these materials ready will make the beadwork process smoother and more enjoyable for kids. It's like preparing for a fun adventure; you wouldn’t want to head out without the right gear!
Now that we have our materials, let’s embark on a simple yet exciting beadwork project: making a beaded bracelet! This project is perfect for kids and can be completed in a few easy steps.
- Measure and Cut: Start by measuring the string or wire around your wrist. Leave a little extra length for tying knots later. Cut the string to the desired length.
- Design Your Pattern: Before stringing the beads, lay them out in a pattern. This can be random or follow a specific design; the choice is yours!
- String the Beads: Begin threading the beads onto the string, one by one. Encourage kids to be creative with their designs!
- Secure the Ends: Once all the beads are on, tie a knot at each end to secure them. If using wire, twist the ends together tightly.
- Show It Off: Wear your beautiful creation proudly or gift it to someone special!
This step-by-step guide not only teaches kids a valuable skill but also allows them to express their creativity while learning about the cultural significance of beadwork. It's amazing how something so simple can foster a sense of achievement and connection to a broader world!

Materials Needed for Beadwork
When diving into the colorful world of beadwork, it's essential to gather the right materials to ensure a fun and successful crafting experience. Think of it like preparing for a treasure hunt; you need the right tools to uncover the gems of creativity hidden within you! Here’s a list of the basic supplies you’ll need:
- Beads: These come in various shapes, sizes, and colors. You can use glass, wooden, or plastic beads, depending on the project and your preference.
- String or Wire: This is what you'll use to thread your beads. Nylon string or elastic cord works well for bracelets, while beading wire is great for more intricate designs.
- Scissors: A good pair of scissors will help you cut your string or wire to the desired length.
- Glue (optional): If you want to secure your knots or embellishments, a little craft glue can go a long way.
- Beading Mat (optional): This isn't a necessity, but having a beading mat can help keep your beads from rolling away while you work.
Now that you have a grasp of the materials needed, it’s time to get creative! Each item plays a pivotal role in bringing your beadwork to life, much like how each instrument contributes to a beautiful symphony. So, gather your supplies, and let the fun begin!
As you embark on this creative journey, remember that beadwork is not just about the finished product; it’s also about the stories and traditions behind the beads themselves. Each bead can represent a different culture, a unique story, or a cherished memory. So, as you string your beads together, think about the connections you’re making—not just with the materials, but with the cultures they represent.
| Material | Description |
|---|---|
| Beads | Variety of shapes, sizes, and materials to choose from. |
| String/Wire | Essential for threading beads; choose based on your project. |
| Scissors | Used for cutting string or wire to desired lengths. |
| Glue | Optional for securing knots and embellishments. |
| Beading Mat | Helps keep beads organized and prevents rolling. |
With these materials in hand, you're ready to embark on a beadwork adventure that not only enhances your crafting skills but also deepens your understanding of the rich cultural tapestry woven through this art form. So, let’s get started and create something beautiful!
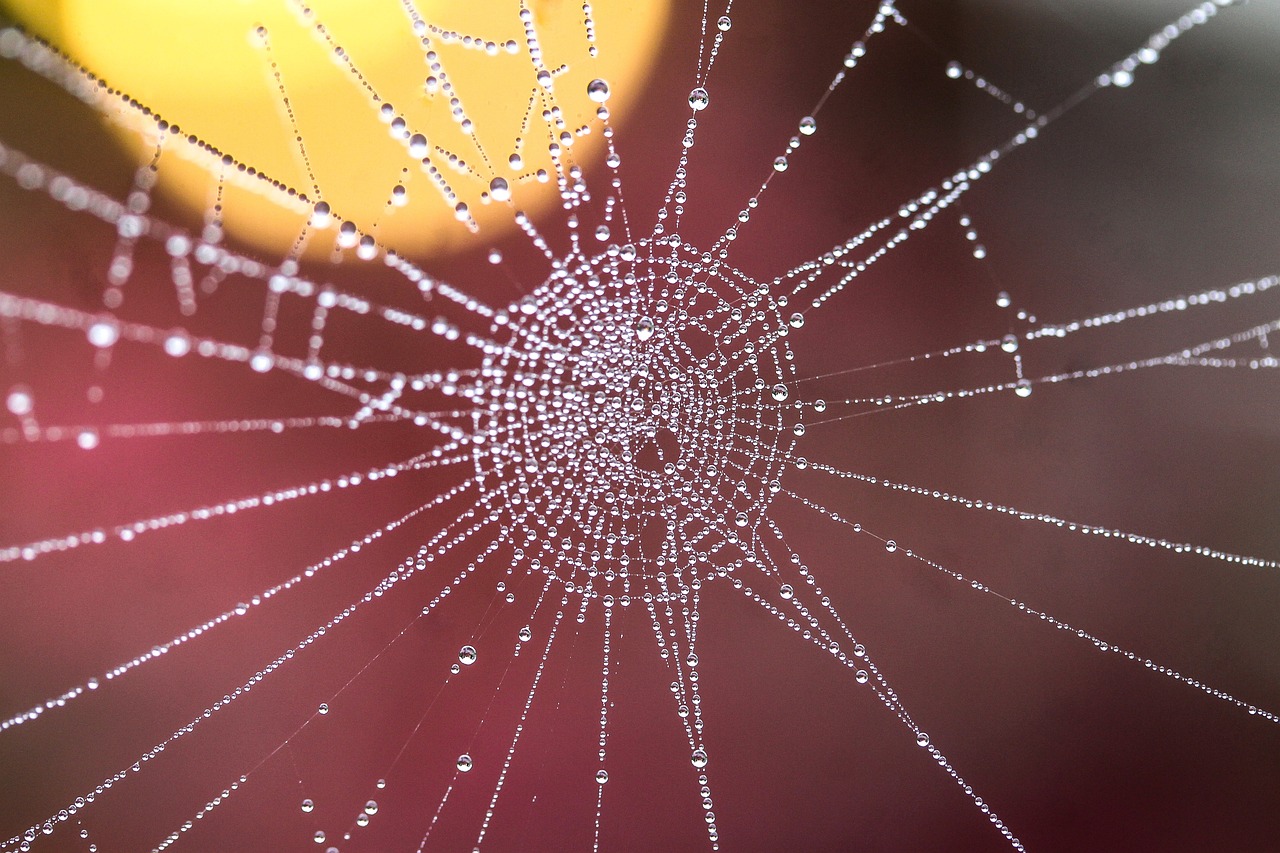
Step-by-Step Beadwork Project
Creating your own beadwork masterpiece can be an exciting adventure! Not only does it allow children to express their creativity, but it also helps them appreciate the vibrant traditions of African cultures. Let’s dive into a simple step-by-step project that will guide kids through making their very own beaded bracelets. This project is not only fun but also an excellent way to develop fine motor skills and patience.
To start, gather all the materials you’ll need. Here’s a quick list of supplies:
- Colorful beads (plastic or wooden)
- Elastic cord or string
- Scissors
- A ruler or measuring tape
- A small bowl (to hold the beads)
Once you have everything ready, let’s jump into the steps:
- Measure the Cord: Use the ruler to cut a piece of elastic cord about 12 inches long. This length is perfect for a bracelet, allowing for some extra length to tie knots later.
- Prepare the Beads: Pour the beads into a small bowl. This makes it easier for kids to pick and choose their favorite colors and designs without spilling them everywhere!
- String the Beads: Start threading the beads onto the elastic cord. Encourage kids to create patterns, like alternating colors or making shapes. This is where creativity truly shines!
- Finish It Off: Once the bracelet is full to their liking, tie the ends of the elastic cord together in a double knot. Make sure it’s tight, so the beads don’t slip off. Trim any excess cord with scissors.
- Admire Your Work: Finally, wear the bracelet with pride! Encourage kids to share their creations with family and friends, explaining the colors and patterns they chose.
Not only will kids enjoy the satisfaction of making something with their own hands, but they’ll also learn about the cultural significance behind beadwork. In many African communities, beads are used to convey messages, represent social status, and celebrate important life events. This project provides a wonderful opportunity for discussions about culture and creativity.
As a fun twist, you can encourage kids to create matching necklaces or even anklets using the same techniques. This way, they can expand their beadwork skills while deepening their appreciation for the art form. So, gather those beads and let the creative journey begin!
Q: What age is appropriate for kids to start beadwork?
A: Generally, children aged 5 and up can start with simple beadwork projects. Just ensure that the beads are large enough to prevent choking hazards for younger kids.
Q: Can I use different types of beads?
A: Absolutely! You can use wooden, plastic, or even glass beads. Just make sure they are safe for kids and appropriate for their skill level.
Q: How can I make beadwork projects more educational?
A: Incorporate discussions about the cultural significance of beadwork, such as its history and the meanings behind different colors and patterns. This will enrich the experience and make it more meaningful.
Japanese Origami
Origami, the exquisite art of paper folding, is more than just a fun activity; it's a beautiful expression of Japanese culture that has captivated hearts around the globe. Imagine transforming a simple piece of paper into a delicate crane or a blooming flower with just a few folds! This ancient craft teaches patience, precision, and creativity, making it a fantastic way for kids to explore cultural traditions while developing fine motor skills. By engaging in origami, children not only learn about the techniques involved but also gain insight into the rich history and philosophy behind this art form. It’s like diving into a world where creativity meets tradition, and every fold tells a story.
One of the most fascinating aspects of origami is its cultural significance. In Japan, the crane is a symbol of peace and good fortune, often associated with the famous legend that states if one folds a thousand cranes, their wish will be granted. This legend adds a magical touch to the craft, making it a perfect project for children to embrace hope and creativity. As they fold paper, they are not just creating art; they are participating in a cultural narrative that has been passed down through generations.
Before diving into fun projects, it's essential for kids to grasp some basic origami techniques. Understanding these foundational folds is like learning the ABCs of origami. Here are a few fundamental techniques that every young origami artist should know:
- Valley Fold: This is the most common fold, where the paper is folded towards you, creating a "V" shape.
- Mountain Fold: The opposite of the valley fold, this one involves folding the paper away from you, forming a peak.
- Reverse Fold: This technique allows you to change the direction of a previous fold, giving your creation more dimension.
- Squash Fold: A fun fold that opens up a section of paper and flattens it, often used for creating petals or wings.
By mastering these basic folds, kids will be well-equipped to tackle more complex designs, building their confidence and skill level as they go.
Now that the basics are covered, it’s time to get creative! Here are a couple of engaging origami projects that kids will love:
- Origami Cranes: A classic project that symbolizes peace and hope. With a few simple folds, children can create these elegant birds that can be used as decorations or gifts.
- Origami Flowers: Brighten up any space with colorful paper flowers. These can be made in various shapes and sizes, allowing kids to experiment with colors and patterns.
These projects not only provide a sense of accomplishment but also encourage children to express their individuality through their choice of paper and designs. Plus, they can share their creations with family and friends, spreading the joy of origami beyond their own hands.
As kids engage in these origami projects, they also develop essential skills such as concentration, patience, and fine motor coordination. So, why not grab some colorful paper and embark on this exciting journey into the world of Japanese origami? It’s a craft that blends creativity and culture, making it a perfect addition to any child's artistic repertoire.
Q: What materials do I need to start with origami?
A: All you need is some square paper! You can use origami paper, craft paper, or even recycled paper. Just make sure it's not too thick, as thin paper is easier to fold.
Q: Is origami suitable for all ages?
A: Yes! Origami can be enjoyed by people of all ages. While younger children may need adult supervision for complex designs, they can start with simple projects and gradually move on to more intricate ones.
Q: How long does it take to learn origami?
A: Learning origami is a gradual process. Some simple designs can be mastered in minutes, while more complex ones may take hours or days. The key is to practice and enjoy the process!
Q: Can origami be used for educational purposes?
A: Absolutely! Origami teaches valuable skills such as spatial awareness, problem-solving, and following instructions. It can also be integrated into lessons about geometry and art.

Basic Origami Techniques
Origami, the enchanting art of paper folding, opens up a world of creativity and imagination for kids. It’s not just about folding paper; it’s about transforming a simple sheet into something extraordinary! To get started, kids need to grasp a few basic techniques that will serve as the foundation for their origami adventures. Think of these techniques as the building blocks of a magical castle—each fold is a step closer to creating something beautiful.
One of the first techniques to master is the valley fold. This fold is created by bringing the top edge of the paper down to meet the bottom edge, forming a 'V' shape. It’s like creating a little valley in the paper! Next up is the mountain fold, which is the opposite of a valley fold. Here, you’ll fold the paper away from you, creating a peak that resembles a mountain. These two folds are essential and often used in combination throughout various origami projects.
Another important technique is the reverse fold. This is where the magic truly happens! A reverse fold allows you to change the direction of a previously made fold, giving your origami figure more dimension and character. It’s like flipping a pancake—you need to turn it to get that perfect golden brown! Additionally, the pleat fold is useful for creating intricate designs. By making a series of valley and mountain folds in a row, you can create a beautiful pleated effect, much like the ruffles on a fancy dress.
To make the learning process even more engaging, let’s look at a few common origami techniques in a simple table:
| Technique | Description |
|---|---|
| Valley Fold | Folding the paper towards you to create a 'V' shape. |
| Mountain Fold | Folding the paper away from you to create a peak. |
| Reverse Fold | Changing the direction of a previous fold. |
| Pleat Fold | A series of alternating valley and mountain folds for ruffles. |
Once kids have a handle on these basic techniques, they can start exploring various origami projects. It’s like learning to ride a bike—once you get the hang of it, the possibilities are endless! From simple paper boats to intricate cranes, the joy of folding paper can lead to endless creativity and fun. So, grab some colorful origami paper, and let the adventure begin!
Q: What type of paper is best for origami?
A: While you can use any paper, origami paper is specifically designed for folding and is typically lighter and more durable. It's often colored on one side and white on the other, which adds a nice touch to your creations!
Q: Can I use regular printer paper for origami?
A: Yes, you can! Regular printer paper works fine, but it may be a bit thicker and harder to fold compared to origami paper. Experimenting with different types of paper can lead to interesting results!
Q: Is origami difficult for beginners?
A: Not at all! While some designs can be complex, there are plenty of simple projects perfect for beginners. Starting with basic techniques will build your confidence and skills over time.
Fun Origami Projects
Origami is not just about folding paper; it’s a gateway to creativity and cultural appreciation! Children can dive into this fascinating art form and create beautiful pieces that reflect their imagination. One of the most exciting aspects of origami is that it allows kids to transform a simple sheet of paper into intricate designs, making it feel like magic. So, let’s explore some fun origami projects that will not only entertain but also educate kids about Japanese culture!
First up, we have the classic origami crane. This iconic figure symbolizes peace and hope in Japanese culture. Teaching kids how to fold a crane can spark conversations about its significance and the legend that says if you fold a thousand cranes, your wish will come true. Imagine the delight on their faces as they create their own flock of cranes, each one representing a dream or a wish! To make it even more special, children can decorate their cranes with colorful markers or patterns before folding.
Next, let’s fold some origami flowers! Who doesn’t love flowers? They brighten up any space and can carry deep meanings, especially in different cultures. Kids can learn to make a simple origami tulip or a beautiful lotus flower. These projects can be a great way to discuss how flowers are used in various cultures, from celebrations to rituals. Plus, once they’ve mastered the folding, they can create a whole bouquet to gift to someone special or decorate their rooms.
For a more playful project, consider making origami animals! Children can fold adorable creatures like frogs that can actually jump or dogs that can sit. This not only engages them in the folding process but also encourages imaginative play. They can even have a mini origami zoo, showcasing their creations to family and friends. The joy of watching their folded animals come to life is truly priceless!
To make the learning experience even more interactive, why not incorporate a little challenge? Set up a friendly competition where kids can showcase their origami skills. They can work in teams to create the most elaborate designs, and you can even have a display day where they present their work. This not only fosters teamwork but also builds confidence as they share their creations with others.
In summary, origami projects are a fantastic way for kids to engage with Japanese culture while enhancing their fine motor skills and creativity. Whether they're folding cranes, flowers, or animals, each project offers a unique opportunity for learning and fun. So grab some colorful paper, roll up those sleeves, and let the folding adventures begin!
Q: What age group is suitable for origami projects?
A: Origami can be enjoyed by children of all ages, but it's best to start with simple projects for younger kids (ages 5-7) and gradually introduce more complex designs as they develop their skills.
Q: Do I need special paper for origami?
A: While traditional origami paper is great, you can use any paper you have at home. Just ensure it's not too thick, as that can make folding difficult.
Q: How long does it take to learn origami?
A: The time it takes to learn origami varies by individual. Some simple projects can be completed in just a few minutes, while more complex designs may take longer. The key is practice and patience!
Q: Can origami help with other skills?
A: Absolutely! Origami helps improve fine motor skills, concentration, and problem-solving abilities. It also encourages creativity and can be a relaxing activity for kids.

Native American Crafts
Native American crafts are not just artistic expressions; they are a vibrant tapestry of history, culture, and spirituality. Each craft carries a story, reflecting the values, beliefs, and traditions of the various tribes across North America. By engaging in these crafts, children can gain a deeper appreciation for the rich heritage of Native Americans, fostering respect and understanding for diverse cultures. Imagine weaving together colorful beads or shaping clay into unique forms; these activities allow kids to connect with the past while embracing their creativity.
One of the most iconic crafts is the dreamcatcher. Traditionally, dreamcatchers were hung above sleeping areas to catch bad dreams, allowing only good dreams to pass through. This craft not only provides a fun hands-on activity but also teaches children about the significance of dreams in Native American culture. As they create their own dreamcatchers, kids can learn about the symbolism behind the materials they use, such as feathers and beads, which often represent different aspects of life and nature.
Another fascinating craft is pottery. Native American pottery is renowned for its intricate designs and functional beauty. Each piece tells a story, often depicting elements from nature or tribal legends. Children can explore their artistic sides by molding clay into simple pottery items. This not only allows them to experiment with textures and shapes but also connects them to the ancient practices of Native peoples who relied on pottery for storage and cooking.
To help children dive into these creative projects, here’s a simple guide to get started with dreamcatchers and pottery:
| Craft | Materials Needed | Basic Steps |
|---|---|---|
| Dreamcatcher |
|
|
| Pottery |
|
|
These crafts not only allow children to express their creativity but also serve as a bridge to understanding the rich traditions of Native American cultures. By making dreamcatchers and pottery, kids can appreciate the stories behind these crafts, making the experience both educational and enjoyable. So, why not gather some materials and start crafting? It’s a fun way to learn about history and culture while creating something beautiful!
Here are some common questions about Native American crafts that can help guide your crafting journey:
- What materials are traditionally used in Native American crafts?
Common materials include natural items like feathers, beads, clay, and leather, each symbolizing different aspects of nature and life.
- Are there any specific cultural meanings behind the crafts?
Yes! Many crafts have deep cultural significance, often tied to spiritual beliefs, storytelling, and the natural world.
- Can children learn about Native American history through crafts?
Absolutely! Engaging in these crafts allows children to connect with the stories and traditions of Native Americans, fostering respect and understanding.
Creating Dreamcatchers
Creating dreamcatchers is not just a fun craft; it's a wonderful way to delve into the rich tapestry of Native American culture. Dreamcatchers, traditionally made by the Ojibwe people, are believed to filter out bad dreams and allow only good dreams to pass through. This craft offers kids a chance to learn about the symbolism and significance behind dreamcatchers while also engaging their creativity. Imagine weaving a beautiful piece of art that not only looks stunning but also carries a meaningful story!
To start this exciting project, you’ll need some basic materials, which are easily accessible. Here’s a quick rundown of what you’ll need:
- Flexible willow branch or a metal hoop
- String or yarn (preferably in various colors)
- Feathers
- Beads (optional)
- Scissors
- Glue (for securing decorations)
Once you have your materials ready, it's time to dive into the creation process. The first step is to form your hoop. If you’re using a willow branch, gently bend it into a circular shape and secure the ends together with string. If you're using a metal hoop, you can skip this step. Next, take your string and begin wrapping it around the hoop, creating a base for your web. As you wrap, you can incorporate various colors and textures, allowing your child to express their personal style.
Now comes the fun part: weaving the web! To create the classic dreamcatcher design, start from the top of the hoop and work your way down, looping the string through the hoop and back to the center. This process can be a bit tricky, but kids will love the challenge. Encourage them to experiment with different patterns and designs. The beauty of dreamcatchers lies in their uniqueness—no two are ever the same!
After the web is complete, it’s time to add the finishing touches. This is where your child can truly let their imagination soar. Attach feathers and beads to the bottom of the dreamcatcher using additional string. The feathers symbolize the connection to the spirit world, while beads can represent different life experiences. Each element added to the dreamcatcher can tell a story, making this craft not just an art project but a meaningful experience.
With a little patience and creativity, kids will have their very own dreamcatcher to hang above their beds, serving as a beautiful reminder of the good dreams that await them. Plus, this craft can spark conversations about Native American culture, traditions, and the importance of dreams in our lives. So gather your materials, roll up your sleeves, and let the crafting begin!
Q: What is the significance of dreamcatchers?
A: Dreamcatchers are believed to protect individuals from bad dreams while allowing good dreams to pass through. They hold cultural significance, particularly among Native American tribes.
Q: Can I use different materials for a dreamcatcher?
A: Absolutely! While traditional dreamcatchers use specific materials, feel free to get creative with what you have on hand. Fabric, beads, and even recycled materials can make unique dreamcatchers.
Q: Is this craft suitable for all ages?
A: Yes! While younger children may need assistance with certain steps, dreamcatcher crafting can be adapted for various skill levels, making it a great family activity.
Pottery and Clay Art
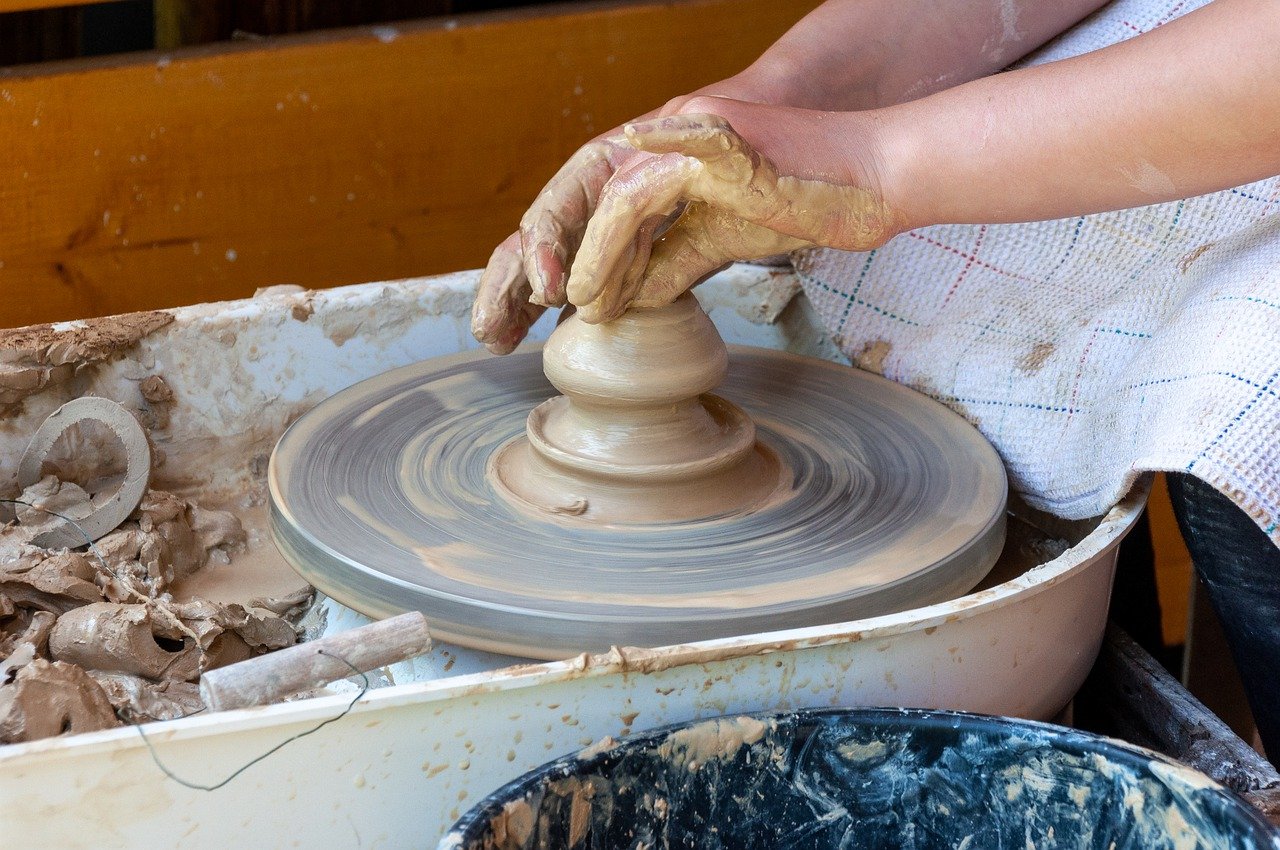
Pottery and clay art hold a special place in Native American culture, reflecting both the creativity and the rich history of various tribes. These crafts are not just about creating beautiful objects; they are a way to connect with the earth and tell stories through art. When children engage in pottery, they learn about the significance of the materials they use, the techniques passed down through generations, and the cultural narratives that shape their creations.
To get started with pottery, you don't need to be a professional artist. The beauty of working with clay is that it allows for endless experimentation and creativity. Children can create simple items such as bowls, pots, or decorative tiles, each piece infused with their imagination. As they mold the clay, they can also learn about the different tribes and their unique styles. For instance, the Pueblo people are known for their intricate designs, while the Cherokee often incorporate natural elements into their pottery.
Here’s a brief overview of what you’ll need to dive into the world of pottery:
- Clay: Air-dry clay is perfect for beginners, as it doesn’t require a kiln.
- Tools: Basic tools like rolling pins, sculpting tools, and water for smoothing are essential.
- Paints and Glazes: After the clay has dried, kids can use paints to add color and personalize their creations.
Creating pottery is not only about the end product but also about the process. Children can learn patience and the importance of taking their time to create something meaningful. To help them get started, here’s a simple project idea:
| Step | Instructions |
|---|---|
| 1 | Start by kneading the clay to make it pliable. |
| 2 | Roll the clay into a ball, then flatten it into a disc shape. |
| 3 | Pinch the edges to create a bowl shape or mold it into your desired form. |
| 4 | Use tools to add designs or textures to the surface. |
| 5 | Let the piece dry completely, then paint or glaze it as desired. |
As children create their pottery, encourage them to think about the stories behind their designs. Perhaps they can draw inspiration from nature, family traditions, or even the colors of their community. This connection to storytelling not only enriches their experience but also deepens their understanding of the cultural significance of pottery in Native American life.
In conclusion, pottery and clay art are not just crafts; they are gateways into the rich tapestry of Native American culture. By engaging in these activities, children not only develop their artistic skills but also gain a deeper appreciation for the traditions and values that shape our world.
Q: What type of clay is best for beginners?
A: Air-dry clay is ideal for beginners as it does not require a kiln and is easy to work with.
Q: How long does it take for pottery to dry?
A: It typically takes 24 to 48 hours for air-dry clay to dry completely, depending on the thickness of the piece.
Q: Can children paint their pottery?
A: Yes! Once the pottery is dry, children can use acrylic paints or special glazes to decorate their creations.
Frequently Asked Questions
- What age group is suitable for cultural crafts?
Cultural crafts can be enjoyed by children of all ages! However, some projects may be more suitable for specific age groups. For example, younger kids might enjoy simpler crafts like origami, while older children can tackle more complex projects like beadwork or pottery. Always consider the child's skill level and interests when choosing a craft!
- How can cultural crafts benefit my child's education?
Engaging in cultural crafts allows children to explore and appreciate different cultures, fostering creativity and critical thinking. These hands-on activities encourage kids to learn about history, traditions, and values in a fun and interactive way. Plus, they get to express themselves creatively while developing fine motor skills!
- Where can I find materials for these crafts?
Many materials for cultural crafts can be found around your home or at local craft stores. For example, you can use old magazines for origami, beads from previous projects, or natural materials for Native American crafts. Don't hesitate to get creative with what you have, and consider visiting local markets for unique items!
- Are there any safety concerns I should be aware of?
Absolutely! Safety is key when kids are crafting. Always supervise younger children, especially with small items like beads that could pose a choking hazard. Make sure to use non-toxic materials, and if you’re working with tools or scissors, ensure they're age-appropriate. Safety first, fun second!
- Can I adapt these crafts for group activities?
Definitely! Cultural crafts are fantastic for group settings, such as classrooms or family gatherings. You can modify projects to accommodate different skill levels and encourage teamwork. Plus, sharing the experience of creating something meaningful together can deepen understanding and appreciation of the cultures involved!


