DIY Upcycled Jar Lanterns
Are you ready to unleash your creativity and transform ordinary jars into stunning lanterns that light up your home or garden? Upcycling is not only a fantastic way to repurpose items but also an opportunity to express your personal style. Imagine walking through your garden at night, with the gentle glow of your unique jar lanterns illuminating the path. It’s like bringing a piece of magic into your space! In this guide, we’ll explore innovative ways to create beautiful, eco-friendly lighting solutions, providing you with the inspiration, tips, and techniques you need to get started.
First things first: choosing the right jars is crucial. You might have an array of jars sitting in your kitchen or garage, but not all of them will work for lanterns. Think about the size, shape, and material of the jars you want to use. For instance, mason jars are a popular choice due to their sturdy glass and classic look, while larger jars can create a more dramatic effect. Consider how the shape will affect the light diffusion; a wider jar might create a softer glow, while a taller, narrower jar can cast more focused light. The best part? You can mix and match different jars to create a unique collection that reflects your personality.
Now that you’ve got your jars, it’s time to gather the essential tools and materials. You’ll need a few basic supplies to kick off your DIY project, such as:
- Glass jars (various sizes and shapes)
- Paint or decorative materials (ribbon, twine, etc.)
- Lighting options (candles, LED lights, fairy lights)
- Adhesive (glue, tape)
- Protective gear (gloves, goggles if necessary)
Before diving into the fun part of decorating your jars, it's vital to clean and prepare them properly. This step ensures that your lanterns not only look great but are also safe to use. Make sure to remove any labels and sticky residue, which can be a bit of a hassle but is totally worth it. You can soak the jars in warm soapy water or use a mixture of vinegar and baking soda to tackle stubborn residue. Once they’re clean, dry them thoroughly to avoid any moisture that could affect your lighting.
Speaking of lighting, choosing the right light source is essential for setting the mood. You have several options to consider:
- Candles: Perfect for a warm, cozy ambiance, but be cautious about fire safety.
- LED lights: Safe, energy-efficient, and available in various colors and styles.
- Fairy lights: These tiny, twinkling lights can add a whimsical touch to your lanterns.
With your jars clean and your lighting selected, it’s time to get creative! Adding decorative elements can truly elevate your jar lanterns. You can paint the jars in vibrant colors, wrap them with twine or ribbon, or even embellish them with beads and charms. The options are endless! Think of your lanterns as a blank canvas waiting for your personal touch. Whether you want a rustic, bohemian vibe or a sleek, modern look, your creativity will shine through.
As you embark on this crafting journey, remember that safety is paramount, especially if you’re using candles. Understanding fire safety tips is crucial to prevent any accidents. Always place candles on a stable surface, away from flammable materials, and never leave them unattended. If you plan on displaying your lanterns outdoors, weatherproofing is essential. Consider using outdoor-safe materials and sealing your jars to protect them from the elements, ensuring they last for many seasons to come.
Finally, displaying your lanterns can enhance their beauty and create a warm atmosphere. Indoor arrangements can add charm to your living space, while outdoor setups can make your garden or patio feel magical. Think about creative ways to group your lanterns, such as hanging them from trees or placing them on tables to create an enchanting lighting display. The key is to let your imagination run wild!
Q: Can I use plastic jars for lanterns?
A: While glass jars are preferred for their aesthetic and durability, you can use plastic jars as long as you choose battery-operated lights to avoid fire hazards.
Q: How do I weatherproof my lanterns?
A: You can use outdoor-safe sealant or spray to coat your jars, ensuring they are protected from rain and moisture.
Q: What types of paint are safe for glass?
A: Acrylic paint is a popular choice for glass projects as it adheres well and can be sealed for durability.

Choosing the Right Jars
When it comes to crafting stunning upcycled jar lanterns, the first step is to choose the right jars. This might seem like a trivial detail, but the size, shape, and material of your jars can significantly influence the overall look and functionality of your lanterns. Imagine trying to create a cozy atmosphere with a tiny jar that barely fits a tea light! Instead, envision a larger, more elegant jar that can house a flickering candle, casting mesmerizing shadows across your space.
Start by considering the size of the jars. Larger jars can accommodate bigger light sources, like pillar candles or strings of fairy lights, while smaller jars might work best for tea lights or LED candles. The shape of the jar is just as important; round jars can provide a classic look, while square or uniquely shaped jars can add an artistic flair. Don't forget to think about the material—glass jars are popular for their transparency and ability to showcase the light, but ceramic or metal jars can also add a rustic touch to your decor.
Here are some popular jar types you might consider:
- Mason Jars: These are a classic choice, perfect for creating a vintage feel.
- Glass Bottles: Tall and slender, they can create a beautiful line of light.
- Votive Holders: Ideal for small, intimate settings.
- Fish Bowls: Great for larger arrangements, allowing for creative layering of lights and decorations.
Additionally, think about the functionality of your lanterns. Will they be used indoors or outdoors? If you plan to display them outside, consider jars with a more robust design to withstand the elements. You might also want to choose jars that can be easily sealed or closed to protect the light source from wind or rain. The right choice will not only enhance the aesthetic appeal but also ensure your lanterns are practical and durable.
In summary, the process of choosing the right jars is about blending creativity with functionality. Take your time to explore various options, and don’t hesitate to mix and match different styles to create a truly unique lantern display that reflects your personal taste. After all, the jars you select will be the foundation of your beautiful upcycled lanterns, setting the stage for the enchanting glow that will light up your home or garden.
Essential Tools and Materials
When embarking on your DIY journey to create stunning upcycled jar lanterns, having the right tools and materials at your fingertips is absolutely essential. Think of this as your crafting toolkit; it’s the foundation that will support your creative ambitions and ensure a smooth crafting experience. First and foremost, you’ll need a variety of jars. These can be anything from old mason jars to empty condiment containers. The beauty of this project lies in the diversity of jars you can use, so don’t hesitate to explore your kitchen and recycle what you find. Remember, the more unique the jar, the more character your lantern will have!
Next, let’s talk about the tools. You will need:
- Scissors - For cutting ribbons, twine, or other decorative materials.
- Hot glue gun - This will be your best friend for sticking embellishments onto your jars.
- Paintbrushes - If you decide to paint your jars, a good set of brushes will help you achieve a professional finish.
- Sandpaper - For smoothing out any rough edges, especially if you’re working with glass jars.
In addition to tools, you’ll need materials to bring your lanterns to life. Consider gathering:
- Paint - Acrylic or glass paint works wonders for adding color and personality to your jars.
- Twine or ribbon - These can be used to wrap around the neck of the jar for a rustic touch.
- Embellishments - Think beads, buttons, or even dried flowers to add a unique flair to your creations.
- Lighting options - Depending on your choice, you might need candles, LED lights, or fairy lights to illuminate your lanterns.
It's also a good idea to have some protective gear on hand, such as gloves and an apron, especially if you're working with paint or sharp objects. This ensures that you can focus on the fun part of crafting without worrying about any mess or injuries. Lastly, don’t forget to have a clean workspace! A tidy area will not only help you find your materials easily but will also spark creativity as you work.
So, gather your tools and materials, and prepare to unleash your creativity! With the right supplies, you’ll be well on your way to creating beautiful, eco-friendly lanterns that will light up your home and garden.
Cleaning and Preparing Jars
Before diving into the exciting world of DIY upcycled jar lanterns, it's essential to give your jars a thorough cleaning and preparation. This step is crucial because it ensures that your lanterns not only look great but are also safe to use. Imagine the disappointment of spending hours crafting a beautiful lantern, only to find that the remnants of the previous contents or sticky labels ruin its appearance! So, let’s roll up our sleeves and get those jars sparkling clean.
Start by rinsing your jars with warm water to remove any loose debris. This initial rinse helps to loosen any residue that might be clinging to the sides. After that, grab some dish soap and a soft sponge. It’s important to use a gentle sponge to avoid scratching the glass. Scrub the inside and outside of the jars thoroughly, paying special attention to the corners and edges where grime tends to hide. If you’re dealing with particularly stubborn stains, a mixture of baking soda and water can work wonders. Just apply the paste to the stained areas, let it sit for a few minutes, and then scrub away.
Once your jars are clean, it’s time to tackle those pesky labels. Removing labels can sometimes feel like a battle, but with the right techniques, you can win this war! Here are a few effective methods:
- Soaking: Fill a bowl or sink with warm water and a few drops of dish soap. Submerge the jars and let them soak for about 15-30 minutes. This will help the labels peel off more easily.
- Using Oil: If soaking doesn’t do the trick, try applying a bit of vegetable oil or peanut butter to the label. Let it sit for a few minutes, then gently scrape it off with a plastic scraper or your fingernail.
- Commercial Adhesive Removers: For the most stubborn labels, you can use a commercial adhesive remover. Just follow the manufacturer's instructions carefully.
After removing the labels, you might still notice some sticky residue left behind. No worries! A little rubbing alcohol or vinegar on a cotton ball can help eliminate that residue, leaving your jars pristine and ready for decoration. Once you’ve cleaned and dried your jars, take a moment to inspect them for any chips or cracks. It’s essential to ensure they are in good condition, especially if you plan to use them with candles, as damaged glass can pose serious safety risks.
With your jars now clean and prepared, you're one step closer to creating those stunning lanterns! Just think about how rewarding it will be to see your unique creations glowing softly in your home or garden. So, gather your tools and materials, and let your creativity shine!
Q: Can I use any type of jar for my lanterns?
A: While you can use various types of jars, it's best to choose glass jars that are heat-resistant, especially if you're using candles. Mason jars, pickle jars, and even old candle jars can work beautifully!
Q: How do I weatherproof my lanterns for outdoor use?
A: To weatherproof your lanterns, consider applying a clear sealant or spray varnish designed for outdoor use. This will help protect them from rain and moisture.
Q: What type of lighting is safest for my jar lanterns?
A: LED lights are the safest option as they don’t produce heat and are energy-efficient. If you prefer candles, make sure to use them in a way that minimizes fire risks.
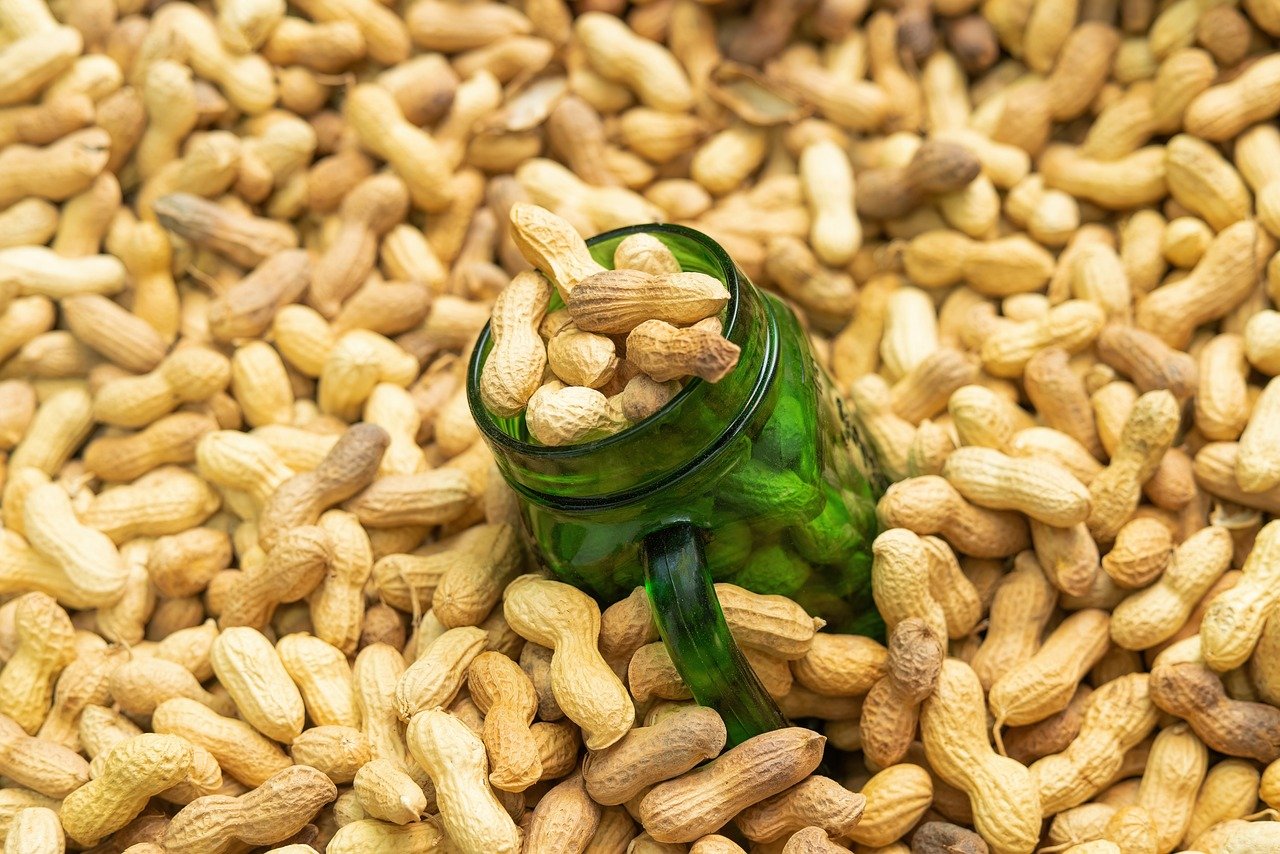
Removing Labels and Residue
When it comes to transforming ordinary jars into stunning lanterns, one of the first steps is to make sure those jars are free of any labels and sticky residue. After all, you want your creative designs to shine without any distractions! So, how do you effectively remove those pesky labels? Well, there are several methods you can try, and some are more effective than others depending on the type of adhesive used.
First off, a simple soak in warm, soapy water can work wonders. Fill a basin with hot water and add a few drops of dish soap. Let your jars soak for about 15-30 minutes. This will loosen the adhesive, making it easier to peel off the label. Once you’ve done that, use a sponge or a cloth to scrub away any remaining residue. If you find some stubborn spots, don’t fret! You can create a paste with baking soda and water. Apply this paste to the sticky areas, let it sit for a few minutes, and then scrub it off. It’s like magic!
In some cases, you might encounter labels that just don’t want to budge. For these situations, you can try using a little bit of rubbing alcohol or vinegar. Just soak a cotton ball in either liquid and apply it to the label. Let it sit for a few minutes to penetrate the adhesive, and then gently peel the label away. If any residue remains, the alcohol or vinegar will help dissolve it, leaving your jar clean and ready for decoration.
Here’s a quick summary of the methods you can use:
- Warm, Soapy Water: Soak for 15-30 minutes, then scrub.
- Baking Soda Paste: Apply, let sit, then scrub.
- Rubbing Alcohol or Vinegar: Soak a cotton ball, apply, then peel.
Once your jars are clean, give them a good rinse and let them dry completely. This is crucial because any leftover moisture can interfere with your decorative techniques later on. Remember, the cleaner the canvas, the better your lanterns will look! So take your time with this step, and soon enough, you’ll have a collection of pristine jars ready for your imaginative touch.
Q: Can I use any type of jar for my lanterns?
A: Absolutely! You can use glass jars, mason jars, or even plastic jars. Just make sure they are clean and in good condition.
Q: What if the label doesn’t come off completely?
A: If you still have some residue left, try using a little bit of cooking oil or peanut butter. Apply it to the sticky area, let it sit for a few minutes, and then wipe it off with a cloth.
Q: Is it safe to use candles in my upcycled jars?
A: Yes, but you should always follow fire safety guidelines. Make sure the jar is heat-resistant and keep flammable materials away from the flame.
Q: How can I weatherproof my lanterns for outdoor use?
A: You can use a weatherproof sealant or spray to protect your lanterns from the elements. Make sure to apply it according to the manufacturer's instructions.
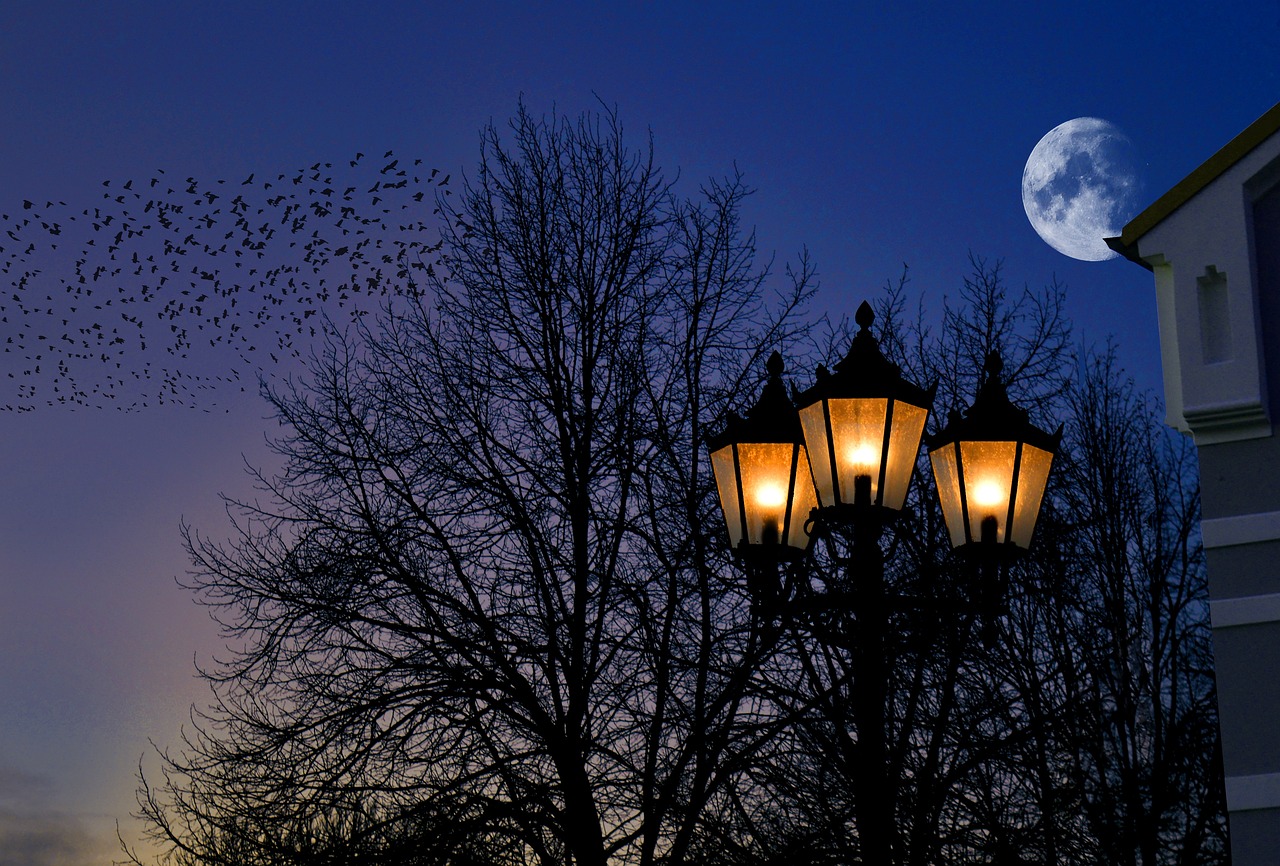
Choosing Appropriate Lighting
When it comes to crafting your stunning upcycled jar lanterns, choosing the right lighting is just as important as selecting the jars themselves. The light source not only affects the ambiance of your space but also plays a crucial role in the overall safety and functionality of your lanterns. So, what are your options? Let’s dive into the various types of lighting you can use and how each can transform your creations.
First up, we have the classic candle. Candles exude a warm, inviting glow that can instantly elevate the mood of any setting. However, they do come with their own set of considerations. For instance, if you're using candles, make sure the jar is large enough to accommodate the flame and that it’s made from heat-resistant materials. Additionally, always supervise burning candles to prevent any fire hazards.
Next on the list are LED lights. These are a fantastic option if you’re looking for a safer, long-lasting alternative to traditional candles. LED lights come in various forms, such as strips, bulbs, or even tiny fairy lights. They are energy-efficient and can be powered by batteries, making them incredibly versatile. You can easily tuck them inside the jars and create a mesmerizing twinkle that mimics the stars, perfect for both indoor and outdoor settings.
Speaking of fairy lights, they deserve a special mention! Fairy lights can add a whimsical touch to your jar lanterns. With their delicate strands of tiny bulbs, they can be wrapped around the inside or outside of the jar, creating a magical effect. Plus, they are available in various colors, allowing you to customize the look of your lanterns to match your decor or the season.
When choosing your lighting, consider the following factors:
- Purpose: Are you using the lanterns for a cozy evening indoors, or are they meant to light up a garden party? Your choice of lighting should align with the occasion.
- Safety: Always prioritize safety, especially if children or pets are around. Opt for LED lights if you're uncertain.
- Style: The lighting should complement the aesthetic of your jars. For instance, vintage-style jars might look stunning with traditional candles, while modern jars could pair well with sleek LED options.
In summary, the lighting you choose can completely transform your upcycled jar lanterns. Whether you prefer the soft flicker of a candle, the convenience of LED lights, or the enchanting sparkle of fairy lights, each option brings its own unique charm. So, take your time to explore these choices, and let your creativity shine through!
1. Can I use real candles in my jar lanterns?
Yes, you can use real candles, but ensure that the jars are heat-resistant and always supervise them while lit to prevent fire hazards.
2. How do I power LED lights for my lanterns?
LED lights can be powered by batteries, which makes them easy to use anywhere without needing an electrical outlet.
3. Are there any special considerations for outdoor lanterns?
Yes, for outdoor lanterns, consider using weatherproof lighting options and ensure the jars are sealed or protected from the elements.
4. How can I make my lanterns more decorative?
You can personalize your lanterns by adding embellishments, such as ribbons, paints, or decorative stones, and by choosing lighting that complements your design.
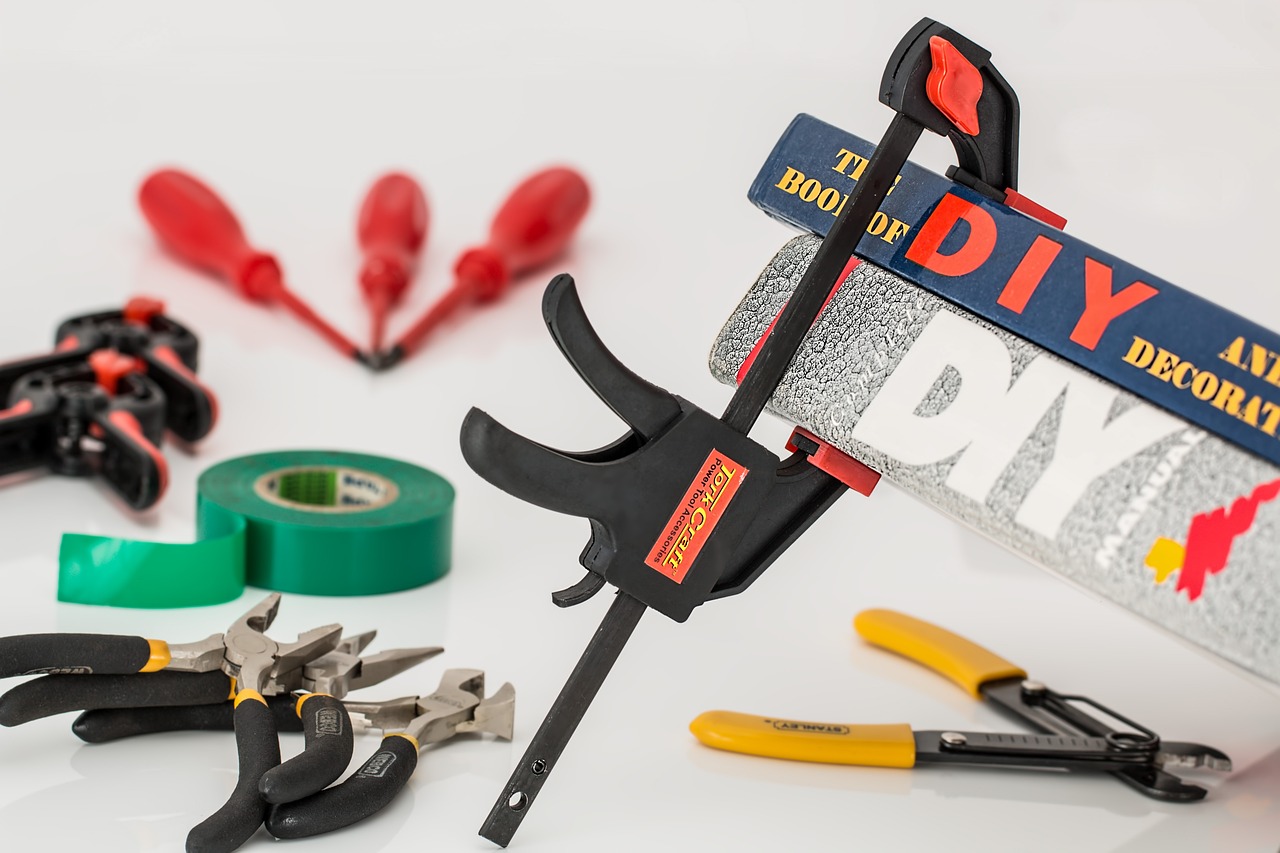
Decorative Techniques
When it comes to creating stunning upcycled jar lanterns, the you choose can make all the difference. Think of your jars as blank canvases waiting for your artistic touch. You can transform these ordinary containers into extraordinary lighting pieces that reflect your personal style. Let's dive into some exciting methods to elevate your jar lanterns from simple to spectacular!
One popular technique is painting. You can use glass paint or spray paint to give your jars a vibrant splash of color. Imagine a soft pastel hue illuminating your garden during a summer evening or a bold, bright shade that draws attention at a party. The beauty of paint is that you can create various effects, such as ombre or splatter, to achieve a unique look. Just remember to choose paint that is suitable for glass surfaces to ensure durability.
Another fantastic option is wrapping. This involves using materials like twine, burlap, or lace to create a rustic or vintage feel. Picture a mason jar wrapped in jute twine, adorned with a delicate lace ribbon, glowing softly on your dining table. Wrapping not only adds texture but also allows you to play with different colors and patterns. You can even add embellishments like buttons or beads for an extra touch of charm.
For those who enjoy a bit of sparkle, consider embellishing your jars with decorative elements like sequins, gems, or even artificial flowers. These accents can catch the light beautifully, creating a magical atmosphere. You can apply them using glue or adhesive spray, ensuring that they stay put even when the lantern is lit. Just imagine how enchanting a jar adorned with shimmering sequins would look as it casts a warm glow in your backyard!
Don't forget about the power of transparency. Sometimes, less is more. You can leave your jars clear and simply place colorful stones or pebbles at the bottom. This not only provides stability for your lighting source but also adds an earthy touch. When the light shines through, it creates a beautiful, diffused effect that enhances the overall ambiance.
Lastly, consider using stencils or decals to create intricate designs on your jars. You can find various stencils online or create your own. This technique allows for a personalized touch, making your lanterns truly one-of-a-kind. Whether you opt for a floral pattern or a geometric design, stenciling can add a sophisticated flair to your creations.
In summary, the decorative techniques you choose for your upcycled jar lanterns can transform them into stunning pieces of art. Whether you decide to paint, wrap, embellish, or stencil, the key is to let your creativity shine. Each jar tells a story, and with a little imagination, you can create enchanting lighting solutions that are sure to impress your family and friends.
Q1: What type of paint is best for glass jars?
A1: It's best to use glass paint or acrylic paint designed for glass surfaces. These types ensure durability and a smooth finish.
Q2: Can I use real candles in my jar lanterns?
A2: Yes, but be cautious! Ensure that the jars are heat resistant and never leave candles unattended. Consider using LED lights for added safety.
Q3: How can I weatherproof my jar lanterns for outdoor use?
A3: You can use a clear sealant spray to protect your jars from moisture and UV rays. This will help preserve your decorations and keep them looking fresh.
Q4: What are some good materials for wrapping jars?
A4: Twine, burlap, lace, and ribbon are excellent choices for wrapping jars. They add texture and can complement the overall design of your lanterns.
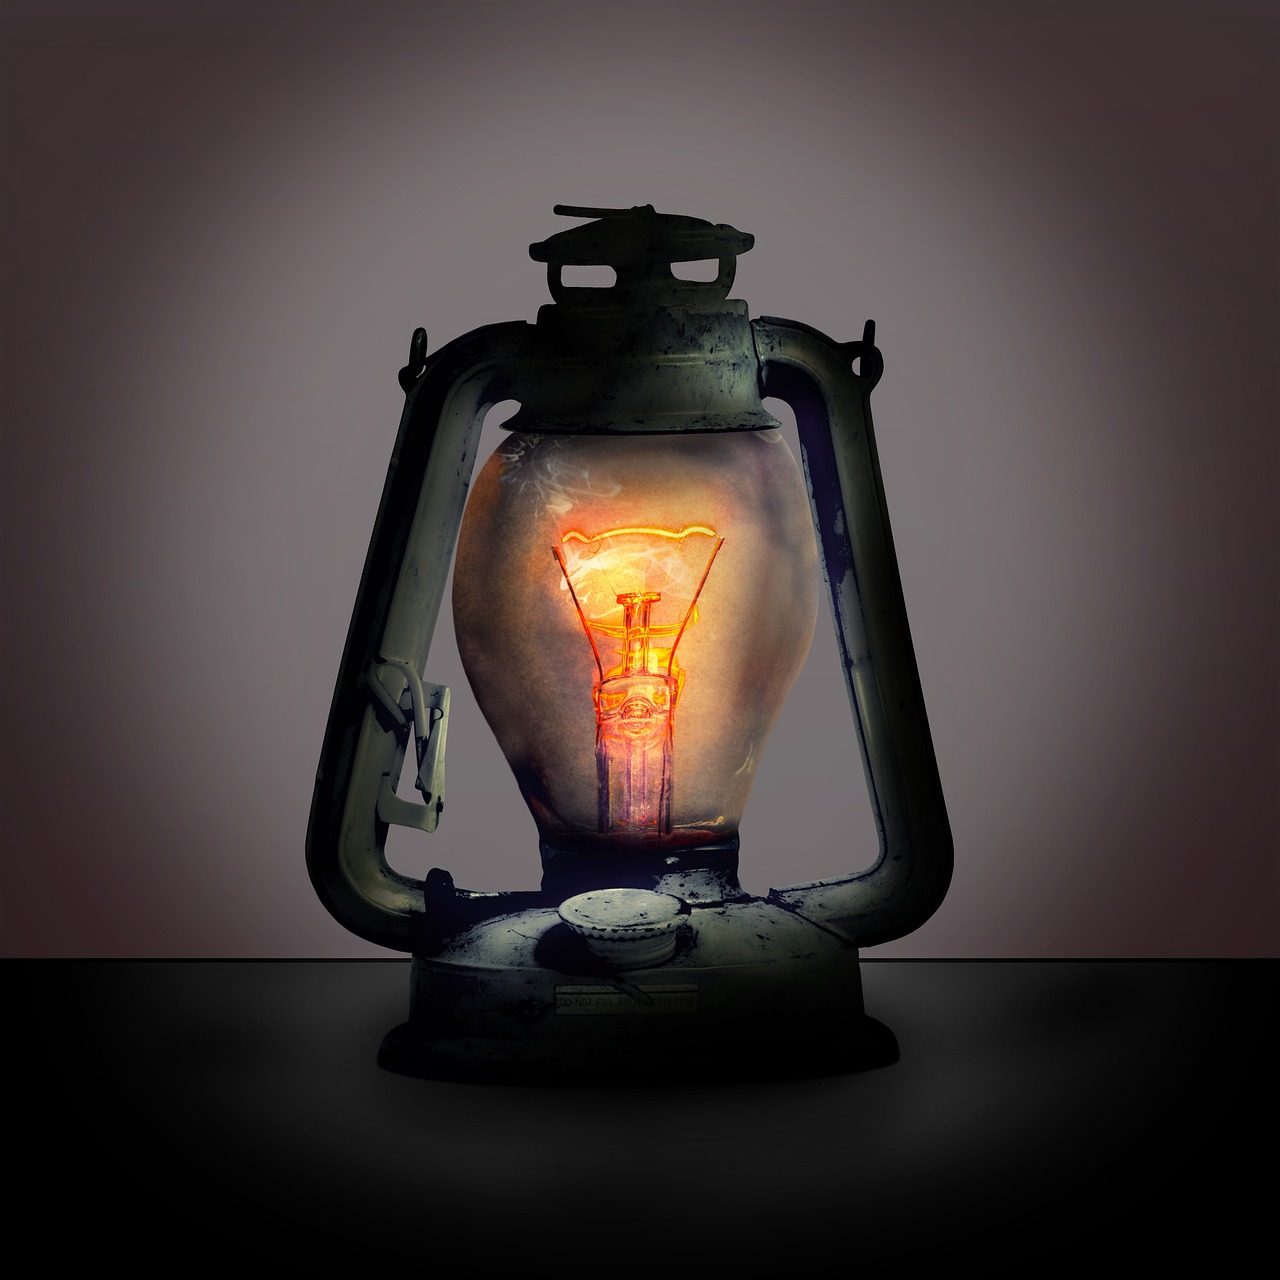
Safety Considerations
When diving into the world of DIY upcycled jar lanterns, one aspect that should never be overlooked is safety. Crafting these beautiful lighting solutions can be a delightful experience, but it’s essential to ensure that your creations are safe for both indoor and outdoor use. Whether you choose to use candles, LED lights, or fairy lights, each option comes with its own set of safety considerations that you need to keep in mind.
First and foremost, if you opt for traditional candles, you must be vigilant about fire safety. Candles can create a cozy atmosphere, but they can also pose a risk if not handled properly. Always place your lanterns on a stable surface away from flammable materials, and never leave them unattended while lit. Additionally, consider using flameless candles as a safer alternative. These battery-operated lights can provide the same warm glow without the risk of fire, making them an excellent choice for families with children or pets.
Another important factor to consider is the weatherproofing of your lanterns, especially if you plan to display them outdoors. Rain, wind, and other elements can damage your creations, leading to potential safety hazards. To weatherproof your lanterns, consider applying a clear sealant or using waterproof materials during the crafting process. This will not only protect your lanterns but also prolong their lifespan, allowing you to enjoy them for many seasons to come.
Here are some quick safety tips to keep in mind:
- Always supervise lit candles and extinguish them when leaving a room.
- Use heat-resistant materials for decorations near the flame.
- Ensure proper ventilation if using candles indoors.
- Check for any cracks or damage in jars before use.
By taking these precautions, you can enjoy the beauty of your upcycled jar lanterns without compromising on safety. Remember, the goal is to create a warm and inviting atmosphere while ensuring that your DIY project remains a source of joy and not a cause for concern.
Q: Can I use regular glass jars for candle lanterns?
A: Yes, you can use regular glass jars, but make sure they are thick enough to withstand the heat. Thin glass may crack or shatter.
Q: How can I weatherproof my lanterns?
A: You can weatherproof your lanterns by applying a clear sealant or using waterproof materials. This helps protect them from moisture and prolongs their lifespan.
Q: Are LED lights safe to use in jar lanterns?
A: Absolutely! LED lights are a great choice for jar lanterns as they produce no heat and are safe to use around flammable materials.
Q: What should I do if my candle burns too low?
A: If your candle burns too low, it's best to extinguish it and replace it with a new one to avoid any potential hazards.
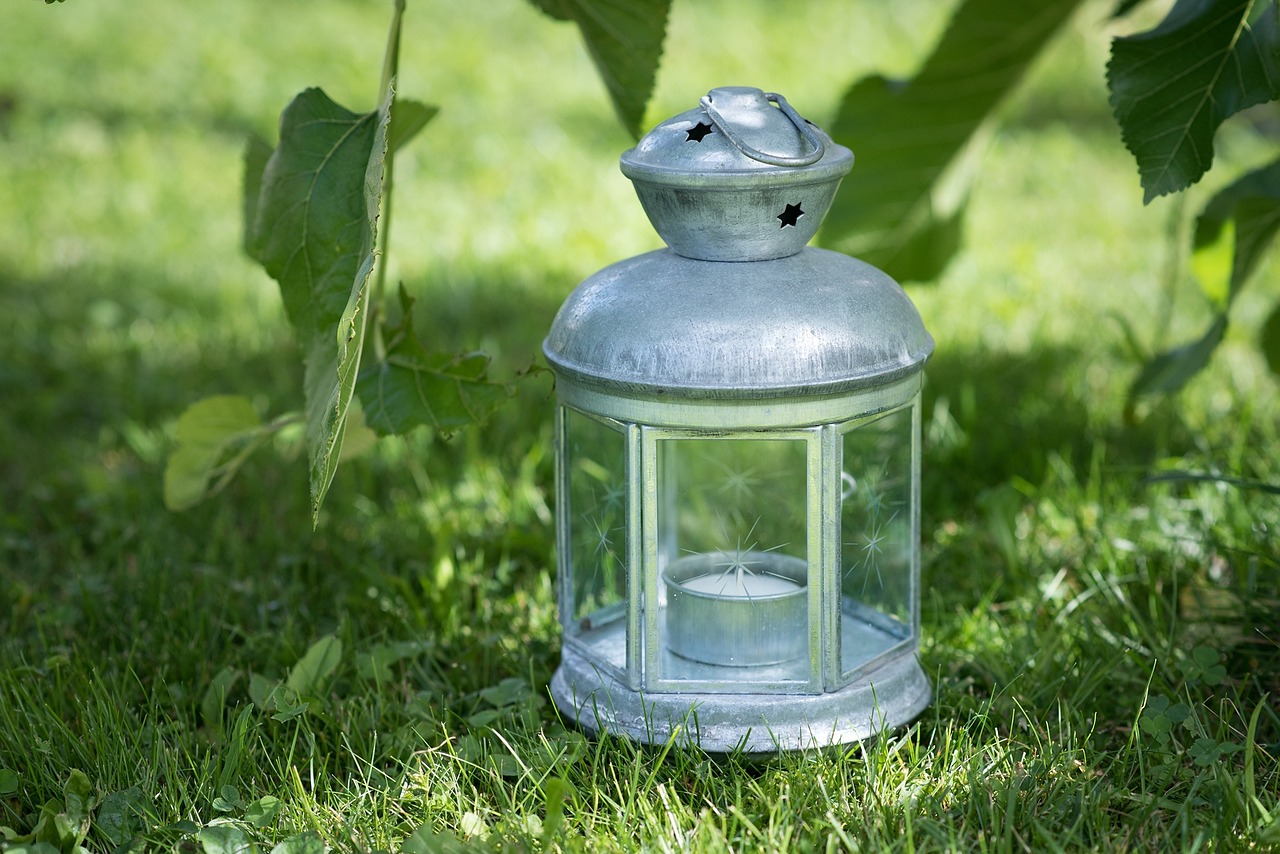
Fire Safety Tips
When it comes to crafting your beautiful upcycled jar lanterns, fire safety should always be at the forefront of your mind. After all, while the flickering glow of a candle can create a magical ambiance, it can also pose a risk if not handled properly. Here are some essential tips to keep your crafting and enjoyment of these lanterns safe and sound.
First and foremost, always choose the right type of candle for your jar lanterns. Tea lights or votive candles are excellent choices because they are small and less likely to overheat the glass. Avoid using large pillar candles, as they can generate too much heat and may cause the jar to crack or shatter. Always ensure that there is enough space between the flame and the jar’s sides to prevent any potential hazards.
Another important aspect to consider is the placement of your lanterns. Never leave your lit lanterns unattended. This might seem like common sense, but it’s easy to get caught up in the moment, especially during gatherings. Always place your lanterns on stable, heat-resistant surfaces, away from flammable materials such as curtains, paper decorations, or dry leaves if you're outside. If you’re using them indoors, consider using a tray to catch any wax drips and to provide a barrier between the candle and the surface below.
Additionally, consider using LED lights instead of traditional candles. These battery-operated lights can mimic the flicker of a candle without any of the associated risks. They are especially great for outdoor settings where wind can extinguish a flame or where safety is a concern, such as around children or pets.
It’s also wise to keep a fire extinguisher or a bucket of water nearby when using candles in your lanterns, just in case. If you’re feeling particularly cautious, you might even want to create a designated area for your lanterns where you can keep an eye on them. Remember, it’s always better to be safe than sorry!
Lastly, when the festivities are over, make sure to extinguish your candles properly. Don’t blow them out, as this can send hot wax flying. Instead, use a candle snuffer or gently dip the wick into the melted wax to extinguish the flame safely. This not only ensures the candle is out completely but also helps preserve the wick for future use.
By following these fire safety tips, you can enjoy the enchanting glow of your upcycled jar lanterns without worry. Remember, safety is just as important as creativity, and a little precaution goes a long way in ensuring your DIY projects are both beautiful and secure.
- Can I use any type of jar for my lanterns? Yes, but make sure it’s heat-resistant and not too thin.
- What’s the safest lighting option? LED lights are the safest as they don’t produce heat.
- How can I weatherproof my lanterns? Use outdoor sealant and choose materials that can withstand the elements.
- Are there any specific candles I should avoid? Avoid large pillar candles; they can overheat and crack the jar.
Weatherproofing Your Lanterns
Weatherproofing your upcycled jar lanterns is essential if you plan to use them outdoors. You want your beautiful creations to withstand the elements, whether it's rain, wind, or the blazing sun. Just like putting on a raincoat before heading out in a storm, your lanterns need a protective layer to keep them looking fabulous and functioning well. Let's explore some effective techniques to ensure your lanterns are ready for any weather challenge.
First and foremost, consider the type of materials you use for your lanterns. If you're using glass jars, they can be quite fragile. To enhance their durability, you might want to apply a weather-resistant sealant. This clear coating not only protects the jar from moisture but also adds a glossy finish that can make your lanterns shine even brighter. Make sure to choose a sealant that is suitable for outdoor use, as some products are designed specifically for indoor applications.
Next, think about how you can secure your lighting source. If you're using candles, opt for tealights or votives placed in a glass holder inside the jar. This will not only elevate the candle but also provide an extra layer of protection against rain. For those using LED lights or fairy lights, ensure that the wiring is weatherproof. You can also use battery-operated options, which eliminate the risk of fire and make it easier to display your lanterns in various outdoor settings.
Additionally, consider the placement of your lanterns. Position them in sheltered areas, such as under awnings or porches, to shield them from direct exposure to rain and wind. If you're placing them on tables or hanging them from trees, ensure they are stable and won't easily tip over. You can use decorative stones or sand at the bottom of the jar to add weight and prevent them from being blown away.
Lastly, don't forget about the seasonal changes. If you live in an area with harsh winters, it might be wise to bring your lanterns indoors during extreme weather conditions. However, if you want to keep them outside, consider using materials that are designed to withstand freezing temperatures. Using outdoor-rated paint or finishes can also help protect your lanterns from UV rays, preventing fading and damage over time.
In summary, weatherproofing your jar lanterns is a straightforward process that can significantly extend their life and beauty. By applying a weather-resistant sealant, securing your light sources, choosing strategic placements, and considering seasonal changes, you can enjoy your enchanting lanterns all year round. Now, let's move on to a section that addresses some common questions you might have about this DIY project.
- Can I use any type of jar for lanterns? - Yes, you can use various types of jars, but glass jars are most popular due to their aesthetic appeal and transparency.
- What is the best lighting option for outdoor lanterns? - LED lights or battery-operated fairy lights are excellent choices as they are safe and weather-resistant.
- How do I clean my jars before decorating? - Use warm soapy water to wash the jars, and remove any labels or sticky residue for a clean surface.
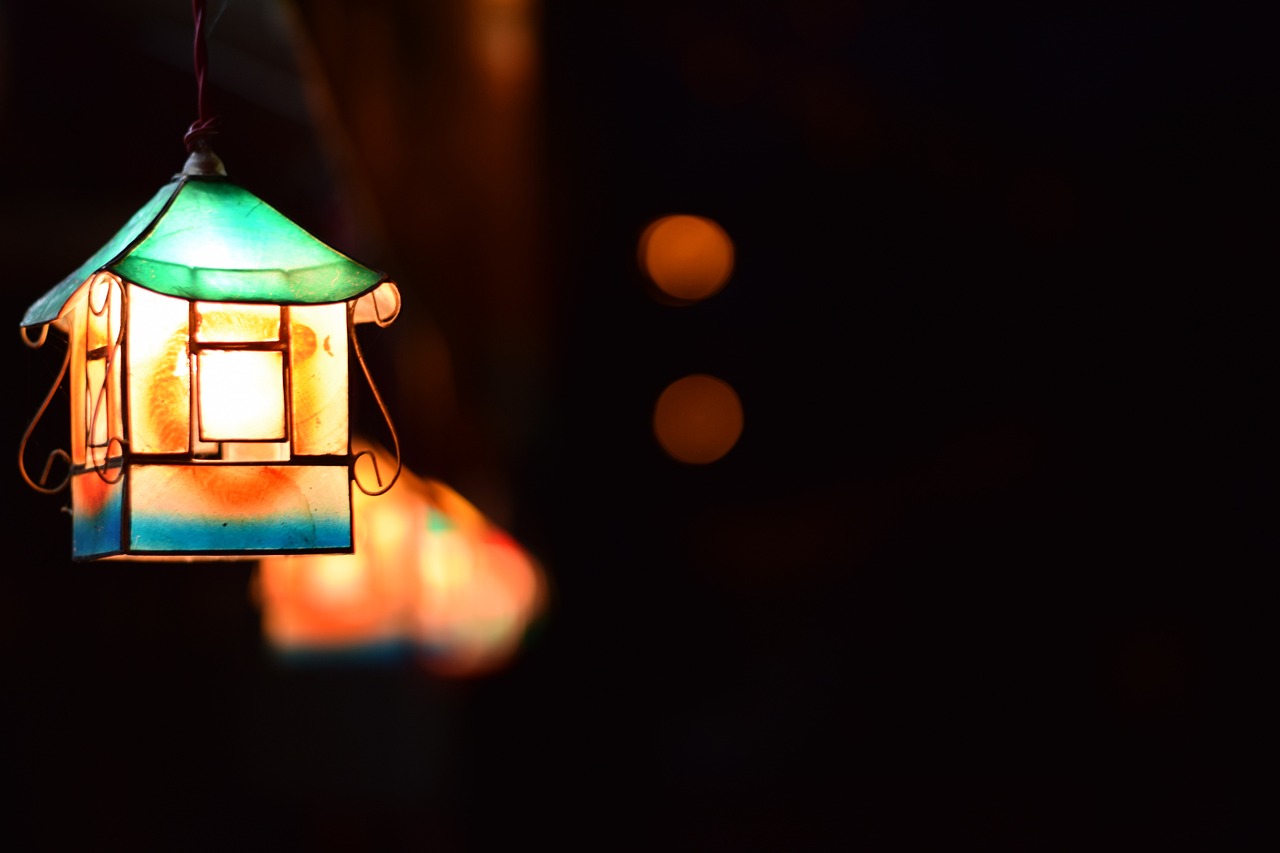
Displaying Your Lanterns
Once you've crafted your stunning upcycled jar lanterns, the next exciting step is figuring out how to display them! Proper display not only enhances the beauty of your creations but also sets the mood for any space—be it indoors or outdoors. Imagine the warm glow of your lanterns casting soft shadows on your walls or illuminating your garden with a whimsical charm. So, how do you achieve that perfect display? Let's dive into some creative ideas!
For indoor settings, consider grouping your lanterns in clusters. You can place them on a coffee table, mantle, or even hang them from the ceiling using sturdy twine or wire. Mixing different sizes and shapes of jars adds visual interest, creating a captivating focal point. You might even want to use a decorative tray to corral smaller lanterns together, giving them a cohesive look. Just picture it: a cozy evening with friends, the flickering lights dancing around you, creating an atmosphere that's both inviting and enchanting.
When it comes to outdoor arrangements, the possibilities are endless! You can line your garden path with lanterns, guiding guests through a magical landscape. Alternatively, hang them from tree branches or place them on tables for special events like weddings or parties. If you’re planning a backyard barbecue or a romantic dinner, consider using lanterns as centerpieces. They can elevate the dining experience, making it feel more intimate and festive. To make your outdoor display even more captivating, think about incorporating some natural elements like flowers or greenery around your lanterns. This will create a harmonious blend of nature and light, enhancing the overall ambiance.
Additionally, don’t forget about the power of color! If you've painted your jars or added colored embellishments, consider how they will look in different lighting conditions. Some colors pop beautifully in daylight, while others shine at night. Experiment with various placements and arrangements until you find the perfect setup that highlights your lanterns' unique qualities.
In summary, displaying your upcycled jar lanterns is all about creativity and personal expression. Whether you choose to cluster them indoors or create a magical outdoor environment, the key is to let your imagination run wild. Remember to consider the mood you want to create and how the lanterns can enhance that experience. So, grab your lanterns and start showcasing your beautiful creations!
Q1: Can I use real candles in my jar lanterns?
A1: Yes, you can use real candles, but ensure that the jars are made of heat-resistant materials and always follow fire safety tips to prevent accidents.
Q2: How do I weatherproof my outdoor lanterns?
A2: To weatherproof your lanterns, consider using a sealant spray or outdoor varnish to protect them from moisture and UV rays. Additionally, use materials that are naturally resistant to the elements.
Q3: What types of lighting work best for jar lanterns?
A3: LED lights, fairy lights, and tealight candles are popular choices. LED lights are especially great for outdoor use as they are safe and energy-efficient.
Q4: How can I remove labels from jars without damaging them?
A4: Soaking the jars in warm, soapy water usually helps to loosen labels. For sticky residue, try rubbing alcohol or a mixture of baking soda and oil.
Indoor Display Ideas
Once you've crafted your stunning upcycled jar lanterns, the next exciting step is figuring out how to display them indoors. The right display can transform your living space, adding a touch of warmth and charm that captivates everyone who enters. Imagine walking into a room where soft, flickering lights from your lanterns create an inviting atmosphere, reminiscent of a cozy café or a magical evening under the stars. So, how do you achieve this enchanting effect? Let's dive into some creative ideas!
First off, consider using your jar lanterns as a centerpiece on dining tables. Placing a few lanterns of varying heights in the center can create a stunning focal point. You can even enhance the ambiance by surrounding them with seasonal decorations—think autumn leaves, holiday ornaments, or fresh flowers. For a romantic dinner, using smaller lanterns with tealights can cast a beautiful glow that sets the mood perfectly.
Another fantastic idea is to create a lantern wall display. This can be achieved by grouping several lanterns on a shelf or mantle. By using different sizes and colors of jars, you can create a visually appealing arrangement that draws the eye. Additionally, consider using wall-mounted shelves to add dimension; this way, your lanterns can be displayed at various heights, creating a dynamic look that is both artistic and eye-catching.
For those who love a bit of whimsy, think about hanging your lanterns! You can use twine or decorative hooks to suspend jars from the ceiling or a sturdy branch. This not only saves space but also adds an unexpected twist to your décor. Imagine walking into a room where your lanterns sway gently, casting playful shadows on the walls—it's like having your own little fairy tale!
If you're looking for a more minimalist approach, consider using a single jar lantern as a statement piece. Place it on a side table, coffee table, or even your nightstand. Pair it with a simple flower vase or a stack of books to maintain a clean aesthetic. This method allows your lantern to shine without overwhelming the space, making it a perfect addition to any modern home.
Lastly, don't forget about the power of layering. You can place your jar lanterns on different surfaces, such as bookshelves, window sills, or even bathroom counters. Mixing and matching your lanterns with other decorative items, like candles, plants, or picture frames, can create a cozy and inviting environment. Just imagine the soft glow of your lanterns lighting up your favorite memories displayed in frames or the serene ambiance created by combining them with lush greenery.
In summary, the possibilities for displaying your indoor jar lanterns are endless. Whether you opt for a dramatic centerpiece, a whimsical hanging display, or a simple statement piece, your creativity will be the limit. So gather your lanterns, experiment with different arrangements, and watch as your living space transforms into a warm, inviting haven that reflects your unique style!
- What type of lighting is best for jar lanterns? LED lights, candles, or fairy lights work well, depending on your desired effect.
- Can I use any type of jar for lanterns? Yes! Just ensure the jar is sturdy and can withstand heat if using candles.
- How can I weatherproof my outdoor lanterns? Use sealants or waterproof paints to protect your lanterns from the elements.
Outdoor Arrangements
When it comes to showcasing your stunning upcycled jar lanterns outdoors, the possibilities are as vast as your imagination. Picture this: a warm summer evening, the sun setting, and your garden illuminated by the soft, flickering glow of your handcrafted lanterns. It’s not just about lighting; it’s about creating an atmosphere that invites relaxation and conversation. So, how do you arrange these beauties to maximize their impact? Let’s dive into some creative ideas!
One fantastic way to display your lanterns is by creating a lantern pathway. Imagine lining your garden path with a series of jar lanterns, each one glowing softly as guests stroll towards your home. To achieve this effect, you can use various heights of jars to create visual interest. For instance, place shorter lanterns at the front and taller ones towards the back, or even hang some from low branches to add depth. This not only guides your guests but also creates a magical ambiance that can make any evening feel special.
If you have a patio or deck, consider creating a cozy seating area illuminated by your lanterns. You can cluster them on tables, hang them from above, or even place them on the ground around seating arrangements. For a more whimsical touch, try using different colored jars or adding some greenery around them. A table set with a few lanterns, surrounded by cushions and blankets, can transform your outdoor space into a perfect spot for late-night chats or stargazing.
Another charming idea is to create a themed display for special occasions. Whether it’s a birthday party, a wedding, or a holiday gathering, your jar lanterns can be customized to fit the theme. For example, during Halloween, you can paint your jars with spooky designs and fill them with orange lights to create a festive atmosphere. During Christmas, wrap them in twinkling fairy lights or place pinecones and holly inside for a seasonal touch. The key is to let your creativity shine through!
For those who love a bit of nature, consider using your jar lanterns to highlight specific garden features. Placing them around flower beds, near water features, or along fences can draw attention to these elements and enhance their beauty. You can also hang lanterns from tree branches or hooks, allowing them to sway gently in the breeze while casting enchanting shadows on the ground.
Lastly, don’t forget about the practical side of outdoor arrangements. Make sure your lanterns are securely placed to withstand wind and weather. Using a weatherproof sealant can help protect your creations from the elements, ensuring they last through various outdoor conditions. Additionally, be mindful of the light source you choose; LED lights are often a safer option, especially if you're using them near flammable materials.
In summary, the way you arrange your upcycled jar lanterns outdoors can significantly enhance your space. From pathways and seating areas to themed displays and nature highlights, the options are endless. So gather your jars, unleash your creativity, and let your outdoor space shine with the warm glow of your DIY lanterns!
- What types of jars work best for lanterns? Glass jars are ideal, but you can also use plastic jars for outdoor settings. Make sure they are sturdy and can hold the light source securely.
- Can I use real candles in my jar lanterns? Yes, but be cautious! Ensure the jars are not flammable and consider using LED candles for added safety.
- How can I weatherproof my lanterns? Use a weatherproof sealant on the jars and choose materials that can withstand rain and wind.
Frequently Asked Questions
- What types of jars are best for making lanterns?
When it comes to jar lanterns, the best types are glass jars, like mason jars or pickle jars. Their sturdy material allows them to hold up to heat if you choose to use candles. Additionally, consider the size and shape; larger jars can create a more dramatic effect, while smaller ones are perfect for intimate settings.
- How do I clean and prepare my jars for decorating?
Cleaning your jars is a breeze! Start by washing them with warm soapy water to remove any dirt. For stubborn labels, soak the jars in warm soapy water for a few minutes, then gently scrape off the labels. If there’s any sticky residue left, a bit of rubbing alcohol or vinegar will do the trick. Once clean, let them dry completely before you begin decorating.
- What lighting options can I use for my jar lanterns?
You have several options when it comes to lighting your lanterns! Candles create a warm, flickering glow, while LED tea lights are a safe alternative that won’t pose a fire risk. Fairy lights are another fantastic choice, offering a whimsical touch. Just make sure whatever lighting you choose fits well within the jar and is safe for the materials used.
- How can I weatherproof my lanterns for outdoor use?
To weatherproof your jar lanterns, start by applying a clear, weather-resistant sealant to the outside. This will protect your decorations from rain and wind. Additionally, if you’re using candles, consider placing them inside a glass container to shield them from the elements. For fairy lights, make sure they are labeled as outdoor-safe.
- What are some creative ways to display my jar lanterns indoors?
Displaying your jar lanterns indoors can be a fun project! You can group several lanterns of different sizes on a dining table for a cozy dinner atmosphere. Hanging them from hooks or branches can create a magical look. Alternatively, place them on shelves or windowsills to catch the light beautifully. Get creative and mix and match to fit your home’s style!
- Are there any safety tips I should follow when using candles in my lanterns?
Absolutely! Always place candles on a stable, heat-resistant surface, and never leave them unattended. Keep flammable materials away from the flame, and consider using LED candles for a safer option. If you’re using real candles, make sure your lanterns have proper ventilation to prevent overheating.


