Abode Revamp: Upcycling Ideas for Your Living Room
If you're looking to breathe new life into your living room without breaking the bank or harming the planet, then you've landed in the right spot! Upcycling is not just a trend; it's a way to express your creativity while being kind to Mother Earth. Imagine turning that old, worn-out chair or those forgotten picture frames into stunning decor pieces that not only serve a purpose but also tell a story. In this guide, we'll explore innovative and sustainable upcycling ideas that will inspire you to transform everyday items into stylish decor, all while promoting eco-friendly practices.
Why settle for mass-produced furniture when you can have unique pieces that reflect your personal style? Upcycling allows you to take something that may seem like trash and turn it into treasure. Whether it's a vintage coffee table or a stack of wooden crates, there are countless possibilities waiting to be discovered. So grab your tools, roll up your sleeves, and let's dive into the world of upcycling!
Learning how to upcycle old furniture pieces can be a game changer for your living room. It's amazing how simple techniques can turn outdated items into modern masterpieces that truly reflect who you are. For instance, consider that old dresser sitting in your attic. With a little paint and some new hardware, it could become a chic side table or a unique media console. You don’t need to be a master craftsman to make these transformations; sometimes, all it takes is a fresh coat of paint or a bit of creativity.
Here are some popular furniture upcycling ideas you might want to try:
- Painted Chairs: Give old chairs a splash of color to brighten up your space.
- Reupholstered Sofas: Change the fabric of your sofa for a fresh and inviting look.
- Converted Dressers: Transform dressers into TV stands or storage benches.
Now that we've tackled furniture, let's move on to some fun DIY decor projects that utilize repurposed materials. These projects can add character and charm to your living space while being kind to the environment. Imagine creating wall art from leftover materials or decorative accents that make your space feel uniquely yours. The beauty of DIY is that you can customize every piece to fit your style.
Using reclaimed wood can add warmth and texture to your living room. Not only is it eco-friendly, but it also brings a rustic charm that is hard to replicate with new materials. You can incorporate reclaimed wood into various elements like shelves, tables, and wall decor. For example, a simple wooden shelf can become a stunning focal point when made from reclaimed wood, showcasing your favorite books or plants.
Pallets can be transformed into unique furniture pieces that are both functional and stylish. With a little creativity, you can create coffee tables, benches, or even sofas from pallets. Not only is this a cost-effective solution, but it also gives you the chance to design something truly one-of-a-kind. Imagine lounging on a sofa made from pallets, knowing that it was crafted with your own hands!
Wooden crates can serve as versatile storage options that add a decorative element to your living room. They can be stacked, painted, or even turned into side tables. By stacking crates, you can create a unique shelving unit that not only organizes your space but also serves as a conversation starter. The possibilities are endless!
Revitalize your living room with upcycled fabrics and textiles. From cushion covers to curtains, the right fabric can breathe new life into old materials for a fresh look. For instance, consider using leftover fabric from an old shirt to create a cushion cover. Not only does this save money, but it also adds a personal touch to your decor.
Create stunning wall art using upcycled materials. This is a fantastic way to express your creativity while enhancing your decor. You can use a variety of techniques to design pieces that not only look great but also promote sustainability. Think of wall art as an extension of your personality; it should reflect who you are.
Transform leftover fabric scraps into beautiful framed art pieces. This project combines creativity with sustainability, making it a perfect addition to your living room. You can create a gallery wall featuring different fabrics, or even use a single large piece as a statement art piece.
Old picture frames can be given new life as decorative elements. Learn how to customize frames for unique wall displays that showcase your favorite memories in style. You can paint them, add embellishments, or even use them to frame fabric or wallpaper for a pop of color.
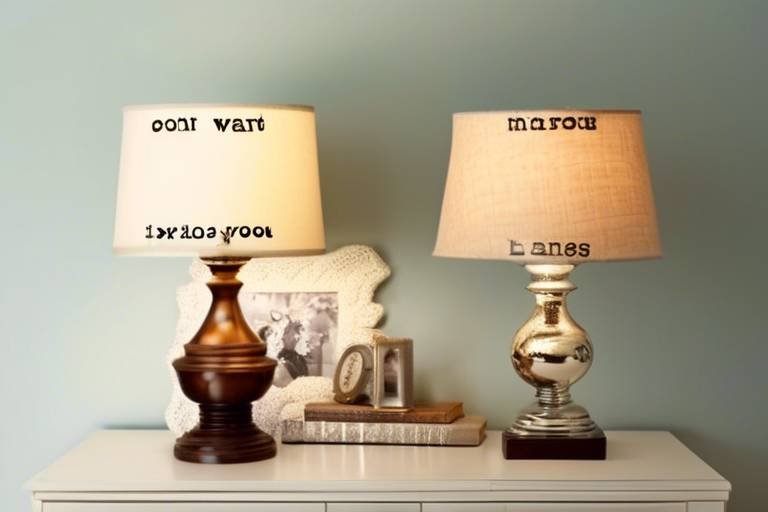
Upgrade your living room lighting with upcycled materials. Unique lamps and light fixtures can enhance your space while being environmentally friendly. Why not take that old jar or bottle and turn it into a charming lamp? It’s a fun project that adds personality to your room.
Old jars and bottles can be converted into charming lamps that illuminate your living room. With a bit of wiring and creativity, you can create a beautiful light fixture that serves as both decor and functional lighting. Imagine the glow of a soft light coming from a vintage jar—it’s a beautiful sight!
Refresh your existing lampshades with fabric scraps to match your decor. This simple upgrade can dramatically change the ambiance of your living space. A new lampshade can make a huge difference in the overall feel of the room, so don’t underestimate this small project!
Q: What is upcycling?
A: Upcycling is the process of transforming old or discarded materials into new products of better quality or for better environmental value.
Q: Can I upcycle furniture without any woodworking skills?
A: Absolutely! Many upcycling projects require minimal skills, such as painting or reupholstering, which anyone can learn.
Q: Where can I find materials for upcycling?
A: Look around your home for items you no longer use, visit thrift stores, or check online marketplaces for affordable materials.
Creative Furniture Transformations
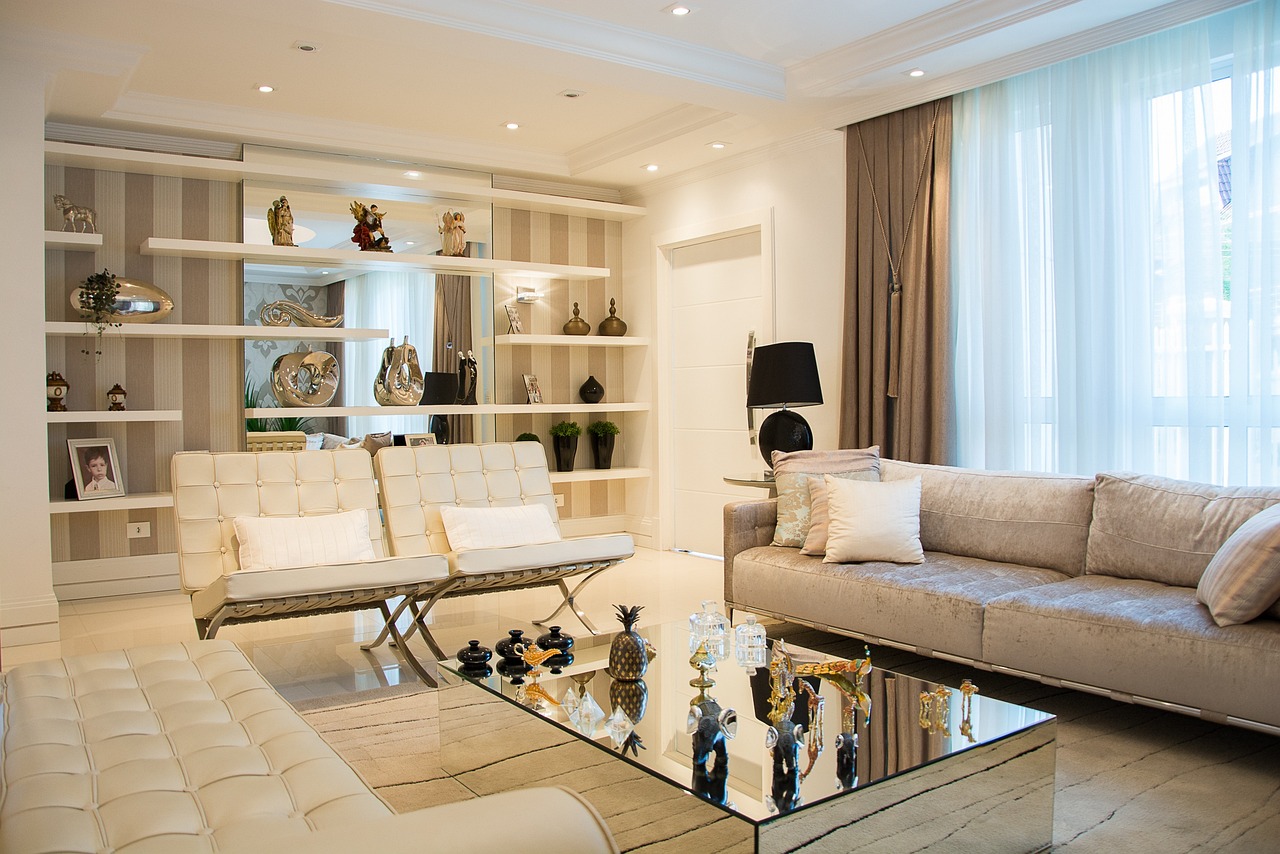
Have you ever looked around your living room and felt a twinge of boredom? Maybe those once-beloved pieces of furniture have lost their charm over time. Well, fear not! Upcycling old furniture is not only a fun and creative endeavor, but it also allows you to breathe new life into your space while being environmentally conscious. Imagine turning that old, scratched coffee table into a stunning centerpiece that reflects your personal style. With just a few simple techniques, you can transform outdated items into modern masterpieces that will impress your guests and make your living room feel fresh and inviting.
One of the most exciting aspects of furniture upcycling is the freedom it gives you to express your creativity. You can experiment with colors, textures, and finishes to create something truly unique. For example, consider giving a vintage chair a bold new color with some paint. A bright teal or a sunny yellow can instantly uplift the mood of your room. Additionally, adding a fun patterned fabric to the seat can make it a statement piece that draws the eye. This transformation not only revitalizes the chair but also adds a pop of personality to your living space.
Another fantastic idea is to take an old dresser and convert it into a stylish TV stand. By removing the drawers and painting the exterior, you can create a sleek and modern piece that offers both functionality and style. You can even add some decorative knobs for an extra touch of flair. This transformation not only provides a practical solution for your electronics but also serves as a conversation starter for visitors.
Don't be afraid to mix and match different styles either! Combining rustic and modern elements can create a stunning contrast that adds depth to your living room. For instance, pairing a distressed wooden table with sleek metal chairs can create an eclectic vibe that feels both cozy and chic. The key is to ensure that the pieces you choose complement each other, creating a harmonious look that feels intentional.
Now, if you're feeling a bit overwhelmed and unsure where to start, here’s a quick rundown of some fantastic upcycling ideas:
- Painted Furniture: Give old furniture a fresh coat of paint to match your decor.
- Fabric Upgrades: Reupholster chairs or sofas with vibrant fabrics.
- Furniture Reconfiguration: Rearrange or repurpose furniture to create new layouts.
- Accessorize: Use stencils or decals to add unique designs to plain surfaces.
Remember, the goal is to have fun and let your imagination run wild. Each piece you upcycle tells a story and adds character to your home. Plus, it’s a great way to keep furniture out of landfills and reduce waste. So, roll up your sleeves, grab some supplies, and get ready to embark on a creative journey that will transform your living room into a stylish sanctuary!
Q: What tools do I need for furniture upcycling?
A: Basic tools include a screwdriver, sandpaper, paintbrushes, and possibly a staple gun for upholstery projects. Depending on the project, you may need additional tools.
Q: How do I choose the right paint for furniture?
A: Look for paint specifically designed for furniture, such as chalk paint or acrylic paint, which provides a durable finish. Always test a small area first!
Q: Can I upcycle furniture without any experience?
A: Absolutely! Many upcycling projects are beginner-friendly. Start small and gradually take on more complex projects as you gain confidence.
DIY Decor Projects
Are you ready to unleash your creativity and transform your living room into a personal sanctuary? are not just about saving money; they’re also a fantastic way to express your unique style while being eco-friendly. Imagine taking items that would otherwise gather dust in your attic or garage and turning them into stunning decorative pieces that tell your story. It's like giving a second chance to the forgotten and overlooked!
One of the most exciting aspects of DIY decor is the endless possibilities. You can create everything from wall art to decorative accents using repurposed materials. For instance, have you ever thought about using old magazines or newspapers? With a little creativity, these can be transformed into beautiful wall collages or paper mache sculptures. The best part? You’ll have a conversation starter right on your wall!
Another fun project involves using glass jars. These little gems can be turned into charming candle holders or vases. Just imagine a row of colorful jars on your coffee table, each filled with fresh flowers or flickering candles. It’s an easy way to add a pop of color and warmth to your space. To make it even more exciting, you could paint the jars in colors that match your living room palette.
For those with a knack for sewing, upcycling old fabrics can lead to stunning results. Think about turning worn-out jeans into cushion covers or table runners. Not only will this add a unique touch to your decor, but it also gives a new life to items that may have otherwise ended up in the trash. Plus, you’ll have the satisfaction of saying, “I made that!” every time someone admires your handiwork.
Incorporating nature-inspired elements is another fantastic way to enhance your living room. You can gather twigs, pinecones, or stones from your backyard or local park to create rustic decor. Picture this: a simple glass bowl filled with polished stones or a centerpiece made from twigs tied together with twine. It’s all about bringing the beauty of the outdoors inside, and it’s a project that’s as easy as a walk in the park!
To inspire your DIY journey further, here are a few quick project ideas:
- Fabric Wall Hangings: Use old bed sheets or curtains to create stunning wall hangings that add texture to your space.
- Repurposed Furniture: Don’t toss that old chair! A fresh coat of paint and new upholstery can make it a statement piece.
- Photo Collage: Create a gallery wall using mismatched frames painted in a cohesive color scheme to showcase your favorite memories.
These projects not only enhance the aesthetic of your living room but also allow you to engage with your space on a deeper level. You’re not just filling it with decor; you’re filling it with stories, memories, and a touch of your personality. So, roll up your sleeves, grab your tools, and let the upcycling adventure begin!
Q: What materials are best for DIY decor projects?
A: The best materials are those you already have at home! Look for old furniture, fabrics, glass jars, and even natural elements like stones and twigs.
Q: How do I ensure my DIY projects are eco-friendly?
A: Focus on upcycling items you already own or sourcing materials from thrift stores. Avoid new, plastic materials, and instead, use natural or recycled products whenever possible.
Q: Are DIY projects difficult to complete?
A: Not at all! Many DIY projects are simple and can be completed in a few hours. Start with small projects to build your confidence!

Reclaimed Wood Accents
When it comes to giving your living room a cozy and inviting feel, can be a game changer. Imagine the warm hues and rich textures that come from wood that has a story to tell. Using reclaimed wood not only adds character but also promotes sustainability by reducing waste and conserving resources. So, how can you incorporate this beautiful material into your space? Let’s dive into some creative ideas!
First off, think about creating floating shelves from reclaimed wood. These shelves can serve as both functional storage and stunning display areas for your favorite books, plants, or decorative items. The natural imperfections in the wood will add a rustic charm that can’t be replicated. Plus, floating shelves create the illusion of more space, making your living room feel larger and more open.
Another fantastic idea is to use reclaimed wood for a coffee table. A well-crafted coffee table can be the centerpiece of your living room, and using reclaimed wood ensures that it’s unique. You can either build one yourself or find a local artisan who specializes in upcycled furniture. Imagine sipping your morning coffee on a table made from wood that was once part of an old barn or a vintage factory—talk about a conversation starter!
Don’t forget about wall decor! Reclaimed wood can be transformed into stunning wall art or even a feature wall. You can arrange various pieces of wood in different shapes and sizes to create a visually striking design. This not only adds depth to your living room but also serves as a beautiful backdrop for your furniture and other decor items. If you're feeling particularly crafty, you might even consider making a wooden map of your favorite places or a family tree from reclaimed wood, which can add a personal touch to your space.
Lastly, think about incorporating reclaimed wood into your lighting fixtures. A pendant light made from reclaimed wood can add a rustic elegance to your living room. Pair it with Edison bulbs for a vintage vibe, and you’ll have a stunning focal point that casts a warm, inviting glow across the room.
In summary, reclaimed wood accents are not just about aesthetics; they embody a commitment to sustainability. By choosing to incorporate these elements into your living space, you’re making a choice that is both stylish and environmentally friendly. So, gather your reclaimed wood, unleash your creativity, and watch your living room transform into a space that reflects your unique style while being kind to the planet.

Upcycled Pallet Furniture
Are you tired of the same old furniture that just doesn't speak to your style anymore? Well, let’s turn that boredom into creativity with ! Pallets are not just for shipping; they can be transformed into stunning, functional pieces that add character to your living room. Imagine creating a coffee table that is not only sturdy but also a conversation starter. It’s like giving a second life to something that would otherwise be discarded.
One of the most exciting aspects of working with pallets is the sheer versatility they offer. You can create a wide range of furniture, from rustic coffee tables to chic benches and even cozy sofas. The best part? It’s a fun project that can be tackled over a weekend! Just picture this: you and your friends gathering around a handmade coffee table, sipping drinks, and sharing stories. Doesn’t that sound delightful?
To get started, you’ll need some basic tools and materials. Here’s a quick overview of what you might need:
- Old pallets (check local stores or online marketplaces)
- Saw (hand saw or power saw)
- Screwdriver and screws
- Sandpaper or a power sander
- Wood stain or paint (optional)
First, select the type of pallet you want to use. Make sure it’s in good condition and free from any chemicals, as some pallets are treated with harmful substances. Once you’ve got your pallets, the real fun begins! Start by disassembling the pallets into individual boards if necessary. This will give you more flexibility in designing your furniture.
Next, think about the piece you want to create. For a simple coffee table, you can stack two or three pallets on top of each other and secure them with screws. Add a coat of paint or stain to match your decor, and voila! You have a unique piece that not only looks great but also tells a story. If you’re feeling adventurous, you can even add wheels to the bottom for a mobile touch.
Another fantastic idea is to create a bench. Simply cut the pallets to your desired length, sand them down, and assemble them into a bench shape. You can add cushions for comfort, making it a cozy spot for lounging or entertaining guests. The rustic charm of pallet furniture can blend beautifully with modern decor, creating an eclectic yet cohesive look.
Remember, the key to successful upcycling is to let your creativity flow. Don’t be afraid to experiment with different designs and finishes. You might even want to incorporate some lighting elements or decorative touches like stencils or decals to personalize your creations further. The only limit is your imagination!
In conclusion, upcycled pallet furniture is a fantastic way to not only save money but also make a positive impact on the environment by reducing waste. So why not give it a try? You’ll be amazed at what you can create with just a few pallets and a little bit of elbow grease!
Q: Where can I find pallets for upcycling?
A: You can often find pallets at local grocery stores, hardware stores, or online marketplaces like Craigslist or Facebook Marketplace. Just ensure they are safe for use and free from chemicals.
Q: Do I need special tools to upcycle pallets?
A: Basic tools like a saw, screwdriver, and sandpaper are usually sufficient. However, having a power sander can make the process quicker and easier.
Q: Can I use pallets indoors?
A: Yes, upcycled pallet furniture can be used indoors. Just make sure to sand them down well and apply a protective finish to avoid splinters.
Q: Is upcycling pallets cost-effective?
A: Absolutely! Upcycling pallets is a budget-friendly way to create unique furniture pieces without breaking the bank.

Wooden Crate Storage Solutions
Wooden crates are not just for transporting goods; they can be a game-changer in your living room when it comes to storage solutions. These versatile pieces can be easily transformed into stunning storage options that not only help you declutter but also add a rustic charm to your space. Imagine walking into your living room and seeing beautifully stacked crates that serve both as storage and a decorative element. It's like having your cake and eating it too!
One of the best parts about using wooden crates is their adaptability. You can paint them in vibrant colors or leave them in their natural state for a more organic look. If you're feeling particularly crafty, consider using stencils to add designs or labels to your crates, giving them a personalized touch that reflects your unique style. Here are some creative ideas on how to utilize wooden crates:
- Stacked Crates: Create a multi-level storage unit by stacking crates vertically. This not only maximizes floor space but also creates an eye-catching focal point in your living room.
- Side Tables: Use a sturdy crate as a side table next to your sofa. It provides a convenient spot for drinks or books while offering hidden storage for magazines or remote controls.
- Open Shelving: Mount crates on the wall to create open shelving. This is a fantastic way to display books, plants, or decorative items while keeping everything organized.
For those who love a DIY project, you can enhance the functionality of your crates by adding wheels to the bottom. This makes them mobile, allowing you to easily move your storage around as needed. Furthermore, consider lining the inside of the crates with fabric or wallpaper to give them a more finished look. This small detail can elevate the overall aesthetic, making them a chic addition to your decor.
In terms of organization, wooden crates can be used to categorize items. For instance, designate one crate for children’s toys, another for blankets, and a third for books. This not only keeps your living room tidy but also makes it easier to find what you need without rummaging through clutter. With their natural wood finish, these crates bring a warm, inviting feel to your living space, making them a practical yet stylish solution.
So, if you're looking to combine functionality with style, wooden crates are the way to go. They are an eco-friendly option since they often come from reclaimed wood, and by choosing to upcycle them, you're contributing to a sustainable lifestyle. Plus, the satisfaction of creating something beautiful and useful from what might otherwise be discarded is a rewarding experience in itself!
1. Where can I find wooden crates for upcycling?
You can find wooden crates at local thrift stores, farmer's markets, or online marketplaces. Sometimes, businesses that receive shipments in crates might even give them away for free!
2. How do I prepare wooden crates for painting or staining?
Start by cleaning the crates thoroughly to remove any dirt or residue. Sand the surfaces lightly to create a smooth base for your paint or stain. Make sure to apply a primer if you're using a bold color to ensure even coverage.
3. Can I use wooden crates in a small living room?
Absolutely! Wooden crates are perfect for small spaces because they can be stacked or mounted on walls, maximizing your vertical space without taking up much floor area.
4. Are there any safety concerns with using wooden crates?
As long as the crates are in good condition and free from splinters or sharp edges, they are safe to use. If you're adding wheels, ensure they are securely attached to support the weight of the items you plan to store.

Fabric and Textile Revamps
Revitalizing your living room doesn’t have to mean spending a fortune on new decor. Instead, consider the magic of upcycling when it comes to fabrics and textiles. With a little creativity and some basic sewing skills, you can transform old materials into stunning new pieces that breathe life into your space. Imagine turning that worn-out tablecloth into vibrant cushion covers or using an old bed sheet to craft chic curtains. The possibilities are endless!
One of the easiest ways to start is by diving into your fabric stash. Look for items you no longer use or that have seen better days. You might be surprised at what you can create! Here are some ideas to get your creative juices flowing:
- Cushion Covers: Take those old fabric scraps or even a favorite shirt and turn them into unique cushion covers. Not only will this add a personal touch to your living room, but it will also make your seating more comfortable.
- Table Runners: An old quilt can be cut and sewn into a beautiful table runner, adding warmth and texture to your coffee table. It’s a great way to showcase your sewing skills while giving your space a cozy vibe.
- Wall Hangings: Use fabric remnants to create stunning wall art. Stretch them over a canvas or frame them to make a colorful gallery wall that reflects your personality.
When it comes to curtains, consider using lightweight fabrics like muslin or even sheer materials from old curtains. You can easily sew them into new panels that allow natural light to filter through while adding a soft touch to your room. Plus, you can customize the length and width to perfectly fit your windows!
Don't forget about the power of layering! Mixing different textures and patterns can create a visually stunning effect in your living room. For instance, pair a bold geometric print with softer florals or stripes to achieve a balanced look. This technique not only adds depth but also makes your space feel more inviting and dynamic.
Lastly, if you’re feeling particularly adventurous, consider dyeing your fabrics to give them a fresh new look. Natural dyes from fruits, vegetables, or even tea can create beautiful hues that are unique to your home. Just remember to test a small piece first to see how it turns out!
In conclusion, upcycling fabrics and textiles is not just about saving money; it’s about expressing your creativity and making your living space truly your own. So grab those old materials and start transforming them into something beautiful. Your living room will thank you!
Q: What types of fabrics are best for upcycling projects?
A: Natural fabrics like cotton, linen, and wool are great for upcycling as they are easy to work with and can be dyed or painted. Synthetic fabrics can also be used, but may require special techniques for sewing or dyeing.
Q: Do I need to be an expert sewer to upcycle fabrics?
A: Not at all! Many fabric upcycling projects can be done with basic sewing skills, and there are plenty of no-sew options available as well. Start with simple projects to build your confidence!
Q: How can I ensure my upcycled items are durable?
A: When upcycling, make sure to reinforce seams and choose materials that are in good condition. Washing and pre-shrinking fabrics before starting your project can also help ensure longevity.

Eco-Friendly Wall Art
Creating stunning wall art using upcycled materials is not only a fantastic way to express your creativity, but it also helps in promoting sustainability in your living space. Imagine walking into your living room and being greeted by beautiful pieces that tell a story—stories of transformation, creativity, and a commitment to the environment. The beauty of eco-friendly wall art lies in its uniqueness; no two pieces are ever the same, making your decor truly one-of-a-kind.
One of the most exciting aspects of making wall art from upcycled materials is the variety of items you can use. From old newspapers and magazines to fabric scraps and discarded wood, the possibilities are endless. You can create vibrant collages, intricate mosaics, or even simple yet elegant framed fabric art. The best part? You’re not just decorating your home; you’re also giving new life to materials that might otherwise end up in a landfill.
Let’s dive into a couple of engaging projects that can enhance your living room while being eco-conscious:
This project is not only simple but also incredibly rewarding. Gather leftover fabric scraps—perhaps from old clothing or remnants from previous sewing projects. Cut them into various shapes and sizes, and arrange them aesthetically on a canvas or within an old frame. This combination of textures and colors can create a stunning focal point that adds warmth and character to your living room. Plus, it’s a fantastic conversation starter when guests admire your handiwork!
Old picture frames can be given a new lease on life with a little creativity. Instead of letting those dusty frames gather cobwebs, why not turn them into decorative elements? You can paint them in vibrant colors, add decorative paper or fabric to the back, and even layer multiple frames to create a captivating gallery wall. This not only showcases your favorite memories but also enhances your decor with a personal touch. Imagine the compliments you’ll receive when friends notice your unique wall display!
To further illustrate the impact of eco-friendly wall art, consider the following table that highlights some benefits:
| Benefit | Description |
|---|---|
| Creativity | Encourages self-expression and unique decor. |
| Sustainability | Reduces waste by repurposing materials. |
| Cost-Effective | Utilizes items you already have, saving money. |
| Personalization | Allows for customization to fit your style. |
Incorporating eco-friendly wall art into your living room not only beautifies your space but also reflects a lifestyle choice that values sustainability. It’s like giving a hug to the planet while decorating your home! So, gather your materials, unleash your creativity, and let your walls tell a story of renewal and artistry.
Q: What materials can I use for upcycled wall art?
A: You can use a variety of materials, including fabric scraps, old magazines, wood pieces, and even discarded household items. The key is to think creatively about what you already have on hand!
Q: Is upcycling wall art expensive?
A: Not at all! Upcycling is a cost-effective way to create art since it often involves using materials you already own or can find for free or at low cost.
Q: How do I ensure my upcycled wall art is durable?
A: Choose materials that are sturdy and consider using protective coatings, like sealants or varnishes, especially for fabric or paper art, to enhance durability.
Q: Can I involve my kids in these projects?
A: Absolutely! Upcycling projects are a fantastic way to engage children in creative activities while teaching them about sustainability.
Framed Fabric Art
Imagine walking into your living room and being greeted by a burst of colors and textures that tell a unique story. is an innovative way to achieve this, transforming leftover fabric scraps into stunning focal points that reflect your personality and style. This project not only showcases your creativity but also promotes sustainability by repurposing materials that might otherwise end up in the landfill.
To get started, gather your fabric scraps. These can be remnants from old clothes, curtains, or any fabric you have lying around. Consider choosing a theme or color palette that complements your existing decor. This way, your new art pieces will seamlessly blend into your living room, adding a touch of warmth and charm.
Once you have your materials, the next step is to choose the right frames. You can either use old picture frames or purchase new ones from thrift stores. Don’t be afraid to mix and match frames—different sizes and styles can create an eclectic look that adds character to your wall. Here’s a simple process to follow:
- Prepare Your Fabric: Cut your fabric into various shapes and sizes. You might want to create a collage effect or go for a more structured look with geometric patterns.
- Arrange and Secure: Lay the fabric pieces on the backing of your frame. Play around with the arrangement until you find a layout that you love. Once satisfied, secure the fabric with glue or double-sided tape.
- Frame It: Place the backing into the frame and secure it. Hang your new art piece in a prominent spot where it can be admired by everyone who enters your living room.
Framed fabric art is not just a decoration; it’s a conversation starter. Guests will be intrigued by the textures and patterns, and you’ll have the perfect opportunity to share the stories behind your chosen fabrics. Whether it’s a piece from a beloved shirt or a vibrant fabric from a trip abroad, each artwork becomes a cherished memory.
Additionally, you can enhance your framed fabric art by incorporating other elements such as beads, buttons, or even dried flowers. This added dimension will make your artwork even more unique and visually appealing. Remember, the goal is to express yourself—there are no rules when it comes to creativity!
So, why not dive into this delightful project? Not only will you end up with stunning pieces that elevate your living room, but you’ll also engage in a fun and fulfilling activity that embodies the spirit of upcycling. Your living space will not only look good but will also feel good, knowing that you’ve contributed to a more sustainable world.
- What types of fabric can I use for framed fabric art? You can use almost any fabric, including cotton, linen, and even lace. Just ensure that the fabric is not too heavy for the frame.
- Can I use frames that are different colors and styles? Absolutely! Mixing and matching frames can create a more dynamic and interesting display.
- How do I maintain my framed fabric art? Keep it out of direct sunlight to prevent fading, and dust it occasionally with a soft cloth to keep it looking fresh.
Repurposed Picture Frames
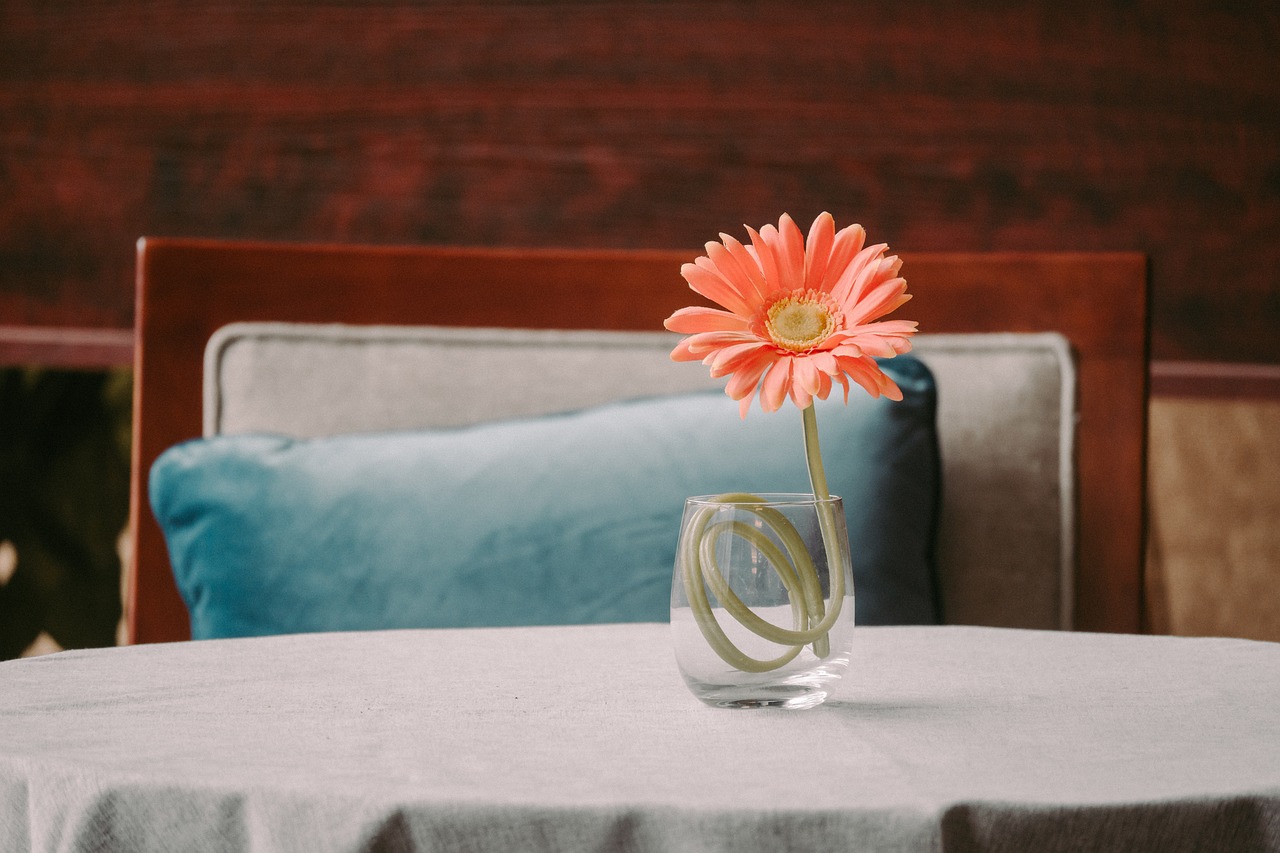
Isn’t it amazing how something as simple as an old picture frame can be transformed into a stunning decorative element for your living room? Repurposing picture frames not only gives them a new lease on life but also allows you to showcase your creativity. Imagine walking into your living room and being greeted by a gallery wall filled with unique frames that tell a story. Each frame can be customized to reflect your personal style, making them not just decor items, but conversation starters!
One of the easiest ways to repurpose old frames is by painting them. A fresh coat of paint can breathe new life into a dull frame, turning it from drab to fab. Consider using bold colors to create a vibrant display or soft pastels for a more serene look. You can even mix and match different colors and styles for an eclectic feel. Don’t be afraid to experiment! The beauty of repurposing is that there are no strict rules—only your imagination sets the limits.
Another innovative idea is to use frames for more than just pictures. For instance, you can create a shadow box by adding depth to a frame and filling it with meaningful objects like souvenirs from your travels or mementos from special occasions. This not only adds a personal touch to your decor but also makes for a unique display that captures your life’s journey.
If you have a collection of smaller frames, consider arranging them in a gallery-style layout on a wall. This can create a stunning visual impact, especially when mixed with other art forms like paintings or fabric wall hangings. You can even incorporate mirrors into the mix; a mirror framed with reclaimed wood or an ornate design can enhance the light in your living room, making it feel more spacious and inviting.
For a more rustic touch, try distressing your frames. This can be achieved by sanding down the edges or using a technique called dry brushing with white paint. The result is a charming, vintage look that pairs beautifully with other rustic elements in your living room. Pair these frames with natural materials like jute or burlap for a cohesive theme.
To give you some more ideas, here’s a quick overview of potential uses for repurposed picture frames:
| Frame Style | Repurposed Use | Materials Needed |
|---|---|---|
| Traditional | Gallery Wall Display | Frames, Paint, Pictures |
| Shadow Box | Display Mementos | Frame, Background, Objects |
| Ornate | Mirror Frame | Mirror, Frame, Adhesive |
| Rustic | Wall Art | Frame, Paint, Sandpaper |
In conclusion, repurposing picture frames is not just a fun DIY project; it’s a way to express yourself and add a personal touch to your living space. So, gather those old frames collecting dust and let your creativity flow. You’ll be surprised at how something so simple can transform your living room into a stylish and inviting haven.
- What types of frames can I repurpose? Almost any type of frame can be repurposed, including wooden, metal, and plastic frames. Look for frames that have a unique shape or design to make your project stand out.
- Do I need special tools for repurposing frames? Basic tools like paintbrushes, sandpaper, and adhesive are usually sufficient for most repurposing projects. However, for more complex projects, you might need additional tools like a drill or saw.
- Can I mix different styles of frames? Absolutely! Mixing different styles and colors can create an eclectic and visually interesting display. Just ensure that there’s a common theme or color palette to tie them together.

Lighting Makeovers
Upgrading your living room lighting doesn’t have to mean a trip to the store or spending a fortune on new fixtures. Instead, why not embrace your creative side and dive into the world of upcycling? This approach allows you to transform everyday items into stunning lighting solutions that enhance your space while also being environmentally friendly. Imagine the satisfaction of illuminating your living room with pieces that not only look great but also tell a story!
One of the most exciting aspects of lighting makeovers is the endless possibilities. You can take something as simple as an old jar or bottle and turn it into a charming lamp that serves as both a functional light source and a unique decor item. The process is surprisingly easy and can be a fun weekend project. All you need are a few basic materials, some creativity, and a little bit of time. Think about how many jars or bottles you might have lying around—each one has the potential to become a conversation starter in your living room!
Transforming old jars and bottles into lamps is not only a great way to upcycle but also a fantastic method to add a personal touch to your lighting. Start by selecting a jar or bottle that speaks to you. It could be a vintage glass bottle, a mason jar, or even a colorful ceramic piece. The next step is to gather a lamp kit, which you can find at most craft stores, and follow these simple steps:
- Prepare the base: Ensure your jar or bottle is clean and dry.
- Drill a hole: Create a small hole in the bottom for the electrical cord to pass through.
- Assemble the lamp kit: Follow the instructions to attach the socket and switch.
- Add a bulb: Choose a bulb that complements the look of your lamp.
Once you've completed these steps, you’ll have a stunning lamp that adds a warm glow to your living room. You can even personalize it further by painting the outside or adding decorative elements inside the jar!
If you already have lampshades that are looking a bit tired, don't toss them out just yet! Instead, consider refreshing them with some upcycled fabric scraps. This is a simple yet effective way to dramatically change the ambiance of your living space. Here’s how you can do it:
- Select your fabric: Choose fabrics that match or complement your existing decor.
- Measure and cut: Measure the dimensions of your lampshade and cut the fabric accordingly, leaving a bit of extra for overlap.
- Adhere the fabric: Use fabric glue or a hot glue gun to attach the fabric around the shade, ensuring it’s smooth and wrinkle-free.
- Finishing touches: Consider adding trim or embellishments for a polished look.
This project not only breathes new life into your lampshades but also allows you to express your style in a unique way. Plus, it’s a fantastic conversation starter when guests admire your handiwork!
In conclusion, lighting makeovers through upcycling are a fun and eco-friendly way to enhance your living room. Whether you’re creating jar lamps or revamping old shades, the possibilities are endless. Not only do these projects save money, but they also provide a sense of accomplishment and individuality to your home. So, gather your materials, unleash your creativity, and let your living room shine like never before!
Q: What types of materials can I use for upcycling lighting projects?
A: You can use a variety of materials, including glass jars, bottles, old lampshades, and even wooden crates. The key is to choose items that can be safely transformed and used for lighting.
Q: How do I ensure safety when creating my own lamps?
A: Always use electrical components that are rated for safety. Follow the instructions on lamp kits carefully, and if you’re unsure, consult a professional electrician.
Q: Can I use LED bulbs in my upcycled lamps?
A: Absolutely! LED bulbs are energy-efficient and come in various styles, making them a great choice for your upcycled lighting projects.
Jar and Bottle Lamps
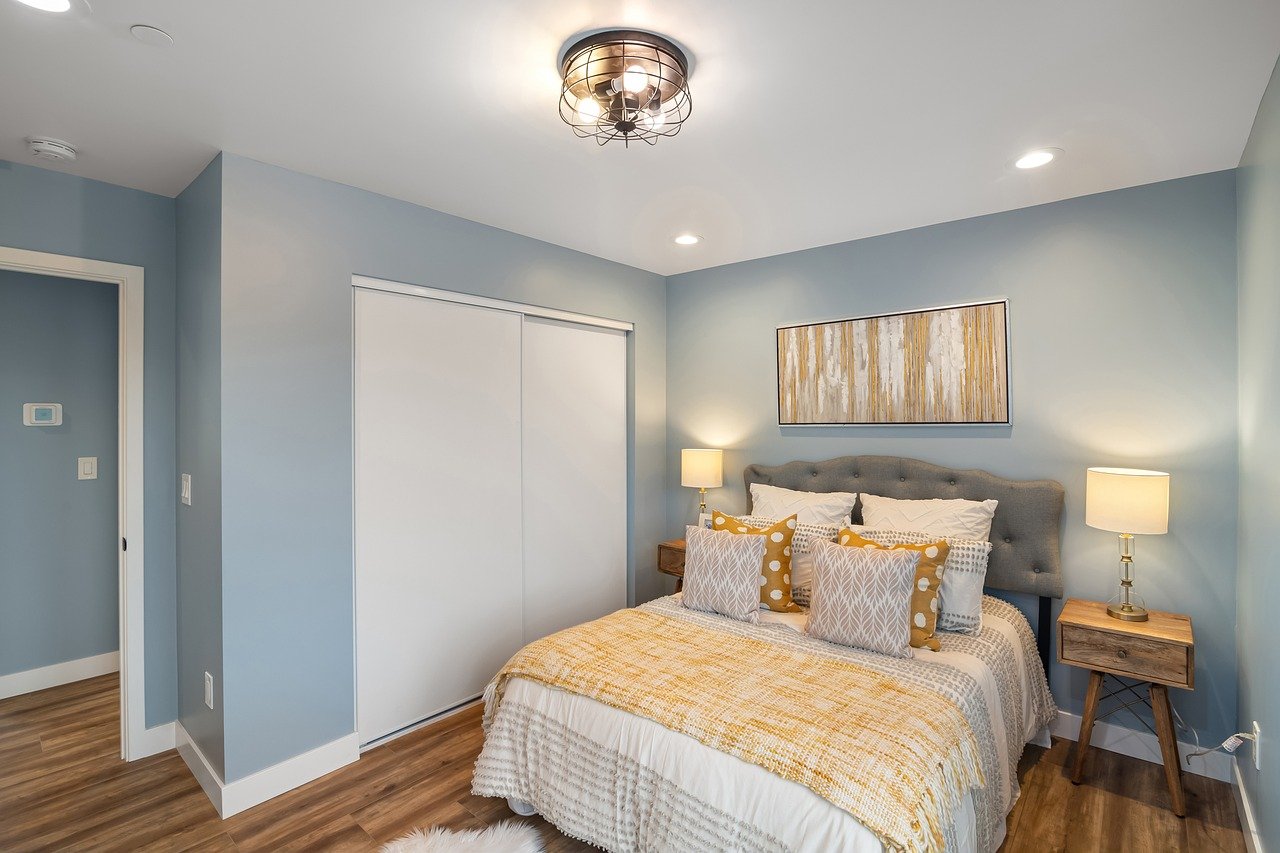
Are you ready to light up your living room with a touch of creativity? are not only a fantastic way to recycle old glass containers, but they also add a unique flair to your home decor. Imagine walking into your living room and being greeted by the warm glow of light filtering through a beautifully repurposed jar or bottle. It's like bringing a piece of art to life!
To create your own jar or bottle lamp, you don't need to be a DIY expert. With just a few basic supplies and a little imagination, you can transform everyday items into stunning light fixtures. Start by gathering materials such as:
- Glass jars or bottles (think mason jars, wine bottles, or even large soda bottles)
- A lamp kit (available at most craft stores or online)
- Decorative elements like twine, paint, or embellishments
Once you have your materials, the process is straightforward. First, clean your chosen jar or bottle thoroughly to ensure it's free of any labels or residues. Next, if desired, you can decorate the outside with paint or twine to match your living room's aesthetic. After that, follow the instructions of your lamp kit to insert the electrical components safely. This usually involves creating a hole in the bottom of the jar or bottle for the wiring to pass through.
One of the best things about jar and bottle lamps is their versatility. You can customize them to fit any theme or color scheme. For a rustic vibe, use a mason jar with a burlap accent. If you're going for a more modern feel, sleek glass bottles with minimal decor can do the trick. The possibilities are endless! Plus, these lamps are great conversation starters. Guests will be curious about your creative process and might even ask for tips on how to make their own.
Additionally, consider using LED lights for a more eco-friendly option. They consume less energy and last longer than traditional bulbs, making them a sustainable choice for your upcycled lamp. You can even use colored LED bulbs to create a fun ambiance in your living room, perfect for movie nights or gatherings with friends.
In summary, creating jar and bottle lamps is an exciting and rewarding project that not only enhances your living space but also promotes sustainability. By using items that might otherwise end up in the trash, you're making a positive impact on the environment while showcasing your personal style. So, why not gather your supplies and start crafting your very own jar or bottle lamp today? Your living room will thank you for it!
Q: Can I use any type of jar or bottle for this project?
A: Yes! You can use a variety of jars and bottles, but ensure they are sturdy enough to hold the lamp components and can withstand heat if you're using traditional bulbs.
Q: Is it safe to use a glass jar or bottle as a lamp?
A: Absolutely! Just make sure to follow the lamp kit instructions carefully and use appropriate lighting to avoid overheating.
Q: What type of light bulb should I use?
A: LED bulbs are highly recommended due to their energy efficiency and lower heat output, making them safer for use in glass containers.
Fabric Shade Revamps
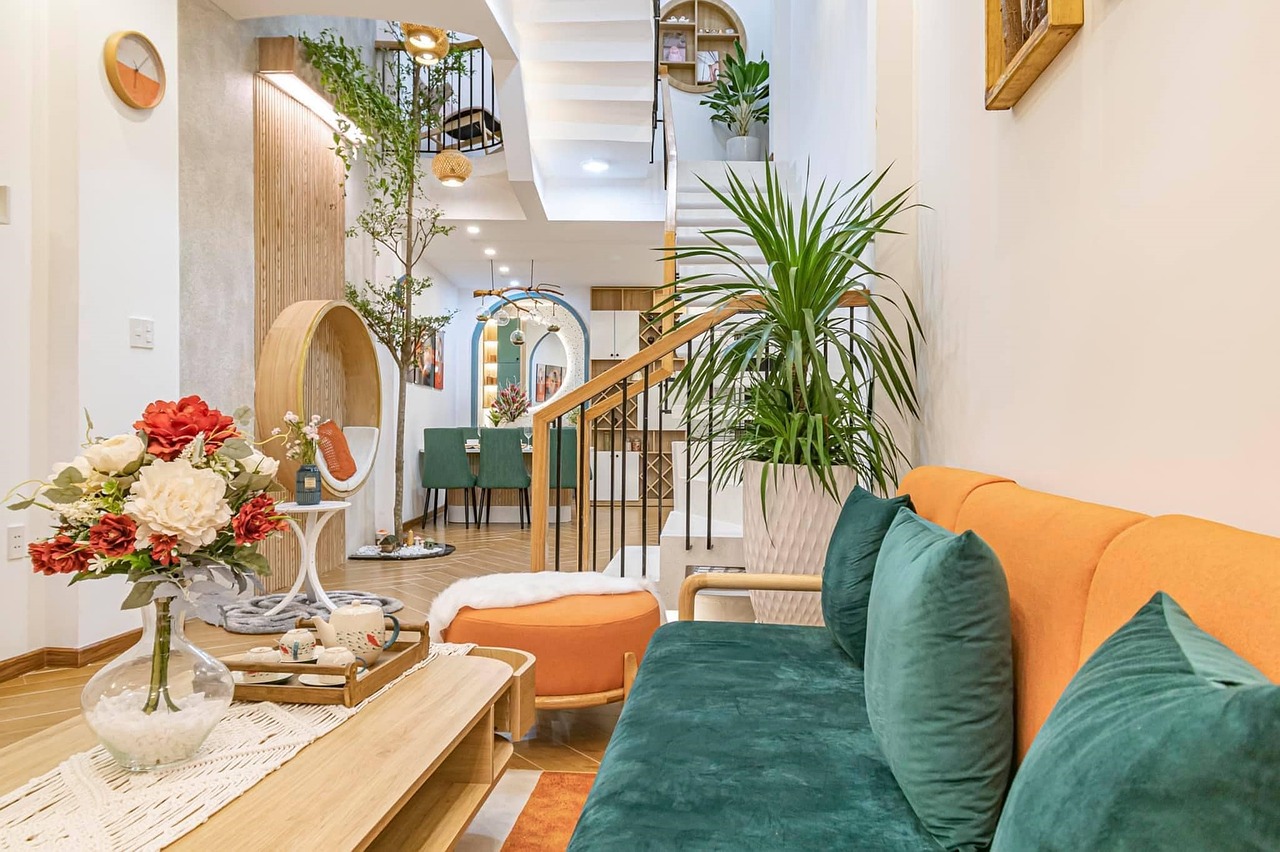
Revamping your fabric lampshades can be one of the most rewarding DIY projects for your living room. Not only does it allow you to express your creativity, but it also gives your space a fresh, personalized touch. Have you ever looked at an old lampshade and thought it just doesn’t fit the vibe anymore? Well, instead of tossing it out, why not give it a makeover? With just a few materials and a little bit of time, you can transform a tired lampshade into a stunning centerpiece that complements your decor.
To get started, gather your supplies. You’ll need:
- Fabric scraps that match your living room style
- Scissors
- Adhesive (fabric glue or a hot glue gun)
- Measuring tape
- Optional: embellishments like lace, beads, or ribbons
Now, let's dive into the process. First, measure the height and circumference of your lampshade to determine how much fabric you'll need. It’s essential to choose a fabric that not only looks good but also allows light to pass through beautifully. Think about using sheer fabrics for a soft glow or heavier materials for a bolder statement.
Once you have your fabric cut to size, it’s time to attach it to the lampshade. Start at the top and work your way down, applying adhesive as you go. Smooth out any wrinkles or bubbles to ensure a sleek finish. If you want to add a bit of flair, consider layering different fabrics or adding embellishments like lace or beads at the edges. This can create a charming, textured look that adds depth to your lighting.
Finally, once your lampshade is fully covered and dry, place it back on the lamp base and step back to admire your handiwork. You’ll be amazed at how a simple fabric revamp can change the entire feel of your living room. It’s like giving your lamp a brand new personality!
Here are a few tips to keep in mind:
- Choose fabrics that are easy to work with, especially if you're a beginner.
- Consider the color scheme of your living room to ensure a cohesive look.
- Don’t be afraid to experiment with patterns and textures!
In conclusion, fabric shade revamps are a fantastic way to breathe new life into your lighting while showcasing your unique style. So, roll up your sleeves, unleash your creativity, and let your lampshades shine!
Q: Can I use any type of fabric for my lampshade?
A: While you can technically use any fabric, it’s best to choose materials that are lightweight and allow light to diffuse well, like cotton or linen. Avoid heavy fabrics that could block too much light.
Q: How do I clean my revamped lampshade?
A: Depending on the fabric used, you can often wipe it down with a damp cloth. For more delicate materials, consider spot cleaning with a mild detergent.
Q: How can I ensure my fabric is flame-resistant?
A: If you're concerned about safety, look for fabrics labeled as flame-retardant. Alternatively, you can spray your fabric with a flame-retardant treatment before attaching it to the lampshade.
Q: Is it difficult to revamp a lampshade?
A: Not at all! With some basic supplies and a bit of patience, anyone can successfully revamp a lampshade. Just take your time and enjoy the creative process!
Frequently Asked Questions
- What is upcycling and why is it important?
Upcycling is the process of transforming old or discarded items into new products of better quality or environmental value. It's important because it promotes sustainability by reducing waste, conserving resources, and encouraging creativity. Instead of throwing away furniture or decor, you can give them a new life and style!
- Can I really make furniture from pallets?
Absolutely! Pallets are incredibly versatile and can be transformed into stunning furniture pieces like coffee tables, benches, or even sofas. With a little creativity and some basic tools, you can create functional and stylish furniture that adds character to your living room.
- What materials can I use for DIY decor projects?
You can use a variety of materials for DIY decor projects! Think about repurposing old fabrics, reclaimed wood, or even glass jars. Items like wooden crates, old picture frames, and fabric scraps can all be transformed into beautiful decor that reflects your personal style.
- How can I incorporate reclaimed wood into my living room?
Reclaimed wood can add a warm, rustic touch to your living room. You can use it to create shelves, coffee tables, or even wall art. The beauty of reclaimed wood lies in its unique textures and history, making each piece a conversation starter!
- What are some easy ways to refresh my lampshades?
Refreshing your lampshades can be as simple as adding fabric scraps! You can cover existing shades with new fabric, paint them, or even use decoupage techniques to create a unique look. This small change can dramatically alter the ambiance of your space.
- How do I create wall art from fabric scraps?
Creating wall art from fabric scraps is a fun and easy project! Simply frame your favorite fabric pieces in old picture frames, or create a collage effect. This not only utilizes leftover materials but also adds a personal touch to your decor.
- Are there any eco-friendly lighting options?
Yes! You can easily create eco-friendly lighting by repurposing old jars and bottles into lamps. These unique pieces can add charm and personality to your living room while being kind to the environment.


