Creating a Home Pottery Studio: What You Need to Know
Are you ready to dive into the wonderful world of pottery? Setting up a home pottery studio is not just about having a space; it’s about creating a sanctuary where your creativity can flourish. Imagine molding clay with your hands, feeling its cool texture, and watching it transform into beautiful art pieces. This article explores the essential components for setting up a home pottery studio, covering equipment, space requirements, materials, and tips for beginners to create their artistic haven. Whether you're a complete novice or looking to refine your skills, let’s embark on this exciting journey together!
Selecting an appropriate location in your home is crucial for a pottery studio. Think about where you can let your creativity flow without interruptions. Ideally, your space should have good lighting—natural light is best, but if that’s not possible, bright artificial lights can do the trick. Ventilation is another key factor; working with clay and glazes can release dust and fumes, so a well-ventilated area is essential to keep the air fresh. Accessibility matters too! You want a space that’s easy to get to, so you don't have to drag your supplies across the house every time inspiration strikes. A basement, garage, or spare room can work wonders if you set them up right.
Now that you have a space, let’s talk about the tools of the trade. Understanding the necessary tools and equipment is vital for beginners. You’ll need a few must-have items to get started on your pottery journey. These include pottery wheels, kilns, and various hand tools. Each tool serves a specific purpose and can significantly impact your pottery-making experience. Investing in quality equipment can make a world of difference, so let’s break down what you really need.
Pottery wheels are fundamental to shaping clay. They come in various designs, each with its own unique features. When selecting a wheel, consider factors like the type of pottery you want to create and your budget. Some wheels are electric, while others are kick wheels that require manual operation. Each type has its pros and cons, so it’s essential to choose one that fits your style. For instance, electric wheels can be easier for beginners, while kick wheels offer a more traditional experience.
What’s the difference between electric and kick wheels? Let’s break it down:
| Feature | Electric Wheel | Kick Wheel |
|---|---|---|
| Power Source | Electric motor | Manual foot pedal |
| Ease of Use | Beginner-friendly | Requires practice |
| Portability | Less portable | More portable |
| Cost | Generally more expensive | Usually cheaper |
Choosing between the two really comes down to your personal preference and how you envision your pottery journey.
If you’re on a tight budget, don’t worry! There are plenty of affordable alternatives and second-hand options for purchasing pottery wheels. Check out local classifieds, online marketplaces, or community groups where potters sell their equipment. You might be surprised at what you can find! Remember, it’s not always about having the newest equipment; sometimes, a gently used wheel can serve you just as well.
Kilns are essential for firing pottery, transforming your soft clay creations into durable art pieces. There are various kiln types available, including electric, gas, and wood-fired kilns. Each type has its unique functionalities and firing techniques. When selecting a kiln for your home studio, consider the size, power source, and the type of pottery you plan to create. It’s a significant investment, so take your time to research and choose wisely.
Choosing the right type of clay and materials is crucial for successful pottery. There are several types of clay available, each with its unique properties and applications in pottery making. Understanding these differences can help you pick the right clay for your projects. Whether you prefer the rustic charm of earthenware, the durability of stoneware, or the elegance of porcelain, knowing your materials can enhance your creative process.
Let’s take a closer look at the various types of clay:
- Earthenware: Great for beginners, it fires at low temperatures and is porous.
- Stoneware: More durable and versatile, it can be used for functional ware.
- Porcelain: Known for its smooth texture and translucency, it’s ideal for fine pottery.
Understanding glazing techniques is essential for finishing your pottery. Glazes can add color, texture, and a beautiful finish to your creations. There are several glazing methods available, such as dipping, brushing, and spraying. Experimenting with different techniques can lead to stunning results. Don’t be afraid to mix and match glazes to create unique effects!
Building connections with fellow potters can enhance your experience. Engaging with local pottery groups, workshops, and online communities can provide support and inspiration. Sharing your work, asking for feedback, and learning from others can be incredibly rewarding. Plus, you’ll make new friends who share your passion!
Safety is paramount in a pottery studio. Proper ventilation, protective gear, and careful handling of materials are essential to ensure a safe working environment. Always wear a mask when working with dry clay and glazes to avoid inhaling dust. Gloves can protect your skin from irritation, and keeping your workspace clean will help prevent accidents.
Regular maintenance of your pottery studio is essential for longevity and functionality. Organizing your space, cleaning equipment, and managing materials effectively can create a more enjoyable working environment. Set aside time each week to tidy up, so you can focus on your creative projects without distractions.
Q: What is the best clay for beginners?
A: Earthenware is often recommended for beginners due to its low firing temperature and ease of use.
Q: Do I need a kiln to start pottery?
A: While a kiln is essential for firing pottery, you can start with air-dry clay to practice shaping and techniques.
Q: How much space do I need for a pottery studio?
A: Ideally, you should have at least a small room or a designated corner in a larger space to accommodate your equipment and materials.
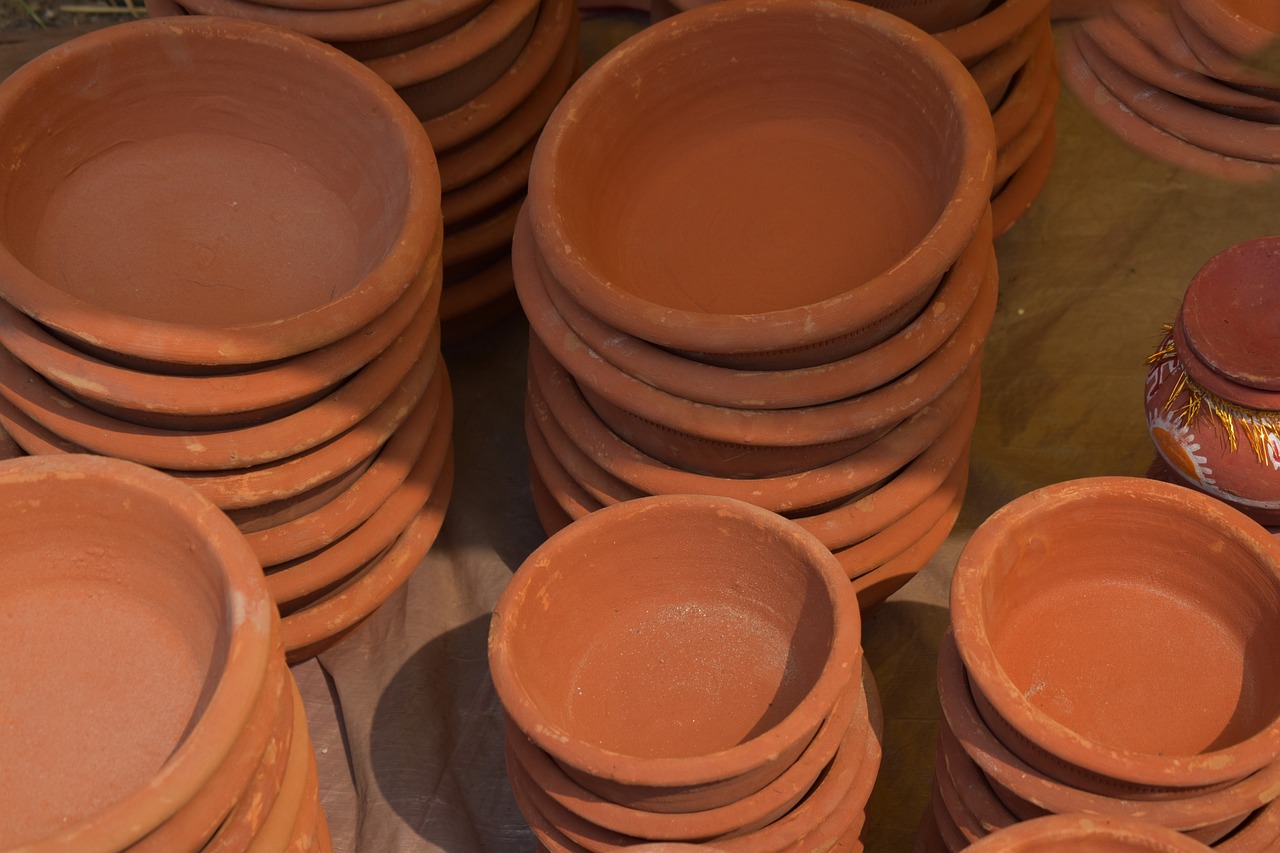
Choosing the Right Space
When it comes to creating your own pottery studio at home, choosing the right space is absolutely crucial. Think of it as the foundation of a house; without a solid base, everything else can crumble. Ideally, you want a room or area that inspires creativity and allows you to work comfortably. But what should you look for in that perfect spot? Let’s dive into some key factors to consider!
Lighting is one of the most important aspects to consider. Natural light can be a game-changer for any artist. It not only brightens up your workspace, making it easier to see details, but it can also boost your mood. If you can, choose a room with plenty of windows, or at least a well-lit corner. If natural light isn't an option, invest in some good quality artificial lighting that mimics daylight to keep your creative juices flowing.
Next up is ventilation. Pottery can get messy, and working with clay and glazes can produce fumes that you definitely don’t want lingering in the air. A well-ventilated space helps to keep the air fresh and reduces the risk of inhaling harmful particles. Consider placing your studio near a window or using an exhaust fan to keep the air circulating. You wouldn’t want to feel like you’re in a stuffy, clay-filled box, right?
Accessibility is another key factor. You want your studio to be easily reachable, not just for yourself but also for any visitors or fellow potters you might want to invite over. If you have a garage, basement, or spare room, these can be great options as long as they meet the other criteria. Just imagine trying to haul heavy bags of clay up a flight of stairs every time you want to create! Not fun, right?
Consider the size of the space as well. You’ll need enough room to accommodate your equipment, such as pottery wheels and kilns, as well as storage for your materials. It’s important to have a layout that allows you to move around freely. You wouldn’t want to feel cramped or limited while you’re trying to unleash your creativity!
Lastly, think about the atmosphere you want to cultivate. Your studio should be a sanctuary where you can escape from the hustle and bustle of daily life. Personalize the space with colors, art, and decor that inspire you. You could even create a cozy nook with a chair and some plants where you can sit and brainstorm new ideas. After all, a happy artist is a productive artist!
In summary, when choosing the right space for your pottery studio, keep these key factors in mind: lighting, ventilation, accessibility, size, and atmosphere. Each element plays a vital role in creating an environment where your artistic talents can flourish. So go ahead, take your time, and find that perfect spot that feels just right for you!
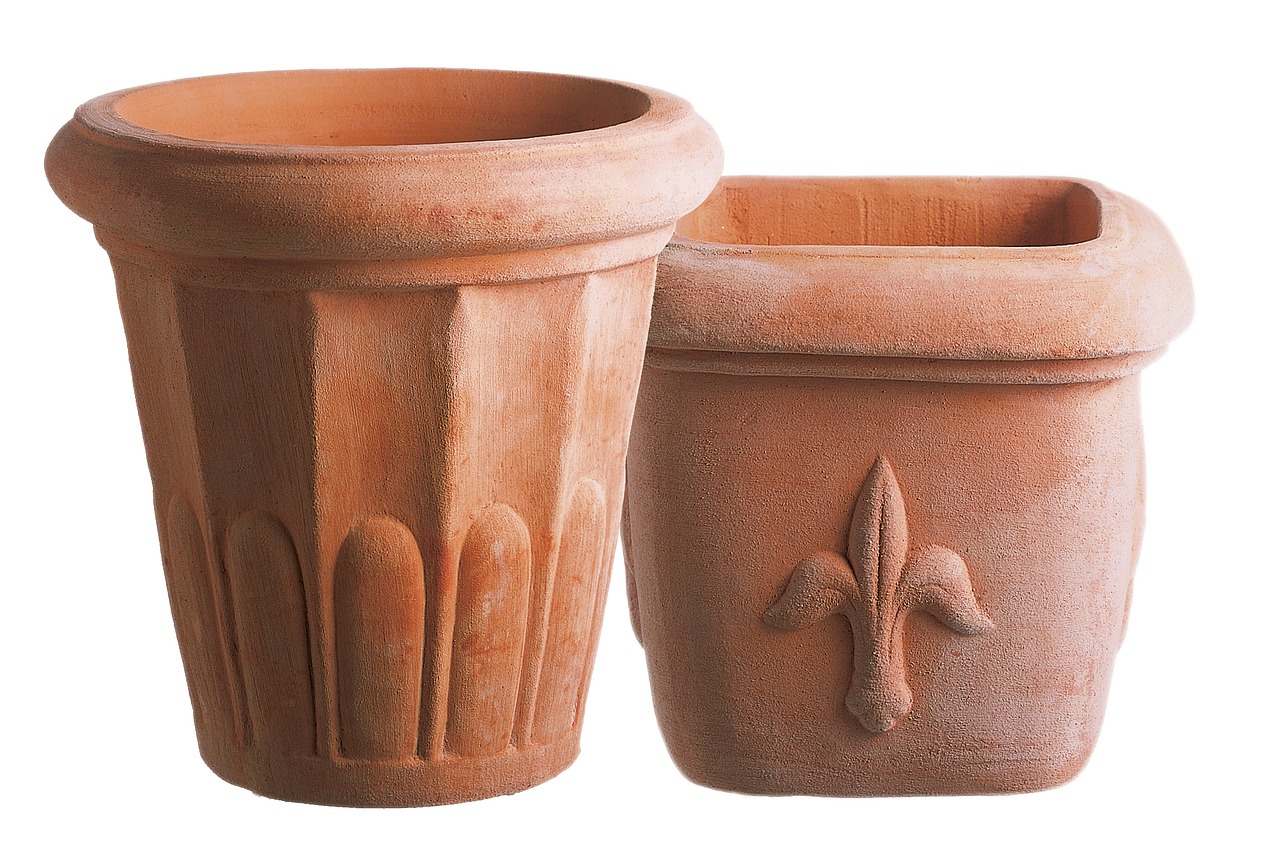
Essential Pottery Equipment
When diving into the world of pottery, having the right equipment is like having the right tools in a chef's kitchen—it can make all the difference! As a beginner, you might feel overwhelmed by the variety of tools and machines available. But fear not! This section will guide you through the essential pottery equipment that will help you unleash your creativity and bring your artistic visions to life.
First and foremost, let's talk about pottery wheels. These are the heart of any pottery studio, allowing you to shape and mold clay into stunning forms. There are two main types of pottery wheels: electric and kick wheels. Electric wheels are powered by a motor, providing consistent speed and ease of use, especially for beginners. On the other hand, kick wheels rely on foot power for rotation, giving you a more traditional experience that many potters love. Each type has its own unique charm and functionality, so choosing the right one depends on your style and preferences.
As you consider which pottery wheel to invest in, think about your workspace and budget. An electric wheel can range from a few hundred to several thousand dollars, while kick wheels can be more affordable, especially if you find a used one. Remember, the goal is to find a wheel that feels comfortable and suits your needs. Here’s a quick comparison of the two types:
| Feature | Electric Wheel | Kick Wheel |
|---|---|---|
| Power Source | Electric Motor | Foot Power |
| Speed Control | Variable | Manual |
| Cost | Higher | Lower |
| Learning Curve | Easy for Beginners | More Traditional |
Next up on your list of essential equipment is the kiln. A kiln is crucial for firing your pottery, transforming soft clay into durable ceramic pieces. There are several types of kilns, including electric, gas, and wood-fired options. For home studios, electric kilns are often the most practical choice due to their ease of use and versatility. They come in various sizes, so you can select one that fits your space and firing needs. Investing in a good kiln is like investing in a treasure chest—it will safeguard your creations and allow them to shine!
Now that you've got your wheel and kiln sorted, let's not forget about the hand tools. These are the unsung heroes of pottery making! Essential tools include rib tools for smoothing, trimming tools for refining shapes, and needle tools for detailing. You might also want to grab a sponge for adding moisture and a wire cutter for slicing clay. While these tools may seem small, they play a huge role in the overall process, allowing you to add personal touches to your work.
In summary, setting up your pottery studio requires a thoughtful selection of equipment. From the foundational pottery wheel to the transformative kiln and essential hand tools, each piece of equipment contributes to your artistic journey. As you gather your tools, remember that the most important ingredient is your passion for creating. So roll up your sleeves, get your hands dirty, and let your creativity flow!
Q: What is the best pottery wheel for beginners?
A: Generally, an electric pottery wheel is recommended for beginners due to its ease of use and consistent speed. However, if you prefer a more traditional approach, a kick wheel can be a great option.
Q: How much space do I need for a home pottery studio?
A: Ideally, you should have at least 100 square feet of space to comfortably accommodate your wheel, kiln, and work surfaces, along with room for movement.
Q: Can I fire pottery in my home oven?
A: No, traditional pottery requires a kiln to reach the high temperatures needed for firing. Home ovens do not achieve the necessary temperatures.

Pottery Wheels
When it comes to pottery, the pottery wheel is your best friend. It’s the magical tool that transforms a lump of clay into beautiful forms, allowing your creativity to flow. Whether you're a total newbie or someone with a bit of experience, understanding the different types of pottery wheels is essential for setting up your home studio. But how do you choose the right one? Let’s dive into the world of pottery wheels and explore what makes them tick.
First off, there are two main types of pottery wheels: electric wheels and kick wheels. Electric wheels are powered by a motor and are incredibly user-friendly, especially for beginners. They allow for consistent speed and are perfect for those who want to jump right into the action without worrying too much about technique. On the other hand, kick wheels operate manually. You kick a pedal to spin the wheel, which gives you a unique connection to the clay and can be quite meditative. It’s like dancing with your art—every kick translates into motion, and you get to feel every twist and turn of the clay.
Now, let’s break down the pros and cons of each type:
| Type | Pros | Cons |
|---|---|---|
| Electric Wheel |
|
|
| Kick Wheel |
|
|
Choosing between an electric wheel and a kick wheel ultimately comes down to your personal style and how you plan to work. If you envision yourself creating intricate pieces with ease, an electric wheel might be the way to go. However, if you’re looking to embrace the traditional aspects of pottery and want a workout while you’re at it, a kick wheel could be your perfect match.
Now, let’s talk about budget-friendly options. Pottery wheels can be a significant investment, but there are ways to save some cash. Consider purchasing second-hand wheels from local pottery studios, online marketplaces, or community boards. Many potters upgrade their equipment and sell their old wheels at a fraction of the cost. You can also explore DIY options if you’re feeling adventurous and handy. Building your own kick wheel can be a fun project that adds a personal touch to your studio!
In conclusion, selecting the right pottery wheel is a pivotal step in your pottery journey. Whether you opt for the convenience of an electric wheel or the tactile experience of a kick wheel, the important thing is to choose a wheel that resonates with your artistic vision. Remember, it’s not just about the wheel; it’s about the journey of creation and the joy that comes with each spin. So, get ready to get your hands dirty and let the wheel guide you to your next masterpiece!
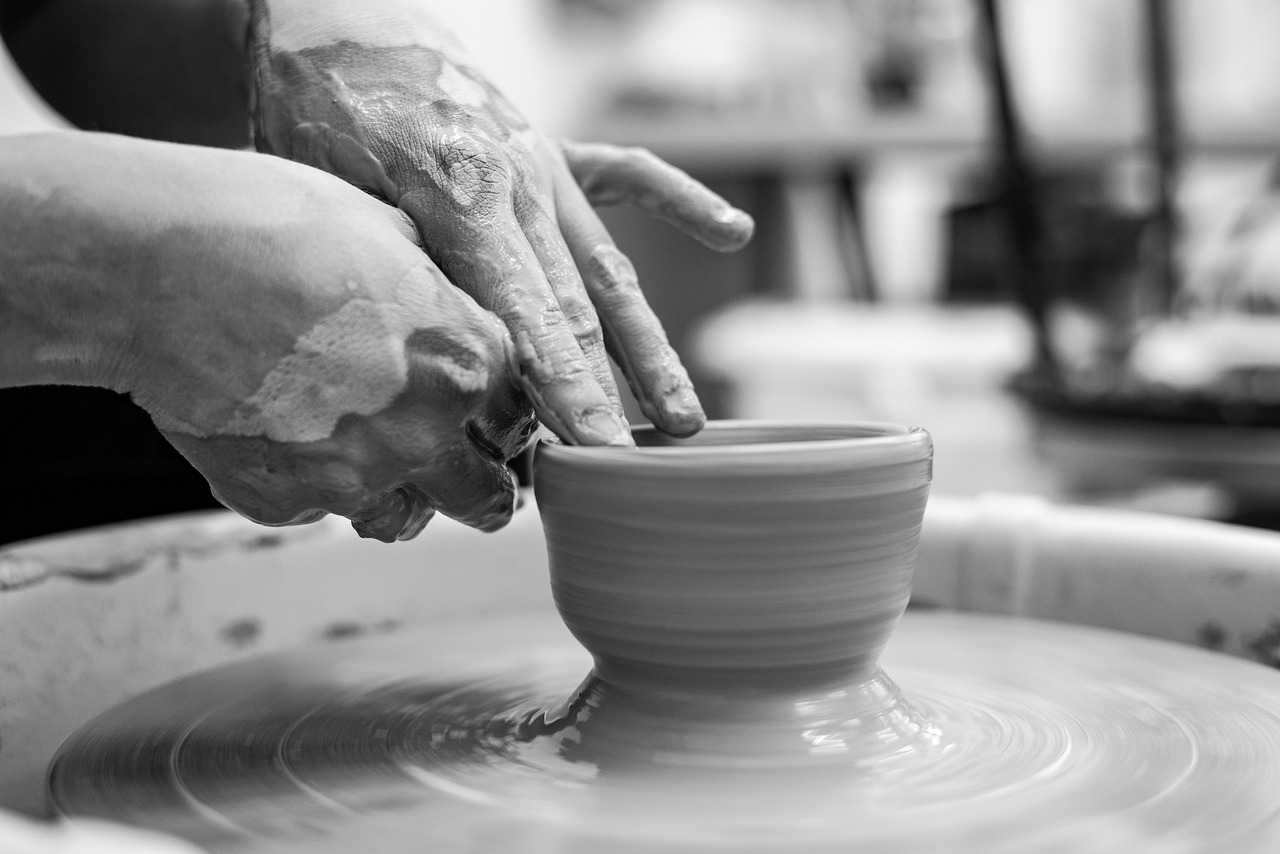
Electric vs. Kick Wheels
When it comes to choosing the right pottery wheel for your home studio, the debate between electric wheels and kick wheels often arises. Each type has its own unique features and benefits, making the decision heavily reliant on your personal preferences and pottery style. So, let's dive into the nitty-gritty of both options!
First off, electric wheels are powered by electricity, which means they offer a consistent and smooth rotation. This can be a game-changer for beginners who are still mastering the art of centering clay. With the simple push of a pedal, you can control the speed, making it easier to work at your own pace. Many potters appreciate this convenience, especially when throwing larger pieces. Additionally, electric wheels often come with built-in features like foot pedals and adjustable speeds, enhancing the overall pottery experience.
On the flip side, we have kick wheels, which are manually operated. These wheels require you to kick a pedal to set them in motion, offering a more traditional and tactile experience. Many potters enjoy the physical engagement that comes with using a kick wheel, as it allows for a deeper connection with the clay. Moreover, kick wheels are often more affordable and require less maintenance since they don’t rely on electrical components. However, mastering a kick wheel can take some time, as it requires a bit of practice to achieve the desired speed and control.
Here’s a quick comparison table to help you visualize the differences:
| Feature | Electric Wheels | Kick Wheels |
|---|---|---|
| Power Source | Electric | Manual |
| Control | Pedal control for speed | Kicking for motion |
| Learning Curve | Generally easier for beginners | Requires practice |
| Cost | Typically more expensive | More budget-friendly |
| Maintenance | Needs electrical maintenance | Less maintenance required |
In essence, the choice between electric and kick wheels boils down to your individual style and how you want to interact with your craft. If you prefer a high-tech, user-friendly experience, an electric wheel might be your best bet. However, if you’re drawn to the traditional methods and want to embrace the physicality of pottery, a kick wheel could be the way to go. Whatever you choose, both options can lead to beautiful creations in your pottery journey!
Q: Can I use a kick wheel if I have limited space?
A: Yes! Kick wheels are generally more compact and can fit into smaller spaces, making them a great option for home studios with limited room.
Q: Are electric wheels better for beginners?
A: Many beginners find electric wheels easier to use due to their consistent speed and ease of control. However, it's all about personal preference!
Q: How much do pottery wheels typically cost?
A: Prices can vary widely. Electric wheels can range from $300 to over $1,000, while kick wheels are often available for $100 to $500, depending on the brand and features.
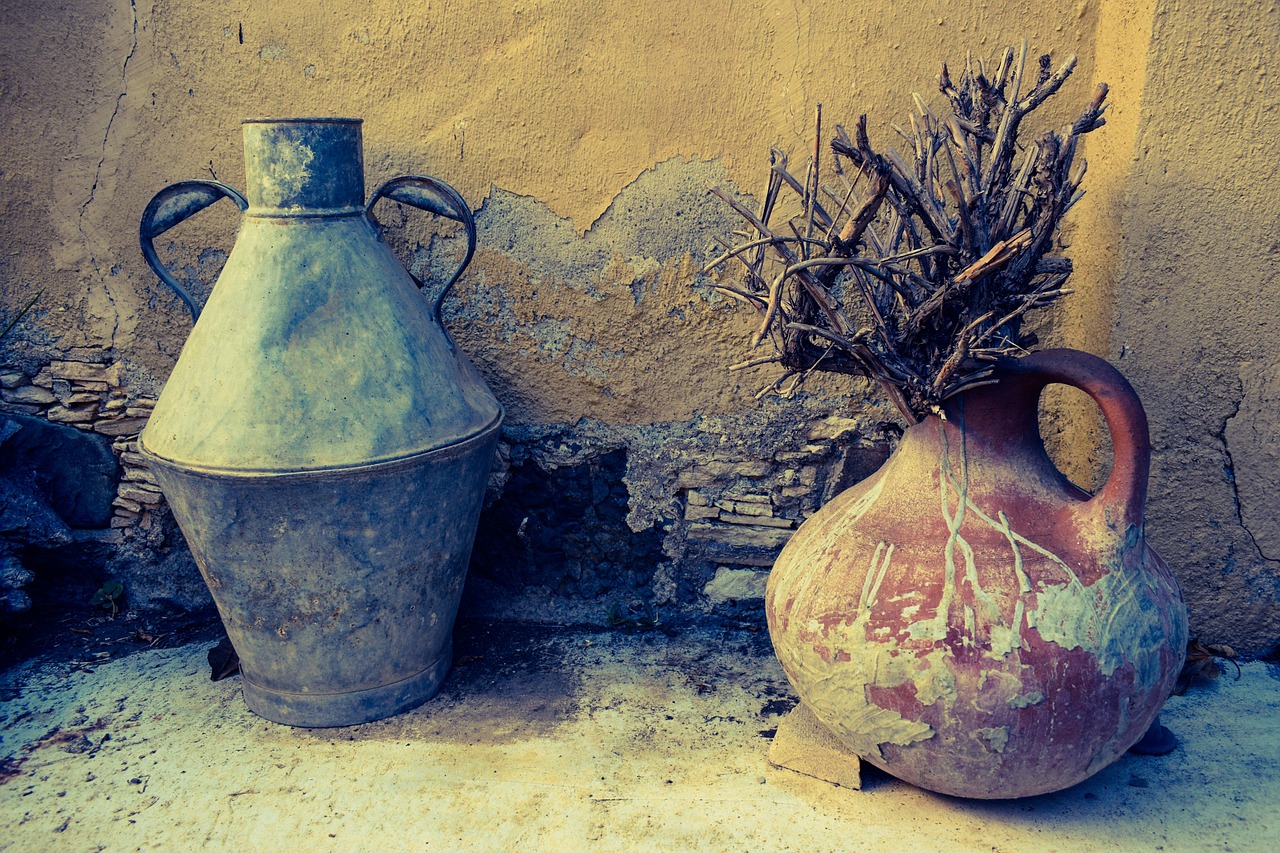
Budget-Friendly Options
Setting up a pottery studio can feel like a daunting financial commitment, but it doesn't have to be! There are plenty of available that allow you to dive into the world of pottery without emptying your wallet. First off, consider looking for second-hand equipment. Websites like Craigslist, Facebook Marketplace, and local pottery groups often have listings for gently used pottery wheels and kilns at a fraction of the original price. You might be surprised at the quality of items that potters sell when they upgrade or move on to other pursuits.
Another fantastic option is to explore DIY solutions. For instance, if you're handy, you can build your own pottery wheel! There are numerous online tutorials that guide you through the process, and the materials are often inexpensive. Similarly, you can create a simple kiln using materials like bricks and a metal drum for small projects. This not only saves money but also adds a personal touch to your studio.
When it comes to clay, consider starting with air-dry clay or low-fire clay, which is generally more affordable than high-fire options. These types are perfect for beginners and can help you experiment without the pressure of having to fire your creations in a kiln. Plus, they can be painted or glazed once dry, giving you the flexibility to explore various techniques without a hefty investment.
Don’t forget about tools! While it's tempting to buy every fancy tool on the market, many can be made from everyday items. For instance, you can use household items like kitchen sponges, plastic knives, and even old credit cards for shaping and carving your clay. This not only keeps costs down but also encourages creativity in your process.
Lastly, consider joining a community pottery studio if available in your area. Many studios offer memberships or pay-as-you-go options, allowing you to access professional equipment and kilns without the full investment of setting up your own studio. This can be a great way to learn, practice, and meet fellow pottery enthusiasts without breaking the bank.
In summary, setting up a pottery studio on a budget is entirely possible with a little creativity and resourcefulness. By exploring second-hand options, DIY solutions, and community resources, you can create a vibrant artistic space that allows you to express yourself without financial strain.
- What is the best type of pottery wheel for beginners? For beginners, an electric pottery wheel is often recommended due to its ease of use, but kick wheels can also be a fun challenge if you're up for it!
- Can I use regular clay for pottery? While you can use regular clay, it's best to use clay specifically designed for pottery to ensure it can withstand firing and glazing processes.
- How can I find local pottery classes? Check community centers, art schools, or local pottery studios. Many offer classes for all skill levels and can be a great way to meet other potters!
- What safety gear do I need for a pottery studio? Essential safety gear includes a dust mask, gloves, and safety goggles, especially when working with glazes and during the firing process.
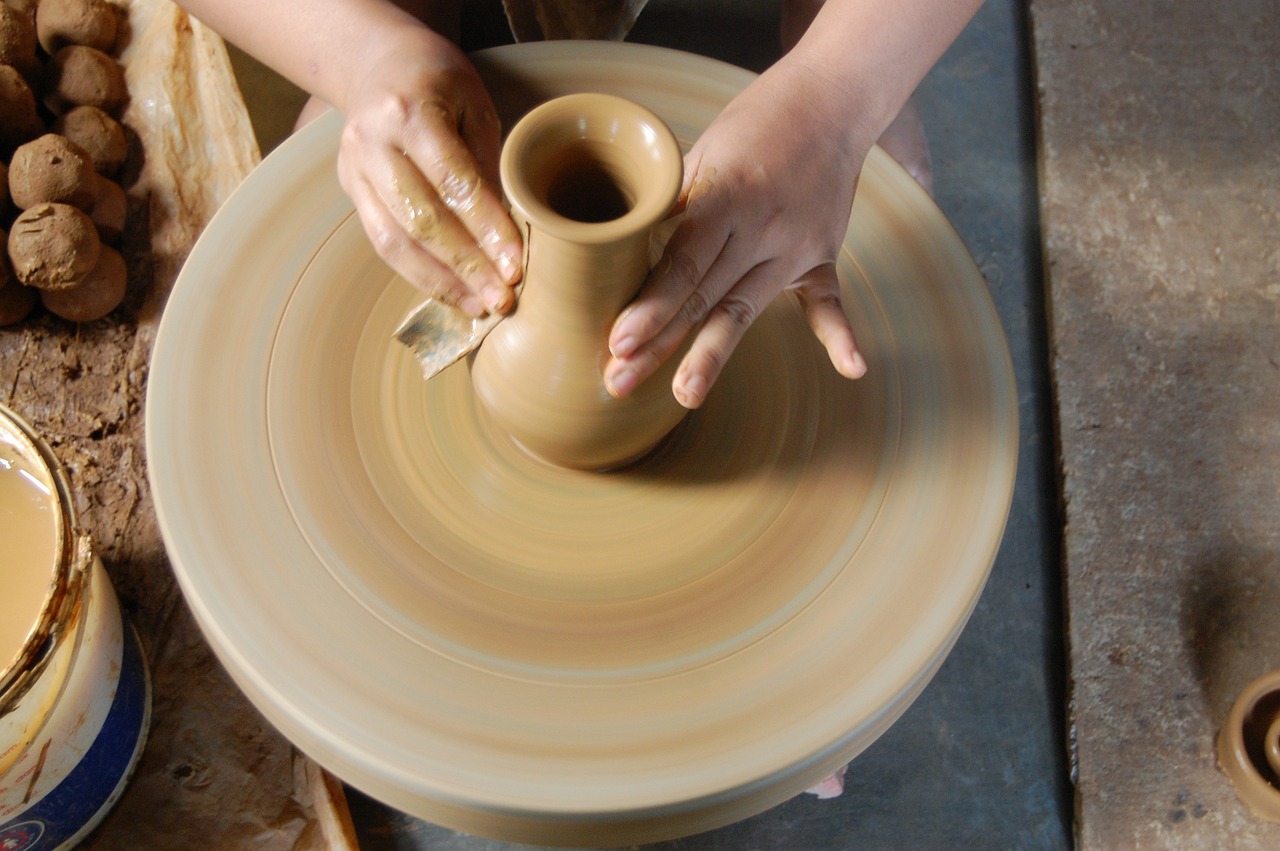
Kilns for Firing Clay
When it comes to pottery, a kiln is your best friend. It's the magical box that transforms your clay creations into durable masterpieces. But before you rush out to buy one, it’s essential to understand the different types of kilns available and how they can impact your pottery journey. Think of a kiln as the oven in your kitchen; just as you wouldn’t bake a cake without knowing the right temperature, you shouldn’t fire your pottery without understanding your kiln options.
There are several types of kilns, each with its own unique features and capabilities. The most common types include electric kilns, gas kilns, and wood-fired kilns. Electric kilns are popular among beginners due to their ease of use and consistent firing results. They are perfect for small home studios and can handle a variety of clay types and glazes. On the other hand, gas kilns offer more control over the atmosphere during firing, which can result in stunning color variations in your pottery. If you’re feeling adventurous, wood-fired kilns can create unique textures and effects but require more experience and commitment.
When selecting a kiln for your home studio, consider the following factors:
- Size: How much pottery do you plan to produce? Kilns come in various sizes, so choose one that fits your production needs.
- Temperature Range: Different clay types and glazes require different firing temperatures. Ensure your kiln can reach the necessary temperatures for your projects.
- Power Source: Consider whether you want an electric or gas kiln, as this will affect installation and operational costs.
Additionally, it’s wise to think about the kiln's insulation and safety features. A well-insulated kiln will maintain temperature better and be more energy-efficient. Safety should always be a priority; look for kilns that come with safety shut-off features and proper ventilation options to avoid any hazardous situations.
To give you a clearer picture, here’s a quick comparison of the three main types of kilns:
| Type of Kiln | Advantages | Disadvantages |
|---|---|---|
| Electric Kiln | Easy to use, consistent firing, ideal for beginners | Limited temperature range, can be expensive to operate |
| Gas Kiln | Greater control over firing atmosphere, unique effects | Requires more experience, installation can be complex |
| Wood-Fired Kiln | Creates unique textures and effects, traditional method | Labor-intensive, requires significant space and experience |
In conclusion, investing in a kiln is a significant step in your pottery journey. Take your time to research and choose the right one that fits your artistic vision and practical needs. Remember, a kiln is not just a tool; it’s a gateway to transforming your clay into beautiful, lasting art.
Q: How much does a kiln cost?
A: Kiln prices can vary widely based on type and size, typically ranging from a few hundred to several thousand dollars.
Q: Can I use a regular oven to fire pottery?
A: No, regular ovens do not reach the necessary temperatures for firing clay and can be dangerous to use for this purpose.
Q: How long does it take to fire pottery in a kiln?
A: Firing times can vary, but most firings take anywhere from 6 to 12 hours, depending on the kiln and the clay being used.
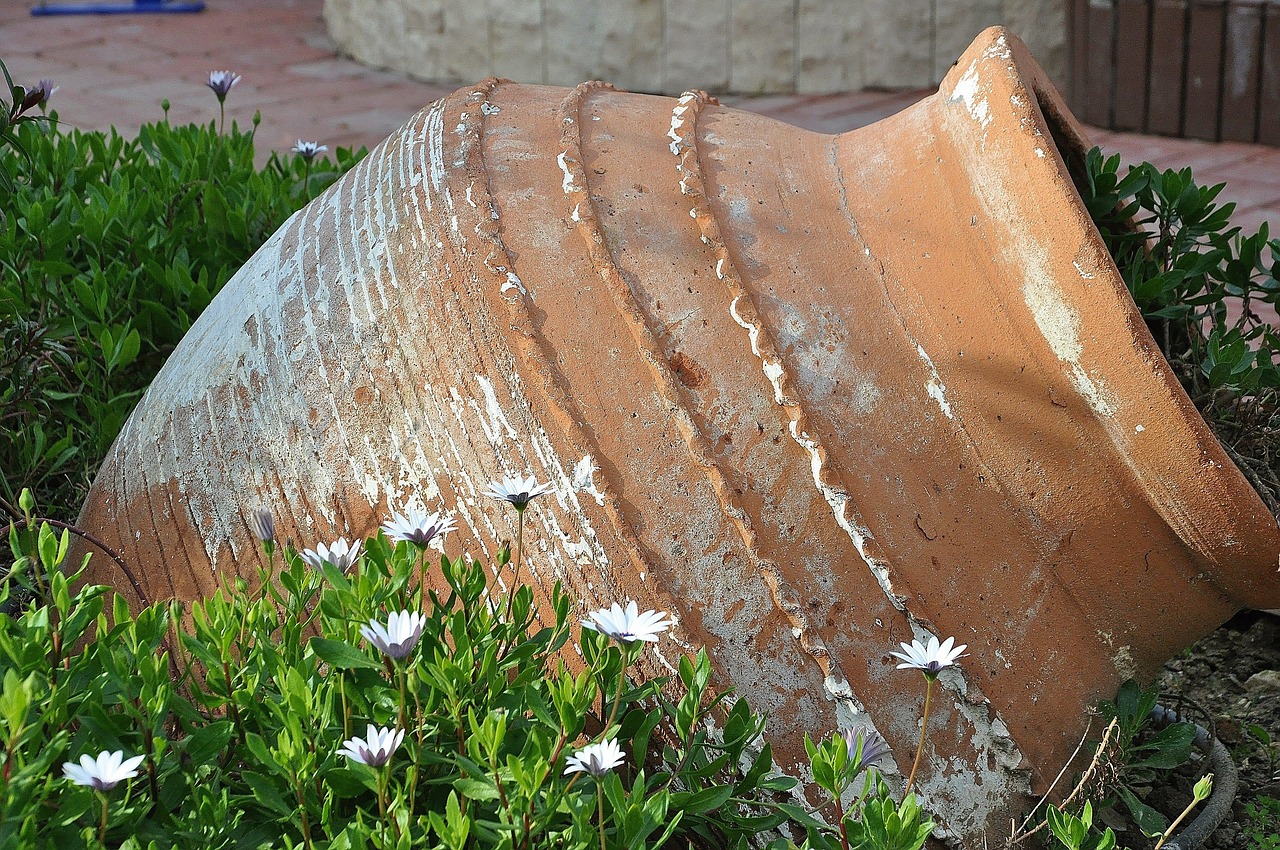
Clay and Materials
When diving into the world of pottery, one of the most exciting yet daunting aspects is choosing the right clay and materials. The type of clay you select can drastically affect the outcome of your pieces, not to mention the techniques you’ll use to shape and finish them. So, let’s break it down and explore the various options available so you can make informed choices that will elevate your pottery game!
First off, clay comes in several varieties, each with its unique properties and applications. Understanding these types can be likened to picking the right paint for a canvas; each type offers different textures, colors, and firing temperatures. Here’s a quick overview of the most common types of clay:
| Type of Clay | Properties | Best Uses |
|---|---|---|
| Earthenware | Low fire, porous, and often red or brown in color | Functional ware, decorative pieces |
| Stoneware | Mid to high fire, durable, and non-porous | Tableware, cookware, and sculptures |
| Porcelain | High fire, white, and very smooth | Fine dinnerware, artistic sculptures |
Next up is the world of glazes. Glazing is where the magic happens, transforming your clay creations into stunning pieces of art. Glazes not only enhance the aesthetic appeal of your pottery but also serve a functional purpose by making your items waterproof and food-safe. There are various glazing techniques you can experiment with, from dipping and pouring to spraying and brushing. Each method offers a unique finish, so don’t hesitate to explore different styles to find what resonates with your artistic vision.
In addition to clay and glazes, you’ll also need a variety of tools to help you in your pottery journey. Some essential tools include:
- Clay cutters and knives for shaping and trimming
- Rolling pins for flattening clay
- Sculpting tools for adding intricate details
- Sponges for smoothing surfaces
Having the right tools can make a world of difference in your creative process. Think of them as your artist's brushes; without them, your vision may struggle to come to life. So, invest in quality tools that feel comfortable in your hands and allow you to express your creativity freely.
Lastly, don’t forget about the importance of workspace materials. A well-organized studio with the right supplies can enhance your productivity and enjoyment. Make sure to have a sturdy work table, plenty of storage for your clay and tools, and a good supply of water for keeping your workspace clean. Keeping everything within arm’s reach can help you stay in the flow of creativity without unnecessary interruptions.
In summary, the right clay and materials are foundational to your pottery success. By understanding the characteristics of different clays and glazes, equipping yourself with essential tools, and maintaining an organized workspace, you’ll be well on your way to creating stunning pottery pieces that reflect your unique style and artistic vision. So, roll up your sleeves, get your hands dirty, and let the clay work its magic!
Q: What type of clay is best for beginners?
A: Earthenware is often recommended for beginners due to its low firing temperature and ease of use.
Q: How do I choose the right glaze for my pottery?
A: Consider the type of clay you are using and the firing temperature. Experiment with different glazes to see which ones you like best!
Q: Can I use regular paint on my pottery?
A: It's best to use glazes specifically designed for ceramics, as regular paint may not adhere properly or be food-safe.
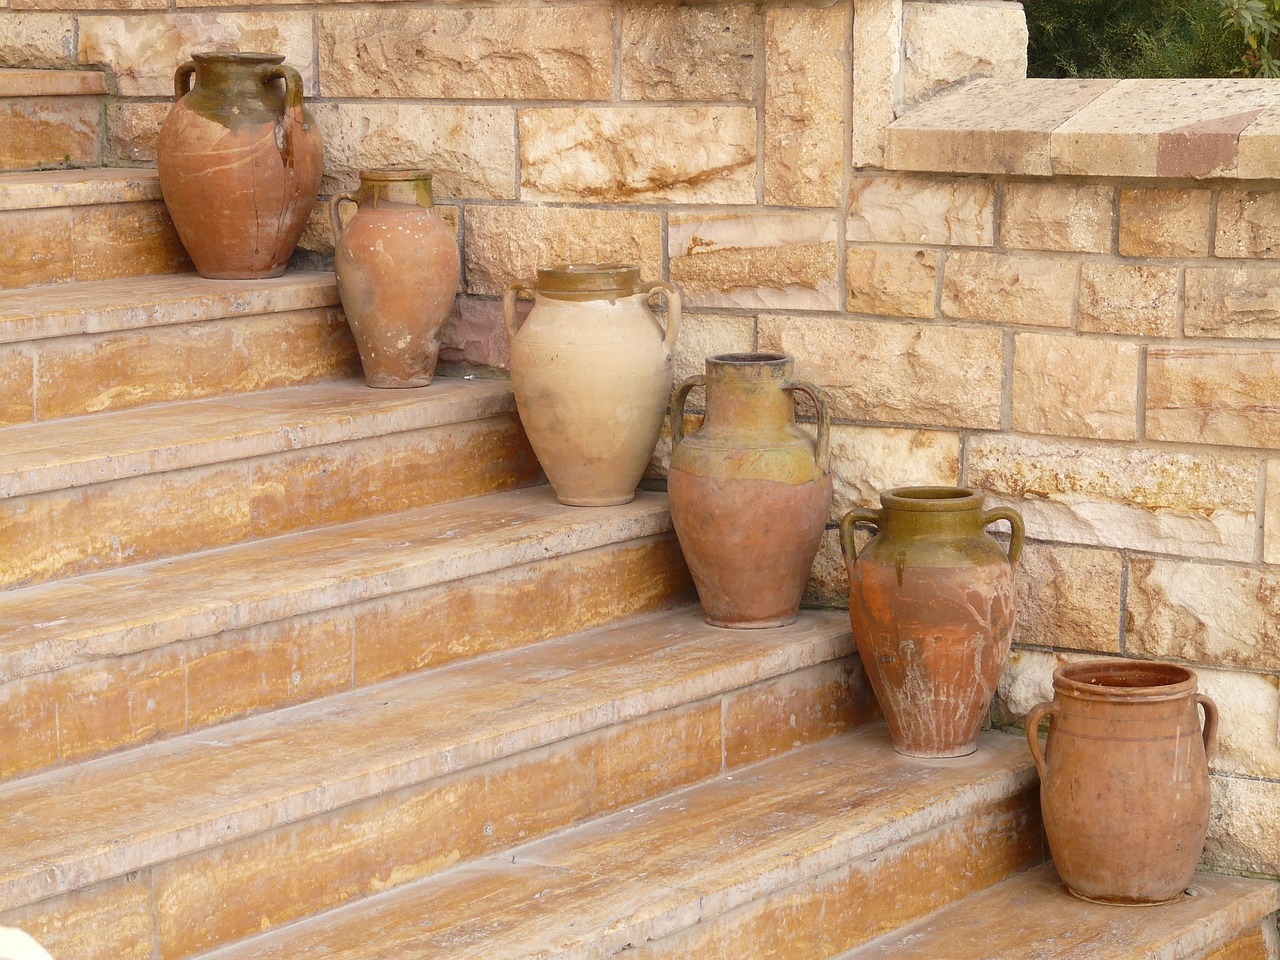
Types of Clay
When it comes to pottery, the type of clay you choose can dramatically influence not only the process but also the final outcome of your creations. Each type of clay has its own unique characteristics, making it essential for you to understand the differences before diving into your pottery journey. Whether you're looking to create stunning sculptures or functional dinnerware, knowing your clay will help you achieve the desired results.
Let's break down the most common types of clay you'll encounter:
- Earthenware: This type of clay is often the go-to for beginners due to its forgiving nature. It fires at a lower temperature, typically around 1,830°F (999°C), and is known for its porous quality. This means that earthenware can easily absorb water unless it’s glazed. It's perfect for decorative pieces and everyday pottery, as it can be easily shaped and colored.
- Stoneware: Stoneware is a bit more robust than earthenware, firing at higher temperatures—usually between 2,192°F (1,200°C) and 2,372°F (1,300°C). It's non-porous when fired and is often used for functional items like dishes and mugs. Its durability makes it a favorite among potters who want to create pieces that can withstand daily use.
- Porcelain: If you're aiming for elegance, porcelain is your best bet. Known for its fine texture and translucency, porcelain is fired at even higher temperatures, around 2,192°F (1,200°C) to 2,372°F (1,300°C). This clay type is often used for high-end dinnerware and artistic pieces. However, it can be tricky to work with, requiring a bit more skill and experience.
Each of these clay types opens up a world of possibilities for your pottery projects. For instance, if you're just starting out, earthenware might be the most forgiving and easiest to manipulate. On the other hand, if you're looking to create something more durable and functional, stoneware could be your best choice. And for those with a bit more experience who want to experiment with delicate designs, porcelain can lead to breathtaking results.
In addition to these three primary types of clay, there are also specialty clays available, such as Raku clay, which is designed for the unique raku firing process, and paper clay, which incorporates paper fibers for added strength and texture. Each specialty clay has its own set of characteristics and is suited for specific techniques and styles.
Ultimately, the type of clay you select will depend on your artistic vision, skill level, and the specific projects you have in mind. So, take your time to explore the different options, experiment with each type, and discover which clay resonates with your creative spirit!
Q: What is the best clay for beginners?
A: Earthenware is often recommended for beginners due to its ease of use and lower firing temperature.
Q: Can I mix different types of clay?
A: While it is possible to mix different clay types, it can lead to issues during firing. It's best to use one type for a project.
Q: How do I choose the right clay for my project?
A: Consider the intended use of your pottery. Functional pieces often benefit from stoneware, while decorative items can be made from earthenware or porcelain.
Q: What is the difference between low-fire and high-fire clay?
A: Low-fire clay, like earthenware, is fired at lower temperatures and is more porous. High-fire clay, like stoneware and porcelain, is fired at higher temperatures, making it more durable and non-porous.

Glazing Techniques
Glazing is where the magic happens in pottery! It's the final touch that transforms a simple clay piece into a stunning work of art. But, let's be honest, glazing can be a bit tricky, especially for beginners. It’s not just about slapping on some color; it’s about understanding how different glazes interact with each other, the clay body, and the firing process. So, let’s dive into the world of glazing techniques and uncover the secrets to achieving beautiful results!
First things first, you need to know that there are several you can experiment with. Each method offers a unique outcome, and the choice often depends on the effect you want to achieve. Here are a few popular techniques:
- Dip Glazing: This is a straightforward method where you dip your pottery piece into a bucket of glaze. It’s fast and gives an even coat, but you need to ensure that you don’t leave any drips.
- Brush Glazing: If you want more control over the application, brushing is the way to go. You can create intricate designs and patterns, but it requires a steady hand and patience.
- Spray Glazing: This technique involves using a spray gun to apply glaze. It’s fantastic for achieving a smooth finish and is often used for larger pieces.
- Wax Resist: This technique involves applying wax to areas you don’t want to glaze. After applying the glaze, you wipe off the wax, revealing the unglazed clay beneath. It’s perfect for creating contrast and intricate designs!
Now, let’s talk about glaze types. There are two main categories: glossy and matte. Glossy glazes are shiny and reflective, making colors appear vibrant and lively. On the other hand, matte glazes offer a softer, more muted finish that can add a touch of elegance to your pieces. But don’t stop there! You can also explore specialty glazes like crystalline glazes that form beautiful crystal patterns during firing, or raku glazes that create unique textures and colors.
When it comes to glazing, testing is key. Always test your glazes on a small piece of clay before applying them to your main project. This way, you can see how the colors interact and how they will look after firing. Keep a glaze journal to document your experiments, including the clay body used, the glaze application method, and the firing temperature. This will help you replicate successful results and avoid any unpleasant surprises!
Lastly, don’t forget about the firing process! The temperature and atmosphere in the kiln can significantly affect the final appearance of your glaze. For example, some glazes may change color when fired in an oxidizing atmosphere compared to a reduction atmosphere. So, understanding your kiln and its firing capabilities is essential for achieving the best results.
Q: Can I mix different glazes together?
A: Yes, you can! Mixing glazes can lead to exciting new colors and effects. Just be sure to test your mixtures on small pieces first, as some combinations may not react well together.
Q: How do I know if my glaze is food-safe?
A: Always check the manufacturer's specifications. Many commercial glazes are labeled as food-safe, but it’s essential to ensure that your final piece is non-toxic and suitable for food use.
Q: What if my glaze runs during firing?
A: Running glaze can be a common issue. To prevent this, make sure to apply an even coat and avoid glazing the bottom of your piece where it touches the kiln shelf. You can also use a kiln wash on your shelves to protect them from drips.
In conclusion, glazing is an art in itself, and with practice, experimentation, and a little patience, you’ll be able to create stunning pieces that showcase your unique style. So grab your brushes, dip your pots, and let your creativity flow!

Creating a Pottery Community
Creating a pottery community can be one of the most rewarding aspects of your artistic journey. It's not just about crafting beautiful pieces; it's about sharing experiences, learning from others, and growing together as artists. Imagine walking into a room filled with the scent of clay and the sound of laughter, where everyone is eager to share tips, tricks, and stories about their pottery adventures. This vibrant atmosphere can ignite your creativity and push you to explore new techniques you might never have considered alone.
One of the best ways to build a pottery community is by connecting with local pottery groups. These groups often host workshops, exhibitions, and social gatherings that can provide invaluable opportunities for networking and collaboration. If you’re unsure where to start, consider checking out community centers, art schools, or even local galleries. Many of these places offer classes or can direct you to nearby pottery clubs. You might be surprised at how many like-minded individuals are eager to connect!
In addition to local groups, the internet has opened up a whole new world of pottery communities. Social media platforms like Instagram and Facebook are teeming with pottery enthusiasts sharing their work and experiences. Joining online forums or groups dedicated to pottery can be a fantastic way to seek advice, share your creations, and even participate in challenges that can help hone your skills. You could also consider starting a blog or YouTube channel to document your pottery journey and connect with others who share your passion.
Don't underestimate the power of attending pottery fairs and exhibitions. These events can be a goldmine for meeting fellow potters and gaining inspiration from their work. You’ll find a diverse array of styles and techniques that can spark new ideas for your own creations. Plus, participating in these events often allows you to showcase your work, giving you a platform to receive feedback and encouragement from the community.
As you build your pottery community, remember that collaboration can lead to amazing opportunities. Think about organizing group projects or challenges where everyone contributes their unique skills. This could be anything from creating a communal mural to hosting a pottery sale to benefit a local charity. Not only will you strengthen your relationships with fellow potters, but you'll also create a sense of purpose and accomplishment that comes from working together.
Ultimately, a pottery community is about support and inspiration. By engaging with others, whether in person or online, you’ll find that your passion for pottery can flourish in ways you never imagined. So, don’t hesitate to reach out, share your journey, and make connections. After all, every potter starts with a lump of clay, and together, you can create something truly beautiful.
| Question | Answer |
|---|---|
| How can I find local pottery groups? | Check community centers, art schools, or local galleries for classes and groups. |
| What online platforms are best for connecting with other potters? | Instagram, Facebook, and online pottery forums are great places to start. |
| Are pottery fairs worth attending? | Absolutely! They provide excellent networking opportunities and inspiration. |
| How can I collaborate with other potters? | Consider organizing group projects or challenges to foster teamwork. |

Safety Considerations
When diving into the creative world of pottery, safety should always be your top priority. Just like you wouldn’t jump into a pool without checking the water first, you need to ensure your pottery studio is a safe haven for your artistic endeavors. One of the first things to consider is ventilation. Proper airflow is crucial, especially when working with materials that can release harmful fumes during firing or glazing. Ensure your studio is well-ventilated, either by opening windows or using exhaust fans to keep the air fresh and safe.
Another essential aspect to consider is the use of protective gear. Just as a chef wears an apron to protect their clothes, you should equip yourself with the right safety gear to protect your body. This includes:
- Gloves: Use gloves when handling clay and glazes to protect your skin from irritants.
- Dust Masks: Wear a dust mask when sanding or working with dry materials to avoid inhaling particles.
- Safety Goggles: Protect your eyes from splashes and debris, especially when using tools or working with glazes.
Additionally, it’s essential to be mindful of your workspace. Keep your studio organized and clutter-free to minimize the risk of accidents. Just like a painter needs a clean canvas, you need a tidy area to work effectively. Ensure that tools are stored safely, and materials are properly labeled to avoid any mix-ups. Remember, a well-organized studio is not only safer but can also enhance your productivity.
Handling materials with care is another vital safety consideration. Pottery involves various materials, from clay to glazes, many of which can be hazardous if not handled properly. Always read the labels on your materials for safety information and follow the recommended guidelines for use. For instance, some glazes may contain toxic substances that require specific handling and disposal methods. Make it a habit to educate yourself about the materials you use, just like a gardener learns about the plants they tend to.
Lastly, never underestimate the importance of fire safety. If you’re using a kiln, ensure that it’s placed in a safe location away from flammable materials. Regularly check your kiln for any signs of wear or damage, and always follow the manufacturer's instructions for operation. Having a fire extinguisher nearby is also a good practice, just like having a life jacket when sailing—better safe than sorry!
In summary, creating a safe pottery studio involves a combination of proper ventilation, protective gear, workspace organization, careful handling of materials, and fire safety. By taking these precautions, you can focus on what you love most—creating beautiful pottery—without any unnecessary worries. Safety isn’t just a guideline; it’s a crucial part of your artistic journey!
Q1: What type of ventilation do I need in my pottery studio?
A1: Ideally, your studio should have windows that can be opened or an exhaust fan to ensure good airflow, especially when working with glazes and firing.
Q2: Do I really need to wear gloves when working with clay?
A2: Yes, wearing gloves can protect your skin from irritation and potential allergens found in some clay and glaze materials.
Q3: How can I ensure my kiln is safe to use?
A3: Regularly inspect your kiln for any damage, ensure it’s placed away from flammable materials, and always follow the manufacturer's safety guidelines.
Q4: What should I do if I accidentally spill glaze?
A4: Clean it up immediately using appropriate cleaning materials, and ensure you wear gloves and a mask to avoid skin contact and inhalation of dust.
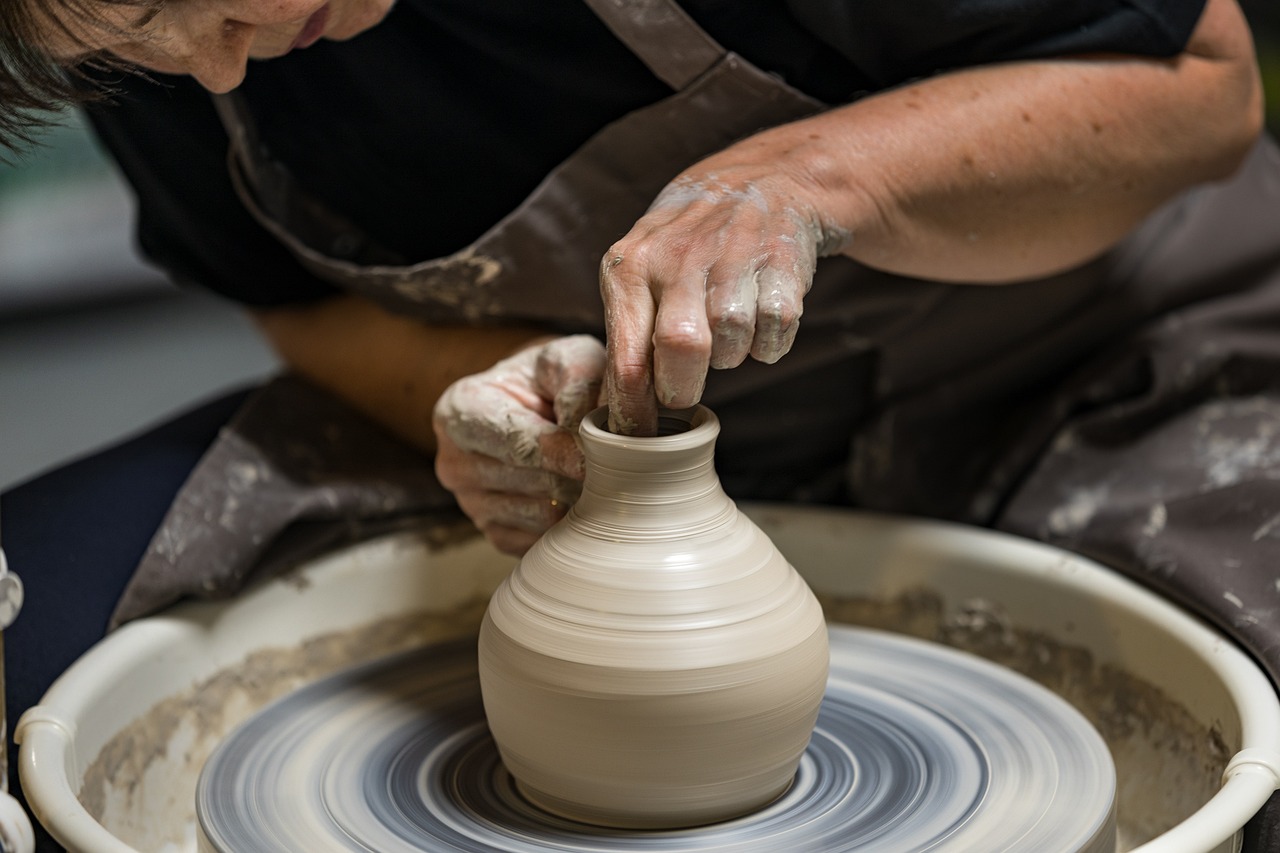
Maintaining Your Studio
Maintaining your pottery studio is not just about keeping things tidy; it’s about creating an environment that fosters creativity and productivity. Think of your studio as a living organism; it needs care and attention to thrive. Regular maintenance can prevent larger issues down the line, ensuring that your workspace remains a sanctuary for your artistic endeavors.
First and foremost, organization is key. A cluttered workspace can stifle creativity, making it hard to find the tools and materials you need. Consider investing in shelving units or storage bins to keep your supplies sorted. For instance, you might want to categorize your tools by type—hand tools in one bin, glazes in another, and clay varieties in yet another. This way, when inspiration strikes, you won’t waste precious time rummaging through piles of materials. Here’s a simple table to illustrate a possible organization system:
| Category | Storage Solution |
|---|---|
| Tools | Toolboxes or Bins |
| Clay | Plastic Containers |
| Glazes | Shelves with Labels |
| Finished Pieces | Display Shelves |
Next, cleaning your studio regularly is essential. Clay dust and glaze residue can accumulate quickly, so make it a habit to sweep and wipe down surfaces after each session. Not only does this keep your workspace inviting, but it also minimizes health risks associated with inhaling dust particles. You might want to invest in a good vacuum cleaner designed for fine particles to make this task easier. Remember, a clean studio is a happy studio!
Another aspect of maintenance is taking care of your equipment. Your pottery wheel, kiln, and tools are your best friends in this creative journey, and they deserve some love too. Regularly check your pottery wheel for any signs of wear and tear. If you notice any unusual sounds or movements, it might be time for a tune-up. Similarly, kilns should be inspected for proper functioning, and you should keep an eye on the heating elements to ensure they’re working efficiently. A well-maintained kiln can save you time and energy, making your firing process smoother.
Lastly, don’t forget about your materials. Clay can dry out if not stored properly, and glazes can settle over time. Make sure to seal your clay bags tightly and store them in a cool, dry place. For glazes, stirring them before use is crucial to get an even consistency. You might even consider labeling your containers with the date of purchase to keep track of freshness. A little attention to detail can go a long way in enhancing your pottery experience.
In summary, maintaining your pottery studio involves organization, regular cleaning, equipment care, and proper storage of materials. By paying attention to these elements, you’re not just maintaining a space; you’re nurturing a creative haven where your artistic spirit can flourish.
- How often should I clean my pottery studio? It's best to clean your studio after each session to keep dust and materials from accumulating.
- What is the best way to store clay? Store clay in airtight containers in a cool, dry place to prevent it from drying out.
- How can I maintain my kiln? Regularly inspect your kiln for wear and tear, and ensure that the heating elements are functioning properly.
- What tools are essential for studio maintenance? A good broom, vacuum cleaner, and various storage solutions are essential for keeping your studio organized and clean.
Frequently Asked Questions
- What space do I need for a home pottery studio?
Choosing the right space is crucial! Look for an area with good lighting and ventilation. A garage, basement, or even a spare room can work wonders. Make sure it’s easily accessible and has enough room for your equipment and materials.
- What essential equipment do I need to start pottery?
For beginners, you’ll need a few key items: a pottery wheel, kiln, and some basic hand tools. Don’t forget about clay and glazes! These essentials will set you on the right path to creating beautiful pottery.
- Should I choose an electric or kick pottery wheel?
It really depends on your style! Electric wheels are great for speed and ease, while kick wheels offer a traditional feel and can be more affordable. Think about your pottery goals and choose what feels right for you!
- What types of clay should I use?
There are several types of clay to consider: earthenware, stoneware, and porcelain. Each has unique properties and is suited for different projects. Experiment with a few to find your favorite!
- How do I glaze my pottery?
Glazing can be a fun and creative process! You can brush, dip, or spray glaze onto your pottery. Just remember to follow safety guidelines and experiment with different techniques to achieve the look you desire.
- How can I connect with other potters?
Building a pottery community is easier than you think! Join local pottery groups, attend workshops, or connect with fellow potters online. Sharing tips and experiences can be incredibly inspiring!
- What safety precautions should I take in my studio?
Safety first! Ensure your workspace is well-ventilated and always wear protective gear, like gloves and masks, when handling materials. It’s important to create a safe environment to enjoy your pottery without worries.
- How do I maintain my pottery studio?
Regular maintenance is key! Keep your space organized, clean your tools after use, and manage your materials effectively. A tidy studio not only looks great but also boosts your creativity!


