Must-know pottery techniques to advance your skills
This article explores essential pottery techniques that can help you elevate your craft. From wheel throwing to glazing, discover methods that enhance your skills and creativity in pottery making. Whether you're a budding artist or a seasoned potter, understanding these techniques can transform your approach to creating stunning ceramic pieces. Just like a painter needs to master their brush strokes, a potter must hone their techniques to express their artistic vision fully. So, let’s dive into the world of pottery and uncover the secrets that can take your skills to the next level!
Wheel throwing is a fundamental pottery technique that allows for the creation of symmetrical forms. Picture this: you sit at the potter's wheel, the clay spinning beneath your hands, and with each gentle push, you shape it into a beautiful vessel. Mastering this skill opens up a world of possibilities for functional and artistic pieces. It’s not just about creating pots; it’s about feeling the clay respond to your touch, almost like a dance between artist and medium. The more you practice, the more confident you become, and soon you'll be crafting everything from bowls to vases that showcase your unique style.
On the other hand, handbuilding techniques, such as pinch, coil, and slab construction, provide a tactile approach to pottery. These methods enable artists to create unique, organic shapes that reflect personal style and creativity. Imagine molding the clay with your hands, feeling its texture and warmth, and letting your imagination guide you. Handbuilding is about freedom; it’s less about precision and more about expression. Whether you’re creating a rustic planter or an abstract sculpture, these techniques allow for endless possibilities, making each piece truly one-of-a-kind.
Pinch pots are one of the simplest handbuilding techniques, perfect for beginners. This method involves shaping clay by pinching it into desired forms, allowing for endless creative expression. It’s like playing with Play-Doh, but even more satisfying! You can create small bowls, decorative items, or even whimsical creatures. The best part? There’s no right or wrong way to do it. Each pinch pot tells a story, reflecting your personality and creativity. So grab some clay and start pinching your way to unique creations!
Adding texture and decoration to pinch pots can enhance their visual appeal. Techniques like carving, painting, or adding embellishments can transform a simple pot into a work of art. Think of it like dressing up your favorite outfit; the right accessories can make all the difference! You can use tools to carve patterns or even your fingertips to create unique textures. And don’t forget about color! Glazing or painting can breathe life into your creations, making them pop with personality.
Pinch pots can serve various functional purposes, such as small bowls, candle holders, or planters. Their versatility makes them a great project for both beginners and experienced potters. Just imagine having a collection of pinch pots scattered around your home, each serving a different purpose. They can hold your favorite snacks, showcase your indoor plants, or even light up a cozy corner with a candle. The possibilities are as limitless as your imagination!
Coil building involves stacking rolled-out coils of clay to create larger forms. This technique is excellent for constructing vessels, sculptures, and more intricate designs that showcase craftsmanship. Think of it like building with LEGO bricks, where each coil adds to the structure's height and complexity. As you stack and blend the coils, you can create stunning shapes that are both functional and artistic. It’s a fantastic way to explore texture and form, allowing you to push the boundaries of traditional pottery.
Glazing is crucial for finishing pottery, providing color and a protective surface. Understanding various glazing techniques can significantly impact the final appearance and functionality of your pieces. It’s like the cherry on top of a sundae! The right glaze can enhance the beauty of your work, making it shine and stand out. Plus, it provides durability, ensuring that your creations last for years to come. Whether you prefer a glossy finish or a matte look, mastering glazing is essential for any potter.
There are many types of glazes, including glossy, matte, and transparent. Each type offers different effects and finishes, allowing potters to experiment with color and texture in their work. Think of it as choosing paint for a canvas; the type of glaze can drastically alter the final piece. For instance, glossy glazes tend to reflect light beautifully, while matte glazes give a more subdued, earthy feel. Understanding these differences can help you make informed choices that align with your artistic vision.
Glaze application methods, such as dipping, pouring, or brushing, influence the final look of the pottery. Choosing the right technique can enhance the design and aesthetic of your creations. It’s like applying makeup; the technique can change the entire look! Dipping can provide an even coat, while brushing allows for more control and detail. Experimenting with different methods can lead to exciting discoveries and unique finishes that make your work truly stand out.
Q: What is the best clay to use for beginners?
A: Earthenware is often recommended for beginners due to its ease of use and forgiving nature.
Q: How long should I let my pottery dry before firing?
A: It’s best to let your pottery dry completely for at least 24-48 hours before firing it in a kiln.
Q: Can I use regular paint on my pottery?
A: No, regular paint is not recommended. Instead, use glazes specifically designed for ceramics to ensure safety and durability.
Q: How can I prevent my pottery from cracking?
A: Ensure even drying, avoid rapid temperature changes, and use the right clay body for your project.
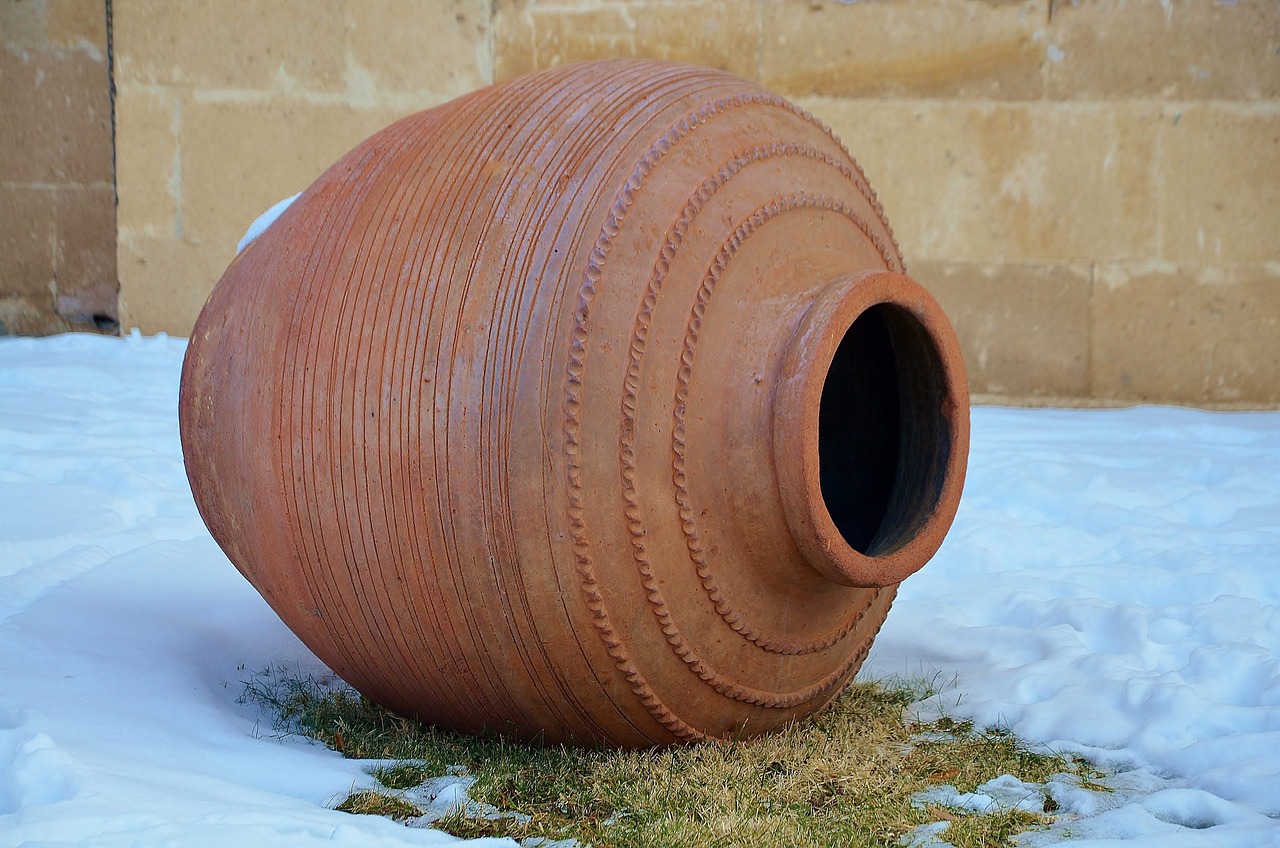
Wheel Throwing
Wheel throwing is not just a technique; it's an experience that transforms a lump of clay into something beautiful and functional. Imagine the feeling of shaping the clay as it spins beneath your hands, the rhythmic motion almost like a dance. This fundamental pottery technique allows artists to create symmetrical forms that can range from simple bowls to intricate vases. Mastering wheel throwing opens up a world of possibilities, enabling you to craft pieces that not only serve a purpose but also express your unique artistic vision.
To get started with wheel throwing, you'll need a few essential tools: a pottery wheel, clay, a sponge, and some basic trimming tools. The beauty of this technique lies in its simplicity; once you get the hang of the wheel, the only limit is your imagination. The process begins with centering the clay on the wheel. This is arguably one of the most crucial steps because if your clay isn't centered, your piece will come out lopsided. Think of it as trying to balance a spinning top; if it’s off-balance, it just won’t work!
Once you've centered your clay, it’s time to open it up. This involves creating a hole in the center of the clay mass and pulling the walls up to form the desired shape. This step requires practice and patience, as the clay can be quite unforgiving. But don't worry! Every potter has gone through the same learning curve. Remember, practice makes perfect, and the more you throw, the better you’ll become.
After you've shaped your piece, trimming is the next step. Trimming allows you to refine the form, adding details and ensuring that the piece is not only aesthetically pleasing but also functional. You can create a foot for your bowl or vase, which not only elevates the piece but also adds stability. It’s like giving your pottery a solid foundation, ensuring it stands the test of time.
When it comes to wheel throwing, the clay you choose can greatly affect the outcome of your work. Different types of clay have varying properties, so understanding these can enhance your throwing experience. Here’s a quick overview of some popular types of clay:
| Type of Clay | Characteristics |
|---|---|
| Stoneware | Durable, versatile, and excellent for functional ware. |
| Earthenware | Low-fire clay that is porous and often used for decorative pieces. |
| Porcelain | High-fire clay known for its strength and translucence. |
As you delve deeper into the world of wheel throwing, you'll discover that it’s not just about making pots; it’s about expressing yourself. Every piece tells a story, and the more you practice, the more your personal style will shine through. So, roll up your sleeves, get your hands dirty, and let the wheel take you on a creative journey!
- What is the best clay for beginners? Stoneware is often recommended for beginners due to its durability and versatility.
- How long does it take to master wheel throwing? Mastery varies by individual; with consistent practice, you can see significant improvement in a few months.
- Can I create functional pieces using wheel throwing? Absolutely! Many potters create functional items like bowls, mugs, and plates using this technique.
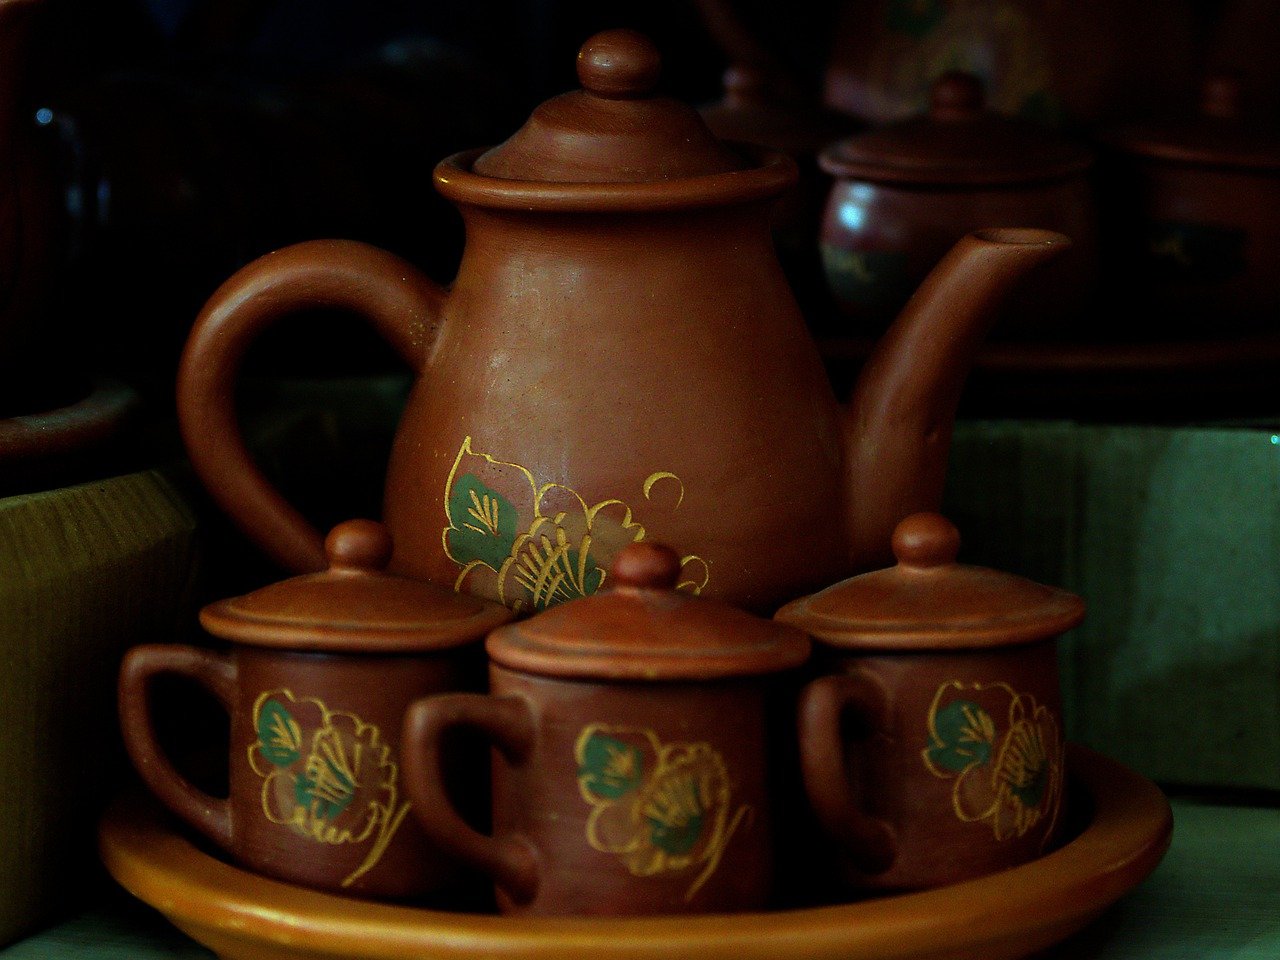
Handbuilding
This article explores essential pottery techniques that can help you elevate your craft. From wheel throwing to glazing, discover methods that enhance your skills and creativity in pottery making.
Wheel throwing is a fundamental pottery technique that allows for the creation of symmetrical forms. Mastering this skill opens up a world of possibilities for functional and artistic pieces.
Handbuilding techniques are where the magic truly begins in pottery. Unlike wheel throwing, which relies on a potter's wheel to shape the clay, handbuilding allows for a more tactile and personal approach. With methods like pinch, coil, and slab construction, artists can create unique, organic shapes that reflect their individual style and creativity. Imagine molding the clay with your own hands, feeling its texture and warmth, and letting your imagination run wild. It’s like sculpting with your heart!
Pinch pots are one of the simplest handbuilding techniques, perfect for beginners. This method involves shaping clay by pinching it into desired forms, allowing for endless creative expression. You start with a ball of clay, then use your fingers to pinch and pull the clay into a pot shape. It’s such an intuitive process that even kids can enjoy it! Plus, the beauty of pinch pots lies in their imperfection; each piece is a reflection of the artist's touch.
Adding texture and decoration to pinch pots can enhance their visual appeal significantly. Techniques like carving, painting, or adding embellishments can transform a simple pot into a stunning work of art. Think of it as giving your pot a personality! You can use tools to create patterns, or even natural items like leaves and flowers to imprint designs into the clay. The options are limitless, and the results can be breathtaking.
Pinch pots can serve various functional purposes, such as small bowls, candle holders, or planters. Their versatility makes them a great project for both beginners and experienced potters. You can create a simple pinch pot for holding your jewelry, or a more elaborate one to showcase your favorite succulent. The beauty of handbuilt pottery is that it marries form and function seamlessly, allowing you to craft pieces that are not only beautiful but also useful in your everyday life.
Coil building involves stacking rolled-out coils of clay to create larger forms. This technique is excellent for constructing vessels, sculptures, and more intricate designs that showcase craftsmanship. By rolling out long, snake-like coils, you can build up the walls of your piece layer by layer. It’s a bit like building a brick wall, but with clay! This method allows for greater freedom in shape and size, making it a favorite among many potters.
Glazing is crucial for finishing pottery, providing color and a protective surface. Understanding various glazing techniques can significantly impact the final appearance and functionality of your pieces.
There are many types of glazes, including glossy, matte, and transparent. Each type offers different effects and finishes, allowing potters to experiment with color and texture in their work.
Glaze application methods, such as dipping, pouring, or brushing, influence the final look of the pottery. Choosing the right technique can enhance the design and aesthetic of your creations.
- What is the best clay for handbuilding? The best clay for handbuilding is often a stoneware or earthenware clay, as they are forgiving and versatile.
- How long should I let my clay dry before firing? Generally, you should let your clay dry until it reaches a leather-hard state, which can take anywhere from a few hours to a couple of days depending on the humidity and thickness of your piece.
- Can I use regular paint on my pottery? No, regular paint is not suitable for pottery. It's best to use glazes specifically designed for ceramics to ensure durability and safety.
- What tools do I need for handbuilding? Basic tools include a needle tool, a rib, a sponge, and a rolling pin. These will help you shape and refine your pieces.

Pinch Pots
Pinch pots are one of the most accessible and enjoyable handbuilding techniques in pottery, making them perfect for beginners and seasoned artists alike. The beauty of pinch pots lies in their simplicity; they allow you to engage directly with the clay, transforming a lump of earth into a unique piece of art. By literally pinching the clay into shape, you can create anything from a small bowl to a decorative sculpture, giving you the freedom to express your creativity without the constraints of more complex methods.
To create a pinch pot, start by taking a small ball of clay, about the size of a golf ball. Then, using your thumb, press into the center of the ball, creating a well. As you pinch the walls of the clay, rotate the pot in your hands to maintain an even thickness. This tactile experience is not only therapeutic but also allows you to develop a deeper connection with your work. The process is akin to molding dough, where your hands become the primary tools, guiding the material into something beautiful.
Once you’ve shaped your pinch pot, the real fun begins! You can decorate your creation in a multitude of ways. Think of adding textures by pressing objects like leaves, fabric, or even your fingers into the surface of the clay. You can also carve designs or patterns, making each piece truly one-of-a-kind. After the initial drying, you can paint or glaze your pinch pot, giving it a splash of color or a glossy finish that enhances its aesthetic appeal.
Adding texture and decoration to pinch pots can significantly enhance their visual appeal. Here are some exciting techniques you can try:
- Carving: Use tools to carve intricate designs into the surface.
- Painting: Apply underglazes or acrylic paints for vibrant colors.
- Embellishments: Attach beads, stones, or other materials to create unique designs.
Remember, the possibilities are endless! Each pinch pot can tell a story through its texture and decoration, reflecting your personal style and creativity.
While pinch pots are often celebrated for their artistic value, they also serve a variety of functional purposes. Here are some practical uses:
- Small Bowls: Perfect for holding snacks or trinkets.
- Candle Holders: Create a cozy atmosphere with a handmade touch.
- Planters: Use them to house small plants or succulents, adding a natural element to your decor.
These versatile creations can be used in countless ways, making them a fantastic project whether you're just starting out or looking to refine your skills. So grab some clay, let your imagination run wild, and start pinching your way to beautiful pottery!
Q: Can I use any type of clay for pinch pots?
A: Yes, you can use any clay suitable for handbuilding. Air-dry clay is great for beginners, while stoneware or earthenware is ideal for those looking to fire their pots.
Q: How do I prevent my pinch pot from cracking?
A: To prevent cracking, keep your clay moist while working. Ensure even thickness and allow your pot to dry slowly, covering it with plastic if needed.
Q: What tools do I need for decorating pinch pots?
A: Basic tools include a needle tool for carving, sponge for smoothing, and brushes for applying glaze or paint. You can also use everyday objects for texture!
Q: Can I fire my pinch pots in a regular oven?
A: No, traditional pottery needs to be fired in a kiln to harden. However, some air-dry clays can be hardened at home without a kiln.
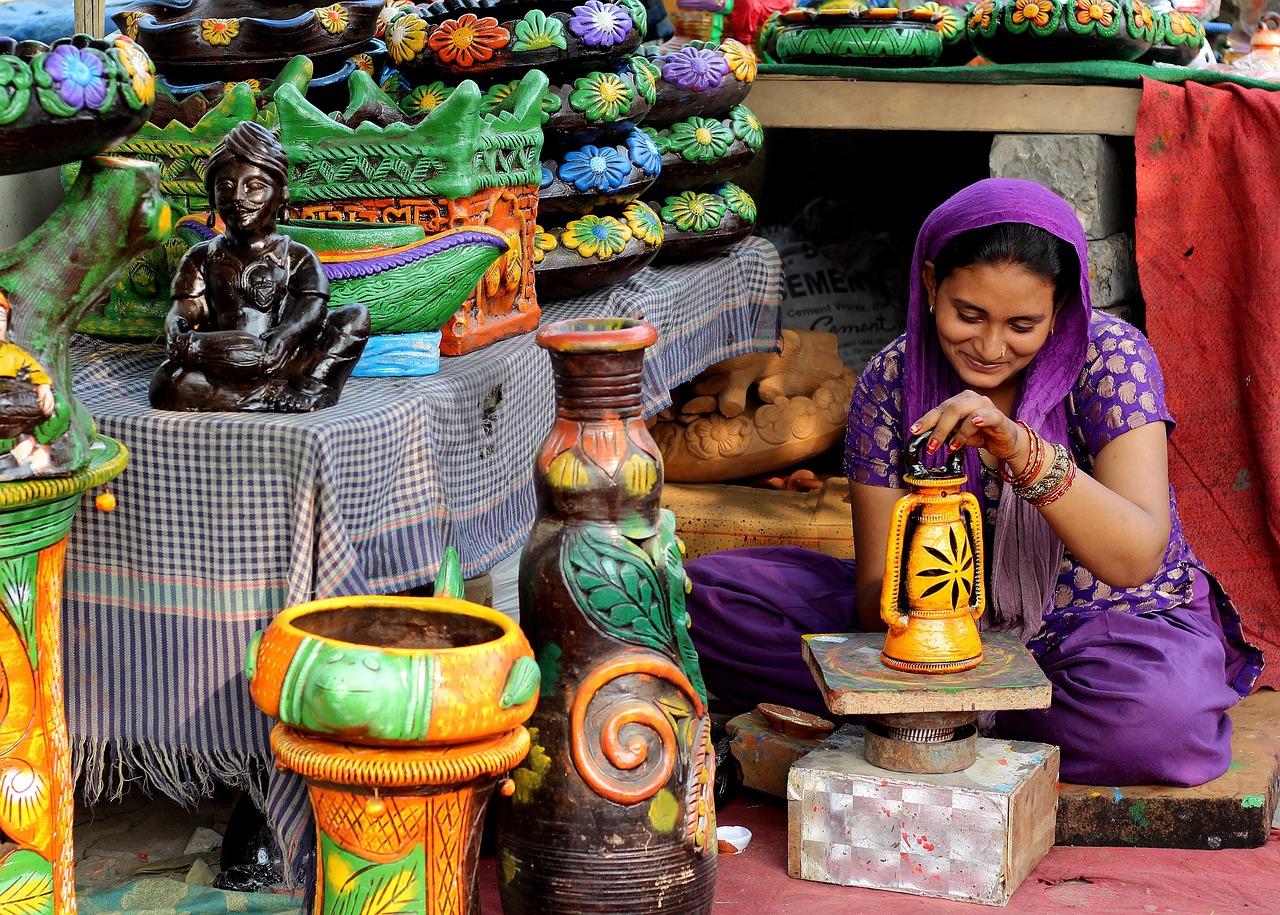
Decorating Pinch Pots
When it comes to , the possibilities are as vast as your imagination. These little creations are not just functional; they can be transformed into stunning pieces of art with a few simple techniques. Whether you’re a beginner or a seasoned potter, adding texture and decoration can elevate your pinch pots from basic to breathtaking. Think of your pinch pot as a blank canvas waiting for your artistic touch.
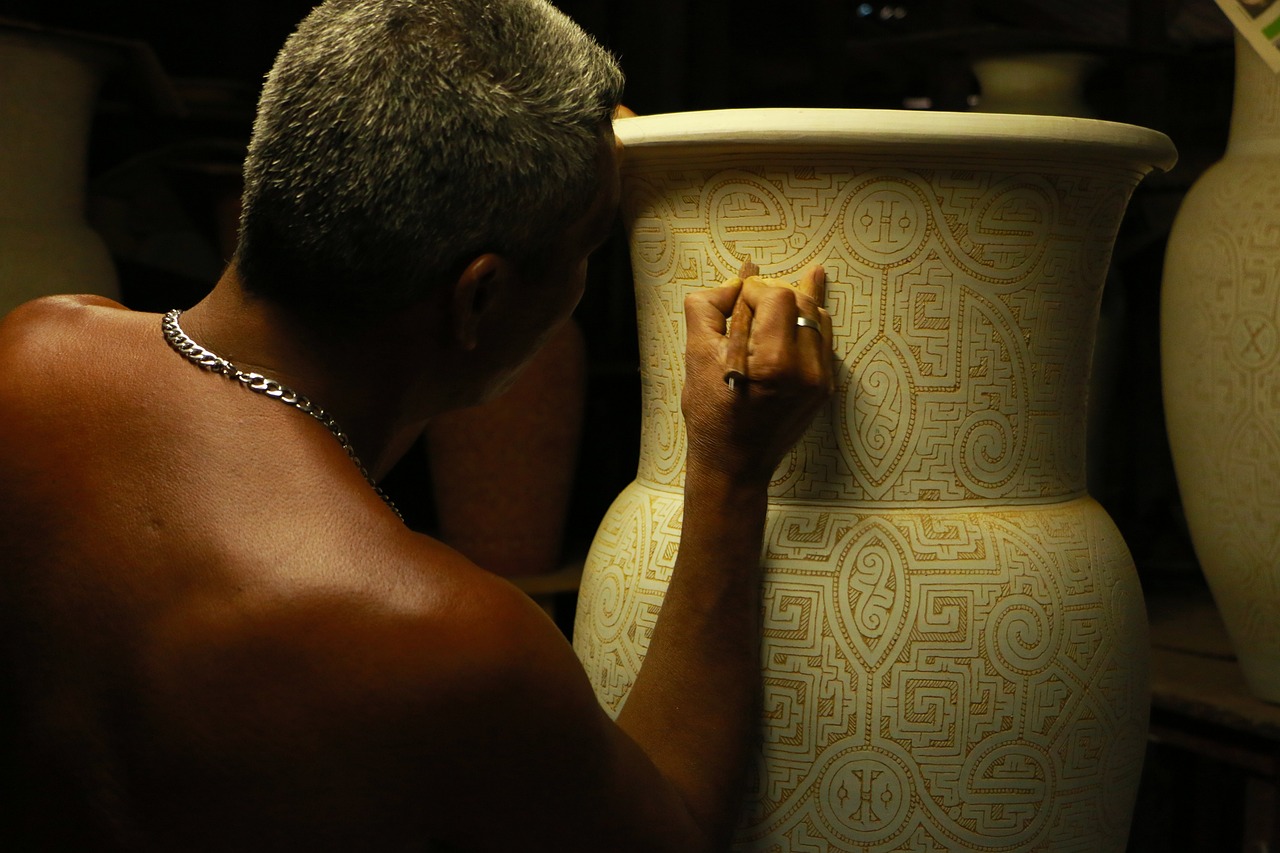
One of the most exciting aspects of decorating pinch pots is the variety of techniques you can use. Carving is a fantastic way to add intricate designs. By using tools like wooden modeling tools or even household items like forks, you can create patterns that are unique to your style. Imagine the satisfaction of seeing your pinch pot adorned with your own hand-carved designs, each swirl and line telling a story.
Another popular method is painting. Once your pinch pot is dry and fired, you can use underglazes or acrylic paints to add color. This method offers you the freedom to experiment with different hues and styles. You can create vibrant, eye-catching pieces or opt for a more subdued palette for a rustic look. Just think about how a splash of color can breathe life into your creations!
For those who want to add a bit of flair, consider embellishments. Items like beads, shells, or even small stones can be attached to your pinch pots before they dry. This not only adds a three-dimensional aspect to your work but also creates a tactile experience. When you run your fingers over the surface, you’ll feel the textures and shapes, making your pinch pot a feast for the senses.
To give you a clearer idea of the various decoration methods, here’s a simple table summarizing some popular techniques:
| Technique | Description |
|---|---|
| Carving | Using tools to create patterns and textures on the surface of the pot. |
| Painting | Applying underglazes or acrylic paints for color and design. |
| Embellishments | Adding items like beads or stones for a unique touch. |
Ultimately, the key to decorating pinch pots is to let your creativity shine. Don’t be afraid to mix and match techniques or even invent your own! Each pinch pot you create is an opportunity to express yourself and explore your artistic capabilities. Remember, pottery is not just a craft; it’s a journey of self-discovery and creativity.
- What materials do I need to decorate my pinch pots? You can use carving tools, paints, underglazes, and embellishments like beads or shells.
- Can I decorate my pinch pots before firing them? Yes, you can add textures and embellishments before the first firing, but be mindful of the materials you use.
- How do I ensure my decorations last? Make sure to use non-toxic glazes and properly fire your pots according to the clay's specifications.
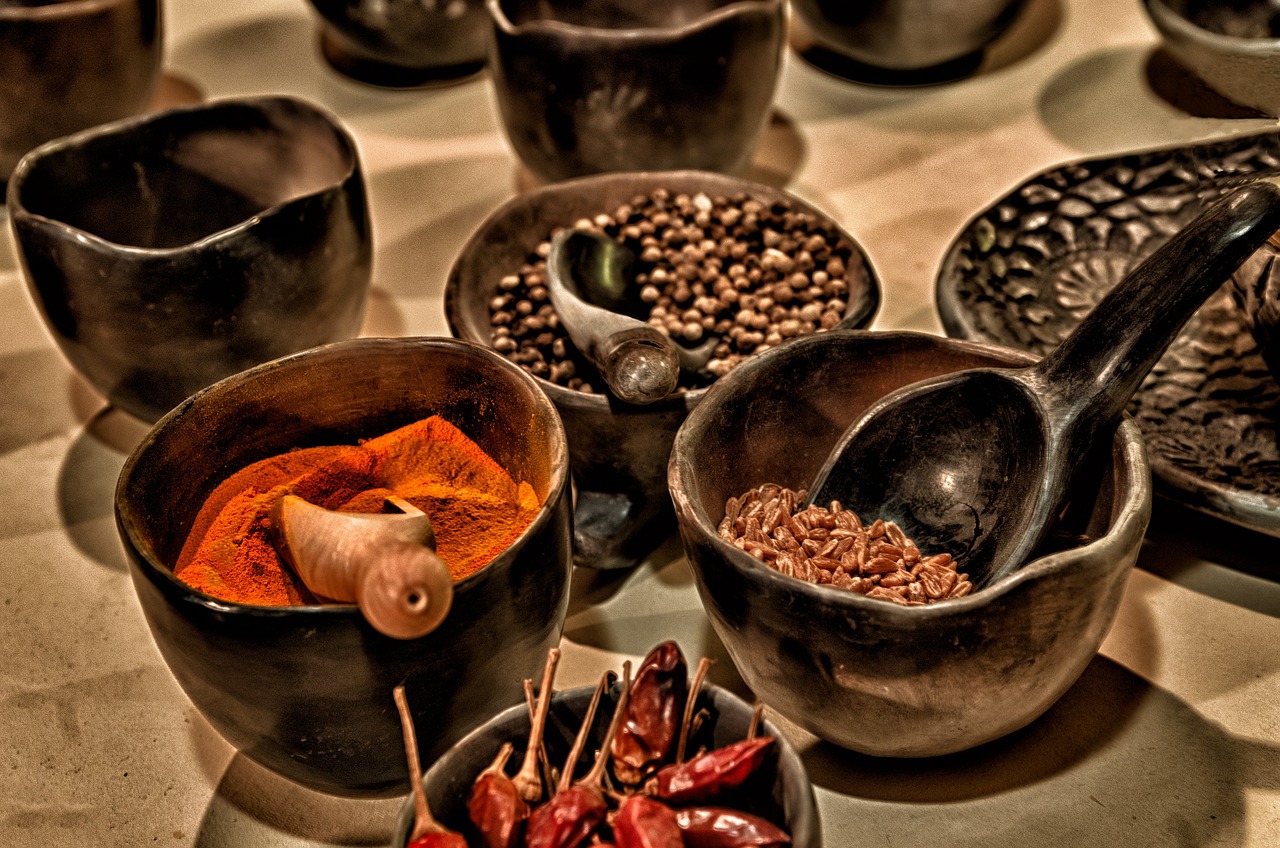
Functional Uses of Pinch Pots
Pinch pots are not just a delightful way to get your hands dirty; they also offer a plethora of functional uses that can surprise even the most seasoned potters. These charming little creations are incredibly versatile, making them perfect for various practical applications around the home. You might be wondering, "What exactly can I do with these little beauties?" Well, let’s dive into some of the most popular uses for pinch pots, showcasing their adaptability and charm.
One of the most common uses for pinch pots is as small bowls. Imagine serving up a handful of nuts or candies during a cozy gathering with friends. Not only do pinch pots add a personal touch to your table setting, but they also serve as unique conversation starters. You can customize their size and shape, making them suitable for everything from snacks to dips.
Additionally, pinch pots can be transformed into lovely candle holders. Picture a soft glow emanating from a beautifully crafted pinch pot, creating an inviting ambiance for your space. By simply adjusting the depth of the pot, you can accommodate various candle sizes. Whether it’s a tea light or a small votive, these pots can elevate your home decor effortlessly.
Another creative use for pinch pots is as planters for small succulents or herbs. Their small size makes them ideal for windowsills or desks, allowing you to bring a touch of nature indoors. You can even personalize them with unique glazes or textures to match your decor. Just remember to add drainage holes if you're using them for live plants!
Beyond these functional uses, pinch pots can also serve as a great way to organize small items. Think of them as mini catchalls for your keys, coins, or even jewelry. By placing a few pinch pots around your home, you can keep your space tidy while showcasing your artistic flair.
In summary, pinch pots are not just simple clay forms; they are versatile pieces that can enhance your daily life. From serving snacks to holding candles and even nurturing little plants, the possibilities are endless. So, grab some clay and let your imagination run wild—who knows what functional art you’ll create!
- What materials do I need to make pinch pots?
All you need is some clay, water, and your hands! Optional tools include a sponge for smoothing and a knife for trimming.
- Can pinch pots be used in the oven?
Yes, once properly fired in a kiln, pinch pots can be used for baking, but make sure to check the clay type for oven safety.
- How do I decorate my pinch pots?
You can decorate your pinch pots with glazes, paints, or by carving designs into the clay before firing.

Coil Building
Coil building is a fascinating pottery technique that allows artists to create larger and more complex forms than what is achievable with other methods. By rolling out coils of clay and stacking them, you can construct everything from simple bowls to intricate sculptures. This technique is not only versatile but also encourages creativity and personal expression. Imagine building a towering vase or a whimsical creature, all starting with just a few coils of clay. The beauty of coil building lies in its ability to create unique textures and shapes, reflecting the individual style of the potter.
One of the most appealing aspects of coil building is its accessibility. Whether you're a seasoned potter or a curious beginner, this method invites you to explore your creativity. To start, all you need is some clay and your hands. The process typically begins by rolling out long, snake-like coils, which can then be carefully stacked and blended together to form your desired shape. As you build, you can manipulate the coils to create various textures and patterns, adding depth and character to your piece.
As you gain confidence in coil building, you might want to experiment with different techniques. For instance, you can:
- Vary Coil Thickness: Using thicker coils can create a more robust structure, while thinner coils allow for delicate designs.
- Incorporate Mixed Media: Combine clay with other materials, such as wood or metal, to add unique elements to your work.
- Play with Surface Treatments: After constructing your piece, consider adding textures or patterns using tools or natural objects.
When it comes to finishing your coil-built pottery, the possibilities are endless. You can choose to leave the surface raw for a rustic look or apply glazes to enhance color and shine. The way you finish your piece can dramatically change its appearance and functionality, so take the time to explore different glazing techniques. Remember, each piece you create is a reflection of your journey as an artist, and coil building is a wonderful way to express that.
In summary, coil building is not just about creating pottery; it's about embracing the process of making and finding joy in your artistic expression. So, gather your clay, roll those coils, and let your imagination take flight!
Q1: Can I use any type of clay for coil building?
Yes, most types of clay can be used for coil building, but it's best to choose a clay body that suits your project and firing method.
Q2: How do I prevent my coils from cracking?
To prevent cracking, ensure that your coils are well-blended and keep them moist while you work. It's also helpful to let your piece dry slowly.
Q3: Is coil building suitable for beginners?
Absolutely! Coil building is a great technique for beginners as it allows for experimentation and creativity without the need for specialized tools.
Glazing Techniques
This article explores essential pottery techniques that can help you elevate your craft. From wheel throwing to glazing, discover methods that enhance your skills and creativity in pottery making.
Wheel throwing is a fundamental pottery technique that allows for the creation of symmetrical forms. Mastering this skill opens up a world of possibilities for functional and artistic pieces.
Handbuilding techniques, such as pinch, coil, and slab construction, provide a tactile approach to pottery. These methods enable artists to create unique, organic shapes that reflect personal style and creativity.
Pinch pots are one of the simplest handbuilding techniques, perfect for beginners. This method involves shaping clay by pinching it into desired forms, allowing for endless creative expression.
Adding texture and decoration to pinch pots can enhance their visual appeal. Techniques like carving, painting, or adding embellishments can transform a simple pot into a work of art.
Pinch pots can serve various functional purposes, such as small bowls, candle holders, or planters. Their versatility makes them a great project for both beginners and experienced potters.
Coil building involves stacking rolled-out coils of clay to create larger forms. This technique is excellent for constructing vessels, sculptures, and more intricate designs that showcase craftsmanship.
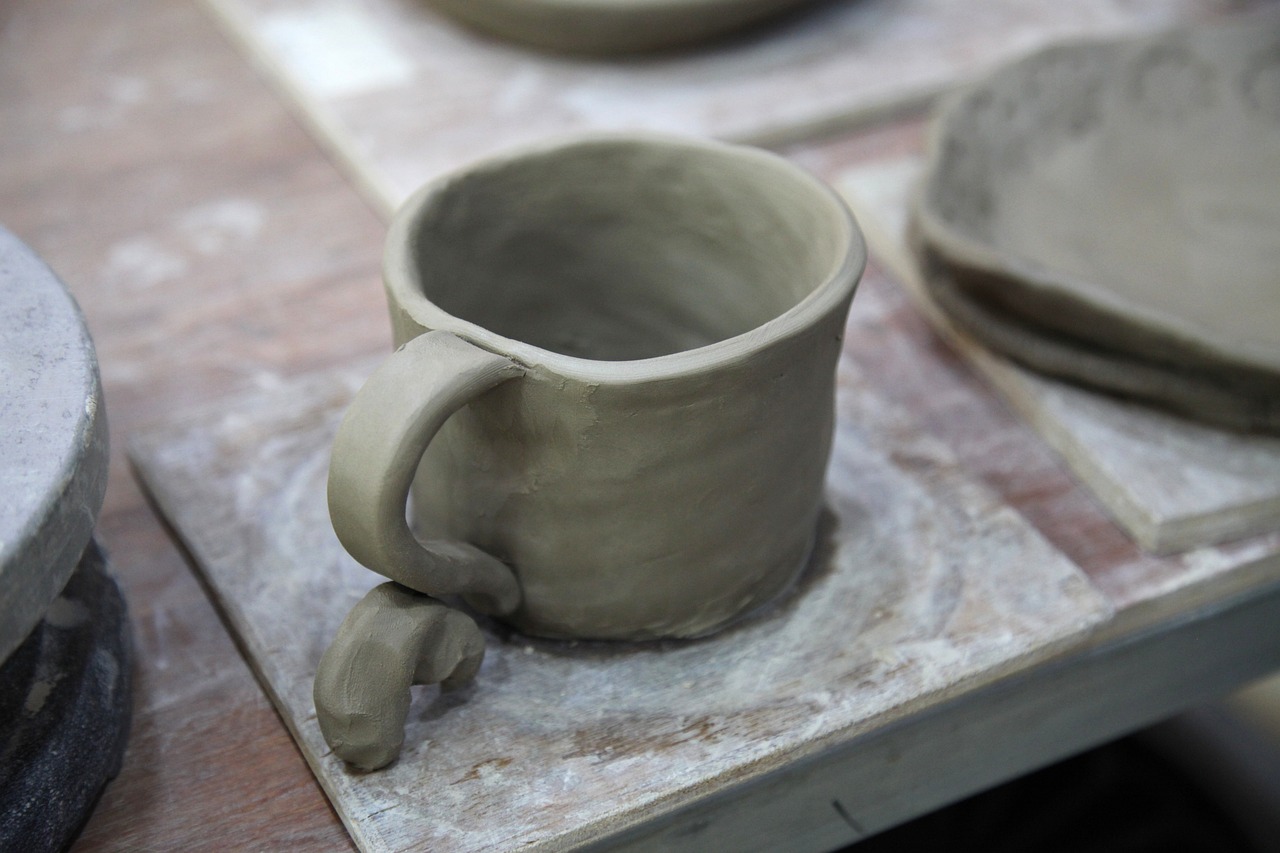
Glazing is crucial for finishing pottery, providing color and a protective surface. Understanding various glazing techniques can significantly impact the final appearance and functionality of your pieces. Glazes not only enhance the aesthetic appeal of your pottery but also serve to seal the clay, making it more durable and functional. The right glaze can transform a simple piece into a stunning work of art, elevating your pottery to new heights.
When it comes to glazing, there are several types of glazes that potters can choose from, each offering unique characteristics:
- Glossy Glazes: These glazes create a shiny finish and can enhance colors, making them vibrant and eye-catching.
- Matte Glazes: Offering a more subdued look, matte glazes provide a soft finish that can add a touch of elegance.
- Transparent Glazes: These allow the clay body or underglaze decoration to show through, adding depth and dimension.
Each type of glaze has its own set of properties and effects, making it essential for potters to experiment and find their preferred styles. Additionally, the method of applying glaze can greatly influence the final outcome. Here are some common application methods:
- Dipping: Submerging the piece into a bucket of glaze, providing an even coating.
- Pouring: Pouring glaze over the pottery, allowing for creative control over the application.
- Brushing: Using a brush to apply glaze, which can create detailed patterns and textures.
When applying glaze, it's important to consider how the chosen method interacts with the specific type of glaze you are using. For example, dipping may produce a thicker layer, while brushing may allow for more intricate designs. Each technique can produce different results, so experimentation is key to finding what works best for your artistic vision.
1. What is the best type of glaze for beginners?
For beginners, a clear glossy glaze can be a great starting point. It’s forgiving and enhances the colors of the clay body.
2. Can I mix different glazes?
Yes! Mixing glazes can create unique colors and effects. Just be sure to test your mixtures on small pieces first.
3. How do I prevent glaze from running off my pottery?
To prevent glaze from running, ensure you apply an appropriate thickness and avoid glazing the bottom of your pieces where they touch the kiln shelf.
4. What temperature should I fire my glazed pottery?
The firing temperature depends on the type of clay and glaze used. Always refer to the manufacturer's instructions for specific firing temperatures.
Types of Glazes
When it comes to pottery, the choice of glaze can be a game-changer. Glazes not only provide a protective layer but also bring life and character to your creations. There are several , each offering unique finishes and effects that can dramatically alter the appearance of your work. Understanding these types can help you make informed decisions that align with your artistic vision.
One of the most common types is the glossy glaze. This type is known for its shiny finish, which can enhance colors and create a vibrant look. Glossy glazes tend to reflect light beautifully, giving your pieces a polished and professional appearance. However, they can also highlight imperfections, so it’s essential to ensure your surface is smooth before glazing.
On the other hand, matte glazes offer a more subdued and soft look. These glazes absorb light rather than reflect it, resulting in a more muted color palette. Matte finishes can convey a sense of warmth and intimacy, making them perfect for functional ware like mugs and plates. They also tend to be less slippery, which can be an advantage for certain items.
Another interesting option is transparent glazes. As the name suggests, these glazes allow the clay body or underglaze decoration beneath to show through. This type is fantastic for layering effects, as you can apply colored slips or underglazes and then coat them with a transparent glaze to create depth and richness. Transparent glazes can be glossy or matte, depending on your choice.
Additionally, there are opalescent glazes, which create a shimmering effect that changes with the angle of light. These glazes can add a magical touch to your pottery, making them particularly appealing for decorative pieces. The interplay of colors in opalescent glazes can evoke emotions and draw the viewer in, making your work stand out.
For those looking to experiment, crystalline glazes can be a fascinating choice. These glazes contain crystals that form during the firing process, resulting in stunning patterns and textures on the surface of the pottery. However, working with crystalline glazes can be tricky, as they require precise temperature control and specific firing schedules to achieve the desired effects.
In summary, the world of glazes is rich and varied. Here’s a quick overview of the types discussed:
| Type of Glaze | Characteristics | Best For |
|---|---|---|
| Glossy | Shiny finish, vibrant colors | Professional-looking pieces |
| Matte | Soft, subdued appearance | Functional ware |
| Transparent | Shows underlying colors | Layering effects |
| Opalescent | Shimmering, color-changing | Decorative pieces |
| Crystalline | Unique patterns from crystals | Artistic and intricate designs |
Choosing the right glaze can elevate your pottery from ordinary to extraordinary. So, next time you’re preparing to finish your piece, consider the type of glaze that will best express your artistic intent. Remember, experimentation is key in pottery, and sometimes the most unexpected choices lead to the most beautiful results!
- What is the difference between glossy and matte glazes?
Glossy glazes have a shiny finish that reflects light, while matte glazes have a softer, more subdued appearance that absorbs light. - Can I layer different types of glazes?
Yes, layering different glazes can create unique effects, especially when using transparent glazes over colored slips. - Are crystalline glazes difficult to work with?
Yes, crystalline glazes require precise firing techniques and temperature control, making them more challenging than other types.
Application Methods
This article explores essential pottery techniques that can help you elevate your craft. From wheel throwing to glazing, discover methods that enhance your skills and creativity in pottery making.
Wheel throwing is a fundamental pottery technique that allows for the creation of symmetrical forms. Mastering this skill opens up a world of possibilities for functional and artistic pieces.
Handbuilding techniques, such as pinch, coil, and slab construction, provide a tactile approach to pottery. These methods enable artists to create unique, organic shapes that reflect personal style and creativity.
Pinch pots are one of the simplest handbuilding techniques, perfect for beginners. This method involves shaping clay by pinching it into desired forms, allowing for endless creative expression.
Adding texture and decoration to pinch pots can enhance their visual appeal. Techniques like carving, painting, or adding embellishments can transform a simple pot into a work of art.
Pinch pots can serve various functional purposes, such as small bowls, candle holders, or planters. Their versatility makes them a great project for both beginners and experienced potters.
Coil building involves stacking rolled-out coils of clay to create larger forms. This technique is excellent for constructing vessels, sculptures, and more intricate designs that showcase craftsmanship.
Glazing is crucial for finishing pottery, providing color and a protective surface. Understanding various glazing techniques can significantly impact the final appearance and functionality of your pieces.
There are many types of glazes, including glossy, matte, and transparent. Each type offers different effects and finishes, allowing potters to experiment with color and texture in their work.
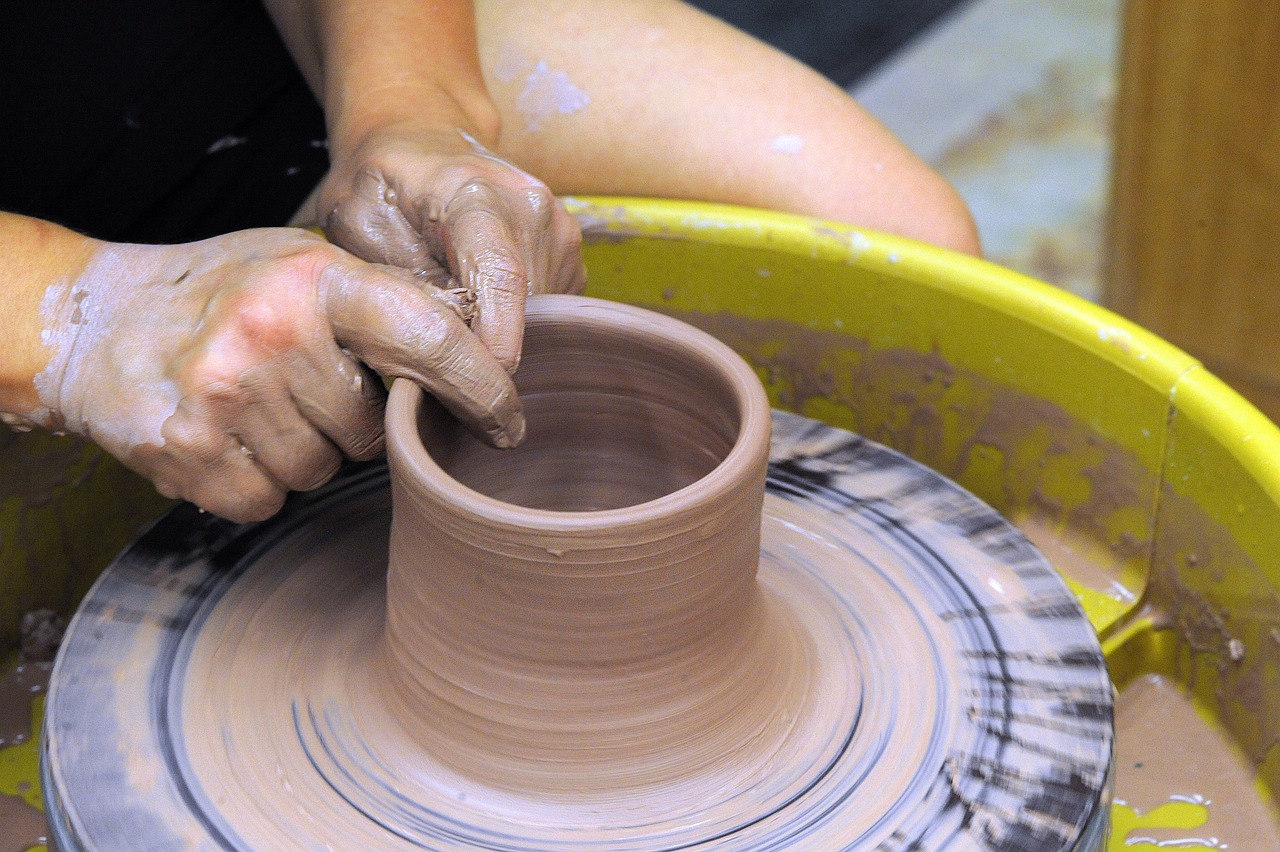
When it comes to glazing your pottery, the method of application can make all the difference in the final outcome. The three primary techniques for applying glaze are dipping, pouring, and brushing. Each method has its own unique characteristics and can create stunning results depending on your desired effect.
Dipping involves immersing your pottery piece into a glaze bucket, allowing for an even coat. This method is particularly effective for larger pieces, as it ensures that the glaze covers the entire surface uniformly. However, it requires precision; dipping too quickly or too slowly can lead to drips or uneven coverage.
Pouring is another exciting technique where you pour glaze directly onto the piece. This method is perfect for creating dynamic patterns and effects, as you can control the flow and direction of the glaze. It’s a great way to achieve a more organic look, but it does require some practice to master the pouring technique.
Lastly, brushing on glaze allows for the most control and precision. You can apply multiple layers to achieve depth and variation in color. This method is ideal for detailed designs or when you want to highlight specific areas of your pottery. However, it can be time-consuming, especially if you’re working on larger pieces.
Choosing the right application method can significantly impact your pottery's final look. Here’s a quick comparison of these techniques:
| Application Method | Advantages | Disadvantages |
|---|---|---|
| Dipping | Even coverage, quick for large pieces | Risk of drips, requires practice |
| Pouring | Dynamic patterns, creative control | Requires practice, can be messy |
| Brushing | Precision, great for details | Time-consuming, may require multiple layers |
Ultimately, experimenting with these methods will help you find your unique style and enhance your pottery-making skills. Don't hesitate to mix and match these techniques to create something truly special!
- What is the best clay for beginners? Earthenware is often recommended for beginners due to its workability and forgiving nature.
- How do I prevent cracks in my pottery? Ensure proper drying and firing techniques, and avoid rapid temperature changes.
- Can I use regular paint on glazed pottery? No, it's best to use glazes specifically designed for pottery to ensure durability and safety.
Frequently Asked Questions
- What is wheel throwing and why is it important?
Wheel throwing is a fundamental pottery technique that allows artists to create symmetrical forms. It's essential because it opens up endless possibilities for both functional and artistic pieces, making it a cornerstone skill for any potter.
- Can beginners learn handbuilding techniques?
Absolutely! Handbuilding techniques like pinch, coil, and slab construction are perfect for beginners. They provide a tactile approach to pottery, allowing you to create unique shapes that reflect your personal style without needing advanced skills.
- What are pinch pots and how can I use them?
Pinch pots are one of the simplest handbuilding techniques where you shape clay by pinching it into desired forms. They can be used for various functional purposes, such as small bowls, candle holders, or even planters, making them versatile projects for all skill levels.
- How can I decorate my pinch pots?
Decorating pinch pots can be a fun and creative process! You can enhance their visual appeal by adding textures through carving, painting, or even using embellishments. This transforms a simple pot into a unique work of art.
- What is coil building and what can I create with it?
Coil building is a technique where you stack rolled-out coils of clay to construct larger forms. This method is fantastic for creating vessels, sculptures, and intricate designs that showcase your craftsmanship and creativity.
- Why is glazing important in pottery?
Glazing is crucial for finishing pottery as it provides color and a protective surface. It significantly impacts the final appearance and functionality of your pieces, making it an essential step in the pottery-making process.
- What types of glazes are available?
There are various types of glazes, including glossy, matte, and transparent. Each type offers different effects and finishes, allowing potters to experiment with color and texture, enhancing the overall aesthetic of their work.
- What are the different methods for applying glaze?
Glaze application methods can include dipping, pouring, or brushing. Each technique influences the final look of your pottery, and choosing the right method can enhance the design and overall aesthetic of your creations.


