Using Berries from Your Garden to Create Natural Dyes
Have you ever looked at the vibrant colors of berries in your garden and thought, "What if I could use these to create something beautiful?" Well, you can! Using berries from your garden to produce natural dyes is not only a fun and creative process, but it also allows you to connect with nature in a unique way. Imagine transforming those luscious blueberries, raspberries, or blackberries into stunning hues for your fabrics and crafts. In this article, we will explore how to harness the power of these tiny fruits to create vibrant, eco-friendly dyes that can add a splash of color to your life.
Natural dyeing is an ancient art form that has seen a resurgence in recent years, as more people seek sustainable and organic alternatives to synthetic dyes. The beauty of using berries lies in their ability to produce a wide range of colors, from deep purples to soft pinks, depending on the type of berry and the method used. Not only is this process rewarding, but it also allows you to express your creativity while being kind to the environment. So, let’s dive into the world of berry dyeing and discover how to make the most of your garden's bounty!
As we journey through this colorful adventure, we will cover everything from choosing the right berries to extracting their vibrant colors, and even the techniques for applying these dyes to fabrics. By the end of this article, you'll be equipped with all the knowledge you need to create your own stunning, berry-dyed creations. Are you ready to unleash your inner artist and transform your garden's fruits into a palette of natural colors? Let’s get started!
Not all berries are created equal when it comes to dyeing. Some berries yield rich, vibrant colors, while others may produce more muted tones. To get the best results from your dyeing project, it's essential to select the right berries. Here’s a quick overview of some popular berries and the colors they can produce:
| Berry | Color Produced |
|---|---|
| Blueberries | Deep Blue to Purple |
| Blackberries | Rich Purple to Black |
| Raspberries | Soft Pink to Red |
| Strawberries | Light Pink to Red |
Each type of berry has its own unique properties and potential for dyeing. For example, blueberries can yield a stunning deep blue, while raspberries may produce softer pinks. When selecting berries, consider not only the color you desire but also the availability in your garden. Remember, the fresher the berries, the better the dye extraction!
Once you’ve chosen your berries, the next step is to prepare them for dye extraction. This involves washing, crushing, and extracting the color from the berries to maximize their dyeing potential. Start by gently washing your berries to remove any dirt or debris. It's essential to handle them carefully to avoid bruising, which can affect the dye quality.
After washing, the next step is to crush the berries. You can use a simple fork or a potato masher to break them down, releasing their juices and pigments. The goal here is to extract as much color as possible from the fruit. You might find that some berries, like blackberries, yield a lot of juice, while others may need a bit more effort. Don't be afraid to get your hands a little messy; it's all part of the fun!
Understanding the best practices for harvesting berries ensures you get the most vibrant colors. Timing is crucial; berries should be picked at their peak ripeness for the best dye results. Use clean, sharp tools to avoid damaging the plants. When harvesting, consider the following:
- Pick berries in the morning when they are cool and firm.
- Choose fully ripe berries for the richest colors.
- Use scissors or shears for clean cuts.
Different berries have specific harvesting seasons, so it’s important to know when to pick them for optimal dye results. For instance, blueberries typically ripen in mid-summer, while blackberries are usually ready from late summer to early fall. Keep a seasonal calendar handy to track when each berry is at its best!
Lastly, sustainable practices are crucial in berry harvesting. Always gather berries responsibly, leaving enough for wildlife and ensuring the plants can continue to thrive. By following ethical harvesting guidelines, you can enjoy the fruits of your labor while preserving the environment for future generations.
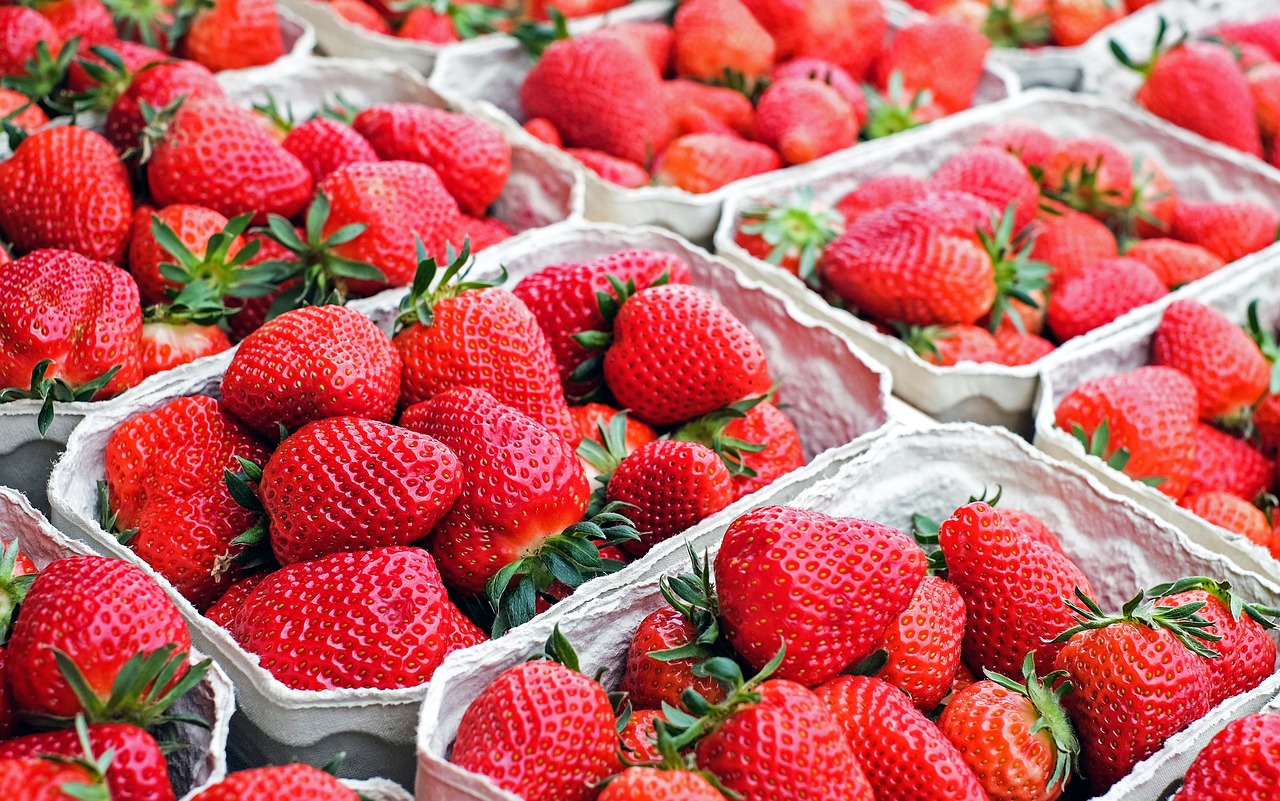
Choosing the Right Berries
When it comes to creating vibrant, natural dyes from berries, not all fruits are created equal. Some berries yield stunning hues that can transform your fabrics and crafts, while others may leave you with disappointing results. So, which berries should you focus on for your dyeing adventures? Let's dive into a few of the best options and their unique color properties.
First on our list are blackberries. These juicy gems are not just delicious; they produce a rich, deep purple dye that can range from a soft lavender to a bold plum, depending on the concentration of the dye and the fabric used. To extract the best color, it’s essential to use ripe blackberries, as they contain the highest levels of pigment.
Next up are blueberries, which are often overlooked in the dyeing world. These little powerhouses yield a beautiful blue to violet shade. Interestingly, the final color can change based on the pH level of the water used during dyeing. For example, using an acidic mordant can lead to a more vibrant blue, while an alkaline solution might shift the color towards a more muted green. It’s like a science experiment in your kitchen!
Raspberries are another fantastic option. They produce a lovely pink to red hue that can brighten up any project. However, keep in mind that raspberry dye tends to be less colorfast than others, meaning it may fade more quickly with washing. To maintain the vibrant color, consider using a mordant like alum before dyeing.
Then we have strawberries, which not only smell heavenly but also yield a soft, delicate pink color. The dye extracted from strawberries can be quite light, so it’s best used in combination with other berries for a more dynamic palette.
Lastly, don't forget about elderberries. These underrated fruits produce a stunning dark purple dye that is quite potent. Elderberry dye is known for its richness and depth, making it an excellent choice for those looking to create dramatic effects in their fabrics.
To make the right choice for your dyeing project, consider the following factors:
- Color Preferences: What shades are you hoping to achieve? Different berries will give you different results.
- Fabric Type: Some berries work better on certain fabrics. For example, cotton tends to absorb colors more effectively than synthetic fibers.
- Availability: Choose berries that are in season and readily available in your area to ensure the best quality and color extraction.
In summary, choosing the right berries for natural dyeing is all about understanding the unique properties of each fruit. By selecting berries like blackberries, blueberries, raspberries, strawberries, and elderberries, you can create a stunning array of colors that will breathe life into your fabric and craft projects. Experimenting with different combinations can lead to exciting new shades, so don’t hesitate to get creative!
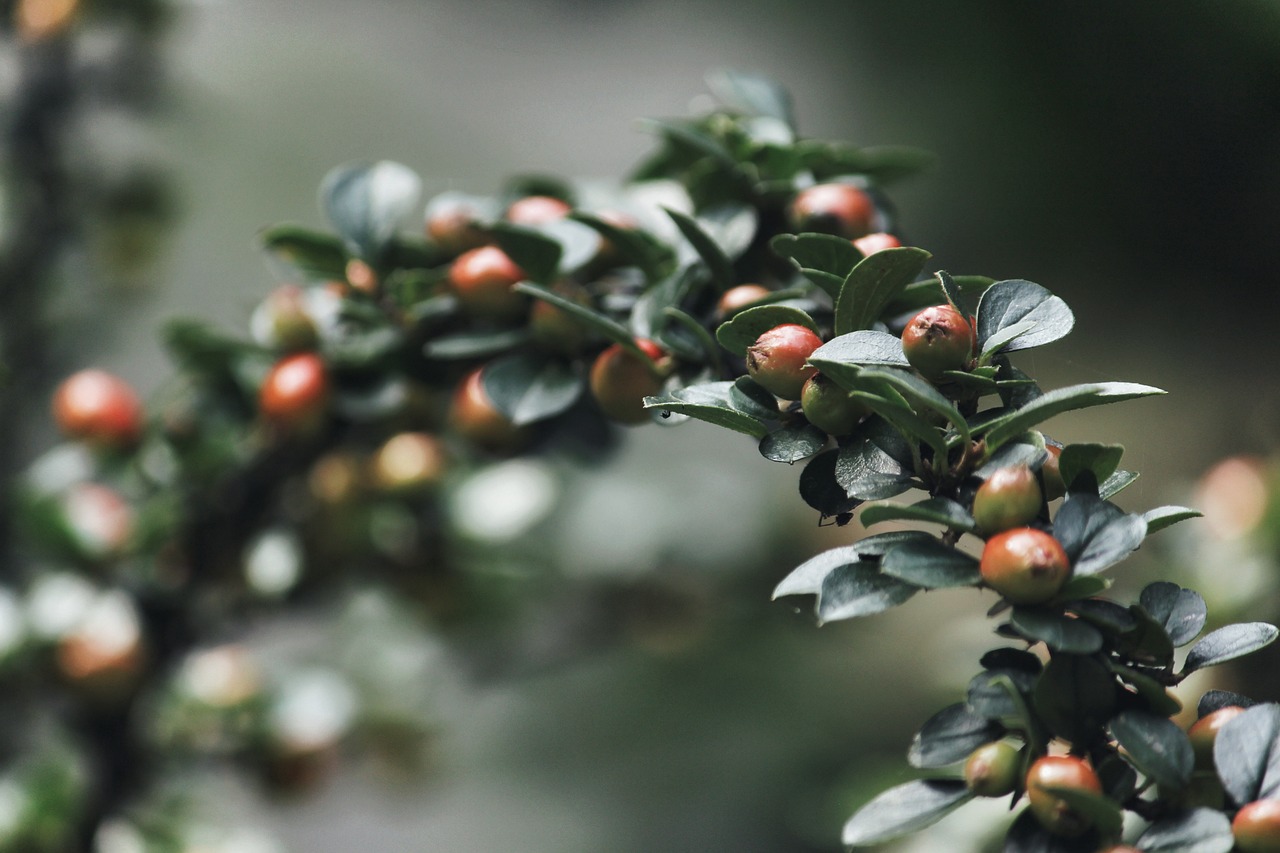
Preparing Your Berries
Before diving into the vibrant world of natural dyeing, it's crucial to understand that the preparation of your berries is a key step that can significantly impact your results. Just like a chef meticulously preps ingredients before whipping up a culinary masterpiece, you need to wash, crush, and extract color from your berries to unlock their full dyeing potential. So, let’s roll up our sleeves and get started!
First things first, washing your berries is essential. You want to remove any dirt, insects, or residues that could muddy the colors. Rinse them gently under cool water, being careful not to bruise them. After washing, it’s time to crush the berries. This step is where the magic begins! You can use a mortar and pestle, a fork, or even your hands (just make sure to wear gloves if you don’t want stained fingers!). Crushing the berries releases their juices, which contain the dye compounds. The more you crush, the richer the color you’ll extract.
Once your berries are nicely crushed, you’ll want to extract the color. There are a few methods to do this, but one of the simplest is to simmer the crushed berries in water. Here’s a quick overview of the process:
- Combine: Mix your crushed berries with water in a pot, using a ratio of about 1 part berries to 2 parts water.
- Simmer: Heat the mixture over medium heat, allowing it to simmer for about 30-60 minutes. Stir occasionally and keep an eye on the color developing.
- Strain: Once the color is extracted, strain the mixture through a fine mesh sieve or cheesecloth to separate the liquid dye from the solid berry pulp.
After straining, you’ll be left with a beautiful liquid dye that is ready to use. But before you dive into dyeing, it’s important to consider a few additional factors. For instance, the type of fabric you’ll be dyeing can affect the final color. Natural fibers like cotton, silk, and wool absorb berry dyes better than synthetic materials. So, if you want those vibrant hues to pop, stick with natural fabrics!
Moreover, it’s also essential to think about mordants. These are substances that help fix the dye to the fabric, ensuring that the colors stay vibrant and don’t wash out easily. Common mordants include alum, iron, and cream of tartar. Each mordant can yield different results, so experimenting with them can lead to some fascinating discoveries in your dyeing journey.
In summary, the preparation of your berries is not just a step in the process; it’s the foundation of your natural dyeing adventure. By carefully washing, crushing, and extracting the dye, you set yourself up for success. Now that you’re armed with this knowledge, you’re one step closer to creating stunning, berry-dyed fabrics that will surely impress!
Q: Can I use frozen berries for dyeing?
A: Absolutely! Frozen berries can work just as well as fresh ones. Just make sure to thaw them before crushing.
Q: How long will the dye last?
A: The longevity of your dye depends on several factors, including the type of fabric, mordant used, and how you care for the dyed item. Generally, with proper care, your colors can last for a long time!
Q: What if my dye comes out too light?
A: If your dye is lighter than expected, consider extending the simmering time or increasing the berry-to-water ratio for a more concentrated dye.
Harvesting Techniques
When it comes to harvesting berries for dyeing, timing and technique are everything. Imagine stepping into your garden, the sun shining down, and the sweet scent of ripening berries filling the air. To achieve the most vibrant colors possible, you need to be strategic about when and how you collect your berries. The ideal time for harvesting is typically in the morning after the dew has dried but before the heat of the day sets in. This ensures the berries are at their juiciest and most flavorful, which translates to better dye extraction.
Using the right tools can also make a significant difference. A pair of garden scissors or shears is essential for cutting berries from their stems without damaging the plant. Additionally, having a basket or container that allows for airflow can help prevent bruising. As you harvest, gently twist the berries off their stems; this minimizes damage and helps preserve the precious juice inside. Remember, the more care you take in harvesting, the richer the colors will be in your final dye.
Another critical aspect of harvesting is knowing which berries to pick. Not all berries are created equal when it comes to dyeing. For example, blackberries and raspberries yield deep purples and reds, while blueberries produce softer, cooler tones. Here’s a quick reference table to help you identify some popular dyeing berries along with their color outcomes:
| Berry Type | Color Outcome |
|---|---|
| Blackberries | Deep Purple |
| Raspberries | Bright Red |
| Blueberries | Soft Blue |
| Strawberries | Pale Pink |
| Cherries | Vibrant Red |
As you gather your berries, pay attention to the health of the plants. Ethical harvesting is crucial; always leave some berries on the bush for wildlife and to ensure that the plants can continue to thrive in the following seasons. This not only supports the ecosystem but also guarantees that you’ll have a good supply of berries to harvest in the future. By following these techniques, you'll be well on your way to creating stunning natural dyes that will bring your fabrics and crafts to life.
- What types of berries are best for dyeing? - Blackberries, raspberries, blueberries, strawberries, and cherries are all excellent choices for producing vibrant colors.
- When is the best time to harvest berries? - The best time to harvest is in the morning after the dew has dried, ensuring the berries are juicy and flavorful.
- How can I ensure I’m harvesting ethically? - Always leave some berries on the plants for wildlife and to promote healthy growth for the following seasons.
- What tools do I need for harvesting? - A pair of garden scissors or shears and a breathable basket or container are ideal for collecting berries without damaging them.
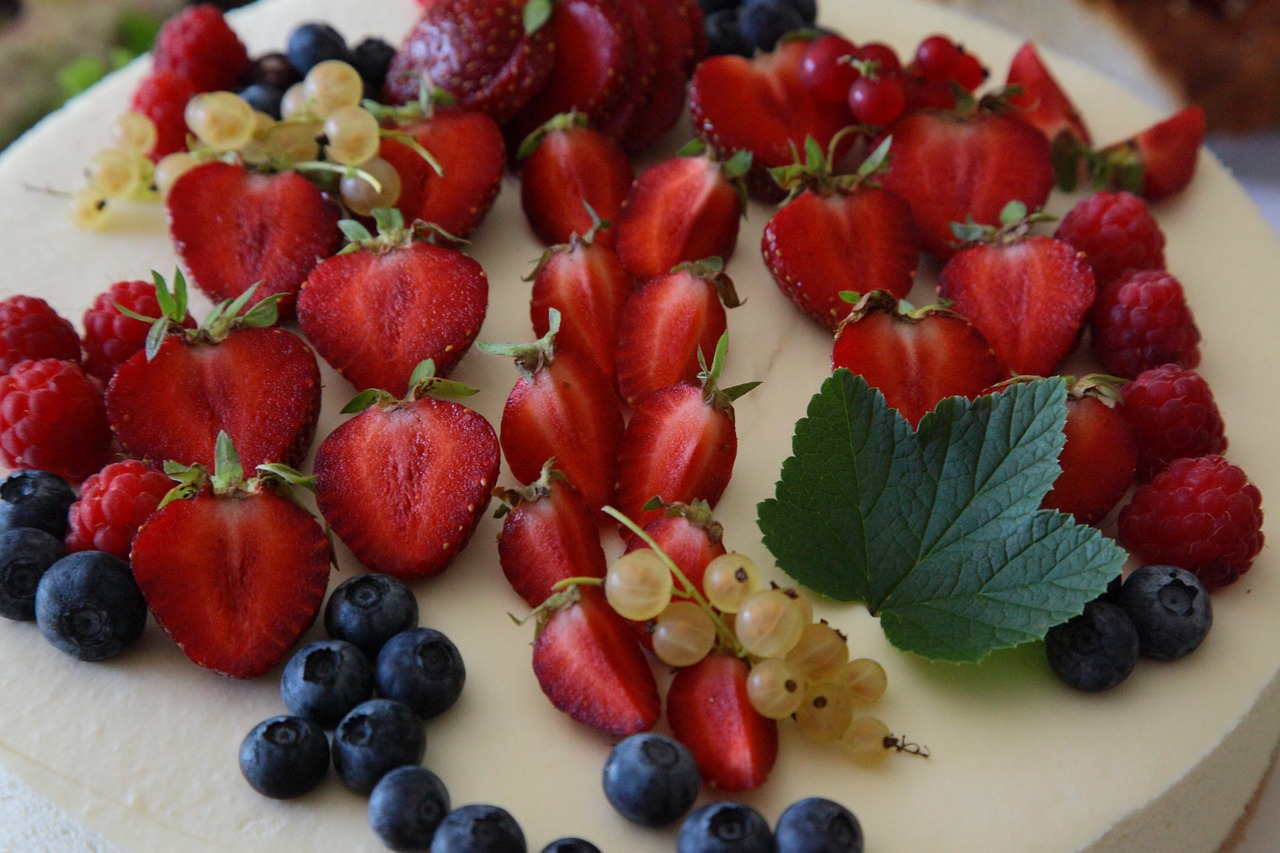
Seasonal Considerations
When it comes to using berries from your garden for natural dyeing, timing is everything. Different types of berries have specific growing seasons, and understanding these seasonal considerations can significantly impact the vibrancy and richness of the colors you can extract. For instance, blackberries are typically in season from late summer to early fall, while blueberries are usually ready for harvest in mid-summer. Picking berries at their peak ripeness ensures that you obtain the most potent pigments, leading to more vibrant dye results.
Moreover, weather conditions can also play a role in the quality of your berries. A dry spell can lead to sweeter, more concentrated berries, while excessive rain can dilute their color. Therefore, it's essential to keep an eye on the weather forecast and plan your harvesting accordingly. If you’re unsure about when to pick, a good rule of thumb is to observe the color and firmness of the berries. Ripe berries should be plump and have a deep, rich color, indicating that they are ready for dye extraction.
To help you navigate the seasonal landscape of berry harvesting, here’s a quick reference table that outlines common berries, their peak seasons, and the colors they typically produce:
| Berry Type | Peak Season | Typical Dye Color |
|---|---|---|
| Blackberries | Late Summer to Early Fall | Deep Purple to Black |
| Blueberries | Mid-Summer | Blue to Purple |
| Raspberries | Summer | Bright Red to Pink |
| Strawberries | Late Spring to Early Summer | Soft Pink to Light Red |
| Cherries | Early to Mid-Summer | Rich Red |
In addition to knowing when to pick, it’s crucial to consider the impact of seasonal changes on your dyeing process. For instance, dyeing in cooler months may require different techniques compared to warmer months, as temperature can influence how the dye sets into the fabric. Warmer temperatures can enhance the dyeing process, while cooler temperatures might necessitate longer soaking times to achieve the desired color saturation.
Always remember that nature operates on its own schedule, and being in tune with the seasonal rhythms of your garden will not only enhance your dyeing experience but also connect you more deeply with the natural world around you. So, grab your basket, head out to your garden, and enjoy the delightful process of harvesting berries for your next dyeing adventure!
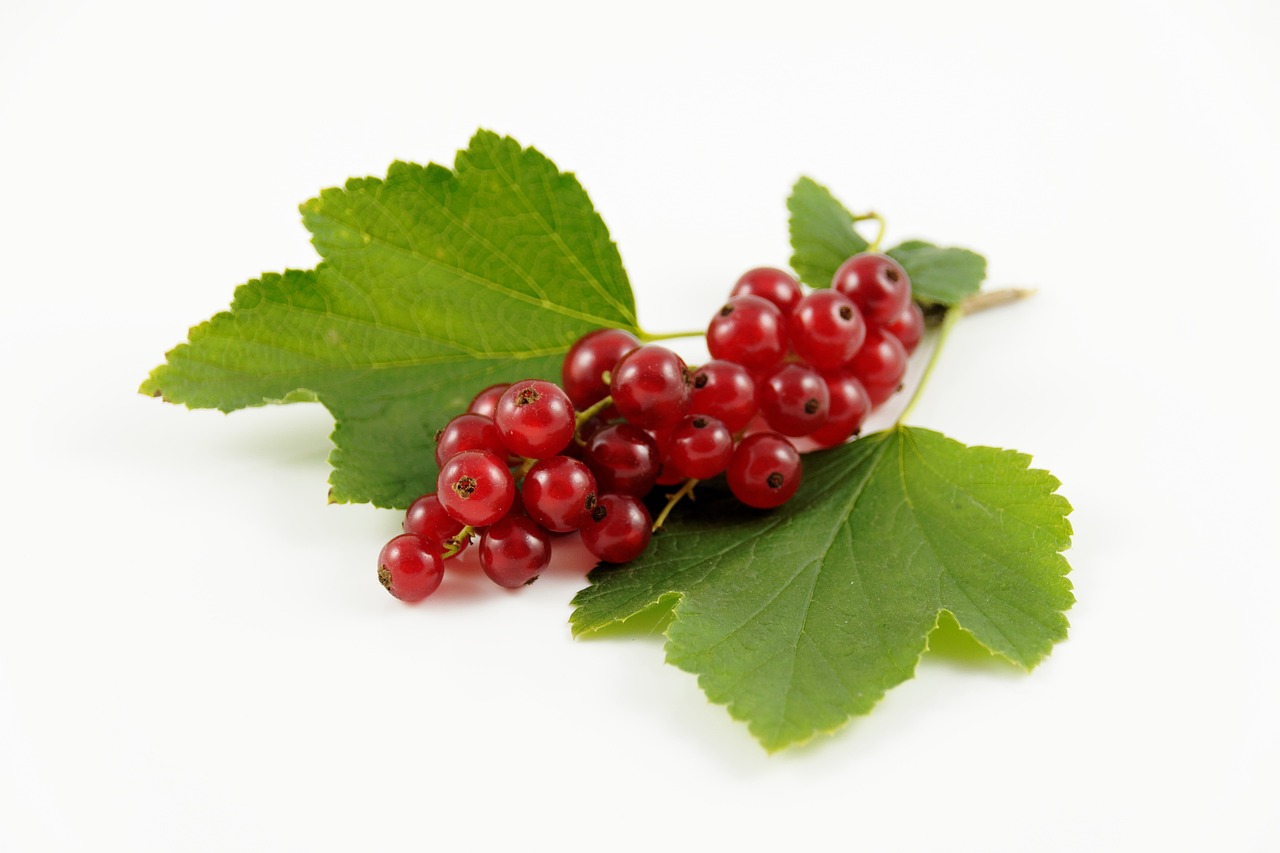
Ethical Harvesting
When it comes to harvesting berries from your garden or local wild areas, is not just a buzzword; it’s a vital practice that ensures the sustainability of plant life and the environment. Imagine if everyone took what they wanted without a second thought; soon, your favorite berry bushes could be stripped bare, leaving nothing for future seasons. Therefore, understanding how to gather berries responsibly is key to enjoying the fruits of nature while preserving them for generations to come.
First and foremost, always consider the health of the plant. When harvesting berries, take only what you need. A good rule of thumb is to leave at least half of the berries on the bush. This not only allows the plant to continue thriving but also ensures that wildlife can benefit from the remaining fruits. After all, birds and other creatures rely on these berries for sustenance, and we should respect their needs just as much as our own.
Timing is another crucial factor in ethical harvesting. Berries should be picked when they are fully ripe, as this maximizes their color and flavor while minimizing the stress on the plant. If you’re unsure about when to harvest, do a little research or consult local guides. Many berries have specific seasons, and knowing when to pick can make a world of difference in the quality of your dye.
Additionally, using the right tools can help minimize damage to the plants. Instead of plucking berries directly from the branches, consider using scissors or pruning shears. This method reduces the risk of harming the plant and allows for a cleaner harvest. Remember, the goal is to enjoy the fruits of your labor without compromising the health of the ecosystem.
Lastly, always be mindful of your surroundings. If you’re harvesting from a public area, ensure you’re following local guidelines and regulations. Some areas have specific rules regarding foraging to protect native species and habitats. By respecting these regulations, you contribute to the preservation of our natural resources.
In summary, ethical harvesting is about finding a balance between enjoying nature's bounty and ensuring its sustainability. By being considerate and responsible, you can enjoy beautiful, vibrant dyes from your berries while also protecting the plants and wildlife that make our gardens and forests so special.
- What are the best berries for natural dyeing?
Some of the best berries for dyeing include blackberries, blueberries, and raspberries, as they yield vibrant colors and are relatively easy to work with.
- How do I know when to harvest my berries?
Harvest berries when they are fully ripe, which is usually when they have reached their maximum color and flavor. Research specific types for optimal picking times.
- Can I use overripe berries for dyeing?
While overripe berries may not taste great, they can still produce dye. However, using fully ripe berries will yield better color results.
- What should I do if I want to harvest berries from a public area?
Always check local regulations regarding foraging. Some areas have restrictions to protect native species, so be sure to follow these guidelines.
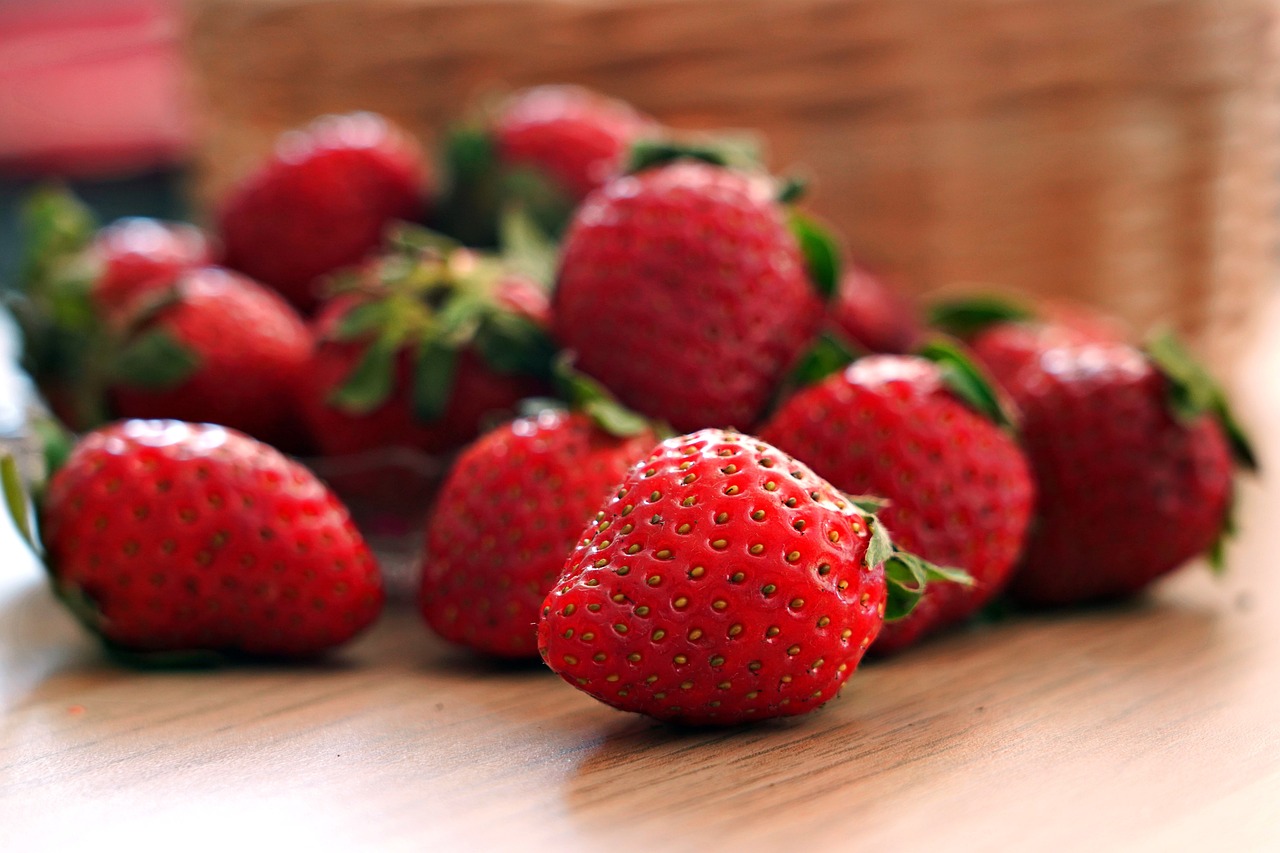
Extracting Dye from Berries
Once you've gathered your berries, the next exciting step is extracting the dye. This process is where the magic happens, transforming humble fruits into vibrant colors that can breathe life into your fabrics and crafts. To get the most out of your berries, it’s essential to understand the methods of extraction that can yield the richest shades. Generally, there are a few key techniques to consider: boiling, soaking, and mashing.
The boiling method is one of the most popular techniques. It involves simmering the berries in water, allowing the heat to release their natural pigments. Start by placing your berries in a pot, covering them with water, and bringing it to a gentle boil. Once boiling, reduce the heat and let it simmer for about 30-60 minutes. During this time, you’ll notice the water changing color, which indicates that the dye is being extracted. Afterward, strain the mixture through a fine mesh sieve or cheesecloth to separate the liquid dye from the berry pulp. The resulting liquid can be used immediately for dyeing, or it can be stored in a sealed container for later use.
Another effective method is soaking, which is particularly useful for delicate berries that might break apart easily. In this case, simply place your berries in a jar and cover them with water. Seal the jar and let it sit in a warm, sunny spot for a few days. This passive extraction method allows the berries to infuse the water with their color gradually. Once you notice the water has taken on a vibrant hue, strain the liquid to obtain your dye. This method not only preserves the integrity of the berries but often results in softer, pastel-like colors.
Mashing is a more hands-on approach that works well for berries with a high juice content, like blackberries or raspberries. To extract dye through this method, take your berries and crush them using a fork or potato masher. Once mashed, add a small amount of water to help release the color. Let the mixture sit for a few hours, then strain to separate the dye from the pulp. This method can yield some of the most intense colors, but be prepared for a bit of a mess!
Regardless of the extraction method you choose, it's important to remember that the final color can vary based on several factors, including the type of fabric used, the mordant applied (if any), and the specific berry variety. Some berries, like blueberries, might yield a lovely blue, while others, like strawberries, can produce a vibrant pink. Experimenting with different berries and fabrics can lead to delightful surprises!
To help you visualize the differences in dye extraction methods, here’s a quick comparison table:
| Method | Process | Color Intensity |
|---|---|---|
| Boiling | Simmer berries in water | High |
| Soaking | Let berries infuse in water | Medium |
| Mashing | Crush berries and add water | Very High |
In conclusion, extracting dye from berries can be a fun and rewarding process that opens up a world of creativity. With just a bit of patience and experimentation, you can create stunning colors that reflect the beauty of nature right from your garden. So, roll up your sleeves, gather your berries, and let the dyeing adventures begin!
Here are some common questions regarding the extraction of dye from berries:
- Can I use frozen berries for dyeing? Yes, frozen berries can still produce vibrant dyes. Just thaw them before extraction.
- How long does the dye last? Natural dyes can fade over time, but proper care and storage can extend their vibrancy.
- Do I need to use a mordant? While not always necessary, using a mordant can help set the dye and improve colorfastness.

Dyeing Techniques
Dyeing with berries can be an incredibly rewarding experience, transforming plain fabrics into vibrant pieces of art. There are several techniques you can use to apply these natural dyes effectively, each offering its own unique aesthetic. Among the most popular methods are immersion dyeing and Shibori techniques. Both approaches not only allow for creativity but also help you explore the beautiful spectrum of colors that berries can provide.
Immersion dyeing is perhaps the most straightforward technique. It involves submerging your fabric in a dye bath made from the extracted berry colors. This method is ideal for achieving rich, uniform colors. To begin, you'll want to prepare your dye bath by boiling your berries in water, allowing the pigments to seep into the liquid. Once your dye is ready, simply immerse your pre-washed fabric into the bath. The duration of the immersion can vary, but generally, you should leave the fabric in for at least 30 minutes to an hour, depending on how deep you want the color to be. Keep in mind that the temperature of the dye bath can also affect the final color; warmer temperatures often yield more vibrant results.
On the other hand, if you're looking to create unique patterns and designs, Shibori techniques are your best bet. This traditional Japanese resist dyeing method involves folding, twisting, or bunching fabric in various ways before dyeing it. By using rubber bands or string to tie sections of your fabric, you can create stunning patterns that reveal the beauty of the berry dyes in unexpected ways. The key here is to be creative with your folding techniques; the more intricate the folds, the more elaborate the design will be. After preparing your fabric, you can dip it into the dye bath just like in immersion dyeing, but the results will be a mesmerizing interplay of colors and patterns that are uniquely yours.
To help you visualize these techniques, here's a quick comparison table:
| Technique | Description | Best For |
|---|---|---|
| Immersion Dyeing | Submerging fabric in a dye bath for even color. | Rich, uniform colors. |
| Shibori | Resist dyeing by folding and tying fabric. | Unique patterns and designs. |
Both techniques can be further enhanced by experimenting with different berries. For instance, blueberries can produce deep blues and purples, while raspberries yield soft pinks and reds. Don't hesitate to mix and match berries to create custom shades that reflect your personal style. Remember, the beauty of using natural dyes is that no two dyeing sessions will yield the exact same results, making each piece truly one-of-a-kind.
In conclusion, whether you choose to immerse your fabric in a dye bath or explore the intricate world of Shibori, the possibilities are endless. Embrace your creativity, and let the vibrant hues of berries transform your fabrics into stunning works of art!
Q: Can I use frozen berries for dyeing?
A: Absolutely! Frozen berries can work just as well as fresh ones. Just remember to thaw them first to extract the dye effectively.
Q: How long will the dye last on my fabric?
A: The longevity of the dye can vary depending on the fabric type and care methods. Properly setting the dye and washing your fabric gently can help maintain its vibrancy for a long time.
Q: Are there any fabrics that work best with berry dyes?
A: Natural fibers like cotton, silk, and wool tend to absorb berry dyes better than synthetic fabrics, resulting in more vibrant colors.
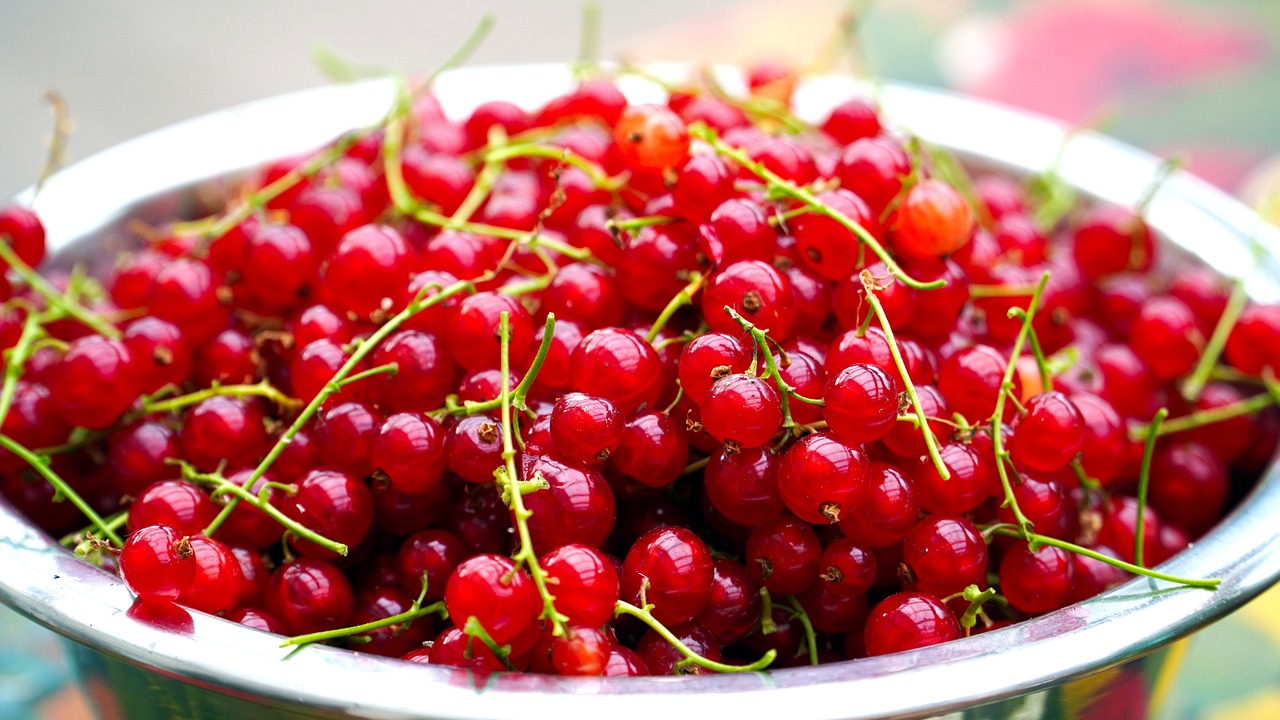
Immersion Dyeing
Immersion dyeing is a classic and highly effective technique that allows you to achieve rich, vibrant colors from the berries you've harvested. Imagine plunging your fabric into a pool of color, as if you were dipping it into a rainbow of nature’s hues. This method is not only simple but also incredibly rewarding, as it enables you to create stunning pieces that showcase the beauty of your garden's bounty.
To get started with immersion dyeing, you’ll need to prepare your dye bath. Begin by selecting the right berries, as different types will yield various shades. For instance, blackberries can produce deep purples, while raspberries might give you a lovely pink. The key here is to choose berries that are ripe and bursting with juice, as this will enhance the dye's potency.
Once you've gathered your berries, it’s time to extract the color. You can do this by crushing the berries in a bowl or pot, releasing their juices. For a more intense color, you might consider simmering the crushed berries in water for about 30 minutes. This will create a concentrated dye solution. Remember, the longer you simmer, the richer the color will be!
After preparing your dye, it’s crucial to pre-treat your fabric to ensure it absorbs the color effectively. Soaking your fabric in a mordant solution, such as alum, can help fix the dye to the fibers. This step is vital as it enhances the dye's adherence and longevity. Once your fabric is pre-treated, you can immerse it into your dye bath.
When dyeing, the duration of immersion can significantly affect the final color. If you desire a light pastel shade, a quick dip of about 10-15 minutes may suffice. However, for deeper, more saturated colors, you can leave the fabric submerged for an hour or even longer. Keep in mind that the fabric will appear darker when wet, so it’s a good idea to check the color periodically.
After achieving your desired shade, it's essential to rinse the fabric in cold water to remove any excess dye. This step helps set the color and prevents it from bleeding during future washes. Finally, hang your fabric to dry away from direct sunlight to maintain the vibrancy of the colors.
Immersion dyeing is not just a method; it’s an experience that connects you to the natural world. The colors you create will tell a story of your garden and your creativity, transforming simple fabrics into unique works of art. So, gather those berries and let your imagination run wild!
- Can I use any type of fabric for immersion dyeing? Yes, natural fibers like cotton, linen, and silk work best as they absorb the dye more effectively.
- How long will the colors last? With proper care and setting techniques, your berry-dyed fabrics can last for many washes, but it's always good to hand wash them gently.
- What if I want a different color? Experimenting with different berries and combining them can yield a variety of shades. Don't hesitate to mix and match!
Shibori Techniques
Shibori, a traditional Japanese resist dyeing technique, is an incredible way to create stunning patterns using the vibrant colors extracted from berries. Imagine transforming a plain piece of fabric into a work of art, where each fold and twist reveals a unique design, all thanks to the natural dyes you’ve made from your garden's bounty. This technique is not just about dyeing; it’s about storytelling through fabric, where every pattern has its own tale.
To get started with Shibori techniques, you’ll first want to prepare your fabric and choose the right berries. The beauty of Shibori lies in the manipulation of the fabric before dyeing. You can fold, twist, or bind your fabric in various ways to create different patterns. For example, using simple techniques like binding or stitching can produce intricate designs. Let’s break down a couple of popular Shibori techniques that work beautifully with berry dyes:
- Kumo Shibori: This method involves folding the fabric in a way that resembles a spider's web. It creates delicate, radiating patterns that are perfect for showcasing the rich colors of berries.
- Arashi Shibori: In this technique, the fabric is wrapped around a pole and tightly bound, resulting in diagonal stripes. When dyed, this method can produce striking designs that highlight the intensity of your berry dyes.
After you’ve chosen your technique, the next step is to secure your fabric. You can use rubber bands, strings, or even clothespins to hold your fabric in place. The tighter you bind the fabric, the more pronounced the resist effect will be. This is crucial because it determines how much dye will penetrate the fabric, creating those beautiful patterns. Once your fabric is prepared, it’s time to immerse it in the berry dye.
When dyeing with berries, remember that the type of berry you use will influence the final color. For instance, blackberries yield deep purples, while raspberries give a softer pink hue. This variety allows for a range of colors and effects, making each piece truly one-of-a-kind. After dyeing, let the fabric sit for a while to allow the dye to set, and then rinse it gently in cold water to remove any excess dye.
Finally, once you’ve completed your Shibori dyeing, it’s essential to set the dye properly to ensure the colors remain vibrant after washing. You can use a vinegar solution or a saltwater bath to help fix the colors, ensuring your beautiful creations last for years to come. With Shibori techniques and berry dyes, you’re not just dyeing fabric; you’re creating wearable art that reflects your creativity and the beauty of nature.
Q: Can I use any type of fabric for Shibori dyeing?
A: While you can experiment with various fabrics, natural fibers like cotton, silk, and linen work best for Shibori dyeing as they absorb dye more effectively.
Q: How long should I let the fabric sit in the dye?
A: The time can vary depending on the desired intensity of the color, but generally, letting it soak for 30 minutes to 2 hours is a good starting point. Check the color periodically.
Q: What if I want to create multiple colors on the same fabric?
A: You can dye the fabric multiple times, allowing it to dry in between each dye bath. Just remember to use different binding techniques to avoid overlapping colors.
Q: How do I care for my Shibori dyed fabrics?
A: Always wash your dyed fabrics in cold water and avoid harsh detergents. Hanging them to dry in the shade will help preserve the colors.
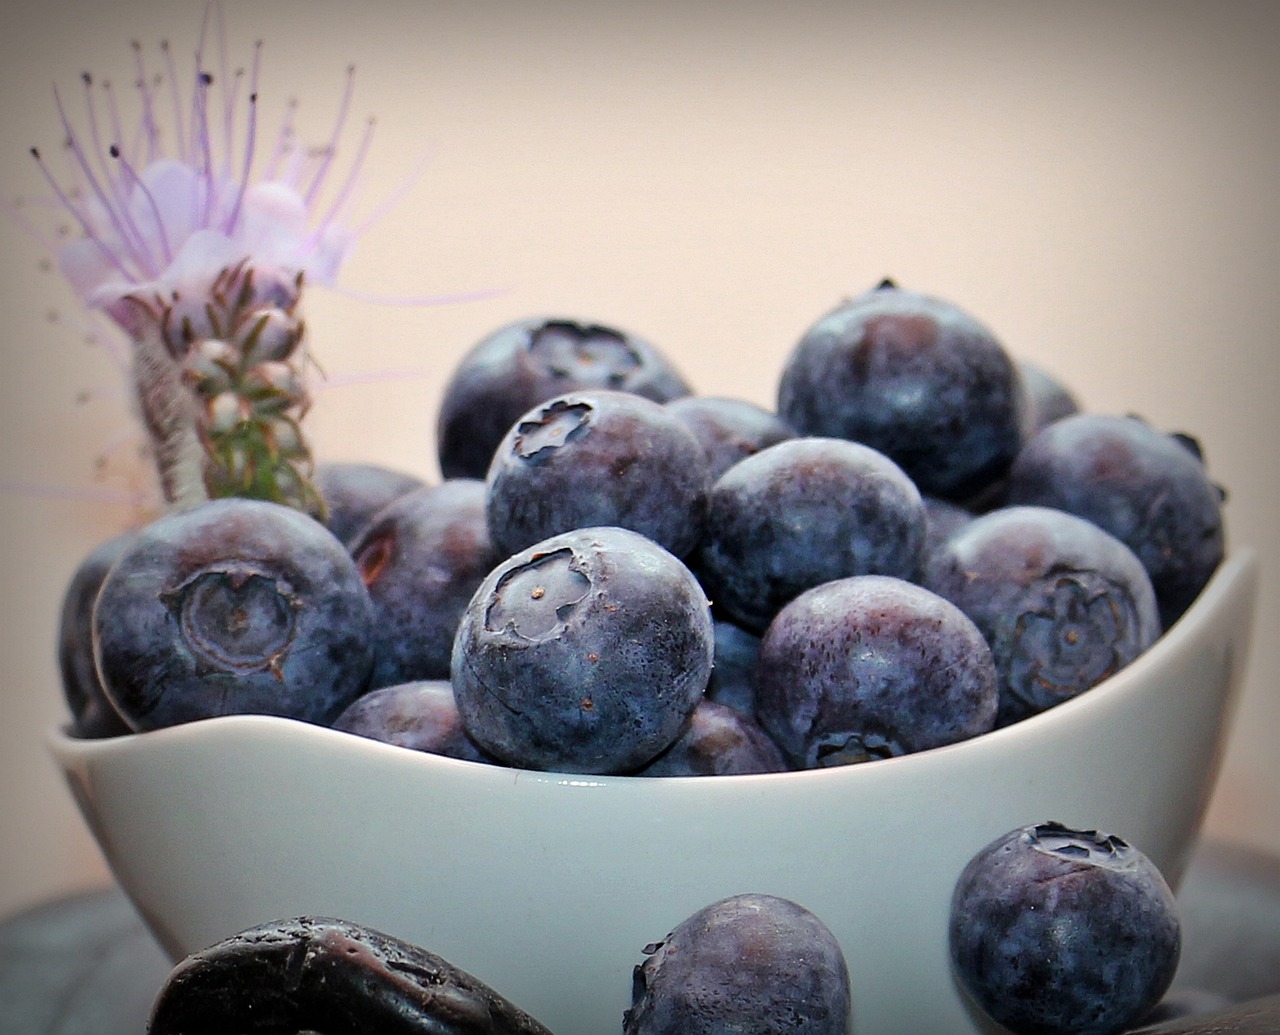
Post-Dyeing Care
After you've put in the effort to create stunning, vibrant fabric using natural dyes from berries, it's essential to give your dyed items the care they deserve. Proper post-dyeing care not only maintains the beauty of your colors but also prolongs the life of your fabrics. Imagine spending hours crafting a gorgeous piece, only to have it fade after a few washes. That's a nightmare for any DIY enthusiast! So, let's dive into some crucial steps to ensure your berry-dyed creations remain as beautiful as the day you finished them.
First and foremost, setting the dye is a critical step that many overlook. This process involves fixing the dye to the fabric, preventing it from washing out. There are several methods to achieve this, including using a vinegar solution or salt. For instance, after dyeing, you can soak your fabric in a mixture of one part vinegar to four parts water for about 30 minutes. This not only helps in setting the dye but also enhances the color. Alternatively, a salt solution can be used, with a similar soaking time. The choice between vinegar and salt can depend on the type of fabric and the desired effect, so a little experimentation may be necessary.
Once the dye is set, washing your newly dyed items properly is another essential aspect of maintenance. It's best to wash your berry-dyed fabrics in cold water, as hot water can cause the colors to bleed or fade. Use a mild detergent that is free from harsh chemicals, as these can strip the color from your fabric. When washing, consider doing it by hand rather than in a washing machine, especially for delicate items. If you must use a machine, select a gentle cycle. After washing, avoid wringing out the fabric too harshly; instead, gently press out the water and lay it flat to dry.
To help you remember these essential care tips, here's a quick reference table:
| Care Step | Description |
|---|---|
| Setting the Dye | Soak in vinegar or salt solution to fix colors. |
| Washing | Use cold water and mild detergent; hand wash preferred. |
| Drying | Lay flat to dry; avoid direct sunlight to prevent fading. |
Lastly, consider how you store your dyed items. To keep your colors vibrant, store them in a cool, dark place. Exposure to sunlight can cause fading over time, so avoid keeping them in direct sunlight or in bright, open spaces. If you're stacking multiple dyed items, it's a good idea to place a piece of acid-free tissue paper between them to prevent any color transfer. This simple step can go a long way in preserving the integrity of your work.
Q: Can I use regular detergent on my berry-dyed fabrics?
A: It's best to use a mild detergent that is free from harsh chemicals to preserve the color.
Q: How long should I soak the fabric to set the dye?
A: Soaking for about 30 minutes in a vinegar or salt solution is generally effective.
Q: Will the colors fade over time?
A: With proper care, including gentle washing and appropriate storage, your colors should remain vibrant for a long time.
By following these post-dyeing care tips, you can ensure that your berry-dyed fabrics remain stunning and vibrant, allowing you to enjoy your creative work for years to come. So go ahead, dive into your next dyeing adventure with confidence!
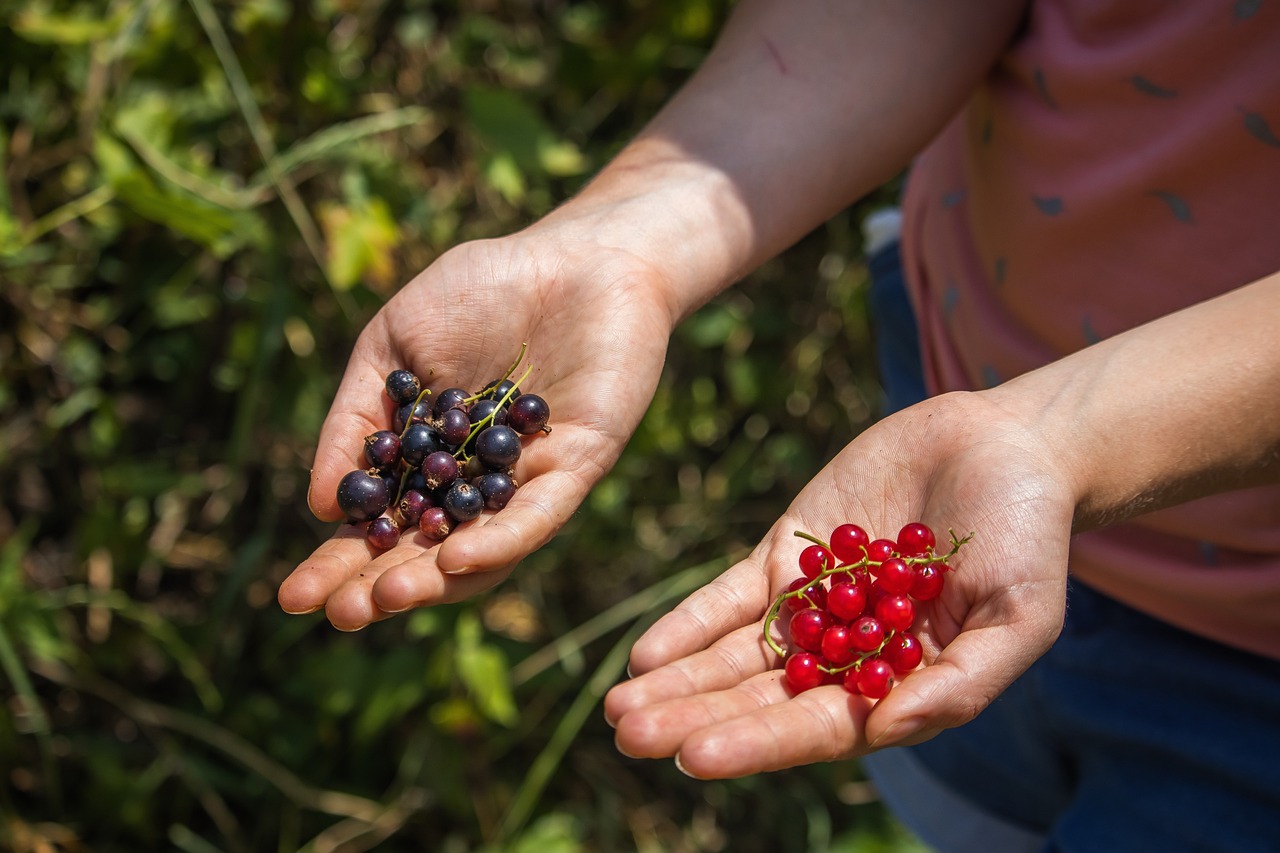
Setting the Dye
Setting the dye is a crucial step in the dyeing process, ensuring that the vibrant colors you’ve painstakingly extracted from your berries remain intact and don’t fade away with time. Think of it as locking in the beauty of your hard work, like sealing a delicious jam in a jar to preserve its flavor. Without proper dye setting, your fabric may wash out or lose its luster after just a few uses. So, how do we go about this important task? Let's dive into some effective methods!
One of the most common techniques for setting dye is through the use of heat. This can be achieved by either steaming or ironing the dyed fabric. When you apply heat, it helps to bond the dye to the fibers of the fabric, making it more resistant to washing. For instance, if you choose to steam your fabric, place it in a steaming basket for about 30 minutes. This gentle heat allows the colors to meld beautifully with the fabric, ensuring longevity.
Another effective method is to use a fixative solution. A simple option is to create a mixture of water and vinegar, which acts as a natural fixative. After dyeing your fabric, soak it in a solution of one part vinegar to four parts water for about 30 minutes. This not only helps in setting the dye but also enhances the vibrancy of the colors. Remember, the type of fabric you’re dyeing may influence how well the dye sets, so always test a small piece first!
For those who want to explore a more traditional approach, consider using salt as a dye fixative. Salt is particularly effective when dyeing with berry juices. After dyeing, rinse your fabric in a solution of warm water and salt (about 1 cup of salt per gallon of water) for 30 minutes. This method is not only eco-friendly but also helps in preserving the integrity of the colors.
Lastly, it’s essential to give your dyed fabric a good rinse after setting the dye. Rinsing helps to remove any excess dye that didn’t bond to the fabric, which can prevent future bleeding. Use cold water for rinsing, as hot water can cause colors to run. Rinse until the water runs clear, indicating that most of the excess dye has been washed away.
In summary, setting the dye is all about ensuring that your beautiful berry colors stay vibrant and true. Whether through heat, vinegar, salt, or a good rinse, these methods will help you enjoy your berry-dyed fabrics for many seasons to come. Remember, just like a well-cooked meal, the key to success lies in the details!
- How long should I let the dye set? It typically takes about 30 minutes to an hour, depending on the method used.
- Can I use other fruits for dyeing? Yes! Many fruits can be used for natural dyeing, but their color properties will vary.
- Will washing the fabric fade the colors? If properly set, the colors should remain vibrant even after washing.
- Is it safe to use vinegar or salt on all fabrics? Most fabrics respond well, but it’s best to test on a small area first.
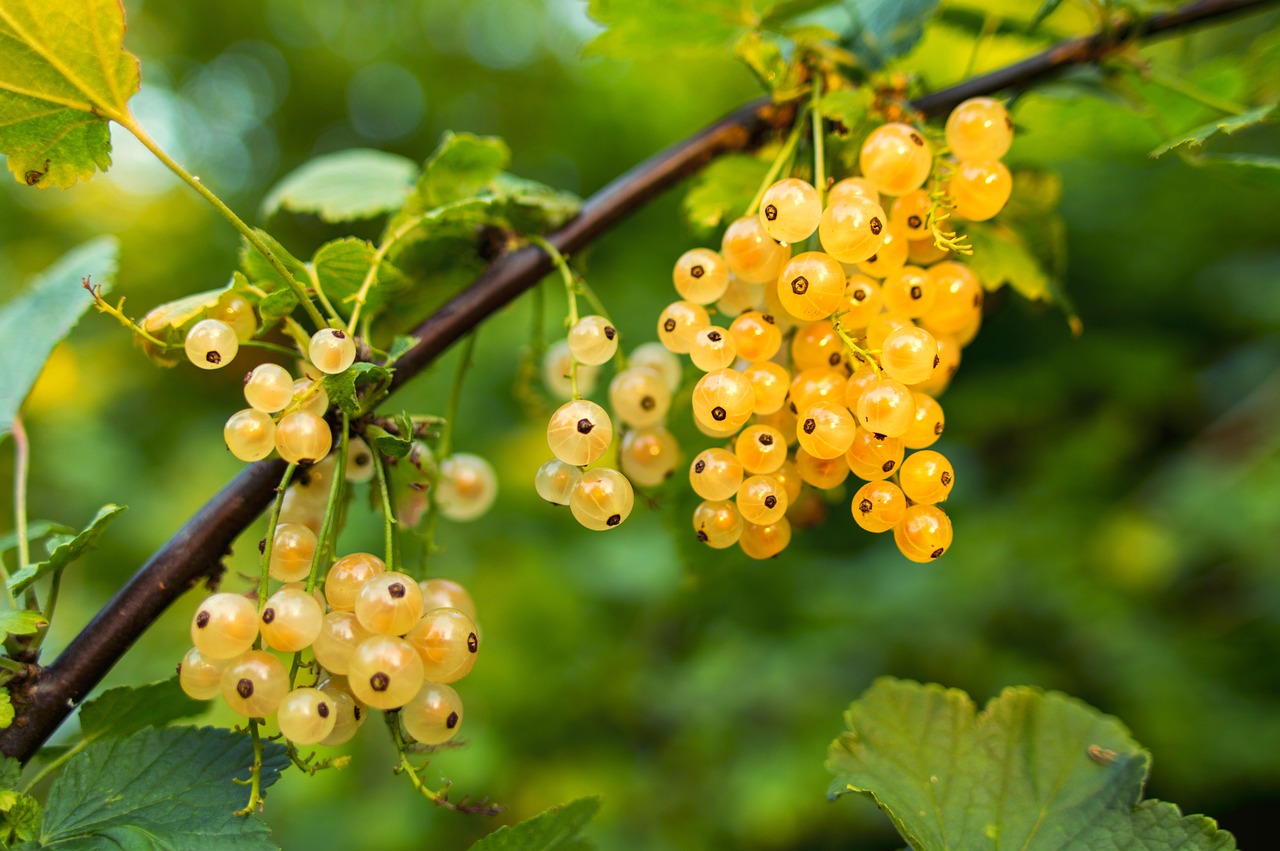
Washing and Maintenance
After you've invested time and creativity into dyeing your fabrics with those beautiful berry colors, it’s essential to give them the right care to maintain their vibrancy. Just like nurturing a garden, taking care of your dyed items can make all the difference in how they look over time. So, how do you ensure that your berry-dyed fabrics stay fresh and colorful? Let’s dive into some effective washing and maintenance tips!
First and foremost, it’s crucial to wash your dyed fabrics separately the first few times. This is to prevent any potential color bleeding onto other items in your laundry. Use cold water and a mild detergent that is free from harsh chemicals. Think of it as giving your fabrics a gentle spa treatment—no need for anything too abrasive that could strip away their beautiful hues.
When washing, gently agitate the fabric in the water rather than wringing it out. This helps to preserve the integrity of the fibers and the dye. After washing, rinse thoroughly in cold water until the water runs clear. This step is vital for removing excess dye that hasn't bonded with the fabric, ensuring your colors remain vibrant.
Once your fabrics are clean, it’s time to dry them. Avoid direct sunlight, as UV rays can fade those stunning berry colors. Instead, opt for air drying in a shaded area or indoors. If you're in a hurry, you can use a low heat setting in the dryer, but be cautious—high heat can lead to fading. Think of your dyed fabrics like a delicate flower; they need a little extra care to keep blooming beautifully!
To further enhance the longevity of your berry-dyed items, consider using a color fixative. These products help to lock in the dye, reducing the risk of fading over time. You can find natural fixatives like vinegar or salt, which can be added during the rinsing process. Just be sure to follow the instructions on the product you choose for the best results.
Lastly, always store your dyed fabrics in a cool, dry place away from direct sunlight. Using cotton or muslin bags can help protect them from dust and light exposure. This simple step can make a world of difference in preserving their beauty for years to come. Remember, maintaining your berry-dyed fabrics is like tending to a garden; with the right care, they will continue to flourish!
- Can I wash my berry-dyed fabrics with other clothes? It's best to wash them separately for the first few washes to prevent color bleeding.
- What kind of detergent should I use? Use a mild detergent free from harsh chemicals to protect the dye.
- How can I set the dye after washing? Consider using a color fixative like vinegar or salt during the rinsing process.
- Is it safe to use a dryer for my dyed fabrics? If you must use a dryer, opt for a low heat setting to prevent fading.
Frequently Asked Questions
- What types of berries are best for natural dyeing?
When it comes to natural dyeing, some of the best berries to use include blackberries, raspberries, and blueberries. Each type of berry offers unique color properties; for instance, blackberries can produce deep purples, while raspberries yield bright pinks. Experimenting with different berries can lead to beautiful and unexpected results!
- How do I prepare berries for dyeing?
Preparing your berries is crucial for achieving vibrant colors. Start by washing them thoroughly to remove any dirt. Next, crush the berries to release their juices. You can use a blender or simply mash them with a fork. The more you extract, the richer your dye will be!
- What is the best way to extract dye from berries?
There are several methods to extract dye from berries. A common approach is to simmer the crushed berries in water for about 30 minutes. This helps to draw out the pigments. After simmering, strain the mixture to separate the dye liquid from the pulp, and voila—you have your dye ready to use!
- Can I use frozen berries for dyeing?
Absolutely! Frozen berries can work just as well as fresh ones. In fact, they may even release more color due to the freezing process breaking down the cell walls. Just make sure to thaw them and crush them well before extracting the dye.
- How do I set the dye after dyeing my fabric?
Setting the dye is essential for ensuring longevity. A simple method is to soak your dyed fabric in a solution of equal parts vinegar and water for about 30 minutes. This helps to fix the color. Rinse the fabric in cold water afterward to remove any excess dye.
- What are some tips for washing dyed fabrics?
To keep your berry-dyed fabrics looking fresh, wash them gently in cold water with a mild detergent. Avoid using bleach or harsh chemicals, as these can fade the colors. It’s also a good idea to wash dyed items separately for the first few washes to prevent color bleeding.
- Is natural dyeing safe for the environment?
Yes, natural dyeing using berries is generally safe for the environment, especially when you practice ethical harvesting. Always gather berries sustainably, and avoid using harmful chemicals in your dyeing process. This way, you can enjoy vibrant colors while being kind to Mother Earth!


