Spring Garden Prep: A Checklist
As the chill of winter melts away and the vibrant colors of spring begin to emerge, it's time to turn your attention to your garden. Preparing your garden for spring is not just a task; it's an exciting opportunity to breathe life back into your outdoor space. Whether you're a seasoned gardener or just starting out, having a comprehensive checklist can significantly enhance your gardening experience. This guide will walk you through essential steps to ensure your plants, flowers, and vegetables thrive in the warm months ahead. So, roll up your sleeves and let’s dig into the nitty-gritty of spring garden prep!
Before you dive headfirst into planting, it’s crucial to take a step back and assess your garden space. Think of it as laying the foundation for a house; without a solid base, everything that follows can crumble. Evaluate your garden layout by considering factors like soil health, sunlight exposure, and existing plant life. Is your garden a sun-soaked paradise, or does it reside in the shade of towering trees? Understanding these elements will help you make informed decisions about what to plant and where to plant it.
Healthy soil is the lifeblood of a thriving garden. Just like a nutritious diet fuels your body, good soil nourishes your plants. Start by testing your soil to understand its current condition. You can do this easily with a soil test kit, which will provide insights into pH levels and nutrient content. Once you know what you’re working with, you can begin to amend your soil effectively. Consider adding organic matter, like compost or well-rotted manure, to boost fertility and improve drainage. Remember, the goal is to create a rich, well-structured environment that supports healthy root development.
Understanding your soil's pH level is essential for plant health. A soil pH test will reveal whether your soil is acidic, neutral, or alkaline. Most plants thrive in slightly acidic to neutral soil (pH 6.0 to 7.0). If your test indicates a pH that’s too high or too low for your desired plants, don’t worry! There are various ways to adjust it. For example, adding lime can raise the pH, while sulfur can lower it. This simple step can make a world of difference in your garden's success.
Now that you know your soil's pH, it’s time to explore soil amendments. These are materials added to the soil to enhance its properties. Common amendments include:
- Compost: A fantastic source of nutrients that improves soil structure.
- Peat Moss: Helps retain moisture and improves aeration.
- Perlite or Vermiculite: Enhances drainage and aeration.
Choosing the right amendments based on your soil test results can create a fertile environment that encourages robust plant growth.
If you’re looking for a sustainable way to enrich your soil, composting is the answer. Composting is like giving your garden a nutrient-rich smoothie! Start by collecting organic materials such as kitchen scraps, yard waste, and cardboard. Layer these materials in a compost bin, ensuring a mix of green (nitrogen-rich) and brown (carbon-rich) materials. Turn your pile regularly to aerate it and speed up the decomposition process. In a few months, you’ll have a dark, crumbly compost that your plants will love.
Timing is everything in gardening. Just like a well-timed joke can lighten the mood, planting at the right time can lead to a bountiful harvest. Create a planting schedule based on your local climate and the specific needs of the plants you want to grow. Consider factors like frost dates, which can vary widely depending on where you live. A simple calendar marking when to start seeds indoors, when to transplant, and when to sow directly outdoors can keep you organized and on track.
Selecting the right plants is key to a successful garden. Think of your garden as a symphony; each plant plays a unique role in creating harmony. When choosing plants, consider your local climate, soil type, and the compatibility of different plants. For instance, some plants thrive in full sun, while others prefer partial shade. Also, consider the height and spread of plants to avoid overcrowding. A well-planned garden will not only look beautiful but will also promote healthy growth.
Understanding the differences between native and non-native plants can significantly influence your garden's ecosystem. Native plants are adapted to your local environment, requiring less water and maintenance. They also provide habitat and food for local wildlife. Non-native plants, while often beautiful, can sometimes become invasive and disrupt local ecosystems. Striking a balance between the two can lead to a vibrant and sustainable garden.
Choosing the right plants for each season can enhance your garden's beauty and productivity. For spring, consider vibrant flowers like tulips and daffodils, while summer calls for hardy vegetables such as tomatoes and peppers. In fall, think about planting perennials that will bloom the following year. Each season brings its own unique opportunities, so embrace them!
Q: What is the best time to start preparing my garden for spring?
A: Ideally, start your preparations in late winter or early spring, as soon as the ground is workable. This gives you ample time to assess your space and prepare your soil.
Q: How can I improve my soil if it’s too sandy or clay-like?
A: For sandy soil, add organic matter like compost to improve moisture retention. For clay soil, incorporate gypsum and organic matter to enhance drainage and aeration.
Q: Are there specific plants that are easier for beginners to grow?
A: Absolutely! Some beginner-friendly plants include radishes, lettuce, and marigolds. These plants are generally low maintenance and provide quick results.
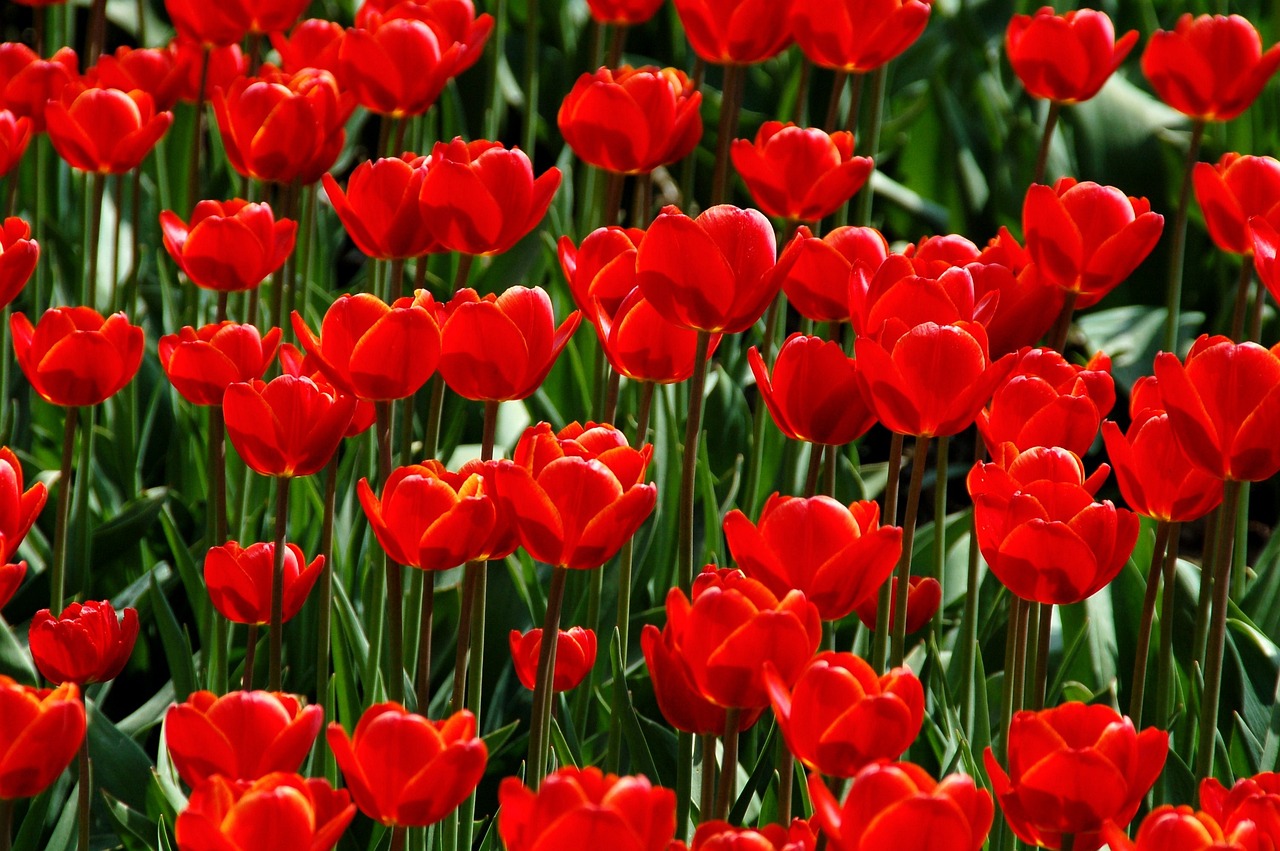
Assessing Your Garden Space
Before you dive into the exciting world of planting, it's crucial to take a step back and assess your garden space. Think of this as your garden's first impression—just like meeting someone new, you want to make sure everything is in order before you start the relationship! Evaluating your garden layout, soil health, and sunlight exposure will not only save you time but also ensure that your plants thrive in their new home.
First off, let’s talk about garden layout. Do you have a clear vision of where everything will go? Picture your garden as a blank canvas, and you’re the artist ready to create a masterpiece. Consider the size and shape of your garden. Are there any existing structures, like trees or fences, that could affect your planting? Drawing a simple sketch can help you visualize your space better. Remember to leave room for pathways; you don’t want to be stepping on your precious plants while trying to reach for that ripe tomato!
Next, you need to evaluate your soil health. Healthy soil is the bedrock of a successful garden, quite literally! Dig a little and take a look at what’s beneath the surface. Is the soil crumbly and rich in organic matter, or does it resemble a clay brick? Conducting a soil test can provide you with valuable insights into its nutrient content and pH levels, which are essential for plant growth. You can buy a soil test kit from your local garden center or send a sample to a lab for a more detailed analysis.
Don’t forget about sunlight exposure. Different plants have varying light requirements, so it’s vital to know how much sun your garden receives throughout the day. Observe your garden at different times—early morning, midday, and late afternoon. Are there shaded areas created by trees or buildings? You might want to consider a sun map, marking where the sun hits at various times. This will help you determine the best spots for sun-loving plants versus those that prefer the shade.
To summarize, here are the key factors to assess:
- Garden Layout: Sketch your space and plan for pathways.
- Soil Health: Test for nutrients and pH levels.
- Sunlight Exposure: Observe and map sun patterns throughout the day.
By taking the time to assess these aspects of your garden space, you'll set yourself up for success. It’s like laying the foundation for a house; without a solid base, everything else could come crumbling down. So grab your notepad, take a walk around your garden, and start planning for a bountiful spring!
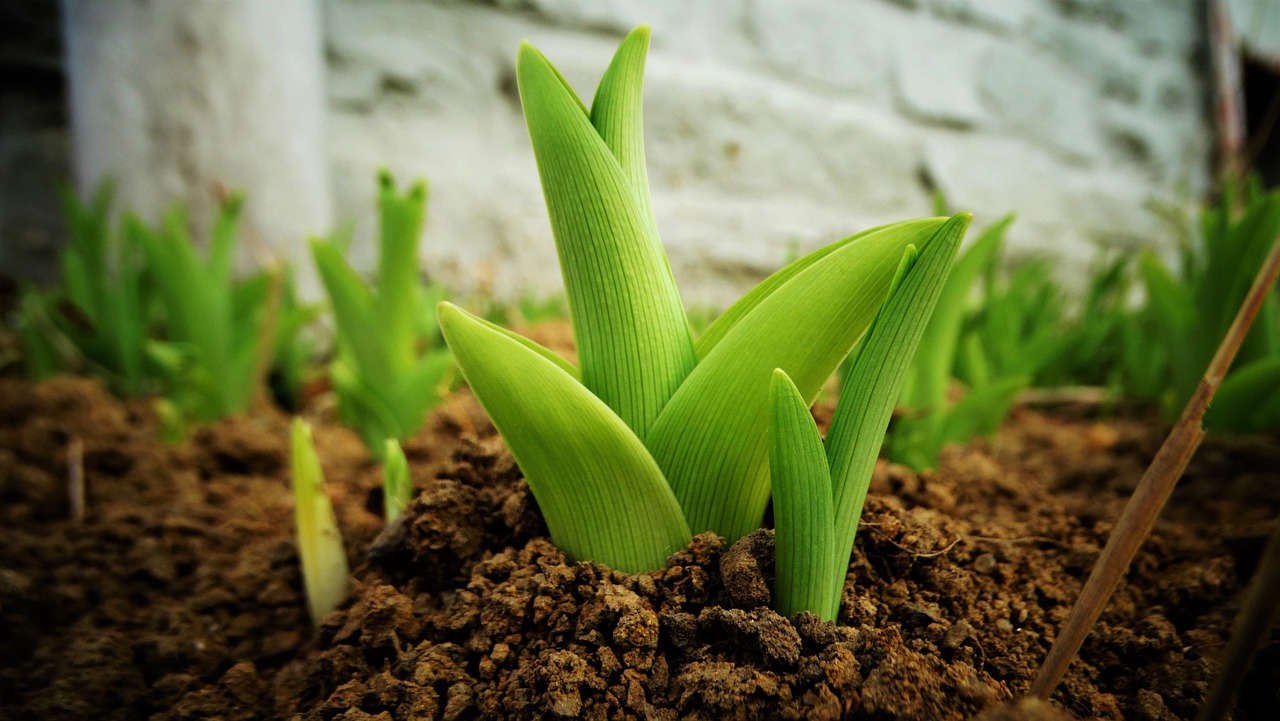
Soil Preparation Techniques
Healthy soil is the backbone of a thriving garden, and getting it right can make all the difference between a flourishing landscape and a disappointing patch of dirt. Before you even think about planting, it's crucial to understand the condition of your soil. Think of your soil as the foundation of a house; if it's weak or poorly constructed, everything built on top of it will suffer. So, how do you ensure your soil is in tip-top shape? Let's dive into some essential soil preparation techniques that will set your garden up for success.
First off, testing your soil is a non-negotiable step. You wouldn't go to a doctor without getting a check-up, right? The same goes for your soil! A soil test will reveal its pH level, nutrient content, and organic matter. Most plants thrive in a pH range of 6.0 to 7.0, so if your soil falls outside this range, you'll need to make some adjustments. You can buy a soil testing kit at your local garden center or send a sample to a lab for a more detailed analysis. Once you know what you're working with, you can tailor your amendments accordingly.
Understanding your soil's pH level is essential for plant health. If your soil is too acidic or too alkaline, it can hinder nutrient absorption. For example, if your soil pH is below 6.0, it might be time to add some lime to raise it. Conversely, if it's above 7.0, incorporating sulfur can help bring it down. Remember, maintaining the right pH is like tuning a musical instrument; even a slight deviation can throw everything off-key!
Once you've tested your soil, it's time to think about soil amendments. These are materials added to the soil to improve its fertility, drainage, and overall structure. Common amendments include:
- Organic matter: Compost, well-rotted manure, and leaf mold can all enrich your soil.
- Minerals: Gypsum can improve soil structure, while rock phosphate adds phosphorus.
- pH adjusters: Lime and sulfur can help balance your soil's acidity.
Using the right amendments based on your soil test results can significantly enhance your garden's productivity. Just remember, moderation is key. Over-amending can lead to nutrient imbalances, which can be just as harmful as poor soil.
Composting is another fantastic way to enrich your soil naturally. Not only does it recycle kitchen scraps and yard waste, but it also creates a nutrient-rich soil amendment that your plants will love. To get started with composting, you'll need to gather materials. Aim for a mix of greens (nitrogen-rich materials like vegetable scraps and grass clippings) and browns (carbon-rich materials like dried leaves and cardboard). Maintain a balance of about 2:1 browns to greens for optimal decomposition. Keep your compost pile moist and turn it regularly to aerate it, and soon you'll have a rich, dark compost that can be mixed into your garden beds.
Another important aspect of soil preparation is creating a planting schedule. Timing is everything in gardening. Knowing when to plant based on your local climate and the specific needs of your chosen plants can make a world of difference. Be sure to consider the last frost date in your area and plan accordingly. Some plants, like peas and spinach, thrive in cooler temperatures, while others, like tomatoes and peppers, prefer the warmth of late spring.
In summary, preparing your soil is a multi-step process that requires attention to detail. From testing pH levels to incorporating amendments and composting, each step plays a crucial role in creating a healthy environment for your plants. So roll up your sleeves, get your hands dirty, and enjoy the rewarding journey of preparing your garden for a bountiful spring!
Q: How often should I test my soil?
A: It's a good idea to test your soil every 2-3 years, or whenever you notice poor plant performance.
Q: Can I use store-bought compost?
A: Yes, store-bought compost can be a great supplement, but homemade compost is often richer in nutrients.
Q: What should I do if my soil is too sandy or too clayey?
A: For sandy soil, adding organic matter can help retain moisture. For clayey soil, amendments like gypsum can improve drainage.
Q: Is it necessary to amend my soil every year?
A: Not necessarily. If your soil is healthy and your plants are thriving, you may only need to amend it every few years.
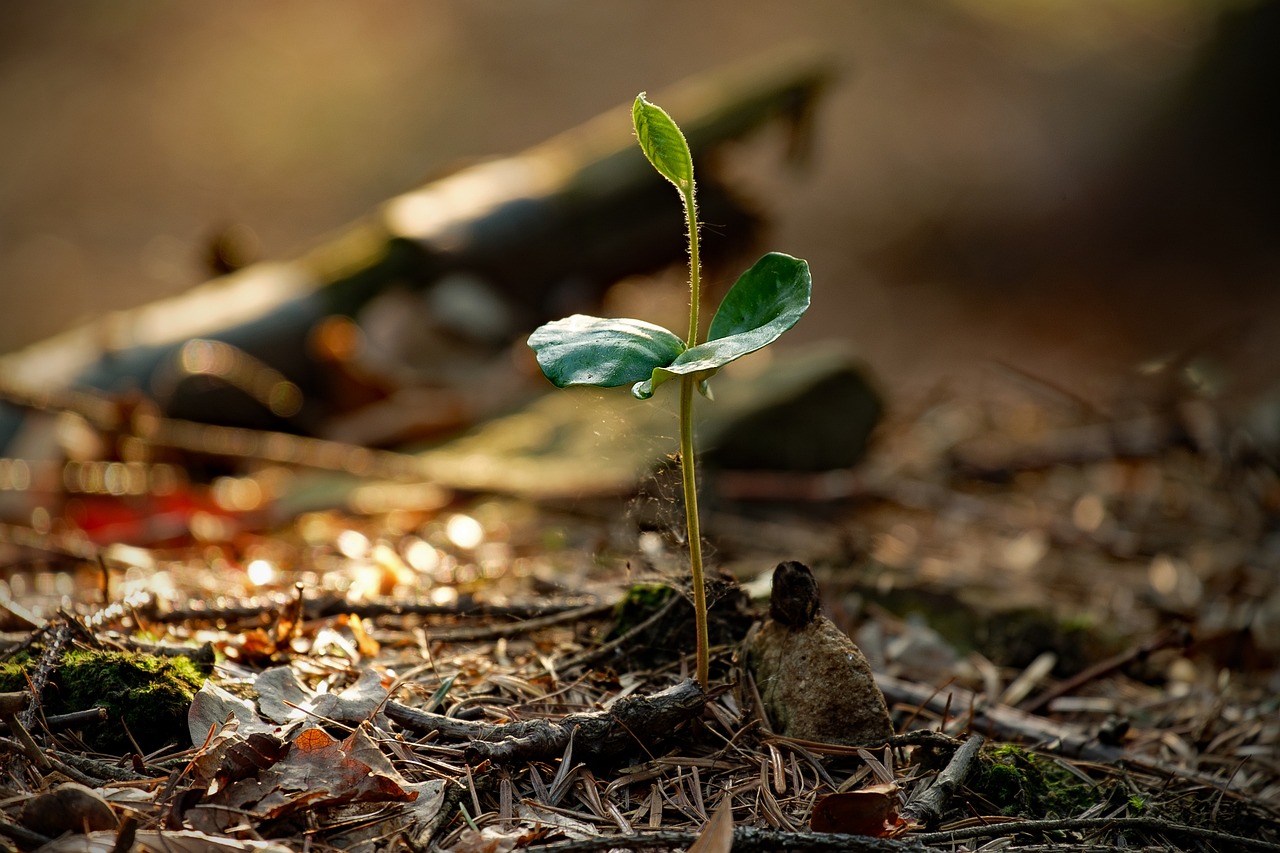
Testing Soil pH
Understanding your soil's pH level is essential for plant health, as it directly influences nutrient availability and microbial activity in the soil. A balanced pH level, typically between 6.0 and 7.0, is ideal for most garden plants, allowing them to absorb nutrients effectively. If your soil is too acidic (below 6.0) or too alkaline (above 7.0), your plants may struggle to thrive, leading to stunted growth or even plant death.
So how do you go about testing your soil's pH? It's simpler than you might think! You can purchase a soil pH test kit from a local garden center or online, which usually includes everything you need to get started. Alternatively, many agricultural extension services offer soil testing for a small fee. Here's a basic rundown of the steps involved:
- Collect Soil Samples: Dig up small samples from various spots in your garden to get a representative sample. Aim for about 1 cup of soil.
- Mix the Samples: Combine the samples in a clean container to ensure consistency.
- Follow Kit Instructions: Whether using a DIY kit or sending it to a lab, follow the instructions carefully for accurate results.
Once you receive your results, you’ll know your soil’s pH level. If it falls outside the ideal range, don’t fret! There are plenty of ways to adjust it:
| Soil pH Level | Adjustment Method |
|---|---|
| Too Acidic (< 6.0) | Add lime or wood ash to raise pH |
| Neutral (6.0 - 7.0) | No adjustment needed |
| Too Alkaline (> 7.0) | Add sulfur or organic matter to lower pH |
Remember, adjusting soil pH is not a one-time fix. It may take time for the amendments to take effect, and regular testing can help you monitor changes. Think of it as a relationship with your garden; the more you understand it, the better you can nurture it! With the right pH balance, you're setting the stage for a thriving garden full of vibrant plants.
Q: How often should I test my soil pH?
A: It's a good idea to test your soil pH at least once a year, particularly before planting season, to ensure optimal growing conditions.
Q: Can I test soil pH without a kit?
A: While DIY methods exist, using a reliable soil pH test kit or sending samples to a lab will yield more accurate results.
Q: What if my soil pH is perfect but my plants are still struggling?
A: Other factors such as soil texture, drainage, and nutrient levels could be affecting plant health. Consider a comprehensive soil test for further insights.

Using Soil Amendments
When it comes to gardening, soil amendments play a pivotal role in creating a thriving environment for your plants. Think of soil amendments as the vitamins and minerals that your garden needs to stay healthy and productive. Just like we need certain nutrients to function at our best, plants require specific elements in their soil to flourish. So, what exactly are soil amendments? They are materials added to soil to improve its physical or chemical properties, enhancing its fertility, drainage, and overall structure.
One of the first steps in using soil amendments effectively is to analyze your soil test results. This will guide you in determining what your soil lacks. For example, if your soil is too acidic, you might need to add lime to raise the pH. Conversely, if your soil is too alkaline, sulfur can help lower the pH. The goal is to create a balanced environment that meets the needs of your plants. Here are some common soil amendments to consider:
- Organic Matter: This includes compost, well-rotted manure, and leaf mold. Organic matter improves soil structure, increases water retention, and provides essential nutrients.
- Peat Moss: This helps retain moisture and improves soil aeration, making it easier for roots to grow.
- Perlite or Vermiculite: These are excellent for enhancing drainage in heavy soils, ensuring that roots don’t sit in water.
- Bone Meal: A fantastic source of phosphorus, bone meal encourages root development and flowering.
Incorporating these amendments into your soil is relatively simple. Start by tilling the soil to a depth of about 12 inches. Then, mix in your chosen amendments evenly throughout the soil. This not only improves the soil's nutrient content but also its texture, making it more conducive to plant growth. Remember, the key here is moderation; too much of a good thing can lead to imbalances that might harm your plants.
After applying soil amendments, it’s essential to give your soil some time to settle and integrate. Allowing a few weeks before planting can help the amendments work their magic. During this waiting period, you might even consider planting a cover crop, which can further enhance soil health by fixing nitrogen and preventing erosion.
In conclusion, using soil amendments is a straightforward yet highly effective way to boost your garden's potential. By understanding your soil's needs and incorporating the right amendments, you can create a vibrant ecosystem that supports healthy plant growth. Remember, a well-prepared garden is the first step towards a bountiful harvest!
Q: How do I know what soil amendments to use?
A: Conduct a soil test to determine the nutrient levels and pH of your soil. Based on the results, you can choose the appropriate amendments to address any deficiencies.
Q: Can I use too many soil amendments?
A: Yes, over-amending can lead to nutrient imbalances and negatively affect plant growth. Always follow recommended guidelines for application rates.
Q: How often should I amend my soil?
A: It's a good practice to amend your soil every year or every other year, especially if you are growing heavy feeders like tomatoes and peppers. Regular testing will help you determine the best schedule for your garden.
Composting Basics
Composting is one of the most rewarding and environmentally friendly practices you can adopt for your garden. It’s like giving your plants a delicious buffet of nutrients, all while reducing waste. Imagine transforming your kitchen scraps and yard debris into rich, fertile soil that can fuel your garden's growth. Sounds amazing, right? But before you dive in, let’s cover the essentials of composting to ensure you’re set up for success.
First off, what exactly can you compost? The answer is a variety of organic materials! You can include:
- Fruit and vegetable scraps
- Grass clippings
- Leaves
- Coffee grounds
- Eggshells
- Shredded paper and cardboard
However, not everything belongs in your compost pile. Avoid adding meat, dairy, and oily foods, as these can attract pests and create unpleasant odors. Think of your compost pile as a balanced diet for your soil; you want to provide the right mix of greens (nitrogen-rich materials) and browns (carbon-rich materials) to create a thriving environment for decomposition.
Now, let’s talk about maintaining your compost pile. It's important to keep it aerated and moist. A well-aerated pile allows oxygen to circulate, which is crucial for the microorganisms that break down the organic matter. You can achieve this by turning your pile every few weeks with a pitchfork or shovel. If your compost is too dry, add some water, but be careful not to soak it. Think of it as a sponge: it should be damp, but not dripping wet.
As your compost breaks down, it will go through several stages. Initially, you’ll see a lot of activity as the materials decompose, leading to heat generation. After a few months, the compost will cool down, and you’ll notice a dark, crumbly texture that resembles rich soil. That’s when you know your compost is ready to use! It’s like magic—turning waste into something that nourishes your plants.
Incorporating compost into your garden can significantly improve soil structure, moisture retention, and nutrient availability. It’s a fantastic way to promote healthy plant growth and can even help suppress diseases and pests. So, whether you have a small balcony garden or a sprawling backyard, composting is a practice that can benefit any gardener.
To wrap it up, composting is not just a trend; it’s a sustainable practice that enriches your garden while helping the planet. So, grab your kitchen scraps, start your compost pile, and watch your garden flourish like never before!
1. How long does it take for compost to be ready?
Typically, compost can take anywhere from 3 to 6 months to break down completely, depending on factors like temperature, moisture, and the materials used.
2. Can I compost in an apartment?
Absolutely! You can use a small compost bin or even a worm composting system (vermicomposting) to recycle kitchen scraps in an apartment setting.
3. What should I do if my compost pile smells bad?
A smelly compost pile usually indicates that it’s too wet or has too much nitrogen-rich material. Try adding more carbon-rich materials like dry leaves or shredded paper and turning the pile to aerate it.
4. Is it necessary to turn the compost pile?
While not strictly necessary, turning the compost helps aerate it and speeds up the decomposition process. If you don’t turn it, it may take longer for the compost to break down.
With these basics in mind, you’re ready to embark on your composting journey. Happy composting!

Planning Your Planting Schedule
Timing is absolutely vital for successful gardening. Imagine planting your seeds and watching them bloom into a vibrant garden, but all of that can go awry if you don't pay attention to the clock! Knowing when to plant is like having a secret recipe for success. It’s not just about the season; it’s about understanding your local climate, soil conditions, and the specific needs of the plants you wish to grow. So, how do you create a planting schedule that works for you? Let’s dive into the essentials!
First, it’s crucial to know your hardiness zone. This zone determines what plants will thrive in your area based on the average minimum winter temperatures. You can easily find your hardiness zone by checking the USDA Plant Hardiness Zone Map. Once you know your zone, you can select plants that are well-suited for your climate, ensuring they have the best chance of flourishing.
Next, consider the last frost date in your region. This date is your signal to start planting. For example, if your last frost date is in mid-April, you can start sowing seeds indoors in late winter and transplant them outdoors once the risk of frost has passed. Here’s a quick breakdown of how to plan around the frost dates:
| Plant Type | Start Indoors | Transplant Outdoors |
|---|---|---|
| Tomatoes | 6-8 weeks before last frost | After last frost |
| Peppers | 8-10 weeks before last frost | After last frost |
| Cucumbers | 3-4 weeks before last frost | After last frost |
Additionally, you’ll want to consider the maturity time of your plants. Some plants, like radishes and lettuce, grow quickly and can be planted in succession for continuous harvests, while others, such as pumpkins and squash, need more time to mature. By understanding these timelines, you can stagger your planting to maximize your garden's productivity.
Finally, don’t forget to keep a gardening journal or use a garden planning app. Document your planting dates, plant growth, and any challenges you face. This practice not only helps you remember what worked and what didn’t but also allows you to refine your planting schedule for future seasons.
So, as you gear up for spring, take a moment to plan your planting schedule. By aligning your planting with the seasons, frost dates, and plant needs, you’ll set the stage for a garden that bursts with life and color. Happy gardening!
- When is the best time to plant vegetables? Generally, the best time to plant vegetables is after the last frost date in your area. It's important to check your local climate for specific timings.
- How do I know my hardiness zone? You can find your hardiness zone by visiting the USDA Plant Hardiness Zone Map online.
- Can I plant flowers and vegetables together? Yes! Many flowers and vegetables can coexist in the same garden, but it's essential to choose compatible plants to avoid competition for nutrients.
Choosing the Right Plants
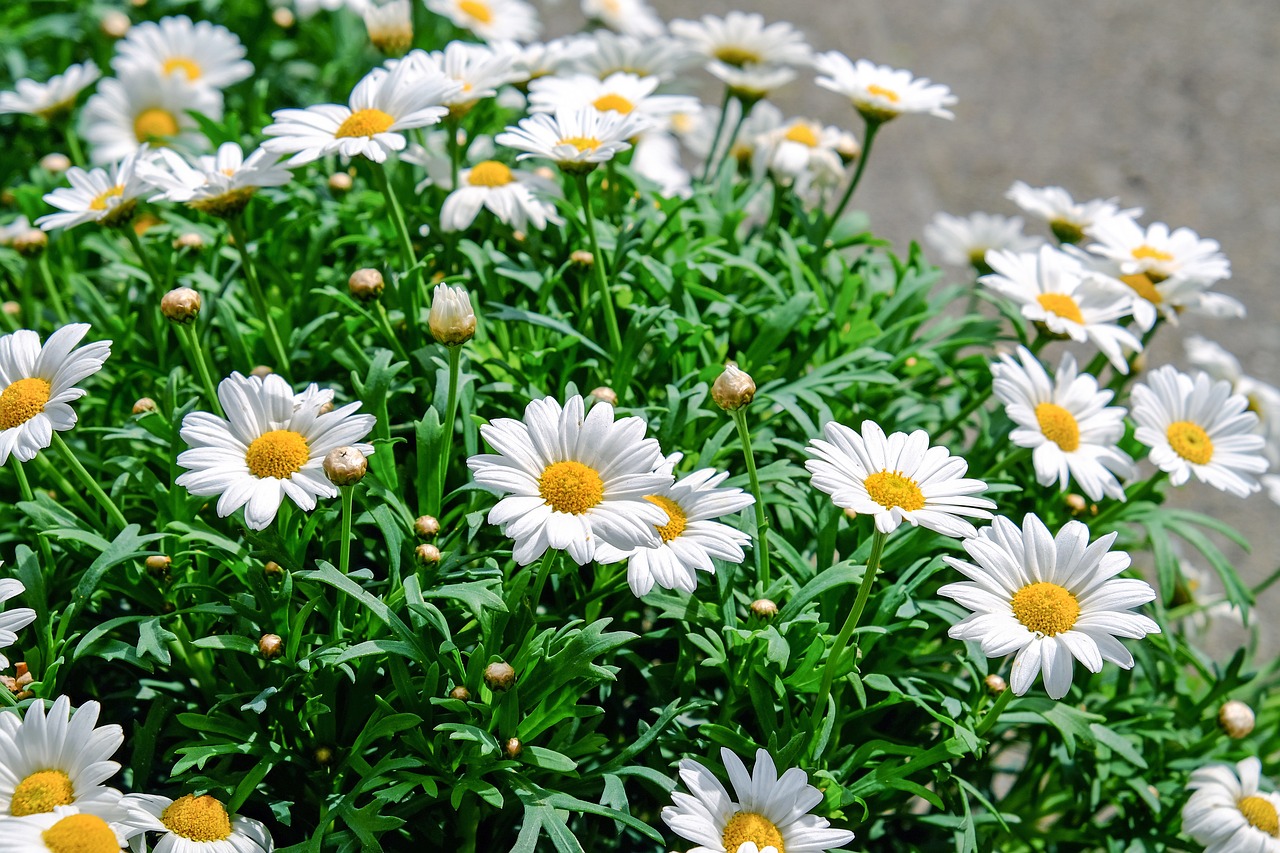
When it comes to gardening, selecting the right plants is like picking the perfect ingredients for a recipe. You wouldn't toss just anything into a pot and expect a gourmet meal, right? Similarly, your choice of plants can make or break your garden's success. It’s essential to consider a few key factors that can significantly impact the health and beauty of your green space.
First off, you need to think about your local climate. Different plants thrive in different conditions, and understanding your hardiness zone is crucial. For instance, if you live in a warmer region, you might be tempted to plant tropical varieties, but those same plants would struggle in colder climates. To simplify your choices, here's a quick breakdown of climate considerations:
| Climate Zone | Best Plant Types |
|---|---|
| Zone 1-3 | Perennials like Hellebores and Sedums |
| Zone 4-6 | Annuals like Marigolds and Petunias |
| Zone 7-10 | Tropical plants like Hibiscus and Bougainvillea |
Next, let's talk about soil type. Your garden's soil can be sandy, clayey, or loamy, and each type offers different benefits and challenges. For example, sandy soil drains quickly but may not retain nutrients, while clay soil holds moisture but can become compacted. Knowing your soil type will help you choose plants that can thrive under those conditions. You might even want to consider amending your soil to create a more hospitable environment for your plants. Adding organic matter can improve soil structure, enhance nutrient content, and promote better drainage.
Another important factor is plant compatibility. Just like people, some plants get along better than others. This concept is often referred to as companion planting. For instance, tomatoes and basil are known to be great companions; they not only enhance each other's growth but also help repel pests. On the flip side, some plants can hinder each other's growth, so it's wise to do a little research before mixing and matching. Consider grouping plants with similar water and light requirements to create a harmonious garden environment.
Lastly, don't forget about the aesthetic appeal of your garden. Think about color, texture, and height when selecting plants. You want to create a visually appealing layout that draws the eye and adds interest throughout the seasons. Mixing various heights can create depth, while contrasting colors can make your garden pop. For example, pairing tall sunflowers with low-growing marigolds not only looks stunning but also maximizes your garden's space.
In conclusion, choosing the right plants involves a careful balance of understanding your climate, soil type, compatibility, and aesthetic goals. Take your time with this process; after all, the plants you select will be the stars of your garden show. So, roll up your sleeves, do a little research, and get ready to create a flourishing garden that will impress both you and your visitors!
- What is the best time to plant my garden? The best time to plant varies by region, but generally, early spring is ideal for most plants.
- How do I know if my soil is healthy? Testing your soil for pH and nutrient levels can provide insight into its health.
- Can I grow vegetables and flowers together? Yes, many gardeners successfully use companion planting to grow both vegetables and flowers in harmony.
Native vs. Non-Native Plants
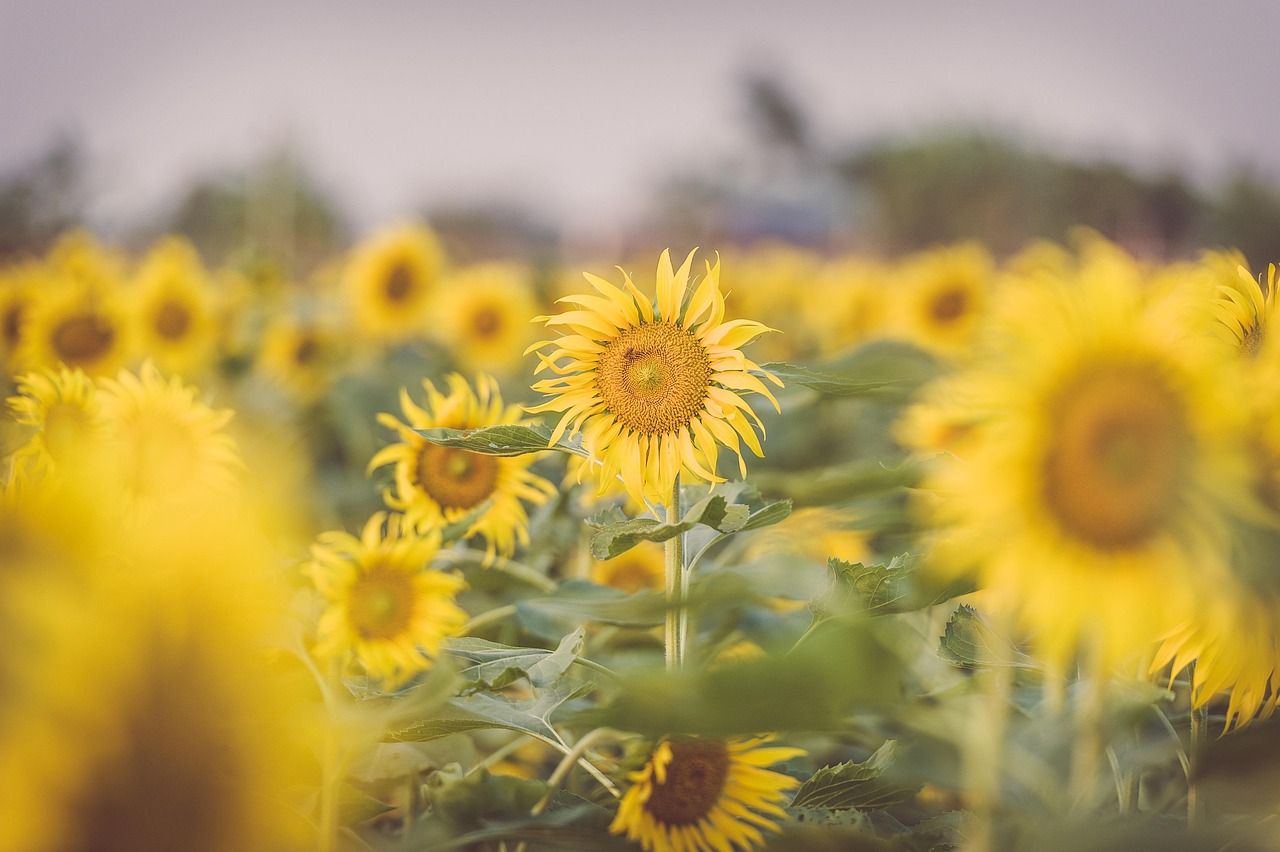
When it comes to gardening, one of the most significant decisions you'll face is choosing between native and non-native plants. Understanding the differences between these two categories can significantly impact not only the health of your garden but also the broader ecosystem. Native plants are those that have evolved in a specific region over thousands of years, adapting to the local climate, soil, and wildlife. They are like the locals at a neighborhood party; they know the area, the climate, and how to thrive within it.
On the other hand, non-native plants, often referred to as exotic or introduced plants, are those that have been brought in from different regions or countries. While they can add diversity and aesthetic appeal to your garden, they sometimes struggle to adapt to local conditions. Think of them as tourists who may not have the same survival skills as the locals. They can also pose a risk of becoming invasive, which can disrupt local ecosystems by outcompeting native species for resources.
Here’s a quick comparison to help you weigh your options:
| Aspect | Native Plants | Non-Native Plants |
|---|---|---|
| Adaptability | Highly adaptable to local conditions | May struggle to adapt |
| Support for Wildlife | Provides habitat and food for local wildlife | May not support local wildlife |
| Maintenance | Generally lower maintenance | Can require more care and resources |
| Invasiveness | Rarely invasive | Can be invasive and disrupt local ecosystems |
Choosing native plants can lead to a healthier garden and a more sustainable ecosystem. They require less water and fertilizer, making them easier to care for and more environmentally friendly. Additionally, native plants are essential for maintaining local biodiversity, as they provide food and shelter for various species, including pollinators like bees and butterflies.
However, non-native plants can also be beneficial in certain contexts. They can offer unique colors, shapes, and fragrances that might not be available in native species. If you choose to incorporate non-native plants, it's crucial to research their growth habits and potential invasiveness. Opt for non-invasive varieties that won't disrupt the local ecosystem. This way, you can enjoy the best of both worlds without compromising the health of your garden.
In summary, the choice between native and non-native plants should be guided by your gardening goals, the specific conditions of your garden, and your commitment to supporting local ecosystems. By selecting plants wisely, you can create a garden that is not only beautiful but also beneficial for the environment.
- What are the benefits of using native plants? Native plants are adapted to the local environment, requiring less water and maintenance, and they support local wildlife.
- Can I mix native and non-native plants in my garden? Yes, but be sure to choose non-invasive non-native plants to avoid disrupting the local ecosystem.
- How do I know if a plant is native or non-native? Research local plant guides or consult with local gardening experts or extension services.
Seasonal Plant Selection
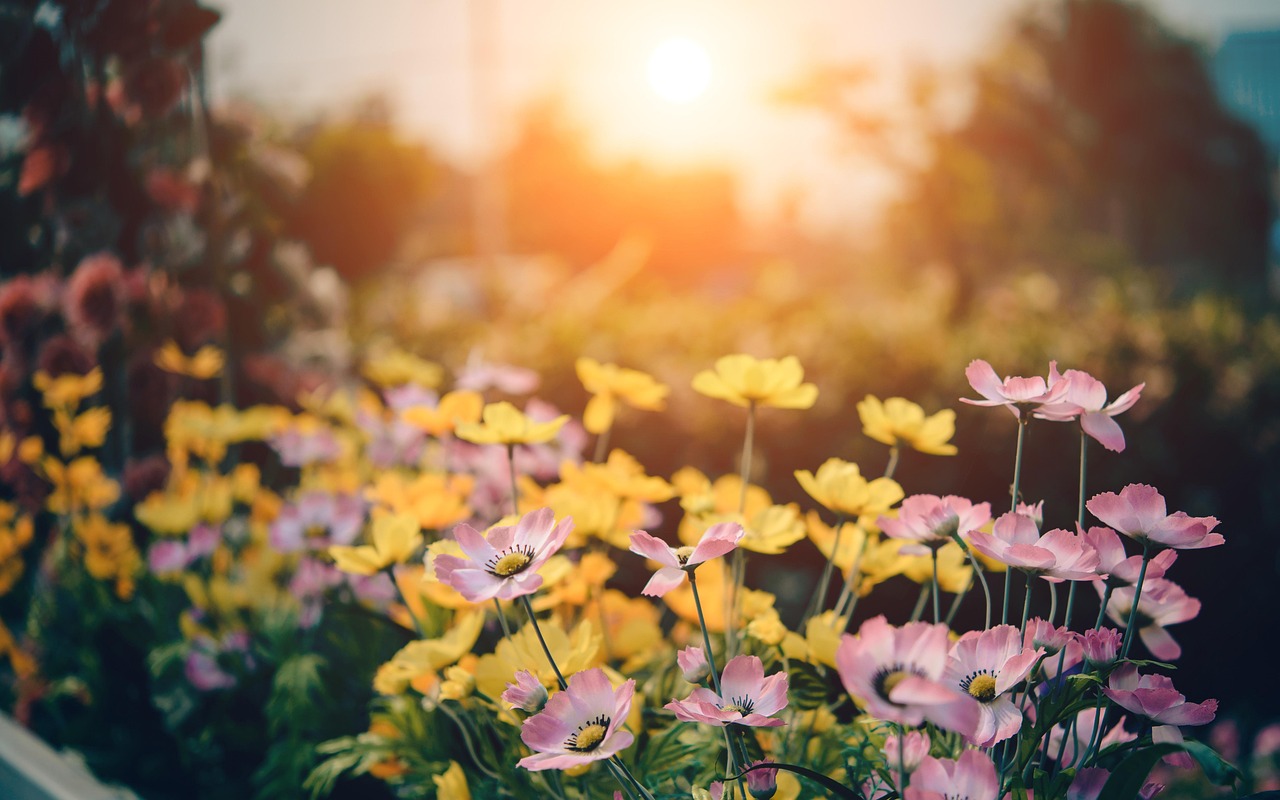
Choosing the right plants for each season is not just about aesthetics; it’s about creating a thriving ecosystem in your garden. Think of your garden as a canvas, where each season brings a new palette of colors, textures, and fragrances. By selecting plants that flourish during specific times of the year, you can ensure that your garden remains vibrant and alive, no matter the season. But how do you know which plants to choose? It all begins with understanding the unique needs and characteristics of each season.
In spring, the excitement of new life is palpable. This is the time to plant vibrant flowers like tulips, daffodils, and hyacinths, which burst forth with color after the winter chill. These early bloomers not only brighten your garden but also provide essential nectar for pollinators waking from their winter slumber. Additionally, consider vegetables such as peas, lettuce, and radishes, which thrive in the cooler temperatures of early spring.
As we transition into summer, the heat brings a different set of opportunities. This is the perfect time to introduce plants like sunflowers, zinnias, and marigolds, which can handle the warm weather and provide a dazzling display. For your vegetable garden, think about planting tomatoes, peppers, and cucumbers, which not only grow abundantly but also add a fresh, delicious touch to your summer meals. Remember, summer plants often require more water, so be prepared to keep them hydrated!
As autumn approaches, the garden begins to shift once again. This season is ideal for planting chrysanthemums and asters, which can extend the blooming season and add depth to your fall landscape. It’s also a great time to plant perennials that will bloom in the following spring. For vegetables, consider planting kale, broccoli, and carrots, which thrive in the cooler temperatures and can even improve in flavor after a light frost.
Finally, winter is often seen as a dormant time for gardens, but it doesn’t have to be! Consider planting evergreen shrubs and trees that provide structure and color during the colder months. Additionally, winter is the perfect time to plan for the next growing season. You can start seeds indoors for early spring planting or create a detailed garden layout that excites you for the warmer months ahead.
To summarize, seasonal plant selection is all about timing and understanding the unique characteristics of each season. By choosing plants that are well-suited for the time of year, you can create a garden that not only looks beautiful but also supports local wildlife and provides a bountiful harvest. Don’t forget to consider your local climate and soil conditions when making your selections, as these factors will significantly influence your gardening success.
- What are the best plants for spring? Spring is ideal for planting tulips, daffodils, and early vegetables like lettuce and peas.
- Can I plant vegetables in the summer? Yes! Summer is perfect for tomatoes, cucumbers, and peppers.
- What flowers bloom in autumn? Consider planting chrysanthemums and asters for vibrant fall color.
- How can I keep my garden active in winter? Plant evergreens and plan for the upcoming spring season.
Frequently Asked Questions
- What should I consider when assessing my garden space?
When assessing your garden space, think about the layout, soil health, and sunlight exposure. Take note of any shaded areas and how they might affect plant growth. Understanding these elements will help you determine the best plants for your garden.
- How can I test my soil's pH level?
You can test your soil's pH level using a DIY kit from a garden center or by sending a sample to a local extension service. A pH level between 6.0 and 7.0 is generally ideal for most plants. Knowing your soil's pH helps you choose the right plants and amendments.
- What are soil amendments, and why do I need them?
Soil amendments are materials added to improve soil quality. They can enhance fertility, drainage, and aeration. Depending on your soil test results, you might need compost, peat moss, or lime to boost nutrient levels and create a healthier environment for your plants.
- Can I compost kitchen scraps, and how do I start?
Yes, you can compost kitchen scraps like vegetable peels and coffee grounds! To start composting, create a compost pile with a mix of green materials (like food scraps) and brown materials (like dried leaves). Keep it moist and turn it regularly to speed up decomposition.
- How do I create a planting schedule?
To create a planting schedule, consider your local climate and the specific needs of your chosen plants. Research the last frost date for your area and plan your planting around that. This ensures your plants have the best chance to thrive.
- What are the benefits of planting native plants?
Native plants are adapted to your local environment, making them more resilient and easier to care for. They typically require less water and fertilizer, provide habitat for local wildlife, and help maintain the ecosystem balance in your garden.
- How can I choose the right plants for each season?
To choose the right plants for each season, research which plants thrive in your climate throughout the year. Consider factors like bloom time, growth habits, and care requirements. This will help you create a garden that is beautiful and productive all year round.


