Funky Upcycled Flower Vase Ideas
Are you tired of the same old vases cluttering your shelves? Want to bring a splash of creativity and personality to your floral arrangements? Look no further! In this article, we’ll explore some creative and eco-friendly ways to transform everyday items into unique flower vases that will not only hold your beautiful blooms but also serve as stunning decor pieces. Imagine walking into a room and being greeted by a vibrant, funky vase that tells a story—one that you crafted yourself! So, let’s dive into the world of upcycling and discover how you can turn ordinary objects into extraordinary vases.
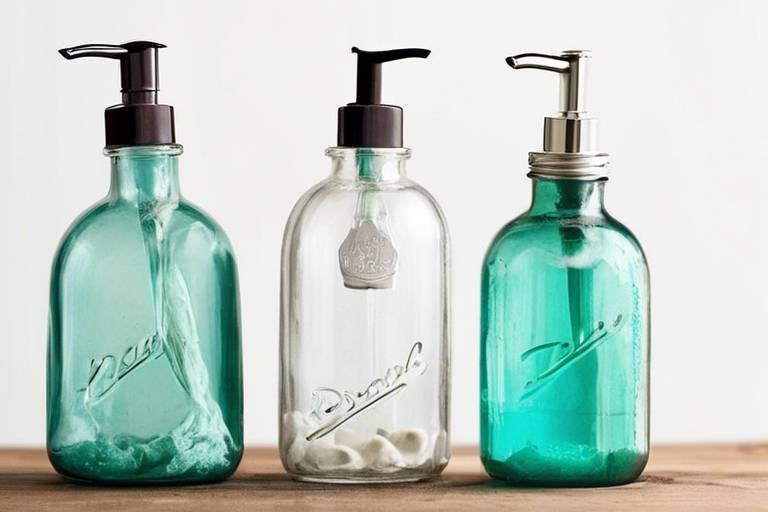
Glass jars are not just for storing leftovers or spices; they can be transformed into stylish vases that add a touch of elegance to any setting. The beauty of glass jars lies in their versatility. You can easily embellish them with paint, twine, or other decorative elements to create eye-catching centerpieces. Picture this: a mason jar wrapped in rustic jute twine, filled with wildflowers, sitting on your kitchen table. It’s not just a vase; it’s a conversation starter!
To get started, gather some glass jars of different sizes. You can find them in your kitchen or purchase them inexpensively at a thrift store. Once you have your jars, consider the following decoration ideas:
- Paint: Use acrylic paint to add color. You can create ombre effects or even paint fun designs.
- Twine: Wrap jute or cotton twine around the neck of the jar for a rustic touch.
- Stickers: Apply decorative stickers or washi tape to add flair.
Have you ever thought about the charm that a simple tin can can bring to your decor? With a little creativity, these everyday items can be upcycled into rustic vases that are perfect for holding your favorite flowers. Just imagine a row of colorful tin can vases lined up on your windowsill, each one uniquely decorated and bursting with life!
One of the easiest ways to elevate the look of your tin can vases is through painting. You can use various techniques to achieve different styles:
- Spray Paint: Quick and easy, spray paint can give your cans a smooth finish.
- Hand-Painted Designs: Use brushes to create intricate designs or patterns that reflect your personality.
Decoupage is a fantastic way to customize your tin can vases. By applying decorative paper or fabric, you can create stunning, one-of-a-kind designs. Simply cut out your desired shapes, apply a layer of glue, and seal it with a topcoat. This technique allows for endless creativity!
To take your tin can vases to the next level, consider adding embellishments such as beads, ribbons, or even stencils. These touches can add a personal flair and transform simple cans into fabulous decor pieces that reflect your style.
Why stop at just one can? Learn how to combine multiple tin can vases for a cohesive and stylish arrangement. Varying heights and colors can create a visually appealing display that draws the eye. Arrange them on a tray or stand for an added touch of sophistication.
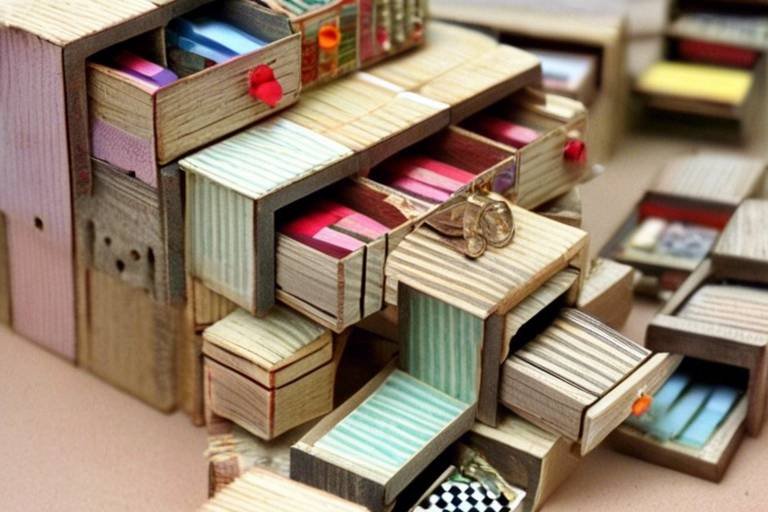
Wooden crates are not just for storage; they can serve as charming flower vases or holders. Explore ways to decorate and personalize these crates to fit your home’s aesthetic while providing a rustic feel. Imagine a wooden crate overflowing with fresh blooms, sitting on your porch or in your living room, exuding warmth and charm!
Staining wooden crates can enhance their natural beauty. You can achieve different looks, from distressed to polished finishes. Choose a stain that complements your decor and apply it evenly for a beautiful finish.
When it comes to arranging flowers in wooden crates, the possibilities are endless. Select the right flowers and foliage to complement the rustic charm of the crate. Consider using a mix of heights and colors to create an eye-catching display that brings your floral arrangements to life!
Don’t overlook the potential of fabric remnants! Old textiles can be transformed into beautiful vases that add warmth and character to your floral displays. Imagine a vase wrapped in vibrant, patterned fabric, showcasing your favorite blooms in style. This is not just upcycling; it’s a way to express your creativity!
In conclusion, upcycling everyday items into funky flower vases is not only a fun DIY project but also a way to add personality to your home decor. So, gather your supplies and let your imagination run wild! Your floral arrangements will never look the same again.
Q: What materials do I need to start making upcycled vases?
A: You can use items like glass jars, tin cans, wooden crates, and fabric remnants. Basic crafting supplies such as paint, glue, and decorative elements will also be helpful.
Q: How do I clean tin cans before using them as vases?
A: Rinse out any food residue and remove the label. You may want to use a can opener to ensure there are no sharp edges left.
Q: Can I use artificial flowers in my upcycled vases?
A: Absolutely! Upcycled vases can beautifully showcase both real and artificial flowers, allowing you to enjoy floral beauty year-round.
Creative Glass Jar Vases
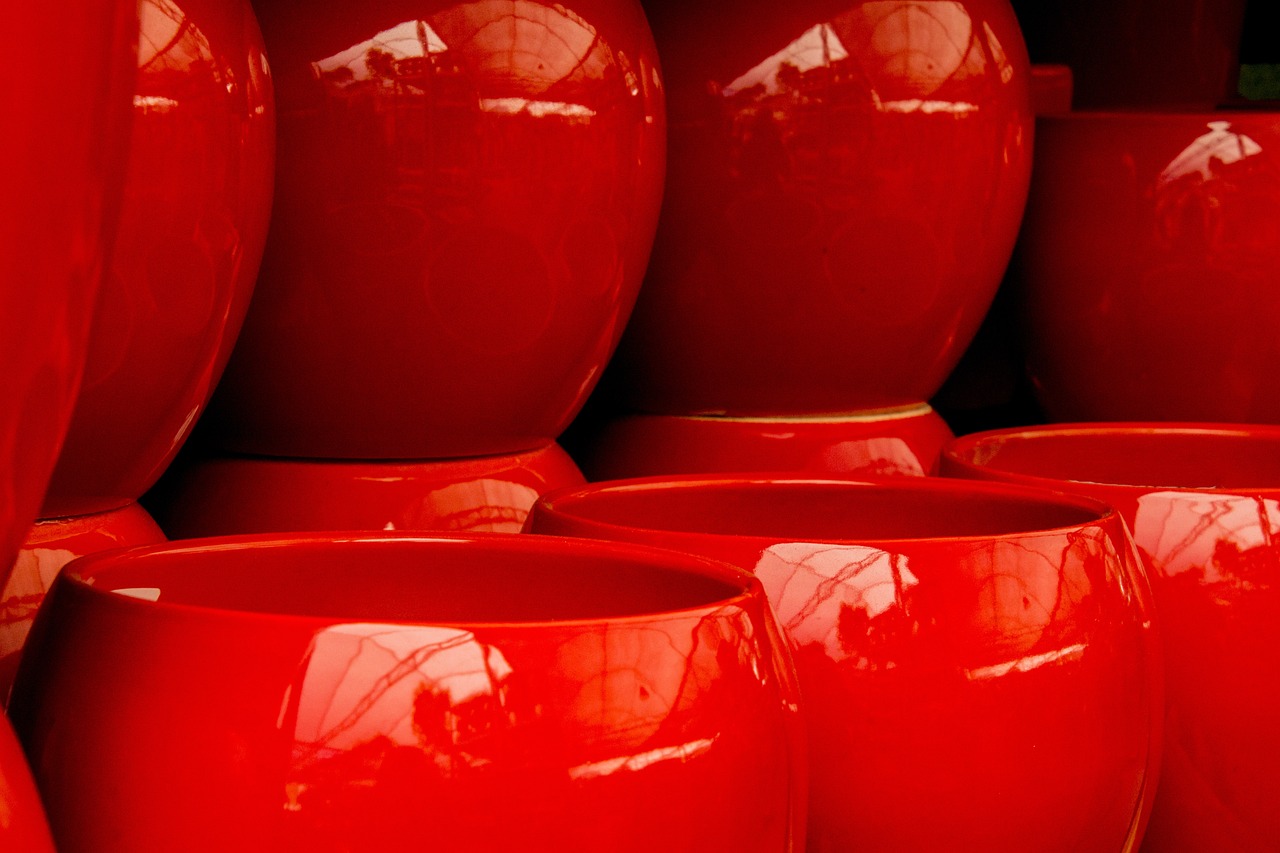
Glass jars are not just for storing your grandma's secret cookie recipe; they can be transformed into stunning flower vases that add a splash of creativity to any space! Imagine walking into your living room and being greeted by a vibrant arrangement of flowers housed in a beautifully decorated glass jar. It's like bringing a piece of the garden inside! The best part? Creating these funky vases is not only simple but also an eco-friendly way to repurpose items that would otherwise end up in the recycling bin.
To start, gather a few glass jars of different shapes and sizes. You can use anything from mason jars to old candle holders. Once you have your collection, it’s time to unleash your inner artist. One popular method is to embellish the jars with paint. You can use spray paint for a smooth finish or acrylic paint for a more textured look. Consider using colors that complement your home decor or the season. For instance, soft pastels work beautifully in spring, while rich, deep tones are perfect for fall.
But why stop at paint? Twine and ribbons can add a rustic touch to your jars. Simply wrap a piece of twine around the neck of the jar and tie it in a bow for a charming accent. You can also glue on some decorative buttons or beads to give it that extra flair. If you’re feeling particularly adventurous, try using decoupage techniques to adhere fabric or decorative paper to the jar. This not only adds texture but also allows you to create unique patterns that can’t be replicated.
Once your jars are decorated, it’s time to fill them with flowers! Consider the height and type of flowers you choose. Tall flowers like sunflowers or delphiniums look stunning in larger jars, while shorter blooms like daisies or pansies are perfect for smaller containers. Mixing different types of flowers can create a vibrant, eclectic look that’s sure to impress your guests. Don't forget to add some greenery to complement the flowers; even a few sprigs of eucalyptus can elevate your arrangement.
To give you a better idea of how to arrange your flowers in glass jar vases, here’s a simple table outlining some popular flower choices and their ideal jar sizes:
| Flower Type | Ideal Jar Size | Notes |
|---|---|---|
| Sunflowers | Large (Quart Size) | Great for a bold statement |
| Daisies | Medium (Pint Size) | Perfect for a casual look |
| Eucalyptus | Small (Half Pint Size) | Adds texture and greenery |
In conclusion, transforming glass jars into funky flower vases is not just a fun DIY project; it’s a way to express your creativity and bring a touch of nature indoors. So, gather your jars, unleash your imagination, and let your floral arrangements shine! Remember, every flower tells a story, and with your unique glass jar vases, you can create a narrative that’s all your own.
- Can I use any type of glass jar? Yes! Any glass jar can be used, from mason jars to old pickle jars.
- What type of paint is best for glass? Acrylic paint or spray paint designed for glass is ideal for decorating.
- How do I make sure the flowers last longer? Trim the stems at an angle and change the water regularly to keep them fresh.
Repurposed Tin Can Vases
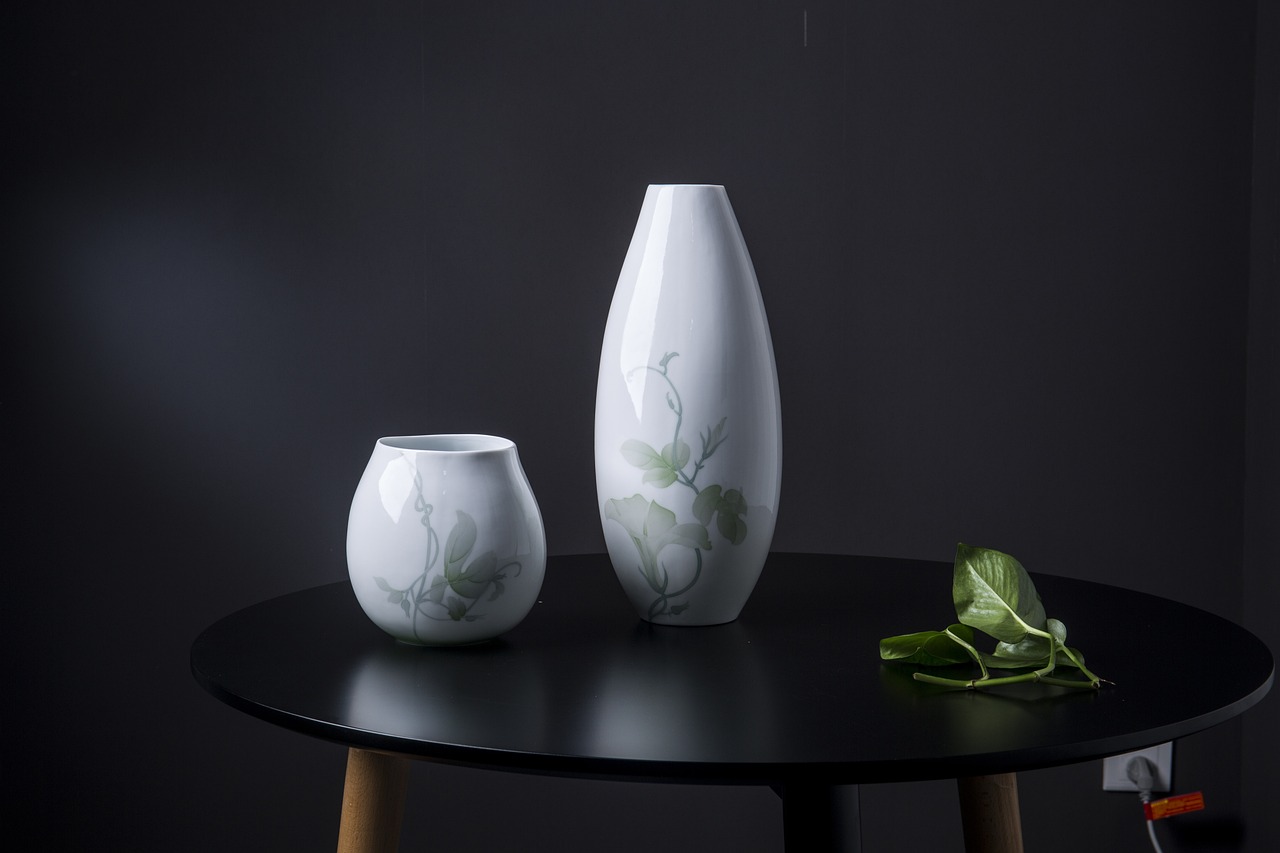
Repurposing tin cans into beautiful vases is not just a fun DIY project, but it’s also a fantastic way to embrace sustainability. Instead of tossing those empty cans in the recycling bin, why not give them a second life? With a little creativity, you can transform these ordinary items into stunning floral displays that add a touch of charm to any space. Whether you’re looking to create a rustic centerpiece for your dining table or a quirky accent for your windowsill, tin can vases offer endless possibilities.
To get started on your tin can transformation, the first step is to clean and prepare your cans. Make sure to remove any labels and thoroughly wash them to avoid any sticky residue. Once they’re dry, you can decide how you’d like to decorate them. The beauty of upcycling tin cans is that you can customize them to fit your style. You might consider painting them in vibrant colors, wrapping them in twine for a rustic look, or even using fabric scraps to add texture.
One popular method to enhance the aesthetic of your tin can vases is through painting techniques. You can opt for a sleek spray paint finish for a modern vibe, or try hand-painting designs for a more personal touch. Here are a few techniques you might explore:
- Ombre Effect: Gradually blend colors for a stunning gradient.
- Stencil Designs: Use stencils to create intricate patterns.
- Chalk Paint: Gives a matte finish that’s perfect for a shabby chic look.
Another fantastic way to customize your tin can vases is by using decoupage. This technique involves applying decorative paper or fabric to your cans, allowing you to create unique designs that reflect your personality. Simply cut out your chosen materials, apply a layer of decoupage glue, and smooth it onto the can. Finish with a top coat of glue to seal your work and protect it from moisture.
To really make your tin can vases stand out, consider adding some personal touches. Items like beads, ribbons, or even old buttons can be glued onto the cans to create a whimsical effect. Imagine a row of tin cans adorned with colorful ribbons hanging from a twine string—perfect for a garden party or as a unique centerpiece for any occasion!
Lastly, why not combine multiple tin can vases for a stunning arrangement? By varying the heights and colors of your cans, you can create a visually appealing display that will surely impress your guests. Group them together on a tray or scatter them across a table for a casual yet curated look. The possibilities are truly endless!
Q: Can I use any type of tin can for vases?
A: Yes! Any clean tin can works well, but larger cans like those from soup or coffee can provide a more stable base for flowers.
Q: How do I ensure my flowers stay fresh in a tin can vase?
A: Make sure to add water and change it regularly. You can also add flower food to keep your blooms vibrant.
Q: What types of flowers work best in tin can vases?
A: Short-stemmed flowers like daisies, tulips, or even wildflowers work beautifully in tin can arrangements.
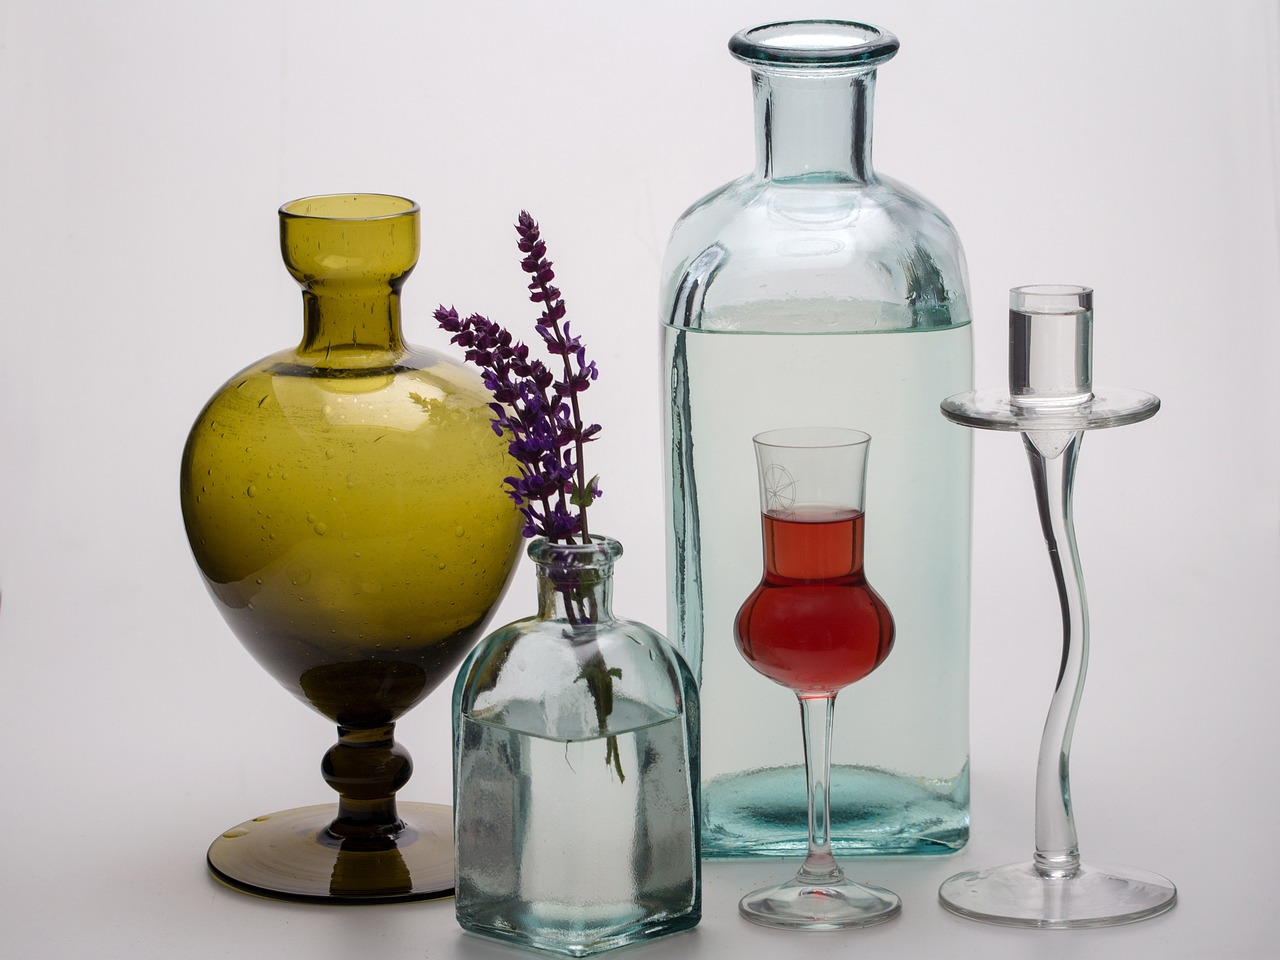
Painting Techniques for Cans
When it comes to transforming your ordinary tin cans into stunning vases, the right painting techniques can make all the difference. Imagine taking a simple, rusty can and turning it into a vibrant centerpiece that catches everyone's eye! The beauty of painting is that it allows you to express your creativity and customize your vases to match any decor. So, let’s dive into some fabulous techniques that will elevate your tin can vases from mundane to magnificent!
One of the most popular methods is spray painting. This technique is quick and provides a smooth, even finish. You can choose from a variety of colors to suit your style. Just remember to work in a well-ventilated area or outside, and cover surfaces to protect them from overspray. A couple of light coats are often better than one heavy coat, ensuring that your can doesn't become drippy or uneven.
If you prefer a more hands-on approach, consider hand painting. This method allows for more intricate designs and personal touches. Use brushes of different sizes to create patterns, stripes, or even floral designs. You can also experiment with textures by using sponges or stencils. Imagine a can adorned with beautiful hand-painted flowers—it's sure to be a conversation starter!
For those looking to add a bit of flair, chalk paint is an excellent option. Not only does it adhere well to metal, but it also gives a lovely matte finish that can be distressed for a vintage look. After painting, you can seal it with a clear coat to protect your design. This technique is particularly great if you want to create a rustic or farmhouse vibe in your home.
Another fun technique to explore is the use of decals and stickers. These can be purchased or handmade and can add a unique element to your cans. Just apply them after painting and seal with a clear coat to ensure longevity. You can even create a themed look by using stickers that match your seasonal decor!
Here’s a quick comparison of the different techniques:
| Technique | Pros | Cons |
|---|---|---|
| Spray Painting | Quick application, smooth finish | Requires ventilation, can overspray |
| Hand Painting | Personalized designs, intricate details | Time-consuming, requires steady hands |
| Chalk Paint | Matte finish, great for rustic looks | May require sealing, can be pricey |
| Decals/Stickers | Easy application, variety of designs | May peel over time, less customizable |
Ultimately, the choice of painting technique will depend on your personal style and the look you want to achieve. Whether you’re going for a sleek modern vibe or a charming rustic feel, there’s a painting method that will suit your needs. So grab those cans, unleash your creativity, and watch as they transform into stunning vases that are sure to impress!
- Can I use regular paint for tin cans? Yes, but it’s best to use paint designed for metal surfaces for better adhesion and durability.
- Do I need to prepare the tin can before painting? Yes, it’s a good idea to clean the can and remove any labels. You can also lightly sand the surface for better paint adherence.
- How can I seal my painted cans? You can use a clear acrylic spray or a paint sealer to protect your design from scratches and moisture.
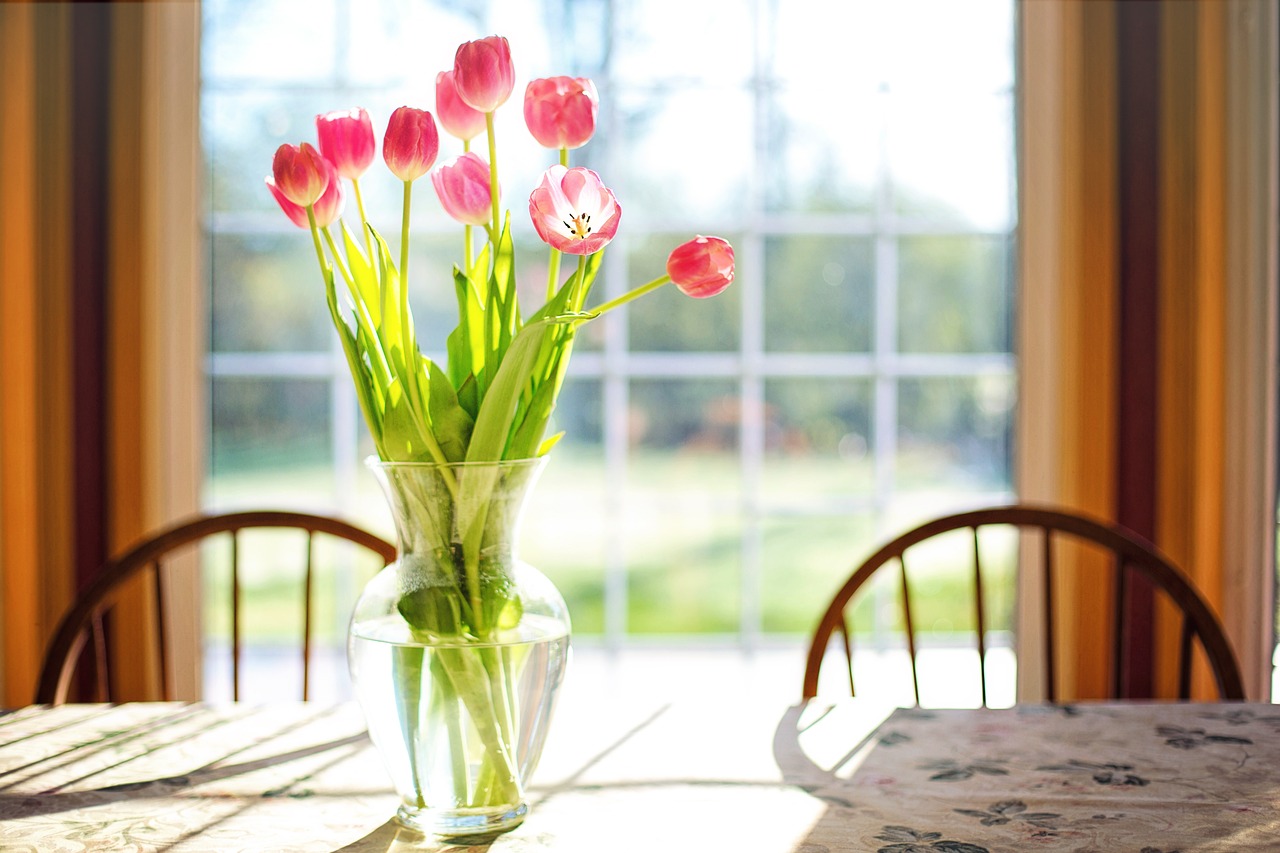
Using Decoupage on Cans
Decoupage is a fantastic and creative technique that allows you to transform ordinary tin cans into stunning decorative vases. If you’ve ever wanted to add a personal touch to your home decor, this method is your ticket to success! With just a few materials, you can unleash your inner artist and create something truly unique. Imagine taking a simple can and turning it into a vibrant, eye-catching piece that not only holds flowers but also tells a story.
To get started with decoupage, you’ll need some basic supplies. Gather your materials:
- Clean tin cans (make sure they are free of labels and residue)
- Decoupage medium (like Mod Podge)
- Decorative paper or fabric (think scrapbooking paper, old book pages, or even fabric scraps)
- Scissors for cutting your designs
- Brushes for applying the decoupage medium
Once you have your supplies ready, the fun begins! Start by choosing the design you want to create. You can go for a floral pattern, a geometric design, or even a collage of various images. The choice is yours! After cutting your paper or fabric to size, apply a layer of decoupage medium to the can. Carefully place your cutouts onto the can, smoothing out any wrinkles or bubbles as you go. Once your design is in place, seal it with another layer of the decoupage medium for a glossy finish. This not only protects your artwork but also gives it a professional look.
One of the best things about decoupage is that you can get as creative as you want! Consider mixing different textures and patterns to create a more dynamic appearance. You might even want to add embellishments like ribbons or beads after the decoupage has dried. These small touches can elevate your can from a simple vase to a true statement piece.
When it comes to displaying your newly created decoupage vases, the options are endless. You can group several vases together for a stunning centerpiece on your dining table or scatter them throughout your home for pops of color and personality. The beauty of upcycling with decoupage is that each piece you create is truly one-of-a-kind, reflecting your personal style and creativity.
Q: Can I use any type of paper for decoupage?
A: Yes! You can use various types of paper, including wrapping paper, scrapbook paper, or even fabric. Just make sure the material is lightweight enough to adhere well to the can.
Q: How long does the decoupage medium take to dry?
A: Drying times can vary, but generally, it takes about 15-20 minutes for a layer to dry. For best results, let your finished piece dry overnight before using it.
Q: Is decoupage waterproof?
A: While decoupage mediums are water-resistant, they are not entirely waterproof. If you plan to use your vase for fresh flowers, consider placing a smaller container inside the decoupage can to hold water.
Q: Can I use decoupage on other surfaces?
A: Absolutely! Decoupage can be applied to various surfaces, including wood, glass, and even fabric. The possibilities are endless!
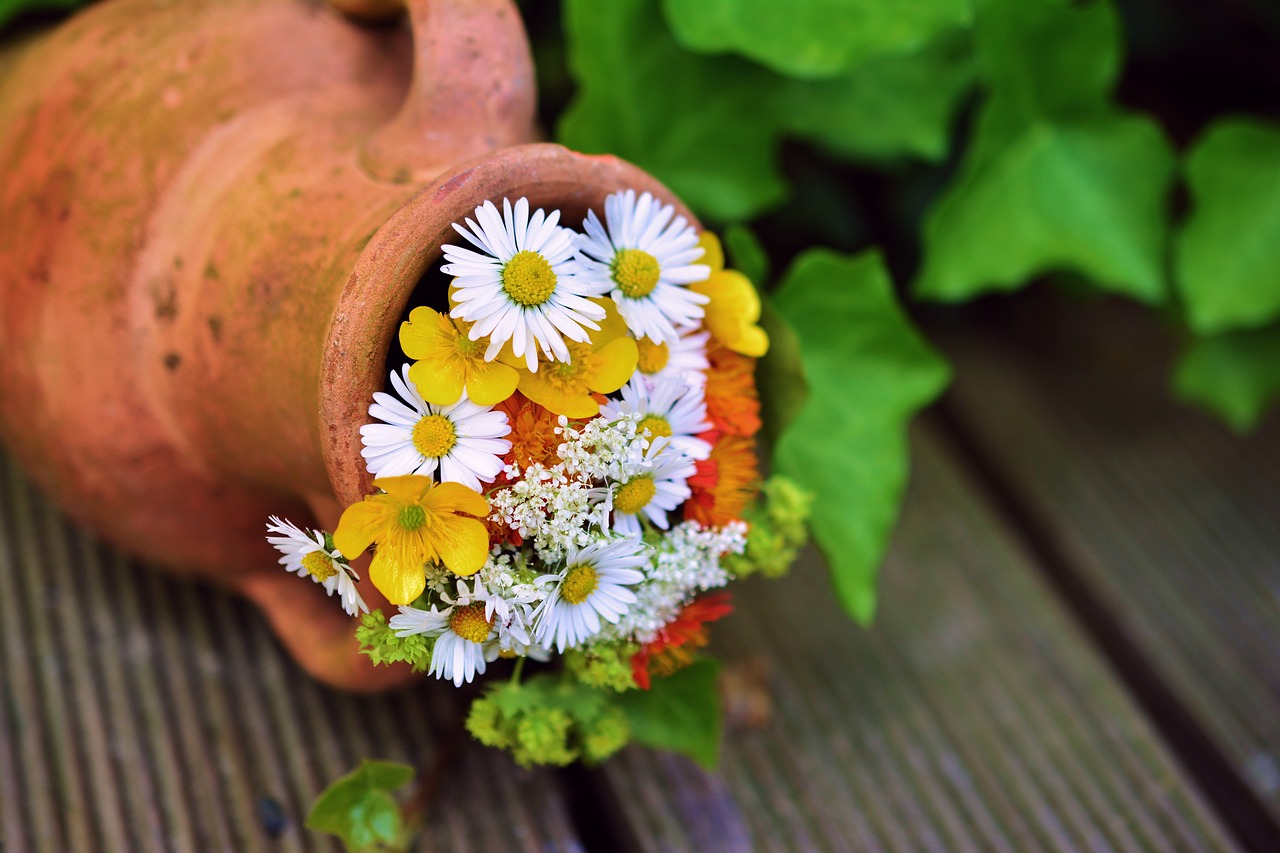
Additions to Enhance Cans
When it comes to upcycling tin cans into stunning flower vases, the magic often lies in the details. Adding unique elements can elevate your simple can into a fabulous decor piece that sparks conversation and admiration. Imagine walking into a room and seeing a bouquet of flowers in a can that's not just functional but also a work of art! So, what can you add to your tin can creations to make them truly special?
First off, consider beads. These tiny treasures can be strung along the rim of your can or glued on in patterns. They add a touch of sparkle and can be matched to the colors of your flowers or the theme of your room. For instance, if you’re using bright, cheerful blooms, opt for colorful beads that complement their hues. This simple addition can transform an ordinary can into a vibrant centerpiece.
Next up, let’s talk about ribbons. A beautiful ribbon tied around the neck of your can can create a soft, whimsical look. You might choose a burlap ribbon for a rustic vibe or a satin ribbon for a more elegant touch. The choice of ribbon can completely change the aesthetic of your vase. Imagine a can wrapped in a delicate lace ribbon, filled with pastel flowers—it’s a perfect match for a vintage tea party!
Another fantastic enhancement is the use of stencils. Stenciling can add intricate designs or even personalized messages to your cans. You can create a chic monogram or a fun quote that resonates with you. Just imagine a can that says “Bloom where you are planted” adorning your table! It’s not just a vase; it’s a statement piece that reflects your personality.
For those looking to experiment a bit more, consider incorporating natural elements like twigs or dried flowers. Attach twigs around the can for a rustic feel or use them as a base for your floral arrangement. Dried flowers can be placed inside the can alongside fresh blooms for a textured, layered look that adds depth and interest.
Finally, don’t forget about the power of paint. A fresh coat of paint can completely transform your tin can. You could go for a solid color that matches your decor or get creative with fun patterns and designs. A can painted in a matte black with gold polka dots can create a chic contrast against bright flowers, making them pop even more. Remember, the sky's the limit when it comes to creativity!
In summary, enhancing your tin can vases can be as simple or as intricate as you desire. Whether it's through the addition of beads, ribbons, stencils, natural elements, or a splash of paint, each enhancement adds a unique touch that reflects your style. So gather your supplies, unleash your creativity, and let your personality shine through your upcycled flower vases!
Q: Can I use any type of tin can for my vases?
A: Absolutely! You can use any size or shape of tin can. Just make sure to clean it thoroughly and remove any sharp edges.
Q: How do I prevent rust in my tin can vases?
A: To prevent rust, consider sealing the inside of the can with a waterproof sealant or using a glass jar inside the can to hold water.
Q: What types of flowers work best in tin can vases?
A: Almost any flower can work in a tin can vase! However, shorter stems like daisies or wildflowers often look best. Just make sure to trim the stems to fit.
Q: How can I make my tin can vases more durable?
A: To increase durability, you can apply a layer of mod podge or a clear sealant over the decorated surface to protect it from wear and tear.
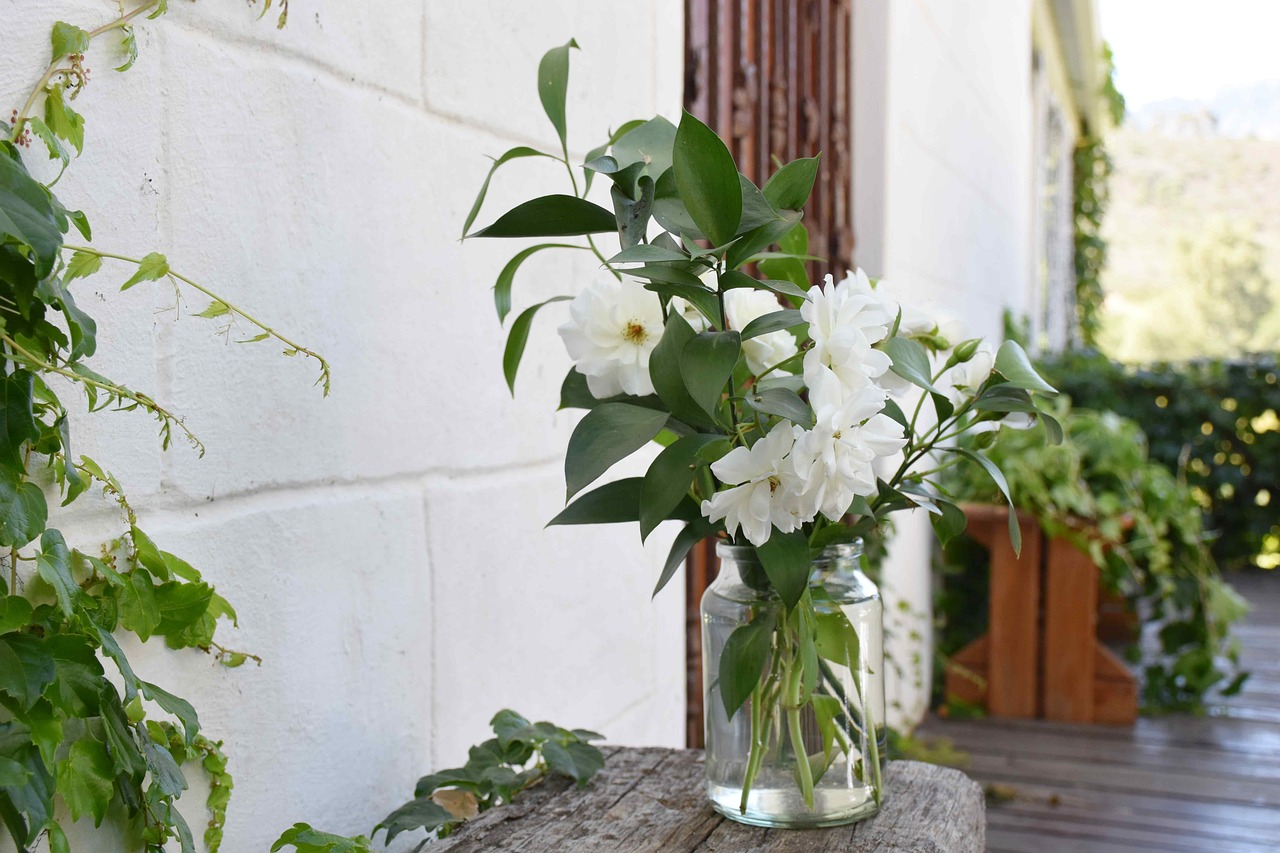
Creating Multi-Can Arrangements
When it comes to decorating your space with flowers, why settle for just one vase when you can create a stunning arrangement using multiple tin can vases? Multi-can arrangements can elevate your floral displays, adding depth, interest, and a touch of personality to any room. Imagine a vibrant collection of flowers, each can telling its own story while contributing to a cohesive look. The trick is in the combination of colors, heights, and styles. So, how do you achieve this? Let's dive into some creative tips!
Start by gathering a few tin cans of different sizes. You might want to mix larger cans for the base with smaller ones that can stand out. It's a bit like a family reunion; you need a variety of personalities to make it lively! Consider the color palette of your flowers and the designs of your cans. If your flowers are bright and bold, you might want to use neutral or pastel colors for the cans to let the blooms shine. Conversely, if your cans are vibrant, opt for softer flower colors to balance the visual weight.
Next, think about the heights of your arrangements. Varying the heights creates a dynamic look that draws the eye. You can achieve this by placing taller flowers in the larger cans and shorter flowers in the smaller ones. A staggered arrangement not only looks appealing but also allows each flower to be appreciated individually. For instance, you might place a tall sunflower in a large can next to a petite daisy in a smaller one. This contrast adds drama and excitement to your display.
Don't forget about the spacing between your cans. A little room to breathe is essential! Arrange them in a way that feels balanced yet casual, as if they’ve just come together for a friendly chat. You can cluster them on a table or a shelf, or even create a whimsical display on a windowsill. The key is to ensure that each can is visible and that the arrangement feels intentional, yet relaxed.
Lastly, consider adding some decorative elements to your cans to tie everything together. Use twine or ribbon around the cans to create a rustic charm, or add some small embellishments like buttons or beads. You can even incorporate greenery or filler flowers around the base of the cans to unify the arrangement and give it a more organic feel. This is where your creativity can really shine! Remember, the goal is to create a display that reflects your personal style while showcasing the beauty of your floral choices.
In summary, creating multi-can arrangements is all about balancing colors, heights, and styles. With a little thought and creativity, you can transform a simple collection of tin cans into a stunning floral display that brings warmth and joy to your home. So grab those cans, unleash your imagination, and let your flowers do the talking!
Here are some common questions about creating multi-can arrangements:
- What types of flowers work best in tin can arrangements? - Flowers like sunflowers, daisies, and wildflowers are great choices due to their sturdy stems and vibrant colors.
- How do I ensure my cans don’t leak? - Make sure to clean and dry the cans thoroughly. You can also place a small piece of plastic or a liner at the bottom to prevent water from leaking out.
- Can I use painted cans for food items later? - If you plan to use the cans for food in the future, avoid using non-food-safe paints and sealants.
Wooden Crate Vases
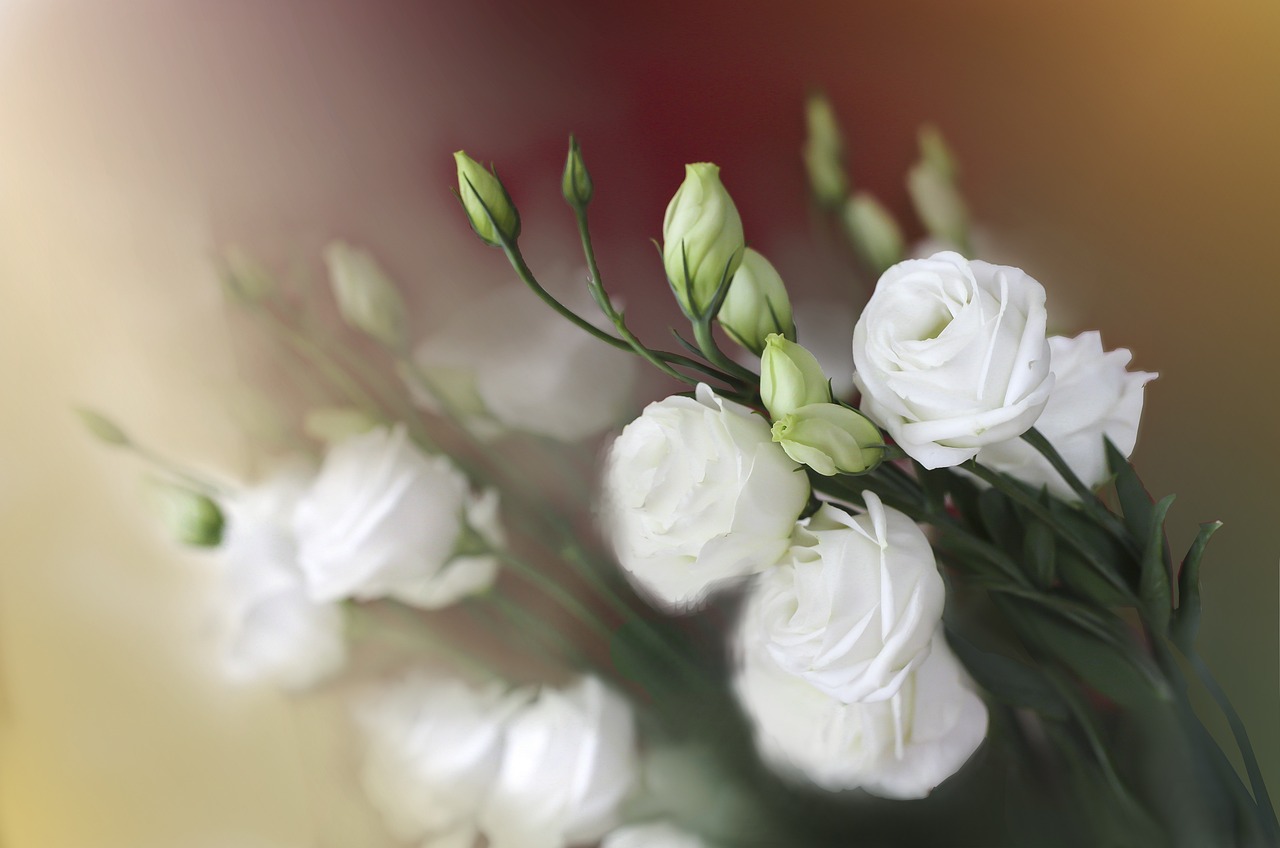
Wooden crates are not just for storage; they can be transformed into charming flower vases or holders that bring a rustic touch to your home decor. Imagine a cozy farmhouse setting, where the scent of fresh flowers mingles with the earthy aroma of wood. By using wooden crates, you can create a stunning centerpiece that not only holds your favorite blooms but also tells a story. The beauty of wooden crates lies in their versatility; they can be left in their natural state for a more rugged look or painted and decorated to match your personal style.
To start your wooden crate vase project, you’ll first want to consider the size and shape of the crate. A larger crate can hold multiple flower arrangements, while a smaller one can serve as a unique accent piece. You can easily find these crates at thrift stores, farmers' markets, or even online marketplaces. Once you've selected your crate, it's time to get creative! You can stain or paint the wood to enhance its natural beauty. Staining can give a more polished finish, while a distressed look can add character and charm. Here are a few techniques to consider:
- Dark Stain: This can give the crate a rich, elegant appearance.
- Whitewash: A light wash can create a vintage feel that complements a shabby chic style.
- Bright Colors: Painting the crate in vibrant hues can add a pop of color to your decor.
Once your crate is ready, the next step is to arrange the flowers. Choose a mix of blooms that vary in height and color to create a visually appealing arrangement. Think about using seasonal flowers for a fresh and lively look, or dried flowers for a more rustic vibe. You can also incorporate greenery to add texture and depth to your display. When arranging, consider the balance of colors and shapes; this will ensure your arrangement is not only beautiful but also harmonious.
Don’t forget about the inside of your crate! To keep the flowers hydrated, you can line the crate with a plastic liner or use a small vase inside the crate to hold water. This will protect the wood and allow you to change out the flowers easily. If you’re feeling adventurous, you can even add decorative elements like burlap, lace, or twine around the crate for an extra touch of charm.
Here’s a quick tip: If you want to create a themed display, consider using different crates with varying sizes and colors. This can create a stunning visual effect, especially for special occasions like weddings or parties. You could even use small crates as table numbers or name cards, adding a personalized touch to your event.
In summary, wooden crate vases are a fantastic way to showcase your floral arrangements while adding a rustic charm to your home. With a little creativity and some basic supplies, you can transform simple wooden crates into stunning decor pieces that reflect your personality and style. So, why not give it a try? Your flowers deserve a beautiful home!
Q: Can I use any type of wooden crate for my flower arrangements?
A: Yes! You can use any wooden crate, but make sure it’s clean and free from any chemicals or harmful substances. It’s best to choose crates that are untreated or food-safe if you plan to use them indoors.
Q: How do I keep my flowers fresh in a wooden crate?
A: To keep your flowers fresh, line the inside of the crate with a plastic liner and fill it with water. Alternatively, you can place a small vase inside the crate to hold the water.
Q: What types of flowers work best in wooden crate vases?
A: A mix of seasonal flowers, greenery, and even dried flowers can work beautifully in wooden crate vases. Consider using flowers with varying heights and colors for a more dynamic arrangement.
Staining and Finishing Techniques
Explore creative and eco-friendly ways to transform everyday items into unique flower vases. This article showcases a variety of funky designs that add personality and charm to your floral arrangements.
Glass jars are versatile and can be easily transformed into stylish vases. Discover how to embellish them with paint, twine, or other decorative elements to create eye-catching centerpieces.
Tin cans can be upcycled into rustic vases with a little creativity. Learn techniques to clean, decorate, and personalize these cans for a charming addition to any home decor.
Explore various painting techniques that can elevate the look of tin can vases. From spray paint to hand-painted designs, find inspiration for your next DIY project.
Decoupage offers a unique way to customize your tin can vases. Discover how to apply decorative paper or fabric to create stunning, one-of-a-kind designs.
Enhance your tin can vases with additional elements like beads, ribbons, or stencils. These touches can add a personal flair and transform simple cans into fabulous decor pieces.
Learn how to combine multiple tin can vases for a cohesive and stylish arrangement. Discover tips for varying heights and colors to create a visually appealing display.
Wooden crates can serve as charming flower vases or holders. Explore ways to decorate and personalize these crates to fit your home’s aesthetic while providing a rustic feel.
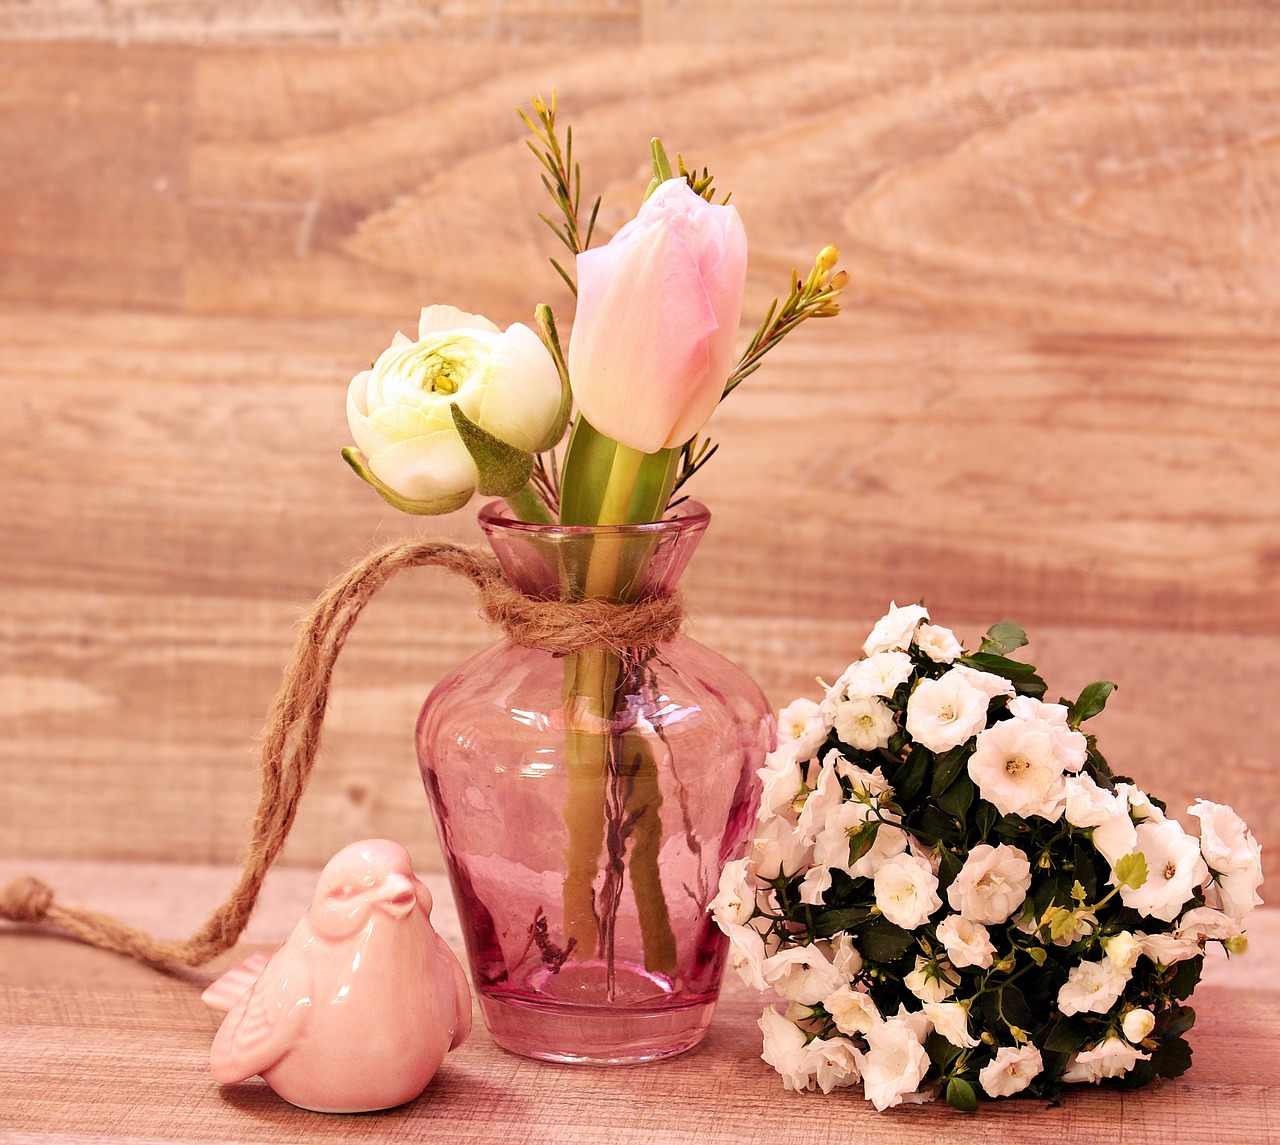
Staining wooden crates is an excellent way to enhance their natural beauty and bring out the rich textures of the wood. The right stain can transform a plain crate into a stunning centerpiece for your floral arrangements. There are several techniques you can use to achieve different looks, from a rustic, distressed finish to a sleek, polished appearance.
To start, you’ll want to choose the right stain for your project. Oil-based stains are popular for their deep penetration and durability, while water-based stains offer easier cleanup and faster drying times. When applying the stain, consider using a brush or a cloth to control the amount applied. A light coat will give a subtle hue, while a heavier application will create a more intense color.
Here are some popular staining techniques you can explore:
- Wipe-On Stain: This technique involves applying stain with a cloth and wiping off the excess, allowing for a more controlled and even finish.
- Spray Stain: For those who prefer a quick application, spray stains can provide a smooth, even coat without brush marks.
- Brushed Stain: Using a brush allows for more intricate designs and can help you get into the nooks and crannies of the crate.
After staining, consider applying a sealant to protect the wood and enhance its longevity. A clear polyurethane finish will add a glossy sheen, while a matte finish gives a more rustic look. Experimenting with different combinations of stains and finishes can lead to unique results that reflect your personal style.
Learn how to arrange flowers in wooden crates for an eye-catching display. Tips on selecting the right flowers and foliage will help you create stunning arrangements.
Fabric remnants can be transformed into beautiful vases. Explore creative ways to use old textiles to craft unique, textured vases that add warmth and character to your floral displays.
Q: Can I use any type of wood stain on my crates?
A: While most wood stains can be used on crates, it's best to choose one that is suitable for the type of wood you are working with. Always check the label for compatibility.
Q: How do I clean my upcycled vases?
A: Cleaning your vases depends on the material. For glass jars, warm soapy water works well. For fabric vases, spot cleaning with a damp cloth is usually sufficient.
Q: Can I mix and match different vase styles?
A: Absolutely! Mixing different styles can create an eclectic and visually interesting display. Just ensure that the colors and textures complement each other.
Arranging Flowers in Crates
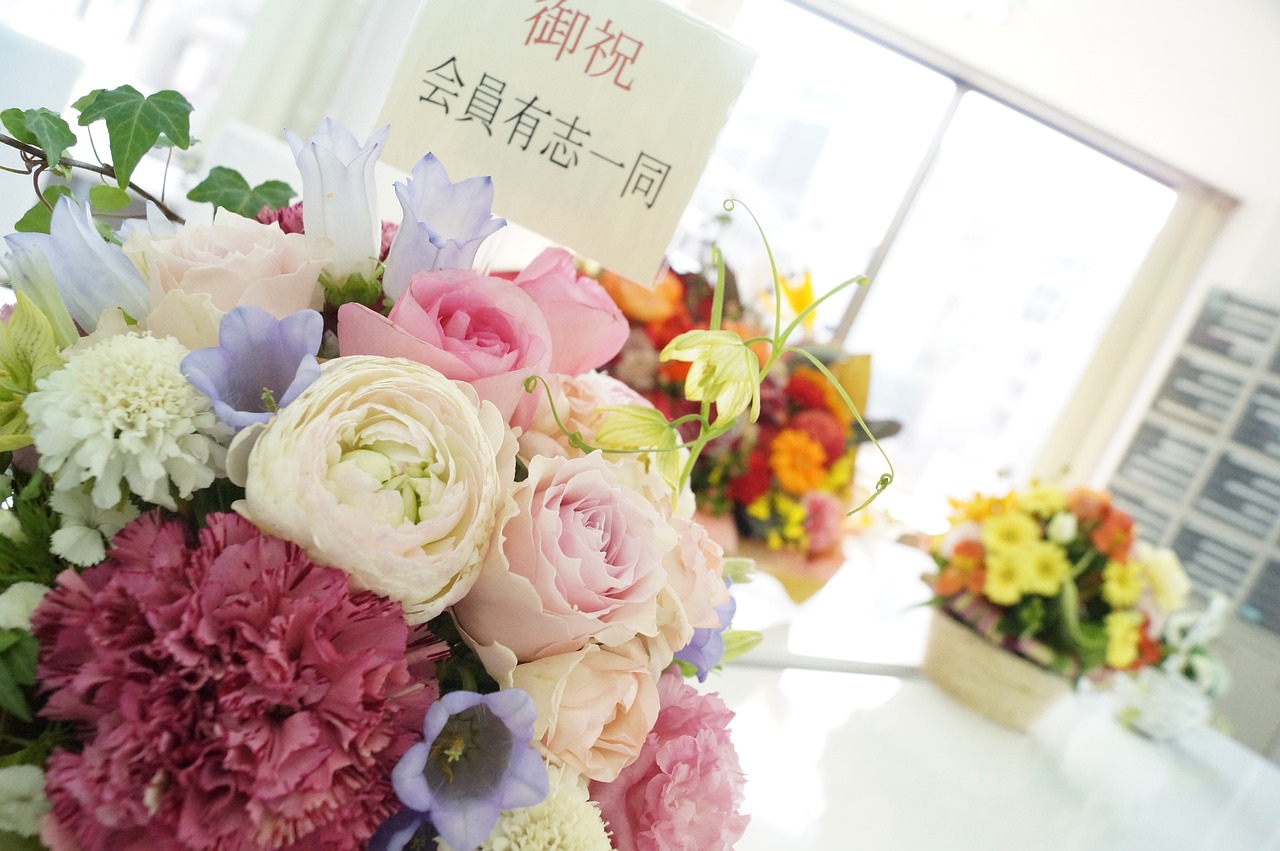
When it comes to arranging flowers in wooden crates, the possibilities are as endless as your creativity! Imagine transforming a simple wooden crate into a stunning centerpiece that not only holds beautiful blooms but also serves as a conversation starter. The key to a captivating arrangement lies in understanding how to balance colors, shapes, and textures, creating a visual feast for the eyes.
First, consider the size of your crate. A larger crate offers more space to work with, allowing for a fuller arrangement, while a smaller crate can create a charming, compact display. Start by selecting your flowers based on the occasion or the mood you want to convey. For instance, vibrant sunflowers can bring a cheerful vibe, while soft pastels can create a more romantic atmosphere. Mixing different types of flowers can add depth and interest; just keep in mind the color wheel to ensure harmony in your arrangement.
Next, think about the height of your flowers. A good rule of thumb is to have varying heights to create a dynamic look. Place taller flowers in the back or center of the arrangement, gradually working your way down to shorter blooms. This layering effect not only adds dimension but also allows each flower to shine without overshadowing its neighbors. Additionally, incorporating greenery can enhance your arrangement, providing a lush backdrop that makes the colors pop.
Don't forget about the container itself! A rustic wooden crate can be left natural for a farmhouse feel, or you can paint or stain it to match your decor. If you want to add an extra touch, consider lining the inside of the crate with burlap or fabric to create a softer look. This can also help retain moisture if you’re using fresh flowers. Just be sure to poke some drainage holes to prevent water buildup!
Lastly, arranging flowers in crates isn't just about aesthetics; it’s about telling a story. Perhaps you want to evoke a summer garden party vibe or a cozy autumn gathering. Think about adding elements like candles, fairy lights, or even seasonal decorations to enhance the overall presentation. These little touches can elevate your crate arrangement from simple to spectacular.
In conclusion, arranging flowers in wooden crates is a delightful way to showcase your floral creativity. With the right flowers, thoughtful height variations, and personal touches, your crate can become a stunning focal point in any space. So gather your materials, unleash your imagination, and let your floral arrangements bloom!
- What types of flowers work best in wooden crates?
Flowers like sunflowers, daisies, and roses work wonderfully, but feel free to experiment with your favorites!
- How do I keep my flowers fresh in a crate arrangement?
Make sure to change the water regularly and trim the stems to prolong their life.
- Can I use artificial flowers in wooden crates?
Absolutely! Artificial flowers can provide a long-lasting arrangement without the maintenance of fresh blooms.
Upcycled Fabric Vases
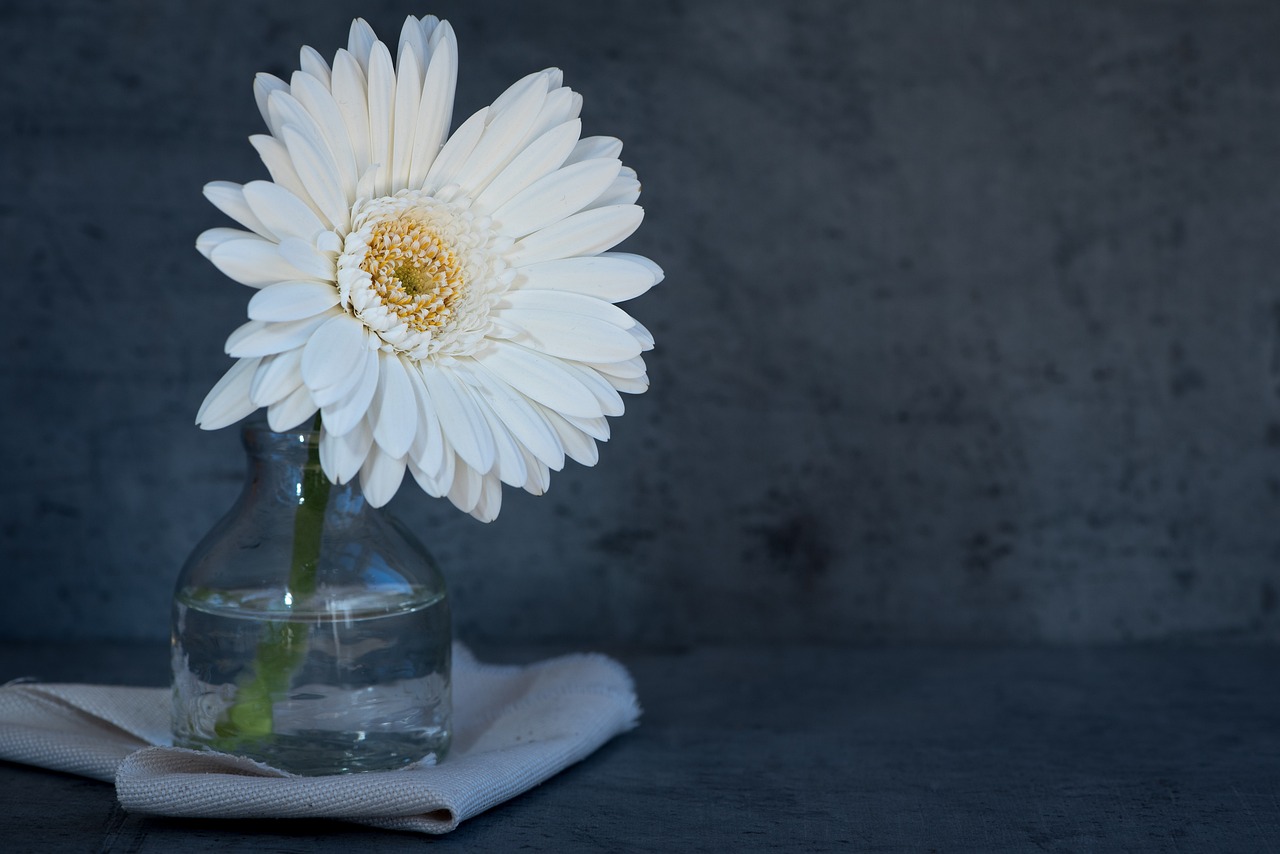
Have you ever looked at a pile of old fabric scraps and thought they were destined for the trash? Think again! Upcycling fabric into vases is not only a creative way to repurpose those remnants, but it also adds a splash of personality and warmth to your floral displays. Imagine a beautiful bouquet of fresh blooms nestled inside a vase that tells a story, crafted from a beloved old shirt or a vibrant piece of fabric from a past project. The possibilities are endless!
One of the most exciting aspects of creating fabric vases is the variety of textures and patterns you can incorporate. From denim and cotton to silk and burlap, each fabric brings its unique charm. To start, you’ll want to gather your materials. Here’s a simple list of items you might need:
- Old fabric scraps
- Scissors
- Glue or a hot glue gun
- A glass jar or plastic bottle (as a base)
- Ribbons, buttons, or other embellishments
Once you have your materials, the fun begins! One popular method is to wrap the fabric around your chosen container. You can use glue to secure the fabric in place, ensuring it stays put. For a more layered look, consider using multiple pieces of fabric, overlapping them for a textured effect. This method not only creates a stunning visual but also allows you to mix and match patterns and colors, making each vase truly one-of-a-kind.
If you're feeling adventurous, try incorporating some decorative techniques. For instance, you could use a technique called fraying at the edges of your fabric for a rustic look, or you could embellish with buttons and beads to add a touch of whimsy. The beauty of upcycling is that there are no strict rules—let your creativity run wild!
Another fantastic idea is to create a fabric bouquet holder. Instead of using a traditional vase, why not craft a fabric-wrapped holder that can sit on your table? This can be particularly charming for events like weddings or parties, where you want to make a lasting impression. Simply follow the same wrapping technique and ensure your holder has enough stability to support the flowers.
To provide some inspiration, here’s a quick comparison table showcasing different fabric types and their potential uses in vase-making:
| Fabric Type | Texture | Best For |
|---|---|---|
| Denim | Sturdy | Rustic themes |
| Cotton | Soft | Casual settings |
| Silk | Smooth | Elegant displays |
| Burlap | Textured | Country chic |
Finally, let’s not forget about the importance of eco-friendliness. By upcycling fabric, you’re not only reducing waste, but you’re also contributing to a more sustainable lifestyle. Every time you create a new vase, you’re making a statement about your commitment to the environment. So, gather those fabric scraps, unleash your creativity, and start crafting your very own upcycled fabric vases today!
Q: Can I use any type of fabric for my vases?
A: Absolutely! While some fabrics like burlap or cotton are easier to work with, you can experiment with various types to see what looks best for your design.
Q: How do I ensure my fabric vase is waterproof?
A: If you’re using a glass jar or plastic bottle as the base, you can add a small water-resistant liner or simply place a smaller container inside to hold the flowers and water.
Q: What other decorative elements can I add?
A: You can use ribbons, lace, buttons, or even dried flowers to enhance the look of your fabric vase. Get creative!
Frequently Asked Questions
- What materials can I use to create upcycled flower vases?
You can use a variety of materials to craft unique upcycled flower vases! Some popular options include glass jars, tin cans, wooden crates, and even old fabric remnants. The beauty of upcycling is that you can transform everyday items into something beautiful and functional.
- How do I decorate glass jar vases?
Decorating glass jar vases is a fun and creative process! You can paint them with acrylic paint, wrap them in twine, or even add decorative elements like lace or beads. The key is to let your creativity shine and personalize each jar to match your style!
- Can I use tin cans for flower arrangements?
Absolutely! Tin cans make fantastic rustic vases. Just clean them thoroughly, remove any sharp edges, and you can paint or decorate them to fit your decor. They’re perfect for creating a charming, country-style arrangement!
- What are some painting techniques for tin can vases?
There are several painting techniques you can try! Spray paint gives a smooth finish, while hand-painted designs can add a personal touch. You can also use stencils for patterns or sponge painting for a textured look. Experiment and find what works best for you!
- How can I enhance my tin can vases?
You can enhance your tin can vases by adding embellishments like beads, ribbons, or stencils. These little touches can make a big difference and transform a simple can into a standout piece of decor!
- What should I consider when arranging flowers in wooden crates?
When arranging flowers in wooden crates, consider the height and color of your flowers. Mixing different heights creates visual interest, while a cohesive color palette ties everything together. Don’t forget to choose flowers that complement each other!
- Can I use fabric remnants for vases?
Yes! Upcycled fabric remnants can be turned into beautiful vases. You can wrap fabric around jars or cans, or even sew fabric into unique shapes. It’s a great way to add texture and warmth to your floral displays!


