Homemade Binocular Crafts: An Adventure for Kids
Are you ready to embark on a thrilling adventure right from the comfort of your home? Homemade binocular crafts are not only a fantastic way to engage your kids in a creative project, but they also open up a world of exploration and imagination. Imagine your little ones gazing through their very own binoculars, spotting birds in the garden or pretending to be explorers in a jungle! This guide will take you through the exciting process of making binoculars at home, using simple materials that you probably already have lying around. So, roll up your sleeves, gather your supplies, and let’s dive into this fun-filled crafting experience!
Before we jump into the crafting action, let’s make sure you have everything you need. The beauty of this project is that it encourages resourcefulness and creativity, as many materials can be found around your home. Here’s a list of what you’ll need:
- Two toilet paper rolls or cardboard tubes
- Glue or tape
- Scissors
- String or ribbon for the strap
- Paint, markers, or stickers for decoration
- Optional: Decorative papers or washi tape
Gather these materials, and you’re all set to start crafting! Remember, the goal is to have fun and allow your kids to express their creativity, so don’t hesitate to let them suggest additional materials they might want to use.
Creating your homemade binoculars is a straightforward process. Here’s how you can do it:
First things first, let’s make the main body of the binoculars. If you’re using toilet paper rolls, you’re already halfway there! Simply take two rolls and make sure they are clean and dry. If you want to get a bit more creative, you can also use cardboard tubes from paper towels. Cut the tubes to your desired length—the longer they are, the more “powerful” the binoculars will feel. This is where you can encourage your kids to think outside the box. Could they decorate the tubes before assembling them? Absolutely!
Once you have your tubes ready, it’s time to unleash the artist within! Let your kids paint, color, or use stickers to personalize their binoculars. They can create patterns, draw animals, or even write their names on them. The more unique, the better! This step is all about making the binoculars truly theirs. You might even want to set up a little crafting station with paints and brushes for added fun!
After decorating, it’s time to assemble the binoculars. Take the two tubes and align them side by side. Use glue or tape to secure them together. Make sure they are firmly attached so that they don’t come apart during use. This is a great moment to teach kids about patience and precision—they’ll need to hold the tubes together for a few moments while the glue sets. Once they’re secure, you can move on to the next step!
To make these binoculars easy to carry, we need to add a strap. This can be done using a simple piece of string or ribbon. Cut a length that feels comfortable for your child to wear around their neck. Use glue or tape to attach each end of the string to the sides of the binoculars. Voila! Your homemade binoculars are now portable and ready for adventure!
Now that the binoculars are complete, it’s time for the real fun to begin! There are countless activities that kids can enjoy with their new creations:
Encourage your kids to explore the great outdoors with a nature scavenger hunt. Create a simple list of items to find, such as different types of leaves, birds, or even insects. As they search, they can use their binoculars to spot items from a distance, enhancing their observation skills and appreciation for nature. It’s a fantastic way to combine learning with play!
Let their imaginations run wild! With their homemade binoculars, kids can pretend to be explorers, wildlife photographers, or even pirates searching for treasure. This type of imaginative play is not only fun but also vital for their creative development. Encourage them to come up with stories and scenarios to make their playtime even more engaging.
Q: What age group is this craft suitable for?
A: This craft is perfect for children aged 4 and up, with adult supervision for younger kids.
Q: Can we use other materials instead of toilet paper rolls?
A: Absolutely! You can use cardboard tubes from paper towels, wrapping paper, or even plastic bottles for a different look.
Q: How can we make the binoculars more durable?
A: Consider using stronger adhesive and adding a layer of clear tape over the decorated tubes to protect the artwork.
Materials Needed
Gathering the right materials is essential for making binoculars that not only look great but also work well for your little adventurers. The beauty of this project is that it encourages creativity and resourcefulness, allowing kids to use items you likely already have at home. Here’s a rundown of what you’ll need:
First and foremost, the main body of the binoculars can be crafted using toilet paper rolls or cardboard tubes. These items are not only easy to find but also eco-friendly, making them perfect for a fun craft project. If you don’t have those on hand, you can also use empty paper towel rolls or even small plastic bottles. The goal is to create two cylindrical shapes that will serve as the lenses of the binoculars.
Next, you’ll want to gather some basic crafting supplies such as:
- Glue: A good craft glue or a hot glue gun will work wonders for assembling the binoculars.
- Scissors: Safety scissors are best for younger kids.
- Paints or Markers: These will be essential for decorating the binoculars and allowing kids to express their creativity.
- Stickers or Decorative Paper: These add a personal touch and can make the binoculars truly one-of-a-kind.
Additionally, you might want to include some string or ribbon for the strap, allowing kids to carry their binoculars easily during their outdoor adventures. You can also use washi tape or colored tape for extra decoration and to secure the tubes together.
Finally, don’t forget about the optional embellishments that can take these binoculars to the next level! Think about adding:
- Glitter: For a touch of sparkle.
- Feathers: To give a whimsical feel.
- Natural elements: Such as leaves or flowers for a nature-themed look.
All in all, the materials needed for this project are simple and mostly recyclable, making it not only a fun activity but also an environmentally friendly one. So, gather your supplies, roll up your sleeves, and get ready for an exciting crafting adventure!
Step-by-Step Instructions
Creating homemade binoculars is not just a fun craft; it’s an exciting adventure that sparks creativity and resourcefulness in kids. To get started, gather all your materials in one place. You’ll need a few basic items, and if you’re looking to make this a green project, consider using recyclable materials that you already have at home. Think of toilet paper rolls, cardboard tubes, or even small plastic bottles. The thrill of making something out of what might otherwise be trash is a lesson in sustainability as well!
Once you have your materials ready, it’s time to dive into the crafting process. First, let’s focus on creating the tubes. If you’re using toilet paper rolls, you can simply leave them as they are. However, if you want to get a bit more creative, you can cut them to your desired length. For example, shorter tubes might make for a compact pair of binoculars, while longer tubes can offer a more dramatic viewing experience. If you’re using cardboard tubes, make sure they are sturdy enough to hold their shape when assembled. The key here is to ensure that both tubes are of equal length for a balanced viewing experience.
Next up is the fun part—decorating the tubes! This is where kids can really let their imaginations run wild. Grab some paints, markers, or colored paper, and let the decorating commence. You might want to use
- Bright colors
- Patterns like stripes or polka dots
- Stickers of their favorite animals or characters
Now that the tubes are beautifully decorated, it’s time to assemble the binoculars. This step is crucial, as it transforms your individual tubes into a working pair of binoculars. Take a piece of sturdy tape or glue, and secure the two tubes together side by side. Make sure they are aligned properly for a comfortable viewing experience. If you want to add a bit of flair, consider using a piece of colored paper to wrap around the junction of the two tubes, creating a bridge that can also be decorated.
After the tubes are securely connected, let’s talk about adding a strap. This will make your binoculars portable and easy to carry around during adventures. You can create a strap using a piece of string, ribbon, or even an old shoelace. Simply punch a small hole at the top of each tube, thread the strap through, and tie it securely. This not only adds functionality but also gives kids the chance to customize their binoculars even further.
Finally, give the binoculars a once-over. Make sure everything is secure, and if you want to add any final touches, now’s the time! Once done, it’s time to take these beauties outside and explore the world around you. Remember, the journey of creating these binoculars is just as important as the adventures that await!
Q: What if I don’t have toilet paper rolls?
A: No problem! You can use cardboard tubes from paper towels or even small plastic bottles. Just make sure they are of equal size for the best viewing experience.
Q: Can we use other materials for decorating?
A: Absolutely! You can use fabric, glitter, or even natural materials like leaves and flowers. The sky's the limit!
Q: How can we make the binoculars more sturdy?
A: To enhance durability, consider wrapping the tubes in tape or using thicker cardboard. This will help them withstand more adventurous explorations!
Creating the Tubes
Creating the main body of your homemade binoculars is an exciting and straightforward process that encourages creativity and resourcefulness. The tubes form the essential structure of the binoculars, and you can use everyday items that you likely already have at home. The most common materials for this task are toilet paper rolls or cardboard tubes from paper towels. These items are not only recyclable but also sturdy enough to hold up during your adventures.
To begin, gather your materials. You will need:
- 2 toilet paper rolls or 1 paper towel roll (cut in half)
- Scissors for cutting
- Glue or tape for securing the tubes together
Once you have your materials ready, start by taking the toilet paper rolls and ensuring they are clean and dry. If you’re using a paper towel roll, cut it down to the desired length. The length of the tubes can affect how your binoculars perform, so consider experimenting with different sizes. For younger kids, shorter tubes might be easier to handle.
Next, it’s time to connect the tubes. Lay the two rolls side by side and use glue or tape to attach them at one end. Make sure they are aligned properly to ensure that your binoculars will function correctly. You can also create a wider base by using a piece of cardboard as a connector, which can be cut into a rectangle and glued to the ends of both tubes. This added stability will help during play and exploration.
After securing the tubes, let the glue dry completely before moving on to the next steps. This drying time is crucial as it ensures that your binoculars will hold together during use. Once dried, you can hold your newly formed binoculars up to your eyes and marvel at the world around you!
Creating the tubes is just the beginning of this fun project. As you progress, remember that the fun lies not only in the final product but in the process of making it. Each step allows kids to engage their imagination, and they can even decorate their tubes to reflect their personality. So, roll up your sleeves, get creative, and let the crafting adventure begin!
Q: Can I use other materials instead of toilet paper rolls?
A: Absolutely! You can use any cylindrical object, such as empty wrapping paper rolls or even plastic bottles cut to size. Just ensure they are lightweight and easy to handle.
Q: How can I make my binoculars more durable?
A: To enhance durability, consider wrapping the tubes with duct tape or contact paper. This added layer will not only protect them but also offer a chance for more creative decoration.
Q: What if I want to make a pair of binoculars for a younger child?
A: For younger kids, opt for shorter tubes and ensure that all materials are safe and non-toxic. Supervision is key to prevent any accidents with scissors or small parts.
Q: Can we make binoculars without glue?
A: Yes! You can use tape or even rubber bands to hold the tubes together if you prefer not to use glue. Just ensure that the connection is secure enough for usage.
Decorating the Tubes
Once you've successfully crafted the main body of your binoculars using those humble toilet paper rolls or cardboard tubes, it's time to unleash your imagination and give them a personal touch! Decorating the tubes is where the fun truly begins, transforming simple materials into a vibrant and unique pair of binoculars that reflect each child's personality. Think of it as dressing up your binoculars for a grand adventure! You can use a variety of materials for this creative process.
Start by gathering some basic supplies. You might consider using:
- Paints: Acrylic or water-based paints work wonderfully. Choose bright colors that will stand out during outdoor adventures.
- Markers: These are perfect for adding finer details or doodles. Kids can draw their favorite animals, stars, or even patterns.
- Stickers: From animal prints to space themes, stickers are an easy and fun way to decorate without the mess of glue or paint.
- Colored paper: Cut out shapes or designs and glue them onto the tubes for a layered look.
- Glitter: For those who love a little sparkle, adding some glitter can make the binoculars shine like stars!
Encourage the kids to think outside the box! They can use old magazines to cut out pictures, or even fabric scraps to create a textured look. The beauty of this craft is that there are no strict rules; it's all about creativity and self-expression. Maybe they want to create a jungle theme with green and brown colors, or perhaps a space theme with dark blues and glittery stars. Whatever they choose, the key is to let their imagination run wild!
As they decorate, remind them to think about how their designs can tell a story. For instance, if they want to become explorers, they might paint their tubes to look like the bark of a tree or the colors of a sunset. This not only enhances their crafting experience but also makes their playtime more immersive.
Once the decorating is complete, make sure to let the tubes dry thoroughly before moving on to the assembly stage. This way, all their hard work won’t get smudged or ruined. After all, a great pair of binoculars deserves a stunning exterior that matches the adventures they will take part in!

Assembling the Binoculars
Assembling your homemade binoculars is the moment when all your hard work pays off, and trust me, it’s easier than you think! Once you have your tubes ready, it’s time to bring them together to create a functional pair of binoculars. Start by taking the two tubes you’ve crafted and place them side by side. Make sure they are aligned properly; this is crucial for ensuring that your binoculars work effectively. You wouldn’t want to miss a single bird in the sky because your tubes were crooked!
Next, grab some strong adhesive tape or glue. If you’re using glue, it’s a good idea to let it dry for a few minutes before moving on to the next step. Apply a generous amount of glue or tape along the edges where the two tubes meet. This is where the magic happens! The connection between the tubes is what transforms them from mere cardboard into a powerful tool for exploration. You can also use a piece of cardboard as a bridge between the two tubes for extra stability. Just cut a small strip and attach it across the back of the tubes using tape or glue.
To ensure that your binoculars are comfortable to hold, consider adding some cushioning. You can use soft fabric, like an old sock or a piece of sponge, and attach it to the area where your hands will grip the binoculars. This little touch can make a huge difference, especially when you’re out in the field for an extended period. Now, let’s not forget about the importance of the viewing experience! If you want to enhance your binoculars further, you can create simple lenses from clear plastic or even use small magnifying glasses. Just attach them to the ends of the tubes using tape or glue, and voilà! You’ve got yourself a pair of binoculars that not only look great but also work wonders.
Finally, to complete your binoculars, let’s add a strap. This is essential for keeping your binoculars close at hand during your adventures. You can easily make a strap by cutting a long piece of string or ribbon and attaching it to the outer sides of the tubes. Make sure it’s secure so that your binoculars won’t fall off while you’re exploring. Now, you’re ready to take your homemade binoculars out into the world!
Adding a Strap
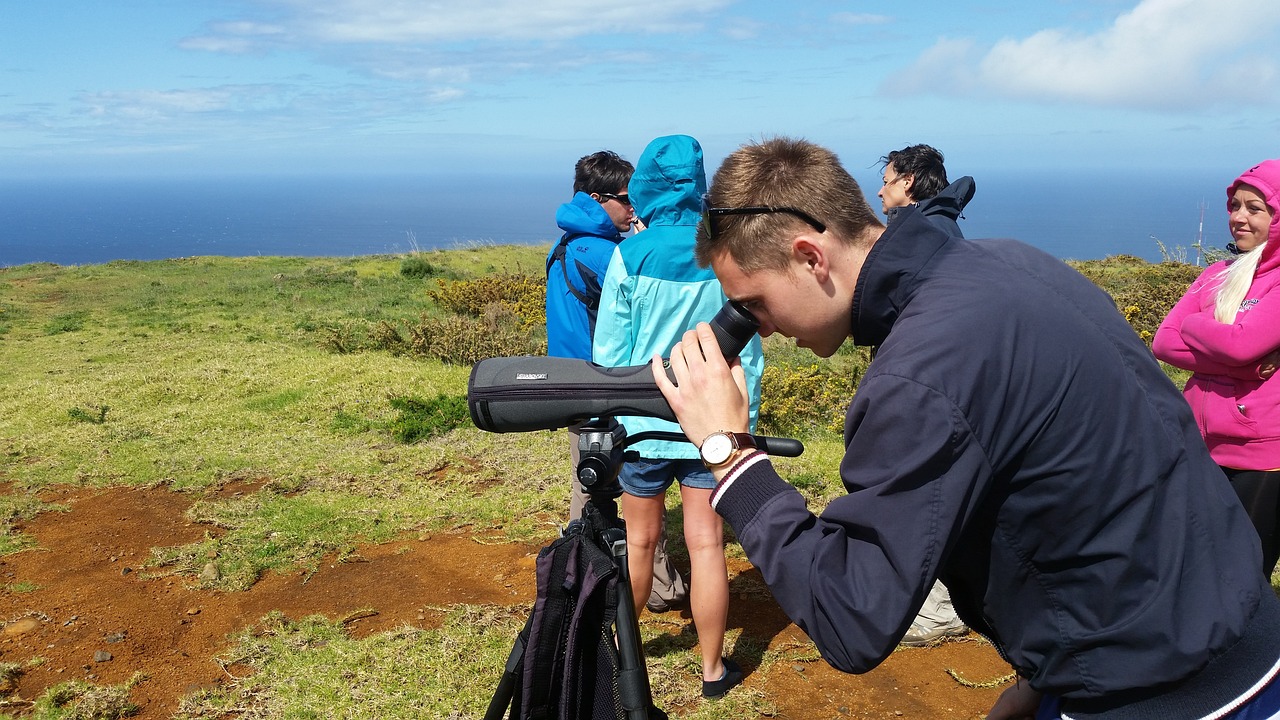
Now that your homemade binoculars are taking shape, it’s time to make them even more functional by adding a strap. This simple addition not only enhances the usability of your binoculars but also adds a touch of flair! Imagine your little adventurer, running through the park with their binoculars hanging around their neck, ready to spot the next big thing in nature. To create a strap, you can use everyday materials that you probably already have at home. Here’s how to do it:
First, gather your materials. You will need:
- String, yarn, or ribbon (about 2 feet long)
- Scissors
- Two small holes punched in the sides of the binoculars
Once you have your materials, follow these simple steps:
- Punch Holes: Using a hole punch or a sharp object (with adult supervision), make two small holes on opposite sides of the binoculars. Make sure they are aligned so that the strap will sit comfortably when worn.
- Cut the Strap: Take your string, yarn, or ribbon and cut it to your desired length. A length of about 2 feet works well, but feel free to adjust based on your child's height.
- Thread the Strap: Insert one end of the strap through a hole and tie a knot to secure it. Repeat this process for the other side. Make sure the knots are tight so the strap won’t slip out during use.
- Adjust and Test: Finally, have your child try on the binoculars to ensure the strap is the right length. Adjust as necessary for comfort.
And just like that, your binoculars are ready for action! Adding a strap not only makes it easier for kids to carry their binoculars around, but it also prevents them from accidentally dropping or losing them during their adventures. Plus, it gives them a sense of ownership and pride in their creation. They’ll feel like real explorers, ready to embark on a journey of discovery!
Q: What materials can I use for the strap if I don’t have string or ribbon?
A: You can get creative! Old shoelaces, fabric scraps, or even strips of paper can work in a pinch. Just make sure whatever you use is strong enough to hold the binoculars securely.
Q: How can I make the strap adjustable?
A: To create an adjustable strap, consider using a length of elastic or adding a sliding knot technique to your string. This way, your child can easily adjust the length as they grow!
Q: Can we decorate the strap?
A: Absolutely! Let your kids personalize their strap with paint, stickers, or fabric markers. This will make their binoculars even more unique and special.

Fun Activities with Binoculars
Once your kids have crafted their very own homemade binoculars, the adventure truly begins! These delightful creations open up a world of exploration and imagination. Imagine the joy when your little ones take their binoculars outside, ready to embark on a quest to discover the wonders of nature! The possibilities are endless, and we've got some fantastic activities to help them make the most of their new tools.
One exciting idea is to organize a nature scavenger hunt. This activity not only encourages kids to explore their surroundings but also sharpens their observation skills. You can create a simple checklist of items for them to find, such as different types of leaves, birds, or even insects. As they search for these treasures, they can use their binoculars to spot distant creatures or plants, turning the hunt into a thrilling adventure. Here’s a quick example of what a scavenger hunt list might look like:
| Item to Find | Notes |
|---|---|
| Red Leaf | Look for it near trees! |
| Blue Bird | Check the sky or tree branches. |
| Butterfly | They love flowers! |
| Rock with Unique Shape | Look near the path. |
Another fun way to use binoculars is through imaginative play scenarios. Encourage your kids to become explorers, wildlife photographers, or even secret agents on a mission! With their binoculars in hand, they can pretend to trek through the jungle, capturing photos of exotic animals or searching for hidden treasures. This kind of role-playing not only sparks their creativity but also helps them develop storytelling skills as they create narratives around their adventures.
Moreover, consider setting up a birdwatching day. Teach your kids about local birds and their habitats, and challenge them to spot as many as they can with their binoculars. This activity can be both educational and fun, as they learn to identify different species and understand the importance of wildlife conservation. You might even turn it into a friendly competition to see who can spot the most birds within a set time frame!
Lastly, don't forget about the power of teamwork! Encourage your kids to invite their friends over for a binocular-themed adventure day. They can split into teams and compete in various activities, such as timed scavenger hunts or birdwatching challenges. This not only fosters camaraderie but also enhances their social skills as they work together towards a common goal.
In summary, the fun doesn't stop at crafting binoculars. With a little creativity and enthusiasm, you can turn these homemade tools into gateways for learning, exploration, and endless fun. Whether it's through scavenger hunts, imaginative play, or birdwatching, the adventures are sure to create lasting memories for your kids!
Q: What materials do I need to make homemade binoculars?
A: You will need items like toilet paper rolls, scissors, glue, and decorative materials like paint or stickers to personalize the binoculars.
Q: Are these binoculars functional?
A: While they are not high-powered like commercial binoculars, homemade binoculars can provide a fun way for kids to explore their surroundings and use their imagination.
Q: How can I ensure my kids are safe while using their binoculars?
A: Always supervise young children, especially in outdoor settings. Teach them to be aware of their surroundings and to use their binoculars responsibly.
Q: Can I use other materials instead of toilet paper rolls?
A: Absolutely! You can use any cylindrical object, such as cardboard tubes from wrapping paper or even plastic bottles, as long as they can be securely connected.
Nature Scavenger Hunts
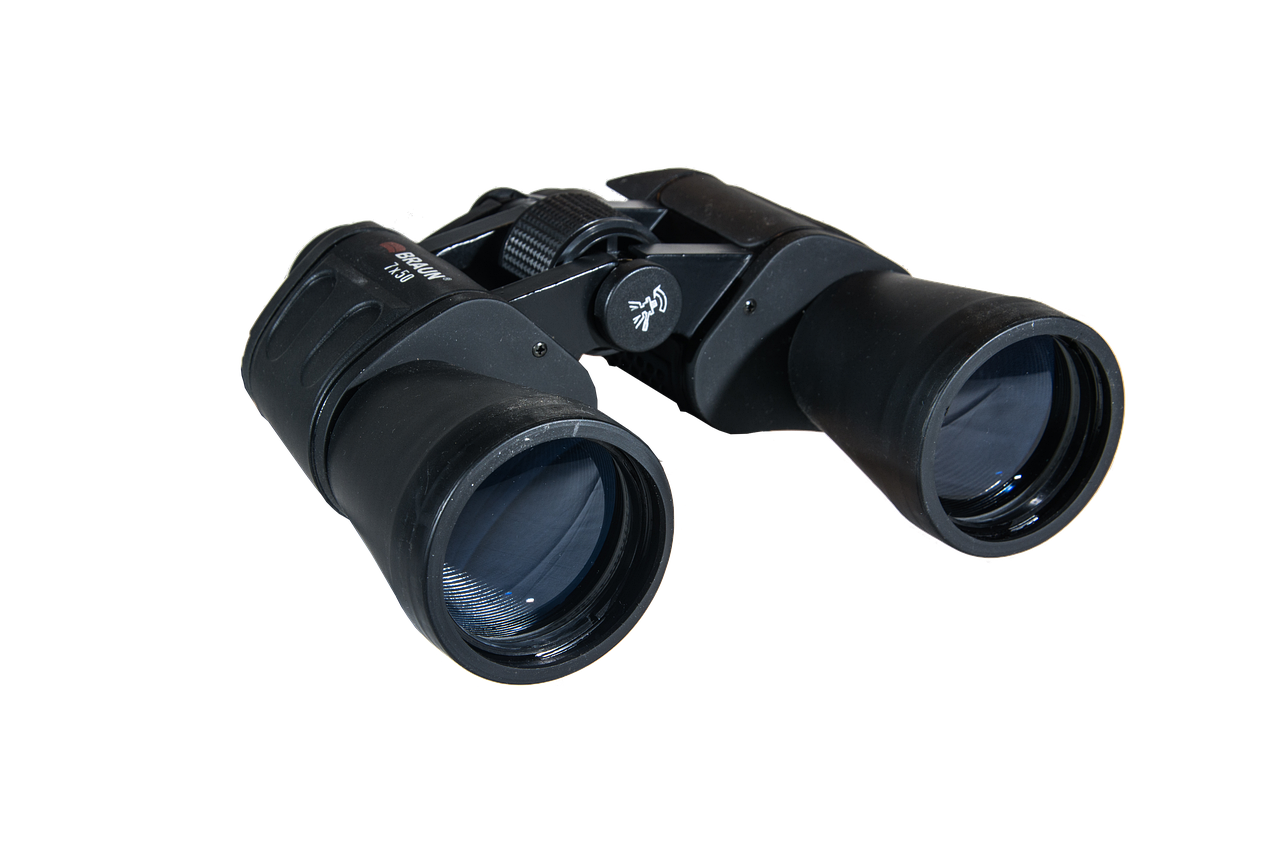
Nature scavenger hunts are a fantastic way to combine the excitement of adventure with the joy of learning, especially when kids have their very own homemade binoculars in hand. Imagine the thrill of stepping outside, binoculars swinging around their necks, ready to explore the great outdoors. This activity not only encourages children to observe their surroundings but also enhances their appreciation for nature. As they search for specific items, they become little explorers, tuning into the sights and sounds of the world around them.
To make the scavenger hunt even more engaging, you can create a checklist of items for the kids to find. This list can include things like:
- A colorful leaf
- A feather
- A unique rock
- A flower
- Something that makes a sound (like a bird or rustling leaves)
By focusing on these specific items, children will be more observant, using their binoculars to spot distant objects or hidden treasures. It's a wonderful opportunity for them to practice their observation skills while having fun. The thrill of checking off each item as they find it adds a sense of accomplishment and excitement to their adventure.
Additionally, you can turn this scavenger hunt into a friendly competition. Divide the kids into teams and see who can find all the items on the list first. This not only fosters teamwork but also encourages them to communicate and strategize together. And let’s not forget the stories they’ll share afterward about the fascinating things they discovered along the way!
After the scavenger hunt, gather the kids to share their findings. This can be a great opportunity for them to talk about what they saw, what they found interesting, and how they used their binoculars to enhance their experience. You could even encourage them to draw or write about their favorite discovery, further enhancing their creativity and connection to nature.
In summary, nature scavenger hunts are an enriching way to use homemade binoculars. They transform a simple outdoor outing into an adventure filled with exploration, learning, and fun. So, grab those binoculars and embark on a nature scavenger hunt that your kids will remember for years to come!
Q: What age group is suitable for nature scavenger hunts?
A: Nature scavenger hunts are great for children aged 4 and up. Younger kids can participate with adult supervision, while older children can take on more challenging lists.
Q: How long should a scavenger hunt last?
A: Typically, a scavenger hunt can last anywhere from 30 minutes to 2 hours, depending on the complexity of the list and the attention span of the children involved.
Q: Can we do this in our backyard?
A: Absolutely! Your backyard can be a treasure trove of interesting items for a scavenger hunt. Just make sure to create a list that reflects what can be found in that specific area.
Q: How can I make it more educational?
A: You can incorporate educational elements by including facts about the items on the list or asking children to research some of their findings after the hunt.
Imaginative Play Scenarios
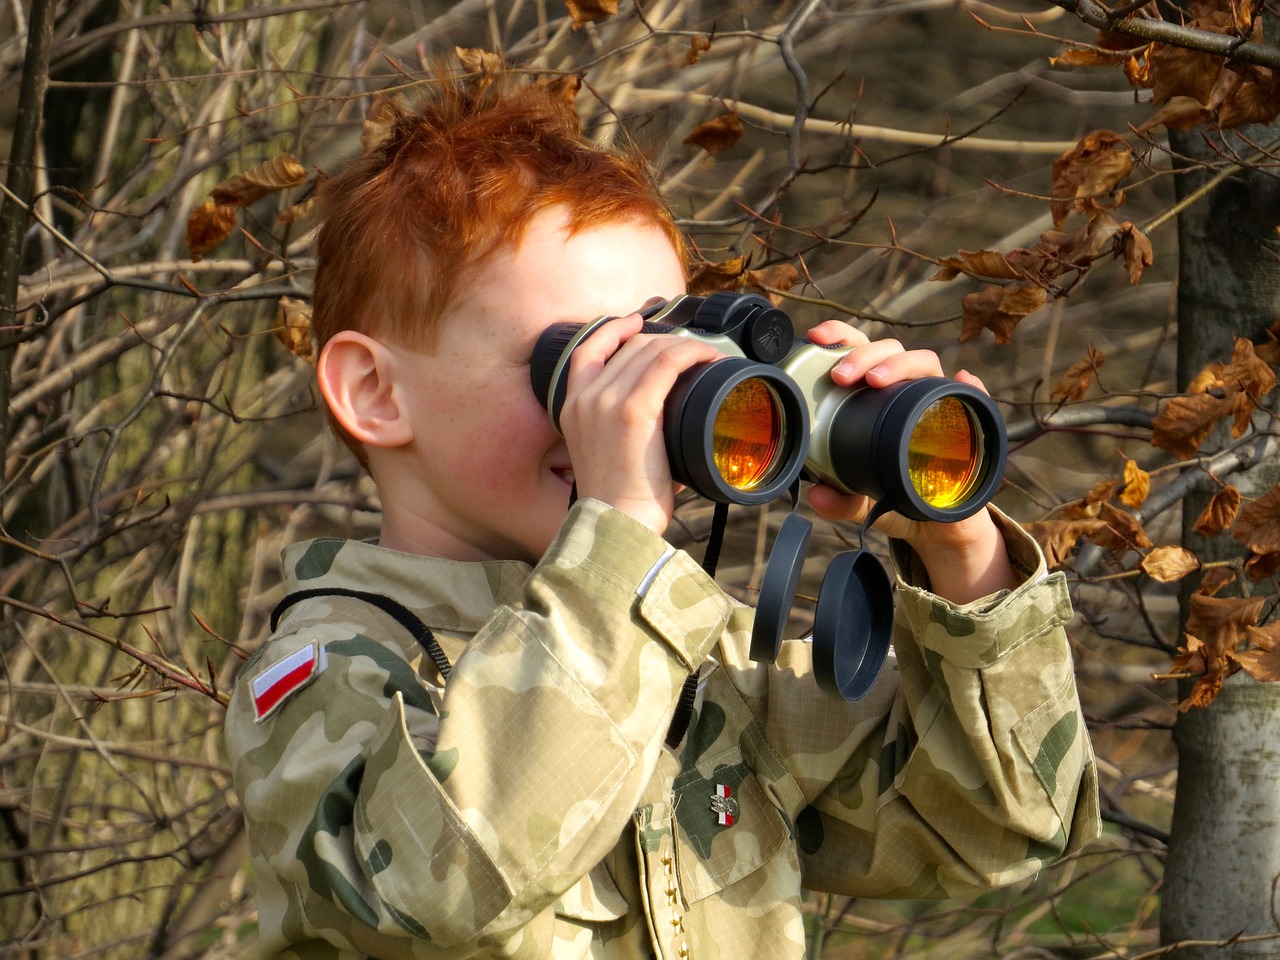
Once your kids have crafted their very own binoculars, a world of imaginative play opens up like a treasure chest overflowing with possibilities! These binoculars aren't just a fun craft; they serve as a gateway to adventure and creativity. Imagine your child transforming into a daring explorer, venturing into the wild jungles of your backyard, or perhaps becoming a wildlife photographer capturing the beauty of the local park. With their homemade binoculars in hand, the only limit is their imagination!
Encourage your little ones to create their own stories and scenarios. For example, they might embark on a quest to find rare birds or track down elusive creatures that only they can see through their powerful lenses. This can lead to delightful conversations about the animals they might encounter and the habitats they explore. You could even set up a game where they have to find specific items in nature, such as:
- A red flower
- A feather
- A smooth rock
- A bug or insect
By incorporating these elements into their play, children not only enhance their observational skills but also develop a deeper appreciation for the environment around them. The binoculars become an essential tool in their imaginative arsenal, allowing them to see the world from a different perspective.
Another exciting scenario could involve a pirate adventure! Kids can pretend they're searching for hidden treasure on a deserted island, using their binoculars to scout for clues and treasures. They could even create maps, drawing out their journeys and marking where they think the treasure is buried. This kind of role-playing not only stimulates their creativity but also helps them develop storytelling skills, as they narrate their adventures to family and friends.
Moreover, these imaginative play scenarios can be enhanced with props. For instance, they can dress up as explorers or pirates, complete with hats, capes, or even DIY treasure chests filled with 'gold' coins made from chocolate or painted rocks. The more immersive the experience, the more fun they'll have!
Ultimately, the beauty of these homemade binoculars lies in their versatility. They can be used in countless ways, from birdwatching to pretending to be astronauts gazing at distant stars. With each scenario, children learn to think creatively, work collaboratively with peers, and engage with the world around them in a meaningful way. So, let the adventures begin and watch as your kids' creativity knows no bounds!
Q: What materials do I need to make homemade binoculars?
A: You will need items like toilet paper rolls or cardboard tubes, scissors, tape or glue, and any decorative materials like paint, stickers, or markers.
Q: How can I encourage my child to use their binoculars creatively?
A: Suggest imaginative play scenarios such as being explorers or pirates, and organize nature scavenger hunts to enhance their observational skills!
Q: Can I make binoculars with younger children?
A: Yes! Just ensure that adult supervision is present, especially during cutting or gluing steps, and let their creativity shine with simple materials.
Q: What are some fun activities to do with the binoculars once they're made?
A: Kids can engage in birdwatching, nature scavenger hunts, or create their own stories and adventures using the binoculars as props.
Frequently Asked Questions
- What materials do I need to make homemade binoculars?
To create your own binoculars, you’ll need some simple materials like toilet paper rolls or cardboard tubes, scissors, glue, and decorative items such as paint, markers, or stickers. You can even use string for the strap!
- How can I make the binoculars more durable?
To enhance durability, consider reinforcing the cardboard tubes with tape or covering them with a layer of paper mache. This will protect them from wear and tear during outdoor adventures.
- Can kids decorate their binoculars in any way they like?
Absolutely! Decorating is where creativity shines. Kids can paint, add stickers, or even use washi tape to personalize their binoculars. The more unique, the better!
- What age group is this craft suitable for?
This craft is perfect for kids aged 5 and up. Younger children may need a bit more adult supervision, especially with scissors and glue, but they can still enjoy the fun of crafting!
- What activities can kids do with their homemade binoculars?
Once the binoculars are ready, kids can engage in nature scavenger hunts, birdwatching, or imaginative play as explorers or photographers. The possibilities are endless!
- How do I attach a strap to the binoculars?
To attach a strap, you can simply poke small holes at the ends of the tubes and thread a piece of string or ribbon through. Tie a knot to secure it, and your binoculars will be ready for adventures!
- Can I use other materials instead of toilet paper rolls?
Definitely! You can use paper towel rolls, small cardboard boxes, or even plastic bottles as alternatives. Just make sure they are lightweight for easy handling by kids.


