How to Perfect Your Quilting Finishing Touches
Quilting is an art form that combines creativity, precision, and a touch of personal flair. When it comes to completing a quilt, the finishing touches are what transform a simple piece of fabric into a stunning work of art. Have you ever admired a quilt and wondered how it achieved that polished, professional look? Well, it’s all in the details! In this article, we will explore essential techniques and tips for achieving flawless finishing touches in quilting, ensuring that your projects not only look beautiful but also stand the test of time.
Binding is like the frame of a painting; it can significantly affect the overall appearance of your quilt. Understanding various binding options can help you select the best one for your project. From traditional straight grain bindings to bias bindings, each type has its own unique characteristics and benefits. For instance, a bias binding can stretch around curves beautifully, while straight grain offers simplicity and ease. Take a moment to consider the design and colors of your quilt; the right binding will complement your work and enhance its beauty.
Before diving into the finishing touches, proper preparation is crucial. This ensures that your quilt is ready for the final stages of completion. Start by giving your quilt a good inspection. Look for any loose threads or uneven seams that need attention. Once you've addressed those, it's time to move on to trimming and squaring up your quilt.
Trimming and squaring up your quilt is essential for a neat finish. Think of this step as giving your quilt a fresh haircut; it removes any excess fabric and ensures that your edges and corners are sharp and clean. To achieve precise edges, use a rotary cutter and a cutting mat. Carefully align your quilt with the grid lines on the mat to ensure accuracy. Remember, taking your time during this stage will pay off in the end!
Using the right tools can make trimming easier and more accurate. Here are some essential tools you might consider:
- Rotary Cutter: A sharp rotary cutter will help you make clean cuts without fraying the fabric.
- Cutting Mat: A self-healing cutting mat protects your surfaces and allows for precise measurements.
- Ruler: A clear acrylic ruler helps you measure accurately and ensures straight cuts.
Identifying and avoiding common trimming mistakes can save time and enhance your quilt's overall quality. One common pitfall is not using a sharp blade; dull blades can cause jagged edges. Another mistake is rushing through the trimming process, which can lead to uneven edges. Always double-check your measurements before cutting, and don't hesitate to make adjustments if necessary.
Pressing your quilt properly can enhance its appearance significantly. Think of pressing as the icing on the cake; it brings everything together and gives it that final touch. Use a hot iron and steam to press seams open, which helps eliminate bulk and creates a smoother finish. For larger quilts, consider using a clapper to help set the seams. This tool can absorb moisture and heat, ensuring that your seams lie flat and look crisp.
Incorporating decorative elements can elevate your quilt's aesthetic. Whether it's adding a pop of color with contrasting thread or embellishing with appliqué, these details can make your quilt truly one-of-a-kind. Think about the overall theme and colors of your quilt when selecting these elements. Remember, less can be more; sometimes a few carefully chosen embellishments can create a stunning effect.
The choice of fabrics and threads can impact the final look of your quilt. Opt for fabrics that complement your design, and consider using a mix of textures to add depth. When it comes to thread, selecting the right color can either blend in or stand out, depending on your desired effect. Experiment with different thread types, such as cotton or polyester, to see which yields the best results for your project.
Quilting stitches can add texture and interest, transforming a flat quilt into a dynamic piece of art. Explore different quilting stitch patterns that can enhance your quilt's visual appeal. From simple straight lines to intricate free-motion designs, the options are endless. Don't be afraid to play around with various techniques; the right stitch can highlight your quilt's unique features and bring your vision to life.
Q: How do I choose the right binding for my quilt?
A: Consider the style of your quilt and the fabric used. Straight grain bindings offer simplicity, while bias bindings work well for curves. Always match the binding color to your quilt design for a cohesive look.
Q: What tools do I need for trimming my quilt?
A: Essential tools include a rotary cutter, cutting mat, and a clear ruler. These tools will help you achieve precise edges and corners.
Q: How can I ensure my quilt lays flat after finishing?
A: Proper pressing techniques are key. Use a hot iron with steam and consider using a clapper to help set seams flat.
Q: What decorative elements can I add to my quilt?
A: You can add embellishments like appliqué, decorative stitching, or even fabric paint to enhance your quilt's aesthetic.
Choosing the Right Binding
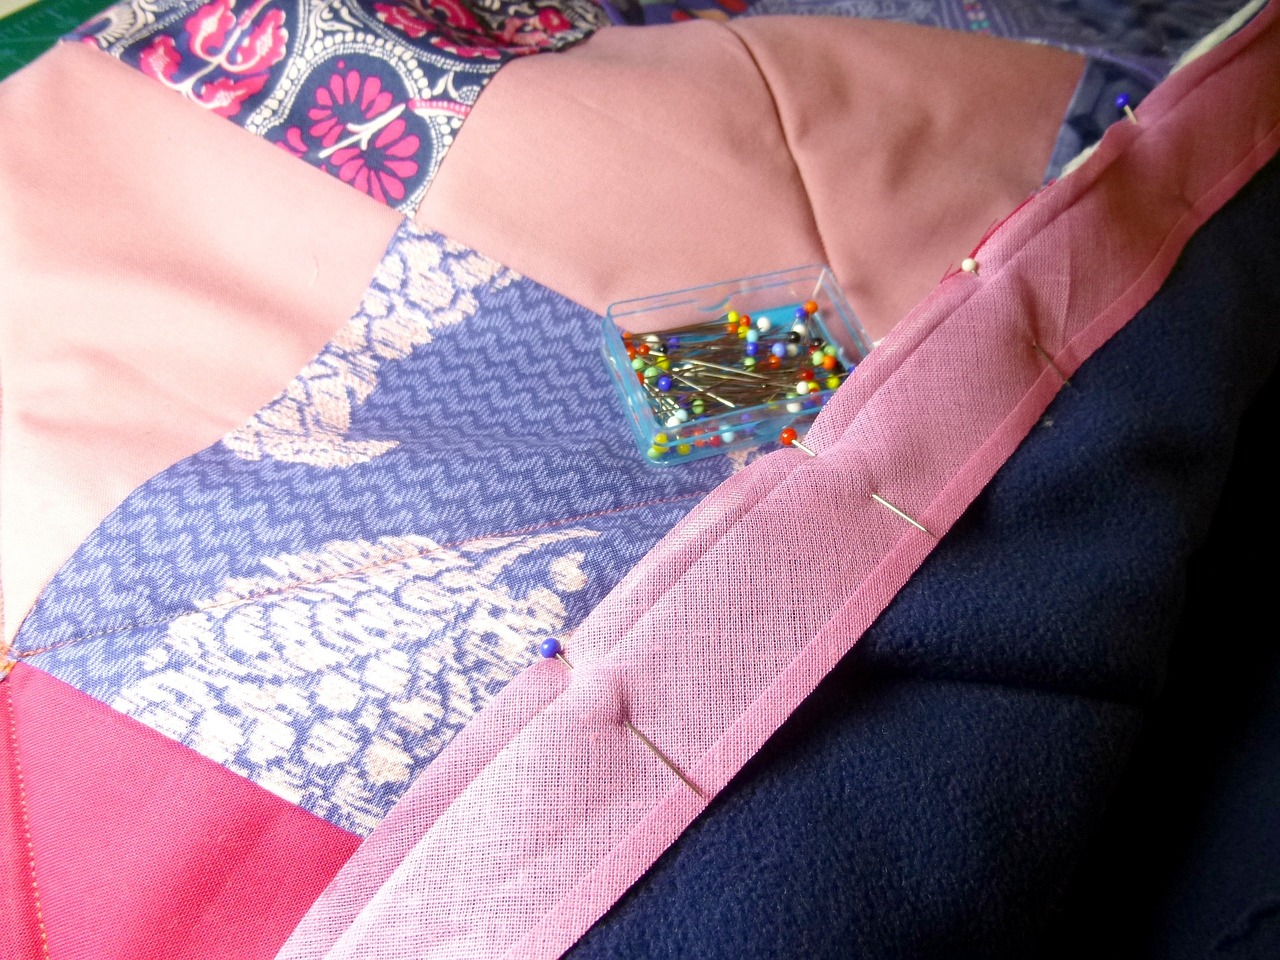
When it comes to quilting, the binding is like the cherry on top of a sundae—it’s the finishing touch that can make or break your project. Choosing the right binding can significantly affect the overall appearance of your quilt, so it's essential to understand the various options available to you. Whether you want a traditional look or something more modern, the right binding can elevate your quilt from ordinary to extraordinary.
There are several types of binding you can consider, each with its unique characteristics. For instance, you might opt for single-fold binding, which is straightforward and easy to apply, perfect for beginners. On the other hand, double-fold binding offers a more durable finish and is often used for quilts that will see a lot of wear and tear. If you’re feeling adventurous, you could even explore bias binding, which can add a lovely curve to your quilt’s edges, especially for those intricate designs.
Another important aspect to consider is the fabric choice for your binding. The fabric you choose can either blend seamlessly with your quilt or provide a striking contrast that draws the eye. For example, if your quilt features soft, muted tones, a bold, vibrant binding can create a stunning visual pop. Conversely, if you prefer a more cohesive look, selecting a binding fabric that matches your quilt's predominant colors can create a harmonious finish. Don't forget to take the weight and texture of the fabric into account as well—heavier fabrics can provide more durability but may be more challenging to work with.
So, how do you decide? Start by considering the overall aesthetic you want to achieve. Ask yourself questions like: What mood do I want my quilt to convey? and Will my chosen binding complement or clash with my quilt design? To help you visualize your options, it can be beneficial to create a small sample quilt sandwich with different binding choices. This hands-on approach allows you to see how each binding looks and feels in person.
As you embark on your binding journey, remember that the process can be just as enjoyable as the end result. Take your time to experiment with different styles and fabrics. After all, quilting is an art form, and your binding is an opportunity to express your creativity. In the end, the right binding will not only enhance your quilt’s appearance but also reflect your personal style and craftsmanship.
Preparing Your Quilt for Finishing
Before you dive into the thrilling world of finishing touches on your quilt, it's crucial to ensure that your quilt is prepped and primed for that final reveal. Think of this stage as the foundation of a beautiful house; if your base isn't solid, everything built on top will be shaky. So, let’s roll up our sleeves and get into the nitty-gritty of preparing your quilt!
The first step in this preparation process is to make sure your quilt top is completely pieced together. This means checking every seam, ensuring that all your fabric pieces fit together like a well-orchestrated puzzle. No one wants to find a rogue block that’s out of place when you’re ready to bind your quilt! After you’ve confirmed that everything is in order, it’s time to give your quilt a good press. This step is like giving your quilt a spa day; it smooths out wrinkles and helps the fabric lay flat, making it easier to work with.
Next up, let’s talk about trimming and squaring up your quilt. This is where precision becomes your best friend. You want to make sure that your quilt edges are straight and even, creating a clean canvas for your binding. A well-trimmed quilt not only looks more professional but also makes the binding process much smoother. To achieve this, grab a rotary cutter, a cutting mat, and a ruler. These tools will help you trim your quilt edges with accuracy, ensuring that every corner is sharp and every side is straight.
Trimming is an art in itself. Once you've pressed your quilt, lay it out on a flat surface. Start by aligning the edges with your cutting mat's grid lines. This will help you visualize where to trim. It's like drawing a line in the sand; once you make that cut, there's no turning back! Remember to take your time—rushing through this process can lead to uneven edges that will haunt you later on.
When it comes to trimming, having the right tools can make all the difference. Here are some essential tools you’ll need:
- Rotary Cutter: A sharp rotary cutter will slice through layers of fabric with ease.
- Cutting Mat: Protects your surfaces and provides a grid for accurate measurements.
- Quilting Ruler: A clear ruler helps you see exactly where you're cutting.
As you prepare your quilt, be mindful of common pitfalls that can derail your progress. One of the biggest mistakes is not using a consistent seam allowance throughout your piecing. This can lead to misaligned blocks and uneven edges. Another mistake is cutting too much fabric off—remember, you can always trim more later, but you can’t put fabric back! Lastly, don’t skip the pressing step; it’s vital for achieving that crisp, professional look.
Once your quilt is trimmed and squared up, it’s time for the final pressing. This is where you’ll give your quilt one last once-over with the iron, ensuring that all seams are flat and that your quilt lies perfectly smooth. Think of this as the final polish on a beautiful piece of furniture; it’s the last touch that brings everything together.
With your quilt now prepped and ready, you’re well on your way to adding those finishing touches that will make it shine. Remember, preparation is key! Taking the time to ensure your quilt is ready for the finishing process will pay off in the end, resulting in a project that not only looks stunning but also stands the test of time.
Q: How do I know if my quilt is properly squared up?
A: A properly squared quilt will have all four corners at right angles, and the edges should be straight and even. Use a ruler to measure the diagonals; if they are equal, your quilt is squared up!
Q: What should I do if I notice a mistake after trimming?
A: Don’t panic! Depending on the mistake, you might be able to adjust your binding or add a decorative element to cover it up. If it's a significant issue, consider re-trimming the area carefully.
Q: Is pressing really that important?
A: Absolutely! Pressing helps to set your seams and ensures that your quilt lays flat, which is essential for a polished final look.
Trimming and Squaring Up
When it comes to achieving that **polished look** in your quilting projects, **trimming and squaring up** your quilt is a crucial step that should never be overlooked. Imagine you’ve spent hours piecing together beautiful fabrics, only to have your quilt look uneven or sloppy at the finish line. That’s where the magic of trimming comes into play! It’s like giving your quilt a fresh haircut, ensuring that all those lovely edges and corners are neat and tidy. So, how do you get started?
First off, you’ll want to make sure your quilt top is lying flat and smooth before you begin. This means giving it a good press to remove any wrinkles or creases that could affect your measurements. Once that’s done, it’s time to grab your rotary cutter, mat, and ruler. These tools are your best friends in this process, as they will help you achieve the precision you need.
To square up your quilt, start by laying it on a flat surface, preferably a large table. Use your ruler to measure from the corner of your quilt to ensure that all sides are even. If you notice any discrepancies, it’s essential to trim those edges accordingly. A good rule of thumb is to measure from the **top left corner** to the **bottom right corner** and then from the **top right corner** to the **bottom left corner**. If both measurements are equal, you’re on the right track!
As you trim, keep in mind the following tips:
- Use a sharp rotary cutter: A dull blade can cause jagged edges, which can ruin the clean look you’re aiming for.
- Take your time: Rushing through this process can lead to mistakes. It’s better to be patient and precise.
- Double-check your measurements: Before making any cuts, always confirm that your measurements are accurate.
After trimming, you’ll want to square up the corners. This means ensuring that all four corners of your quilt are at perfect right angles. An easy way to check this is by measuring diagonally from corner to corner. If both measurements are the same, congratulations! You’ve successfully squared up your quilt. If not, simply trim the edges until they match.
Now, let’s talk about the tools you’ll need for this process. The right tools can make a world of difference in your quilting experience. Here’s a quick table of essential tools:
| Tool | Purpose |
|---|---|
| Rotary Cutter | For cutting fabric with precision. |
| Cutting Mat | Protects your surfaces and provides a grid for measurements. |
| Ruler | Helps ensure straight cuts and accurate measurements. |
| Iron | For pressing seams and smoothing out fabric. |
Finally, let’s address some common pitfalls to avoid during the trimming and squaring process. Many quilters make the mistake of cutting too much fabric off, which can lead to an uneven quilt. Others may forget to press their quilt before trimming, resulting in inaccurate measurements. By being mindful of these issues and following the steps outlined above, you’ll be well on your way to achieving a beautifully finished quilt!
Q: How often should I trim my quilt while working on it?
A: It’s a good idea to trim your quilt at various stages, especially after completing major sections. This helps maintain accuracy and prevents any potential issues from compounding.
Q: What should I do if my quilt is not laying flat?
A: Ensure you have pressed your seams properly. If the quilt still doesn’t lay flat, consider re-evaluating your piecing technique or checking for any puckers.
Q: Can I use scissors instead of a rotary cutter?
A: While scissors can work, a rotary cutter provides more precision and is generally faster for larger projects. If you choose scissors, make sure they are sharp and suitable for fabric cutting.

Tools for Accurate Trimming
When it comes to achieving a polished finish on your quilt, having the right tools for trimming is absolutely essential. Think of trimming as the final brushstroke on a masterpiece; without the right tools, even the most beautiful quilt can look unfinished or sloppy. So, what tools should you have in your arsenal? Let's dive into the must-haves that will make your trimming process a breeze.
First and foremost, a rotary cutter is a game-changer. This handy tool allows you to make clean, straight cuts with minimal effort. Unlike scissors, which can be cumbersome and imprecise, a rotary cutter glides through multiple layers of fabric, making it perfect for trimming the edges of your quilt. Pair it with a self-healing cutting mat, which not only protects your work surface but also prolongs the life of your rotary cutter blade.
Next, you’ll want a good ruler. A clear acrylic ruler with grid lines is ideal for ensuring your cuts are straight and accurate. Look for one that is at least 6 inches wide and 24 inches long, as this will give you the flexibility to trim both small and large quilts. The grid lines help you align your fabric properly, making it easier to achieve those crisp edges.
Another indispensable tool is a straight edge or quilting ruler. While you can use a standard ruler, a quilting ruler is specifically designed for this purpose and often features additional markings that can assist you in measuring seam allowances and cutting angles. This tool can be particularly helpful when squaring up your quilt, ensuring that all your edges are perfectly aligned.
Don’t forget about your iron and ironing board. Pressing your quilt before and after trimming is crucial for achieving a flat, neat finish. A good steam iron can help remove any wrinkles and ensure that your quilt lies flat, making the trimming process much easier. Additionally, using a pressing mat can provide a sturdy surface that allows for better control when pressing seams.
Finally, consider investing in a cutting guide or alignment guide. These tools can help you keep your cuts straight and true, especially when working with larger pieces of fabric. They can be particularly useful for beginners who may still be developing their cutting skills. With these tools in hand, you’ll be well on your way to achieving accurate and professional-looking trims on your quilts.
In summary, the right tools can make all the difference when it comes to trimming your quilt. A rotary cutter, self-healing mat, acrylic ruler, straight edge, iron, and cutting guide are all essential for ensuring that your quilt finishing touches are as flawless as possible. Investing in these tools not only saves you time but also enhances the overall quality of your finished product.
- What is the best rotary cutter to use for quilting? - The best rotary cutter often depends on personal preference, but many quilters recommend a 45mm rotary cutter for versatility.
- How often should I replace my rotary cutter blade? - It's advisable to change your rotary cutter blade every 4-6 weeks, or sooner if you notice it becoming dull.
- Can I use regular scissors instead of a rotary cutter? - While you can use scissors, a rotary cutter will provide cleaner and more efficient cuts, especially on multiple layers.
- What type of pressing mat is best? - A wool pressing mat is highly recommended as it retains heat and helps to flatten seams effectively.

Common Mistakes to Avoid
When it comes to quilting, even the most seasoned quilters can fall into common traps that can detract from the overall quality of their work. One of the most prevalent mistakes is not squaring up your quilt properly. Imagine trying to fit a square peg into a round hole; that’s what happens when your quilt isn’t squared. It can lead to uneven edges and a finished product that looks less than professional. To avoid this, make sure to measure your quilt carefully before moving on to the next steps.
Another mistake quilters often make is using dull cutting tools. It might seem like a small issue, but a dull rotary cutter or scissors can create jagged edges and uneven cuts, which can throw off the entire design. Always ensure that your tools are sharp and in good condition. Think of it like trying to slice a cake with a butter knife; it just won’t yield the beautiful, clean slices you’re hoping for!
Additionally, many quilters overlook the importance of pressing seams correctly. Pressing is not just about making your quilt look good; it also affects how the fabric lays and ultimately how the quilt comes together. If you press seams open when they should be pressed to one side, you might end up with bulky areas that disrupt the flow of your quilt. Remember, pressing is just as important as sewing!
Furthermore, be cautious with fabric choices. Sometimes, quilters get too caught up in the excitement of a project and choose fabrics that don’t complement each other. This can lead to a chaotic look that detracts from the overall design. Always take a moment to step back and assess your fabric choices. A great way to do this is to lay out your fabrics together and see how they interact. If they clash, it might be time to rethink your selections.
Lastly, don’t forget about the importance of proper storage for your quilt. Leaving your quilt in a cramped space or exposing it to direct sunlight can lead to fading and damage. Store your quilts in a cool, dry place, preferably in a breathable cotton bag or a dedicated quilt box. Treat your quilt like a piece of art; after all, it is!
In summary, avoiding these common mistakes—like not squaring up your quilt, using dull tools, improper pressing, poor fabric choices, and inadequate storage—can significantly enhance the quality of your quilting projects. Every quilter makes mistakes, but learning from them is what helps you grow and improve your craft!
Q: What is the best way to square up a quilt?
A: To square up a quilt, lay it flat on a large surface, measure from the center to the edges, and trim any excess fabric to ensure all sides are even.
Q: How often should I replace my cutting tools?
A: It’s best to replace your cutting tools when they start to feel dull or are no longer cutting cleanly. Regular maintenance can extend their life!
Q: Can I use any fabric for my quilt?
A: While you can technically use any fabric, it’s advisable to choose fabrics that are compatible in terms of weight and texture to ensure a cohesive look.
Q: How do I prevent my quilt from fading?
A: Store your quilt in a cool, dark place and avoid direct sunlight to prevent fading. Using acid-free materials for storage can also help preserve its colors.
Pressing Techniques
Pressing is more than just a final step in quilting; it’s a transformative process that can elevate your quilt from ordinary to extraordinary. Think of it as the finishing touch that makes your hard work truly shine. When done correctly, pressing can enhance the quilt’s design, making seams lay flat and fabric align perfectly. But how do you achieve that coveted crispness and polish? Let’s dive into some essential pressing techniques that every quilter should know!
First and foremost, it's vital to understand the difference between pressing and ironing. While ironing involves moving the iron back and forth across the fabric, pressing requires lifting the iron straight up and down. This method minimizes the risk of stretching or distorting your quilt pieces. So, remember: lift, don’t slide! This technique is especially crucial when working with delicate fabrics that can easily lose their shape.
Another key aspect of pressing is the use of steam. A well-steamed quilt can make all the difference in achieving that flawless finish. However, not all fabrics react the same way to steam. For instance, cotton fabrics love a good steam bath, while synthetic fibers may warp or melt. To ensure you’re using steam effectively, consider the following:
- Test on a scrap piece: Always test the steam on a fabric scrap before applying it to your quilt.
- Adjust temperature: Make sure your iron is set to the appropriate temperature for the fabric you’re working with.
- Use a pressing cloth: For delicate fabrics, a pressing cloth can provide an extra layer of protection against heat damage.
Additionally, the order of pressing can make a significant impact. Start by pressing the seams open or to one side, depending on your pattern. This helps to distribute the bulk and creates a flatter surface. After that, press the entire quilt top to eliminate any wrinkles before layering it with batting and backing. This step is often overlooked but can save you a lot of headaches later on!
For those who like to get a bit more technical, consider investing in a good quality iron and ironing board. A heavy, well-constructed iron with a steam function can make your pressing much easier and more effective. An ironing board with a padded surface can also help prevent fabric from sticking to the board, allowing for smoother pressing. Here’s a quick comparison of some popular irons:
| Iron Model | Weight | Steam Function | Price |
|---|---|---|---|
| Rowenta DW5080 | 3.5 lbs | Yes | $99.99 |
| Black+Decker D2030 | 2.5 lbs | Yes | $49.99 |
| Shark GI405 | 3.0 lbs | Yes | $79.99 |
Lastly, don’t forget about the importance of a good pressing mat! A wool pressing mat can absorb heat and steam, allowing for more efficient pressing. It’s like giving your quilt a spa day! The mat helps to set the stitches and gives your fabric a professional finish. When you combine all these techniques, you’ll be well on your way to achieving that polished look that makes your quilt stand out.
So, the next time you find yourself at the pressing stage, remember these tips. With the right techniques, your quilt will not only look amazing but will also hold its shape beautifully over time. Happy quilting!
Q: How often should I press my quilt while working on it?
A: It’s best to press after every major step, such as after sewing seams or adding borders. This helps maintain the integrity of your quilt.
Q: Can I use a regular iron for quilting?
A: Yes, but investing in a quality iron designed for quilting can make the process smoother and more efficient.
Q: Is it necessary to use steam when pressing?
A: While it’s not strictly necessary, steam can help eliminate stubborn wrinkles and set seams more effectively.
Adding Decorative Elements
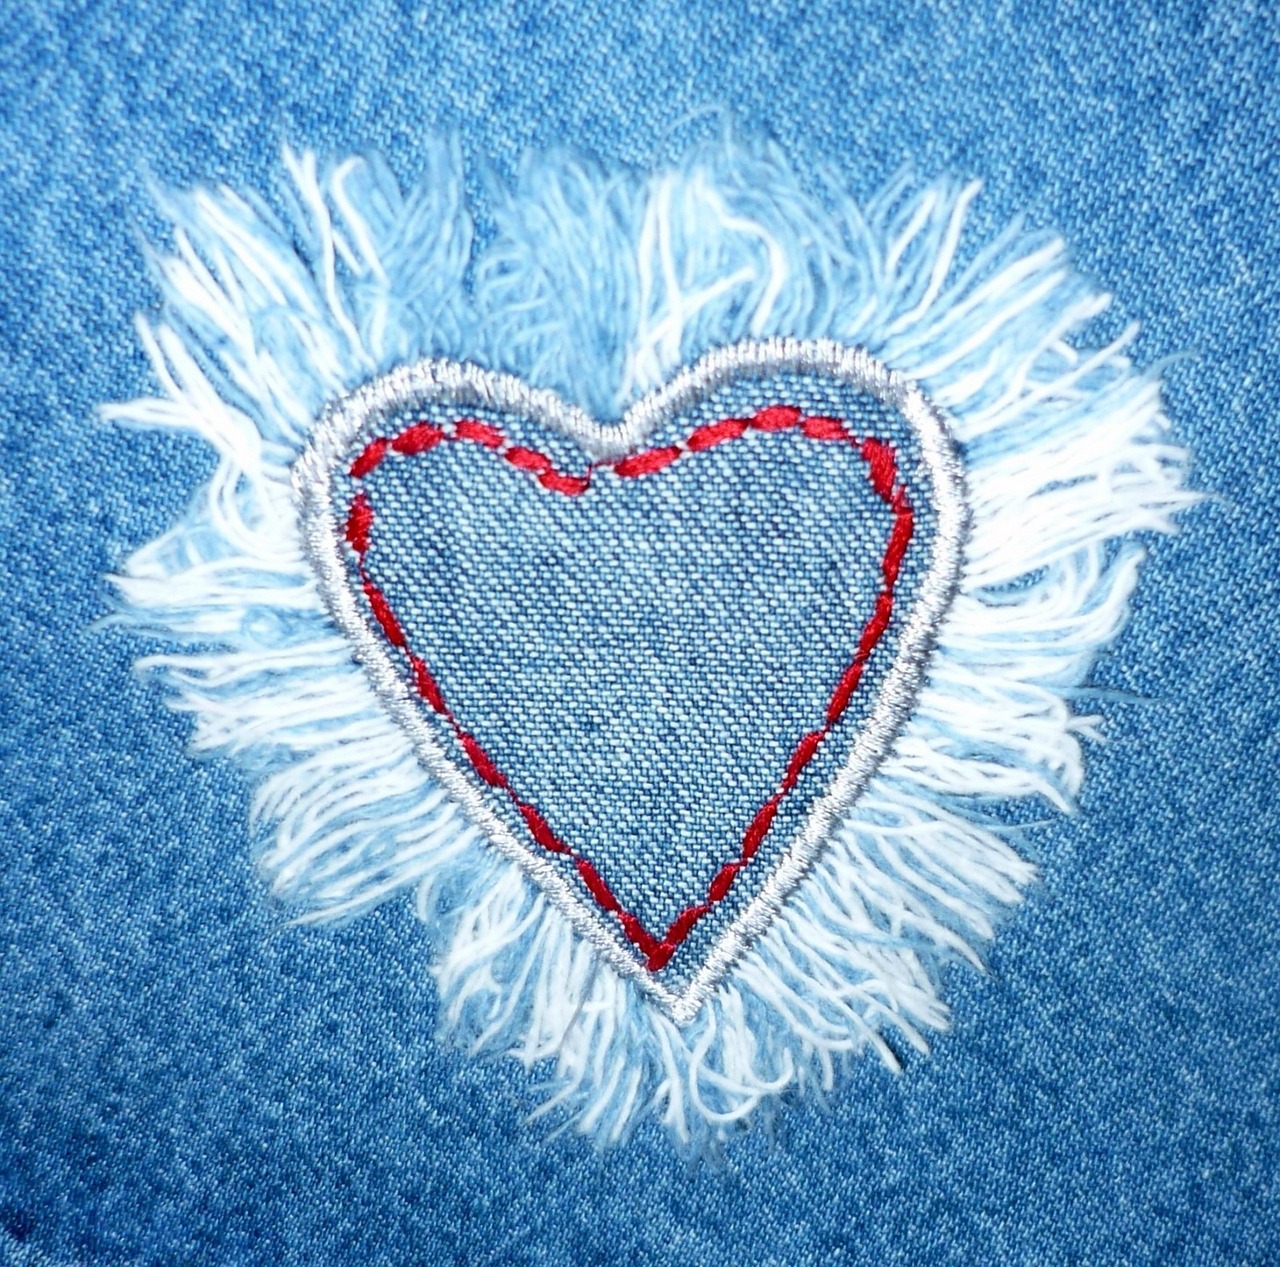
When it comes to quilting, the finishing touches can make all the difference, transforming a simple quilt into a stunning masterpiece. One of the most exciting ways to achieve this is by . These elements not only enhance the visual appeal of your quilt but also reflect your personal style and creativity. Imagine your quilt as a blank canvas; the decorative elements are the vibrant colors and intricate details that bring it to life.
There are countless ways to embellish your quilt, and the options are limited only by your imagination. You might consider incorporating appliqué, which involves sewing fabric shapes onto the quilt surface. This technique allows for a range of designs, from playful motifs like flowers and animals to elegant geometric shapes. Additionally, you can explore the world of embroidery. Adding embroidered details can create a beautiful texture and depth, making your quilt even more special. Think of it as adding a personal signature to your work.
Another exciting avenue for decorative elements is the use of ribbons and trims. These can be sewn onto the edges of your quilt or used to create unique patterns across the fabric. Ribbons can add a touch of whimsy, while trims can provide a sophisticated finish. It's like accessorizing an outfit; the right trim can elevate your quilt from ordinary to extraordinary.
Choosing the right fabrics and threads is crucial when adding decorative elements. Not all fabrics will work harmoniously together. For instance, if you’re using a high-contrast fabric for your quilt top, you might want to opt for subtler colors in your decorative elements to avoid overwhelming the viewer. Conversely, if your quilt features softer tones, a pop of bright color can draw the eye and create a focal point. Remember, balance is key!
Here’s a quick comparison table to help you decide on the types of decorative elements you might want to consider:
| Element | Impact | Best Used With |
|---|---|---|
| Appliqué | Adds dimension and interest | Bold patterns |
| Embroidery | Creates texture and detail | Solid fabrics |
| Ribbons/Trims | Enhances edges and creates focal points | Simple designs |
Incorporating quilting stitches as decorative elements can also enhance your quilt's aesthetic. Different stitch patterns can add texture and visual interest, making your quilt not just a functional item but a piece of art. Whether you choose to use simple straight lines or intricate free-motion designs, the stitches can tell a story and add a unique flair to your work. Think of your quilt as a narrative, and each stitch as a word that contributes to the overall tale.
Ultimately, the key to adding decorative elements is to have fun and experiment! Don’t be afraid to try new techniques or mix different materials. Quilting is an art form, and like any artist, you should feel free to express yourself. So grab your fabrics, threads, and tools, and let your creativity flow!
- What are some easy decorative elements I can start with? - Consider starting with simple appliqué shapes or using decorative stitches on your sewing machine.
- Can I mix different types of fabrics? - Yes! Just ensure that the fabrics complement each other in terms of texture and color.
- How do I choose the right colors for embellishments? - Look for colors that either contrast or complement your quilt's main colors for a balanced look.
Choosing Fabrics and Threads
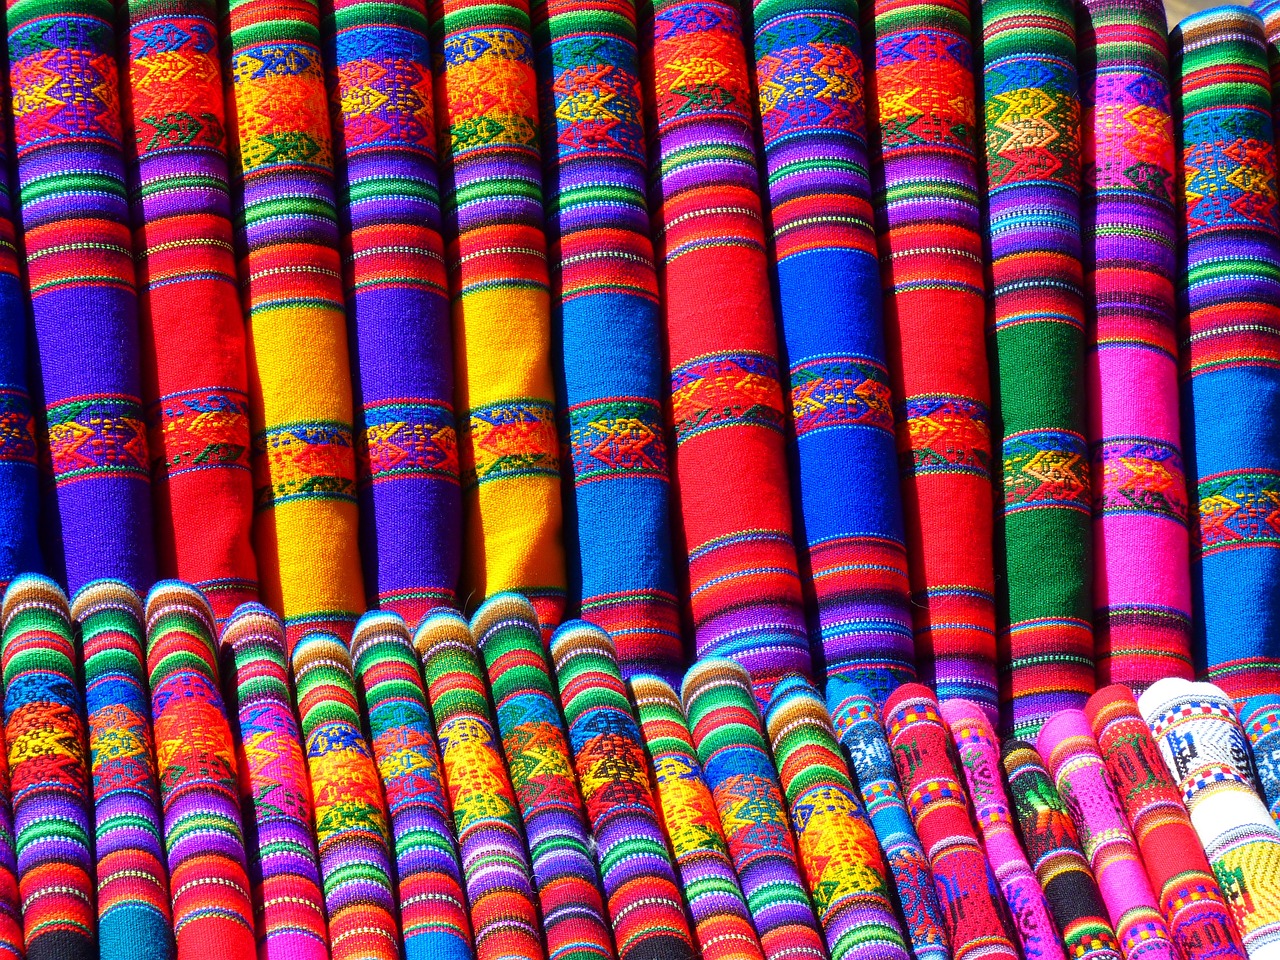
When it comes to quilting, the fabric and thread you choose can make or break your project. Imagine pouring your heart and soul into a quilt, only to have it look lackluster because the materials you selected didn’t complement each other. The right fabrics can bring your design to life, while the wrong ones can dull its vibrancy. So, how do you ensure that your choices elevate your quilt from ordinary to extraordinary?
First and foremost, consider the theme and color palette of your quilt. Are you aiming for a cozy, rustic feel or a modern, sleek appearance? Selecting fabrics that align with your vision is crucial. For instance, if you're creating a quilt for a baby, you might want to choose soft, pastel colors and playful patterns. On the other hand, a quilt for a wedding gift could benefit from elegant, muted tones and luxurious fabrics like silk or satin.
Next, think about the fabric type. Cotton is a popular choice among quilters due to its durability and ease of handling. However, don't shy away from experimenting with other materials like linen, flannel, or even blends that can add unique textures to your quilt. Each fabric type has its own characteristics, so it's essential to consider how they will work together. For example, combining a soft flannel with a crisp cotton can create an interesting contrast that enhances the overall design.
Now, let’s talk about thread. The thread you choose can significantly impact the final look of your quilt. Opting for a thread that matches your fabric can create a seamless appearance, while contrasting thread can highlight your quilting stitches and add depth. It's also important to consider the thread weight; heavier threads can create a more textured look, while lighter threads are ideal for delicate details. Always remember to test your thread choice on a scrap piece of fabric to see how it interacts with your chosen materials.
Additionally, don’t overlook the importance of thread color. A well-chosen thread can either blend in beautifully or stand out dramatically, depending on your design goals. Here’s a quick tip: if you’re unsure, a good rule of thumb is to select a thread color that is a shade darker than your fabric. This creates a lovely shadow effect that can enhance the overall aesthetic of your quilt.
Finally, it’s worth mentioning the care instructions of your chosen fabrics and threads. If you plan to wash your quilt frequently, make sure to select materials that can withstand repeated laundering without losing their shape or color. Always check the manufacturer's recommendations and consider pre-washing your fabrics to prevent any surprises down the line.
In conclusion, choosing the right fabrics and threads is an art in itself, one that can transform your quilting project from simple to stunning. Take your time, experiment with different combinations, and let your creativity shine through. After all, quilting is not just about the end product; it’s about the joy of the journey!
- What fabric is best for quilting? Cotton is the most popular choice due to its durability and ease of use, but other fabrics like flannel or linen can also be used for different effects.
- How do I choose the right thread color? A thread color that is a shade darker than your fabric typically works well, but contrasting colors can also create striking effects.
- Should I pre-wash my fabrics? Yes, pre-washing can help prevent shrinking and color bleeding after your quilt is completed.
Incorporating Quilting Stitches
When it comes to quilting, the stitches you choose can make or break the overall aesthetic of your project. Think of quilting stitches as the icing on the cake; they not only enhance the visual appeal but also add texture and depth. So, how do you decide which stitches to incorporate? First, consider the theme and style of your quilt. Are you going for a traditional look, or something more modern? Each style has its own set of stitches that can complement it beautifully.
One popular technique is the straight stitch, which is straightforward yet effective. It creates clean lines and is perfect for outlining shapes or designs. On the other hand, if you want to add a bit of flair, consider using decorative stitches. These can range from simple zigzags to intricate patterns that can turn your quilt into a stunning work of art. Imagine a quilt adorned with delicate floral patterns stitched into the fabric, drawing the eye and inviting admiration!
Another aspect to consider is the thread choice. The color and texture of the thread can significantly affect the final look of your quilt. For instance, using a contrasting thread can make your stitches pop, while a matching thread can create a more subtle effect. It's all about achieving the right balance. You might even experiment with different thread types—like cotton, polyester, or even metallic threads—to see how they interact with your fabric and stitches.
Let’s not forget about the quilting patterns themselves. Here are a few popular quilting stitches that can elevate your project:
- Echo Quilting: This technique involves stitching parallel lines around a shape, creating a beautiful layered effect.
- Free Motion Quilting: This allows for creativity, letting you stitch any design you can imagine, from swirls to flowers.
- Stippling: A classic technique that creates a textured, puffy look, perfect for adding dimension to your quilt.
Incorporating these stitches not only enhances the quilt's design but also allows you to express your personal style. The beauty of quilting lies in its versatility—every stitch tells a story, and every quilt is a unique masterpiece. So, don’t hesitate to try different techniques and see what resonates with you!
As you experiment with stitching, remember that practice makes perfect. Don’t be discouraged if your first attempts aren’t flawless. Each quilt is a learning experience, and with every project, you'll refine your skills and develop your own signature style. So grab your needle and thread, and let your creativity flow!
Q: What is the best stitch for beginners?
A: The straight stitch is often recommended for beginners as it is simple and effective. As you gain confidence, you can explore more complex stitches.
Q: How can I choose the right thread for my quilting project?
A: Consider the fabric type and the look you want to achieve. Cotton threads work well for most quilting projects, while specialty threads like metallic can add a unique touch.
Q: Can I mix different quilting stitches in one project?
A: Absolutely! Mixing stitches can create a dynamic and visually interesting quilt. Just ensure that the stitches complement each other and the overall design.
Frequently Asked Questions
- What is the best type of binding to use for my quilt?
The best type of binding often depends on the look you want to achieve and the fabric you’re using. Common options include straight grain binding, bias binding, and scrappy binding. Straight grain binding is easy to work with, while bias binding can help with curves. Think about your quilt’s design and choose accordingly!
- How do I prepare my quilt for finishing touches?
Preparing your quilt involves a few key steps: first, make sure your quilt top is complete and free of any loose threads. Next, trim any excess fabric and square up the edges for a neat finish. Lastly, press your quilt to ensure it lays flat and looks polished before adding any decorative elements.
- What tools do I need for accurate trimming?
To achieve precise trimming, you’ll need a rotary cutter, a cutting mat, and a ruler. These tools will help you make clean, straight cuts. Additionally, a good pair of scissors can come in handy for any small adjustments. Investing in quality tools can make a world of difference!
- What are some common mistakes to avoid when trimming?
One common mistake is not squaring up your quilt properly, which can lead to uneven edges. Another pitfall is using dull cutting tools, which can result in jagged edges. Always double-check your measurements and keep your tools sharp to avoid these issues!
- How can I improve my quilt pressing techniques?
To improve your pressing techniques, use a good quality iron and press each seam as you go. Avoid dragging the iron across the fabric; instead, lift and press to prevent distortion. Additionally, consider using a pressing cloth for delicate fabrics to avoid shine.
- What decorative elements can I add to my finished quilt?
You can elevate your quilt’s aesthetic by adding decorative elements like appliqué, embroidery, or fabric embellishments. Consider using contrasting fabrics or threads to make your designs pop. The sky's the limit when it comes to personalizing your quilt!
- How do I choose the right fabrics and threads for my quilt?
When selecting fabrics and threads, think about the color scheme and patterns that will complement your design. Choose fabrics that are of similar weight and texture for a cohesive look. For threads, opt for colors that either match or contrast with your fabrics to add visual interest.
- What quilting stitch patterns should I consider?
There are numerous quilting stitch patterns to choose from, such as straight lines, curves, or intricate free-motion designs. Think about the overall style of your quilt and choose a pattern that enhances its visual appeal. Experimenting with different stitches can lead to exciting results!


