Sharing your pottery passion: Teaching others the craft
Have you ever felt that rush of excitement when your hands sink into soft, pliable clay? That feeling is just the beginning of a beautiful journey into the world of pottery. Teaching pottery is not just about sharing techniques; it’s about igniting a spark of creativity in others and watching them transform a lump of clay into something extraordinary. Whether you’re a seasoned potter or just starting out, sharing your passion can be incredibly rewarding.
Imagine the joy of guiding someone through their first experience with the potter's wheel, the way their eyes light up as they shape their very first bowl. It’s a moment that not only cements your role as a teacher but also deepens your own appreciation for the craft. Teaching pottery allows you to revisit the basics, refine your skills, and discover new techniques alongside your students. It creates a unique bond, one forged through shared experiences and artistic expression.
In this article, we’ll explore the various aspects of teaching pottery—from understanding the basics and creating a welcoming studio environment to encouraging creativity and showcasing student work. Each section is designed to provide you with actionable insights to enhance your teaching journey.
As we dive into the fundamentals of pottery, think about what inspires you. Is it the texture of the clay? The thrill of firing a piece? Or perhaps the satisfaction of seeing a student’s face light up when they complete their first project? Whatever it is, harness that passion and let it guide your teaching. After all, pottery is more than just a craft; it’s a medium for self-expression and a way to connect with others.
So, are you ready to share your pottery passion and inspire the next generation of artists? Let’s get started on this rewarding adventure together!
- What is the best age to start teaching pottery? While there’s no specific age, many instructors find that children as young as 5 can enjoy simple pottery projects, while adults often appreciate the deeper techniques.
- Do I need special qualifications to teach pottery? While formal qualifications can be beneficial, a strong passion for pottery and a willingness to share your knowledge can be just as important.
- How can I keep my students motivated? Regularly introduce new techniques, celebrate their progress, and provide constructive feedback to keep them engaged and excited.
- What are some common mistakes beginners make? Beginners often struggle with centering clay on the wheel or overworking the clay. Encouraging patience and practice can help them overcome these challenges.
Understanding the Basics of Pottery
This article explores the rewarding journey of teaching pottery, from foundational techniques to fostering creativity in students. Discover how to inspire others while honing your own skills in this timeless art form.
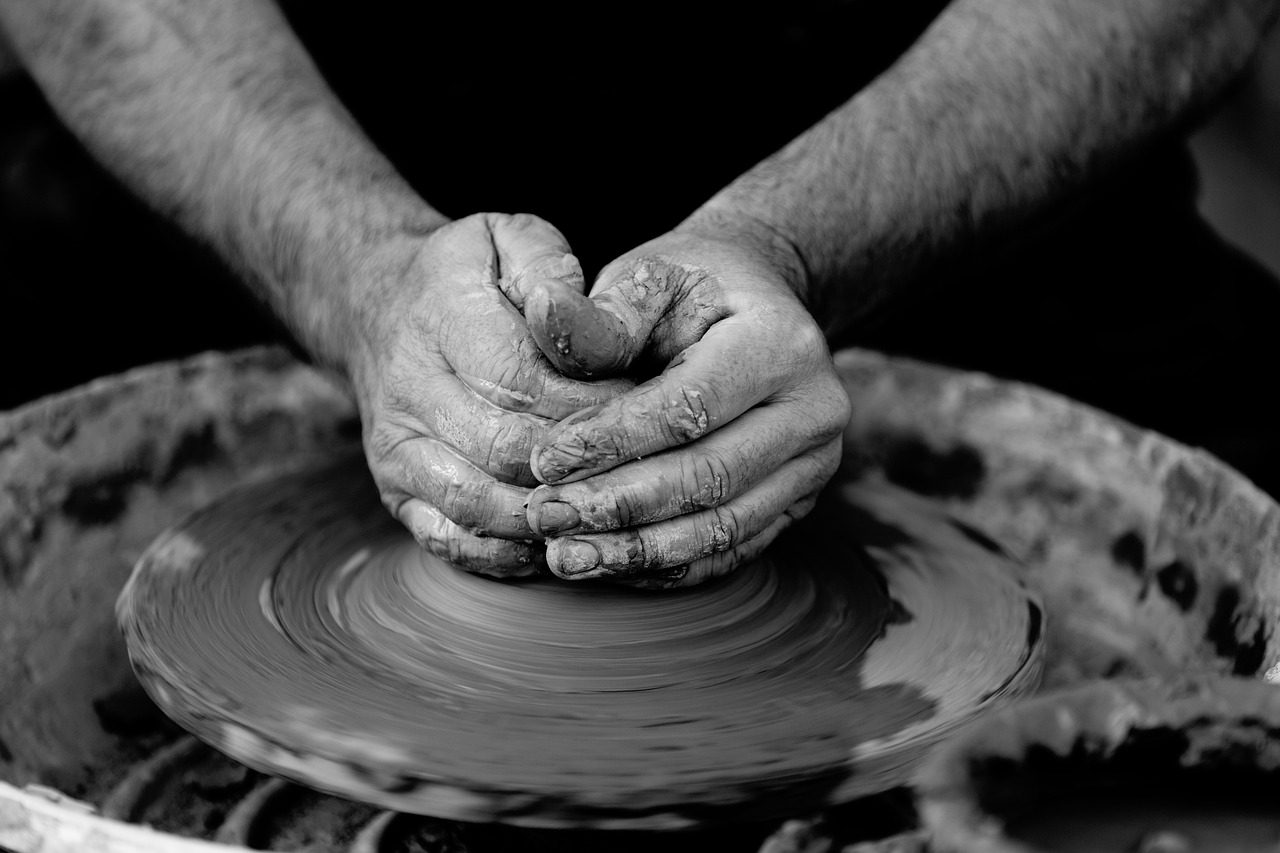
Before diving into the world of pottery, it's crucial to have a solid grasp of the fundamental techniques that form the backbone of this ancient craft. Pottery isn't just about shaping clay; it's about understanding the materials, tools, and methods that will allow you to create beautiful, functional pieces. Whether you're a seasoned potter or just starting out, knowing the basics can make all the difference.
First off, let's talk about clay types. There are several varieties of clay, each with its unique properties and uses. For instance, earthenware is great for beginners due to its low firing temperature and versatility. On the other hand, stoneware is more durable and can be used for functional pieces like dishes and mugs. Lastly, porcelain is renowned for its beauty and translucence, but it can be tricky to work with due to its fine texture and high firing requirements.
Next, you'll need the right tools. Having a well-equipped studio can significantly enhance the learning experience. Essential tools include:
- Potter's Wheel: Ideal for throwing pots and vases.
- Wire Cutters: Perfect for slicing clay and removing pieces from the wheel.
- Sculpting Tools: These help in refining shapes and adding details.
- Sponges and Ribs: Useful for smoothing surfaces and shaping the clay.
Understanding basic methods is also vital. Techniques such as hand-building, slab construction, and throwing on the wheel are foundational skills every potter should master. Hand-building allows for more creative freedom, while throwing can produce perfectly symmetrical pieces. Each method has its charms and challenges, providing endless opportunities for creativity.
Another critical aspect of pottery is the firing process. Firing transforms raw clay into a durable ceramic. There are various firing techniques, including bisque firing, which prepares the clay for glazing, and glaze firing, which adds a glassy finish to the pottery. Understanding these processes not only helps in achieving desired results but also allows for experimentation with different finishes and textures.
As you embark on your pottery teaching journey, remember that the goal is not just to impart knowledge but to inspire creativity and self-expression in your students. By focusing on these foundational techniques, you'll be well-equipped to guide them through the exciting world of pottery.
Here are some common questions that may arise as you begin teaching pottery:
- What type of clay is best for beginners? Earthenware is often recommended for beginners due to its ease of use and forgiving nature.
- How long does it take to learn pottery? Learning pottery is a continuous journey; however, many find they can create simple pieces within a few classes.
- Do I need a kiln to teach pottery? While a kiln is essential for firing pieces, there are alternative methods like air-dry clay for beginners.

Creating a Welcoming Studio Environment
When it comes to teaching pottery, one of the most important aspects is the environment in which you teach. A welcoming studio can make all the difference in how students perceive their learning experience. Imagine walking into a space filled with natural light, the earthy scent of clay, and the sound of gentle music playing in the background. This atmosphere not only calms the mind but also ignites creativity. So, how do you create such an inviting environment?
First, consider the layout of your studio. It should be open and spacious, allowing students to move around freely and interact with one another. Arrange the pottery wheels, worktables, and shelving in a way that encourages collaboration and communication. A circular or semi-circular setup can foster a sense of community, making everyone feel included. Additionally, ensure that there are enough workstations for each student, so they don’t feel cramped or rushed while working on their projects.
Next, think about the decor. Adding personal touches like student artwork, inspirational quotes about creativity, and vibrant colors can transform a sterile space into a lively one. Consider incorporating plants or natural elements to bring a touch of the outdoors inside. Not only do these additions enhance the visual appeal, but they also contribute to a calming atmosphere. A few comfortable seating options, like bean bags or cushions, can provide a cozy spot for students to relax and brainstorm ideas.
Temperature and ventilation are also critical factors in creating a welcoming studio. Ensure that your space is well-ventilated to prevent the buildup of clay dust and fumes from glazes or other materials. A comfortable temperature is essential, so consider installing fans or heaters, depending on the season. You want your students to feel at ease, allowing them to focus on their art rather than feeling uncomfortable.
Another key aspect is the organization of your tools and materials. A cluttered workspace can be overwhelming and distracting. Use clearly labeled bins and shelves to store supplies, making it easy for students to find what they need. You might even create a
| Essential Studio Supplies | Description |
|---|---|
| Clay | Different types of clay for various projects. |
| Pottery Wheels | Essential for shaping clay into desired forms. |
| Tools | Cutters, sponges, and sculpting tools for detail work. |
| Glazes | Colorful finishes that add character to pottery. |
Finally, consider the social aspect of your studio. Encourage students to share their thoughts and ideas, perhaps by holding regular group discussions or critiques. This not only builds camaraderie but also enhances the learning experience. When students feel comfortable sharing their work, they are more likely to take risks and express their unique styles. After all, pottery is as much about personal expression as it is about technique.
In summary, creating a welcoming studio environment is about more than just aesthetics. It involves a thoughtful approach to layout, decor, organization, and social interaction. By fostering a space where students feel comfortable and inspired, you’ll not only enhance their learning experience but also cultivate a community of passionate pottery enthusiasts.
- What is the best type of clay for beginners? Earthenware is often recommended as it is easy to work with and forgiving for beginners.
- How can I encourage my students to be more creative? Provide them with various materials and techniques, and encourage experimentation without fear of making mistakes.
- What should I do if a student is struggling with a technique? Offer one-on-one guidance and encouragement, and consider demonstrating the technique again for clarity.

Essential Tools and Equipment
When it comes to teaching pottery, having the right tools and equipment is like having a well-stocked toolbox for a DIY project. Without the essentials, you might find yourself struggling to create the magic that clay can bring. So, let’s dive into the must-have items that will help both you and your students unleash their inner artists.
First off, your studio should have a reliable pottery wheel. This is the heart of any pottery studio, allowing students to shape their clay creations with precision. When choosing a pottery wheel, consider one that is sturdy and easy to operate, especially for beginners. A good wheel can make all the difference in how quickly students pick up the technique. Pair this with a bat system, which allows for easy removal of completed work without damaging it.
Next on the list are tools. A basic toolkit for pottery typically includes:
- Wire cutters for slicing clay easily.
- Ribs for smoothing surfaces and shaping pieces.
- Loop tools for carving and refining details.
- Sponge for adding moisture and smoothing out rough edges.
- Needle tool for intricate designs and scoring clay.
These tools not only help in shaping the clay but also encourage students to experiment with different techniques and styles. Remember, the right tools can empower your students to express their creativity freely, making the learning process more enjoyable and effective.
Don’t forget about the importance of clay. There are various types available, each suited for different projects. For instance, earthenware is great for beginners due to its forgiving nature, while stoneware is perfect for those looking to create more durable pieces. Having a variety of clay types on hand allows students to explore and choose what resonates with them the most.
Another critical component of your studio setup is the kiln. This is where the magic happens! Firing clay transforms it from a malleable substance into a hard, finished product. When selecting a kiln, consider factors like size, firing temperature, and energy source. A well-functioning kiln can enhance the quality of your students' work significantly, so it’s worth investing in a reliable option.
Finally, let’s talk about a few safety tools that should never be overlooked. Pottery can be messy, and safety is paramount. Ensure your studio is equipped with:
- Dust masks to protect against inhaling clay dust.
- Gloves for handling glazes and chemicals.
- Protective eyewear to shield eyes from flying debris when trimming or carving.
By setting up your studio with these essential tools and equipment, you create an environment where learning flourishes. Your students will not only learn the craft of pottery but also feel empowered to explore their creativity in a safe and supportive space. So, take the time to gather these essentials, and watch as your students blossom into skilled potters!
Q: What is the best clay for beginners?
A: Earthenware is often recommended for beginners due to its workability and low firing temperature, making it forgiving for new potters.
Q: How often should students practice?
A: Regular practice is key in pottery. Encourage students to work on their skills at least once a week to see steady improvement.
Q: What safety measures should be taken in a pottery studio?
A: It's important to wear dust masks, gloves, and protective eyewear. Keeping the studio clean and well-ventilated is also crucial for safety.
Clay Types and Their Uses
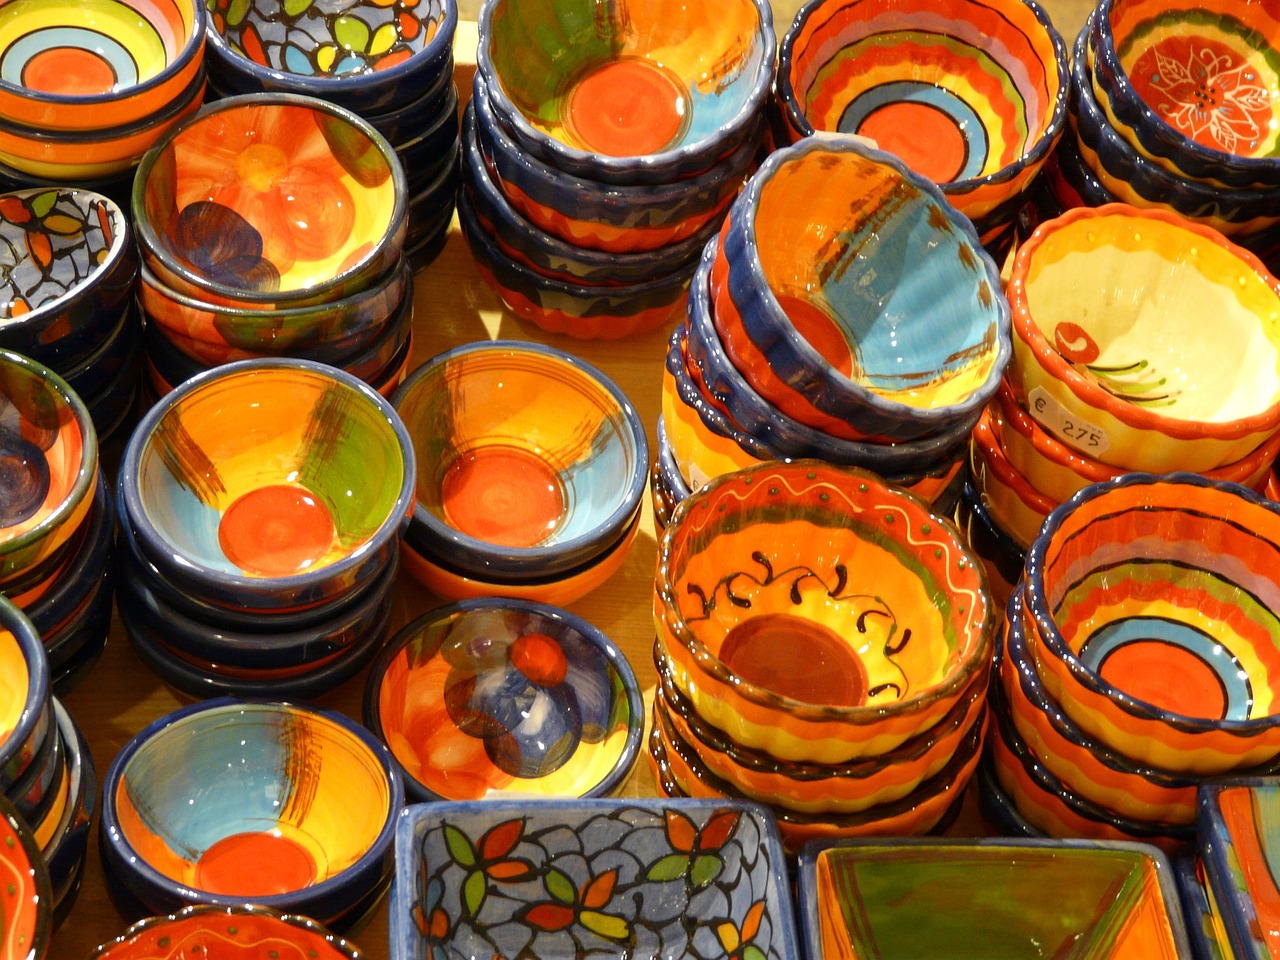
When it comes to pottery, the type of clay you choose can make all the difference in your creations. Each type of clay has its unique characteristics, influencing not only the workability but also the final appearance of your piece. Understanding these differences is essential for both teachers and students, as it allows for informed decisions that lead to successful pottery projects.
There are several primary types of clay used in pottery, each suited for different techniques and firing methods. Here’s a brief overview:
| Clay Type | Characteristics | Best Uses |
|---|---|---|
| Earthenware | Low firing temperature, porous, and often red or brown in color. | Ideal for decorative pieces, tiles, and tableware. |
| Stoneware | Mid to high firing temperature, durable, and typically gray or brown. | Perfect for functional items like dishes and mugs. |
| Porcelain | High firing temperature, smooth, and often white or translucent. | Best for fine art pieces, high-quality dinnerware, and detailed sculptures. |
| Raku | Fired at low temperatures and removed from the kiln while hot, creating unique finishes. | Used for decorative pieces and artistic expressions. |
Each type of clay can be manipulated in various ways, allowing students to explore their creativity while learning the fundamentals of pottery. For instance, earthenware is fantastic for beginners due to its forgiving nature, while porcelain can be more challenging but offers stunning results for those willing to invest the time.
When selecting clay for a project, it’s crucial to consider the intended outcome. For example, if a student wants to create a functional piece, stoneware might be the best choice due to its durability. On the other hand, if the goal is to create a decorative item, earthenware or raku could provide the artistic flair desired.
In addition to the type of clay, students should also be aware of the firing process, as this can significantly affect the final product. Different clays require specific firing temperatures, and understanding this can help avoid common pitfalls. For instance, using a low-fire clay in a high-fire kiln can lead to disastrous results, ruining hours of hard work.
As a teacher, it’s essential to guide your students in selecting the right clay for their projects. Encourage them to experiment with different types, as hands-on experience is the best teacher. This exploration not only enhances their technical skills but also helps them develop their unique artistic voice.
Q: What is the best clay for beginners?
A: Earthenware is often recommended for beginners due to its easy workability and forgiving nature.
Q: Can I mix different types of clay?
A: While it is possible to mix clays, it’s generally not recommended because different clays have different shrinkage rates and firing temperatures, which can lead to issues.
Q: How do I know which clay to use for my project?
A: Consider the final use of your piece (functional vs decorative) and the firing method you plan to use. This will guide you in selecting the appropriate clay type.
Firing Techniques
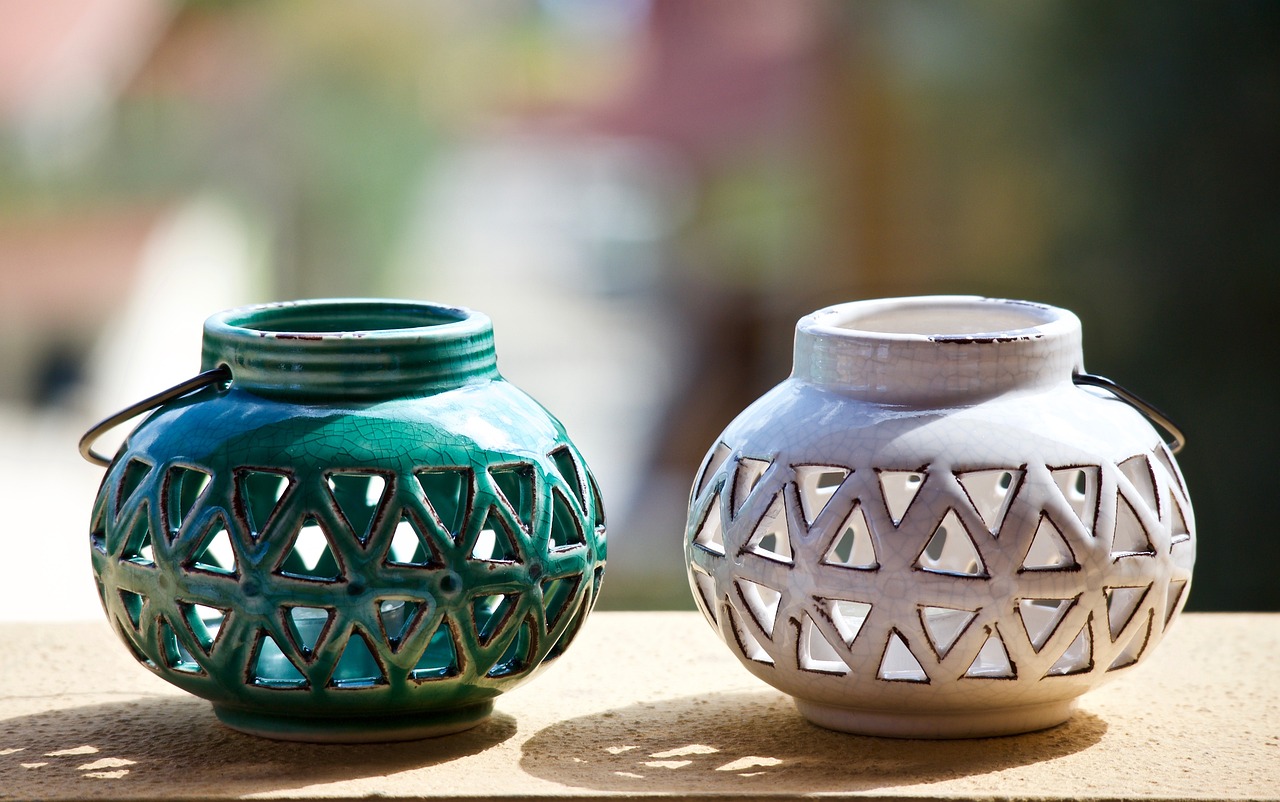
Firing techniques are the heart and soul of pottery, transforming soft clay into durable ceramic masterpieces. Understanding these techniques is essential for any pottery teacher, as they can significantly influence the final look and feel of the students' creations. There are several firing methods, each with its unique characteristics and effects on the clay. Let's dive into the most common firing techniques that every pottery enthusiast should know.
First up, we have the bisque firing. This is the initial firing of the clay, which removes moisture and hardens the piece. During this stage, the clay undergoes a chemical transformation, becoming more durable and ready for glazing. Typically, bisque firing occurs at a temperature between 1,800°F and 2,000°F (about 982°C to 1,093°C). This process not only prepares the clay for glazing but also allows artists to see any imperfections that need addressing before the final firing.
Next is the glaze firing, which follows bisque firing. This process involves applying a glaze to the bisqueware and firing it at higher temperatures, usually around 2,200°F to 2,400°F (approximately 1,204°C to 1,316°C). The glaze melts and fuses to the clay body, creating a glass-like surface that enhances the aesthetic appeal and durability of the piece. It’s during this firing that the colors of the glaze truly come alive, revealing the vibrant hues that pottery lovers adore.
Another fascinating technique is raku firing, which is known for its dramatic and unpredictable results. Raku is a Japanese firing method that involves removing the pottery from the kiln while it’s still glowing hot and placing it in combustible materials, like sawdust or newspaper. This causes a reduction atmosphere, creating unique surface effects and metallic finishes. Raku firing typically occurs at lower temperatures than traditional methods, around 1,800°F (about 982°C), and often leads to stunning, one-of-a-kind pieces.
Additionally, there’s wood firing, a traditional technique that involves using wood as the fuel source in a kiln. This method can take days and requires careful attention and skill. The ash from the wood can create beautiful natural glazes on the pottery, resulting in earthy textures and colors. The unpredictability of wood firing can lead to remarkable outcomes, making it a favorite among adventurous potters.
Lastly, we should mention electric firing, which is the most common method used in contemporary studios. Electric kilns allow for precise temperature control, making them ideal for beginners and experienced potters alike. They can accommodate various firing schedules and are versatile enough to handle different types of clay and glazes. The convenience and reliability of electric kilns make them an essential tool in any pottery studio.
In summary, understanding these firing techniques not only enhances your teaching but also enriches your students' learning experience. By explaining the differences and effects of each firing method, you empower your students to make informed decisions about their pottery projects. This knowledge will help them appreciate the art of pottery even more, igniting their passion and creativity in the process.
- What is the purpose of bisque firing?
Bisque firing prepares the clay by removing moisture and hardening it, making it ready for glazing.
- Can I use any glaze for raku firing?
No, raku requires specific glazes that are designed to withstand the rapid temperature changes during the firing process.
- What are the benefits of using an electric kiln?
Electric kilns offer precise temperature control, making them suitable for various firing schedules and types of clay.
- How does wood firing differ from other methods?
Wood firing uses wood as fuel, creating unique textures and colors from the ash, and requires more time and skill.
Developing a Curriculum
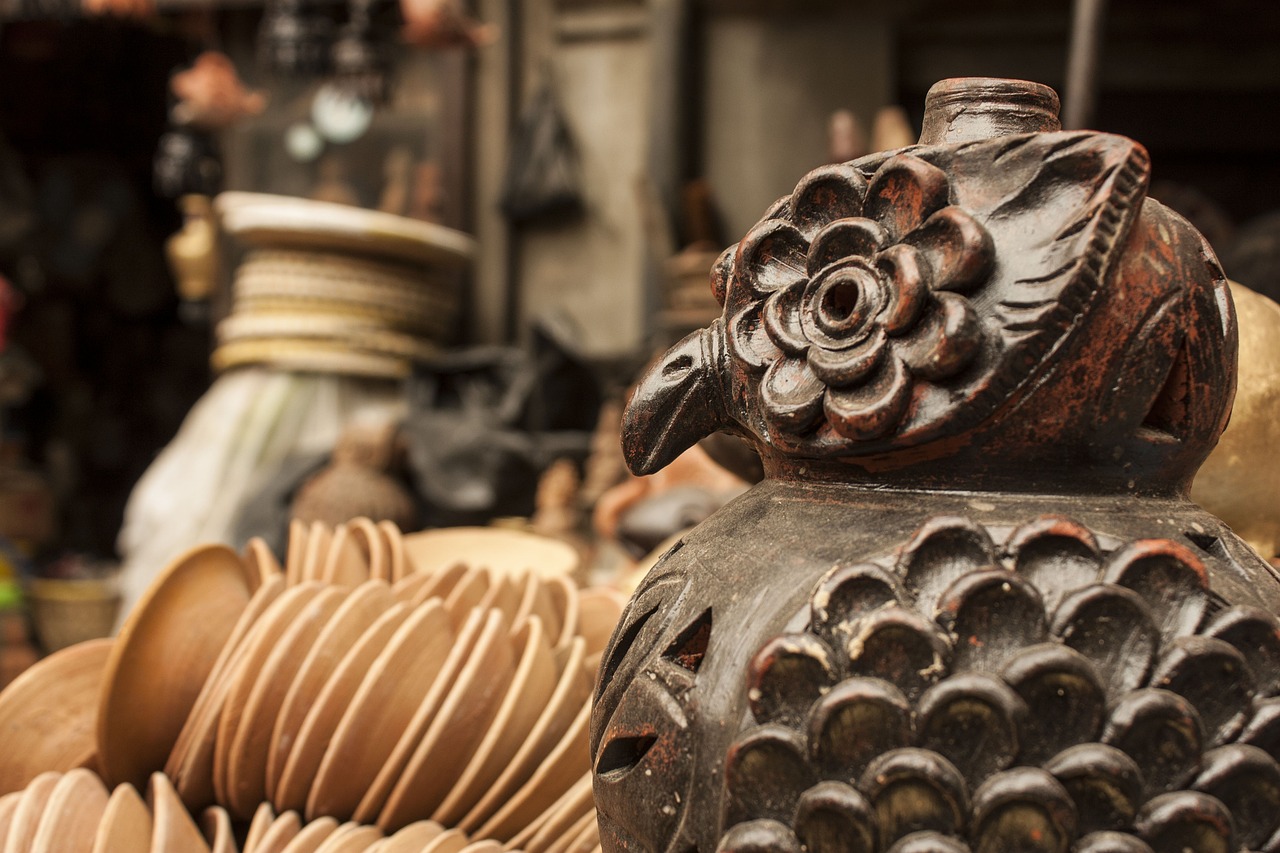
Creating a well-structured curriculum is like crafting a beautiful piece of pottery; it requires careful thought, creativity, and a clear understanding of your materials— in this case, your students. As a pottery instructor, you want to ensure that your lessons not only teach essential skills but also ignite a passion for the craft. Start by identifying the key objectives of your classes. What do you want your students to achieve? Is it mastering the wheel, hand-building techniques, or glazing methods? By outlining these goals, you can create a roadmap that guides your students through their pottery journey.
Next, consider the pacing of your curriculum. Just like in pottery, where too much pressure can lead to cracks, overwhelming your students can hinder their learning experience. A balanced approach is crucial. Begin with foundational skills and gradually introduce more complex techniques. For example, you might start with basic hand-building projects before moving on to wheel throwing and glazing. This progression allows students to build confidence and competence, making them more eager to tackle advanced projects.
Incorporating a mix of theoretical knowledge and hands-on practice is essential. You might dedicate the first part of your class to discussing clay types, firing techniques, and design concepts. Then, transition into practical application where students can put theory into practice. This dual approach not only solidifies their understanding but also keeps the classes engaging. Consider introducing short demonstrations to showcase techniques before allowing students to experiment on their own.
Another vital aspect of your curriculum is the inclusion of creative projects. Encourage students to explore their artistic styles by providing them with various themes or prompts. For instance, you could have a week dedicated to creating functional pottery, followed by a week focused on sculptural pieces. This variety will help students discover their preferences and foster their creativity.
To ensure that your curriculum remains effective and engaging, it’s beneficial to solicit feedback from your students. After completing a project, ask them what they enjoyed and what they found challenging. This feedback loop will help you refine your teaching methods and curriculum structure, making the learning experience even better for future classes.
Lastly, consider incorporating a few fun activities to break the routine and keep the energy high. Perhaps you could host a pottery challenge or a themed project week. These activities not only enhance learning but also build camaraderie among students, creating a tight-knit community within your studio.
In summary, developing a curriculum for pottery classes is all about striking a balance between skill development, creativity, and fun. By carefully planning your lessons, introducing a variety of techniques, and remaining open to student feedback, you can create a dynamic learning environment that inspires and nurtures the next generation of pottery enthusiasts.
- What materials do I need to start teaching pottery? You will need clay, pottery tools, a pottery wheel (if applicable), and a kiln for firing pieces. Don’t forget safety equipment like gloves and masks!
- How do I handle students with different skill levels? Tailor your lessons to include both beginner and advanced techniques, allowing students to work at their own pace while providing support where needed.
- What is the best way to showcase student work? Consider organizing exhibitions at your studio or sharing their work on social media platforms to celebrate their achievements.
Encouraging Creativity in Students
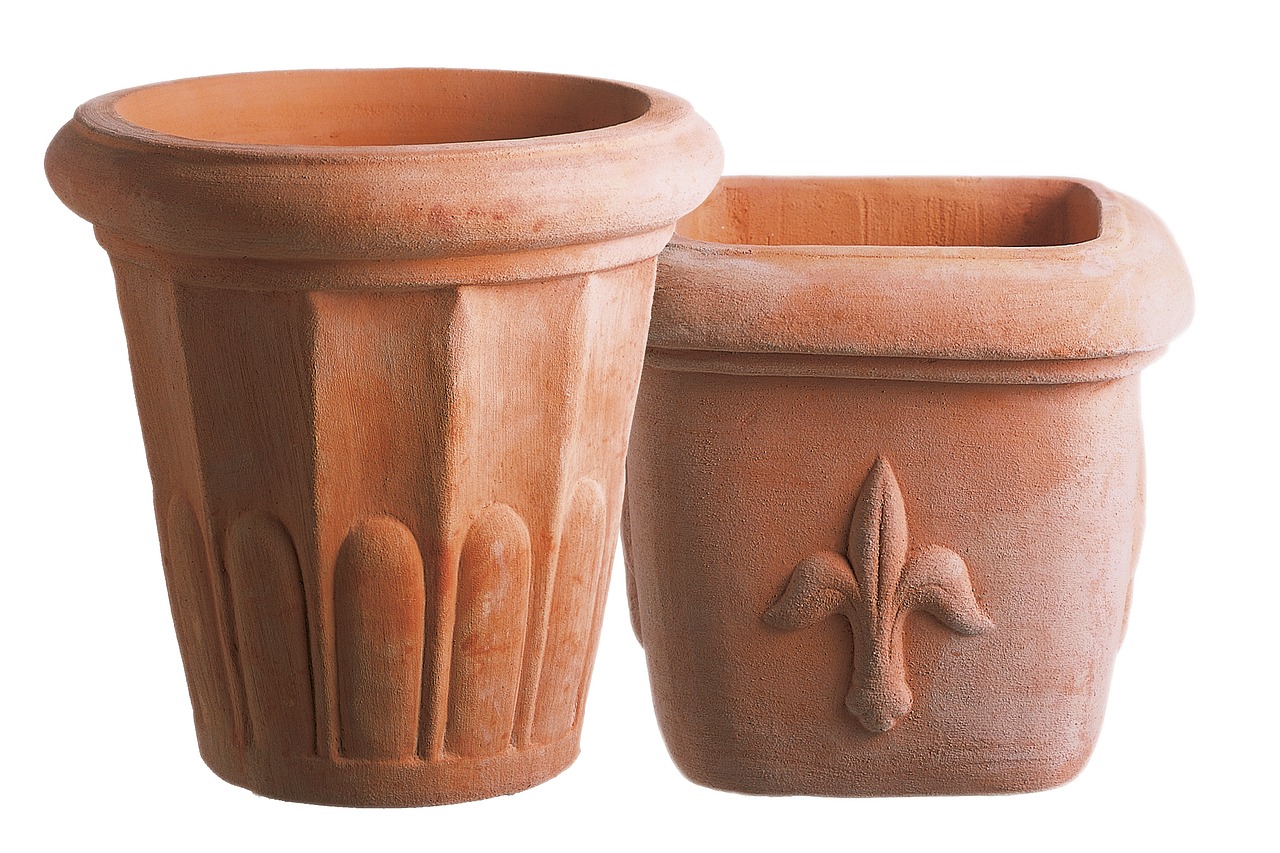
Encouraging creativity in students is one of the most rewarding aspects of teaching pottery. When you see a student transform a lump of clay into a unique piece of art, it’s like watching a caterpillar turn into a butterfly. The key to unlocking this creativity lies in creating an environment that nurtures self-expression and experimentation. You want your students to feel free to explore their artistic instincts, and that starts with you fostering a supportive atmosphere.
One effective way to encourage creativity is by introducing a variety of techniques and styles. When students are exposed to different pottery methods—such as wheel throwing, hand-building, or sculpting—they can discover what resonates with them. This not only broadens their skill set but also helps them develop a personal style. Consider organizing workshops that focus on specific techniques or themes, allowing students to dive deep into their creative process.
Another important aspect is to celebrate individuality. Each student comes with a unique perspective and a distinct flair. As a teacher, it's essential to recognize and appreciate these differences. Instead of pushing everyone towards a single vision, encourage students to embrace their quirks. For instance, if a student prefers to work with bright colors or unconventional shapes, celebrate that choice. This not only boosts their confidence but also inspires others to think outside the box.
Furthermore, providing constructive feedback is crucial for fostering creativity. Instead of merely pointing out what could be improved, guide your students by highlighting what they did well and how they can build on that success. This positive reinforcement can motivate them to take risks in their work. Remember, every mistake is just a stepping stone towards mastery, and your encouragement can help students view challenges as opportunities for growth.
To further inspire creativity, consider incorporating collaborative projects into your curriculum. Group activities can spark new ideas and foster a sense of community among students. When they work together, they can share techniques, provide feedback, and inspire one another. For example, a group mural or a collective sculpture can be a fun way to blend different styles and perspectives, resulting in a piece that reflects the collective creativity of the class.
In addition, encourage students to draw inspiration from various sources. This could be nature, art history, or even their own life experiences. Suggest they keep a journal or a mood board filled with images, colors, and textures that resonate with them. When students bring external influences into their work, they often find new ways to express themselves, leading to unexpected and beautiful results.
Lastly, it’s essential to create a space where students feel comfortable taking risks. Remind them that it’s okay to make mistakes and that every artist has faced challenges. By cultivating an atmosphere of trust and openness, students will be more willing to experiment and push their creative boundaries. After all, pottery is as much about the journey as it is about the final product.
- How can I help my students find their unique style? Encourage them to experiment with different techniques and materials. Provide opportunities for self-expression and celebrate their individuality.
- What should I do if a student is struggling with creativity? Offer support and guidance, and remind them that making mistakes is part of the learning process. Encourage them to try new things and explore various inspirations.
- How can I incorporate collaboration into my pottery classes? Organize group projects that allow students to work together on a piece. This fosters teamwork and can lead to innovative ideas.
Incorporating Different Styles and Techniques
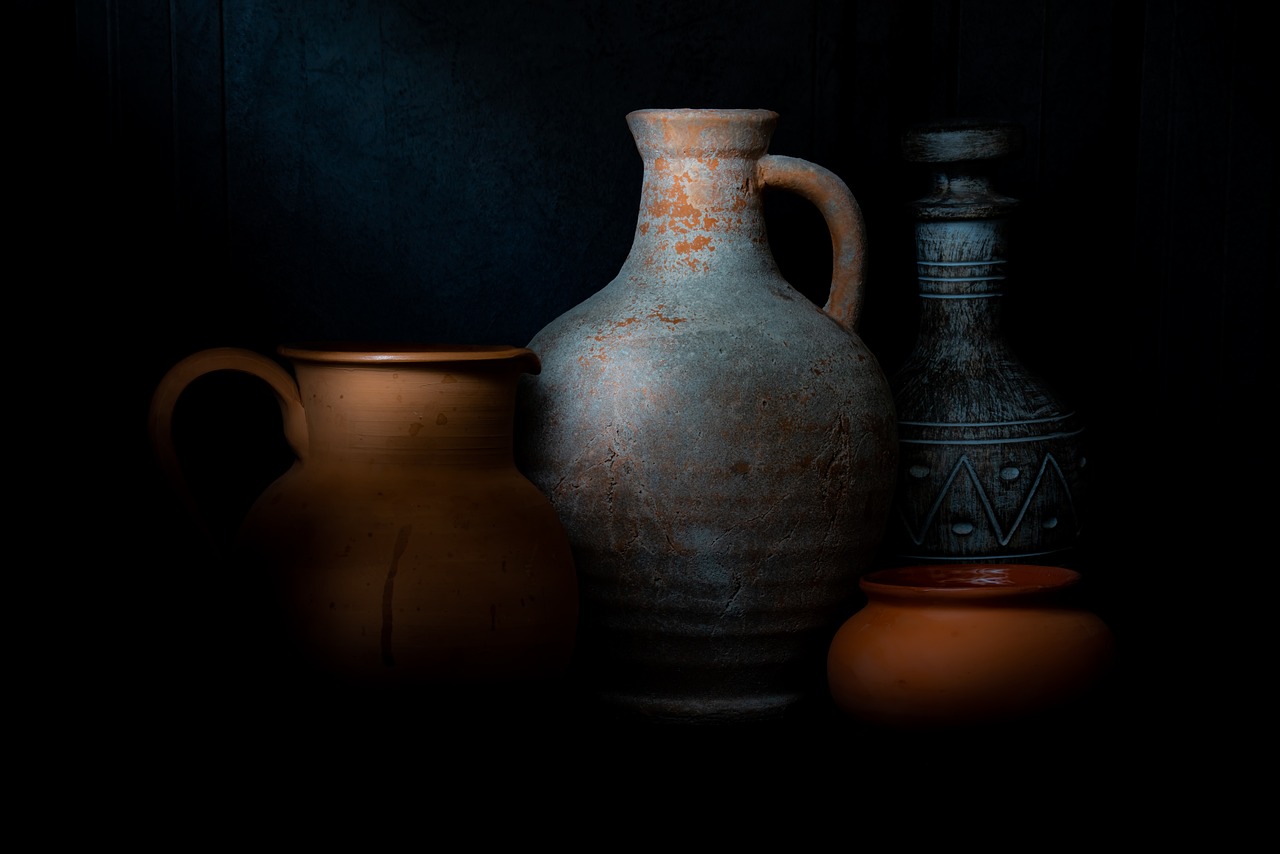
When it comes to pottery, the world is your oyster! There are countless styles and techniques that can ignite your students' creativity and help them find their unique voice in this timeless craft. As a pottery instructor, it’s essential to introduce your students to a variety of methods, allowing them to explore and experiment. This not only enriches their learning experience but also keeps the excitement alive in the studio.
One effective way to incorporate different styles is by organizing themed sessions that focus on specific techniques. For instance, you might dedicate a class to hand-building, where students can create pieces using only their hands and simple tools. This technique is fantastic for beginners as it emphasizes tactile engagement with the clay. In contrast, a session on wheel throwing can introduce students to the mesmerizing art of shaping clay on a potter's wheel, allowing them to experience the dynamic nature of pottery making.
Moreover, don't shy away from exploring various cultural pottery techniques. For example, you could introduce your students to the intricate designs of Japanese Raku or the colorful patterns of Mayan pottery. Each culture has its own rich history and unique methods that can serve as inspiration. By exposing your students to these diverse styles, you encourage them to think outside the box and develop their personal style.
Here’s a quick overview of some popular pottery techniques you might want to incorporate into your curriculum:
| Technique | Description |
|---|---|
| Hand-Building | A method where clay is shaped using hands and simple tools without a potter's wheel. |
| Wheel Throwing | A technique that involves shaping clay on a rotating wheel, offering precision and speed. |
| Slip Casting | Pouring liquid clay (slip) into molds to create uniform shapes, ideal for production. |
| Raku Firing | A Japanese technique that involves removing pottery from the kiln while hot and placing it in combustible materials. |
Additionally, encourage your students to experiment with glazing techniques. Glazing can dramatically change the appearance of a piece, and understanding how different glazes react during firing is an important skill. You can host glaze testing sessions where students can apply various glazes to their pieces and see the results after firing. This hands-on experience not only teaches them about color and texture but also allows them to make informed choices in their future projects.
Incorporating different styles and techniques not only broadens your students' skill set but also fosters a sense of community in your pottery class. As they share their experiences and discoveries, they’ll inspire one another and create a vibrant learning environment. Remember, the goal is to ignite a passion for pottery that lasts a lifetime!
- What is the best technique for beginners? Hand-building is often recommended for beginners as it allows for more tactile learning and creativity.
- How can I encourage my students to experiment with styles? Provide a variety of materials and techniques in your classes, and create a supportive atmosphere where mistakes are seen as learning opportunities.
- What should I do if a student feels frustrated? Encourage them to take a break, try a different technique, or work on a simpler project to rebuild their confidence.
Building Confidence through Practice
Building confidence in pottery is much like sculpting a piece of clay; it requires patience, persistence, and a gentle touch. As students dive into the world of pottery, they often face challenges that can be intimidating. However, with consistent practice, these hurdles can transform into stepping stones towards mastery. The key is to create an environment where mistakes are not just accepted but celebrated as part of the learning process.
One effective approach to instill confidence is to encourage students to set small, achievable goals. For instance, rather than overwhelming them with the idea of creating a complex piece right away, guide them to focus on mastering basic techniques first. This could involve simple tasks such as centering clay on the wheel or creating a basic bowl. As they accomplish these smaller objectives, their confidence will naturally grow, enabling them to tackle more intricate projects.
Additionally, incorporating regular practice sessions is essential. Just like any skill, pottery demands repetition to refine techniques and build muscle memory. Consider organizing practice days where students can freely experiment without the pressure of a formal class structure. This freedom allows them to explore their creativity and gain confidence in their abilities.
Moreover, fostering a supportive community within the studio can significantly boost confidence. Encourage students to share their work and provide constructive feedback to one another. This collaborative atmosphere not only helps them learn from each other but also reinforces the idea that pottery is a journey shared with peers. As they witness their classmates overcoming challenges, they will feel more empowered to push through their own obstacles.
To further enhance this experience, consider implementing a peer mentorship program. Pairing beginners with more experienced potters can create a nurturing environment where they can learn from each other. The seasoned potters can share tips and tricks, while the newcomers can bring fresh perspectives and enthusiasm. This exchange of knowledge not only builds confidence but also fosters a sense of community and belonging.
Finally, it's important to celebrate progress, no matter how small. Whether it's through a gallery night showcasing student work or simply acknowledging their achievements in class, recognition plays a crucial role in building confidence. When students see their creations appreciated by others, it reinforces their belief in their abilities and motivates them to continue honing their craft.
In conclusion, building confidence through practice in pottery is a multifaceted approach that involves setting achievable goals, fostering a supportive community, and celebrating progress. By creating an environment that encourages exploration and growth, you can help your students unlock their full potential and truly enjoy the art of pottery.
- How long does it take to become proficient in pottery?
Proficiency in pottery varies for each individual, but with regular practice, many students can see significant improvement within a few months. - What are the best ways to practice pottery at home?
Setting up a small workspace, investing in basic tools, and following online tutorials can help you practice effectively at home. - How can I overcome frustration during the learning process?
Remember that every potter faces challenges. Take breaks, seek guidance from instructors, and keep a positive mindset to help overcome frustration. - Is it necessary to take classes to learn pottery?
While classes provide valuable guidance and structure, self-teaching through books and videos is also a viable option for many aspiring potters.
Showcasing Student Work
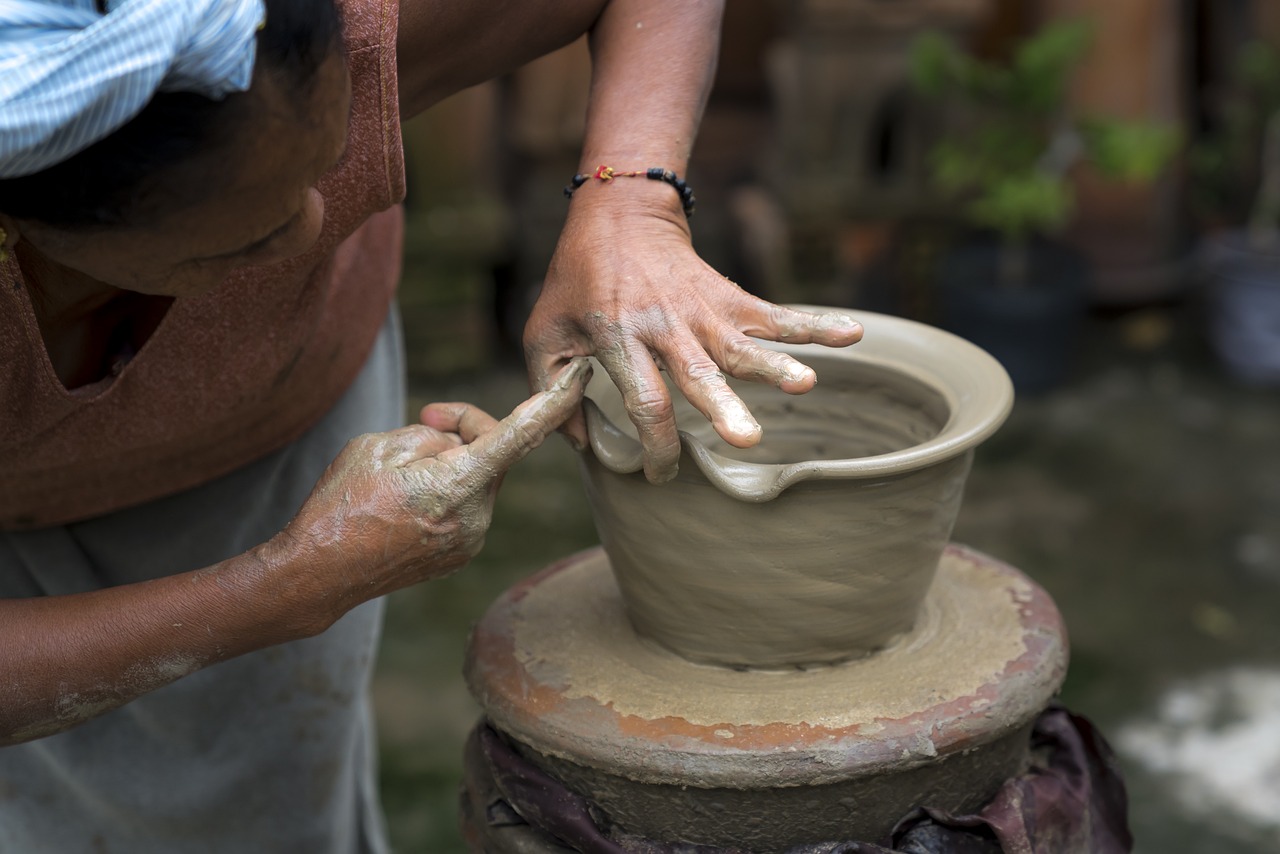
One of the most rewarding aspects of teaching pottery is the opportunity to showcase your students' work. It's not just about the finished pieces; it's about celebrating their journey and progress in the craft. When students see their creations displayed, it boosts their confidence and fosters a sense of community within the class. So, how can you effectively showcase their masterpieces? Let's dive into some engaging methods!
First and foremost, consider organizing a pottery exhibition. This could be a formal event where students can invite family and friends to view their work. Set up a gallery-style display in your studio or a local community center, and create an inviting atmosphere with good lighting and signage. You could even include:
- Artist Statements: Encourage students to write a brief description of their work, explaining their inspiration and techniques.
- Interactive Demonstrations: Allow students to demonstrate their skills, engaging the audience and showcasing their learning process.
- Feedback Station: Set up a space where visitors can leave comments or compliments for the student artists.
Another fantastic way to showcase student work is through social media platforms. Create an Instagram account or a Facebook page dedicated to your pottery class. Regularly post pictures of students at work, their finished pieces, and even short videos of their creative process. This not only highlights their achievements but also builds a supportive online community. Plus, it allows students to connect with a wider audience, potentially leading to new opportunities.
For those who prefer a more traditional approach, consider creating a portfolio for each student. This could include photographs of their work, sketches, and reflections on their learning experiences. Portfolios can be shared during parent-teacher conferences or kept in the studio for visitors to browse. This tangible collection serves as a powerful reminder of their growth and accomplishments.
Lastly, don't underestimate the power of local community events. Participate in craft fairs or art festivals where students can display and sell their work. This real-world experience not only builds their confidence but also teaches them valuable lessons about marketing and entrepreneurship. Plus, it’s a great way to engage with the community and promote the art of pottery!
In conclusion, showcasing student work is an essential part of the pottery teaching experience. Whether through exhibitions, social media, portfolios, or community events, these opportunities not only celebrate student achievements but also inspire them to continue honing their craft. Remember, every piece tells a story, and sharing those stories is what makes pottery teaching so fulfilling!
Q: How often should we hold exhibitions to showcase student work?
A: It's a good idea to hold exhibitions at the end of each term or semester, allowing students to reflect on their progress and celebrate their achievements.
Q: What if some students are shy about showcasing their work?
A: Encourage a supportive environment where every piece is valued. You can also offer options for anonymous displays or smaller group showcases to help build their confidence.
Q: How can we involve parents in the showcasing process?
A: Involve parents by inviting them to exhibitions, encouraging them to provide feedback, or even having them participate in collaborative pottery projects with their children.

This article explores the rewarding journey of teaching pottery, from foundational techniques to fostering creativity in students. Discover how to inspire others while honing your own skills in this timeless art form.
Before teaching pottery, it's essential to grasp the fundamental techniques. This section covers clay types, tools, and basic methods to ensure a solid foundation for both teachers and students alike.
A positive learning atmosphere is crucial for effective teaching. Here, we discuss how to set up a studio that encourages creativity and comfort, making it an ideal space for pottery enthusiasts.
Equipping your studio with the right tools is vital for successful pottery classes. This subsection outlines the must-have items for beginners and advanced students, ensuring a smooth learning experience.
Different clay types serve various purposes in pottery. This section highlights the characteristics of each type, helping students select the right clay for their projects and enhancing their learning process.
Understanding firing techniques is crucial for pottery success. This part covers the different firing methods, their effects on clay, and tips for achieving optimal results in your students' creations.
A well-structured curriculum can enhance the learning experience. Here, we provide guidance on creating lesson plans that balance skill development, creativity, and fun for all students.
Fostering creativity is key to a successful pottery class. This section explores techniques for encouraging students to express their unique artistic styles while mastering essential skills.
Introducing various pottery styles can inspire students. This part discusses how to expose your students to different techniques, helping them discover their preferences and expand their creative horizons.
Confidence plays a significant role in learning pottery. This subsection emphasizes the importance of practice and offers strategies to help students overcome challenges and celebrate their progress.
Sharing student creations can boost morale and foster a sense of community. This section discusses effective ways to showcase student work, including exhibitions and online platforms, to celebrate their achievements.
If you’re new to teaching pottery or just looking to refine your approach, you might have a few questions. Here are some frequently asked questions that can help guide you:
| Question | Answer |
|---|---|
| What is the best age to start teaching pottery? | There's no specific age, but children as young as 5 can enjoy basic clay manipulation, while adults can start at any age. |
| How do I handle students who struggle with techniques? | Encourage them to practice and provide personalized guidance. Celebrate small successes to build their confidence. |
| What are some ways to keep classes engaging? | Incorporate fun challenges, introduce new techniques, and allow students to explore their creativity with different projects. |
| Should I focus more on technique or creativity? | Balance is key! Teach essential techniques while encouraging creative expression to keep students motivated. |
Frequently Asked Questions
- What are the basic techniques I should know before teaching pottery?
Before diving into teaching pottery, it's crucial to familiarize yourself with the fundamental techniques. This includes understanding different clay types, essential tools, and basic methods like hand-building and wheel-throwing. Having a solid grasp of these basics will not only boost your confidence but also help your students build a strong foundation in their pottery journey.
- How can I create a welcoming studio environment for my students?
Creating a welcoming studio environment is all about fostering creativity and comfort. Start by arranging your studio space to be inviting and organized. Incorporate natural light, comfortable seating, and inspiring decor. Don't forget to provide a variety of materials and tools that encourage exploration. A positive atmosphere can greatly enhance the learning experience, making students feel more at ease and inspired.
- What tools and equipment are essential for a pottery class?
Equipping your studio with the right tools is vital for both beginners and advanced students. Essential items include pottery wheels, various clay types, hand tools (like trimming tools and rib tools), and glazing supplies. Additionally, having a kiln for firing pieces is crucial. A well-stocked studio ensures that students have everything they need to create their masterpieces without unnecessary interruptions.
- How do I choose the right clay type for my students' projects?
Choosing the right clay type is essential for successful pottery projects. Different clays have unique characteristics that affect their workability and final results. For beginners, earthenware is a great option due to its ease of use and versatility. Stoneware is ideal for more advanced projects, while porcelain offers a delicate finish. Educating your students about these options will help them make informed decisions based on their artistic goals.
- What firing techniques should I teach my students?
Understanding firing techniques is crucial for achieving optimal results in pottery. Teach your students about the different firing methods, such as bisque firing and glaze firing, along with their effects on clay. Explain the importance of temperature control and kiln types. Providing tips for troubleshooting common firing issues can also empower your students to take charge of their creations and enhance their learning experience.
- How can I develop a curriculum that balances skill development and creativity?
Creating a well-structured curriculum is key to a successful pottery class. Start by outlining your goals for each session, focusing on skill development while also allowing room for creativity. Incorporate hands-on projects that encourage exploration and experimentation. Always be flexible and open to adapting your lesson plans based on your students' interests and progress. This approach not only keeps the classes engaging but also fosters a love for pottery.
- What strategies can I use to encourage creativity in my students?
Encouraging creativity is essential in a pottery class. Introduce various pottery styles and techniques to inspire your students and help them discover their unique artistic voices. Create an environment where mistakes are seen as learning opportunities, allowing students to experiment without fear. Celebrate their individual styles and progress, and consider incorporating group projects to foster collaboration and creativity.
- How can I showcase my students' work effectively?
Showcasing student work is a fantastic way to boost morale and build a sense of community. Consider organizing exhibitions in your studio or local galleries to display their creations. Additionally, utilize online platforms like social media to share their progress and achievements. Highlighting their work not only celebrates their efforts but also inspires others to join the pottery journey.


