Super Cool Crafts Based on Kids' Favorite Superheroes
Are your kids obsessed with superheroes? Do they dream of flying through the sky or saving the day like their favorite characters? Well, you’re in luck! In this article, we’ll explore a variety of fun and engaging craft ideas inspired by popular superheroes that will ignite children's creativity and imagination while enhancing their fine motor skills. From DIY masks and capes to action figures and wall art, these crafts not only provide hours of entertainment but also foster a sense of accomplishment and pride in their creations. Let’s dive into the world of superhero crafting and unleash the little artist within!
Creating superhero masks is a fantastic way for kids to express their favorite characters. Imagine your child donning a vibrant mask, feeling powerful and ready to take on the world! To get started, gather some simple materials: colored cardstock, scissors, elastic bands, and markers or paints. The process is straightforward and allows for a lot of personalization. Kids can draw their favorite superhero’s emblem, cut out eye holes, and even add glitter for that extra sparkle. This craft not only enhances their creativity but also encourages them to engage in imaginative play, transforming into their favorite heroes at a moment's notice.
Crafting capes allows children to embody their favorite superheroes fully. With just a few materials, you can create a stunning cape that will have your child feeling invincible! Whether you choose fabric or paper, the process is simple and fun. Here’s a quick guide to get you started:
Selecting the right materials is crucial for durability and comfort. You want a cape that can withstand hours of adventurous play! Consider fabrics like cotton or felt, which are soft and easy to work with. If you’re using paper, opt for heavier cardstock to ensure it holds up during those epic superhero battles. The choice of material can make all the difference, so choose wisely!
When deciding between fabric and paper for superhero capes, it's essential to weigh the pros and cons:
| Material | Pros | Cons |
|---|---|---|
| Fabric | Durable, comfortable, reusable | Requires sewing skills, more expensive |
| Paper | Easy to make, inexpensive, no sewing | Less durable, not reusable |
By considering these factors, you can choose the material that best suits your child’s needs and your crafting capabilities.
Once you’ve created the base of the cape, it’s time to let your child’s creativity shine! Decorating the cape can involve fabric paint, sequins, or patches. Encourage your child to add their unique touch—maybe their superhero name or a cool emblem. This personalization not only makes the cape special but also allows kids to take ownership of their creation.
Making action figures is another exciting craft that kids will love! Using everyday materials like toilet paper rolls, old socks, or even clay, children can create unique superhero figures. This craft fosters creativity and storytelling, as kids can invent their own superheroes with diverse powers and backgrounds. Imagine the stories they will create as they play with their handmade action figures!
Kids can also create stunning wall art featuring their favorite superheroes. This section offers ideas on painting, drawing, or using collage techniques to brighten up their rooms. Not only do these artworks serve as decoration, but they also act as a constant reminder of their creativity and interests. Encourage your child to hang their artwork proudly, showcasing their talent to friends and family.
Framing artwork adds a special touch and elevates their creations to gallery-worthy pieces. You can use inexpensive frames from craft stores or even create DIY frames using cardboard and paint. This simple addition can give their superhero art the professional finish it deserves, making them feel like true artists!
Crafting with friends encourages teamwork and creativity. Organizing group project ideas that involve creating superhero-themed crafts together can enhance social skills and foster friendships. Think about hosting a superhero craft party where kids can work on masks, capes, and more. The laughter and fun they share will create lasting memories, all while celebrating their love for superheroes!
Q: What age group are these crafts suitable for?
A: These crafts are great for kids aged 5 and up, with adult supervision for younger children.
Q: How long do these crafts typically take?
A: Most crafts can be completed in 1-2 hours, depending on the complexity and the child's skill level.
Q: Can these crafts be made with recycled materials?
A: Absolutely! Many of these crafts can be made using recycled materials, promoting sustainability while being creative.
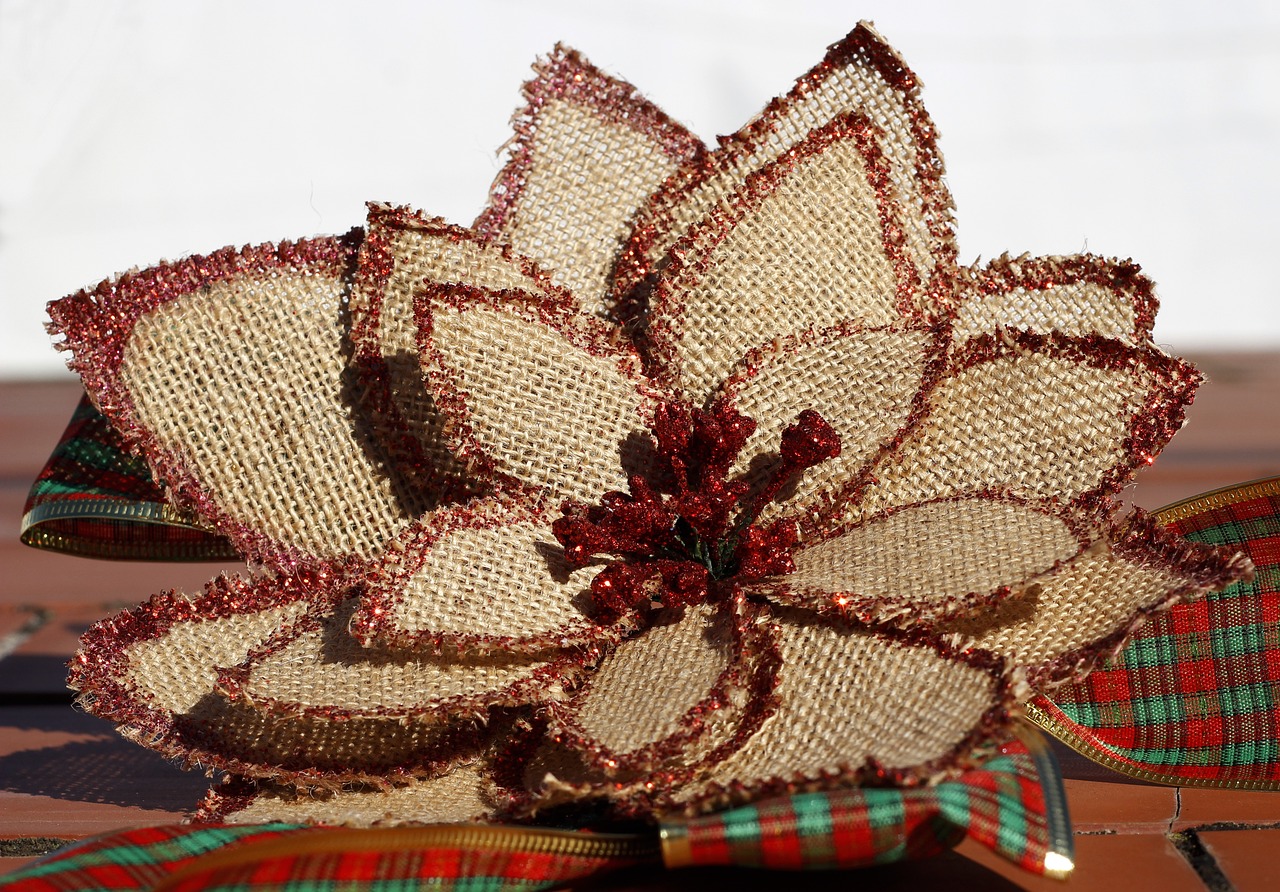
DIY Superhero Masks
Creating superhero masks is not just an arts and crafts project; it's an adventure waiting to unfold! Kids love to channel their inner heroes, and what better way to do so than by making their own masks? With a splash of creativity and a few simple materials, children can transform into their favorite characters, whether it’s the fearless Spider-Man, the mighty Wonder Woman, or even the iconic Batman. Not only does this activity spark their imagination, but it also enhances their fine motor skills as they cut, glue, and decorate.
To get started, you’ll need a few basic supplies. Here’s a quick rundown of what you might want to gather:
- Colored cardstock or craft foam
- Scissors
- Glue or tape
- Markers, crayons, or paint
- Elastic string or ribbon
- Decorative items like sequins, stickers, or glitter
Now that you have your materials ready, let’s dive into the steps to create these vibrant masks. First, you’ll want to choose a superhero to inspire your design. Once that’s settled, follow these steps:
- Cut Out the Mask Shape: Start by cutting a mask shape out of the cardstock or craft foam. Make sure it’s large enough to fit comfortably over your child’s face.
- Eye Holes: Cut out eye holes that align with your child's eyes. This is where the magic happens—make sure it’s a superhero-worthy fit!
- Decorate: Now comes the fun part! Use markers, paint, or any decorative items to personalize the mask. Kids can add their superhero’s emblem or even their own twist to it!
- Attach Elastic: Finally, punch holes on either side of the mask and tie elastic string or ribbon to secure it. This way, the mask stays in place during all those heroic adventures.
Encourage your kids to get creative with their designs! They can mix and match colors, add textures, and even create masks for their friends. Just imagine a whole squad of superheroes! This activity not only fosters creativity but also promotes social interaction when they share their creations with friends or family.
As you embark on this DIY superhero mask journey, remember that the goal is to have fun and let their imagination run wild. Who knows? You might just inspire a new generation of heroes right in your living room!
Q: What age group is this craft suitable for?
A: This craft is ideal for children aged 4 and up, but younger kids can also participate with adult supervision.
Q: Can we use recycled materials?
A: Absolutely! You can use old cardboard boxes, fabric scraps, or even paper plates to create unique masks.
Q: How long does this activity take?
A: Depending on the complexity of the design, creating a superhero mask can take anywhere from 30 minutes to an hour.
Q: Are there any safety concerns?
A: Always supervise children when using scissors and ensure that all materials are non-toxic and safe for kids.
Superhero Capes for Playtime
Crafting superhero capes is an exhilarating way for children to dive into the world of imagination and adventure. Just picture this: your little one dons a vibrant cape, instantly transforming into their favorite superhero, ready to save the day! Not only does this activity spark creativity, but it also encourages role-playing, which is essential for developing social skills and emotional intelligence. In this section, we’ll guide you through the simple steps to create capes that will provide hours of fun and excitement.
To get started, you'll need a few basic materials. Depending on your preference, you can choose either fabric or paper for your capes. Each material has its unique charm, and we’ll delve into the details shortly. The beauty of making superhero capes is that they can be personalized in countless ways. Kids can choose their favorite colors, patterns, and even add their superhero symbols. This not only makes the capes special but also gives children a sense of ownership and pride in their creations.
Selecting the right materials is crucial for creating capes that are not only stunning but also durable and comfortable. If you opt for fabric, consider using lightweight cotton or felt, which are great for warm weather and provide a soft touch against the skin. On the other hand, if you decide to go with paper, sturdy craft paper or poster board can work well, especially for short play sessions. Here’s a quick comparison of the materials:
| Material | Pros | Cons |
|---|---|---|
| Fabric |
|
|
| Paper |
|
|
When it comes to decorating your cape, the possibilities are endless! Kids can unleash their creativity using fabric paint, glitter, or even adding sequins and patches. Imagine a cape adorned with their favorite superhero's emblem or a unique design that reflects their personality. This process not only enhances fine motor skills but also allows children to express themselves artistically.
Once the capes are complete, it’s time for the real fun to begin! Encourage your child to engage in imaginative play, whether they’re flying through the living room or embarking on a daring rescue mission. You might even join in on the fun and create your own cape, turning playtime into a delightful bonding experience. After all, every superhero needs a sidekick!

Choosing the Right Materials
When it comes to crafting superhero capes, is essential for ensuring that your little ones not only look the part but also feel comfortable while they play. After all, no one wants to be stuck in a cape that itches or falls apart after just one heroic leap! So, let’s dive into what you should consider when selecting materials for these fantastic creations.
First and foremost, think about durability. Kids are naturally energetic, and their capes need to withstand all sorts of adventures. If you opt for fabric, consider materials like cotton, felt, or even lightweight denim. These fabrics are not only durable but also easy to work with. On the other hand, if you choose to go the paper route, be sure to select a thicker cardstock to prevent ripping during playtime.
Next up is comfort. Your child should feel like a superhero, not a walking scratchy label! If you decide on fabric, look for options that are soft and breathable. Avoid materials that might irritate the skin, like rough synthetics. For paper capes, you can line them with soft fabric or use a smooth paper that won’t cause discomfort.
Additionally, weight plays a crucial role in your material selection. A heavy cape might look impressive, but it could weigh your child down during their adventures. Lightweight fabrics like chiffon or tulle can create a flowing effect without being cumbersome. If you’re using paper, consider a lightweight variety that allows for easy movement.
Lastly, let’s not forget about color and design. Superheroes are all about bold colors and striking designs! Look for fabric or paper in vibrant hues that match your child’s favorite characters. You can also find materials with superhero prints that will make the cape even more special. If you’re feeling adventurous, why not mix and match different fabrics or papers to create a unique masterpiece?
To summarize, here are the key points to consider when choosing materials for superhero capes:
- Durability: Choose strong fabrics or thick paper.
- Comfort: Opt for soft, breathable materials.
- Weight: Lightweight options are best for easy movement.
- Color and Design: Go for vibrant colors and fun prints.
By keeping these factors in mind, you’ll be well on your way to creating capes that not only look amazing but also allow your child to unleash their inner superhero with confidence!
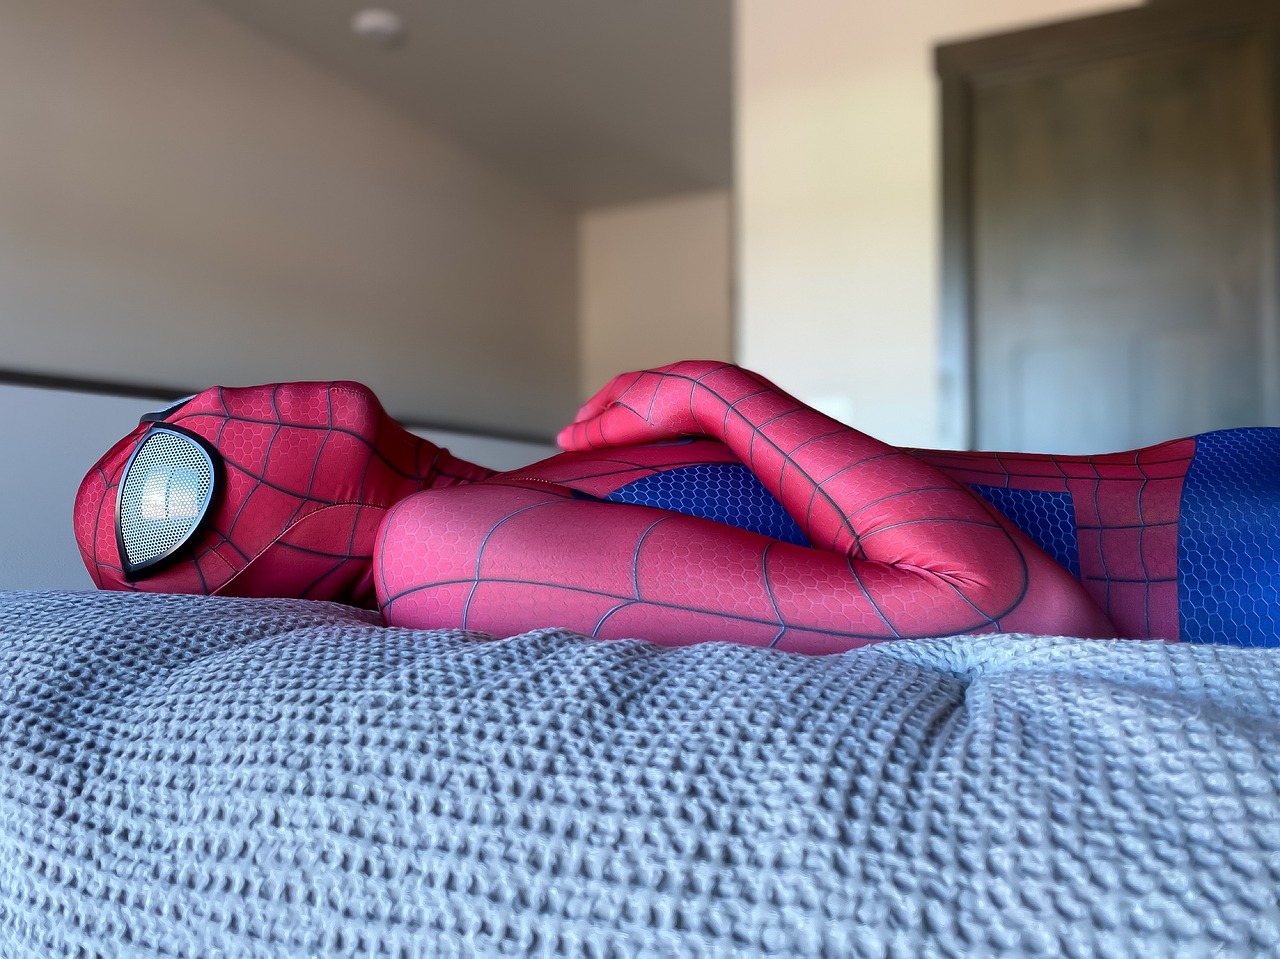
Fabric vs. Paper Capes
When it comes to crafting superhero capes for your little ones, the choice between fabric and paper can be a pivotal one. Each material brings its own set of advantages and drawbacks, and understanding these can help you make the best decision for your child's playtime adventures. Let’s dive into the world of capes and see how these two materials stack up against each other.
Fabric capes are often the go-to choice for many parents. They offer durability, comfort, and a touch of authenticity that can make your child feel like a true superhero. Imagine your child swirling around in a vibrant, flowing cape made from soft cotton or silky satin. Not only do these capes withstand the rigors of imaginative play, but they also provide a cozy fit that won't irritate sensitive skin. Plus, fabric capes can be washed and reused, making them a sustainable option for long-term fun.
However, fabric capes do require a bit more effort to create. You’ll need sewing supplies, which can be daunting if you're not familiar with the craft. But don’t let that scare you away! With a little practice and patience, making a fabric cape can be a rewarding experience that also teaches your child valuable skills.
On the other hand, paper capes present a whole different ball game. They are incredibly easy to make and require minimal materials—just some colorful paper, scissors, and tape or glue. This can be a fantastic option for quick, impromptu crafting sessions. Paper capes can be decorated with crayons, markers, or stickers, allowing your child to unleash their creativity in a fun and straightforward way. However, they do come with their own set of challenges. Paper isn’t as durable as fabric; it may tear or crumple during intense superhero battles, and it’s not as comfortable to wear for extended periods.
To help you weigh your options, here’s a quick comparison:
| Feature | Fabric Capes | Paper Capes |
|---|---|---|
| Durability | High | Low |
| Comfort | Very Comfortable | Can be Uncomfortable |
| Ease of Creation | Moderate (Sewing Required) | Easy (No Sewing Needed) |
| Cost | Higher (Fabric Costs) | Low (Inexpensive Materials) |
| Customization | High (Various Fabrics and Designs) | Moderate (Limited by Paper Types) |
Ultimately, the choice between fabric and paper capes boils down to your child’s needs and your crafting preferences. If you’re looking for something that will last through countless adventures and can be customized to fit your child’s personality, fabric may be the way to go. But if you’re after a quick, fun project that sparks creativity without breaking the bank, paper capes are a fantastic option!
- Can I mix materials for a cape? Absolutely! Combining fabric and paper can create a unique look and enhance durability.
- How do I make a fabric cape without sewing? You can use fabric glue or iron-on tape for a no-sew option!
- Are there any safety concerns with paper capes? Yes, ensure there are no sharp edges and supervise your child during play.
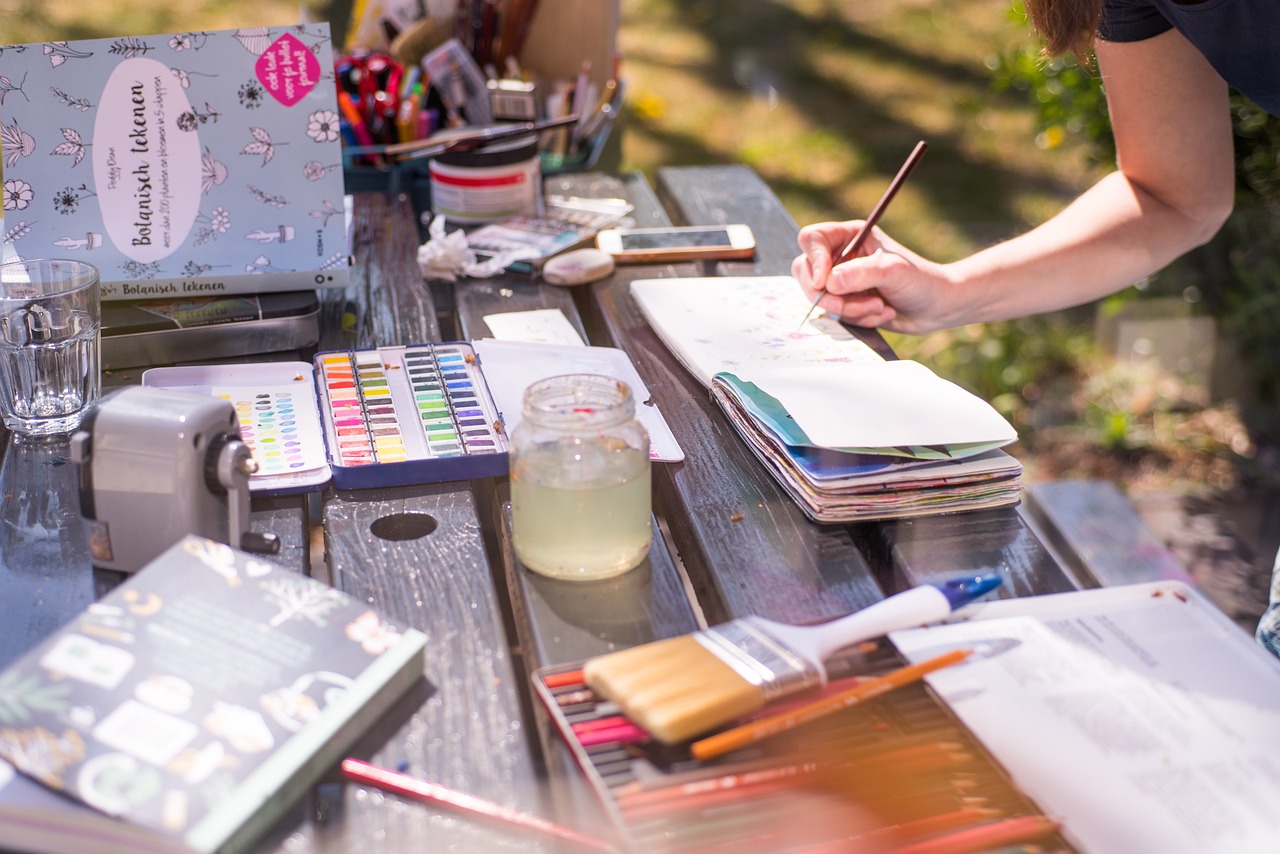
Decorating Your Cape
When it comes to decorating your superhero cape, the sky's the limit! This is where your child's imagination can truly take flight. Not only will they have a blast personalizing their cape, but they'll also develop their creative skills in the process. First, gather some basic supplies like fabric paint, sequins, stickers, and iron-on patches. Each of these materials can add a unique flair to the cape, transforming it from a simple piece of fabric into a one-of-a-kind superhero outfit.
One fun idea is to create a theme for the cape. Perhaps your child loves a particular superhero, like Spider-Man or Wonder Woman. You could use colors and symbols associated with that character. For example, a Spider-Man cape might feature red and blue fabric paint with spider web designs, while a Wonder Woman cape could showcase stars and the iconic W symbol. This not only makes the cape more personal but also helps your child feel even more connected to their favorite hero.
Another engaging way to decorate the cape is through collage techniques. Kids can cut out images from magazines or print pictures of their favorite superheroes and glue them onto the fabric. This method allows for a mix of textures and colors, creating a visually stunning piece. Plus, it's a fantastic way for kids to express their personality and interests. Imagine a cape covered in vibrant superhero logos, action words like "BAM!" and "POW!", or even their own drawings!
Don’t forget about the accessories! Adding embellishments like glitter, rhinestones, or even glow-in-the-dark paint can make the cape stand out, especially during playtime. Just think about how cool it would be for your child to wear a cape that sparkles in the sunlight or glows at night! These little touches can make the cape feel magical, turning any kid into a real-life superhero.
When it comes to the actual decorating process, encourage your child to experiment and have fun. There’s no right or wrong way to create their superhero cape. If they want to splatter paint or create a tie-dye effect, let them go for it! The goal is to foster their creativity and give them a sense of ownership over their masterpiece. After all, every superhero needs a cape that reflects their unique powers and personality!
In summary, decorating your child’s superhero cape is more than just a craft; it's an opportunity for them to express themselves, develop their artistic skills, and have a ton of fun! So gather those supplies, set up a crafting station, and watch as your little one transforms a simple piece of fabric into a spectacular superhero cape that’s truly their own!
- What materials do I need to decorate a superhero cape? You can use fabric paint, sequins, stickers, iron-on patches, glitter, and even fabric markers.
- Can I wash the cape after decorating it? Yes, but make sure to follow the care instructions for the materials used, especially if you used fabric paint or embellishments.
- How can I make the decorations last longer? Use fabric glue for embellishments and ensure that any paint used is fabric-specific to prevent peeling or cracking.
- Is there an age limit for kids to decorate their capes? No! Kids of all ages can join in the fun, but younger children may need adult supervision with materials like scissors and hot glue.
Superhero Action Figures
Creating is an exhilarating craft that not only sparks children's creativity but also encourages imaginative play. Imagine your child transforming ordinary materials into their very own superhero! This activity is all about using everyday items that you might find around the house, making it both economical and eco-friendly. Plus, it provides a fantastic opportunity for kids to engage in storytelling, as they can create backstories for their newly crafted heroes.
To get started, you’ll need a few basic materials. Gather some empty toilet paper rolls, old socks, or even plastic bottles. These will serve as the base for your action figures. You can also use craft supplies like markers, glue, scissors, and fabric scraps to bring your characters to life. The beauty of this craft is that there are no strict rules—kids can let their imagination run wild!
Here’s a simple step-by-step guide to creating your superhero action figures:
- Choose Your Base: Decide whether you want to use a toilet paper roll, a sock, or a bottle. Each base offers different possibilities for customization.
- Design the Outfit: Use fabric scraps or paper to create a costume. Kids can cut out capes, masks, and even logos to represent their favorite superheroes.
- Add Features: Draw or glue on facial features, hair, and other details to make the figure unique. Stickers can also be a fun addition!
- Customize Accessories: Encourage your child to create accessories like shields, weapons, or sidekicks using additional materials. This is where their storytelling skills can shine!
Once the action figures are complete, the fun doesn’t stop there! Kids can engage in play scenarios, creating epic battles or heroic missions that can last for hours. This craft not only enhances fine motor skills through cutting and gluing but also fosters creativity as they invent stories and scenarios for their characters.
Moreover, making superhero action figures can also be a great group activity. Encourage friends to join in and have a crafting party. Not only does this promote teamwork, but it also allows children to share their ideas and learn from one another. Imagine a living room filled with kids, each creating their unique superhero while bouncing ideas off each other—what a fun and dynamic environment!
In summary, crafting superhero action figures is a fantastic way for kids to express their love for their favorite characters while enhancing their creativity and fine motor skills. So gather those materials and let the superhero-making adventure begin!
- What materials are best for making superhero action figures? You can use items like toilet paper rolls, old socks, plastic bottles, fabric scraps, and craft supplies such as markers and glue.
- Can this activity be done alone or is it better with friends? While kids can certainly enjoy this activity alone, crafting with friends can enhance creativity and social skills as they share ideas and collaborate.
- How long does it take to make a superhero action figure? Depending on the complexity and the child's age, it can take anywhere from 30 minutes to a couple of hours.
Heroic Wall Art
Creating is an exciting way for kids to showcase their favorite superheroes while also expressing their creativity. Imagine walking into a room filled with vibrant colors, dynamic poses, and the essence of heroic adventures captured on canvas! This is not just about art; it’s about bringing the spirit of superheroes into your home. Whether your child loves the caped crusaders of comic books or the powerful beings of animated series, there are endless possibilities to explore.
To get started, gather some basic supplies. You’ll need canvas boards or thick paper, acrylic paints, brushes, and perhaps some markers or colored pencils for finer details. You can also incorporate materials like glitter or stickers for added flair. The best part? You don’t need to be a professional artist to make stunning wall art! Encourage your child to draw inspiration from their favorite superhero stories. Ask them questions like, “What colors represent your hero?” or “How would you depict their powers?” This not only sparks their imagination but also engages them in storytelling.
One fun technique is to create a collage using cut-outs from magazines or printed images of superheroes. Kids can mix and match different elements to create a unique piece of art that reflects their personality. For example, they might cut out a superhero’s emblem and place it against a painted backdrop of a city skyline. This method not only makes for an engaging craft but also teaches kids about composition and design.
Once the artwork is complete, framing it can elevate the entire piece. Framing adds a professional touch and makes the art feel special. You can purchase inexpensive frames from craft stores or even create your own using cardboard. This way, the artwork can be proudly displayed on the wall, transforming any space into a superhero headquarters!
Not only is creating superhero wall art a fun activity, but it also promotes important skills such as fine motor skills and color recognition. As children paint, cut, and glue, they enhance their hand-eye coordination and dexterity. Additionally, discussing their creations can boost their confidence and communication skills. It’s a win-win! Plus, every time they glance at their artwork, they’ll be reminded of their creativity and the superheroes they admire.
When it comes to framing, consider these creative ideas:
- Use colorful washi tape to create a border around the artwork instead of a traditional frame.
- Paint the frame in the same colors as the artwork to create a cohesive look.
- Incorporate superhero-themed frames, which can be found at many stores or made at home.
In conclusion, creating heroic wall art is more than just a craft; it’s a way for kids to express their love for superheroes while developing essential skills. So grab those supplies and let the creativity flow! Who knows, you might just end up with a gallery of superhero masterpieces that will inspire everyone who walks through your door.
Q: What materials do I need to create superhero wall art?
A: You will need canvas boards or thick paper, acrylic paints, brushes, markers, and optional materials like glitter or stickers.
Q: How can I encourage my child to come up with ideas for their artwork?
A: Ask them open-ended questions about their favorite superheroes, such as colors, powers, and stories, to inspire their creativity.
Q: What are some good framing options for kids' artwork?
A: You can use colorful washi tape, paint frames to match the artwork, or find themed frames that celebrate their favorite heroes.

Framed Artwork Ideas
Framing your child's superhero artwork is not just about preserving their creations; it’s about celebrating their imagination and creativity! Picture this: a vibrant, hand-painted Batman soaring through the night sky, or a colorful Spiderman swinging between skyscrapers. When you frame these masterpieces, you turn simple drawings into stunning wall art that can brighten up any room. But how do you go about framing these works of art? Let’s dive into some creative ideas that will make their artwork stand out!
First, consider the type of frame that complements the artwork. A simple black frame can give a modern look, while a colorful frame can add a fun and playful touch, perfect for kids' rooms. If your child has created multiple pieces, you might want to create a gallery wall that showcases their superhero art in various sizes and styles. This not only creates a focal point in the room but also encourages your child to keep creating!
When framing, it’s essential to choose the right matting. A mat can enhance the artwork by providing a border that draws the eye in. Opt for colors that match or contrast with the artwork effectively. For example, if your child has painted a bright Iron Man, a red or gold mat can highlight the character beautifully. You can also consider using a shadow box frame for 3D creations, such as a collage of superhero action figures or crafts made from various materials. This adds depth and makes the artwork pop!
Additionally, don’t forget to involve your child in the framing process. Let them choose the frames and mats, and discuss where they would like to hang their artwork. This not only makes them feel proud of their work but also teaches them about design and aesthetics. Plus, it’s a great way to bond and share ideas! To help you get started, here’s a quick table summarizing different framing options:
| Framing Option | Description | Best For |
|---|---|---|
| Standard Frame | Simple and classic, available in various colors. | Flat artwork like drawings or paintings. |
| Gallery Wall | A collection of frames in different styles and sizes. | Showcasing multiple pieces together. |
| Shadow Box Frame | Deep frame that allows for 3D objects. | Collages or crafts with depth. |
Finally, think about where to display these framed artworks. A dedicated art wall in their bedroom or playroom can serve as a personal gallery. You can also rotate the artwork periodically to keep the display fresh and exciting. This not only keeps your child engaged but also allows them to see their progress over time. Remember, the goal is to create an environment that inspires creativity and celebrates their superhero adventures!
- What materials do I need to frame my child's artwork? You will need a frame, mat board, backing board, and glass or acrylic to protect the artwork.
- How can I create a gallery wall? Choose a wall space, gather various frames, and arrange them on the floor first to find the best layout before hanging.
- Can I frame 3D art? Yes! Use shadow box frames for 3D pieces to give them a unique display.
Group Craft Activities
Crafting is not just an individual activity; it can be a fantastic way for kids to bond, collaborate, and unleash their creativity together! Imagine a group of children gathered around a table, surrounded by colorful papers, paints, and a plethora of craft supplies, all buzzing with excitement as they embark on a superhero-themed crafting adventure. Group craft activities not only allow children to express their artistic flair but also enhance their social skills, teamwork, and communication. So, what are some engaging group craft ideas that will keep the superhero spirit alive? Let’s dive into a few inspiring activities!
One great idea is to host a Superhero Craft Day. This can be a fun event where kids come together to create a variety of superhero-themed crafts. You can set up different stations for each craft, allowing kids to rotate and try their hands at various projects. Here are a few craft station ideas:
- Mask Making Station: Provide materials like felt, elastic bands, and markers for kids to design their own superhero masks.
- Cape Creation Corner: Set up a space with fabric or paper where kids can cut and decorate their capes.
- Action Figure Assembly: Gather supplies like clay, cardboard, and paint for children to build and personalize their own action figures.
Another exciting activity is to organize a Superhero Art Gallery. After creating their crafts, kids can display their artwork for parents and friends to see. This not only boosts their confidence but also encourages them to take pride in their creations. Each child can present their work, explaining their superhero's powers and backstory, which fosters public speaking skills and storytelling.
For a more collaborative experience, consider a Group Mural Project. Using a large canvas or a roll of paper, kids can work together to paint a massive superhero scene. This project requires communication and planning, as they will need to decide on the design, colors, and how to incorporate each child's ideas. Not only does this create a stunning piece of art, but it also teaches children the value of cooperation and compromise.
Lastly, don’t forget about the Superhero Craft Challenge. Divide the kids into teams and give them a set amount of time to create a superhero-related item from a mystery box of supplies. This adds an element of excitement and competition, pushing their creativity to new heights. Watching them strategize and collaborate to come up with innovative solutions is truly a delight!
In conclusion, group craft activities centered around superheroes are a marvelous way for children to explore their creativity while building friendships and teamwork skills. Whether they’re making masks, creating capes, or working on a mural, the joy of crafting together is an experience that will resonate long after the glue has dried and the paint has set.
Q: What age group is best for group craft activities?
A: Group craft activities can be tailored for various age groups, but they are particularly engaging for children aged 5 to 12. Always consider the skill level and interests of the children involved to ensure everyone has a great time!
Q: How can I ensure all kids participate equally?
A: To promote equal participation, assign roles within each group, such as a leader, a designer, and a builder. This way, every child has a specific task that contributes to the overall project.
Q: What supplies do I need for a superhero craft day?
A: Basic supplies include colored paper, markers, paints, scissors, glue, fabric for capes, and any other fun embellishments like stickers or sequins. Having a variety of materials encourages creativity!
Q: How can I encourage shy kids to participate?
A: Pair shy kids with more outgoing peers or involve them in smaller group activities where they might feel more comfortable sharing their ideas and creations.
Frequently Asked Questions
- What materials do I need to make superhero masks?
To create superhero masks, you’ll need some basic materials like colored cardstock, scissors, elastic bands, and markers or paints. You can also add embellishments like glitter or stickers for a personal touch!
- How can I make a superhero cape at home?
Making a superhero cape is super easy! You can use fabric or even a large piece of paper. Just cut it into a cape shape, attach it around the neck with a simple knot or Velcro, and let your child decorate it with their favorite colors and designs!
- What are the advantages of using fabric over paper for capes?
Fabric capes are durable and can withstand rough play, making them ideal for active kids. On the other hand, paper is lighter and easier to work with, but it might not last as long. It really depends on how your child plans to use their cape!
- Can we decorate the superhero capes?
Absolutely! Decorating is one of the best parts. You can use fabric paints, sequins, or even iron-on patches to personalize the capes. Encourage your kids to get creative and express their superhero style!
- How do I create superhero action figures?
To make superhero action figures, gather materials like cardboard, bottle caps, or clay. Start by shaping the body and head, then paint or color them to resemble their favorite superheroes. It's a fantastic way to encourage imaginative play!
- What are some ideas for superhero wall art?
Kids can create wall art using various methods like painting, drawing, or even making collages with magazine cutouts. Let them choose their favorite characters and express their creativity on canvas or paper!
- How can I frame my child's superhero artwork?
Framing artwork can elevate your child's creations! Use simple frames from a craft store or make your own using cardboard. Make sure to choose a frame that complements the colors in their artwork for a polished look!
- What are some group craft activities for kids?
Group craft activities can be a blast! Consider having a superhero-themed craft day where kids can work together to make masks, capes, or even a giant mural. It’s a great way to foster teamwork and creativity while having fun!


