Crafts to Celebrate Independence Day with Kids
Independence Day is not just a day of fireworks and barbecues; it's a celebration of freedom and unity. What better way to engage your little ones than with some creative crafts that not only excite their imagination but also deepen their understanding of this significant holiday? These crafts are designed to be fun, educational, and a fantastic way for kids to express their patriotic spirit. Whether you’re hosting a family gathering or simply looking for activities to keep the kids busy, these crafts will add a splash of creativity to your Independence Day celebrations!
Creating patriotic paper plate wreaths is a fantastic way for kids to express their creativity while learning about the symbols of freedom. All you need are some paper plates, red, white, and blue paint, and a few craft supplies like glitter, ribbons, and stickers. Kids can paint the plates and then cut them into festive shapes, decorating them with stars and stripes. These colorful decorations can adorn homes and remind everyone of the festive spirit of Independence Day. Imagine hanging these wreaths on your front door, welcoming guests with a burst of patriotic colors!
Who doesn’t love the dazzling display of fireworks lighting up the night sky? With some simple materials like paint, paper, and straws, kids can create their own firework art. Start by providing them with sheets of black or dark blue paper, which will serve as the perfect backdrop. Using bright colors, let them dip the ends of straws in paint and stamp them onto the paper, creating vibrant firework bursts. This imaginative craft encourages artistic expression and is a great way for kids to recreate the excitement of the fireworks they’ll see later in the evening!
Making stars and stripes banners is not only a fun group activity but also an excellent opportunity for kids to learn about the American flag. Gather some fabric or paper in red, white, and blue, and let the kids cut out stars and stripes. They can glue these onto a long piece of string or fabric to create a festive banner. Hang these colorful decorations indoors or outdoors to set the mood for the celebrations. Plus, it’s a great way for kids to learn about the history and significance of the flag while having a blast crafting!
Who said crafts can't be a little messy? Crafting red, white, and blue slime is a delightful sensory activity that kids will absolutely love. All you need is some glue, baking soda, and food coloring. As they mix the ingredients, they’ll not only have fun but also learn about color mixing. This hands-on project is perfect for keeping little hands busy and is a great way to introduce them to the holiday's colors in a playful manner. Plus, who doesn’t love playing with gooey slime after creating it?
Creating memory jars is a heartfelt way for kids to collect and display their favorite moments from Independence Day. Provide them with a jar and some decorative materials like stickers and ribbons. Throughout the day, they can write down their favorite memories, whether it’s watching fireworks, enjoying a family picnic, or playing games with friends. At the end of the day, they can fill the jar with these notes, creating a beautiful keepsake that fosters reflection and appreciation for family traditions and shared experiences.
Kids can make firecracker puppets using simple materials like paper, sticks, and markers. This engaging craft encourages imaginative play and storytelling while celebrating the excitement of Independence Day festivities. Once they create their puppets, they can put on a little show, reenacting their favorite moments from the day or even inventing their own stories. It’s a fun way to combine creativity with play, allowing kids to express themselves in a unique way!
What better way to wear your patriotism than by designing flag-themed t-shirts? This craft gives children a chance to express their creativity while creating something they can wear proudly. Using fabric paint or markers, kids can decorate plain white t-shirts with stars and stripes. This can be a fun group project, perfect for family gatherings on Independence Day. Not only will they have a unique piece of clothing, but they’ll also take home a tangible reminder of their creative efforts!
Creating miniature parades with toy floats allows kids to showcase their crafts and creativity. Using small boxes, craft supplies, and toys, they can create floats that represent their favorite things about Independence Day. This imaginative play encourages teamwork as they work together to design and build their floats, providing a fun way to celebrate the spirit of the holiday. Imagine the joy on their faces as they parade their creations around the yard or living room!
Q: What materials do I need for these crafts?
A: Most crafts require basic supplies like paper, glue, scissors, and paints. You can also use household items like plates and jars!
Q: Are these crafts suitable for all age groups?
A: Yes! Many of these crafts can be adapted for different age groups. Younger children may need more assistance, while older kids can take the lead.
Q: How can I make these crafts educational?
A: Incorporate discussions about Independence Day’s history and significance while crafting. This way, kids learn while they create!
Patriotic Paper Plate Wreaths
Creating is not just a fun craft; it's an exciting way for kids to express their creativity while learning about the symbols of freedom that represent Independence Day. Imagine a vibrant wreath that captures the essence of the holiday, adorned with red, white, and blue decorations. This craft activity is perfect for children of all ages and can easily be done at home or in a classroom setting.
To get started, gather some basic materials: paper plates, colored construction paper, scissors, glue, and decorative items like glitter, sequins, or stickers. The beauty of this craft lies in its simplicity and the freedom it gives kids to unleash their imagination. First, cut the center out of the paper plate to create a ring. Then, using the colored construction paper, children can cut out various shapes such as stars, stripes, or even small flags to glue onto their wreaths. This hands-on activity not only fosters creativity but also serves as a wonderful opportunity to discuss the significance of the colors and symbols used in the American flag.
Once the wreaths are complete, they can be proudly displayed around the house. Hang them on doors, walls, or even in windows to spread the festive spirit of Independence Day. These wreaths can also be a great conversation starter, allowing families to share stories about what Independence Day means to them. Plus, they make for beautiful decorations that can be cherished year after year, reminding everyone of the joy and freedom that this holiday represents.
As an added bonus, why not turn this craft into a fun group activity? Organizing a wreath-making party can enhance teamwork and social skills among kids. They can share ideas, help each other out, and even compete to see who can create the most creative wreath. This collaborative spirit not only makes the crafting experience more enjoyable but also helps children develop a sense of community and belonging.
In conclusion, patriotic paper plate wreaths are more than just a craft; they are a way to celebrate freedom, creativity, and togetherness. So gather your materials and get ready to make some beautiful decorations that will light up your Independence Day celebration!
DIY Firework Art
Creating dazzling firework art is not just a fun way to celebrate Independence Day; it’s a fantastic opportunity for kids to unleash their inner artists! Imagine the excitement as children dip their brushes into vibrant colors and create their own spectacular night sky filled with fireworks. This craft is not only visually stimulating but also allows children to explore their creativity while learning about the significance of the holiday.
To get started, gather some simple materials that you probably already have at home. You’ll need:
- Black construction paper or canvas
- Brightly colored paints (red, blue, yellow, green, and white)
- Toilet paper rolls or cotton swabs
- Star-shaped stencils (optional)
- Glitter (for that extra sparkle!)
Once you have your materials ready, the fun begins! First, lay out the black construction paper or canvas on a flat surface. This dark background will mimic the night sky, making the colors of the fireworks pop. Next, dip the end of a toilet paper roll into your chosen paint color. Kids can then stamp the roll onto the paper to create beautiful bursts of color that resemble fireworks. Encourage them to experiment with different colors and patterns. For instance, a combination of red and white can create a stunning effect reminiscent of the American flag!
For a more intricate design, kids can use cotton swabs to paint smaller fireworks. This method allows for greater control and can result in delicate bursts that look like real fireworks lighting up the sky. Plus, it’s a great way to practice fine motor skills!
To add a touch of magic, sprinkle some glitter over the wet paint. This will give the artwork a shimmering effect, capturing the essence of fireworks bursting in the night sky. Once the paintings are complete, let them dry and hang them up as part of your Independence Day decorations. You can even host a mini art gallery at home, showcasing each child’s masterpiece!
Not only does this craft provide a creative outlet, but it also sparks conversations about the history of fireworks and their significance during Independence Day celebrations. You can discuss how fireworks symbolize joy and freedom, making this a perfect blend of fun and education.
So, grab those paints and let the fireworks fly! This DIY firework art activity is sure to become a cherished tradition in your family, filled with laughter, creativity, and a splash of color. It’s a wonderful way to celebrate the spirit of Independence Day while making lasting memories with your kids.
Q: What age group is this craft suitable for?
A: This DIY firework art is suitable for children aged 4 and up. Younger kids may need some assistance, especially with paint application.
Q: Can we use other materials instead of toilet paper rolls?
A: Absolutely! You can use any round object, like the end of a sponge or even a bottle cap, to create different effects.
Q: How can we make this craft more educational?
A: You can incorporate discussions about the history of fireworks, their cultural significance, and even the science behind how they work!
Stars and Stripes Banners
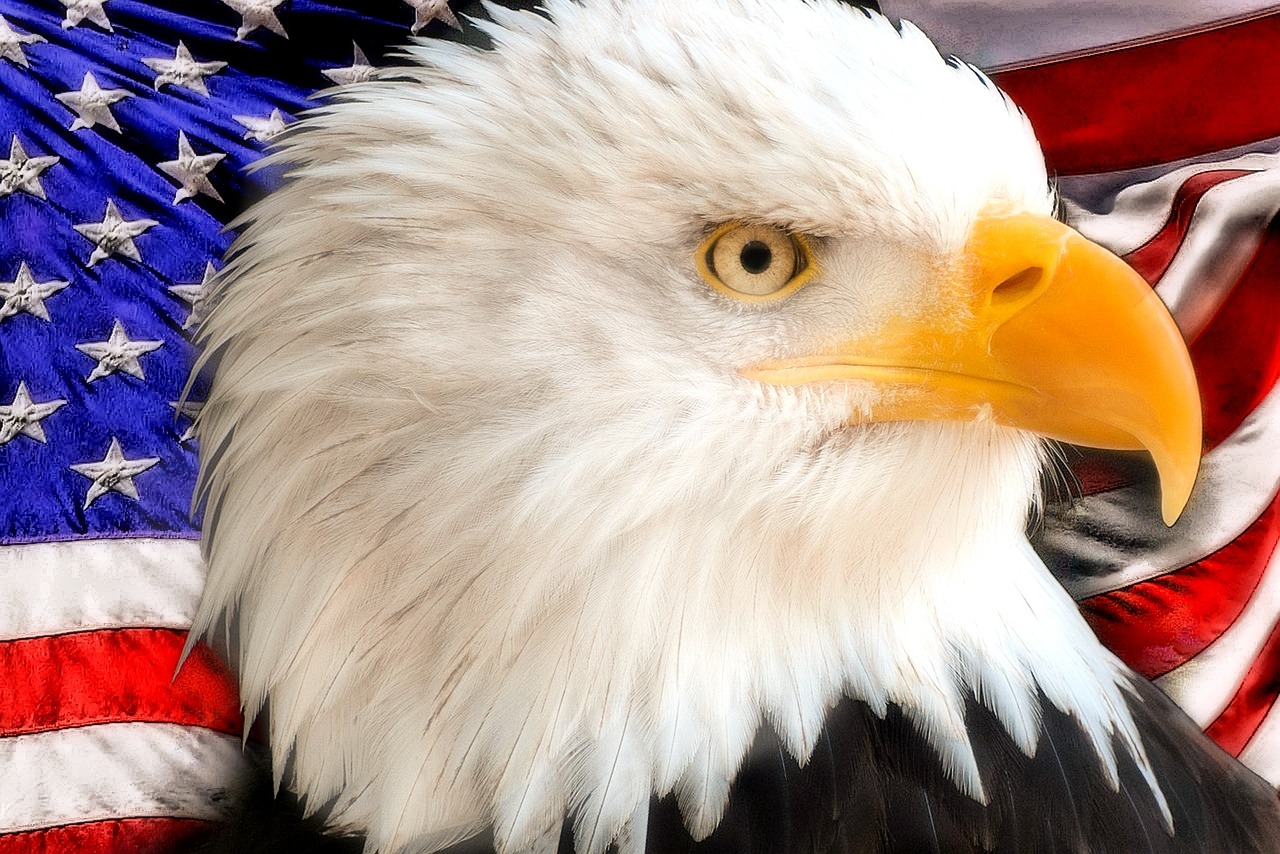
Making is not just a craft; it's a vibrant way for kids to engage with the spirit of Independence Day! Imagine the excitement in the air as children gather around tables, armed with colorful paper, scissors, and glue, ready to create something truly special. This activity is not only fun but also educational, as it helps children understand the significance of the American flag and what it represents: freedom, unity, and pride.
To kick off this creative endeavor, you can start by discussing the history and symbolism of the American flag. Why are there 13 stripes? What do the stars represent? These questions can spark curiosity and lead to deeper conversations about the values that Independence Day celebrates. Once the kids are familiar with the flag's meaning, it's time to dive into the crafting!
Gather your materials: you will need red, white, and blue construction paper, scissors, glue, and some string or ribbon for hanging. Here’s a simple step-by-step guide to get started:
- Cut the Paper: Start by cutting the red and white paper into long strips. The kids can alternate these strips to create the iconic stripes of the flag.
- Create the Stars: Using white paper, cut out star shapes. You can use a star template or let the kids freehand their stars for a more personal touch.
- Assemble the Banner: Glue the alternating strips onto a larger piece of blue paper, leaving space for the stars at the top left corner. Once the stripes are secured, glue the stars on top of the blue area.
- Hang It Up: Finally, attach string or ribbon to the top of the banner for easy hanging. Encourage the kids to display their masterpieces proudly!
This craft can easily become a community project. Why not invite neighbors or friends to join in? You could even turn it into a friendly competition, where everyone showcases their unique designs. The end result is not just a colorful decoration but a symbol of teamwork and creativity, reminding everyone of the importance of coming together to celebrate.
After the banners are complete, hang them around your home or yard to create a festive atmosphere. They can also serve as a backdrop for family photos, capturing the joy and excitement of the day. Plus, every time your child sees their creation, they'll be reminded of the fun they had and the lessons they learned about their country.
In conclusion, making stars and stripes banners is a fantastic way to celebrate Independence Day. It combines creativity with education and provides an opportunity for families to bond over a shared activity. So gather your materials, let the kids' imaginations run wild, and watch as they create beautiful symbols of their patriotism!
- What age group is this craft suitable for? This craft is great for children aged 5 and up, with adult supervision for younger kids using scissors.
- How long does it take to complete? The entire process can take about 1-2 hours, depending on the number of banners being made.
- Can we use recycled materials? Absolutely! Old newspapers, magazines, or any scrap paper can be used to create unique banners.
Red, White, and Blue Slime
Crafting is not just a fun activity; it's an exhilarating way for kids to immerse themselves in the festive spirit of Independence Day! Imagine the joy on their faces as they mix vibrant colors, creating a gooey masterpiece that symbolizes the holiday. This hands-on project is not only entertaining but also educational, teaching children about color mixing and the significance of the holiday's colors.
To start this delightful endeavor, you'll need a few simple materials that are likely already in your home. Gather white glue, liquid starch, and food coloring in red and blue. The process is straightforward, making it perfect for kids of all ages. Here’s how to do it:
- In a bowl, pour about 1 cup of white glue.
- Add 1 cup of water and mix well to create a smooth base.
- Divide the mixture into three separate bowls.
- In one bowl, add red food coloring until you achieve your desired shade.
- In another bowl, mix in blue food coloring.
- Leave the third bowl white for the final touch.
- Now, slowly add liquid starch to each bowl, stirring continuously until the slime begins to form and pulls away from the sides.
- Once the slime is ready, knead it with your hands for a few minutes. Feel the texture transform!
Now that you have your patriotic slime, it’s time for some creative fun! Kids can mix and match the colors, creating swirls of red, white, and blue. They can even make their own Independence Day-themed shapes or figures, like stars and fireworks. This activity not only boosts their creativity but also promotes fine motor skills as they stretch and mold the slime.
After the crafting session, encourage the kids to think about the meaning behind the colors. Ask questions like: What does the color red represent? or Why do we use blue in our celebrations? This way, they not only enjoy the slime but also gain a deeper understanding of the holiday's significance. Plus, it’s a fantastic way to spark conversations about teamwork and sharing, especially when they show off their colorful creations to family and friends!
So, gather your supplies, roll up your sleeves, and let the slime-making adventure begin! This is more than just a craft; it’s a memorable experience that will have the kids talking long after the fireworks fade.
Q: Is the slime safe for young children?
A: Yes, as long as you supervise them and ensure they do not ingest any materials. Always check for any allergies to ingredients like glue or food coloring.
Q: How do I store the slime after making it?
A: Store the slime in an airtight container to keep it fresh. It can last for several weeks if stored properly!
Q: Can we add glitter to the slime?
A: Absolutely! Adding glitter can make your slime even more festive and fun. Just mix it in while you're kneading the slime.
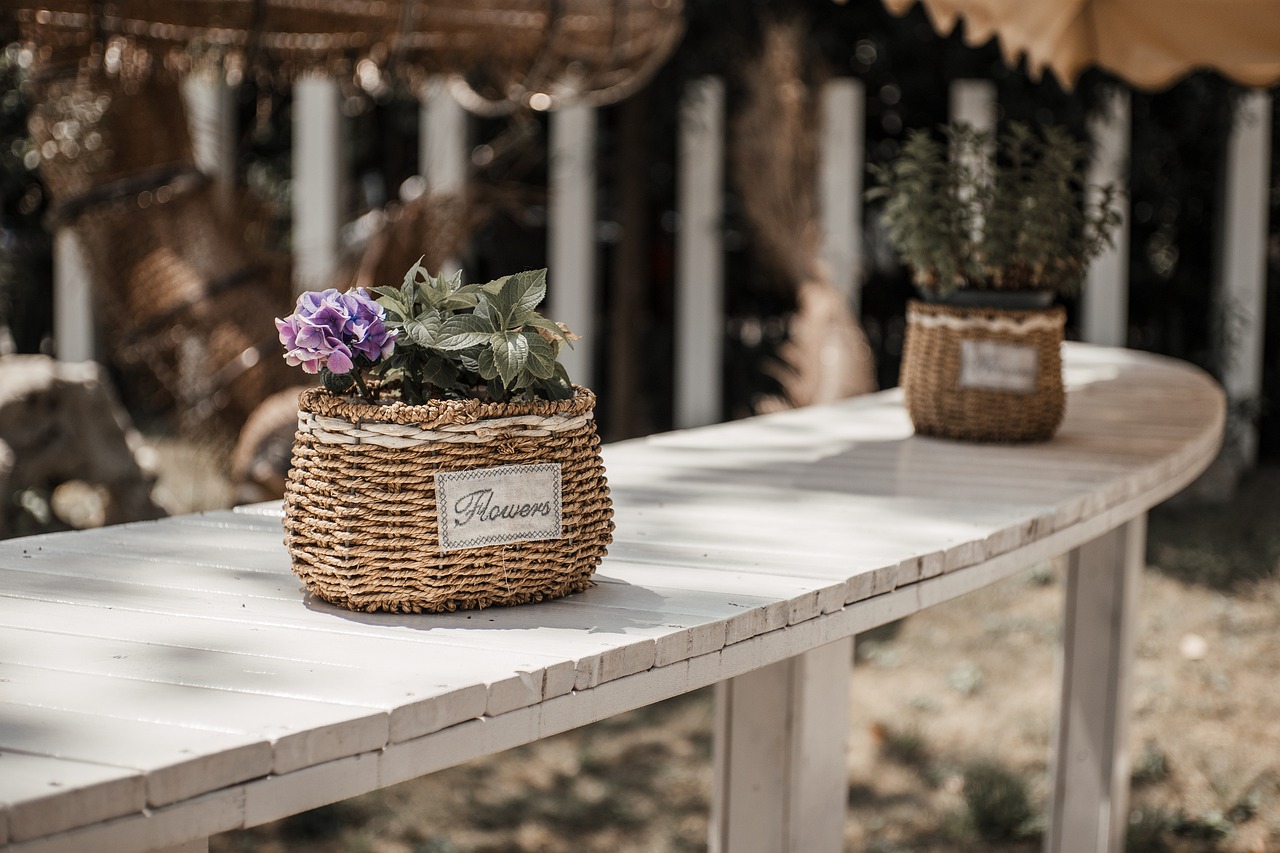
Independence Day Memory Jars
Creating is not just a fun craft; it's a wonderful way for kids to capture and reflect on their experiences during the holiday. Imagine a colorful jar filled with memories, each piece telling a story of laughter, celebration, and togetherness. This craft encourages children to think about what Independence Day means to them and how they can commemorate it in a tangible way.
To start this creative journey, gather a few simple materials: an empty jar (any size will do), some decorative items like ribbons and stickers, and, most importantly, small slips of paper. These paper slips will serve as the canvas for their memories. Kids can write down their favorite moments from the day, such as the delicious food they enjoyed, the fun games they played, or the spectacular fireworks they watched. Each memory can be as simple or as elaborate as they wish, and this is where their creativity truly shines!
Once the memories are written down, let the kids decorate their jars. They can use red, white, and blue ribbons to wrap around the jar, or even paint it with festive colors. This personalization makes the memory jar a unique reflection of their personality and experiences. Moreover, decorating the jar can be a collaborative effort, promoting teamwork and creativity among siblings or friends.
After the jars are filled with memories, they can be displayed prominently in the home as a reminder of the special moments shared during Independence Day. Each year, families can revisit these jars, adding new memories and reminiscing about past celebrations. It's a beautiful way to foster a sense of continuity and connection to the holiday, teaching children the importance of family traditions and shared experiences.
In addition to being a fun craft, also serve as a great conversation starter. As kids share the memories they've written down, they can discuss what they love most about the holiday, deepening their understanding of its significance. This activity not only enhances their creativity but also builds a stronger bond with family and friends as they celebrate together.
- What materials do we need for the memory jars? You will need empty jars, decorative items (like stickers and ribbons), and slips of paper for writing down memories.
- Can we add items other than paper to the jars? Absolutely! Kids can include small mementos like ticket stubs, photos, or even small decorations that represent their Independence Day experience.
- How can we make this a family activity? Encourage everyone in the family to create their own jars, or work together on one large jar. Sharing memories can create a wonderful bonding experience!
Firecracker Puppets
Firecracker puppets are a fantastic way to blend creativity and play, making them the perfect craft for kids to celebrate Independence Day. Imagine the joy on their faces as they transform simple materials into vibrant, animated characters that embody the excitement of fireworks lighting up the night sky! This engaging activity not only spurs imaginative play but also enhances fine motor skills as children cut, glue, and assemble their puppets.
To create these delightful puppets, you'll need a few basic supplies that you likely already have at home. Gather items like colored paper, scissors, glue, and popsicle sticks. You can even use recycled materials such as toilet paper rolls or cardboard tubes to give your firecracker puppets some height and personality. The beauty of this craft lies in its simplicity and the endless possibilities for customization. Kids can choose their favorite colors, add glitter for sparkle, and even draw faces to bring their puppets to life!
Here's a step-by-step guide to making your own firecracker puppets:
- Step 1: Cut a piece of colored paper into a rectangle. This will be the body of your firecracker.
- Step 2: Roll the paper into a cylinder and secure it with glue or tape.
- Step 3: Attach a popsicle stick to the bottom of the cylinder to serve as the puppet's handle.
- Step 4: Decorate your firecracker with stars, stripes, or any designs that scream 'celebration'!
- Step 5: Create a face or add fun features like eyes and a mouth using markers or stickers.
Once the puppets are complete, the real fun begins! Kids can put on a puppet show, telling stories about their favorite Independence Day memories or even creating a narrative about fireworks bursting in the sky. This not only fosters creativity but also promotes teamwork as children can collaborate on their stories, share ideas, and perform together. Plus, it’s a wonderful way for families to bond over the holiday, creating lasting memories that go beyond just the craft itself.
In addition to being a fun activity, firecracker puppets can also be educational. Parents and educators can use this craft to discuss the history of Independence Day, the significance of fireworks in celebrations, and the importance of creativity in expressing one's feelings. By incorporating storytelling and educational elements into the craft, children gain a deeper understanding of the holiday while enjoying the process of making and playing with their puppets.
So, gather your supplies, unleash your creativity, and let the fireworks fly in your very own puppet show! This craft is not just a way to celebrate Independence Day; it’s a gateway to learning, sharing, and making unforgettable memories with family and friends.
Q: What age group is suitable for making firecracker puppets?
A: Firecracker puppets are suitable for kids of all ages, but younger children may need assistance with cutting and gluing.
Q: Can we use other materials for this craft?
A: Absolutely! Feel free to use recycled materials like cardboard tubes, fabric scraps, or even old wrapping paper to make the puppets unique.
Q: How can we incorporate educational elements into this craft?
A: You can discuss the history of Independence Day, the symbolism of fireworks, and encourage kids to create stories related to their puppets.

Flag-Themed T-Shirts
Designing is not just about creating a piece of clothing; it's a way for kids to express their patriotism and creativity all at once. Imagine the excitement on their faces as they wear a shirt they've crafted themselves, proudly displaying the stars and stripes for all to see! This activity can be a fantastic group project, perfect for family gatherings or neighborhood celebrations on Independence Day. Not only does it foster creativity, but it also promotes teamwork as children collaborate on designs and share materials.
To get started, gather some basic materials. You’ll need plain white t-shirts, fabric paint in red, white, and blue, and some brushes or sponges. If you're feeling adventurous, consider using stencils to help create crisp shapes and patterns. The process can be a blast! Kids can create their own designs, whether it's a giant flag on the front, stars sprinkled all over, or even fun slogans that celebrate freedom and unity. The sky's the limit!
As the kids dive into this creative process, they'll learn about the significance of the American flag and the values it represents. You can even take a moment to discuss the history behind the flag, making this craft an educational experience as well. What better way to celebrate Independence Day than by combining fun, learning, and a little bit of history?
Once the shirts are painted and dried, it's time for a mini fashion show! Have the kids model their creations and even take some fun photos. This not only boosts their confidence but also creates lasting memories of the day. Plus, they’ll have a unique shirt to wear to any upcoming Independence Day events or parades!
In case you're wondering about the best practices for washing these t-shirts after the festivities, here’s a quick guide:
| Washing Instructions | Tips |
|---|---|
| Turn shirts inside out | This helps protect the paint from fading. |
| Wash in cold water | Hot water can cause the colors to run. |
| Air dry if possible | Avoid using a dryer to maintain the paint's integrity. |
Ultimately, flag-themed t-shirts are more than just a craft; they are a celebration of creativity, teamwork, and patriotism. They provide a tangible way for children to connect with the spirit of Independence Day, making the holiday even more special. So gather your supplies, unleash your child's imagination, and let the crafting begin!
- What age group is this activity suitable for? This craft is great for kids of all ages, but younger children may need help with the painting process.
- Can we use any type of paint? It’s best to use fabric paint, as it is designed to adhere to fabric and withstand washing.
- How long does the paint take to dry? Typically, fabric paint takes about 24 hours to fully cure, but check the manufacturer's instructions for specifics.
- Can we use other colors besides red, white, and blue? Absolutely! Feel free to add your own twist with other colors, but remember to keep the patriotic theme in mind.
Miniature Parades with Toy Floats
Imagine a vibrant scene where children’s laughter fills the air, and creativity takes center stage—this is what are all about! This engaging craft invites kids to unleash their imagination while celebrating Independence Day in a fun and interactive way. Just picture it: little hands busy constructing their very own floats, each one a unique representation of their ideas and patriotism. It’s not just a craft; it’s a delightful experience that brings families together!
To kick off this creative adventure, gather some basic supplies. You’ll need items like cardboard boxes, craft sticks, colored paper, and markers. Once you have everything ready, encourage the kids to brainstorm themes for their floats. Will they celebrate the American flag? Or perhaps showcase their favorite fireworks? The possibilities are endless! By discussing their ideas, children can learn about the significance of Independence Day and how to express it through art.
As the kids start building their floats, they can use the following materials to enhance their designs:
- Glitter for a sparkly effect
- Red, white, and blue streamers to add movement
- Small flags or stars to represent national symbols
Once the floats are complete, it’s time for the grand parade! Set up a designated area in your backyard or living room where the parade can take place. Invite family members to be the audience, cheering on the little ones as they showcase their creations. This not only fosters a sense of accomplishment but also builds teamwork as they work together to create a fun and festive atmosphere.
After the parade, consider having a mini award ceremony to recognize everyone’s creativity. You could give out fun titles like “Most Colorful Float” or “Best Use of Stars.” This adds an extra layer of excitement and encourages children to appreciate each other's hard work. Plus, it’s a great way to create lasting memories!
In conclusion, are more than just a craft; they are a celebration of creativity, teamwork, and the spirit of Independence Day. So gather those supplies, let the kids’ imaginations run wild, and create a memorable parade that will be cherished for years to come!
| Question | Answer |
|---|---|
| What materials do I need for the toy floats? | You will need cardboard boxes, craft sticks, colored paper, markers, and decorative items like glitter and streamers. |
| How can I involve my children in the planning process? | Encourage them to brainstorm themes and designs for their floats, allowing them to express their ideas freely. |
| What should we do after the parade? | Consider having a mini award ceremony to celebrate each child's creativity and hard work! |
Frequently Asked Questions
- What materials do I need for the patriotic paper plate wreaths?
You’ll need paper plates, red, white, and blue paints, scissors, glue, and decorative items like glitter or stickers. This craft is simple and allows kids to get creative while learning about the symbols of freedom!
- How can I make DIY firework art with my kids?
All you need is some black construction paper, colorful paints, and brushes or sponges. Let the kids dip their brushes in paint and create bursts of color to mimic fireworks! It’s a fantastic way to celebrate the festive spirit of Independence Day.
- What are stars and stripes banners, and how can we make them?
Stars and stripes banners are colorful decorations made from paper or fabric that represent the American flag. You can cut out star and stripe shapes and glue them onto a long piece of string or paper. It’s a fun group activity that also teaches kids about the significance of the flag!
- Can you explain how to make red, white, and blue slime?
Absolutely! You’ll need glue, baking soda, contact lens solution, and food coloring. Mix the glue with baking soda, then add the contact lens solution to form slime. Divide it into three parts and color each one red, white, and blue for a festive touch!
- What are Independence Day memory jars?
Independence Day memory jars are a creative way for kids to collect and display their favorite moments from the holiday. They can fill jars with notes, small decorations, or photos taken during the celebrations, fostering reflection and appreciation for family traditions.
- How do we make firecracker puppets?
Making firecracker puppets is super easy! Use colored paper, scissors, and popsicle sticks. Cut the paper into firecracker shapes, decorate them, and attach them to the sticks. Kids love to use these puppets for imaginative play and storytelling!
- What supplies do I need to design flag-themed t-shirts?
You’ll need plain t-shirts, fabric paint or markers, and stencils if desired. Kids can get creative by painting or drawing the American flag on their shirts, making it a fun group project for family gatherings!
- How can we create miniature parades with toy floats?
Gather some toy vehicles, small boxes, and craft supplies. Kids can decorate the boxes as floats and attach them to the vehicles. It’s a delightful way for them to showcase their crafts and enjoy imaginative play while celebrating Independence Day!


