Teach Your Child to Knit: A Fun Artistic Journey
Teaching your child to knit is not just about creating beautiful scarves or cozy hats; it's about embarking on a fun artistic journey that can foster creativity, patience, and a sense of accomplishment. Imagine the joy on your child's face as they see their first knitted piece come to life! Knitting is a wonderful way to bond with your child while instilling valuable skills that will last a lifetime. In this article, we'll explore the myriad of benefits that knitting offers, the essential supplies needed to get started, and some fun projects that will keep your little ones engaged and excited.
Knitting is more than just a hobby; it's a gateway to a world of creativity. As children learn to manipulate yarn and needles, they develop fine motor skills that are crucial for their overall development. Moreover, the concentration required to knit can help improve focus and attention spans, which are essential in today’s fast-paced world. When a child successfully completes a project, the sense of accomplishment they feel can boost their self-esteem and encourage them to tackle even bigger challenges. So, why not introduce your child to this amazing craft? It’s a journey filled with surprises and delightful explosions of color and creativity!
As we dive deeper into this article, we will guide you through the essential tools and techniques needed for your child to start knitting. From choosing the right yarn to mastering basic stitches, we’ll cover everything you need to know. Plus, we’ll share some exciting project ideas that will not only enhance your child's skills but also keep them motivated to continue their knitting adventure. So grab your needles, and let’s get started on this wonderful journey of knitting together!
Benefits of Knitting for Children
Knitting is not just a fun pastime; it’s a treasure trove of benefits for children. Imagine your little one, fingers deftly working with colorful yarn, creating something beautiful while also developing essential life skills. Knitting fosters fine motor skills, which are crucial for tasks like writing and buttoning shirts. As children manipulate the needles and yarn, they enhance their hand-eye coordination and dexterity, making their fingers nimble like a pianist's.
Moreover, knitting is a fantastic way to boost concentration. In a world filled with distractions, focusing on a single task can be a challenge. However, when children knit, they learn to pay attention to their stitches, patterns, and the rhythm of their movements. This kind of focused activity can improve their attention span, which is beneficial not only in crafting but also in school and other activities.
Another significant advantage of knitting is the sense of accomplishment it brings. When a child completes a project, whether it's a simple scarf or a quirky hat, they experience a rush of pride and satisfaction. This feeling can be incredibly empowering, instilling a sense of confidence that spills over into other areas of their lives. They begin to understand that with patience and practice, they can turn a ball of yarn into something tangible and wonderful.
Additionally, knitting can serve as a wonderful stress-reliever. For children who may feel overwhelmed by school or social pressures, the rhythmic nature of knitting can be calming. It offers a creative outlet where they can express themselves and unwind, much like how adults find solace in hobbies like gardening or painting.
Lastly, knitting can foster social connections. Whether joining a knitting club or simply working alongside family members, children can bond over shared projects. They learn to communicate and collaborate, sharing tips and ideas, which can lead to lasting friendships and a sense of community.
In summary, the benefits of knitting for children are vast and varied, contributing to their physical, mental, and emotional development. From enhancing fine motor skills and concentration to fostering creativity and social connections, knitting is truly a multifaceted activity that enriches a child's life in numerous ways.
Essential Knitting Supplies
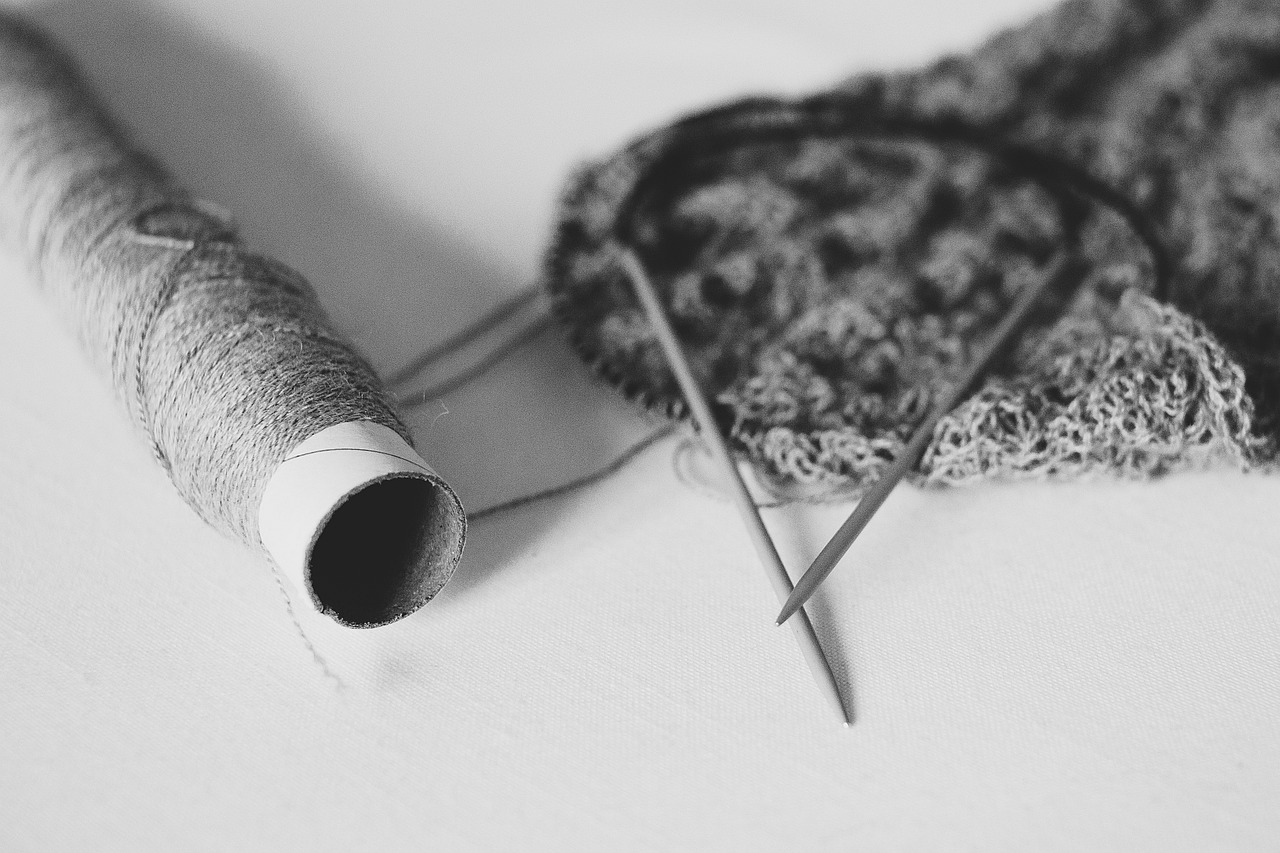
Before embarking on the exciting journey of teaching your child to knit, it's essential to gather the right tools. Having the appropriate supplies not only makes the experience more enjoyable but also sets your young knitter up for success. Think of it like preparing for a grand adventure; you wouldn't set out without the right gear, right? In knitting, the basic supplies include yarn, needles, and some handy accessories that are perfect for beginners.
First and foremost, yarn is the star of the show. It comes in a variety of types, colors, and textures, making it a delightful choice for children who love to express their creativity. When selecting yarn, consider the material and weight, as these factors play a significant role in how easy or challenging the knitting process will be. For instance, a soft, chunky acrylic yarn is often easier for little hands to manipulate than a fine wool yarn, which can be slippery and more difficult to work with.
Next up are the knitting needles. These tools are crucial for transforming yarn into beautiful creations. For beginners, it's advisable to choose needles that are lightweight and easy to handle. Bamboo or plastic needles are excellent options because they provide a good grip and are less likely to slip out of the stitches. A common size for beginners is around 8 mm (US size 11), which works well with thicker yarns. However, you can adjust based on the yarn weight you choose.
In addition to yarn and needles, there are a few accessories that can enhance the knitting experience:
- Stitch markers: These help keep track of stitches and patterns.
- Measuring tape: Essential for ensuring your projects are the right size.
- Scissors: A small pair for snipping yarn ends is a must-have.
- Tapestry needle: Useful for weaving in loose ends once the project is complete.
To summarize, the essential knitting supplies include:
| Item | Description |
|---|---|
| Yarn | Soft, chunky yarn is ideal for beginners. |
| Knitting Needles | Lightweight and easy-to-handle needles (size 8 mm recommended). |
| Stitch Markers | Helps keep track of stitches. |
| Measuring Tape | Ensures your projects are the right size. |
| Scissors | For snipping yarn ends. |
| Tapestry Needle | For weaving in loose ends. |
By gathering these essential supplies, you’re not just preparing for a craft; you’re opening the door to a world of creativity and learning for your child. So, let’s get those knitting needles ready and dive into the wonderful world of yarn!
Choosing the Right Yarn
When it comes to knitting, one of the most significant decisions you'll make is choosing the right yarn. It’s like picking the right paint for a masterpiece—your choice can make all the difference! For children, the right yarn can enhance their experience, making it enjoyable and successful. So, let’s dive into what you need to consider when selecting yarn for your little knitter.
First off, consider the yarn material. Different fibers have unique properties that can affect how easy or difficult a project may be. For young learners, I highly recommend starting with acrylic yarn. It’s affordable, widely available, and comes in a rainbow of colors, which can excite any child. Plus, it’s machine washable, which is a huge plus for parents worried about messes. However, if your child is ready for a little more challenge, you might explore cotton yarn for its breathability and durability, especially for warm-weather projects.
Another important factor is yarn weight. Yarn weight refers to the thickness of the yarn, and it plays a crucial role in the knitting process. For beginners, it's best to stick with worsted weight yarn, as it provides a good balance between ease of handling and the ability to create visible stitches. This type of yarn helps children see their progress quickly, which is essential for maintaining their interest. Here’s a quick reference table to help you understand the different yarn weights:
| Yarn Weight | Description | Best For |
|---|---|---|
| Super Bulky | Very thick yarn that works up quickly. | Quick projects like blankets. |
| Bulky | Thick yarn that is warm and cozy. | Scarves and hats. |
| Worsted | Medium weight, versatile yarn. | Most beginner projects. |
| DK (Double Knitting) | Lightweight but still substantial. | Shawls and lighter garments. |
| Sport | Thinner than worsted, ideal for detailed work. | Tops and summer wear. |
| Fingering | Very thin yarn, often used for delicate projects. | Lightweight garments and lace. |
Lastly, think about the color and texture of the yarn. Bright, vibrant colors can spark creativity and make the knitting experience more enjoyable for kids. Additionally, yarn with interesting textures can add an element of fun to their projects. However, keep in mind that very fuzzy or textured yarns can be more challenging to work with, so it’s best to stick with smooth yarns for beginners.
In summary, choosing the right yarn for your child involves considering the material, weight, color, and texture. By selecting a yarn that is easy to handle and visually appealing, you’re setting your young knitter up for a delightful and fulfilling experience. Remember, the right yarn can turn a simple project into a cherished creation!
Yarn Types Explained
When it comes to knitting, the type of yarn you choose can make a world of difference in your child's experience. Different yarn types come with their unique textures, weights, and properties, which can influence not just the ease of knitting but also the final product's look and feel. Understanding these yarn types will empower parents to make informed decisions, ensuring that their young knitters have the best materials to work with.
First up is acrylic yarn. This is often the go-to choice for beginners, thanks to its affordability and wide range of colors. Acrylic is synthetic, meaning it’s durable, easy to wash, and comes in a variety of textures. It’s perfect for children because it can withstand a bit of rough handling and is less likely to be damaged by spills or dirt. However, it may not be as soft as other yarns, which can be a consideration for projects that will be worn directly against the skin.
Next, we have cotton yarn. Cotton is a natural fiber that is soft, breathable, and perfect for warmer weather projects. It’s great for summer garments or accessories because it keeps you cool and is hypoallergenic. However, cotton yarn can be a bit challenging for beginners as it tends to be less forgiving than acrylic, meaning mistakes can be harder to fix. Still, it’s an excellent choice for children who may want to experiment with different textures.
Then there’s wool yarn, which is a classic choice for knitters of all ages. Wool is incredibly versatile and comes in various weights and textures. It has natural elasticity, which makes it easier for beginners to work with, as it can stretch and hold its shape. Moreover, wool is warm and insulating, making it ideal for winter garments. However, some children may have sensitivities to wool, so it’s essential to check for any allergies before diving into a wool project.
Lastly, we should touch on blended yarns. These yarns combine two or more types of fibers, such as wool and acrylic or cotton and polyester. Blended yarns aim to capture the best qualities of each fiber, offering a balance of softness, durability, and ease of care. They can be a fantastic option for kids, as they often provide a richer texture and more vibrant colors, making the knitting experience more enjoyable.
To summarize, here’s a quick comparison of the yarn types:
| Yarn Type | Properties | Best For |
|---|---|---|
| Acrylic | Durable, easy to wash, affordable | Beginners, everyday projects |
| Cotton | Soft, breathable, hypoallergenic | Summer garments, dishcloths |
| Wool | Warm, elastic, insulating | Winter projects, cozy items |
| Blended | Combines best qualities of fibers | Variety of projects, enhanced textures |
Choosing the right yarn can be a fun adventure in itself! Encourage your child to feel the different yarns and see which one they connect with. After all, knitting is not just about the end product; it's about the journey and the joy of creating something unique. So, let them explore and find their favorite yarn type!
Yarn Weight and Its Importance
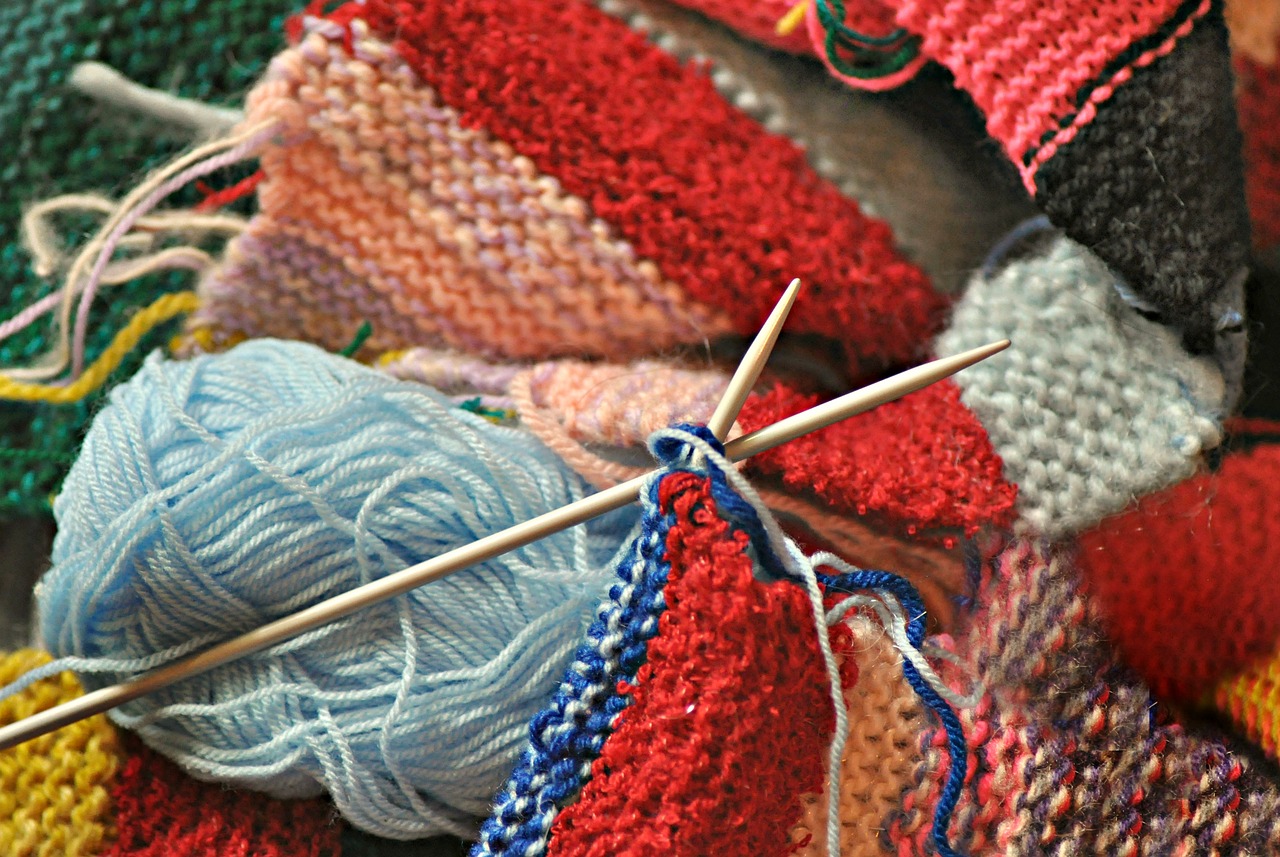
Understanding yarn weight is crucial for any young knitter embarking on their creative journey. Yarn weight refers to the thickness of the yarn, and it significantly impacts both the knitting process and the final product. Choosing the right yarn weight can mean the difference between a project that turns out beautifully and one that feels frustrating and unmanageable. For children, selecting an appropriate weight can help ensure their experience is enjoyable and successful.
Generally, yarns are categorized into different weight classes, ranging from lace to super bulky. Each weight serves a unique purpose and is suited for different types of projects. For beginners, it's often recommended to start with worsted weight yarn, which is versatile and easy to work with. This weight strikes a balance between being thick enough to see stitches clearly, yet thin enough to manage easily. Here’s a brief overview of common yarn weights:
| Yarn Weight | Recommended Needle Size | Typical Projects |
|---|---|---|
| Lace | US 0-3 | Shawls, delicate items |
| Fingering | US 1-3 | Socks, lightweight garments |
| Worsted | US 7-9 | Scarves, blankets, sweaters |
| Bulky | US 9-11 | Hats, blankets, quick projects |
| Super Bulky | US 11-17 | Cozy blankets, fast accessories |
When teaching children to knit, it’s essential to explain how yarn weight affects their projects. For instance, using a thicker yarn will generally result in a warmer, cozier item, while a thinner yarn can create lighter, more delicate pieces. This understanding helps children make informed choices and encourages them to experiment with different weights as they grow in their knitting skills.
Moreover, yarn weight also influences the gauge, which is the number of stitches per inch. A proper gauge ensures that the finished project matches the intended size. For kids, starting with a yarn that has a straightforward gauge can simplify the learning process and build their confidence as they see their creations come to life.
In conclusion, by paying attention to yarn weight, parents can guide their children toward a more fulfilling knitting experience. It opens the door to a world of creativity and helps young knitters understand the art of yarn selection, ultimately making their projects not only successful but also a true representation of their growing skills.
Knitting Needles for Beginners
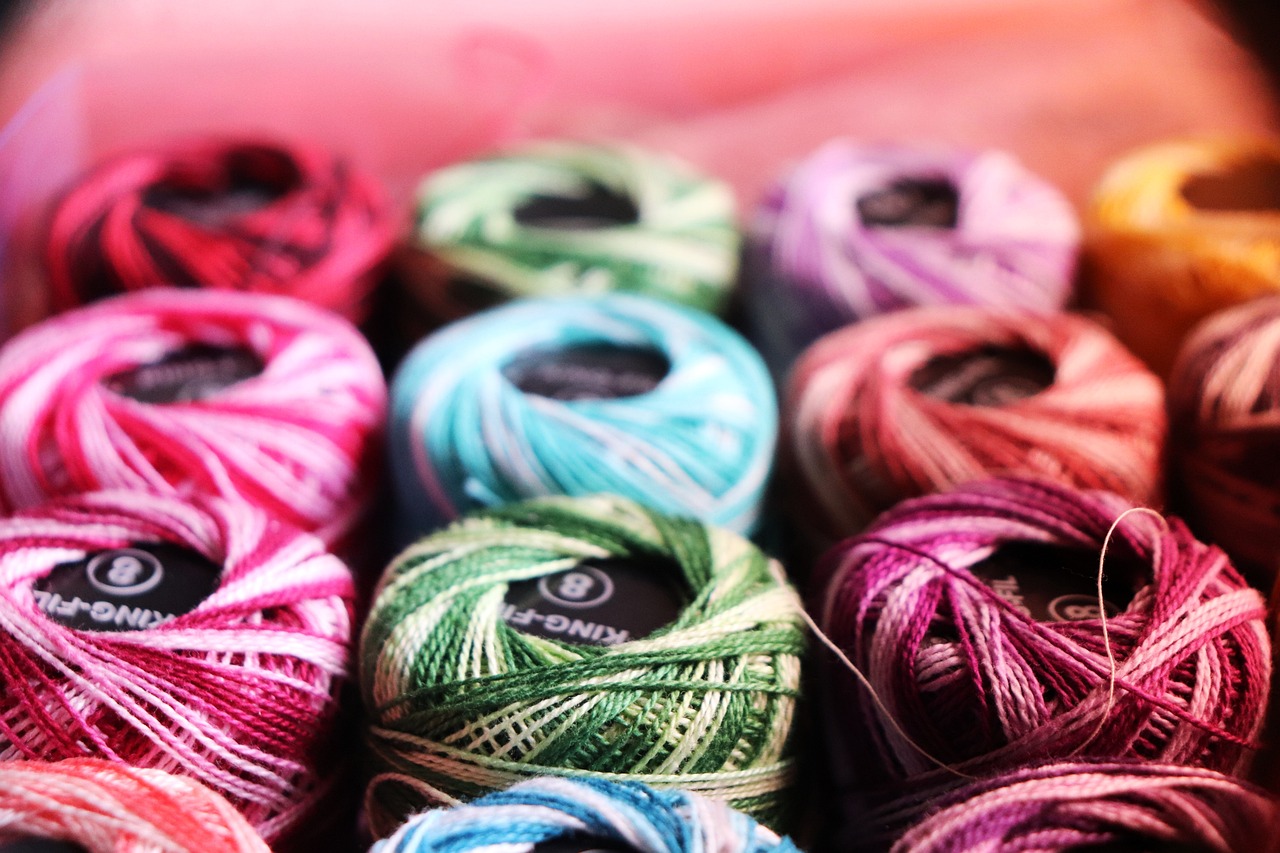
Choosing the right knitting needles is crucial for young beginners embarking on their knitting journey. Just like picking the right shoes for a marathon, the right needles can make all the difference in comfort and ease of use. For children, it's essential to select needles that are not only easy to handle but also safe to use. Generally, there are two main types of knitting needles: straight needles and circular needles. Straight needles are typically the go-to choice for beginners, as they allow for straightforward knitting without the complication of managing a circular cable.
When it comes to materials, knitting needles can be made from various materials such as bamboo, metal, and plastic. Each material has its own advantages:
- Bamboo needles: These are lightweight and provide a good grip on the yarn, making them ideal for children who are just starting out. They also tend to be less slippery than metal needles, reducing the chance of dropped stitches.
- Metal needles: While these are very durable and allow for smooth knitting, they can be a bit slippery, which might be challenging for little hands. However, they are great for faster knitting once children become more comfortable.
- Plastic needles: These are often the most affordable option and come in a variety of colors. They are lightweight and can be a fun choice for kids, but they might not be as sturdy as bamboo or metal.
Another important factor to consider is the size of the needles. For beginners, it’s recommended to start with larger needles (like US size 8 or 9) because they are easier to manipulate and allow for quicker progress, which can be very encouraging for young knitters. A larger needle size also means that the stitches are more visible, making it easier for children to see their work and identify any mistakes.
Lastly, it's essential to consider the length of the needles. For children, shorter needles (around 10 inches) are often easier to handle than longer ones, which can feel unwieldy. However, if your child shows a keen interest in knitting, they may eventually want to explore longer needles as they take on bigger projects.
In summary, when selecting knitting needles for beginners, keep these factors in mind:
| Type | Material | Best for |
|---|---|---|
| Straight Needles | Bamboo | Beginners due to grip |
| Straight Needles | Metal | Faster knitting but slippery |
| Straight Needles | Plastic | Fun and colorful option |
By considering these elements, you can ensure that your child has a positive and enjoyable knitting experience right from the start. Remember, the goal is to foster a love for knitting, so making the process as comfortable and engaging as possible is key!
Q: What size knitting needles should I buy for my child?
A: It's best to start with larger needles, such as US size 8 or 9, as they are easier to handle and allow for quicker progress.
Q: Are bamboo needles better for beginners?
A: Yes, bamboo needles provide a good grip on the yarn, making them less slippery and easier for children to manage.
Q: How do I know if my child is ready to start knitting?
A: If your child shows interest in creating something with their hands, has the patience to follow instructions, and is excited about the idea of knitting, they are likely ready to start!
Basic Knitting Techniques
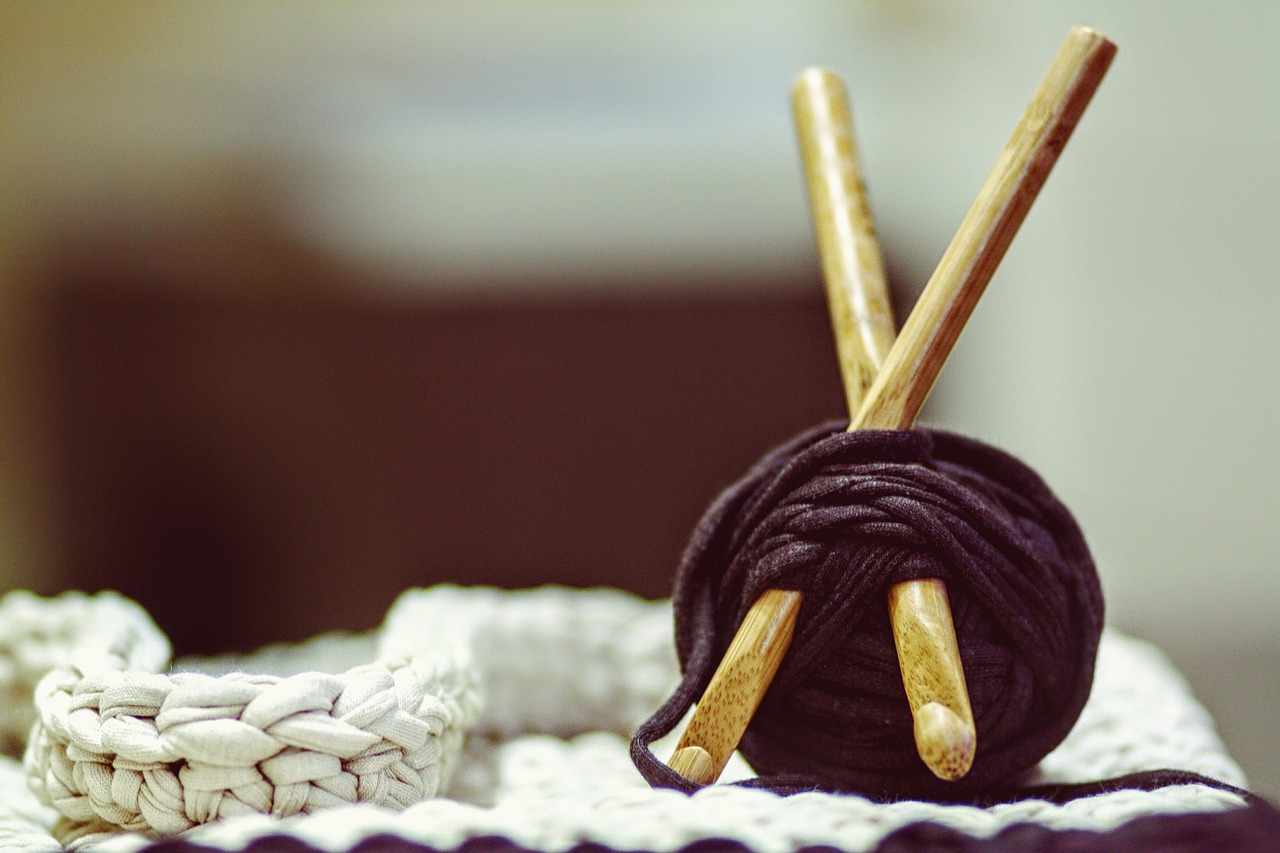
When it comes to knitting, mastering the basic techniques is like learning the ABCs of a new language. It's essential for building a solid foundation that will empower your child to explore their creativity and tackle more complex projects in the future. So, let’s dive into the fundamental stitches and methods that will transform your little one into a confident young knitter!
The first stitch every budding knitter should learn is the knit stitch. Think of it as the building block of all knitting. Once your child gets the hang of this simple technique, they’ll be amazed at how quickly they can create beautiful patterns and textures. To teach the knit stitch, start by showing them how to hold the needles and yarn correctly. It’s all about practice, so encourage them to take their time and enjoy the process. After all, knitting is as much about the journey as it is about the finished product!
Once your child has mastered the knit stitch, it’s time to introduce the purl stitch. This stitch is equally important and adds versatility to their knitting repertoire. The purl stitch is essentially the opposite of the knit stitch, creating a different texture that can be combined with knits to form a variety of patterns. You can explain to your child that learning the purl stitch is like learning to write in cursive after mastering print—it opens up a whole new world of possibilities!
To help your child remember these techniques, consider creating a simple reference chart that outlines the steps for each stitch. Here’s a basic example:
| Stitch | Steps |
|---|---|
| Knit Stitch |
|
| Purl Stitch |
|
As your child practices these basic stitches, remind them that mistakes are just part of the learning process. Encourage them to embrace their creativity and not to fear unraveling a few stitches if things don’t go as planned. After all, every great knitter started as a beginner!
In addition to the knit and purl stitches, there are a few other techniques that can enhance your child’s knitting skills, such as casting on and binding off. Casting on is how you start a knitting project, while binding off is how you finish it. These techniques are crucial for every knitting project, so make sure to spend some time practicing them together.
Remember, the goal is to make knitting a fun and enjoyable experience for your child. Celebrate their achievements, no matter how small, and watch as their confidence grows with every stitch they create. Before you know it, they’ll be crafting their own unique masterpieces, and you’ll have shared a wonderful bonding experience along the way!
Q: At what age can my child start knitting?
A: Most children can start learning to knit around the age of 6 or 7, but it really depends on their fine motor skills and interest. Start with simple projects and gradually introduce more complex techniques.
Q: What type of yarn is best for beginners?
A: For beginners, it’s best to use a soft, medium-weight yarn, such as acrylic or cotton. These materials are easy to work with and come in a variety of colors, making it fun for kids!
Q: How can I keep my child motivated to knit?
A: Engage them with fun and easy projects that they can complete quickly, like scarves or simple accessories. Celebrate their progress and encourage them to express their creativity through their knitting.
Learning the Knit Stitch
When it comes to knitting, the knit stitch is like the foundation of a house; without it, everything else just crumbles. This stitch is not only the most basic technique in knitting, but it also opens up a world of creativity and possibilities for young knitters. Teaching your child how to knit is akin to handing them a magic wand that transforms simple yarn into beautiful creations. So, let’s dive into the steps of mastering this essential stitch!
First off, it's important to gather your materials. You'll need some yarn and a pair of knitting needles. For beginners, I recommend using medium-weight yarn and size 8 needles—these are easier for little hands to manage. Now that you have your supplies, let’s break down the process of the knit stitch into simple steps:
- Hold the Needles: Start by holding one needle in your right hand and the other in your left. Make sure the needle with the cast-on stitches is in your left hand.
- Insert the Needle: Insert the right needle into the first stitch on the left needle from front to back.
- Wrap the Yarn: Wrap the working yarn (the yarn connected to the ball) around the right needle from back to front.
- Pull Through: Pull the right needle through the stitch on the left needle, creating a new loop.
- Slide Off: Slide the old stitch off the left needle, and voilà! You’ve just completed your first knit stitch!
Repeat these steps until you’ve knitted a few rows. It’s all about practice, and before you know it, your child will be knitting like a pro! Encourage them to keep their tension consistent; this means not too tight and not too loose. If the stitches are too tight, they may find it difficult to pull the yarn through, and if they’re too loose, the fabric will look uneven.
As they practice, remind them that mistakes are part of the learning process. Just like learning to ride a bike, it’s normal to stumble a bit before they find their balance. Celebrate their progress and encourage them to keep going! You can even set up a little 'knitting corner' at home where they can feel inspired and creative.
Lastly, consider introducing some fun variations once they’ve got the knit stitch down. For example, they can experiment with different yarn colors or try combining the knit stitch with the purl stitch later on. This will not only keep their interest alive but also help them develop their skills further. Remember, knitting is not just about making items; it’s about the joy of creating something with their own hands!
Q: What age is appropriate to start teaching my child to knit?
A: Many children can start learning to knit around the age of 6 or 7, depending on their motor skills and interest. Always supervise them, especially with needles!
Q: What type of yarn is best for beginners?
A: Medium-weight acrylic yarn is often recommended for beginners due to its affordability and ease of use. It’s also available in a variety of colors!
Q: How can I encourage my child to keep knitting?
A: Try to make knitting a fun family activity! Set goals, create projects together, and celebrate their achievements to keep their motivation high.
Q: What should I do if my child gets frustrated?
A: Remind them that learning takes time. Encourage them to take breaks and come back to it later. Celebrate small victories to keep their spirits up!
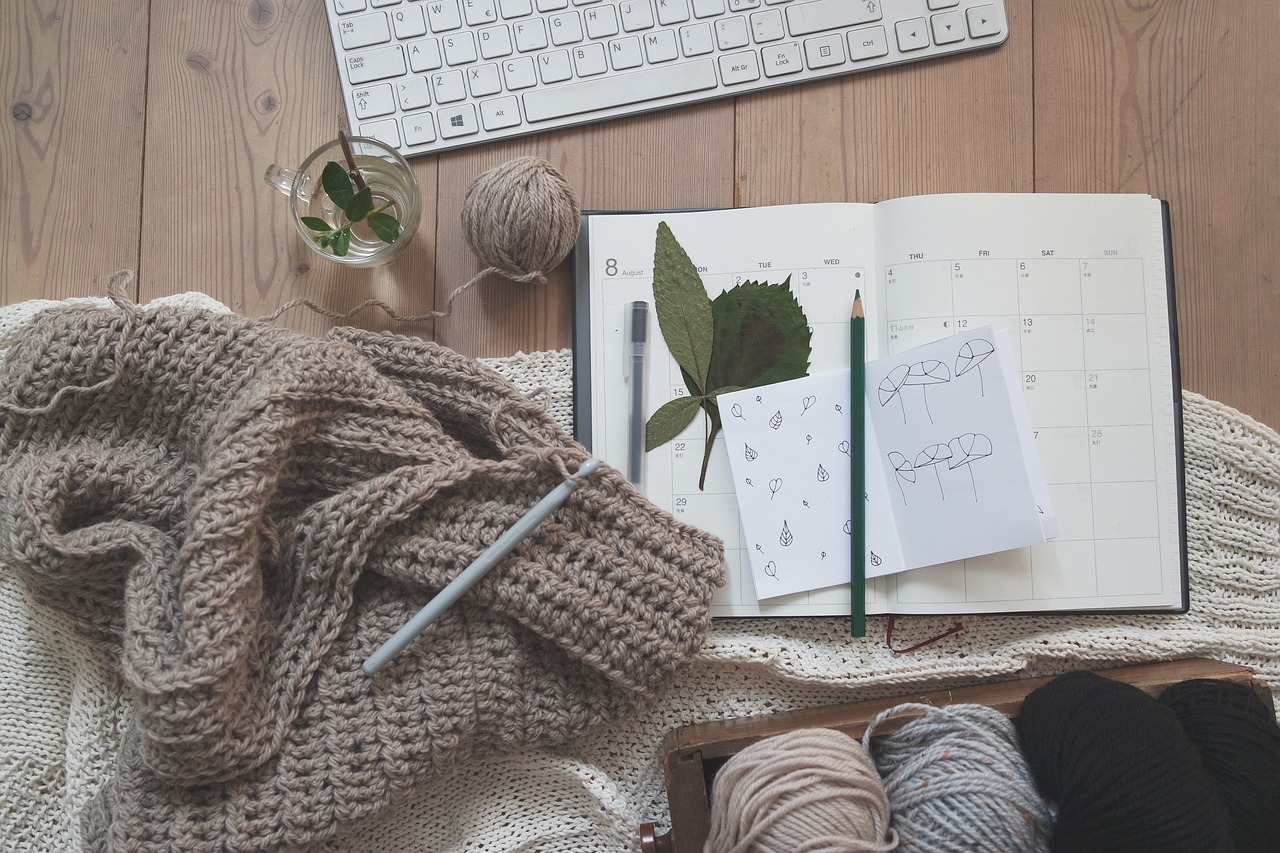
Introducing the Purl Stitch
The purl stitch is the second fundamental stitch that every budding knitter should learn after they’ve mastered the knit stitch. Think of it as the yin to the knit stitch's yang; together, they create a beautiful fabric with texture and depth. Teaching your child this stitch can be a delightful experience, as it opens up a world of possibilities in their knitting journey. But how do you introduce this stitch effectively? Let’s dive in!
First, it's important to explain to your child that the purl stitch is essentially the reverse of the knit stitch. While the knit stitch creates a smooth, flat surface, the purl stitch forms a bumpy texture on the fabric's front side. This is crucial for creating various patterns and designs. You can use a simple analogy here: if knitting is like drawing a line on a piece of paper, then purling is like drawing a dotted line. Both are essential to create a complete picture!
To teach the purl stitch, start by having your child hold the needle with the knit stitches facing them. With the working yarn positioned in front of the needle, they should insert the right needle into the first stitch on the left needle from the front to the back. This is where the magic happens! Encourage them to wrap the yarn around the right needle and pull it through the stitch. As they slide the old stitch off the left needle, they will see a lovely new purl stitch forming on the right needle. It’s like watching a flower bloom from a bud!
Here’s a simple step-by-step breakdown to reinforce their learning:
- Hold the needle with the knit stitches facing you.
- Bring the working yarn to the front of the project.
- Insert the right needle into the first stitch on the left needle from front to back.
- Wrap the working yarn around the right needle.
- Pull the wrapped yarn through the stitch.
- Slide the old stitch off the left needle.
Practice makes perfect! Encourage your child to repeat this process several times until they feel comfortable. Remind them that it's normal to make mistakes—after all, every great artist started with a few doodles! To keep their interest alive, you can turn this practice into a fun game, where they try to see how many purl stitches they can create in a minute.
As they become more proficient, introduce them to projects that incorporate the purl stitch. Simple patterns like ribbing or garter stitch can be a great way to practice while creating something tangible. Not only will this enhance their skills, but it will also boost their confidence as they see their creations come to life.
In summary, introducing the purl stitch can be a rewarding experience for both you and your child. It’s an essential building block that will allow them to explore more complex knitting techniques. So grab those needles, and let the purling begin!
Q: How long does it take for a child to learn the purl stitch?
A: Every child learns at their own pace, but with practice, they can typically grasp the purl stitch within a few sessions.
Q: What are some common mistakes to look out for?
A: Children may accidentally knit instead of purling or may forget to bring the yarn to the front. Encourage them to slow down and focus on their movements.
Q: Can I combine purl stitches with other techniques?
A: Absolutely! The purl stitch is often combined with knit stitches to create various patterns and textures, such as ribbing or seed stitch.
Fun and Easy Projects for Kids
When it comes to knitting, the magic truly happens when children can see their hard work transform into something tangible and beautiful. Engaging projects are not just about crafting; they're about sparking creativity and inspiring a sense of accomplishment in young knitters. Imagine the joy on your child's face as they complete their first project, a tangible reminder of their effort and skill! Let's dive into some fun and easy projects that are perfect for kids to explore their knitting journey.
One of the most classic and rewarding projects for beginners is creating a simple scarf. Not only is it a practical item that your child can wear or gift to someone special, but it also allows for creativity in choosing colors and patterns. To make a scarf, all you need is some yarn, a pair of needles, and a little patience. The process involves casting on stitches, knitting rows until the desired length is achieved, and then binding off. This project helps children practice their knit stitch while also introducing them to the concept of measuring and planning. Plus, they can personalize their scarf with stripes or fun colors, making it truly one-of-a-kind!
Another exciting avenue for young knitters is creating fun accessories. Items like hats, headbands, or even small bags can be incredibly rewarding. For instance, a simple headband is a fantastic project that introduces children to knitting in the round. They can choose a vibrant yarn and experiment with patterns or textures. Not only do these accessories allow kids to express their unique style, but they also build confidence as they see their creations being worn and appreciated.
For those looking to add a bit of flair, consider projects that incorporate embellishments. Kids can knit small motifs, like hearts or stars, and sew them onto their scarves or hats. This not only enhances their knitting skills but also introduces them to the world of sewing and crafting. The possibilities are endless, and the excitement of creating something from scratch is a powerful motivator!
To help you and your child get started, here’s a simple overview of some fun projects:
| Project | Skills Learned | Materials Needed |
|---|---|---|
| Simple Scarf | Knit stitch, measuring | Yarn, knitting needles |
| Headband | Knit in the round | Yarn, circular needles |
| Knitted Motifs | Colorwork, sewing | Yarn, needles, sewing thread |
These projects not only develop knitting skills but also foster creativity, patience, and problem-solving abilities. As children navigate through their knitting adventures, they learn to overcome challenges, celebrate successes, and most importantly, have fun! So grab those needles and yarn, and let the creative journey begin!
Q: What age is appropriate to start teaching my child to knit?
A: Generally, children around the age of 6 or 7 can start learning to knit, but it ultimately depends on their interest and fine motor skills.
Q: What type of yarn is best for beginners?
A: Acrylic yarn is often recommended for beginners due to its affordability, durability, and wide variety of colors. It's also easy to care for!
Q: How can I keep my child motivated while learning to knit?
A: Encourage them to choose their own projects and colors. Celebrate their progress and make knitting a fun, shared activity!
Q: Are there any safety concerns I should be aware of?
A: Always supervise young children while knitting, especially when using sharp needles. Consider using blunt-tip needles for younger kids.
Creating a Simple Scarf
Making a scarf is not just a classic beginner project; it's a rite of passage for young knitters! Imagine your child wrapping up in a cozy, handmade scarf that they created all by themselves. It’s a beautiful blend of creativity and warmth, perfect for chilly days. To start this fun journey, you'll want to gather a few essential supplies: yarn, knitting needles, and a dash of enthusiasm. The beauty of knitting a scarf lies in its simplicity and the ability to personalize it with colors and patterns that reflect your child's unique style.
First things first, let’s talk about the yarn. For a scarf, it's best to choose a yarn that is soft and easy to work with. Acrylic yarn is a fantastic choice for beginners because it's durable, affordable, and comes in a wide array of colors. Plus, it’s machine washable, which is a huge plus for any parent! If your child is feeling adventurous, you could even explore textured yarns like chenille for a fun twist.
Next, the knitting needles! A pair of straight needles, preferably size 8 to 10, will work wonders for this project. They are the perfect size for beginners and will help your child learn the basics without feeling overwhelmed. Now, let’s dive into the actual knitting process. Start by casting on a few stitches—about 20 to 30 depending on the desired width of the scarf. Remember, it’s all about keeping it simple. Encourage your child to take their time and enjoy the rhythmic motion of knitting.
As your child begins to knit, they will be using the knit stitch predominantly. This stitch creates a lovely texture and is the foundation of many knitting projects. Remind them to keep their tension even; a little practice will go a long way! If they want to add some flair, they can incorporate stripes or even a simple pattern by alternating colors every few rows. This not only makes the scarf visually appealing but also keeps the knitting process exciting.
Once they have reached the desired length, it’s time to bind off. This is where the magic happens! Binding off is the final step that secures their hard work. Show them how to knit the first two stitches, then pull the first stitch over the second and off the needle. Repeat this until they have only one stitch left. Cut the yarn, leaving a tail, and pull it through the last stitch to secure it. Voilà! Your child has just created their very own scarf!
To add a personal touch, consider finishing the scarf with some fringes or a pom-pom at the ends. This not only enhances the beauty of their creation but also gives them a sense of accomplishment. Watching their face light up as they wear their handmade scarf is priceless. Remember, the journey of knitting is just as important as the final product. Encourage your child to embrace their creativity, and they will not only learn a valuable skill but also create cherished memories along the way.
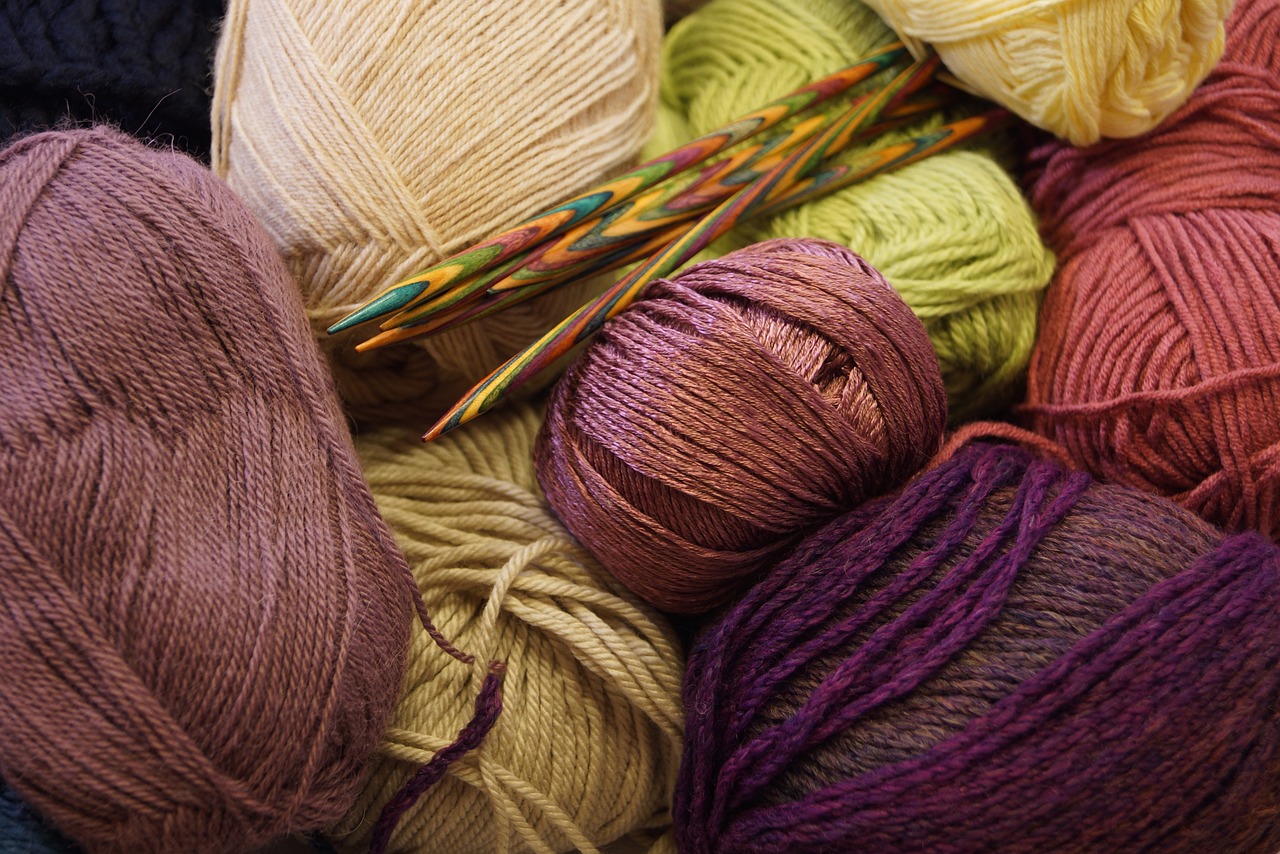
Knitting Fun Accessories
Knitting isn't just about making blankets or scarves; it's a fantastic way for kids to create fun accessories that they can wear and show off! Imagine your little one proudly wearing a hat they've knitted themselves or a colorful headband that reflects their unique style. These projects not only ignite creativity but also provide a sense of accomplishment that can boost their confidence. So, what are some fun accessories they can knit? Let's dive into a couple of exciting projects that are perfect for young knitters!
First up, knitting a simple hat is a popular choice. Hats are not only practical but also incredibly customizable. Kids can choose their favorite colors, patterns, and even add embellishments like pom-poms or buttons to make their creations truly one-of-a-kind. The beauty of knitting a hat is that it allows for experimentation with different stitches and techniques, making it a great learning experience. Plus, once they master the basics, they can easily transition to more complex designs!
Another delightful project is a knitted headband. Headbands are quick to make and can be as simple or intricate as your child desires. Using a soft yarn, they can create a cozy headband that will keep their ears warm during chilly days. You can even encourage them to incorporate fun patterns or textures, like braids or cables, to make their headband stand out. The satisfaction of wearing something they made with their own hands is priceless!
For those who want to explore even more, consider knitting bracelets or keychains. These small projects are perfect for practicing techniques without the commitment of larger items. Kids can experiment with different colors and stitches, allowing them to create personalized gifts for friends and family. Imagine the joy of gifting a handmade bracelet to a best friend or a knitted keychain to a favorite teacher!
To help kids get started on these exciting accessory projects, here’s a quick overview of some essential techniques they might use:
| Accessory | Skills Required | Materials Needed |
|---|---|---|
| Hat | Knitting in the round, basic stitches | Soft yarn, circular needles |
| Headband | Basic stitches, simple patterns | Medium-weight yarn, straight needles |
| Bracelet | Basic stitches, color changes | Thin yarn, small needles |
| Keychain | Basic stitches, finishing techniques | Yarn scraps, small needles |
Encouraging your child to knit fun accessories not only enhances their skills but also allows them to express themselves creatively. As they see their creations come to life, they'll develop a deeper appreciation for the art of knitting. So, gather those supplies, spark their imagination, and let the knitting adventure begin!
Q: What age is appropriate for teaching my child to knit?
A: Most children can start learning to knit around the age of 6 or 7, but it ultimately depends on their interest and fine motor skills.
Q: What type of yarn is best for beginners?
A: Acrylic yarn is often recommended for beginners due to its affordability, variety of colors, and ease of care.
Q: How can I keep my child motivated to continue knitting?
A: Encourage them to choose projects that interest them, celebrate their progress, and consider joining a local knitting group or class for social interaction.
Q: Are there any online resources for kids learning to knit?
A: Yes! There are many websites and YouTube channels specifically designed for teaching kids how to knit, with fun tutorials and patterns.
Frequently Asked Questions
- What age is appropriate for teaching my child to knit?
There's no strict age limit, but many children can start learning to knit around the age of 6 or 7. It's all about their interest and fine motor skills. If they're curious and can hold the needles properly, then it's a great time to start!
- What supplies do I need to get started?
To kick off your child's knitting journey, you'll need some basic supplies: a pair of child-friendly knitting needles, some soft yarn (like acrylic or cotton), and a pair of scissors. Optional items include a yarn needle for weaving in ends and stitch markers to keep track of stitches.
- How do I choose the right yarn for beginners?
For beginners, it's best to choose a medium-weight yarn that is soft and easy to work with. Acrylic yarn is often recommended because it comes in a variety of colors and is easy to care for. Avoid yarns that are too fuzzy or slippery, as they can be tricky for little hands.
- What are the basic stitches my child should learn first?
The first stitch to master is the knit stitch, which is the foundation of most projects. After that, introducing the purl stitch can add variety to their knitting. Once they have these two down, they can start experimenting with different patterns!
- Can knitting help my child with other skills?
Absolutely! Knitting can enhance fine motor skills, improve concentration, and even boost math skills through counting stitches and measuring yarn. Plus, it’s a fantastic way for kids to express their creativity and develop patience.
- What are some fun projects for kids to start with?
Simple projects like scarves, hats, or even small stuffed animals are perfect for beginners. These projects are not only easy to follow but also provide a sense of accomplishment once completed, keeping the little ones motivated!
- How can I encourage my child to keep knitting?
Encouragement is key! Celebrate their progress, no matter how small, and consider joining them in a project. You can also explore fun patterns or themes that resonate with their interests, making the experience more enjoyable and engaging.


