How to Fire Your Pottery in a Kiln
Firing pottery in a kiln is an art form that transforms clay into durable, beautiful ceramics. Whether you’re a seasoned potter or just starting, understanding the firing process can elevate your creations to a whole new level. Imagine your raw clay evolving into vibrant bowls, mugs, and sculptures that can withstand the test of time. In this comprehensive guide, we will walk you through the essential techniques, safety measures, and tips needed to achieve the best results in your ceramic endeavors. So, grab your apron and let’s dive into the wonderful world of kiln firing!
Before you start firing your pottery, it’s crucial to understand the different types of kilns available. Each kiln serves a unique purpose and comes with its own set of features and advantages. Here’s a quick breakdown:
| Kiln Type | Fuel Source | Advantages |
|---|---|---|
| Electric Kiln | Electricity | Easy to control temperature, ideal for beginners. |
| Gas Kiln | Natural Gas or Propane | Produces unique effects, great for high-temperature firing. |
| Wood-Fired Kiln | Wood | Creates organic textures and colors, offers a traditional approach. |
Choosing the right kiln depends on your specific needs and the type of pottery you want to create. Each type has its own charm and can lead to different artistic expressions.
Proper preparation is the cornerstone of successful pottery firing. You wouldn’t want to throw your beautifully crafted pieces into the kiln without ensuring they’re ready, right? Here are the essential steps to get your pottery prepped and primed:
Effective drying techniques are vital to prevent cracks during firing. If your pottery is too wet, it can lead to disastrous results, so let’s explore how to dry your creations properly.
Natural drying is all about using the ambient air around you. It’s like letting your pottery breathe! To optimize your workspace for effective natural drying, ensure good airflow and avoid direct sunlight, which can cause uneven drying. Place your pieces on a drying rack or a clean, dry surface, and be patient. Remember, good things take time!
If you’re in a hurry, forced drying can be your best friend. This method involves using heat sources like heat lamps or ovens to speed up the drying process. However, caution is key! Make sure to monitor the temperature closely to avoid overheating your pottery, which can lead to cracking. Think of it as giving your pottery a cozy, warm hug to help it dry faster!
Glazing is where the magic happens! It adds color and texture to your pottery, transforming it from a plain piece of clay into a stunning work of art. When applying glazes, make sure to follow these tips:
- Stir your glaze thoroughly to avoid clumps.
- Use a brush, spray, or dipping method for application.
- Ensure an even coat to prevent drips and runs.
Remember, the quality of your glaze application can significantly impact the final appearance of your pottery, so take your time and enjoy the process!
Once your pottery is dry and glazed, it’s time to load the kiln. This step is crucial for achieving even firing results. Think of loading your kiln like packing a suitcase; you want everything to fit snugly but not too tightly!
The arrangement of your pottery in the kiln can greatly affect the firing outcome. Be sure to position your pieces in a way that allows for proper airflow and heat distribution. Avoid stacking items directly on top of one another to prevent contact during firing. Instead, think of it as giving each piece its own personal space to shine!
Kiln shelves are essential for creating a stable environment for your pottery. When using shelves, consider spacing and placement to maximize airflow. A well-organized kiln can make a world of difference in the final product. Remember, a little planning goes a long way!
Understanding firing schedules is key to successful kiln operation. Different firing schedules, such as bisque and glaze firing, require specific temperature settings and timing. Let’s break it down:
Bisque firing is the first firing that prepares your pottery for glazing. It typically occurs at lower temperatures to strengthen the clay. A standard bisque firing temperature ranges from 1820°F to 1940°F (995°C to 1060°C). This step is crucial as it transforms your fragile greenware into a sturdy bisque piece.
After bisque firing, it’s time for glaze firing. This is where the real excitement happens! Glaze firing enhances the final appearance of your pottery, and temperatures can range from 2100°F to 2340°F (1150°C to 1280°C), depending on the type of glaze used. Pay close attention to your kiln’s temperature settings to achieve beautiful, durable glazes.
Once firing is complete, cooling your kiln properly is essential to prevent damage to your pottery. Just like a fine wine, your creations need time to breathe!
Understanding the cooling phases is vital. Gradual cooling helps preserve the integrity of your pottery. Rapid temperature changes can cause cracking, so monitor the temperature closely as it cools down. Think of it as a slow dance; you want to take your time to enjoy the moment.
Finally, when it’s time to unload your kiln, do so with care. Use proper techniques to safely remove your pottery and maintain its beauty. It’s like unwrapping a precious gift—handle it with love! Allow your pieces to cool completely before touching them to avoid any mishaps.
Here are some common questions potters often have:
- Can I fire pottery in a regular oven? No, regular ovens do not reach the high temperatures required for firing pottery.
- How long does it take to fire pottery? Firing can take several hours to a full day, depending on the kiln and firing schedule.
- What should I do if my pottery cracks during firing? Unfortunately, cracks can occur. It’s essential to ensure proper drying and firing techniques to minimize this risk.
With this guide, you’re well on your way to mastering the art of firing pottery in a kiln. Embrace the process, experiment, and most importantly, have fun creating!
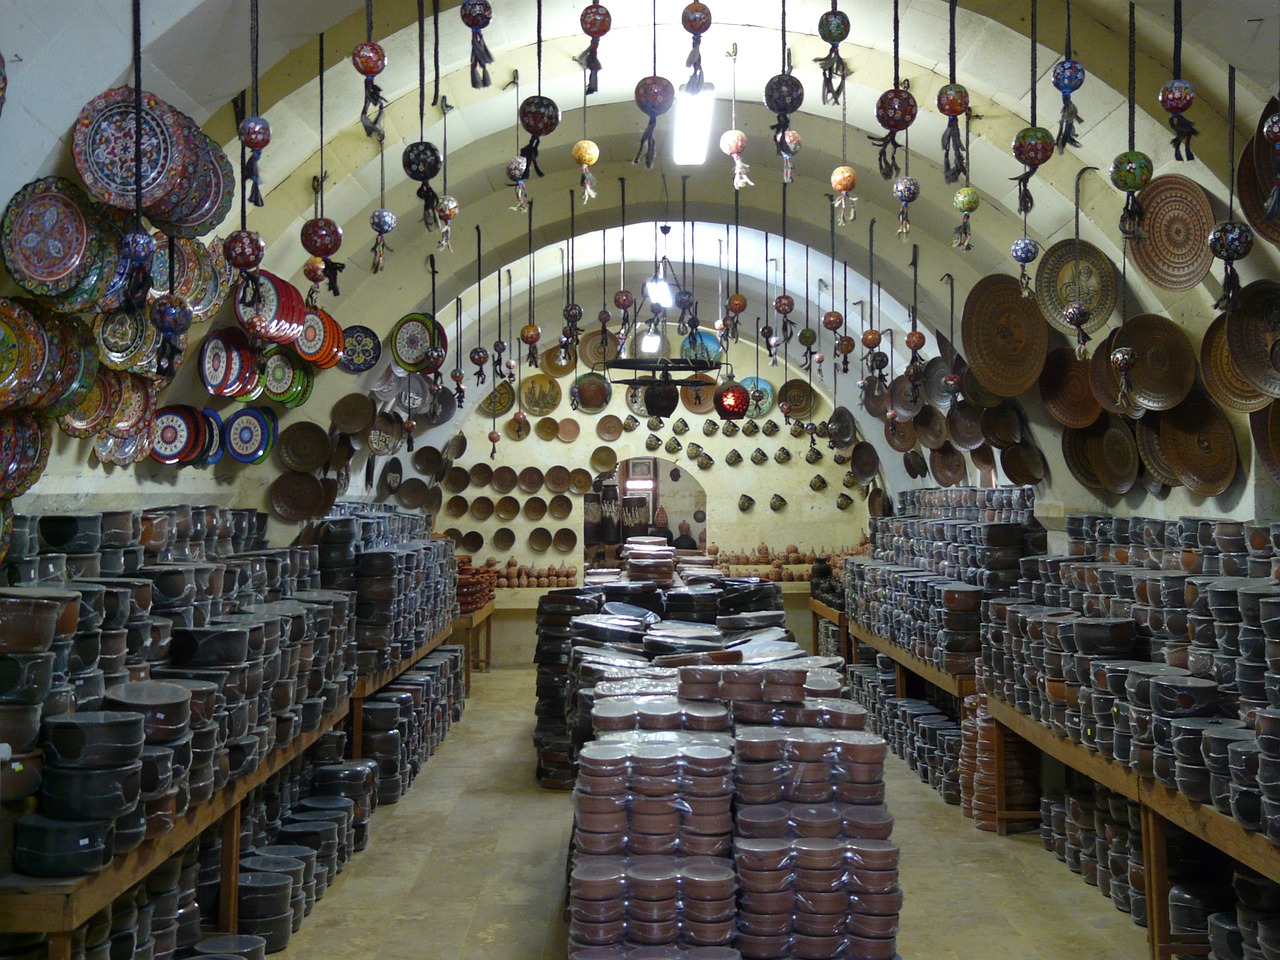
Understanding Kiln Types
When it comes to firing pottery, understanding the different types of kilns available is crucial for any ceramic artist. Each kiln type offers unique features and advantages that can significantly impact your pottery's final outcome. Let's dive into the most common kiln types you'll encounter in the world of ceramics: electric, gas, and wood-fired kilns.
Electric kilns are perhaps the most popular choice among hobbyists and professionals alike. They are user-friendly, maintain consistent temperatures, and are generally more convenient for indoor use. With electric kilns, you can easily set precise firing schedules, making them ideal for a variety of firing techniques. Their ability to reach high temperatures allows for a wide range of glazing options, providing artists with the flexibility to experiment with different finishes.
On the other hand, gas kilns offer a different firing experience. They use natural gas or propane as fuel, which allows for greater control over the atmosphere inside the kiln. This is particularly beneficial for achieving specific effects, such as reduction firing, where the oxygen levels are manipulated to create unique glaze results. However, gas kilns can be more complex to operate and may require additional ventilation and safety precautions.
Lastly, we have the wood-fired kilns, which bring an element of tradition and artistry to the pottery-making process. These kilns are fueled by wood, and the firing process can take days, resulting in unique textures and colors that are difficult to replicate in electric or gas kilns. Wood-fired pottery often showcases beautiful, unpredictable glaze effects and is highly sought after for its organic feel. However, they require a significant commitment in terms of time, space, and maintenance.
| Kiln Type | Fuel Source | Temperature Control | Unique Features |
|---|---|---|---|
| Electric Kiln | Electricity | Precise | Consistent temperatures, user-friendly |
| Gas Kiln | Natural gas/Propane | Variable | Atmospheric control, reduction firing |
| Wood-Fired Kiln | Wood | Less precise | Unique textures, organic effects |
In summary, the type of kiln you choose can significantly influence your pottery-making journey. Whether you prefer the precision of electric kilns, the atmospheric control of gas kilns, or the rustic charm of wood-fired options, each has its own set of benefits and challenges. The key is to align your choice with your artistic goals and the specific effects you wish to achieve in your ceramic creations.
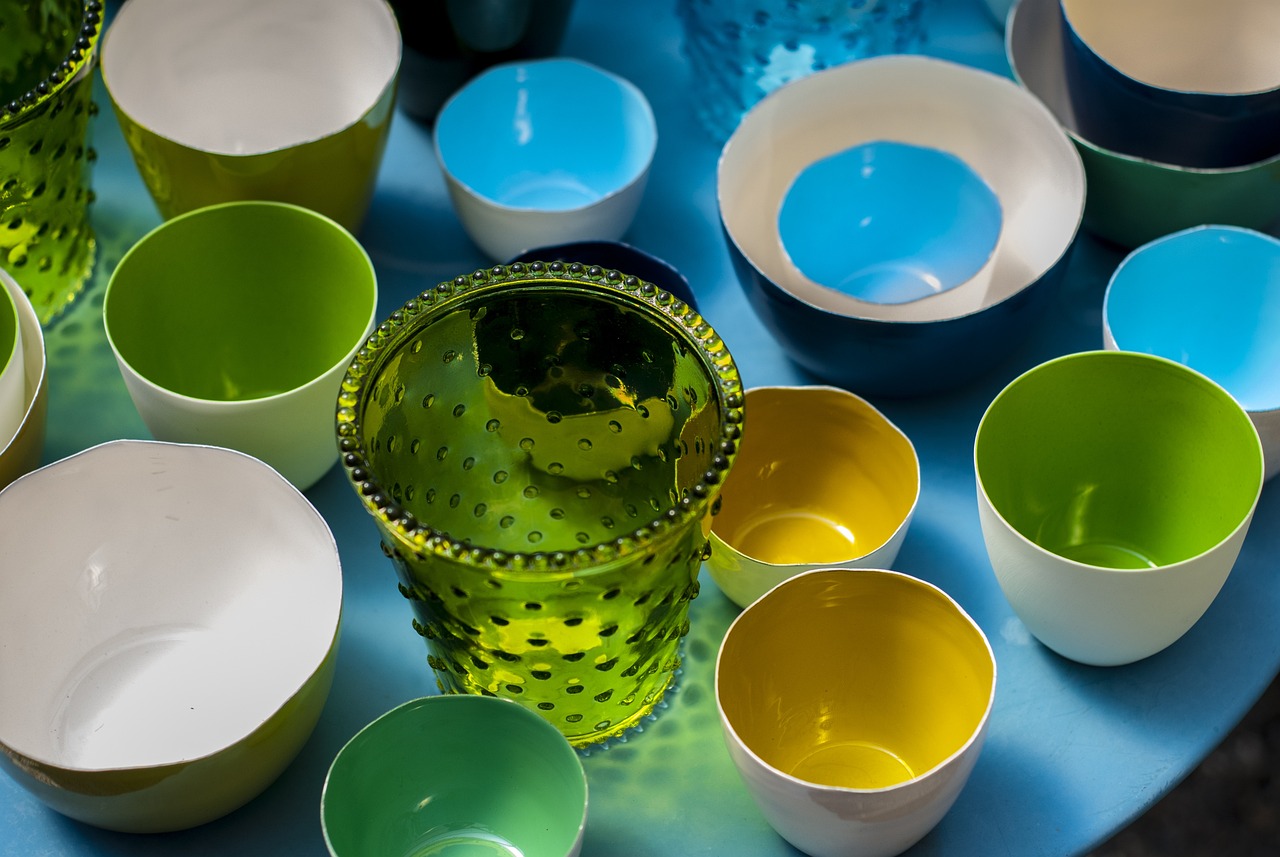
Preparing Your Pottery for Firing
Proper preparation is crucial for successful firing, and it’s often the difference between a masterpiece and a costly mistake. Before you even think about cranking up that kiln, there are a few essential steps you need to follow to ensure your pottery is ready for the fiery journey ahead. Think of it like preparing a meal; if you don’t have all your ingredients prepped and ready, you might end up with a dish that’s less than appetizing. So, let’s dive into the nitty-gritty of getting your pottery primed for firing!
First things first, you need to ensure your pottery is completely dry. If you skip this step, you might end up with cracks or even worse, explosions! The drying process can be a bit tricky, but it’s all about patience and technique. There are two main methods you can use: natural drying and forced drying. Natural drying is like letting your laundry air dry on a sunny day—slow and steady. On the other hand, forced drying is akin to using a tumble dryer; it speeds things up but requires a bit more caution.
When it comes to drying your pottery, consider these techniques:
- Natural Drying: This method relies on the ambient air conditions in your workspace. It’s important to place your pottery in a well-ventilated area away from direct sunlight, which can cause uneven drying. You want to create an environment where air circulates freely, allowing the moisture to escape gradually. A fan can help, but don’t blast it directly at your pieces!
- Forced Drying: If you're in a hurry, forced drying can be a lifesaver. You can use heat lamps or even an oven set to a low temperature. However, be cautious! Too much heat can lead to cracks. It’s like baking a cake; too high a temperature can result in a burnt exterior while the inside remains raw. Aim for a gentle heat to encourage moisture evaporation.
Once your pottery is dry, it’s time to trim and refine. Trimming is essential for removing any excess clay and ensuring your pieces have a professional finish. Think of it as giving your pottery a haircut—nobody wants a messy look! After trimming, you can start applying glazes. Glazing is where the magic happens; it’s what gives your pottery that stunning color and finish. But remember, applying glaze is an art in itself. You want an even coat, so take your time and don’t rush it. A brush or spray can work wonders, but make sure to follow the glaze manufacturer’s instructions for the best results.
In summary, preparing your pottery for firing is an art that requires careful attention to detail. From ensuring your pieces are completely dry to applying glazes with precision, each step plays a vital role in achieving beautiful results. So, take a deep breath, enjoy the process, and get ready to watch your creations transform in the kiln!

Drying Techniques
When it comes to firing pottery, one of the most critical steps is ensuring that your pieces are thoroughly dried before they hit the kiln. If you skip this step or rush it, you might end up with cracks or even worse—complete failures. So, how do you ensure that your pottery dries effectively? There are a couple of techniques you can employ, each with its own set of advantages. Let’s dive into the two main methods: natural drying and forced drying.
Natural drying is the simplest and often the most effective method. It relies on the ambient air conditions in your workspace. To optimize this method, try to find a well-ventilated area that maintains a consistent temperature. You want to avoid direct sunlight, as it can cause uneven drying and lead to cracks. Instead, consider the following:
- Place your pottery on a sturdy shelf or table, allowing enough space between each piece for air circulation.
- If possible, use fans to enhance airflow without blowing directly on the pottery.
- Cover your pottery with a breathable cloth to protect it from dust while allowing moisture to escape.
By following these guidelines, you can create an environment where your pottery can dry evenly, minimizing the risk of damage.
Sometimes, you may find yourself in a pinch and need to speed up the drying process. This is where forced drying comes into play. Using heat sources like heat lamps or ovens can help expedite the drying, but you must be cautious. Here are some tips to do it safely:
- Set the heat source at a low temperature to avoid shocking your pottery.
- Keep a close eye on the pieces to prevent overheating, which can lead to cracking.
- Ensure there’s adequate ventilation to allow moisture to escape; otherwise, you may create a steam environment that can be just as damaging.
Using forced drying can be a lifesaver, especially when you’re on a tight schedule. Just remember to keep it gentle—think of it as a warm hug rather than a scorching heatwave!
In conclusion, whether you opt for natural or forced drying, the key is to be patient and attentive. Each piece of pottery is unique and deserves the time it needs to dry properly. By mastering these drying techniques, you’ll set yourself up for success when it’s time to fire your creations in the kiln.
Q: How long should I let my pottery dry before firing?
A: It typically takes anywhere from a few days to a week for pottery to dry completely, depending on the thickness and the drying conditions. Always check for moisture by gently tapping the piece; if it sounds hollow, it’s usually dry.
Q: Can I dry my pottery outside?
A: Yes, but be cautious of direct sunlight and sudden temperature changes. A shaded area with good airflow is ideal.
Q: What should I do if my pottery cracks while drying?
A: If you notice cracks, it’s best to discard the piece and learn from the experience. Ensure that you’re drying your pottery slowly and evenly next time.
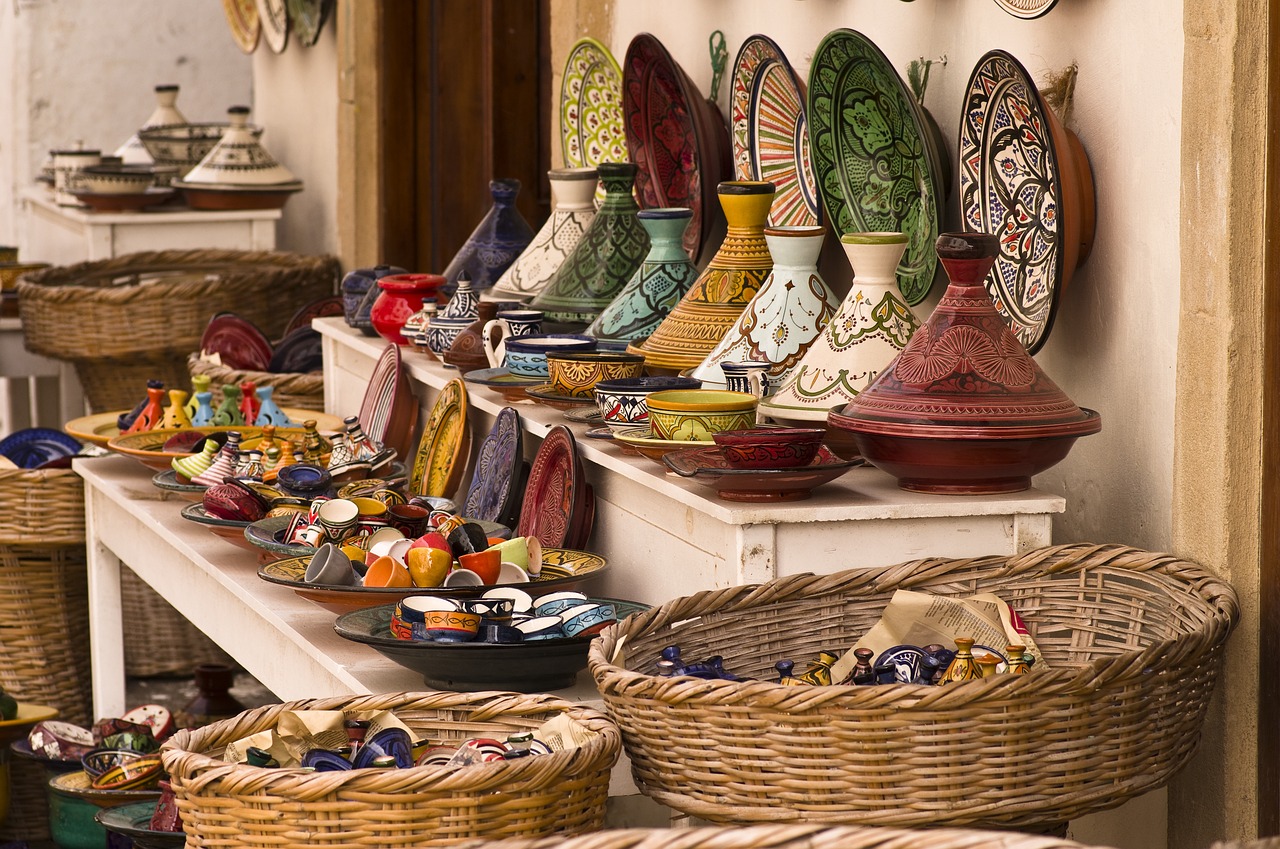
Natural Drying
When it comes to preparing your pottery for firing, is a technique that relies on the ambient air conditions to remove moisture from your creations. This method is not only straightforward but also helps maintain the integrity of the clay, allowing it to dry slowly and evenly. Think of it like letting a cake cool on a rack; if you rush the process, you might end up with a soggy mess instead of a perfectly baked treat. The key here is patience and creating the right environment.
To optimize natural drying, consider the following factors:
- Humidity Levels: High humidity can prolong drying time, making it essential to monitor local weather conditions. If it’s particularly humid, you might want to consider using a fan to increase air circulation.
- Airflow: Adequate airflow around your pottery is crucial. Position your pieces in a well-ventilated area to facilitate even drying. Avoid stacking them too closely, as this can trap moisture and lead to cracks.
- Temperature: Warmer temperatures can speed up the drying process. If you're in a cooler environment, consider moving your pottery to a warmer spot, but be cautious not to expose it to direct sunlight, which can cause uneven drying and warping.
Another effective strategy is to cover your pottery with a damp cloth or plastic wrap to slow down the drying process slightly. This technique is especially useful for larger pieces that might dry too quickly on the surface, causing cracks while the inner layers are still wet. It’s a delicate balancing act, akin to letting a fine wine breathe before serving; you want to enhance the final result without compromising its quality.
Ultimately, natural drying is all about patience and observation. Keep an eye on your pottery as it dries, checking for any signs of cracking or warping. If you notice any issues, you can adjust your drying conditions accordingly. Remember, the goal is to achieve a beautifully crafted piece that is ready for the kiln, so take your time and enjoy the process!
- How long does natural drying take? The drying time can vary significantly based on the size and thickness of your pottery, as well as the environmental conditions. Generally, it can take anywhere from a few days to a week.
- Can I speed up natural drying without using heat? Yes! Increasing airflow and ensuring your workspace is well-ventilated can help speed up the process without introducing heat.
- What should I do if my pottery cracks during drying? If you notice cracks, it's best to stop the drying process and assess the situation. You can try to repair small cracks with slip, but significant cracks often mean the piece is compromised.
Forced Drying
Forced drying is a technique that can significantly speed up the drying process of your pottery, ensuring that it’s ready for firing without the risk of cracks or imperfections. This method utilizes external heat sources to create a controlled environment that promotes even drying. While it might sound straightforward, there are some important factors to consider to ensure the integrity of your pieces remains intact.
When using forced drying, you have a few options at your disposal. Heat lamps, ovens, and dedicated drying boxes can all serve as effective tools. However, it’s crucial to maintain a consistent temperature, as overheating can lead to warping or even cracking. Ideally, you want to aim for a temperature around 120°F to 150°F (49°C to 65°C) for a gentle drying process. Here are some tips to keep in mind:
- Monitor Temperature: Use a thermometer to keep an eye on the temperature of your drying area. Sudden spikes can be detrimental.
- Even Airflow: Ensure that the heat source allows for proper airflow around the pottery. This prevents hot spots that can cause uneven drying.
- Distance Matters: Keep your pottery at a safe distance from the heat source to avoid direct heat exposure.
Another effective method is using a conventional oven. If you choose this route, place your pottery on a baking sheet and set the oven to a low temperature. It’s advisable to leave the oven door slightly ajar to allow moisture to escape, which helps prevent steam buildup. Remember to check your pieces regularly to ensure they are drying evenly.
While forced drying can be a game-changer, it’s not without its risks. Always be cautious and avoid rushing the process. If you notice any signs of distress in your pottery, such as cracking or warping, it’s best to halt the drying process and allow it to cool down gradually. Patience is key in pottery; after all, the goal is to achieve beautiful, flawless pieces that stand the test of time.
- Can I use a hairdryer for forced drying? While it's possible, it's not recommended as the concentrated heat can cause uneven drying and damage.
- How long should I force dry my pottery? Generally, it depends on the thickness of your pieces, but a few hours to a day is typical.
- Is forced drying safe for all types of clay? Most low-fire clays can handle forced drying, but always check specific guidelines for your clay type.
Applying Glazes
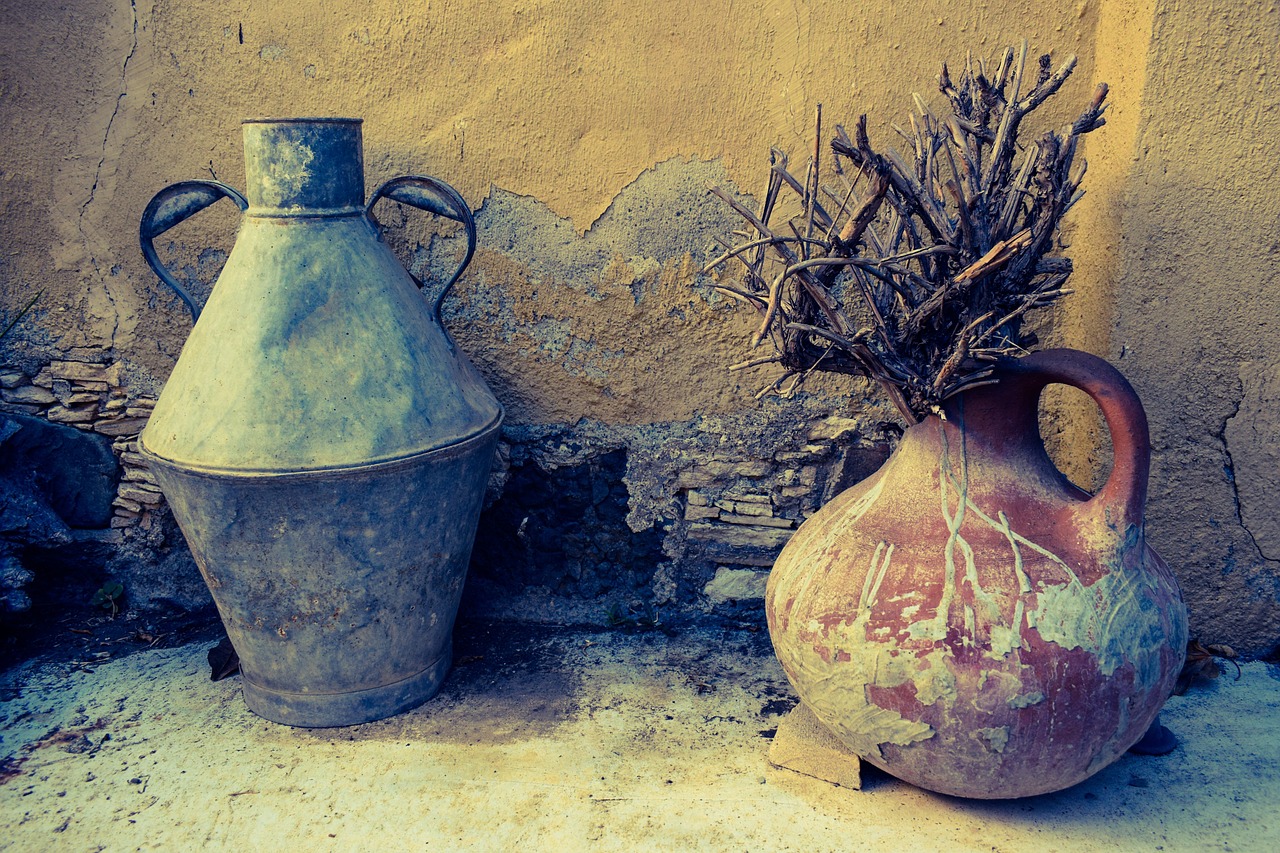
Glazing your pottery is like putting the icing on a cake; it not only enhances the appearance but also adds a protective layer to your creations. Whether you're aiming for a glossy finish or a matte texture, the way you apply your glaze can make all the difference in the final product. First, it's essential to choose the right glaze for your piece. There are numerous types of glazes available, each with unique properties and effects. Some glazes are designed for specific firing temperatures, while others can create stunning visual effects like crystals or speckles. Understanding these differences is crucial to achieving your desired outcome.
Before you start glazing, ensure that your pottery is completely dry and free from dust. Any moisture or debris can affect how the glaze adheres to the surface. You might want to give your piece a gentle wipe with a damp sponge to remove any particles. When you're ready to apply the glaze, there are several techniques you can use:
- Dipping: This method involves immersing your pottery into a bucket of glaze. It’s quick and can create an even coating, but be cautious of the glaze pooling at the bottom.
- Brushing: Using a brush allows for more control, especially for intricate designs. It’s perfect for applying multiple colors or for touch-ups.
- Spraying: For a smooth and even application, spraying can be a fantastic option. However, it requires some practice and proper safety equipment.
Regardless of the method you choose, applying multiple thin coats is usually better than one thick coat. Thick layers can lead to drips, runs, or uneven surfaces when fired. Aim to apply around two to three coats, allowing each coat to dry before applying the next. This technique not only enhances the glaze's depth but also helps in achieving a more vibrant color.
Another key aspect of glazing is to consider the kiln wash, which protects the kiln shelves from glaze drips. Before firing, ensure that your pieces are placed correctly to avoid any contact with the shelves, as this can lead to unwanted sticking. You might also want to test your glazes on small tiles before applying them to larger pieces. This way, you can see how they react during firing and what colors they yield.
Finally, after glazing, it's essential to handle your pieces with care. Avoid touching the glazed surfaces as oils from your fingers can affect the final finish. Use tools or wear gloves when moving your pottery to the kiln. With these tips in mind, you’re well on your way to creating beautiful, glazed pottery that showcases your unique style!
1. Can I mix different glazes together?
Yes, you can mix glazes to create custom colors, but it’s important to test the mixture first. Some glazes might react negatively with others, leading to unexpected results.
2. How do I know if my glaze is food safe?
Always check the manufacturer's specifications. Many glazes are labeled as food safe, but it’s essential to ensure that your specific glaze is suitable for functional ware.
3. What should I do if my glaze runs during firing?
If your glaze runs, it might be due to applying it too thickly or not using the right type of glaze for your firing temperature. Always test your glazes beforehand and adjust your application technique accordingly.
Loading the Kiln
Loading the kiln properly is essential for achieving even firing results. Think of your kiln as a cozy oven; if you overcrowd it or don’t arrange your pottery thoughtfully, you risk uneven heat distribution, which can lead to disastrous outcomes like warping or cracking. To get the best results, it’s crucial to consider how you position each piece of pottery inside the kiln. Proper loading not only maximizes airflow but also ensures that every piece receives the heat it needs to transform beautifully.
When you're ready to load your kiln, start by assessing the size and shape of your pottery. Larger pieces should be placed at the bottom, as they require more heat to fire thoroughly. Smaller items can be stacked on top. However, avoid stacking them too close together; they need space to breathe! Ideally, you want to maintain a distance of at least an inch between pieces to allow hot air to circulate freely.
Another key factor to consider is the use of kiln shelves. These shelves are not just for holding your pottery; they play a vital role in the firing process. When arranging your pieces, ensure that the shelves are spaced adequately. A good rule of thumb is to leave about 2 to 3 inches of space between shelves, depending on the size of your pottery. This spacing allows heat to flow evenly around each piece, promoting consistent firing.
Here are some tips to keep in mind while loading your kiln:
- Check for Stability: Ensure that each piece is stable and won’t tip over during firing.
- Avoid Contact: Make sure that no pieces are touching each other or the kiln walls.
- Orientation Matters: Position pieces in a way that maximizes airflow; for example, avoid placing large flat items directly on top of each other.
Finally, once everything is loaded, take a moment to double-check your work. Look for any potential issues that could arise during the firing process. Remember, taking the time to load your kiln thoughtfully can save you from heartache later on when you unveil your finished pottery. So, treat your kiln like a delicate puzzle; every piece has its place, and when they fit together just right, the results can be nothing short of magical!
Arranging Pottery
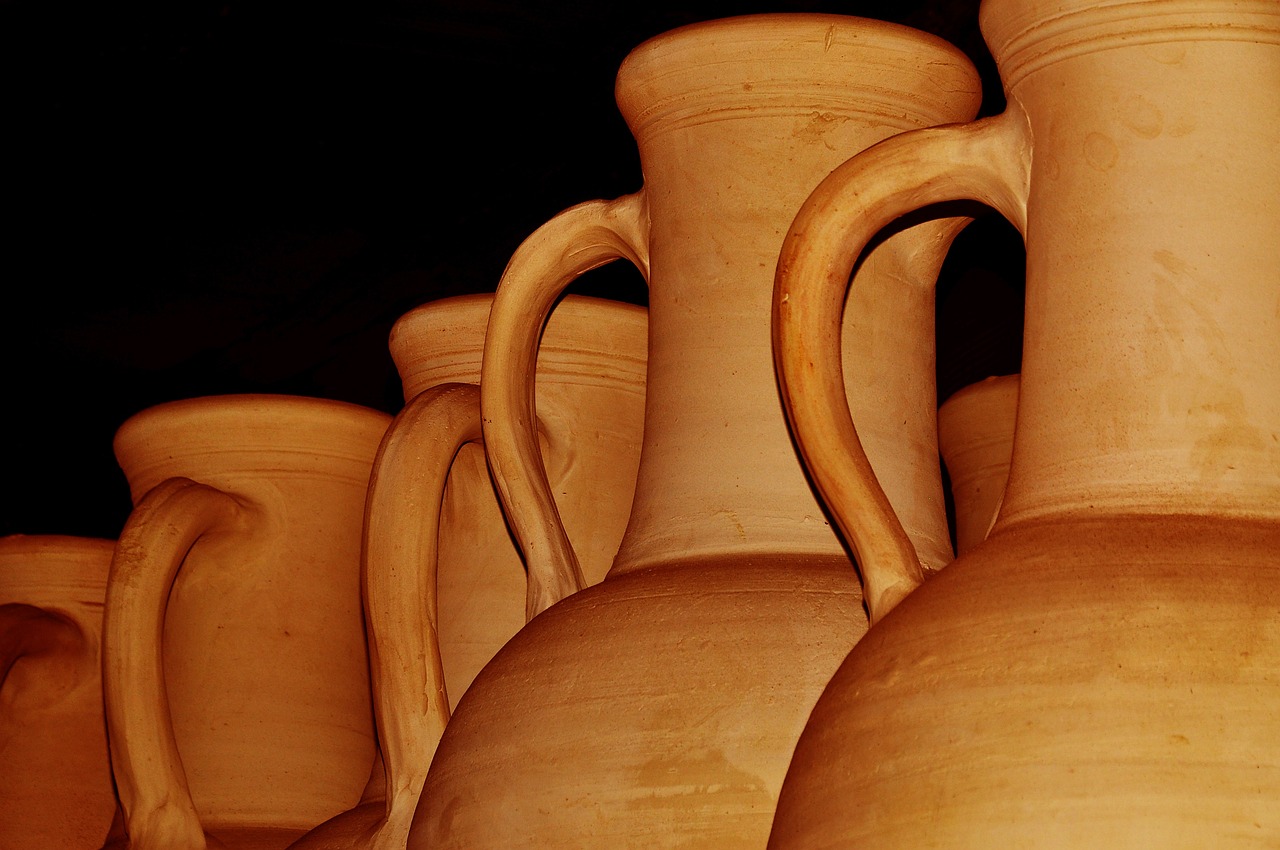
Arranging your pottery in the kiln might seem like a trivial task, but it’s one of the most crucial steps in the firing process. Proper arrangement can significantly affect the outcome of your pieces, ensuring that each item receives the right amount of heat and airflow. Imagine trying to cook a meal in an oven where the dishes are stacked haphazardly; some parts would be undercooked while others might burn. The same principle applies to your kiln. So, how do you ensure that your pottery is arranged for optimal firing?
First, consider the size and shape of your pieces. Larger items should generally be placed at the bottom of the kiln, as they can obstruct airflow if stacked on top of smaller items. Smaller pieces can be arranged on top, but be cautious about how they are positioned. You want to avoid contact between pieces, as this can lead to unwanted marks or even breakage during firing. A good rule of thumb is to leave at least a quarter inch of space between each piece. This not only allows for heat circulation but also prevents the glazes from running into each other, which can create unsightly defects.
Another important aspect to consider is the use of kiln posts and shelves. These tools are essential for creating a multi-level arrangement within the kiln. By utilizing kiln shelves, you can stack your pottery in layers, maximizing space and efficiency. When placing your shelves, ensure they are level and stable, as an uneven shelf can lead to disastrous results. It's also wise to place heavier items on lower shelves to maintain balance.
When arranging your pottery, think about the airflow within the kiln. Air needs to circulate freely to ensure even heating. Avoid packing your pieces too tightly; this can create hot spots and cold spots, leading to inconsistent firing results. If you're unsure about the arrangement, consider doing a test run with some less valuable pieces. This trial can help you understand how your particular kiln behaves and allows you to refine your arrangement technique.
To summarize, here are some key points to remember when arranging your pottery:
- Place larger pieces at the bottom and smaller ones on top.
- Ensure there is at least a quarter inch of space between each piece.
- Use kiln shelves and posts to create layers and maximize space.
- Maintain airflow by avoiding tight packing of pieces.
By paying attention to these details, you can set yourself up for a successful firing session. Remember, the arrangement of your pottery is not just about fitting everything into the kiln; it’s about creating an environment where each piece can thrive under the heat, resulting in beautiful, well-fired pottery that you can be proud of.
Q: How do I know if my pottery is arranged correctly in the kiln?
A: You can ensure proper arrangement by leaving enough space between pieces for airflow and avoiding contact. Conducting a test run can also help you understand your kiln's behavior.
Q: Can I stack pottery on top of each other?
A: It is generally advised to avoid stacking pottery directly on top of each other unless you are using kiln posts and shelves to create layers. Always ensure there is enough space to prevent contact.
Q: What happens if I pack my kiln too tightly?
A: Packing your kiln too tightly can lead to uneven heating, resulting in hot spots and cold spots that may cause inconsistent firing results or even damage to your pottery.
Using Kiln Shelves
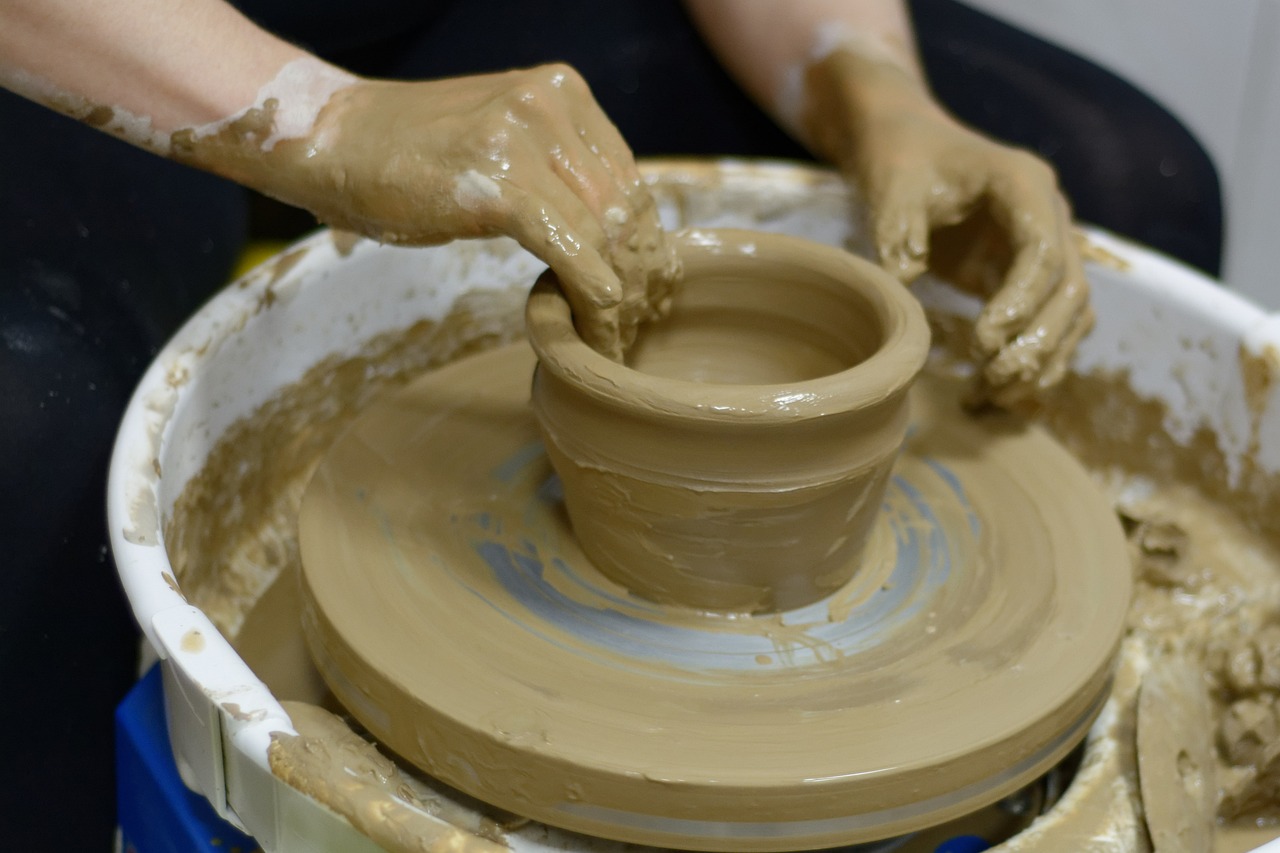
When it comes to firing pottery, kiln shelves are your best friends. These sturdy platforms are essential for organizing your pieces within the kiln, ensuring that each item gets the heat it needs for a successful firing. But how do you make the most of these shelves? Let's dive into the intricacies of using kiln shelves effectively.
First and foremost, it's crucial to understand that kiln shelves come in various sizes and materials, each designed for specific types of firing. The most common materials include cordierite, which is excellent for high temperatures, and ceramic, which can withstand moderate heat. Choosing the right shelf material can make a significant difference in your firing results. For instance, cordierite shelves are less likely to warp under high temperatures, making them ideal for glaze firings.
When loading your kiln, spacing is key. You want to ensure that there is enough room between your pieces for heat and air to circulate freely. This not only promotes even firing but also reduces the risk of your pottery touching and sticking together. A good rule of thumb is to leave at least 1-2 inches of space between each piece, depending on their size. If you're working with larger items, you might need to adjust this spacing to accommodate their dimensions.
Another important aspect of using kiln shelves is their placement within the kiln. Typically, you want to load your shelves starting from the bottom and working your way up. This allows for better heat distribution, as the heat rises. Additionally, placing heavier pieces on lower shelves helps maintain stability and prevents any potential accidents during the firing process.
To enhance your firing experience, consider using kiln posts to elevate your shelves. This technique improves airflow around your pottery, promoting even heat distribution. When using kiln posts, make sure they are made of the same material as your shelves to prevent any unexpected reactions during firing.
Lastly, always keep an eye on the condition of your kiln shelves. Over time, they can develop grooves or cracks, which can affect their performance. Regularly inspect your shelves for any signs of wear and replace them as necessary to maintain optimal firing conditions.
In summary, using kiln shelves effectively involves understanding their materials, ensuring proper spacing and placement, and maintaining their condition. By following these guidelines, you can significantly enhance your pottery firing experience and achieve stunning results with every batch.
- What type of kiln shelf is best for beginners? Cordierite shelves are recommended for their durability and ability to withstand high temperatures.
- How do I clean my kiln shelves? Use a damp sponge or cloth to wipe away any residue. Avoid abrasive materials that could scratch the surface.
- Can I stack kiln shelves? Yes, but ensure that the shelves are evenly spaced and supported by kiln posts to prevent any warping.
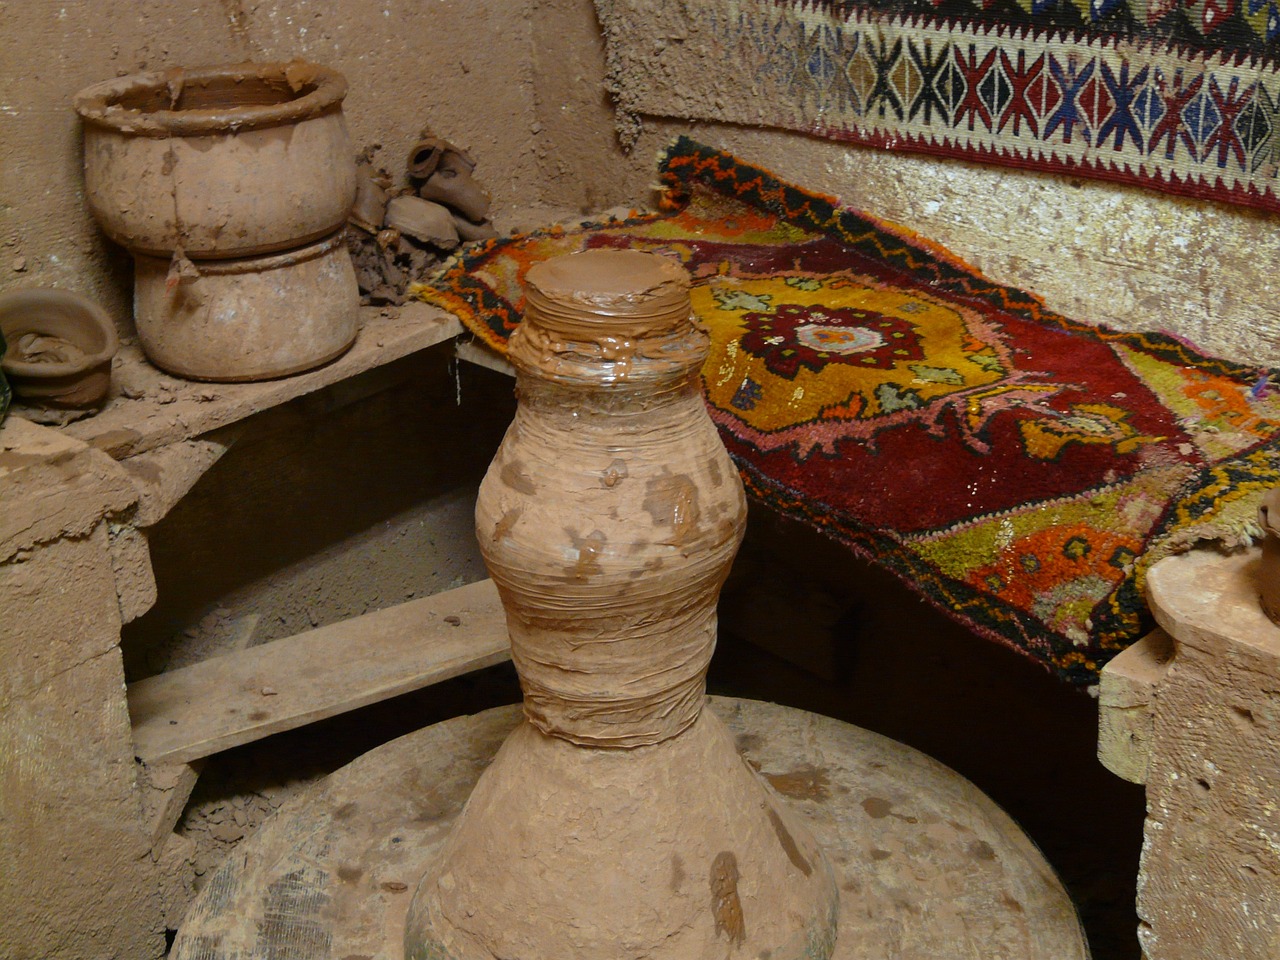
Firing Schedules
Understanding is key to successful kiln operation and achieving the best results with your pottery. Firing schedules dictate how your kiln will heat up, maintain temperature, and cool down, ultimately affecting the durability and appearance of your ceramic creations. There are two main types of firing schedules you should be familiar with: bisque firing and glaze firing. Each serves a distinct purpose and requires specific temperature ranges and timings to ensure optimal results.
Bisque firing is the first step in the firing process, where your pottery is transformed from fragile greenware into a more durable state. This process typically involves heating the kiln to temperatures ranging from 1800°F to 1940°F (approximately 982°C to 1060°C). The goal here is to remove any remaining moisture and organic materials from the clay, making it ready for glazing. A typical bisque firing schedule might look something like this:
| Stage | Temperature (°F) | Duration |
|---|---|---|
| Ramp Up | 200°F to 1800°F | 1 hour |
| Soak | 1800°F | 1 hour |
| Cooling | 1800°F to Room Temp | Varies |
After bisque firing, your pottery is ready for glazing. The glaze firing process is where the magic happens, as this is when your pottery is coated with glaze and fired at higher temperatures to achieve that beautiful finish. Glaze firing temperatures can range from 2100°F to 2400°F (approximately 1150°C to 1315°C). It's crucial to follow a firing schedule that allows for proper melting and bonding of the glaze. A typical glaze firing schedule might include:
| Stage | Temperature (°F) | Duration |
|---|---|---|
| Ramp Up | 200°F to 2100°F | 1.5 hours |
| Soak | 2100°F | 30 minutes |
| Cooling | 2100°F to Room Temp | Varies |
When planning your firing schedules, it’s important to consider the type of clay and glaze you are using, as different materials may require adjustments to temperature and time. Monitoring your kiln during these processes is crucial. Using a kiln sitter or thermocouple can help ensure that you reach and maintain the correct temperatures, which is essential for achieving the desired results.
In summary, mastering firing schedules is fundamental for any potter. With a solid understanding of both bisque and glaze firing processes, you can confidently create stunning pottery pieces that showcase your skills and creativity.
- What is the difference between bisque firing and glaze firing?
Bisque firing prepares the clay body for glazing by removing moisture and organic materials, while glaze firing melts the glaze to create a durable, beautiful finish. - How long does it take to cool a kiln after firing?
The cooling time can vary widely based on the kiln and the firing schedule, but it typically takes several hours to a day for the kiln to cool down to a safe temperature. - Can I fire my pottery in a regular oven?
No, regular ovens do not reach the high temperatures required for firing pottery. A dedicated kiln is necessary for proper firing.

Bisque Firing
Bisque firing is a pivotal step in the pottery-making process, acting as the bridge between raw clay and the finished ceramic piece. During this initial firing, your pottery undergoes a transformation that makes it more durable and ready for glazing. But what exactly happens during bisque firing, and why is it so important? Let's dive into the details!
First off, bisque firing typically occurs at a temperature range of 1730°F to 1945°F (945°C to 1060°C). This range is crucial because it allows the clay to mature without melting it. The primary goal here is to remove any moisture and organic materials from the clay, which can lead to defects if left unchecked. Think of it as giving your pottery a solid foundation before adding the decorative flair of glazes.
Before you start the bisque firing process, it's essential to prepare your pottery correctly. Ensure that your pieces are completely dry; any remaining moisture can cause them to crack or explode in the kiln. A good practice is to allow your pottery to air dry for several days, depending on the thickness and size of the pieces. Once dry, you can load your kiln, but remember to leave enough space between each piece to allow for proper airflow. This is crucial for an even firing.
Here’s a quick overview of the bisque firing process:
- Loading the Kiln: Arrange your pottery carefully, ensuring that they do not touch each other. This prevents sticking and allows for even heat distribution.
- Firing Schedule: Start with a slow ramp-up in temperature to avoid thermal shock. A typical bisque firing schedule might look like this:
| Stage | Temperature (°F) | Duration |
|---|---|---|
| Ramp Up | Slowly increase to 200°F | 1 hour |
| Soak | Hold at 200°F | 30 minutes |
| Ramp Up | Increase to 1730°F | 8-10 hours |
| Soak | Hold at 1730°F | 1-2 hours |
| Cool Down | Gradually decrease temperature | Until safe to open |
After the bisque firing is complete, your pottery will have a porous surface, which is perfect for glazing. The porous nature allows the glaze to adhere better, resulting in a smoother finish once fired again in the glaze firing stage. But remember, the bisque firing is not just a step; it’s a transformation that sets the stage for your creative expression.
In conclusion, bisque firing is a critical process that can determine the success of your final piece. By understanding the importance of temperature control, proper drying, and loading techniques, you can ensure that your pottery emerges from the kiln ready for the next exciting phase of glazing. So, are you ready to fire up that kiln and let your creativity shine?
Q: What happens if my pottery is not completely dry before bisque firing?
A: If your pottery isn’t dry, it can crack or even explode in the kiln due to the rapid expansion of moisture. Always ensure your pieces are thoroughly dried before firing!
Q: Can I bisque fire different types of clay together?
A: It’s best to bisque fire similar types of clay together to avoid issues with differing shrinkage rates. Mixing clays can lead to unexpected results!
Q: How can I tell if my bisque firing was successful?
A: A successful bisque firing will leave your pottery hard, porous, and ready for glazing. If it crumbles or feels weak, there may have been an issue during the firing process.
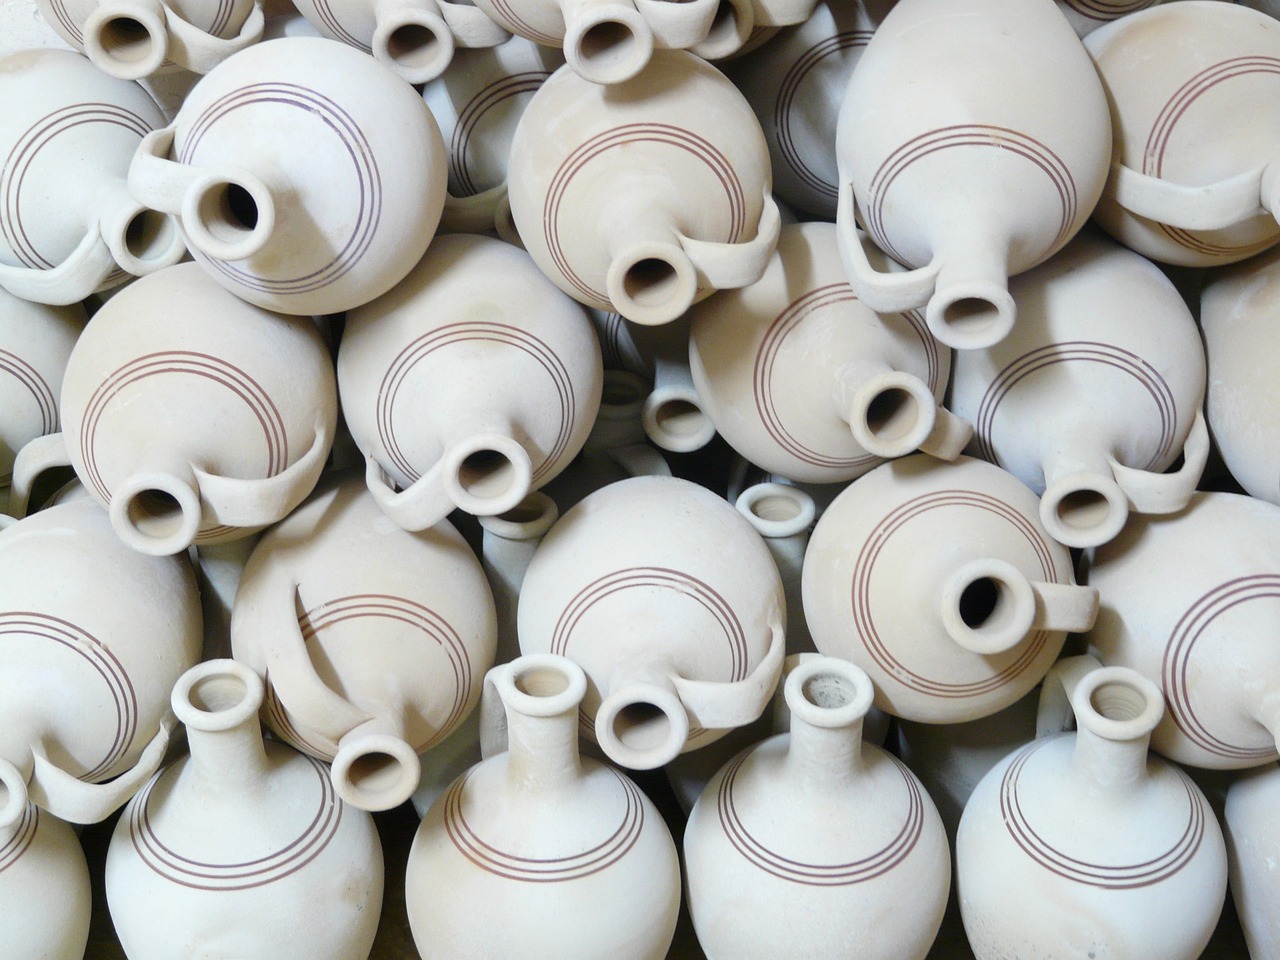
Glaze Firing
When it comes to pottery, glaze firing is where the magic truly happens. This is the stage that transforms your carefully crafted pieces into vibrant, functional art. But what exactly is glaze firing? In simple terms, it’s the process of heating your glazed pottery to a high temperature to achieve a glass-like finish that not only enhances the aesthetic appeal but also makes the pieces more durable. The temperatures for glaze firing typically range from 1820°F to 2340°F (994°C to 1280°C), depending on the type of glaze and clay body you are using.
Before you dive into the firing process, it’s essential to understand that different glazes react differently to heat. Some may require a slow ramp-up to temperature, while others can handle a more aggressive approach. This is where your firing schedule becomes crucial. A well-planned firing schedule can mean the difference between a piece that shines with brilliance and one that suffers from defects like crawling or pinholing.
To achieve the best results, consider the following key aspects of glaze firing:
- Temperature Control: Use a reliable kiln with accurate temperature settings. Investing in a good pyrometer can help monitor the kiln's internal temperature, ensuring that it matches your desired firing schedule.
- Soaking Time: After reaching the peak temperature, it's often beneficial to hold the temperature for a period. This soaking time allows the glaze to mature and develop its full potential.
- Cooling Rate: Just as heating too quickly can cause issues, cooling too fast can also lead to cracks. Gradual cooling helps prevent thermal shock and preserves the integrity of your pottery.
Here’s a simple table summarizing the typical glaze firing temperatures and their corresponding clay bodies:
| Clay Body | Firing Temperature (°F) | Firing Temperature (°C) |
|---|---|---|
| Earthenware | 1820 - 1940 | 994 - 1060 |
| Stoneware | 2160 - 2340 | 1180 - 1280 |
| Porcelain | 2230 - 2340 | 1220 - 1280 |
In summary, glaze firing is not just about reaching a high temperature; it’s an intricate dance of timing, temperature, and technique. By understanding the nuances of your materials and the firing process, you can create stunning pieces that are not only beautiful but also durable. So, as you prepare to fire your pottery, remember that each piece is a unique journey, and with the right attention to detail, you can achieve remarkable results.
- What is the difference between bisque firing and glaze firing?
Bisque firing is the initial firing that prepares the clay body for glazing, while glaze firing is the second firing that melts the glaze to form a glassy surface. - How long does glaze firing take?
The duration of glaze firing can vary, but it typically takes anywhere from 8 to 12 hours, depending on the kiln and the desired temperature. - Can I fire my pottery in a regular oven?
Regular home ovens do not reach the necessary temperatures for firing pottery, so it’s essential to use a kiln designed for this purpose.
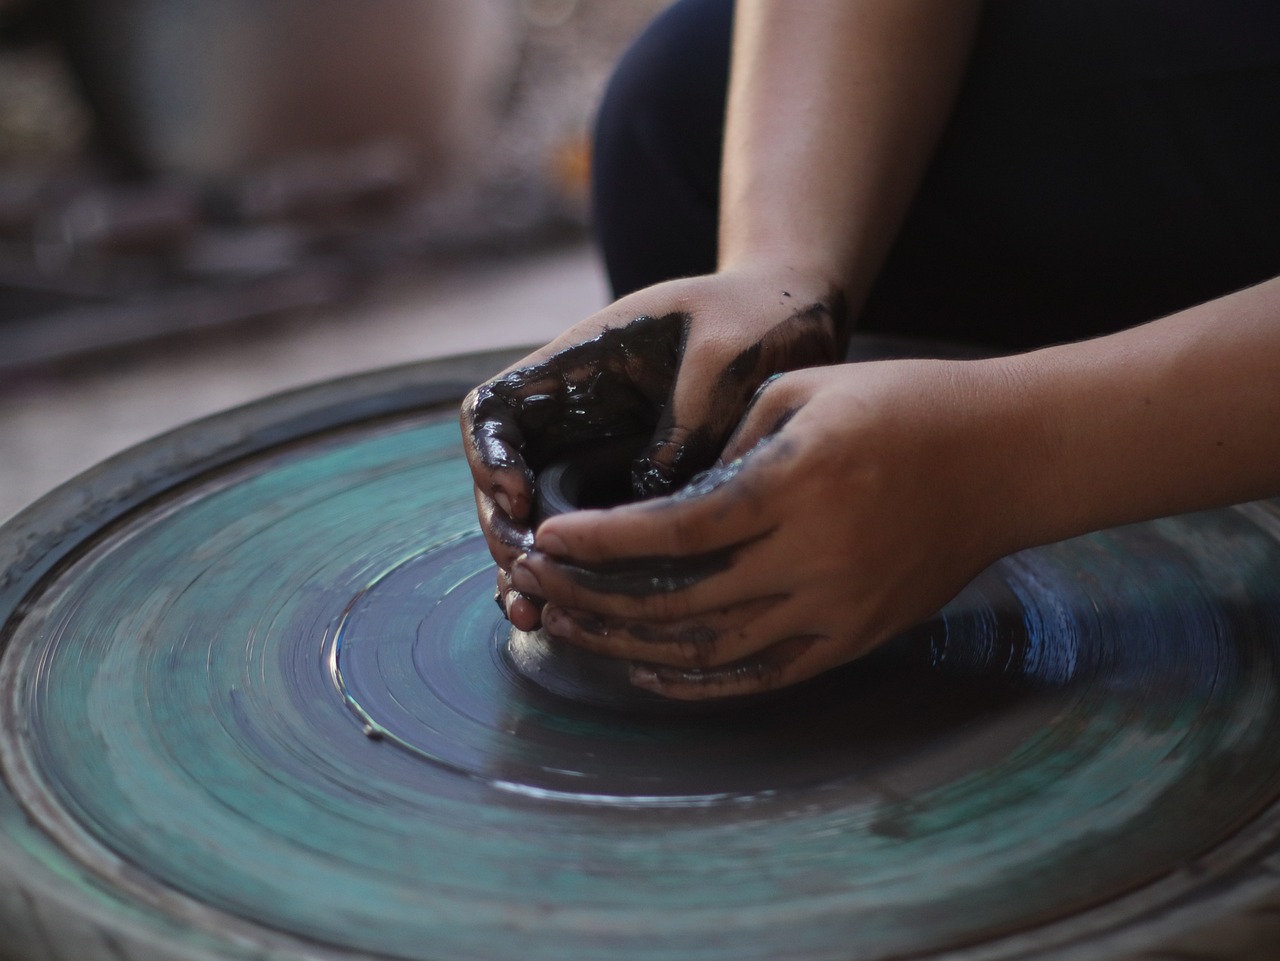
Cooling and Unloading the Kiln
Cooling your kiln properly is crucial for preventing damage to your pottery. After the firing process, the kiln's interior can reach extreme temperatures, and the way you manage the cooling phase can significantly impact the final quality of your ceramic creations. If you think of your pottery as a delicate flower, then the cooling phase is like the gentle breeze that helps it stand tall without wilting. Rushing this process can lead to cracks and breaks, so patience is key.
During the cooling phase, the temperature inside the kiln must drop gradually. This gradual cooling allows the pottery to adjust to the temperature change without experiencing thermal shock. One common mistake is to open the kiln door too soon; doing so can expose the pottery to sudden cold air, which can be disastrous. Instead, it's best to let the kiln cool naturally, ensuring that heat is dissipated evenly. You can monitor the temperature using a pyrometer, which provides a clear indication of when it’s safe to proceed.
Here are some essential tips for managing the cooling phase:
- Monitor Temperature: Use a pyrometer or thermocouple to keep an eye on the kiln's temperature. Aim for a slow decrease, ideally around 100°F (38°C) per hour, until you reach about 500°F (260°C).
- Close the Kiln: Keep the kiln door closed as long as possible. Opening it too early can introduce cold air, leading to cracks.
- Be Patient: Allow the kiln to cool completely before unloading. This can take several hours, depending on the size of the kiln and the thickness of your pottery.
Once the kiln has cooled to a safe temperature, it’s time for unloading. This is a moment filled with anticipation—like unwrapping a gift! However, it’s essential to approach this step with care. Start by inspecting the kiln interior for any signs of excessive ash or debris that may have settled during firing. Gently remove any kiln furniture or shelves before reaching for your pottery.
When it comes to unloading your pieces, consider the following techniques to ensure safety:
- Use Proper Tools: A pair of kiln tongs or a padded glove can help you lift your pottery without risking burns or dropping them.
- Take Your Time: Don’t rush the process; carefully lift each piece out, inspecting for any imperfections or cracks.
- Inspect Each Piece: After removing your pottery, take a moment to examine each piece for quality. This is your chance to appreciate the fruits of your labor!
In conclusion, the cooling and unloading phases are just as important as the firing itself. By taking the time to cool your kiln properly and unloading your pottery with care, you ensure that your creations maintain their beauty and integrity. Remember, every piece tells a story, and how you handle your pottery during these final steps can make all the difference in how that story unfolds.
Q: How long should I wait before unloading my kiln?
A: It’s best to wait until the kiln has cooled to about 500°F (260°C) before unloading. This helps prevent thermal shock.
Q: Can I speed up the cooling process?
A: While it might be tempting, speeding up the cooling process can lead to cracks in your pottery. It’s best to let it cool naturally.
Q: What tools do I need for unloading pottery?
A: Using kiln tongs or padded gloves can help you safely lift your pottery from the kiln without risking burns or damage.
Q: What should I do if I find cracks in my pottery after unloading?
A: If you notice cracks, assess the severity. Some can be repaired, while others may not be salvageable. Learning from this experience will help improve future firings.
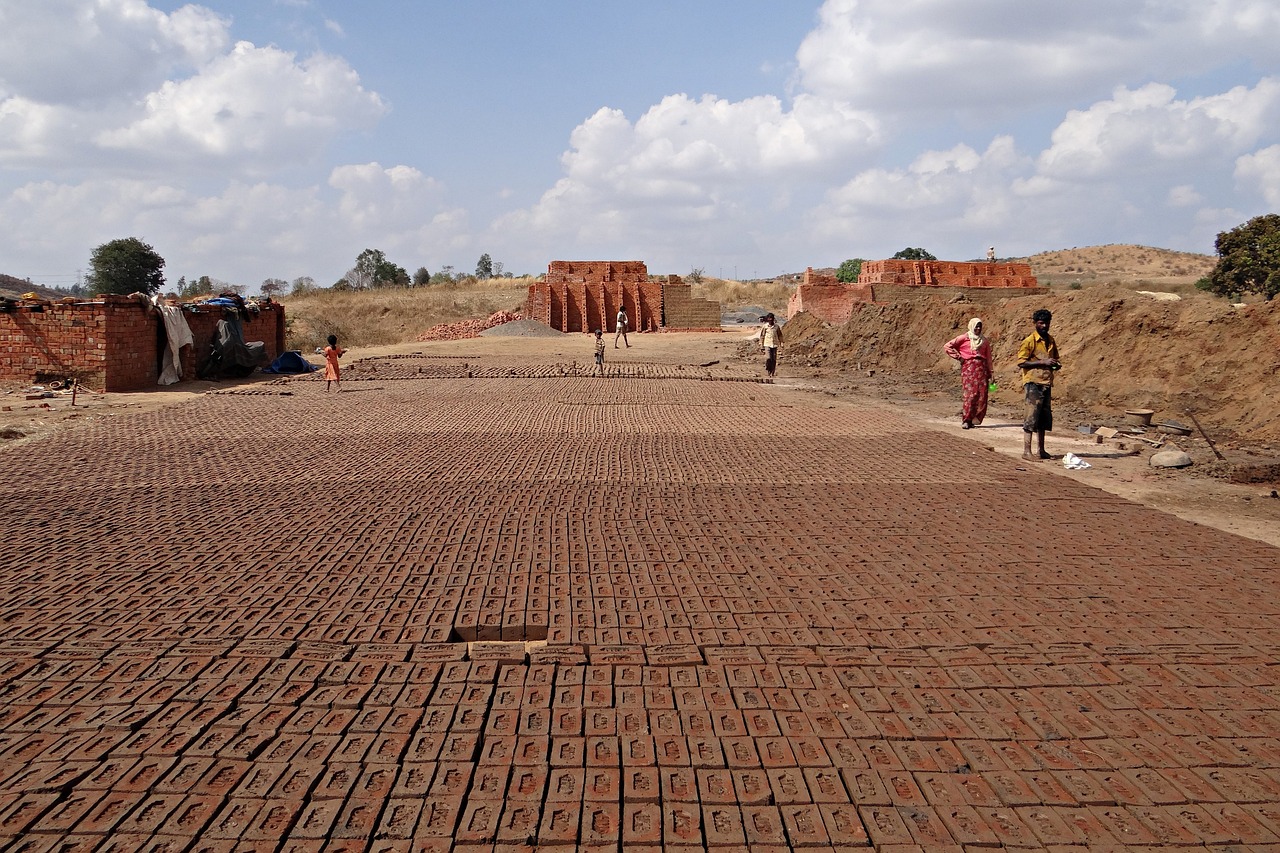
Cooling Phases
Once your pottery has been fired to perfection, the next crucial step is the cooling process. This phase is often overlooked, but it is vital for ensuring the integrity and beauty of your ceramic creations. Just like a chef wouldn’t serve a hot dish right out of the oven, your pottery needs to cool down gradually to avoid any thermal shock that could lead to cracks or breaks. Imagine pulling a hot pizza from the oven and immediately slicing into it; the toppings would slide off, and the crust would crumble. Similarly, your pottery requires a gentle cooling process to maintain its form and finish.
During the cooling phase, the kiln temperature must decrease slowly and steadily. This gradual transition helps the clay and glaze to contract evenly, reducing the risk of stress fractures. Generally, the cooling process can be divided into three main phases:
- Initial Cooling: This phase begins as soon as the firing cycle is complete. It’s essential to keep the kiln closed during this time to allow the heat to dissipate evenly. Opening the kiln too soon can lead to rapid cooling, which is detrimental to your pottery.
- Intermediate Cooling: As the temperature drops, the kiln can be monitored closely. At this stage, the temperature should decrease gradually, ideally at a rate of about 50°F per hour. This helps prevent thermal shock, which can cause cracks.
- Final Cooling: Once the kiln reaches around 200°F, it is safe to open the door slightly to allow for more air circulation. However, it’s best to keep the kiln closed until it reaches room temperature, which can take several hours or even overnight.
To give you an idea of how important temperature control is during this phase, consider the following temperature ranges:
| Cooling Phase | Recommended Temperature Range |
|---|---|
| Initial Cooling | Above 1,000°F |
| Intermediate Cooling | 500°F - 1,000°F |
| Final Cooling | Below 200°F |
By adhering to these temperature guidelines, you can significantly reduce the likelihood of damage to your pottery. It’s like letting a cake cool before frosting it; if you don’t, the icing will melt away, ruining your masterpiece. Similarly, the cooling phases are essential for preserving the stunning glazes and delicate shapes of your pottery. So, be patient! Allow your kiln to cool naturally, and your efforts will be rewarded with beautiful, intact pieces that showcase your artistic talent.
Unloading Techniques
Unloading your pottery from the kiln is a delicate process that requires both patience and technique. After the firing cycle is complete, the excitement of seeing your finished pieces can easily lead to hasty actions. However, rushing this stage can result in cracks or breaks, so it's essential to approach it with care. One of the first things to remember is to **never unload the kiln while it's still hot**. The temperature difference can cause thermal shock, which is a fancy term for the cracks that can appear when hot pottery meets cooler air. Instead, let the kiln cool down gradually, and use this time to prepare for the unloading process.
Once the kiln has cooled to a safe temperature, typically below 200°F (93°C), you can start the unloading process. It's a good idea to wear **heat-resistant gloves** to protect your hands from any residual heat. Begin by gently opening the kiln door, allowing the heat and steam to escape slowly. This step is crucial because sudden exposure to cooler air can also shock your pottery. As you peer inside, take a moment to admire your work before you start removing items.
When it comes to actually taking the pieces out, consider the following techniques:
- Use Proper Tools: A pair of tongs or a kiln fork can be handy for lifting heavier pieces or those that are still warm. Make sure your tools are made of heat-resistant materials.
- Start from the Top: Always unload from the top shelf downwards. This approach helps you avoid knocking over pieces below and ensures a safer unloading process.
- Check for Stability: Before lifting any piece, ensure it’s stable and won’t tip over. If a piece looks precarious, gently stabilize it before removing.
As you remove each piece, inspect it carefully. Look for any signs of defects or imperfections, and take notes if necessary for future reference. If you notice any pieces that have adhered to the kiln shelf, don’t panic! This can happen due to glaze running or sticking. Use a wooden or plastic spatula to gently pry them off, being careful not to apply too much force.
Finally, once all your pottery is out of the kiln, let it cool completely on a safe surface before handling it further. This cooling period not only protects your creations but also allows you to reflect on the entire firing process, preparing you for your next exciting pottery adventure. Remember, patience is key in pottery, and the unloading phase is just as important as the firing itself!
Q: How long should I wait before unloading my pottery?
A: It’s best to wait until the kiln has cooled to below 200°F (93°C) before unloading to prevent thermal shock.
Q: What should I do if my pottery is stuck to the kiln shelf?
A: Use a wooden or plastic spatula to gently pry it off. Avoid using metal tools as they can scratch the kiln shelf.
Q: Is it safe to open the kiln immediately after the firing cycle?
A: No, opening the kiln too soon can cause thermal shock to your pottery. Always allow it to cool gradually.
Q: Can I unload my pottery if it's still warm?
A: It's not recommended. Always wait until the pieces are cool to the touch to avoid damage.
Frequently Asked Questions
- What is the difference between electric, gas, and wood-fired kilns?
Electric kilns are user-friendly and provide precise temperature control, making them great for beginners. Gas kilns offer more versatility in firing techniques and can create unique effects. Wood-fired kilns give pottery a distinctive look due to the ash and flame interaction, but they require more skill and effort to operate.
- How long should I dry my pottery before firing?
Drying time can vary depending on the size and thickness of your pieces, but generally, allow at least 1-2 days for smaller items and up to a week for larger ones. Always ensure your pottery is completely dry to prevent cracking during firing.
- What are some effective glazing techniques?
There are several glazing techniques to try, such as dipping, brushing, and spraying. Dipping provides an even coat, while brushing allows for more control over design. Spraying can create a smooth finish and is great for larger pieces.
- How do I load my kiln for even firing?
When loading your kiln, make sure to leave enough space between pieces for proper airflow. Arrange them in a staggered pattern and avoid stacking them directly on top of each other. This ensures that heat can circulate evenly around each piece.
- What is a bisque firing, and why is it important?
Bisque firing is the initial firing of your pottery, which removes moisture and hardens the clay. This process is crucial because it prepares your pieces for glazing, making them more durable and ready to accept glaze without absorbing it too quickly.
- How do I know when my kiln is cool enough to unload?
It's essential to wait for your kiln to cool down to around 200°F (93°C) before unloading. You can use a pyrometer or simply monitor the kiln's exterior temperature. Gradual cooling helps prevent thermal shock and ensures your pottery remains intact.
- What should I do if my pottery cracks during firing?
If your pottery cracks during firing, it can be disappointing, but it's not uncommon. To minimize this risk, ensure proper drying and avoid rapid temperature changes. If a piece does crack, you can sometimes repair it with a good adhesive or even incorporate it into a mosaic.


