Engaging Kids with Fun Ceramic Projects
When it comes to sparking creativity in children, few activities can match the joy and satisfaction of working with ceramics. Imagine the delight on a child's face as they mold a lump of clay into something uniquely theirs; it's a magical process! In this article, we will explore various ceramic projects designed to engage children creatively. From shaping clay to glazing their own creations, these activities not only stimulate young imaginations but also provide a hands-on experience that is both educational and fun.
Ceramics is more than just a craft; it’s an adventure in creativity! Each project serves as a canvas for children to express their thoughts and feelings, transforming their ideas into tangible art pieces. Whether they are pinching, coiling, or rolling out slabs of clay, kids are not just playing; they are developing essential skills that will benefit them in numerous ways. Additionally, the tactile nature of working with clay can be incredibly therapeutic, allowing children to unwind and channel their energy into something productive.
Throughout this article, we will highlight the benefits of ceramic art for kids, essential tools and materials needed to get started, simple hand-building techniques, and some fun project ideas that will keep them engaged for hours. So, roll up those sleeves and let’s dive into the wonderful world of ceramics!
Engaging in ceramic art offers numerous benefits for children, including:
- Enhancing Fine Motor Skills: The intricate movements involved in shaping and molding clay help improve coordination and dexterity.
- Fostering Creativity: Kids are encouraged to think outside the box, allowing their imagination to run wild as they create unique pieces.
- Providing a Therapeutic Outlet: Working with clay can be a calming activity, helping kids express their emotions and reduce stress.
Not only do these benefits contribute to a child's development, but they also instill a sense of accomplishment when they see their finished work. Each piece serves as a reminder of their effort and creativity, boosting their self-esteem and encouraging them to take on new challenges.
Before starting any ceramic project, it's crucial to gather the right tools and materials. Here’s a quick rundown of what you'll need:
| Tool/Material | Purpose |
|---|---|
| Clay | The primary medium for all ceramic projects. |
| Rolling Pin | Used to flatten the clay into slabs. |
| Pottery Tools | Tools for shaping, carving, and detailing the clay. |
| Glazes | To add color and finish to the fired clay pieces. |
| Kiln | For firing the clay to harden it. |
Having these materials on hand will set the stage for a successful and enjoyable ceramic experience. Remember, the key to creativity is not just in the tools but also in the imagination that drives the project!
Hand-building is an accessible way for kids to start working with clay. This section introduces simple techniques that encourage creativity and experimentation. Let’s take a look at some of the most popular methods:
The pinching method is one of the easiest ways for kids to shape clay. To get started, simply take a ball of clay and follow these steps:
- Start with a small ball of clay, about the size of a golf ball.
- Press your thumb into the center to create an indentation.
- Pinch the edges of the clay to form a bowl or other shape.
- Encourage kids to experiment with different shapes and sizes!
The coiling technique allows children to build structures with rolled clay ropes. Here’s how to create a simple pot:
- Roll out long, snake-like coils of clay.
- Start stacking the coils on top of each other, gently pressing them together.
- Shape the pot by smoothing the sides and adding decorative elements.
These techniques not only allow kids to create functional items but also encourage them to think creatively about the possibilities of clay.
Now that we’ve covered the basics, let’s dive into some exciting project ideas that will keep kids engaged:
Creating animal figurines can be a delightful project for children. Guiding kids in sculpting their favorite animals using basic techniques can be both fun and educational. Encourage them to use their imagination and add personal touches!
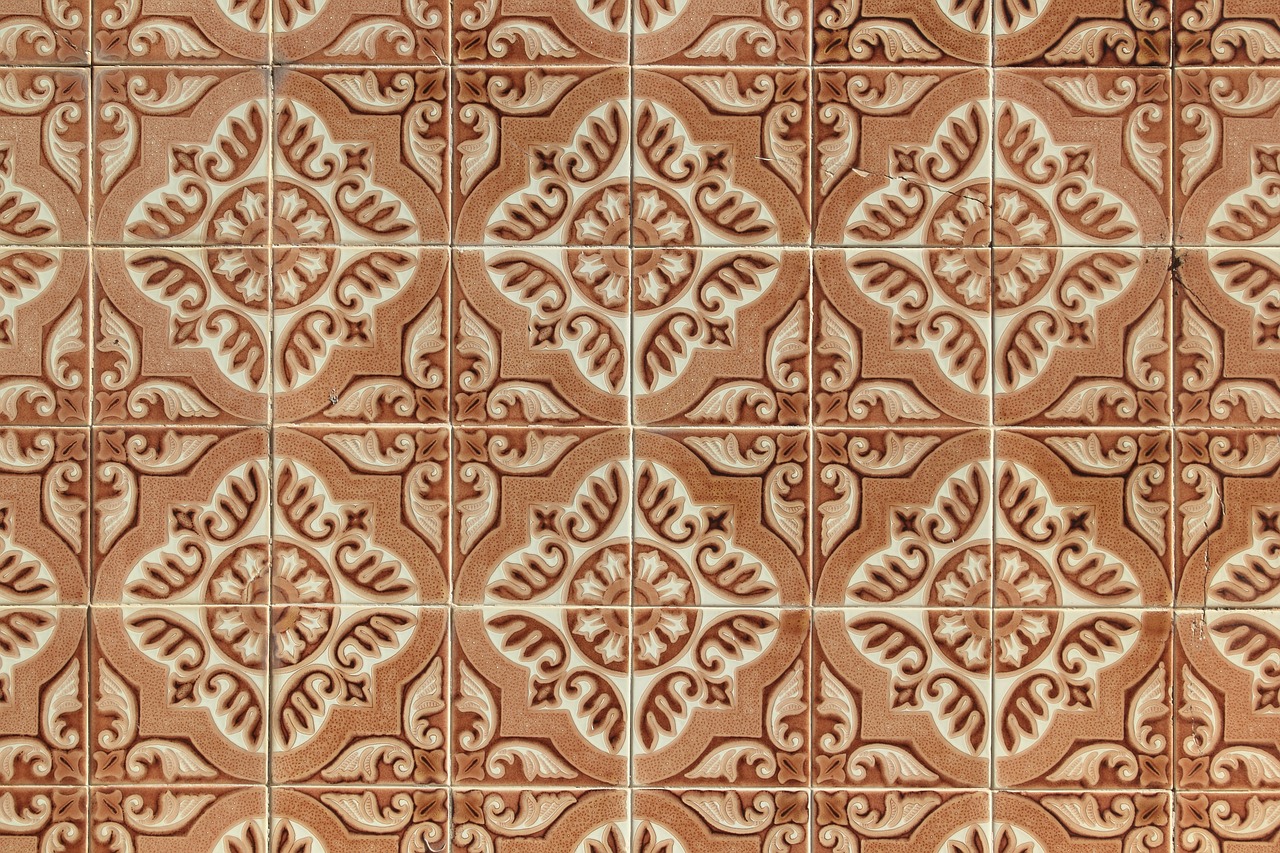
Making decorative tiles is another fun way for kids to express their artistic flair. They can design colorful, personalized tiles that can be used as coasters or wall art. This project is perfect for letting their creativity shine!
To ensure a positive experience, here are some practical tips for working with kids in ceramics:
Safety is paramount when working with ceramics. Always supervise children closely and ensure they understand the importance of handling tools and materials safely. Here are some essential safety measures:
- Always use non-toxic materials.
- Keep sharp tools out of reach when not in use.
- Encourage kids to wash their hands after working with clay.
Fostering creativity in kids is key to their artistic development. Encourage them to explore their ideas and express themselves freely through ceramics. Ask open-ended questions like, "What do you want to create today?" This will help them feel empowered in their artistic journey.
Q: What age is appropriate for kids to start working with ceramics?
A: Kids as young as 4 or 5 can start with simple projects, while older children can tackle more complex techniques.
Q: Do I need a kiln for home projects?
A: While a kiln is ideal for firing clay, many air-dry clays are available that do not require firing, making them perfect for home use.
Q: Can ceramics be messy?
A: Yes, working with clay can be messy, so it’s a good idea to set up a designated workspace and cover surfaces to make cleanup easier.
In conclusion, engaging kids with fun ceramic projects is a fantastic way to nurture their creativity while providing them with valuable skills. So grab some clay and let the artistic adventures begin!
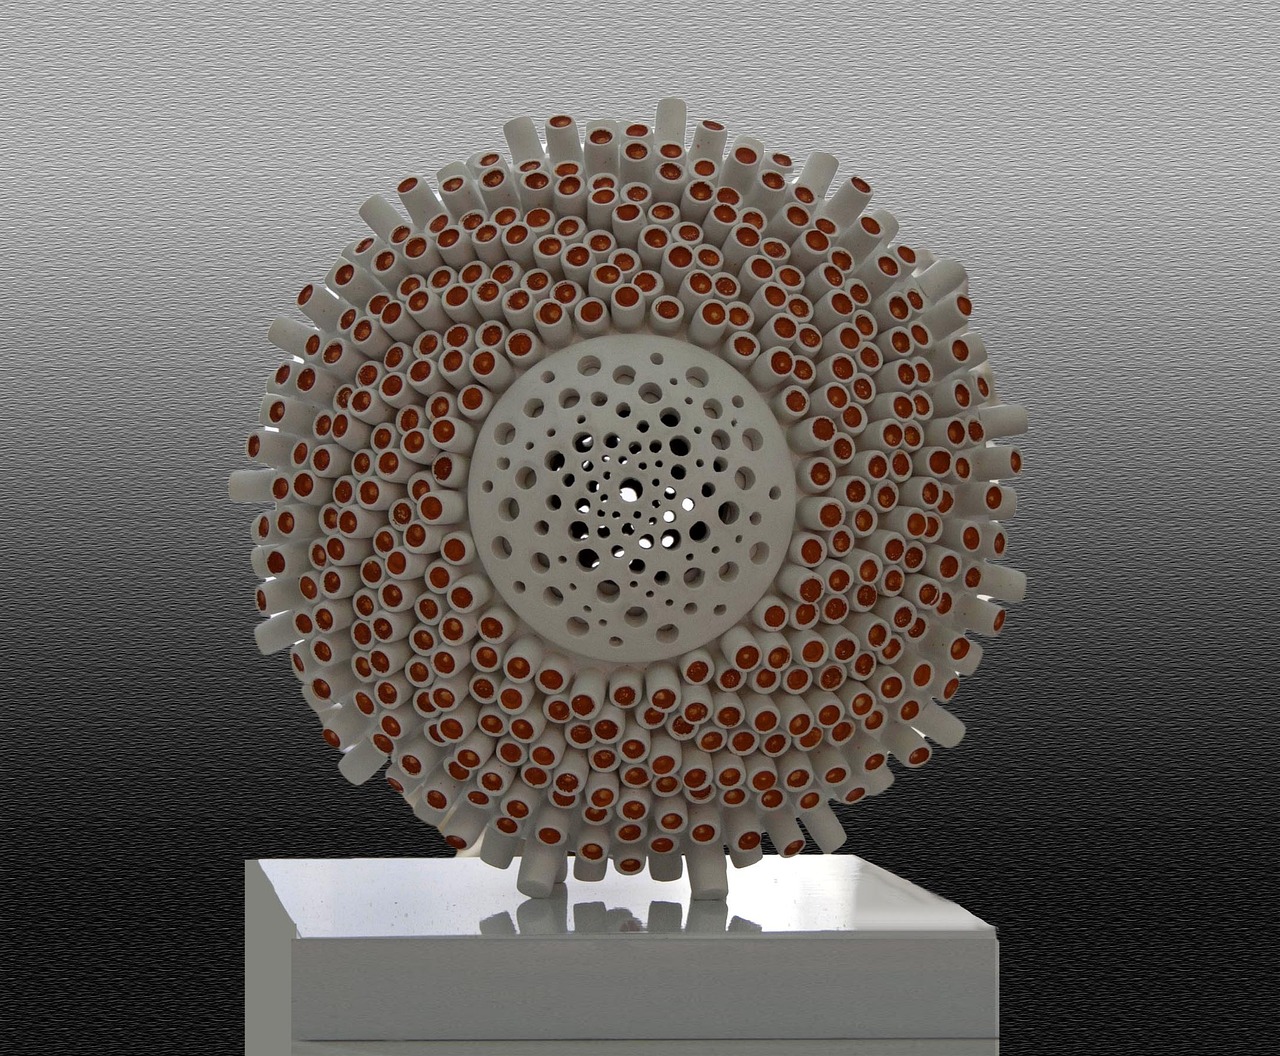
Benefits of Ceramic Art for Kids
Engaging in ceramic art offers a treasure trove of benefits for children, making it not just a fun activity but also a valuable learning experience. When kids dive into the world of clay, they are not merely molding and shaping; they are enhancing their fine motor skills, which is crucial for their overall development. Think of it as a workout for their hands! As they pinch, roll, and shape the clay, they are honing their dexterity and coordination, which can translate into better handwriting and other essential skills.
Moreover, working with ceramics is a fantastic way to foster creativity. Kids often have a natural inclination to create, and ceramics provides a medium that encourages them to think outside the box. Imagine a child transforming a lump of clay into a whimsical creature or a colorful tile! This process allows them to express their ideas and emotions, making art a personal and meaningful experience. As they experiment with different shapes, colors, and textures, they are not just creating art; they are exploring their own imagination and learning to trust their instincts.
In addition to fine motor skills and creativity, ceramics can also serve as a therapeutic outlet for self-expression. The tactile nature of clay is soothing, and the act of molding it can be incredibly calming. For children who might struggle with anxiety or stress, getting their hands dirty in clay can be a wonderful way to unwind. It's like a mini-vacation for their minds, where they can lose themselves in the process of creation. This therapeutic aspect helps them develop emotional intelligence, as they learn to express their feelings through their art.
Another significant benefit of ceramic art is its ability to foster social skills. When kids work on projects together, they learn to collaborate, share ideas, and support one another. Whether it’s working on a group sculpture or simply discussing their designs, these interactions help them build friendships and learn the value of teamwork. This social aspect of ceramics can be particularly beneficial in classroom settings or community art programs, where children can connect with peers who share similar interests.
To sum it up, the benefits of ceramic art for kids are multifaceted and far-reaching. From improving fine motor skills to fostering creativity, providing therapeutic outlets, and enhancing social skills, working with clay is an enriching experience that can have a lasting impact on a child's development. So, if you're looking for a way to engage your little ones creatively, consider introducing them to the wonderful world of ceramics!
Essential Tools and Materials
Before diving into the exciting world of ceramics, it's essential to gather the right tools and materials. Having the proper supplies not only makes the process smoother but also enhances the creative experience for kids. Imagine trying to bake a cake without flour or eggs; it just wouldn't work, right? Similarly, when working with clay, having the right tools can make all the difference between a masterpiece and a muddle.
For beginners, especially kids, the list of necessary items is quite simple and can be easily sourced. Here’s a quick rundown of what you’ll need:
- Clay: Start with air-dry clay or polymer clay, as these are user-friendly and don’t require a kiln.
- Work Surface: A clean, flat surface like a table or a sturdy board will do just fine.
- Tools: Basic tools include a rolling pin, a knife (preferably a plastic one for safety), and some sculpting tools. These will help shape and detail the clay.
- Water: A small bowl of water is crucial for smoothing out the clay and keeping it workable.
- Apron or Old Clothes: Kids can get messy, so it's wise to wear something that can handle a bit of clay splatter.
Once you have these essentials, you’re ready to unleash your creativity! But wait, there's more! Depending on the project, you might want to consider additional materials. For instance, if you're planning to paint your creations, having a set of acrylic paints and brushes on hand is a great idea. You could also include glazes if you’re aiming for that shiny finish, although those are typically used in more advanced projects.
To make it easier, here’s a simple comparison table of materials:
| Material | Purpose | Notes |
|---|---|---|
| Clay | Forming shapes and structures | Choose air-dry or polymer clay for ease of use |
| Sculpting Tools | Shaping and detailing | Plastic tools are safer for kids |
| Paints | Adding color and design | Acrylic paints are kid-friendly and easy to use |
| Glazes | Finishing touches | Used for a glossy finish, typically requires firing |
Equipping kids with the right tools and materials not only sets the stage for creativity but also instills a sense of responsibility. They learn to care for their supplies and understand the importance of preparation. So, gather your materials, roll up those sleeves, and get ready to create some ceramic magic!

Simple Hand-Building Techniques
Hand-building is a fantastic way for kids to dive into the world of ceramics without the need for complex tools or equipment. It’s like giving them a big, squishy canvas to play with! When you think about it, working with clay is similar to playing with playdough, but with the added magic of transforming their creations into lasting pieces of art. There are several simple techniques that can kickstart this creative journey, allowing young artists to explore their imaginations while developing essential skills.
Three of the most accessible hand-building techniques for kids include pinching, coiling, and slab-building. Each method offers a unique way to manipulate the clay and encourages children to think outside the box. Let’s take a closer look at these techniques:
The pinching method is one of the most intuitive ways for kids to shape clay. Imagine squeezing a soft ball of dough between your fingers; that’s essentially what pinching is all about! To get started, kids can take a small ball of clay and use their thumbs and fingers to pinch and shape it into various forms. This could be anything from a simple bowl to a whimsical creature. Here’s a quick guide to help:
- Step 1: Start with a ball of clay about the size of a golf ball.
- Step 2: Use your thumb to create a hole in the center.
- Step 3: Gently pinch the walls of the clay while rotating it to create an even thickness.
- Step 4: Continue pinching and shaping until you achieve the desired form!
Encourage kids to experiment with different shapes and sizes, reminding them that there’s no right or wrong way to create. This technique not only enhances their fine motor skills but also allows for a lot of personal expression.
The coiling technique is another exciting method that invites children to build structures using rolled clay ropes. Think of it as building a tower with soft, squishy spaghetti! Kids can roll out long, snake-like pieces of clay and stack them to create bowls, pots, or even imaginative sculptures. Here’s how they can do it:
- Step 1: Roll a piece of clay into a long, even coil.
- Step 2: Start by placing one coil on the base, then add additional coils on top.
- Step 3: Gently blend the coils together to create a smooth surface.
- Step 4: Continue stacking and shaping until the desired height is reached!
This technique not only helps in developing hand-eye coordination but also encourages spatial awareness as they visualize how their pieces will come together.
Slab-building is a bit like constructing with blocks, but with the added fun of clay! In this technique, kids roll out flat pieces of clay, or slabs, and then piece them together to form their creations. It’s perfect for making tiles, boxes, or even simple structures. To get started with slab-building, follow these steps:
- Step 1: Roll out a slab of clay using a rolling pin to a uniform thickness.
- Step 2: Cut the slab into desired shapes using cookie cutters or a knife.
- Step 3: Assemble the pieces by scoring (scratching) the edges and applying slip (wet clay) to help them stick.
- Step 4: Smooth out the seams for a clean finish!
Slab-building is a fantastic way for kids to express their creativity while learning about geometry and design. Plus, it’s a great opportunity for them to create functional items like plates or mugs!
Overall, hand-building techniques serve as a gateway for children to explore the wonderful world of ceramics. Each method is not only fun but also serves to enhance their creativity, fine motor skills, and confidence in their artistic abilities. So, gather some clay, roll up those sleeves, and let the fun begin!
Pinching Method
The is not just one of the easiest ways for kids to shape clay; it's also a fantastic way for them to explore their creativity! With just their fingers, children can create a variety of forms, from simple bowls to whimsical creatures. This hands-on technique is perfect for young artists who may not have the patience or skills for more complex methods. The beauty of pinching lies in its simplicity and the immediate gratification it offers. Kids can see their creations come to life in just a few moments, which can be incredibly rewarding.
To start with the pinching method, all you need is a lump of clay. Begin by having the child roll the clay into a ball, which will serve as the base for their creation. Next, they should use their thumb to press down in the center of the ball, creating a small indentation. From here, they can pinch the sides of the ball with their fingers, gradually shaping it into the desired form. The key here is to encourage kids to be gentle and to rotate the clay as they pinch, ensuring an even thickness throughout.
As they become more comfortable with the technique, children can experiment with different shapes and sizes. For example, they might try:
- Creating small bowls for holding treasures.
- Sculpting animals or characters by adding additional pieces of clay.
- Making unique ornaments for special occasions.
One of the best parts about the pinching method is that it allows for a lot of personal expression. Kids can add textures using various tools or even their own fingers, and they can decorate their pieces with colors and glazes once they are fired. This method not only enhances their fine motor skills but also boosts their confidence as they see their imaginative ideas take shape.
So, gather some clay and let the kids dive into the wonderful world of pinching! It’s a fun, engaging, and educational activity that can keep them busy for hours. Plus, who doesn’t love a handmade gift or decoration? The joy of creating something from scratch is a priceless experience that every child should have.
Q: What type of clay is best for kids to use?
A: For beginners, it's best to use air-dry clay or non-toxic pottery clay, which is easier to handle and doesn't require a kiln.
Q: How can I help my child if they get stuck while pinching?
A: Encourage them to take a break, look at examples online, or even try a different shape. Sometimes stepping back can spark new ideas!
Q: What safety measures should I take while working with clay?
A: Always supervise children when using tools, ensure they wash their hands after handling clay, and keep the workspace clean to avoid slips and falls.
Coiling Technique
The is a fantastic way for kids to dive into the world of ceramics, allowing them to create unique and imaginative pieces. This method involves rolling out long, snake-like strands of clay, which can then be layered and shaped into various forms. Think of it like building with soft, squishy ropes! It’s not only fun but also a great way to develop fine motor skills as children manipulate the clay. To get started, here's a simple step-by-step guide:
1. **Prepare the Clay**: Start with a ball of clay. Make sure it’s soft and pliable. If it feels too hard, a little water can help soften it up.
2. **Roll the Clay**: Kids can use their hands to roll the clay into long, even coils. A fun tip is to encourage them to make the coils as thick or thin as they like, which opens up a world of possibilities! The length of the coil can also vary, depending on the size of the project they have in mind.
3. **Layering**: Once they have a few coils ready, they can begin stacking them on top of each other. This is where the magic happens! They can create bowls, pots, or even whimsical creatures. Encourage them to blend the coils together at the joints to create a smooth surface. This not only strengthens the piece but also enhances its aesthetic appeal.
4. **Decorate**: Once the basic shape is formed, kids can let their creativity shine by adding decorative elements. They can use tools to create patterns, textures, or even add small clay shapes to the surface. This is the perfect time for them to express their individuality and artistic flair!
5. **Drying and Firing**: After they’re satisfied with their creation, it needs to dry completely before it can be fired in a kiln. This step is crucial, as it transforms their soft clay into a durable ceramic piece. If you don’t have access to a kiln, air-dry clay can be a great alternative for at-home projects.
By using the coiling technique, kids not only learn basic ceramic skills but also gain confidence in their ability to create something beautiful from scratch. Plus, it’s a wonderful bonding activity that can be enjoyed with friends or family. So, gather those clay supplies and let the creativity flow!
As a fun addition, here’s a quick table summarizing the coiling technique steps:
| Step | Description |
|---|---|
| 1 | Prepare the clay by softening it. |
| 2 | Roll the clay into long coils. |
| 3 | Layer the coils to form shapes. |
| 4 | Decorate the piece with textures and patterns. |
| 5 | Allow to dry and then fire in a kiln. |

Fun Project Ideas for Kids
When it comes to engaging children in creative activities, ceramic projects offer an endless world of possibilities. Not only do these projects allow kids to explore their artistic side, but they also provide a tangible outcome that they can be proud of. Imagine the joy on their faces when they create something unique with their own hands! Here are some delightful project ideas that will keep your little artists busy and excited.
One of the most popular projects is crafting animal figurines. Kids can sculpt their favorite animals using basic techniques that are easy to grasp. For instance, they can start by rolling balls of clay to form the body and then pinch or add smaller pieces for details like ears, tails, and eyes. This project not only enhances their fine motor skills but also encourages imaginative play as they create a mini zoo of their own!
Another fun idea is making decorative tiles. This project allows children to express their artistic flair in a colorful way. They can use various tools to imprint designs or even carve out shapes in the clay. Once the tiles are baked and glazed, they can be used as coasters or wall art. Imagine a wall adorned with vibrant, personalized tiles created by your child—what a wonderful way to showcase their creativity!
For a more interactive experience, consider a project that involves creating functional pottery. Kids can make their own bowls or mugs, which they can later use at home. This not only gives them a sense of accomplishment but also teaches them about the practical side of art. Think about how much fun it would be for them to eat cereal from a bowl they made themselves!
To help you get started, here’s a simple table of materials needed for these projects:
| Project | Materials Needed |
|---|---|
| Animal Figurines | Clay, sculpting tools, paint |
| Decorative Tiles | Clay, rolling pin, stamps or carving tools, glaze |
| Functional Pottery | Clay, pottery wheel (optional), glaze, kiln |
These projects are not just about making art; they are about building confidence and encouraging self-expression. As kids work on their ceramic creations, they learn to overcome challenges and express their ideas in a physical form. Plus, the best part? You get to share in the joy and excitement as they unveil their masterpieces!
Q1: What type of clay is best for kids?
A1: For beginners, air-dry clay or polymer clay is ideal as they don’t require a kiln. They are safe and easy to handle.
Q2: How can I help my child if they get frustrated with their project?
A2: Encourage them to take a break and come back with fresh eyes. Remind them that mistakes can lead to new ideas!
Q3: Are there any safety precautions I should take?
A3: Yes! Always supervise kids while they work with tools and ensure they wash their hands after handling clay.
In conclusion, ceramic projects offer a fantastic way for kids to unleash their creativity while developing essential skills. So, gather your materials, roll up your sleeves, and let the fun begin!

Animal Figurines
Creating can be a delightful and engaging project for children. Not only does it allow them to explore their artistic abilities, but it also opens up a world of imagination where they can bring their favorite creatures to life using just clay. Imagine your child sculpting a wiggly worm or a majestic elephant, each piece a unique representation of their vision! This project is not just about molding clay; it's about telling a story through their creations.
To start this fun adventure, gather some basic materials such as air-dry clay or traditional clay, sculpting tools, and paints. The beauty of this project lies in its simplicity. Kids can begin by choosing their favorite animal, which can range from household pets to exotic wildlife. This choice is crucial as it taps into their personal interests and makes the project even more exciting.
For younger children, the pinching method is an excellent way to shape the clay. They can start by rolling a ball of clay into a rough shape of the animal's body and then use their fingers to pinch and form details like ears, tails, and legs. For example, to create a cat, they can pinch the top for ears and roll small balls for paws. This technique not only enhances their fine motor skills but also boosts their confidence as they see their creations take shape.
As they progress, you can introduce the coiling technique, which is perfect for making larger animals or those with more intricate designs. Children can roll out long strips of clay and layer them to form the body of their chosen animal. For instance, to create a snake, they can coil the clay into a spiral, adding texture and details along the way. This method encourages creativity, as kids can experiment with different shapes and sizes.
Once the figurines are complete, the fun doesn’t stop there! Kids can paint their creations with vibrant colors, adding personality to each piece. They might choose to turn a simple clay dog into a rainbow-colored pup or a plain turtle into a sparkling sea creature. This step allows them to express their individuality and creativity, making each figurine truly one-of-a-kind.
To inspire kids further, you can set up a mini-exhibition at home, showcasing their animal figurines. This can be a fantastic way to celebrate their hard work and creativity. Encourage them to explain their creations to family members, sharing the story behind each animal. This not only boosts their confidence but also enhances their communication skills.
In summary, making animal figurines is a wonderful way for children to engage with ceramics. It combines creativity, fine motor skills, and storytelling in a fun and interactive way. So, gather your materials, unleash your child's imagination, and let them embark on this exciting artistic journey!
- What type of clay is best for kids? Air-dry clay is often recommended for beginners as it is easy to work with and does not require a kiln.
- Can children paint their clay creations? Absolutely! Once the clay is dry, kids can use acrylic paints to add color and personality to their figurines.
- What safety precautions should be taken? Always supervise children while they are using tools and ensure they are using child-safe materials.
- How long does it take for clay to dry? It usually takes 24-48 hours for air-dry clay to set completely, depending on the thickness of the pieces.
Decorative Tiles
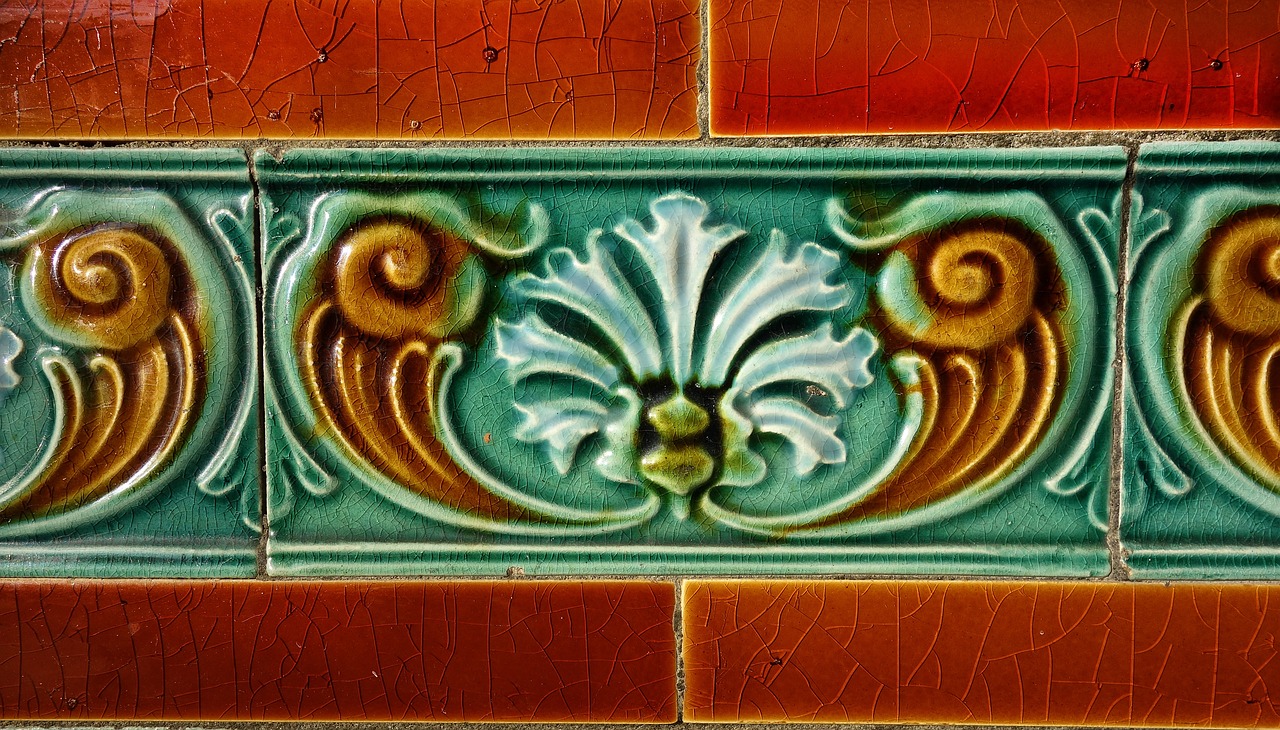
Creating is not only a fun and engaging project for kids, but it also allows them to express their artistic flair in a tangible way. Imagine a blank canvas where your child can let their imagination run wild! These tiles can serve as unique home decor or even thoughtful gifts for family and friends. The process of designing and crafting these tiles can be a delightful experience, sparking creativity and providing a sense of accomplishment.
To get started, you'll need a few basic materials: clay, rolling pins, cookie cutters, and various tools for decorating. Kids can use their hands to shape the clay or employ tools to carve out intricate designs. The beauty of making decorative tiles lies in the freedom of expression; there are no strict rules, only endless possibilities! From geometric patterns to whimsical characters, the only limit is their imagination.
Here’s a simple step-by-step guide to creating decorative tiles:
- Prepare the Clay: Start by kneading the clay to ensure it's soft and pliable. This step is crucial as it helps remove any air bubbles that could cause cracks later.
- Roll Out the Clay: Use a rolling pin to flatten the clay to about 1/4 inch thick. Make sure it's even, as this will help in the drying and firing process.
- Cut the Tiles: Use cookie cutters or a knife to cut out shapes from the rolled-out clay. Kids can create squares, circles, or even funky shapes!
- Decorate: Here's where the fun really begins! Kids can use stamps, tools, or even their fingers to create textures and patterns on the surface of the tiles. They can also add color by using underglazes or paint after the tiles have been fired.
- Dry and Fire: Allow the tiles to dry completely before firing them in a kiln. This step is essential to make them durable and ready for use.
Once the tiles are fired and cooled, they can be painted or left natural for a rustic look. Kids can even use them as coasters, wall art, or decorative pieces in their rooms. The satisfaction of seeing their creations come to life is priceless!
Moreover, creating decorative tiles can be a great opportunity for kids to learn about colors, shapes, and even basic geometry. It also encourages teamwork if done in a group setting, as they can share ideas and techniques with one another. So, why not gather some friends for a tile-making party? It’s a perfect way to blend creativity with social interaction!
- What type of clay is best for kids to use? It's best to use air-dry clay or low-fire clay that is easy to manipulate and safe for children.
- How long does it take for the tiles to dry? Typically, tiles should dry for 24-48 hours, depending on the thickness and humidity levels.
- Can we use regular paints on the tiles? For best results, use ceramic paints or underglazes that are specifically designed for clay surfaces.
- Are there any safety precautions to consider? Yes, always supervise children when using sharp tools and ensure they understand the importance of safety when working with clay and paints.
Tips for Successful Ceramics with Kids
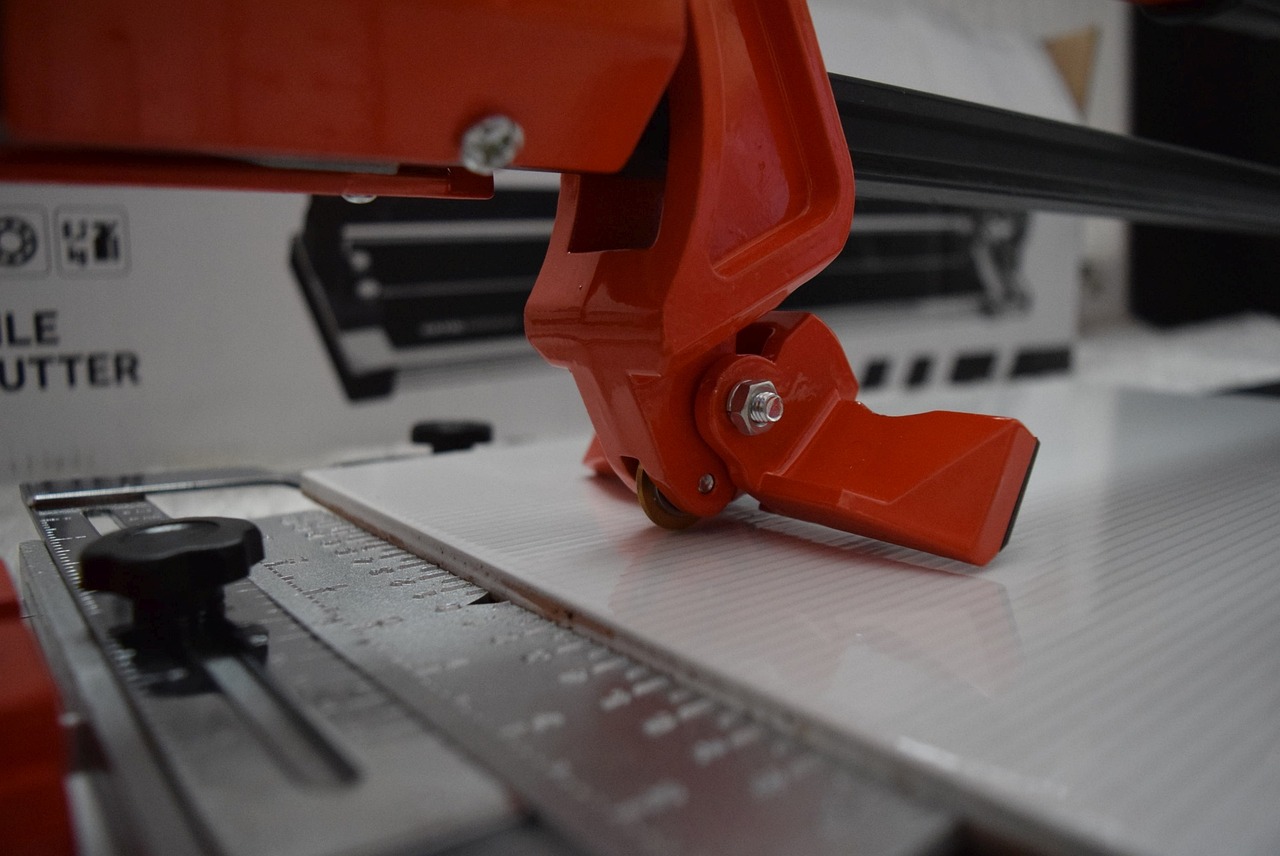
When it comes to engaging kids in the wonderful world of ceramics, a few practical tips can make all the difference between a delightful experience and a frustrating one. First and foremost, creating a safe and inviting workspace is essential. Ensure the area is clean and free of distractions. Use a sturdy table covered with a plastic tablecloth or newspaper to protect surfaces from clay spills. This not only makes clean-up easier but also allows kids to focus on their creative process without worrying about making a mess.
Next, it’s important to set clear boundaries and expectations before diving into a project. Kids should know what tools are available to them and how to use them safely. For instance, if you’re using sharp tools for cutting or carving, explain the importance of being careful and demonstrate proper handling techniques. This not only keeps them safe but also empowers them to take ownership of their creations.
To enhance the creative experience, consider incorporating themes or stories into your projects. For example, if kids are making animal figurines, encourage them to think about their favorite animals and the habitats they come from. This can spark their imagination and lead to more intricate designs. You might even set up a mini-exhibit at the end of the session where they can showcase their work and share the stories behind them. This adds an element of excitement and encourages public speaking skills.
Another tip for success is to embrace mistakes as part of the learning process. Kids are naturally curious and experimental, so some projects may not turn out as planned. Instead of getting frustrated, celebrate these moments as opportunities for creative problem-solving. Encourage them to think of ways to modify or improve their work. This not only builds resilience but also fosters a growth mindset, teaching them that failure is just a stepping stone to success.
Lastly, don’t forget to celebrate their creations. Once a project is completed, take the time to admire and discuss each piece. This can be done through a small exhibition at home or even by sharing photos with family and friends. Kids thrive on positive reinforcement, and acknowledging their hard work will boost their confidence and inspire them to take on even more ambitious projects in the future.
Q: What age is appropriate for kids to start working with ceramics?
A: Generally, children as young as 4 can start with simple hand-building projects, while older kids can handle more complex techniques.
Q: How can I ensure the clay is safe for my child?
A: Always choose non-toxic, child-safe clay products. Look for brands that are specifically labeled as safe for children.
Q: What should I do if my child is frustrated with their project?
A: Encourage them to take a break and come back to it later. Remind them that creativity takes time and that it’s okay to make mistakes.
Q: Can ceramics be a good educational tool?
A: Absolutely! Working with ceramics can teach kids about shapes, textures, and even cultural history if you incorporate themed projects.
Safety Precautions
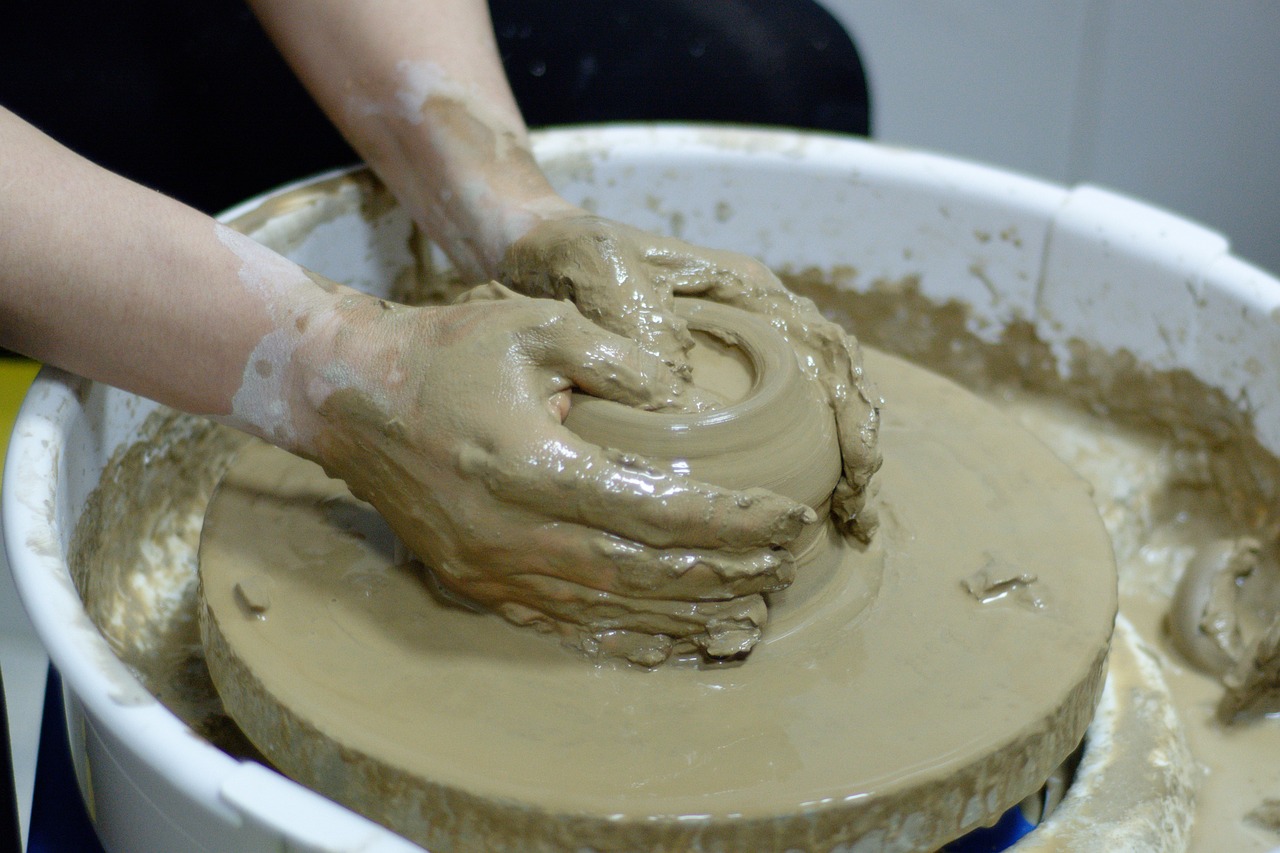
When diving into the exciting world of ceramics with kids, safety should always be the top priority. Working with clay and tools can be a blast, but it’s essential to create a secure environment to foster creativity without any hiccups. First, make sure to wear appropriate clothing. Old clothes are a must, as clay can be messy, and you wouldn’t want your little Picasso to ruin their favorite shirt!
Next, let’s talk about tools. Kids should always use tools that are age-appropriate. For instance, sharp tools should be handled by adults or older children under supervision. A good practice is to set up a designated area for working with ceramics, ensuring that all tools are stored safely when not in use. It’s like having a little workshop where creativity flows, but safety reigns supreme!
Another important aspect is ensuring that the workspace is clean and organized. A tidy area helps prevent accidents. You wouldn’t want a child tripping over clay scraps or tools scattered around, right? Additionally, it’s wise to have a first-aid kit handy, just in case of minor accidents. It’s always better to be prepared!
Now, let’s not forget about hygiene! Working with clay can be a tactile experience, and it’s crucial to wash hands before and after working with materials. This not only keeps everything clean but also prevents any dirt or bacteria from getting into the clay. It’s a simple yet effective way to ensure a safe and fun crafting session.
Lastly, ensure proper ventilation in the workspace, especially if you’re using glazes or paints. Some materials can emit fumes that aren’t kid-friendly. Having windows open or using fans can help keep the air fresh and safe while everyone is busy crafting their masterpieces.
In summary, creating a safe environment for kids to explore ceramics is about being proactive. Here’s a quick recap of the essential safety precautions:
- Wear old clothes to avoid stains.
- Use age-appropriate tools under supervision.
- Keep the workspace clean and organized.
- Have a first-aid kit readily available.
- Encourage hand washing before and after working with clay.
- Ensure proper ventilation when using glazes or paints.
By following these guidelines, you can ensure that your ceramic adventures are not only creative but also safe and enjoyable for everyone involved!
Q: What age is appropriate for children to start working with ceramics?
A: Generally, children as young as 5 can start with simple hand-building techniques, but it’s important to supervise them closely and choose age-appropriate projects.
Q: What materials do I need to get started with ceramics?
A: Basic materials include clay, sculpting tools, a work surface, and safety gear like aprons. If you plan to glaze your pieces, you'll also need appropriate glazes and brushes.
Q: Are there any specific safety measures I should take when using a kiln?
A: Yes! Always supervise children around the kiln, as it can be very hot. Make sure they understand the importance of staying clear of it and never touching it without adult supervision.
Q: How can I encourage my child to express their creativity in ceramics?
A: Provide a variety of materials, let them explore different techniques, and celebrate their creations, no matter how simple or complex. The key is to foster a supportive environment where they feel free to experiment!
Encouraging Creativity
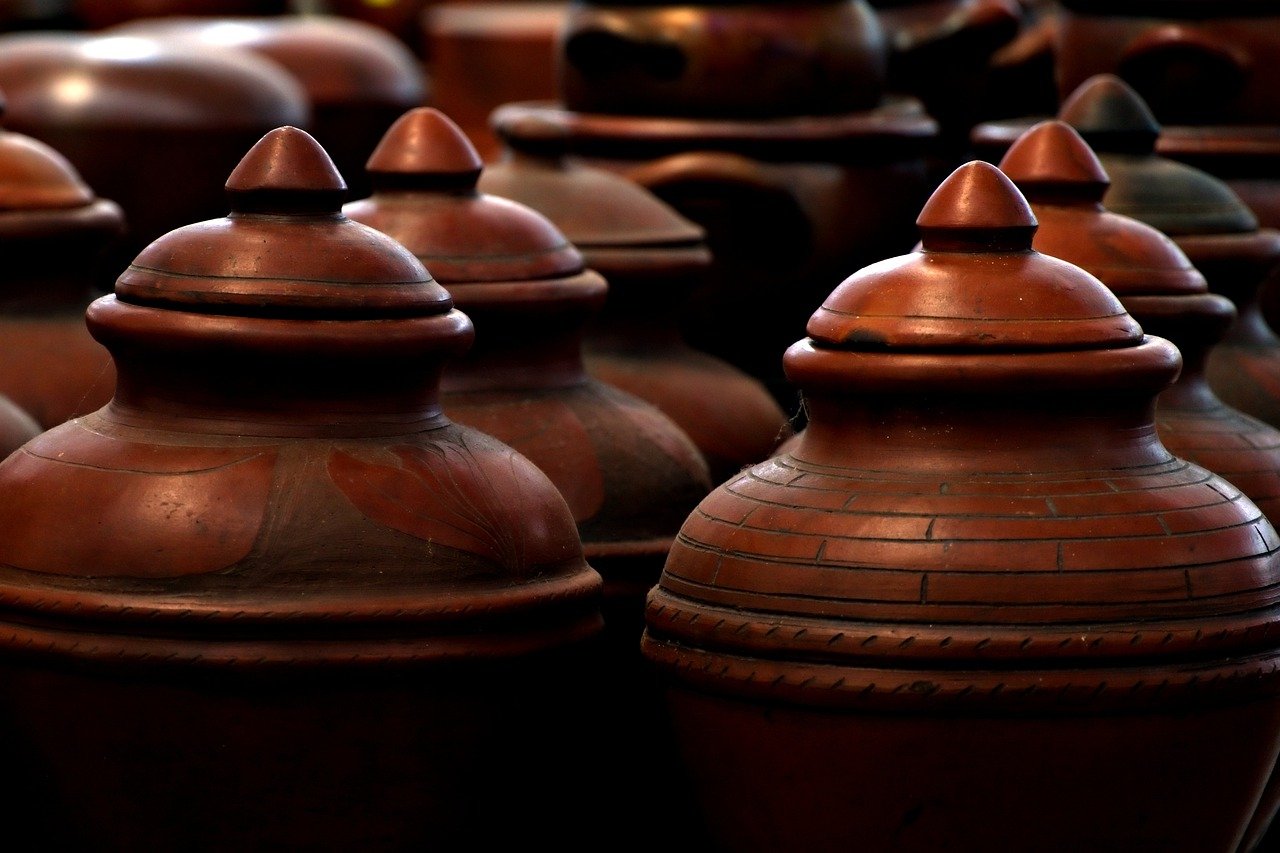
Fostering creativity in kids is not just about providing them with materials; it’s about creating an environment where their imagination can flourish. Think of it as planting a seed in a garden. With the right conditions—sunlight, water, and care—that seed can grow into a beautiful flower. Similarly, when children feel encouraged and supported, their creative ideas can blossom into remarkable works of art.
One effective way to encourage creativity is to give children the freedom to explore their ideas without the fear of making mistakes. Remind them that art is about the journey, not just the destination. When they know that their efforts are valued, they are more likely to experiment and take risks. Encourage them to think outside the box! For instance, if they want to create a monster with three eyes and a tail, let them go for it! After all, who says art has to follow the rules?
Another great strategy is to provide a variety of materials and tools. The more options they have, the more likely they are to find inspiration. You can introduce them to different types of clay, glazes, and even unconventional items like recycled materials. This not only sparks their creativity but also teaches them to see potential in everyday objects. You might be surprised at what they can create with a little imagination and a few simple items!
Moreover, consider setting up themed projects that can serve as a springboard for their creativity. For example, you could have a "Nature Day" where they create pieces inspired by the outdoors, or a "Fantasy Day" where they can sculpt their favorite mythical creatures. These themes can help focus their ideas while still allowing room for personal expression. You might say, “Let’s make something inspired by your favorite story!” This way, they can draw on their interests and experiences, making the project even more meaningful.
Lastly, don’t forget the power of positive reinforcement. Celebrate their achievements, no matter how big or small. A simple “Wow, that’s amazing!” can go a long way in boosting their confidence. You can even create a little “art gallery” at home to showcase their work. This not only validates their efforts but also encourages them to keep creating. Remember, every great artist started somewhere, and your support can help them on their creative journey!
- What age is appropriate for children to start working with ceramics? Most children can start working with clay around age 5, but it depends on their fine motor skills and interest.
- Are there any specific safety precautions I should take? Yes, always supervise children while they work with tools and materials, and ensure they understand how to use them safely.
- How can I inspire my child if they feel stuck? Encourage them to take a break, explore nature, or look at art books for inspiration. Sometimes, a little distance can spark new ideas!
Frequently Asked Questions
- What are the benefits of ceramic art for kids?
Engaging in ceramic art offers a wealth of benefits for children. It helps enhance their fine motor skills, sparks creativity, and provides a therapeutic outlet for self-expression. Working with clay allows kids to experiment and explore their artistic abilities, which can boost their confidence and problem-solving skills.
- What tools and materials do I need to get started with ceramics?
Before diving into ceramic projects, it's essential to gather some basic tools and materials. You'll need clay, a rolling pin, various shaping tools, a sponge, and a work surface. Additionally, having access to a kiln for firing the pieces is crucial. Don’t forget safety gear like aprons and gloves to keep everything tidy!
- What are some simple hand-building techniques for kids?
Hand-building is a fantastic way for kids to start working with clay! Some simple techniques include pinching, coiling, and slab-building. The pinching method involves molding clay with fingers to create shapes, while coiling allows kids to roll out clay ropes to build structures. Slab-building uses flat pieces of clay to construct items like boxes or tiles.
- Can you suggest fun ceramic project ideas for kids?
Absolutely! There are so many exciting projects for kids to try. They can create animal figurines, which are always a hit, or design decorative tiles that showcase their unique style. Other ideas include making personalized mugs or bowls, which can be both fun and functional!
- What safety precautions should I take when working with ceramics?
Safety is super important when it comes to ceramics. Make sure kids are supervised while using tools and handling clay. It's also a good idea to keep the workspace clean and organized to prevent accidents. Always remind children to wash their hands after working with clay and to be cautious around the kiln.
- How can I encourage creativity in my child while working with ceramics?
Encouraging creativity is all about providing a supportive environment. Allow your child to explore different ideas and techniques without fear of making mistakes. Celebrate their efforts and encourage them to express their unique vision. You can also introduce them to various styles of ceramics to inspire their imagination!


