Exploring Different Hand Building Pottery Techniques
This article delves into various hand building pottery techniques, offering insights into their history, methods, and applications. Discover how these techniques can enhance your pottery skills and creativity.
Hand building is a fundamental pottery technique that allows for creativity and personal expression. Unlike wheel throwing, which requires a potter's wheel and a certain level of skill, hand building is accessible to everyone. You don’t need to be a master potter to create beautiful pieces; all you need is clay and a bit of imagination! Hand building techniques can be as simple as pinching a ball of clay into a pot or as intricate as constructing large sculptures. This flexibility makes hand building an excellent choice for beginners and experienced artists alike.
The pinch pot technique is one of the simplest hand building methods, ideal for beginners. It involves taking a ball of clay and using your fingers to pinch and shape it into a vessel. This technique is not only easy to learn but also encourages creativity, allowing you to create unique shapes and designs. Whether you’re crafting a small bowl or a quirky sculpture, pinch pots are a fantastic way to get started with pottery.
Pinch pots have a rich historical background, dating back to ancient civilizations. They were among the first pottery forms created by early humans, used for both functional and ceremonial purposes. Archaeological findings suggest that pinch pots were made as early as 29,000 BC! These simple yet effective vessels have been found in various cultures around the world, showcasing their cultural significance and evolution over time.
Today, pinch pots are used not only for functional ware but also for artistic expression. Artists have taken this ancient technique and infused it with modern creativity, resulting in stunning pieces that blend traditional methods with contemporary designs. You can find pinch pots used in home décor, as planters, or even as unique gifts. The possibilities are endless, and the charm of these handmade items continues to captivate pottery enthusiasts.
Mastering the pinch pot technique requires practice, but with a few helpful tips, you can enhance your skills and achieve better results. Here are some practical suggestions:
- Start with a small ball of clay to get a feel for the technique.
- Keep your hands moist to prevent the clay from drying out as you work.
- Experiment with different shapes and sizes to find your style.
- Don’t be afraid to add texture or patterns to your pots!
Coil building is a versatile technique that allows for larger and more complex forms. This method involves rolling out long strands of clay, or "coils," and stacking them to create your desired shape. The beauty of coil building lies in its adaptability; you can make anything from simple pots to intricate sculptures. It’s a fantastic way to explore your creativity and push the boundaries of traditional pottery.
Understanding how to create even, consistent coils is crucial for successful coil building. To make perfect coils, start by rolling a ball of clay into a snake-like shape. Here’s a simple step-by-step guide:
- Take a small piece of clay and roll it between your palms.
- Gradually elongate the clay into a coil, ensuring it maintains an even thickness.
- Repeat until you have enough coils for your project.
Joining coils seamlessly is essential for structural integrity. To attach coils, you can use a scoring technique, where you scratch the surfaces of the coils before joining them. This helps create a stronger bond. Additionally, using slip (a mixture of clay and water) can also help secure the coils together, ensuring a smooth finish on your pottery.
Slab building is another popular hand building method that involves rolling out clay into flat pieces, or slabs. This technique is particularly advantageous for creating geometric shapes and larger structures. Slab building allows for more precision in design, making it a favorite among potters who enjoy creating functional items like plates, tiles, and more.
Learning to roll slabs uniformly is key to successful slab building. To achieve the right thickness and smoothness, use a rolling pin and guides (like wooden dowels) to ensure your slabs are even. Aim for a thickness of about 1/4 inch for most projects, but feel free to experiment based on your design needs.
Assembling slabs requires careful planning and technique. You can join slabs using the same scoring and slip method as with coils. Additionally, consider the design of your piece; whether you’re creating a box, a vase, or a more intricate form, planning the assembly will save you time and effort.
Combining different hand building techniques can lead to innovative designs. By integrating pinch, coil, and slab methods, you can create unique pottery creations that showcase your personal style. This fusion allows for endless possibilities and encourages experimentation in your pottery practice.
Explore project ideas that utilize multiple hand building techniques. For instance, you could create a large bowl using coils and then add pinch pot accents. The combination of textures and shapes can elevate your work to a new level, making it not just functional but also a piece of art.
Combining techniques can present challenges, such as ensuring that different clay pieces adhere properly. Common issues include cracks or uneven surfaces. To address these, always keep your surfaces moist, and use the scoring and slip method generously. With practice and patience, you’ll find solutions that work for your style.
In conclusion, hand building pottery techniques offer endless possibilities for creativity. Whether you’re a seasoned potter or just starting, exploring these methods can help you develop your unique style. So grab some clay, roll up your sleeves, and let your imagination run wild! The world of pottery is waiting for you to make your mark.
Q: Do I need special tools for hand building pottery?
A: While some tools can enhance your experience, basic tools like your hands, a rolling pin, and a knife can be sufficient to start.
Q: Can I combine different types of clay?
A: Yes! Just ensure that the clays have similar firing temperatures to avoid issues during the firing process.
Q: How do I prevent my clay from drying out while working?
A: Keep a damp cloth over your clay and tools when not in use, and mist the clay with water if it starts to dry.

Introduction to Hand Building
This article delves into various hand building pottery techniques, offering insights into their history, methods, and applications. Discover how these techniques can enhance your pottery skills and creativity.
Hand building is a fundamental pottery technique that allows for creativity and personal expression. Unlike wheel throwing, which relies on a spinning wheel to shape the clay, hand building empowers artists to mold their creations using their hands, tools, and imagination. This method is not just about crafting functional pieces; it's about telling a story through clay. The beauty of hand building lies in its accessibility—anyone can pick up a lump of clay and start shaping it into something unique!
There are several reasons why hand building is cherished by potters around the world:
- Versatility: You can create anything from simple bowls to intricate sculptures.
- Personal Touch: Each piece reflects the artist's individuality and style.
- Accessibility: No need for expensive equipment; just clay and your hands!
Hand building techniques can be broken down into several methods, each with its own charm and application. Whether you're a beginner or a seasoned artist, exploring these methods can lead to a deeper understanding of pottery and enhance your skills. Imagine the thrill of taking a flat piece of clay and transforming it into a beautiful, functional work of art! The tactile nature of hand building also creates a connection between the artist and the material, making each creation a personal journey.
In the following sections, we will dive into specific hand building techniques, including pinch pots, coil building, and slab building. Each method has its own history, techniques, and tips for success. So, roll up your sleeves and get ready to unleash your creativity!
Pinch Pot Technique
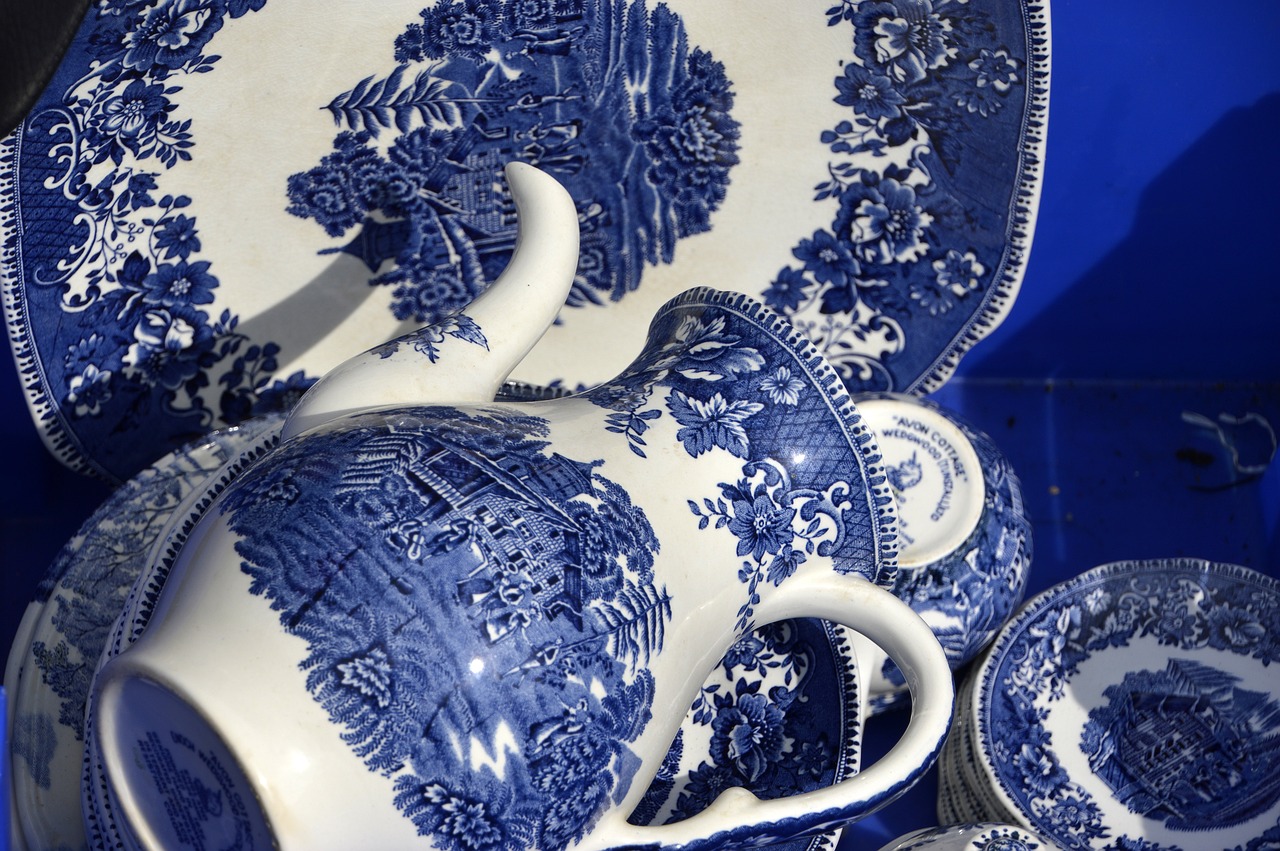
The is a delightful and accessible way to start your journey into the world of pottery. It's one of the most ancient methods, allowing for creativity and personal expression right from the start. With just your hands and a lump of clay, you can create unique forms that reflect your artistic vision. Unlike wheel throwing, which requires a bit of practice and skill, pinch pots are perfect for beginners and anyone looking to explore their creative side.
To create a pinch pot, you begin with a ball of clay, typically around the size of a fist. The beauty of this technique lies in its simplicity; all you need are your fingers. You start by pressing your thumb into the center of the clay ball, creating a small indentation. From there, you gently pinch the walls of the pot, rotating it as you go to maintain an even thickness. This method not only allows for the creation of functional pottery but also opens the door to artistic exploration, as you can shape and mold the clay into various forms.
Pinch pots boast a rich history that dates back to ancient civilizations, where they were used for both practical and ceremonial purposes. Archaeological findings show that these pots were crafted by cultures around the globe, from the Native Americans to the ancient Egyptians. Each culture infused its own style and significance into the designs, making pinch pots a fascinating subject of study.
Throughout history, pinch pots have served various functions, from storage containers to ritualistic vessels. They were often adorned with intricate designs, showcasing the potter's skill and cultural heritage. The evolution of pinch pots reflects the changing needs and artistic expressions of societies, making them a significant part of pottery history.
In contemporary times, pinch pots have transcended their utilitarian origins. Artists today use this technique not only to create functional ware but also to express their individuality and artistic flair. You might find pinch pots transformed into beautiful decorative pieces, each telling a unique story through its shape and texture.
With the rise of the DIY movement, many enthusiasts have embraced pinch pots as a way to explore their creativity. Workshops and online tutorials abound, encouraging people to experiment with different styles and finishes. Whether you’re crafting a simple bowl or a whimsical sculpture, the pinch pot technique allows for endless possibilities.
Mastering the pinch pot technique requires a bit of practice, but with some helpful tips, you can enhance your skills and achieve stunning results:
- Keep the Clay Moist: Working with dry clay can lead to cracks and breakage. Keep a spray bottle handy to mist your clay as you work.
- Control Thickness: Aim for even wall thickness throughout your pot. This not only improves aesthetics but also ensures durability.
- Experiment: Don’t be afraid to try different shapes and sizes. The beauty of pinch pots lies in their uniqueness!
By following these tips, you’ll be well on your way to creating beautiful pinch pots that showcase your personal style. So grab some clay, roll up your sleeves, and let your creativity flow!
History of Pinch Pots
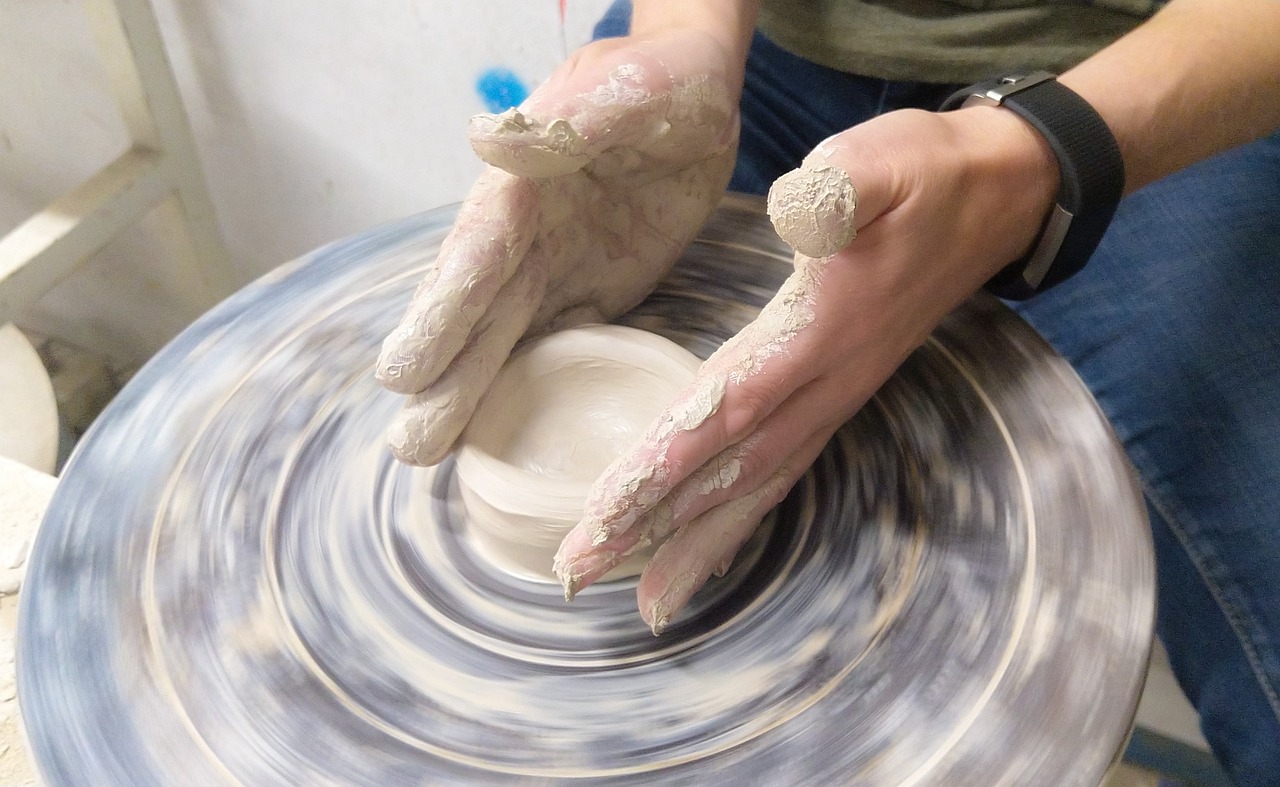
The pinch pot technique is not just a method of shaping clay; it embodies a rich tapestry of human history that stretches back thousands of years. Archaeological findings have revealed that this technique was practiced by ancient cultures around the globe, from the indigenous peoples of the Americas to the early civilizations of Europe and Asia. The simplicity of pinch pots made them accessible to artisans of all skill levels, allowing for individual creativity while serving practical purposes in daily life.
Dating back to as early as 29,000 BCE, pinch pots were among the first pottery forms created by humans. Early examples found in sites like the Venus of Dolní Věstonice in the Czech Republic showcase the primitive yet effective approach to pottery. These early creations were often utilitarian, designed for cooking or storage, and reflected the cultural practices of the time. The ability to mold clay using just fingers allowed artisans to create functional ware that was both practical and personal.
As civilizations evolved, so did the use of pinch pots. In ancient Egypt, pinch pots were often adorned with intricate designs and used in burial rituals, symbolizing the connection between the living and the afterlife. Similarly, in Mesoamerican cultures, pinch pots served as both functional vessels and ceremonial objects. These pots were often decorated with symbols that held significant meaning, showcasing the artistry and craftsmanship of their makers.
Through the ages, the pinch pot technique has remained relevant, adapting to the changing aesthetics and needs of various cultures. In the modern era, artists have embraced pinch pots as a medium for self-expression, creating pieces that range from the purely functional to the profoundly artistic. Today, pinch pots are celebrated not only for their historical significance but also for their ability to connect people with the tactile nature of clay, making them a favorite among both beginners and seasoned potters.
In summary, the history of pinch pots is a testament to the enduring nature of human creativity. From ancient utilitarian objects to contemporary artistic expressions, pinch pots have transcended time and culture, continuing to inspire new generations of potters. As you embark on your own pottery journey, consider the rich heritage of this technique and how it can inform your creative practice.
- What are pinch pots used for? Pinch pots can be used for various purposes, including functional items like bowls and cups, as well as decorative pieces.
- Can pinch pots be glazed? Yes, pinch pots can be glazed just like any other pottery, allowing for a variety of finishes and colors.
- Are pinch pots suitable for beginners? Absolutely! The pinch pot technique is one of the simplest forms of pottery, making it ideal for beginners.
Modern Applications
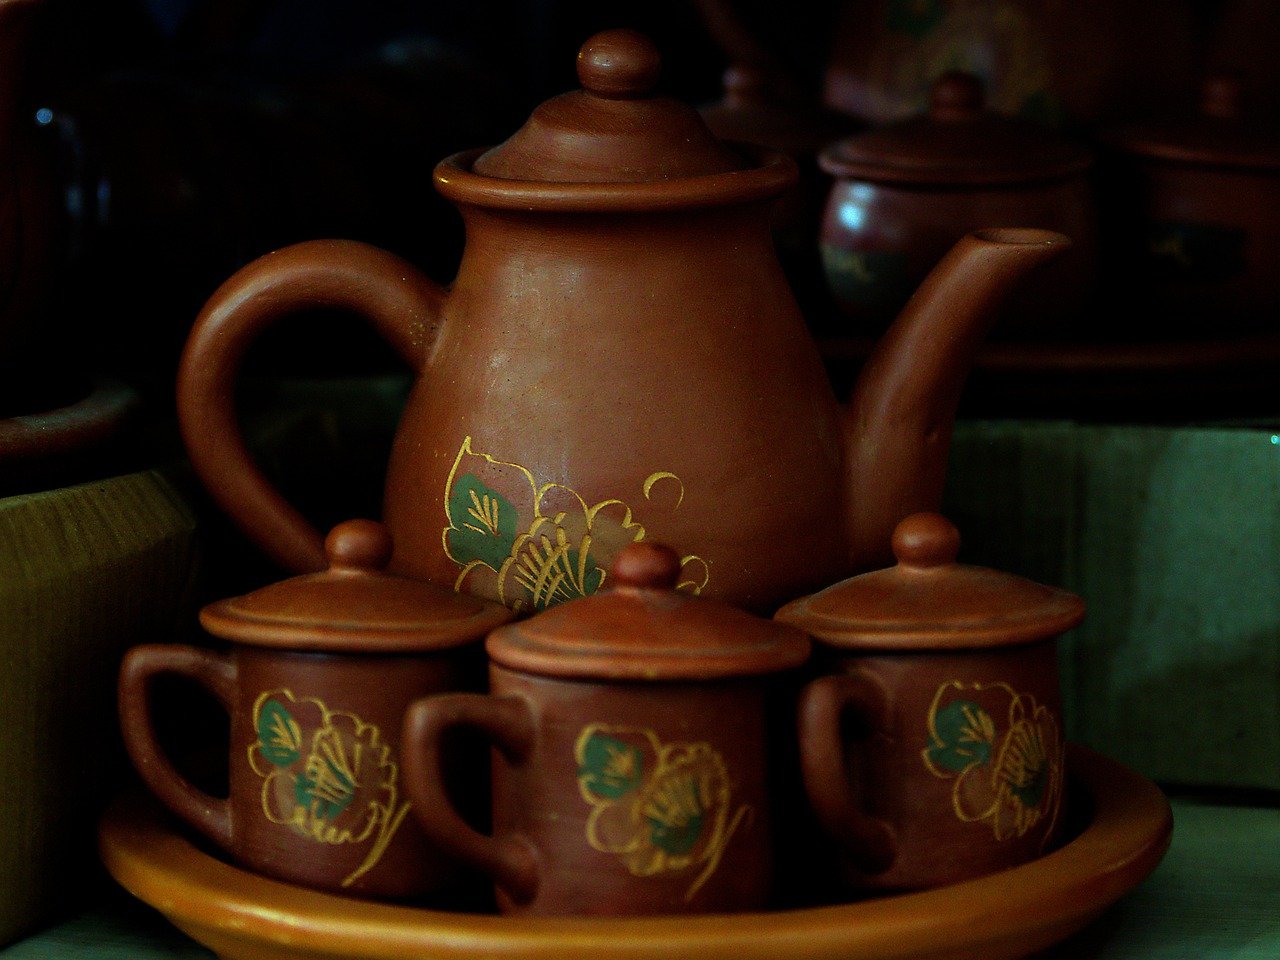
The world of pottery has evolved significantly over the years, and today, pinch pots are not just relics of ancient craftsmanship; they are dynamic canvases for modern artists. Artists and hobbyists alike are embracing the pinch pot technique for a variety of applications that go beyond traditional pottery. From functional ware to purely decorative pieces, the versatility of pinch pots is truly remarkable.
In contemporary pottery studios, you’ll find pinch pots being used to create unique tableware, such as bowls and cups, that add a personal touch to dining experiences. Imagine serving your favorite dish in a handmade bowl that showcases your individual style! Additionally, many artists are using pinch pots as a base for mixed media projects, incorporating materials like paint, beads, and other embellishments to transform these simple forms into striking art pieces.
Moreover, pinch pots have found their way into the realm of home décor. They can be used as planters, candle holders, or even decorative sculptures that add character to any space. The organic shapes and textures achieved through hand building resonate with the current trend of embracing nature-inspired designs in interior decoration.
To illustrate the diversity of modern applications, consider the following table showcasing various uses of pinch pots:
| Application | Description |
|---|---|
| Functional Tableware | Bowls, cups, and plates that are both practical and artistic. |
| Artistic Expressions | Mixed media projects incorporating various materials. |
| Home Décor | Planters, candle holders, and decorative sculptures. |
| Educational Purposes | Used in workshops and classes to teach hand-building techniques. |
Not only do pinch pots serve aesthetic purposes, but they also play a role in education. Many pottery classes and workshops utilize pinch pots as a starting point for teaching beginners the fundamentals of hand building. This method allows students to grasp essential skills like clay manipulation and shaping without the complexity of wheel throwing.
In a nutshell, the modern applications of pinch pots reflect a beautiful blend of tradition and innovation. As artists continue to push the boundaries of what can be achieved with this age-old technique, the possibilities are truly endless. Whether you're creating something functional or purely for expression, pinch pots remain a fantastic medium for unleashing your creativity.
- What is a pinch pot? A pinch pot is a simple pottery technique that involves shaping clay by pinching it with your fingers to form a bowl or other shapes.
- Can pinch pots be used for functional items? Yes! Pinch pots can be made into functional items like bowls, cups, and plates, as well as decorative art pieces.
- What type of clay is best for pinch pots? Earthenware or stoneware clay is commonly used for pinch pots, as they are easy to work with and can be fired at lower temperatures.
- How can I decorate my pinch pots? You can use underglazes, glazes, paints, and even mixed media elements to decorate your pinch pots, allowing for endless creative possibilities.
Tips for Success
This article delves into various hand building pottery techniques, offering insights into their history, methods, and applications. Discover how these techniques can enhance your pottery skills and creativity.
Hand building is a fundamental pottery technique that allows for creativity and personal expression. This section explores its significance and how it differs from wheel throwing.
The pinch pot technique is one of the simplest hand building methods, ideal for beginners. This section will guide you through the process of creating unique shapes using just your fingers.
Pinch pots have a rich historical background, dating back to ancient civilizations. Here, we explore their cultural significance and evolution over time.
Today, pinch pots are used not only for functional ware but also for artistic expression. This section discusses contemporary interpretations and innovations in pinch pot design.
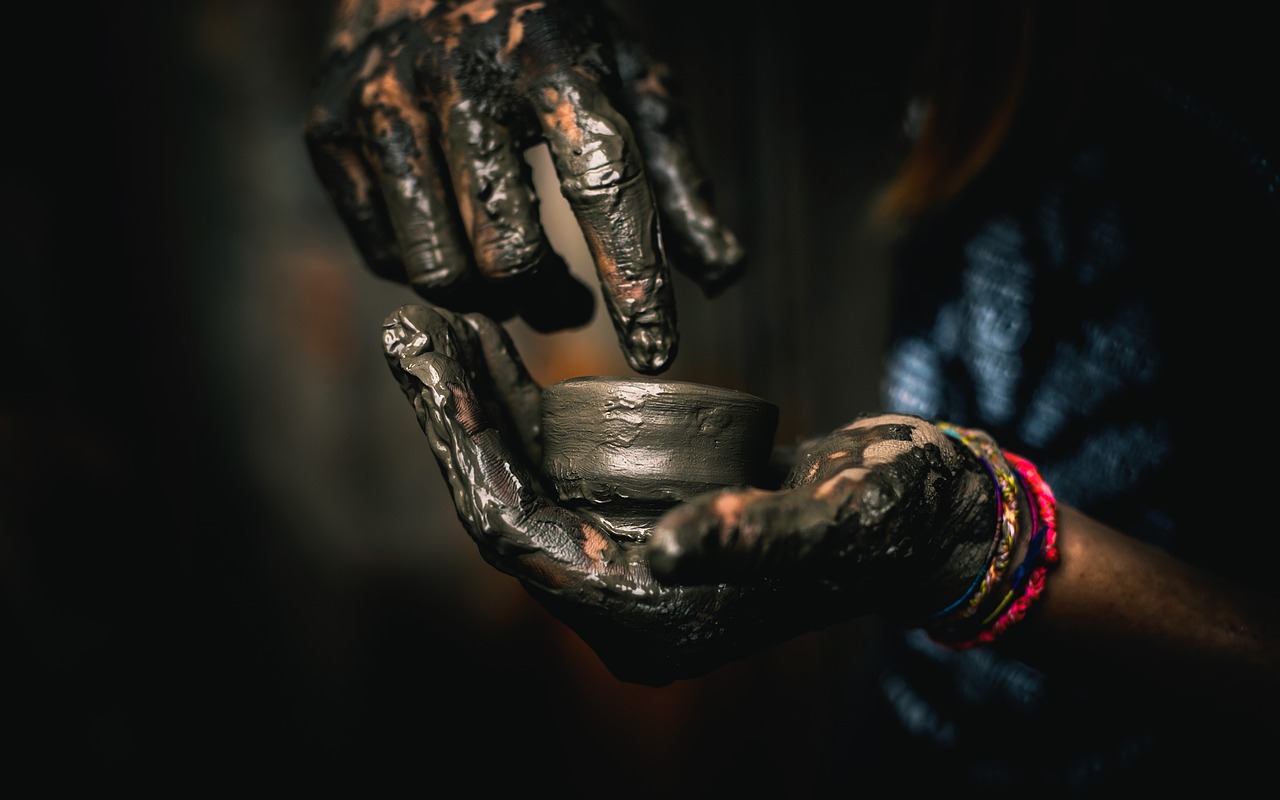
Mastering the pinch pot technique requires practice, patience, and a bit of creativity. Here are some essential tips to enhance your skills and achieve better results:
- Start Small: If you're new to pinch pots, begin with smaller pieces. This allows you to focus on technique without feeling overwhelmed.
- Keep Your Hands Moist: Clay can dry out quickly, so keep a small bowl of water nearby. Dipping your fingers in water helps maintain moisture and prevents cracking.
- Experiment with Shapes: Don’t be afraid to explore different forms. Try creating animals, bowls, or abstract shapes. The more you experiment, the more you’ll discover your unique style.
- Practice Even Pressure: When pinching the clay, apply even pressure to avoid thin spots. This ensures your pot is sturdy and can hold its shape.
- Decorate Thoughtfully: Once you’ve shaped your pot, consider adding texture or patterns. Use tools like stamps, leaves, or even your fingers to create interesting designs.
Remember, practice makes perfect! Each piece you create is a step towards improving your hand building skills. Take your time, enjoy the process, and don’t be afraid to make mistakes; they often lead to the most beautiful and unique creations.
Coil building is a versatile technique that allows for larger and more complex forms. This section covers the basics of creating pottery using coils.
Understanding how to create even, consistent coils is crucial for successful coil building. This part offers step-by-step instructions for making perfect coils.
Joining coils seamlessly is essential for structural integrity. Here, we discuss various methods for attaching coils and ensuring a smooth finish on your pottery.
Slab building is another popular hand building method that involves rolling out clay into flat pieces. This section outlines the process and its advantages for creating geometric shapes.
Learning to roll slabs uniformly is key to successful slab building. This section provides techniques for achieving the right thickness and smoothness.
Assembling slabs requires careful planning and technique. Here, we explore different ways to join slabs for various pottery forms and designs.
Combining different hand building techniques can lead to innovative designs. This section discusses how to integrate pinch, coil, and slab methods for unique pottery creations.
Explore project ideas that utilize multiple hand building techniques, encouraging experimentation and creativity in your pottery practice.
Combining techniques can present challenges. Here, we address common issues and provide solutions to enhance your hand building experience.
In conclusion, hand building pottery techniques offer endless possibilities for creativity. This final section encourages readers to explore these methods further and develop their unique styles.
Q: What is the best clay for hand building?
A: Stoneware clay is a popular choice for hand building due to its durability and ability to withstand high temperatures. However, earthenware clay is also great for beginners as it is easier to work with.
Q: How long does it take for hand-built pottery to dry?
A: Drying times vary based on the thickness of your piece and environmental conditions. Generally, it can take anywhere from a few hours to several days for pottery to dry completely.
Q: Can I use a kiln at home for firing my pottery?
A: Yes, you can invest in a small kiln for home use, but ensure you follow safety guidelines. Alternatively, many community studios offer kiln services for a fee.
Q: What should I do if my clay cracks while drying?
A: If you notice cracks, you can try to repair them with a little slip (wet clay) and smooth it over. However, if the cracks are extensive, it may be best to start over.
Coil Building Technique
Coil building is a fascinating pottery technique that opens up a world of creative possibilities. Unlike wheel throwing, which can sometimes feel restrictive, coil building allows you to create larger and more complex forms with relative ease. Imagine crafting a beautiful vase or an intricate sculpture, all by layering coils of clay. This technique is not only versatile but also incredibly rewarding, as it encourages you to explore your artistic side while honing your pottery skills.
The beauty of coil building lies in its simplicity. To get started, you only need a few basic tools: clay, a rolling pin, and your hands. The process involves rolling out long, snake-like coils of clay and then stacking and joining them to build up your desired shape. It’s like playing with clay as a child, but with a more refined purpose. As you gain confidence, you can experiment with different coil sizes and shapes, allowing your imagination to run wild.
One of the key aspects of successful coil building is understanding how to create uniform coils. If your coils are uneven, it can lead to structural issues in your final piece. Here are some tips to help you create perfect coils:
- Start with a manageable amount of clay and roll it between your palms to form a long cylinder.
- Use your fingers to gently elongate the coil, ensuring it maintains a consistent thickness.
- Practice makes perfect! Don’t be discouraged if your first few coils are not ideal.
Once you have your coils ready, the next step is joining them together. This is where the magic happens! You can create a variety of forms, from bowls to pots, just by stacking and blending the coils. The joining process is crucial for ensuring that your piece is sturdy and well-formed. Here are some methods to consider:
- Scoring and slipping: Score the edges of the coils where they will join, then apply a slip (a mixture of clay and water) to help bond them together.
- Pinching: Pinch the coils together at the seams to create a seamless look.
- Coiling in layers: For taller pieces, build in layers, allowing each layer to dry slightly before adding the next.
As you become more proficient in coil building, you may want to explore decorative techniques. Adding texture, patterns, or even incorporating other materials can elevate your pottery to the next level. Think of your piece as a canvas where you can express your unique style. Whether it’s through carving, adding color, or using mixed media, the possibilities are endless!
In conclusion, coil building is not just a technique; it’s a journey into the world of pottery that allows for personal expression and creativity. Whether you’re a beginner or an experienced potter, this method will challenge you to think outside the box and create pieces that truly reflect your artistic vision. So why not grab some clay and start coiling your way to beautiful pottery today?
Q1: What type of clay is best for coil building?
A1: A good choice for coil building is earthenware or stoneware clay, as they are both pliable and easy to work with. Make sure to choose a clay that suits your final firing temperature.
Q2: How do I prevent my coils from cracking?
A2: To prevent cracking, ensure that you keep your coils moist while working. You can also cover your piece with plastic to keep it from drying out too quickly.
Q3: Can I use coil building for functional pottery?
A3: Absolutely! Many potters use coil building to create functional items like bowls, mugs, and pots. Just ensure that your joins are secure and that the piece is properly fired.
Q4: How can I add color to my coil-built pottery?
A4: You can add color using underglazes or glazes after your piece has been bisque fired. Experiment with different colors to find what complements your design.
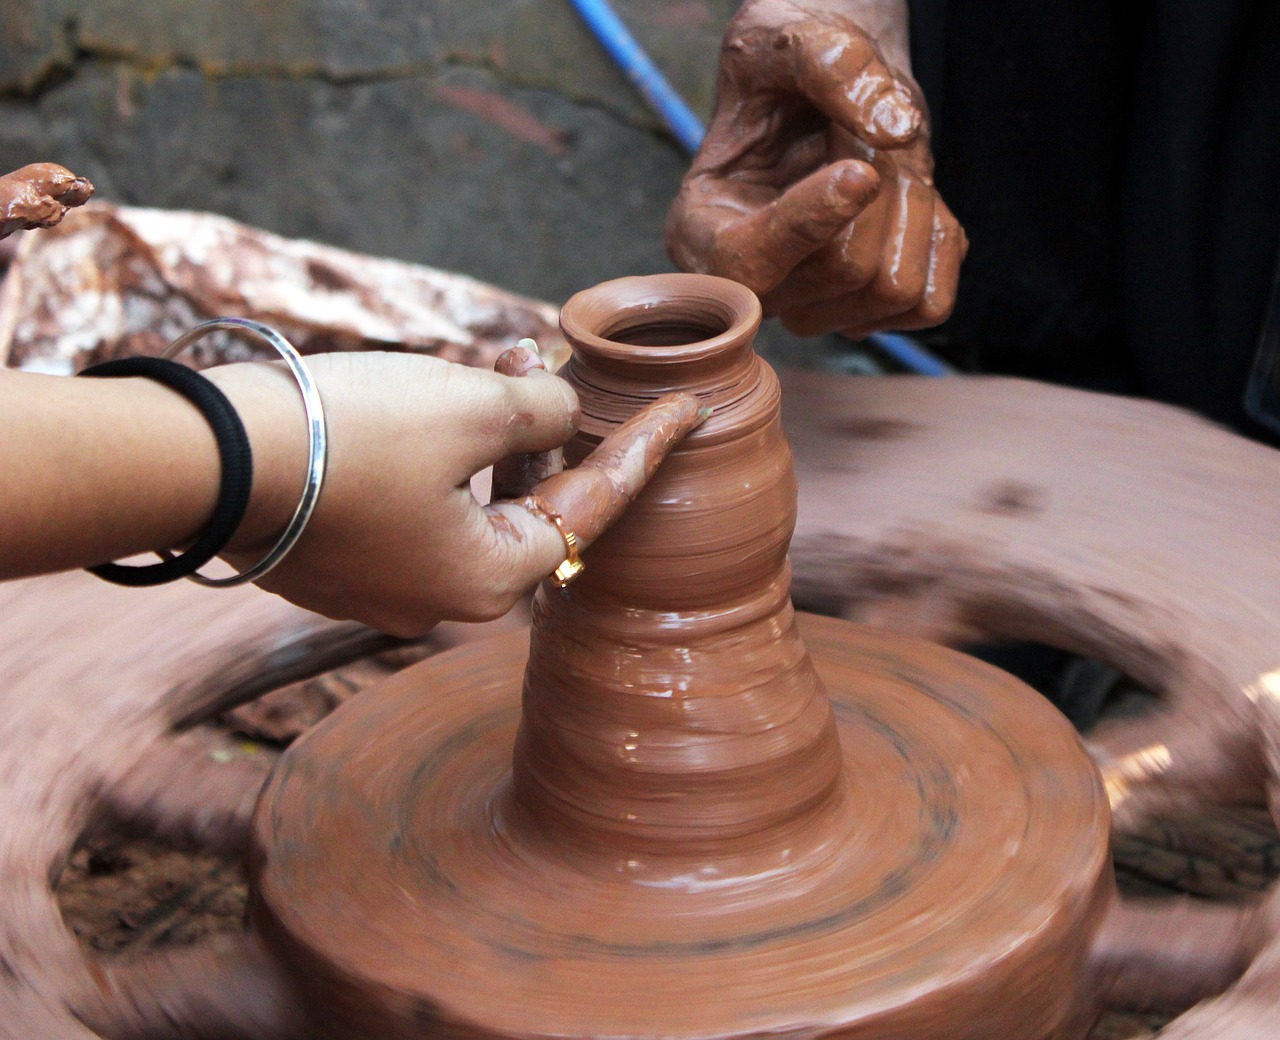
Creating Coils
Creating coils is a fundamental skill in hand building pottery that opens up a world of possibilities for your creations. Imagine the way a snake slithers effortlessly along the ground; that's the kind of smooth, flowing motion you want to achieve when rolling out your coils. It's all about consistency and technique. To start, take a small piece of clay and roll it between your palms or on a clean surface. The goal is to form a long, even cylinder. This process can be likened to making a perfect rope—if one part is thicker than the other, it can lead to uneven walls in your pottery, which can be frustrating.
When creating coils, consider the following key points:
- Clay Preparation: Ensure your clay is well-kneaded and pliable. This will make it easier to roll out and prevent cracks.
- Thickness: Aim for a uniform thickness throughout your coil. A good rule of thumb is to keep it about the width of your pinky finger.
- Surface Area: The larger the coil, the more surface area it covers, which can affect the stability of your piece.
As you roll your coil, use gentle pressure to maintain an even shape. If you find that your coil is too short, simply add more clay and continue rolling. It’s important to keep your workspace clean and free of debris, as this can affect the quality of your coils. Once you have a few coils ready, you can start to experiment with different shapes and sizes. Remember, the beauty of pottery lies in its imperfections—so don’t be afraid to let your personality shine through in your work!
Lastly, if you're looking to create larger forms, consider layering your coils. This technique not only adds height but also gives your pottery a unique texture. Just like stacking building blocks, each layer should be carefully joined to ensure stability. With practice, you'll find that creating coils becomes second nature, allowing you to focus on the more artistic aspects of your pottery.
Q1: What type of clay is best for coil building?
A1: While you can use almost any type of clay, stoneware and earthenware are popular choices due to their versatility and ease of use.
Q2: How do I prevent my coils from cracking?
A2: Make sure to keep your coils moist while working, and avoid exposing them to drafts or direct sunlight, which can dry them out too quickly.
Q3: Can I use coils to create complex shapes?
A3: Absolutely! Coils can be manipulated and shaped into a variety of forms, allowing for endless creative possibilities.
Q4: How do I join coils together?
A4: You can join coils by scoring the edges where they meet and using slip (a mixture of clay and water) to create a strong bond.
Joining Coils
Joining coils is a vital step in the coil building technique, and it’s where your creativity truly comes to life! Imagine you’ve spent time crafting beautiful, even coils, and now it’s time to bring them together to form a stunning piece of pottery. But how do you ensure that these coils don’t just sit on top of each other like a stack of pancakes? The secret lies in understanding the right methods for joining them seamlessly.
To create a strong bond between coils, you can use several techniques. One of the most effective methods is to score the edges of the coils before joining them. Scoring means scratching the surface of the clay to create a rough texture, which increases the surface area for the slip to adhere to. After scoring, apply a bit of slip (a mixture of clay and water) to the scored areas. This acts like glue, ensuring that the coils stick together firmly.
Another technique is to pinch the coils together gently. This not only helps to secure them but also blends the edges, creating a smoother transition between the coils. Think of it like molding clay with your fingers—you're not just stacking, you're sculpting! Additionally, consider using a rib tool to smooth out any bumps and create a more polished look. The rib can help blend the coils further, making your piece look more professional and intentional.
Here’s a quick overview of the essential steps for joining coils:
- Score: Create a rough texture on the edges of the coils.
- Apply Slip: Use slip to help the coils stick together.
- Pinch: Gently pinch the coils to secure them and blend the edges.
- Smooth: Use a rib tool for a polished finish.
It’s important to remember that practice makes perfect. The more you work with coils, the more intuitive the joining process will become. Don't be afraid to experiment with different joining techniques to see what works best for your style. You might discover that blending techniques can lead to unique textures and designs that set your pottery apart from the rest!
Lastly, always keep an eye on the moisture level of your clay. If the coils are too dry, they may crack when joined. Conversely, if they’re too wet, they may lose their shape. Finding that sweet spot is key to successful coil joining, so take your time and enjoy the process!
Q: What is the best way to ensure my coils stick together?
A: Scoring the edges and applying slip before pinching the coils together is the most effective method for ensuring they stick.
Q: Can I use other materials to join coils?
A: While slip is the most common material, some potters use additional clay or even specialized adhesives, but these should be used cautiously.
Q: How can I avoid cracks in my pottery when joining coils?
A: Make sure your coils are at the right moisture level—neither too dry nor too wet. Additionally, blending the edges can help distribute stress and minimize cracking.

Slab Building Technique
Slab building is a fascinating and versatile pottery technique that allows artists to create a wide range of forms and shapes using flat pieces of clay. Unlike wheel throwing, which requires a certain level of skill and coordination, slab building is more accessible to beginners and offers a unique opportunity for creativity. Imagine rolling out a piece of dough to make a pizza; that’s similar to how you roll out clay to create slabs. The beauty of this method lies in its ability to produce geometric shapes and intricate designs, making it a favorite among potters.
To get started with slab building, you’ll need a few essential tools and materials. These include a rolling pin, a clay cutter, and a work surface. The first step is to prepare your clay by wedging it thoroughly to remove any air bubbles. This step is crucial because trapped air can cause your pottery to crack during firing. Once your clay is ready, you can begin rolling it out into slabs. Aim for a uniform thickness—typically around 1/4 inch—so that your pieces maintain structural integrity.
One of the significant advantages of slab building is the ability to create complex forms. You can cut out shapes from your rolled slabs and assemble them in various ways. For instance, you might create a rectangular slab for the base of a box and then cut out smaller slabs for the sides. When assembling the pieces, it’s essential to score the edges where they will join, applying slip (a mixture of clay and water) to help bind them together. This technique not only enhances the strength of the joints but also adds a decorative element to your work.
Learning to roll slabs uniformly is key to successful slab building. To achieve the right thickness and smoothness, you can use a few simple techniques. Start by placing your clay between two wooden slats of the desired thickness. This method will help you maintain an even thickness as you roll out the clay. Use a rolling pin to gently flatten the clay, applying even pressure across the surface. Once you have your slab rolled out, let it rest for a few minutes before cutting, as this allows the clay to relax and reduces the risk of warping.
Assembling slabs requires careful planning and technique. When joining your slabs, consider the overall design and functionality of your piece. For example, if you’re making a vase, you’ll need to ensure that the sides are tall enough to hold water and that the base is sturdy enough to support the weight. Depending on your design, you might choose to create a box, a plate, or even a sculpture. Each form will require different joining techniques. Here are some common methods:
- Scoring and slipping: This is the most common method, as described earlier. It ensures a strong bond between pieces.
- Using coils: You can also add coils along the seams for additional strength and a decorative touch.
- Pinching edges: Pinching the edges together can create a more organic look and help secure the joints.
The possibilities with slab building are truly endless. By experimenting with different shapes, sizes, and joining techniques, you can create unique pottery that reflects your personal style. Whether you’re crafting functional items like plates and bowls or exploring artistic forms, slab building is a rewarding method that encourages creativity. So, roll up your sleeves, grab your tools, and let your imagination run wild!
Q: What type of clay is best for slab building?
A: Stoneware or earthenware clays are commonly used for slab building. They offer good workability and durability.
Q: Can I use a pasta maker to roll out slabs?
A: Yes! A pasta maker can help achieve consistent thickness, but ensure it’s clean and free of any contaminants.
Q: How do I prevent my slabs from cracking?
A: Keep your slabs covered with plastic while you work to prevent them from drying out too quickly. Also, ensure your clay is well wedged.
Q: Can I combine slab building with other pottery techniques?
A: Absolutely! Many potters enjoy combining slab building with pinch or coil techniques for more intricate designs.
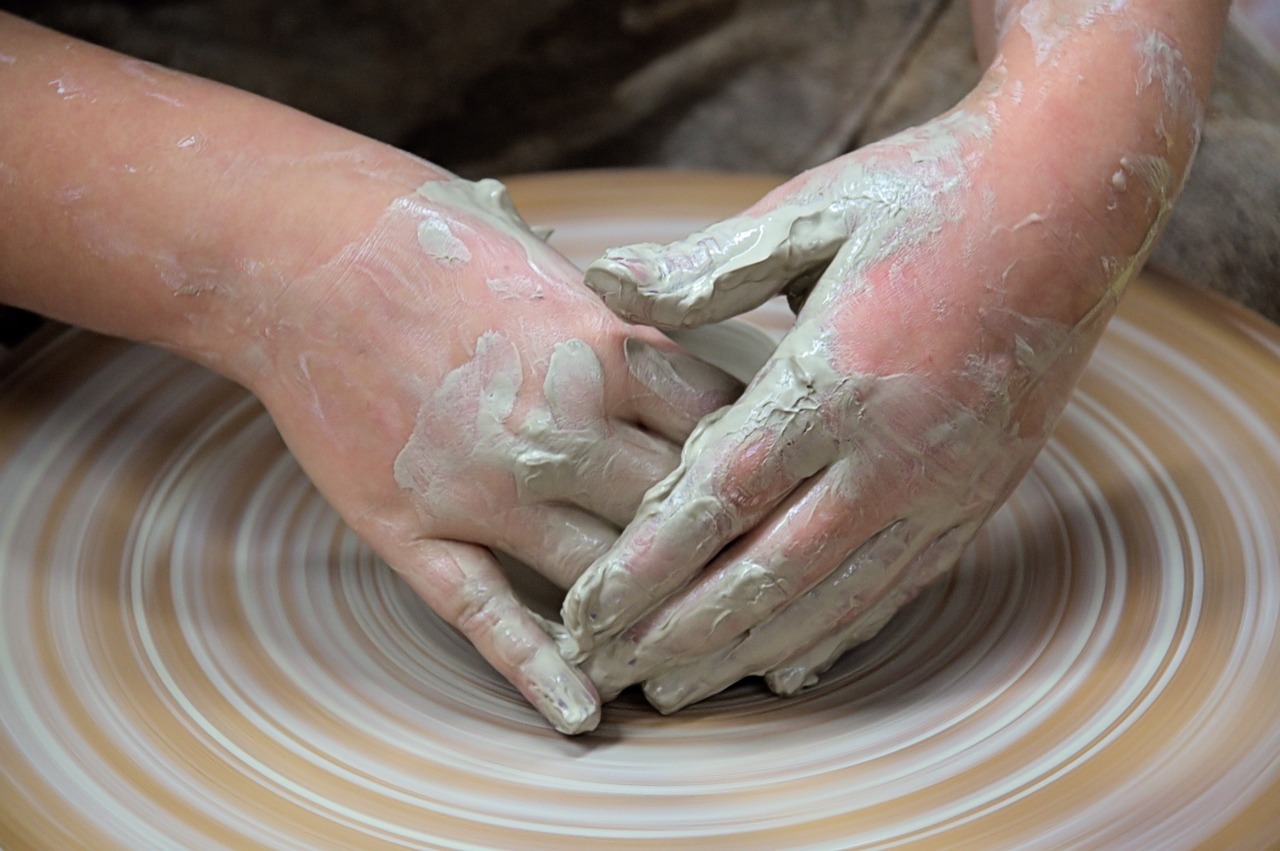
Rolling Slabs
Rolling slabs is a fundamental technique in hand building pottery that opens up a world of possibilities for creating geometric shapes and intricate designs. The process involves flattening clay into uniform sheets, which can then be cut, shaped, and assembled into various forms. To achieve the right thickness and smoothness, it’s essential to master a few key techniques. Imagine rolling out dough for a pizza; the same principle applies here, but instead of a delicious meal, you’re crafting a unique piece of art!
First, start with a well-kneaded ball of clay. Kneading not only prepares the clay but also removes air bubbles that could cause issues later. Once your clay is ready, you can begin the rolling process. Using a rolling pin is the most common method, but you can also use a slab roller for larger projects. When using a rolling pin, be sure to apply even pressure as you roll out the clay. This ensures that your slab is uniform in thickness, which is crucial for structural integrity.
To help maintain consistency, you can use guides on either side of your clay. These can be simple wooden dowels or specially designed thickness strips that prevent the rolling pin from flattening the clay too thinly. Aim for a thickness of about 1/4 inch, as this is typically ideal for most hand-built pottery. If your slab ends up being too thick, it may not dry evenly, leading to cracks or warping during firing.
Once you've rolled out your slab, it’s time to cut it into the desired shapes. You can use various tools, from simple knives to intricate clay cutters, depending on your design. Be creative! You might want to create geometric shapes like squares and rectangles for a modern look, or more organic forms for a rustic vibe. After cutting, remember to keep the edges smooth; this will make joining the slabs easier later on and ensure a professional finish.
After cutting your slabs, you can begin assembling them into your desired pottery form. This is where your creativity can really shine! You can create boxes, plates, or even sculptural pieces by layering and joining different shapes. Just remember to score and slip the edges before joining them together. Scoring creates a rough surface for better adhesion, while slipping adds moisture to help bond the pieces.
In conclusion, rolling slabs is not just about flattening clay; it’s a gateway to endless creative possibilities in pottery. With practice, you’ll find your rhythm and develop your unique style, transforming simple clay into stunning works of art. So grab your tools, roll out that clay, and let your imagination run wild!
- What type of clay is best for rolling slabs? Generally, stoneware or earthenware clays are ideal for rolling slabs due to their workability and durability.
- How can I prevent my slabs from cracking? Ensure that your slabs are evenly rolled and avoid drying them too quickly. Covering them with plastic while they dry can help maintain moisture.
- Can I use a pasta maker to roll slabs? Yes, a pasta maker can be a great tool for achieving even thickness in your slabs, just make sure it is clean and free of any food residue.

Assembling Slabs
Assembling slabs is a crucial step in the slab building technique of pottery that allows you to create intricate and beautiful forms. Imagine you are constructing a puzzle, where each piece must fit together perfectly to reveal a stunning picture. In pottery, this "picture" is your final piece, and the way you join your slabs can significantly impact both their appearance and structural integrity.
Before you start assembling, it's essential to ensure that your slabs are at the right moisture level. If they are too wet, they may warp or lose their shape; if they are too dry, they won't bond well. The ideal state is often referred to as "leather hard," where the clay is firm yet still workable. This stage allows you to handle your slabs without them collapsing under their own weight.
To begin the assembly process, you can follow these steps:
- Prepare Your Slabs: Make sure all your slabs are cut to the desired shapes and sizes. Use a needle tool or a knife for clean edges.
- Score the Edges: Use a scoring tool or a fork to create small scratches on the edges of the slabs where they will join. This increases the surface area for bonding.
- Apply Slip: Slip is a mixture of clay and water that acts like glue. Apply a generous amount to the scored edges, ensuring a good bond.
- Join the Slabs: Carefully press the slabs together, aligning them to form the desired shape. Make sure to apply even pressure to avoid cracking.
- Blend the Seams: Use your fingers or a modeling tool to smooth out the seams where the slabs meet. This not only strengthens the bond but also enhances the aesthetic of your piece.
After assembling your slabs, it's vital to let your piece dry slowly and evenly to prevent cracking. Cover your pottery with plastic or a damp cloth to control the drying process. Additionally, consider the design and functionality of your piece. Are you creating a box, a vase, or perhaps a wall hanging? Each form presents unique challenges, but with practice, you can master the art of slab assembly.
In summary, assembling slabs is not just about putting pieces together; it's about creating a cohesive work of art. By paying attention to the details and practicing the techniques outlined above, you can elevate your pottery projects to new heights, blending functionality with artistic expression.
- What is the best clay for slab building? A mid-range stoneware or earthenware clay is typically recommended for slab building due to its workability and strength.
- Can I use a rolling pin to flatten my slabs? Yes, a rolling pin is a great tool for achieving uniform thickness when rolling out your slabs.
- How do I prevent my slabs from cracking during drying? To prevent cracking, allow your slabs to dry slowly and evenly, and cover them with plastic or a damp cloth.
- What tools do I need for assembling slabs? Basic tools include a scoring tool, a knife or needle tool, and a modeling tool for blending seams.

Combining Techniques
Combining different hand building techniques can open up a world of creative possibilities in pottery. Imagine the freedom of mixing pinch pots with coil building or layering slabs to create unique, one-of-a-kind pieces! This method of integration not only enhances your artistic expression but also allows for the exploration of new forms and textures. By blending techniques, you can push the boundaries of traditional pottery, resulting in innovative designs that reflect your personal style.
For instance, you might start with a pinch pot base, then add coils to create height and dimension. This combination not only strengthens the structure but also adds a visually appealing contrast between the smoothness of the pinch pot and the textured coils. Alternatively, consider using slab building to craft geometric shapes and then embellishing them with pinch or coil details. The interplay of different techniques can lead to stunning results that captivate the eye.
Here are some creative ideas for combining techniques:
- Pinch Pot with Coil Details: Create a pinch pot and then use coils to add decorative elements or functional features like handles.
- Slab and Coil Fusion: Roll out slabs to form the base of a piece, then use coils to add height or intricate designs on top.
- Layered Textures: Combine slabs and pinch pots to create layered textures that enhance both the visual and tactile experience of your pottery.
However, integrating these techniques can sometimes pose challenges. For example, achieving a seamless finish where the different methods meet may require extra attention. To overcome this, consider the following:
| Challenge | Solution |
|---|---|
| Visible seams between techniques | Use slip to blend edges before they dry. |
| Structural integrity issues | Reinforce joints with additional clay or support during drying. |
| Inconsistent thickness | Measure and mark your clay for uniformity before cutting. |
As you experiment with combining techniques, remember that the journey is just as important as the final product. Embrace the learning process, and don't be afraid to make mistakes; they often lead to the most beautiful and unexpected results. You'll find that the more you play with different methods, the more your personal style will emerge, making your pottery truly unique.
Q: Can I combine all three techniques in one piece?
A: Absolutely! Mixing pinch, coil, and slab techniques can result in stunning and complex designs. Just ensure that you pay attention to how the different clay forms interact with each other.
Q: What tools do I need to combine these techniques effectively?
A: Basic pottery tools like a rib, needle tool, and sponge are essential. Additionally, having a good supply of slip can help you join different clay pieces seamlessly.
Q: How do I ensure my pottery piece is structurally sound when combining techniques?
A: Always reinforce joints and edges where different techniques meet. You can use slip to blend them or add additional support with coils or slabs.
Creative Projects
When it comes to pottery, the sky's the limit! By combining different hand building techniques, you can unlock a treasure trove of creative projects that not only showcase your skills but also reflect your unique style. Imagine crafting a stunning vase that marries the organic forms of pinch pots with the sleek lines of slab building. The beauty of pottery lies in its versatility, and with a little imagination, you can create pieces that are functional, artistic, or both.
One exciting project you might consider is making a set of personalized dinnerware. Start with slab building to create uniform plates and bowls, then use the pinch pot technique for unique dipping bowls or small serving dishes. This combination not only enhances your skills but also results in a cohesive dinner set that’s perfect for entertaining guests.
Another fun idea is to create a decorative wall hanging. Use the coil building technique to form intricate shapes and patterns. Once the coils are joined together, you can add texture and embellishments with the pinch pot method, crafting small decorative elements that pop off the wall. This project allows for a lot of creativity, as you can experiment with colors, glazes, and finishes to make your piece truly one of a kind.
For those looking to push their boundaries, consider a sculptural project that combines all three techniques. Picture a whimsical garden creature or an abstract form that tells a story. By layering pinch pots, coils, and slabs, you can create depth and intrigue in your work. Don't be afraid to let your imagination run wild—after all, art is about expression!
Here’s a quick overview of some creative project ideas:
- Personalized Dinnerware: Plates, bowls, and dipping dishes.
- Decorative Wall Hanging: Intricate designs using coils and textures.
- Sculptural Projects: Whimsical forms combining all techniques.
Remember, the key to these projects is experimentation. Don't be afraid to try new things and make mistakes along the way. Each piece you create is a step towards mastering your craft and developing your artistic voice. So gather your clay, unleash your creativity, and let your hands bring your ideas to life!
Q: What materials do I need to start hand building pottery?
A: You'll need clay, a work surface, tools for shaping and carving, and a kiln for firing your pieces. Don't forget about glazes to add color and finish!
Q: How long does it take for pottery to dry before firing?
A: Typically, it can take anywhere from a few days to a week for your pottery to dry completely, depending on the thickness and humidity of your workspace.
Q: Can I combine different clay types in my projects?
A: Yes, but it's important to ensure that the clays have similar firing temperatures to avoid issues during the kiln process.
Q: What if my pottery cracks during drying?
A: Cracking can occur due to rapid drying or uneven thickness. If it happens, you can try to repair it with slip (wet clay) or embrace the imperfections as part of the artistic process!
Q: How can I improve my hand building techniques?
A: Practice is key! Consider taking classes, watching tutorials, or joining a pottery community for feedback and support. Don't forget to experiment with different techniques!
Challenges and Solutions
When diving into the world of hand building pottery, you may find yourself facing a variety of challenges. Whether you're a seasoned potter or just starting out, these obstacles can sometimes feel daunting. But fear not! Understanding these common issues and their solutions can make your pottery journey not only smoother but also more enjoyable.
One of the most frequent challenges potters encounter is achieving the right moisture level in the clay. Too dry, and your creations can crack; too wet, and they can collapse. To combat this, it's essential to monitor your clay's condition closely. A simple solution is to keep a spray bottle of water handy to maintain the clay's moisture. Additionally, wrapping your clay pieces in plastic can help keep them from drying out too quickly.
Another common hurdle is the difficulty in joining different hand building techniques seamlessly. For instance, when combining pinch pots with coil or slab methods, the junctions can sometimes look uneven or weak. To address this, ensure that the surfaces you are joining are scored and slip-coated. Scoring refers to scratching the surfaces to create a better bond, while slip—a mixture of clay and water—acts as glue, ensuring a strong connection. This technique not only enhances structural integrity but also creates a smoother aesthetic transition.
Furthermore, many potters struggle with the firing process. It can be tricky to know the right temperature and duration for your specific clay body, and improper firing can lead to disastrous results. To mitigate this, always refer to your clay’s specifications and consider keeping a firing log. This log can help you track your past firing results, allowing you to make informed adjustments in future sessions. Here’s a quick overview of firing stages:
| Firing Stage | Temperature Range | Duration |
|---|---|---|
| Bisque Firing | 1830°F - 1940°F | 8 - 12 hours |
| Glaze Firing | 1828°F - 2300°F | 8 - 10 hours |
Lastly, embracing creativity can sometimes lead to overwhelming choices. With so many techniques and styles available, it’s easy to feel lost or stuck. One solution is to set aside time for experimentation without the pressure of creating a 'perfect' piece. Allow yourself to play with different methods and materials; you might just stumble upon a unique style that resonates with you. Remember, every potter has their own journey, and it’s perfectly okay to take your time finding yours.
In conclusion, while challenges in hand building pottery are inevitable, they are also manageable. By understanding these common issues and applying the solutions discussed, you can enhance your skills and enjoy the creative process even more. Remember, every obstacle is a stepping stone toward becoming a more proficient potter!
- What is hand building pottery? Hand building pottery refers to creating ceramic pieces without the use of a potter's wheel, utilizing techniques such as pinch pots, coil building, and slab building.
- Can I combine different hand building techniques? Absolutely! Combining techniques can lead to innovative designs and unique pottery creations.
- How do I prevent my clay from drying out? Keep your clay covered with plastic and use a spray bottle to maintain moisture while you work.
- What should I do if my pottery cracks during drying? If you notice cracks, you can try to repair them with slip or by reworking the clay if it’s still wet, but prevention is key—watch the moisture levels closely!
Conclusion and Further Exploration
In conclusion, hand building pottery techniques open up a world of creativity and self-expression that is both rewarding and fulfilling. Whether you are a seasoned potter or a curious beginner, the methods we've explored—pinch pots, coil building, and slab building—offer unique avenues for artistic exploration. Each technique not only allows you to create functional pieces but also encourages you to infuse your personality and style into your work. Just think of it as a blank canvas waiting for your touch!
The beauty of hand building lies in its accessibility; you don’t need a potter’s wheel or fancy equipment to get started. All you need is some clay, your hands, and a bit of imagination. As you practice these techniques, you’ll find that your skills will grow, and so will your confidence. So, why not take the plunge and experiment with these methods? You might just discover a hidden talent or a new passion!
As you delve deeper into the world of pottery, consider combining different techniques to create truly unique pieces. For instance, you can use the pinch pot method to create small bowls and then incorporate coil building for handles or decorative elements. The possibilities are endless! Here are a few ideas to spark your creativity:
- Create a large vase using coils and add intricate pinch pot flowers on top.
- Design a geometric wall hanging by combining slabs and coils.
- Experiment with textures by impressing patterns into your slabs before assembling them.
To further enhance your pottery journey, seek out local workshops or online tutorials that focus on hand building techniques. Engaging with a community of fellow potters can provide invaluable insights and inspiration. Don't hesitate to share your creations and experiences with others; after all, pottery is as much about connection as it is about crafting.
Here are some common questions that budding potters often have:
- What type of clay is best for hand building? Generally, earthenware or stoneware clays are great choices for hand building due to their workability and durability.
- Can I use a potter's wheel with hand building techniques? Absolutely! Many potters blend wheel throwing with hand building to achieve unique forms and designs.
- How do I prevent my clay from drying out while working? Keep a damp cloth over your clay and tools when not in use, and consider using a spray bottle to mist your work occasionally.
As you continue your pottery journey, remember that every piece you create is a step towards mastering your craft. So grab that clay, let your imagination run wild, and enjoy the process of creating something truly special!
Frequently Asked Questions
- What is hand building in pottery?
Hand building is a pottery technique that allows artists to shape clay without the use of a potter's wheel. It involves methods such as pinch pots, coil building, and slab building, enabling personal expression and creativity in each piece.
- Is hand building suitable for beginners?
Absolutely! Hand building techniques like pinch pots are perfect for beginners. They require minimal tools and can be done with just your hands, making it an accessible way to start your pottery journey.
- How do I create a pinch pot?
To create a pinch pot, start with a small ball of clay. Use your thumb to press into the center and pinch the walls to form a bowl shape. Keep your fingers wet to prevent sticking, and experiment with different shapes as you gain confidence!
- What are the advantages of coil building?
Coil building allows for larger and more intricate forms compared to pinch pots. It also provides the flexibility to create unique designs and textures, making it a favorite among intermediate and advanced potters.
- How do I roll a slab evenly?
To roll a slab evenly, use a rolling pin and guide sticks to maintain consistent thickness. Start with a ball of clay and gradually roll it out, checking the thickness as you go. This ensures your slabs are uniform for better assembly.
- Can I combine different hand building techniques?
Yes, combining techniques can lead to innovative and unique pottery designs! For example, you can use coils for the base of a piece and add pinch pot elements on top, allowing for endless creativity.
- What are some common challenges in hand building?
Common challenges include cracks during drying and difficulty in joining pieces. To overcome these, ensure your clay is well-wedged, keep your pieces moist, and use scoring and slipping techniques for better adhesion.
- How can I improve my hand building skills?
Practice is key! Experiment with different techniques, take classes, and seek feedback from other potters. Additionally, don’t be afraid to make mistakes—they often lead to the best learning experiences!


