A Beginner's Guide to DIY Hand-Built Ceramic Projects
Have you ever looked at a beautiful piece of pottery and thought, “I wish I could make something like that”? Well, guess what? You absolutely can! Hand-built ceramics offer a fantastic way for beginners to express their creativity and craft unique pieces right at home. This guide will take you through the essential steps and techniques you need to embark on your ceramic journey, making the process both enjoyable and fulfilling.
First things first, let’s talk about what hand-built ceramics are. Unlike wheel-thrown pottery, hand-built ceramics are shaped using simple techniques that don’t require any fancy equipment. You can create everything from functional items like bowls and mugs to decorative sculptures. The beauty of hand-building is that it allows for a personal touch, making each piece truly one-of-a-kind. So, are you ready to roll up your sleeves and get your hands a little muddy? Let’s dive in!
Before you start creating, it’s essential to understand the different types of clay available. Not all clays are created equal, and each type has its unique properties that can affect your final product. For beginners, there are three main types of clay to consider:
- Earthenware: This type of clay is easy to work with and fires at low temperatures. It's perfect for beginners because it’s forgiving and can be painted or glazed easily.
- Stoneware: A bit more durable than earthenware, stoneware is great for functional pieces. It fires at higher temperatures and is less porous, making it suitable for dishes and mugs.
- Porcelain: Known for its fine quality and translucence, porcelain can be tricky for beginners due to its demanding nature. However, it offers stunning results once mastered.
When choosing your clay, think about what you want to create. If you’re just starting, earthenware might be your best bet. Once you feel more confident, you can experiment with stoneware and porcelain!
Now that you’ve chosen your clay, it’s time to gather your tools. Having the right equipment can make your hand-building experience smoother and more enjoyable. Here’s a quick list of must-have items:
- Clay: Choose your preferred type.
- Rolling pin: For flattening slabs of clay.
- Wire cutter: To slice off chunks of clay easily.
- Pottery tools: A variety of tools for shaping and detailing, such as ribs, needles, and sponges.
- Work surface: A sturdy table or board to work on.
- Plastic wrap: To keep your clay moist while you work.
Having these tools on hand will ensure you're ready to tackle any project that comes your way. Remember, the right materials can make all the difference!
Let’s get into the fun part—creating! There are several fundamental hand-building techniques that every beginner should know. Here’s an overview of three popular methods:
Pinch pots are one of the simplest forms of hand-built ceramics. To create one, start with a ball of clay and follow these steps:
- Make a ball of clay about the size of a golf ball.
- Using your thumb, press into the center of the ball to create a hole.
- Pinch around the edges to shape the pot, turning it as you go.
- Once you reach your desired thickness, smooth the surface and add any decorative touches.
This technique is great for beginners because it encourages experimentation with shapes and sizes!
Coil building is another fantastic technique that allows for more versatility in design. Here’s how to get started:
- Roll out long, snake-like coils of clay.
- Layer the coils on top of each other to create walls. You can make them as tall or wide as you like!
- Blend the coils together using your fingers or a tool to create a seamless surface.
- Finish by smoothing and adding any decorative elements.
This method opens up a world of possibilities for creating unique shapes and structures.
Once you’ve shaped your ceramics, it’s time to get creative with surface decoration! Adding decorative elements can truly enhance your pieces. Here are some techniques to consider:
- Glazing: Adds a glossy finish and color to your pottery.
- Underglazing: Allows for detailed designs before the final glaze is applied.
- Painting: Use non-toxic paints to add personal touches.
Experimenting with these techniques can transform a simple piece into a stunning work of art!
Once your pieces are shaped and decorated, it’s time for the critical step of firing. Firing is what makes your ceramics durable and ready for use. There are two main firing methods to consider:
- Bisque firing: The first firing, which hardens the clay and prepares it for glazing.
- Glaze firing: The second firing, where the glaze is applied and fused to the surface.
Understanding these methods will help you ensure your creations are not only beautiful but also functional.
While kilns are the standard for firing ceramics, there are alternative methods that can yield unique results:
- Pit firing: An ancient technique that involves burying the pieces in a pit filled with combustible materials.
- Raku: A Japanese method that produces stunning, unpredictable effects.
These methods can add an exciting twist to your ceramic projects, so don’t hesitate to explore them!
After firing, your ceramics may need some additional finishing touches to achieve that professional look. Techniques like sanding, polishing, and applying final glazes can elevate your work. It’s like putting the icing on the cake—these details can make all the difference!
Q: Can I use regular clay from my backyard?
A: While you can experiment with natural clay, it may not yield the best results for pottery. It’s best to use commercially available clay designed for ceramics.
Q: Do I need a kiln to make ceramics?
A: While a kiln is ideal for firing, you can explore alternative firing methods if you don’t have access to one.
Q: How long does it take to learn hand-building techniques?
A: Everyone learns at their own pace! With practice, you’ll see improvement in your skills within a few weeks.
Q: What’s the best way to store unused clay?
A: Keep it wrapped in plastic to prevent it from drying out. You can also store it in an airtight container.
So there you have it! With this guide in hand, you’re ready to embark on your hand-built ceramic adventure. Remember, the key is to have fun and let your creativity shine!
Choosing the Right Clay
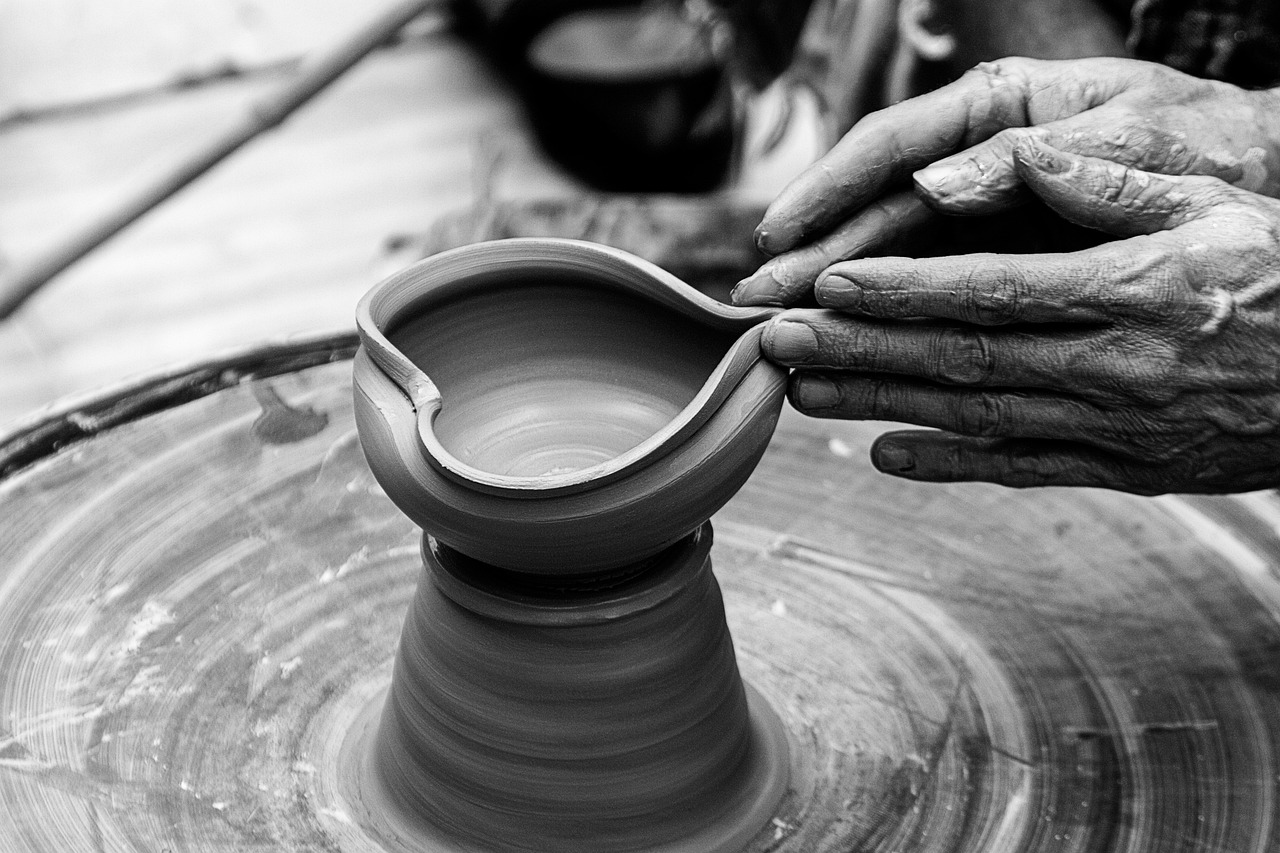
When diving into the world of ceramics, one of the first and most crucial decisions you'll face is . With so many options available, it can feel overwhelming, but understanding the properties of different types of clay will set you on the path to success. Think of clay as the foundation of your ceramic masterpiece; the right choice can make all the difference between a stunning piece of art and a frustrating experience.
There are several types of clay, each with its unique characteristics and uses. Here’s a brief overview of the most common types:
| Type of Clay | Characteristics | Best For |
|---|---|---|
| Earthenware | Low firing temperature, porous, and often reddish-brown in color. | Hand-building and decorative pieces. |
| Stoneware | Mid to high firing temperature, dense and durable, often gray or brown. | Functional ware like plates and mugs. |
| Porcelain | High firing temperature, very smooth and white, translucent when thin. | Fine, delicate pieces and intricate sculptures. |
| Raku | Low firing temperature, unique finishes due to rapid cooling. | Decorative pieces with unique glazes. |
When selecting your clay, consider what you want to create. If you’re aiming for functional pieces like bowls or mugs, stoneware is a fantastic option due to its durability. On the other hand, if you’re interested in decorative art pieces, earthenware or raku can offer vibrant colors and textures that are visually stunning.
Another essential factor is the firing temperature. Each type of clay has a specific firing range, which will affect the final outcome of your piece. For instance, if you choose porcelain, you’ll need a kiln capable of reaching higher temperatures, while earthenware can be fired at lower settings. It's like choosing the right oven temperature for baking a cake; get it wrong, and your masterpiece might crumble!
Lastly, don’t underestimate the importance of experimenting. Many artists mix different types of clay to achieve unique textures and finishes. So, grab a few samples, roll up your sleeves, and start playing with the materials. You might just discover a new favorite!
Essential Tools and Materials
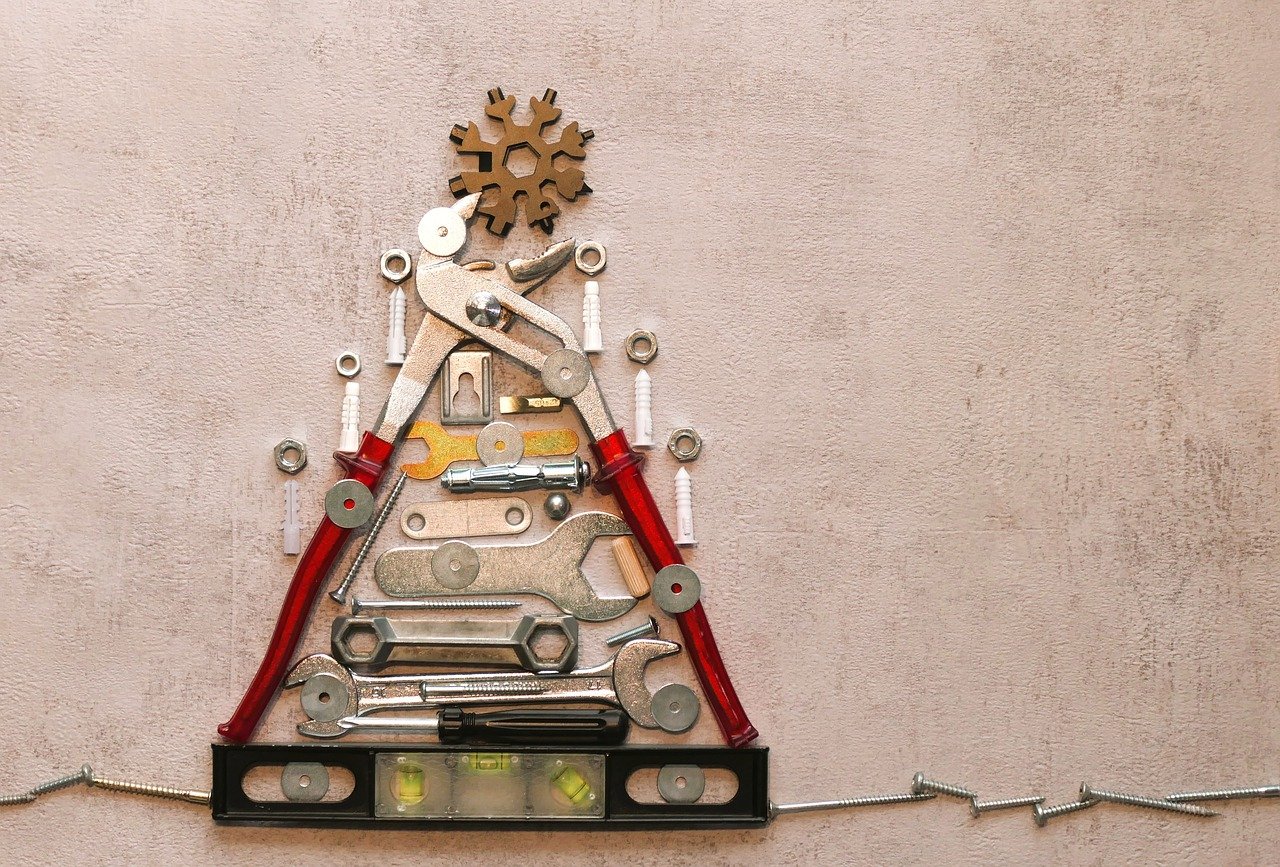
When diving into the world of hand-built ceramics, having the right tools and materials is like having a sturdy map before embarking on an adventure. It sets the stage for creativity and success! Whether you're crafting your first pinch pot or experimenting with coil building, understanding what you need is key.
First and foremost, let’s talk about clay. While there are many types available, beginners often start with earthenware or stoneware. Earthenware is soft and easy to work with, making it perfect for those just starting out. On the other hand, stoneware is denser and more durable, which is great for more advanced projects. Choose the type that suits your style and what you envision creating!
Next up, you’ll need some essential tools. Here’s a quick rundown of what to have on hand:
- Clay knife: Perfect for cutting and shaping your clay.
- Wire cutter: A must-have for slicing through blocks of clay easily.
- Rolling pin: Essential for flattening slabs of clay to your desired thickness.
- Sponge: Great for smoothing surfaces and adding moisture to your projects.
- Wooden modeling tools: These help with shaping and adding fine details.
In addition to tools, don’t forget about work surfaces. A sturdy table covered with a canvas or plaster board is ideal, as it prevents the clay from sticking and makes cleanup easier. Also, consider using a bat (a flat disk) for easier handling of larger pieces during the building process.
Now, let's not overlook the importance of glazes and decorative materials. Once your creations are fired, glazes can transform them from simple clay forms into stunning pieces of art. There are countless colors and finishes available, so you can let your imagination run wild! Additionally, you might want to explore other decorative elements like underglazes, slips, or even natural materials like leaves and flowers for imprinting designs onto your pottery.
Lastly, it’s important to have a good firing setup. While a kiln is the gold standard for firing ceramics, alternatives like pit firing can be explored for unique effects. If you’re serious about your ceramic journey, investing in a small kiln might be worthwhile, but there are also community studios that offer kiln access for a fee.
In summary, gathering the right tools and materials is the first step in your hand-building adventure. With the right setup, you'll be well on your way to creating beautiful, unique ceramic pieces that reflect your personal style and creativity. So, are you ready to get your hands a little dirty?
Q: What type of clay is best for beginners?
A: Earthenware is often recommended for beginners due to its ease of use and forgiving nature, but stoneware is also a great option if you want something more durable.
Q: Do I need a kiln for hand-built ceramics?
A: While a kiln is ideal for firing your pieces, you can explore alternative methods like pit firing or community studios that offer kiln access.
Q: How do I choose the right glaze?
A: Start with a basic glaze that complements your clay body. Experiment with different colors and finishes to see what works best for your style!
Basic Hand-Building Techniques
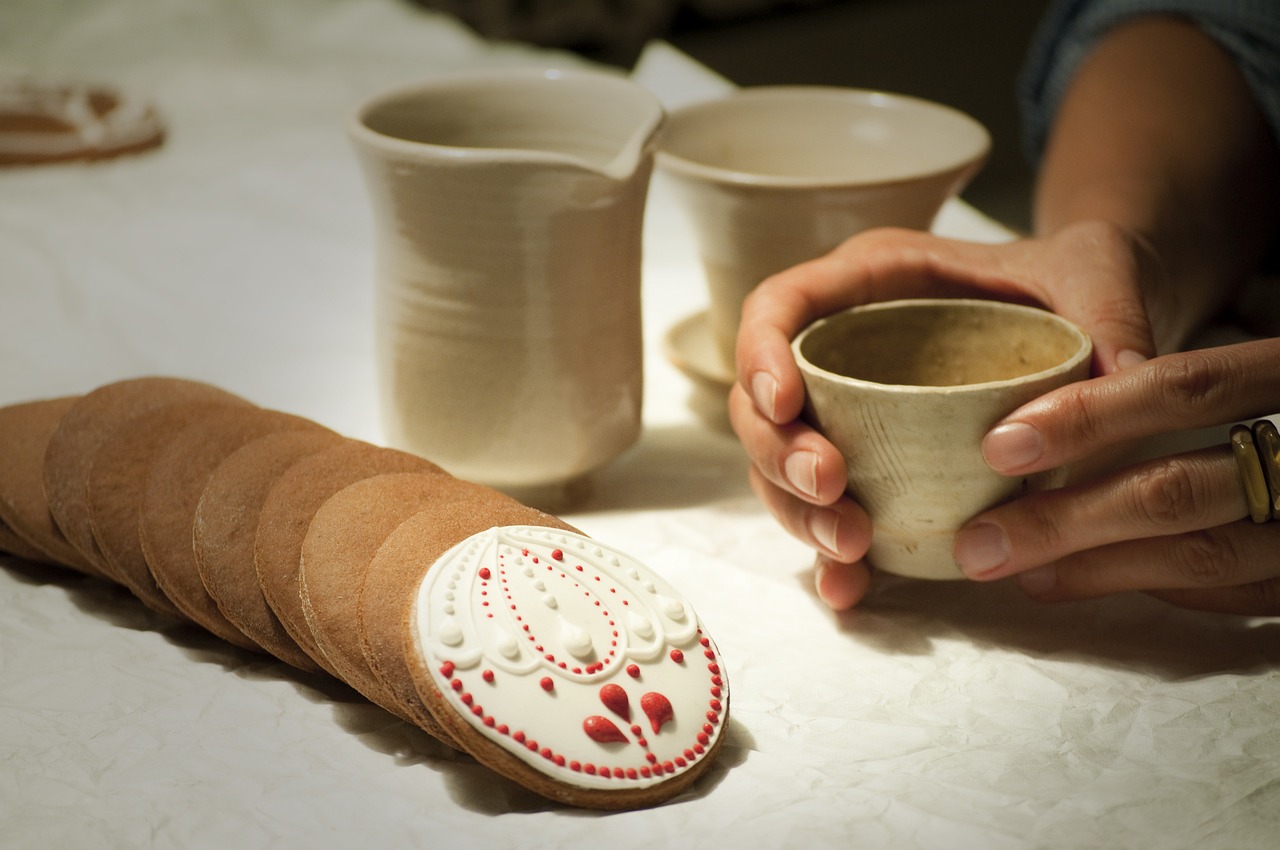
When it comes to creating stunning ceramic pieces, mastering the is your first step into the world of pottery. These techniques not only allow you to express your creativity but also provide a solid foundation for more advanced methods. Imagine sculpting with your hands, feeling the cool clay mold under your fingers, and watching as your ideas come to life. Let’s dive into three fundamental hand-building techniques: pinch pots, coil building, and slab construction.
The first technique, pinch pots, is perfect for beginners. It’s as simple as it sounds: you pinch the clay between your fingers to shape it. Start by taking a ball of clay, about the size of a golf ball, and press your thumb into the center to create a small hollow. Then, gently pinch the walls of the pot while rotating it in your hand. This technique is not only easy but also incredibly satisfying, as you can create unique shapes and sizes with just your hands. Once you’ve achieved your desired thickness, you can smooth the surface with a damp sponge or your fingers, and even add decorative elements like textures or patterns.
Next up is coil building, which opens up a world of possibilities for your designs. This technique involves rolling out long, thin coils of clay and stacking them to form your desired shape. Think of it as building with clay noodles! Start by rolling a piece of clay into a snake-like coil. Then, layer these coils on top of each other, using your fingers to blend and smooth the seams as you go. This method is fantastic for creating larger and more complex pieces, such as vases or bowls. Plus, you can experiment with different coil sizes to add depth and character to your creation.
Lastly, we have slab construction. If you enjoy working with flat surfaces, this technique is for you! Slab construction involves rolling out flat sheets of clay, which you can then cut and shape into various forms. To start, take a lump of clay and roll it out using a rolling pin until it’s about 1/4 inch thick. You can use a knife or a clay cutter to create shapes like rectangles or circles. Once you’ve cut your slabs, you can join them together using slip (a mixture of clay and water) to create boxes, tiles, or even intricate sculptures. This technique allows for a lot of creativity, as you can add textures, stamps, or even carve designs into the slabs before assembling them.
Incorporating these basic techniques into your ceramic projects will set you on a path to creating unique and beautiful pieces. Remember, practice makes perfect! Don’t be afraid to experiment and let your creativity flow. Whether you’re pinching, coiling, or slab building, each method offers a different way to express yourself through clay. So, roll up your sleeves, grab your tools, and let’s get started on this exciting journey of hand-built ceramics!
- What type of clay is best for beginners? Earthenware clay is a great choice for beginners due to its workability and low firing temperature.
- Can I use regular tools for hand-building ceramics? Yes! Many household tools can be adapted for ceramic work, but investing in a few basic pottery tools can enhance your experience.
- How long does it take for clay to dry before firing? It typically takes about 1-2 days for clay to dry, depending on the thickness and humidity levels.
Pinch Pots
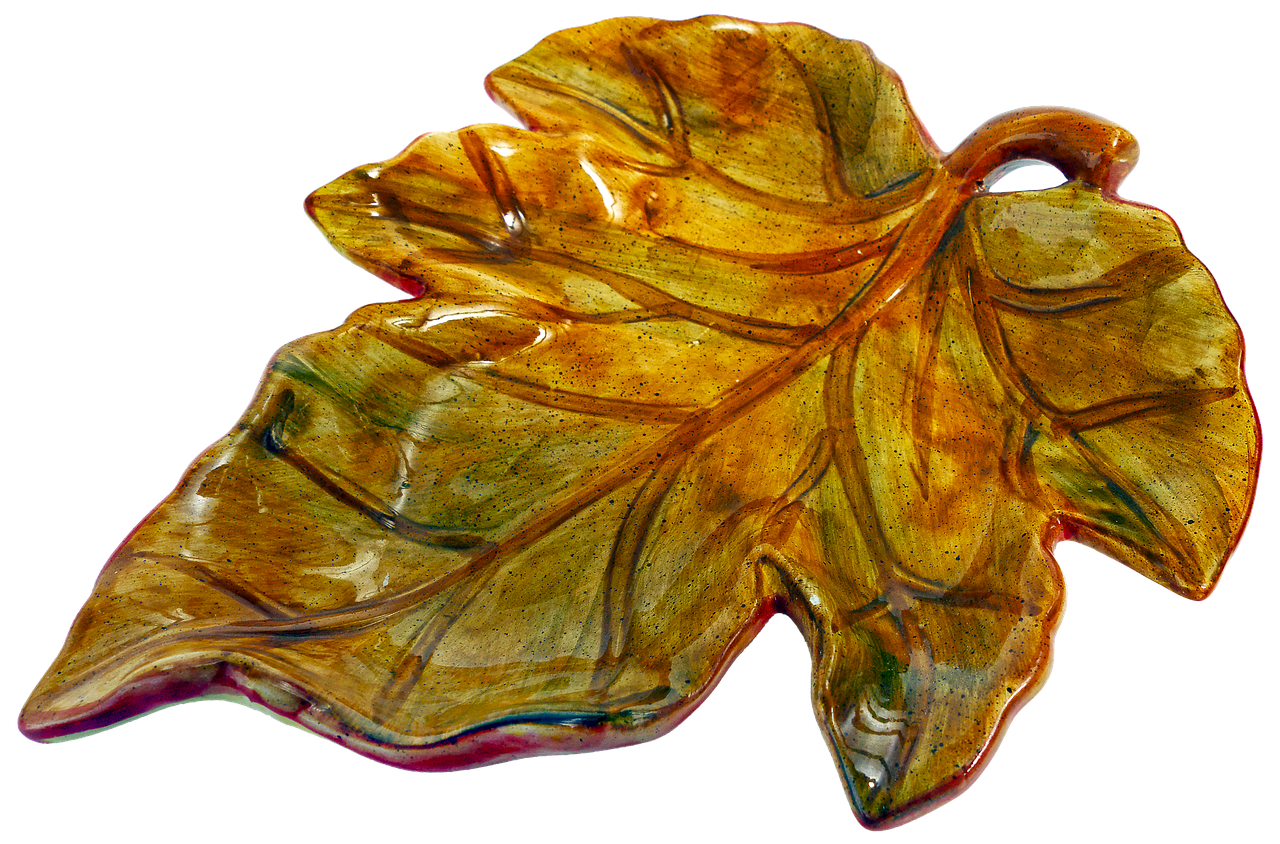
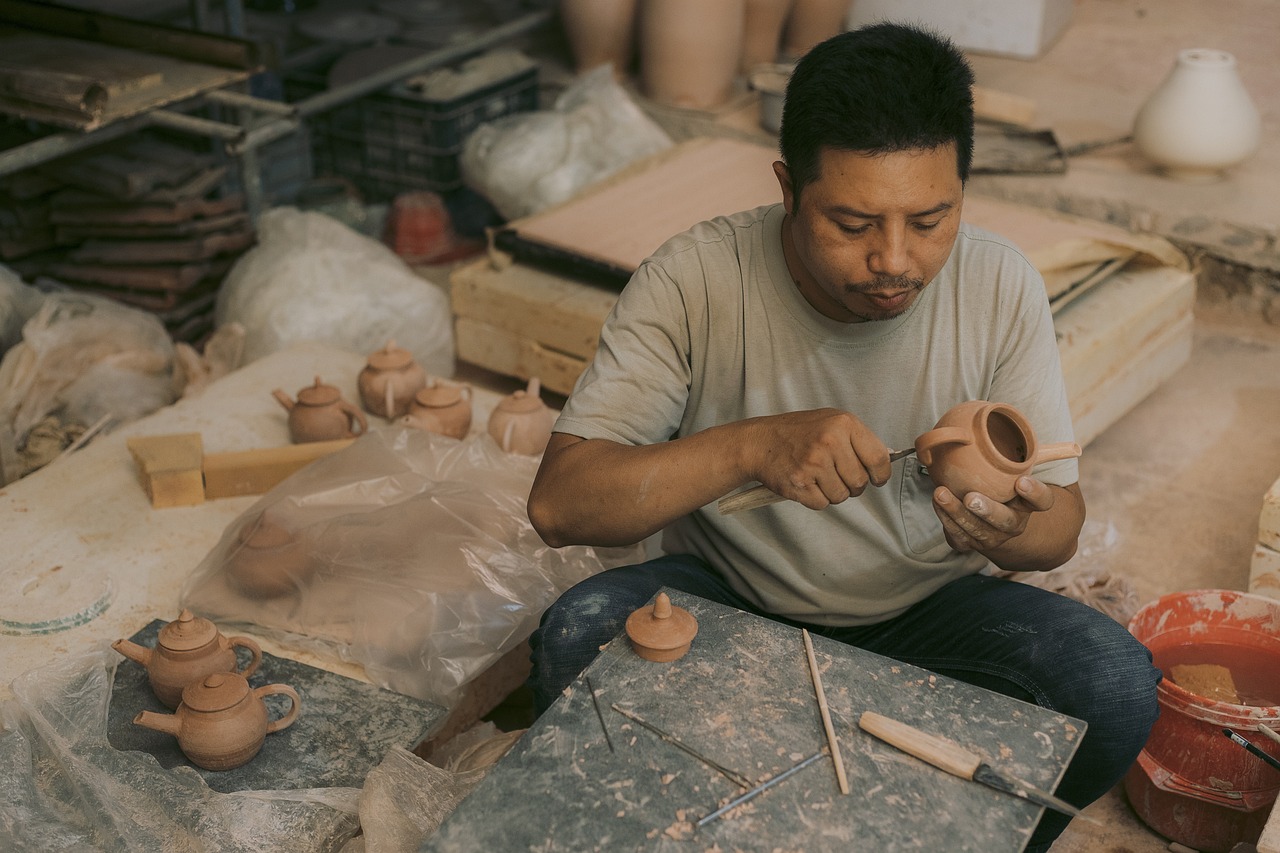
Pinch pots are a delightful introduction to the world of hand-built ceramics. They embody simplicity and creativity, making them perfect for beginners eager to dive into pottery. The beauty of pinch pots lies in their organic shapes and the personal touch you can add to each piece. To get started, all you need is a ball of clay and your hands. Yes, you heard that right! No fancy equipment is required, just your imagination and a little bit of practice.
To create a pinch pot, begin by taking a small piece of clay, roughly the size of a golf ball. Roll it into a smooth ball, ensuring there are no cracks or air bubbles. This step is crucial because any imperfections can affect the final product. Once you have your clay ball, it’s time to get your fingers working. Use your thumb to press down into the center of the ball, creating an indentation. As you press, start to rotate the ball in your other hand, gradually pinching the walls to create a pot-like shape. This technique allows you to control the thickness of the walls, which is essential for durability.
As you pinch and shape, keep an eye on the evenness of the walls. Aim for a thickness of about 1/4 inch; too thin, and your pot may crack during firing, while too thick can lead to uneven drying. Once you’re satisfied with the shape, you can smooth the surface with your fingers or a damp sponge. This is where the fun really begins! You can add texture, patterns, or even small decorative elements to personalize your pot. Think of it as giving your pot a personality—maybe a little swirl here or a subtle indentation there.
After shaping, it’s essential to let your pinch pot dry slowly to avoid cracks. Cover it with a plastic bag or damp cloth to control the drying process. Once it’s leather-hard, you can refine the shape further, trim any excess clay, or add additional decorations. The drying time can vary, but usually, it takes a day or two. Patience is key here!
Finally, once your pinch pot is completely dry, it’s time for the firing process. This is where your creation transforms from fragile clay to durable ceramic. After the initial bisque firing, you can glaze your pot to add color and shine. The possibilities are endless, and each pinch pot you create can be a unique reflection of your style and creativity.
In summary, pinch pots are not just a beginner’s project; they are a gateway into the vast world of ceramics. They allow you to explore your artistic side while honing your skills. So grab some clay, unleash your creativity, and start pinching your way to beautiful pottery!
- What type of clay is best for pinch pots? Earthenware or stoneware clays are ideal for pinch pots due to their workability and durability.
- Can I use pinch pots for food? Yes, as long as they are properly fired and glazed, pinch pots can be used for serving food.
- How do I fix cracks in my pinch pot? If cracks appear before firing, you can moisten the area and gently press it together. After firing, cracks cannot be fixed.
- How long does it take for a pinch pot to dry? Drying time can vary, but generally, it takes 1-3 days depending on the thickness and humidity.
Coil Building
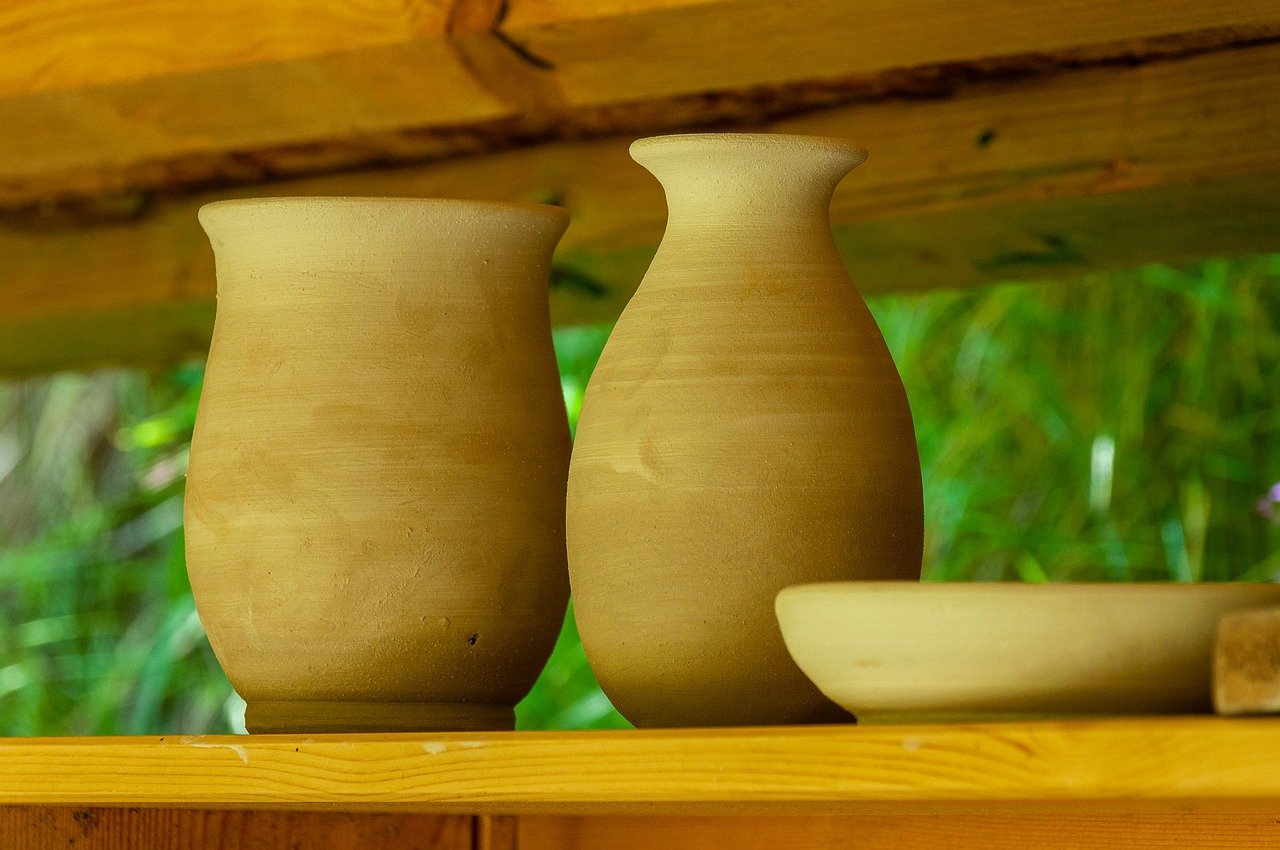
Coil building is a fantastic technique in hand-built ceramics that allows for incredible creativity and flexibility. Imagine stacking up layers of clay, like building a tower of delicious pancakes, where each coil adds height and character to your work. This method is perfect for beginners because it’s not only simple but also forgiving, giving you the freedom to explore different shapes and designs without the pressure of perfection. So, how do you get started with coil building?
First, gather your materials. You’ll need some clay, a rolling pin, and your hands—yes, just your hands! The beauty of coil building lies in its simplicity. Begin by rolling out your clay into long, snake-like pieces. The thickness of these coils can vary depending on your desired outcome; thicker coils can create sturdier structures, while thinner ones allow for more intricate designs.
Once you have your coils ready, it’s time to start stacking! Begin by placing your first coil in a circular shape on your work surface. Then, take another coil and place it on top, slightly overlapping the edge of the first coil. This overlapping technique is crucial as it helps to bond the coils together, creating a seamless structure. As you continue adding coils, remember to gently pinch and smooth the joints where they meet. This not only strengthens your piece but also gives it a polished finish.
As you build upwards, you have the option to change the shape of your piece. For instance, you can create a bowl by keeping the coils close together at the bottom and then gradually widening them as you go up. Alternatively, for a vase, you might want to keep the coils straight and even to achieve a tall, elegant silhouette. The possibilities are endless! You can even experiment with different coil sizes, mixing thick and thin coils to add texture and visual interest to your creation.
Don’t forget about the importance of keeping your coils moist. If your clay starts to dry out, you might find it difficult to blend the coils together. Keep a spray bottle filled with water handy, and mist your coils as needed to maintain their workability. Once you’re satisfied with your piece, let it dry completely before moving on to the firing process.
Coil building not only enhances your skills but also helps you develop a deeper understanding of form and structure in ceramics. It's a wonderful way to express your creativity and make something truly unique. So, roll up your sleeves, get your hands dirty, and let your imagination run wild!
- What type of clay is best for coil building? For beginners, earthenware clay is a great choice due to its workability and forgiving nature.
- Can I combine coil building with other techniques? Absolutely! Many artists blend coil building with slab or pinch techniques to create more complex designs.
- How do I ensure my coils stick together? Make sure to score and slip the joints where the coils meet for a stronger bond.
- What if my coils crack during drying? If you notice cracks, you can patch them with a little extra slip before the firing process.
Surface Decoration Techniques
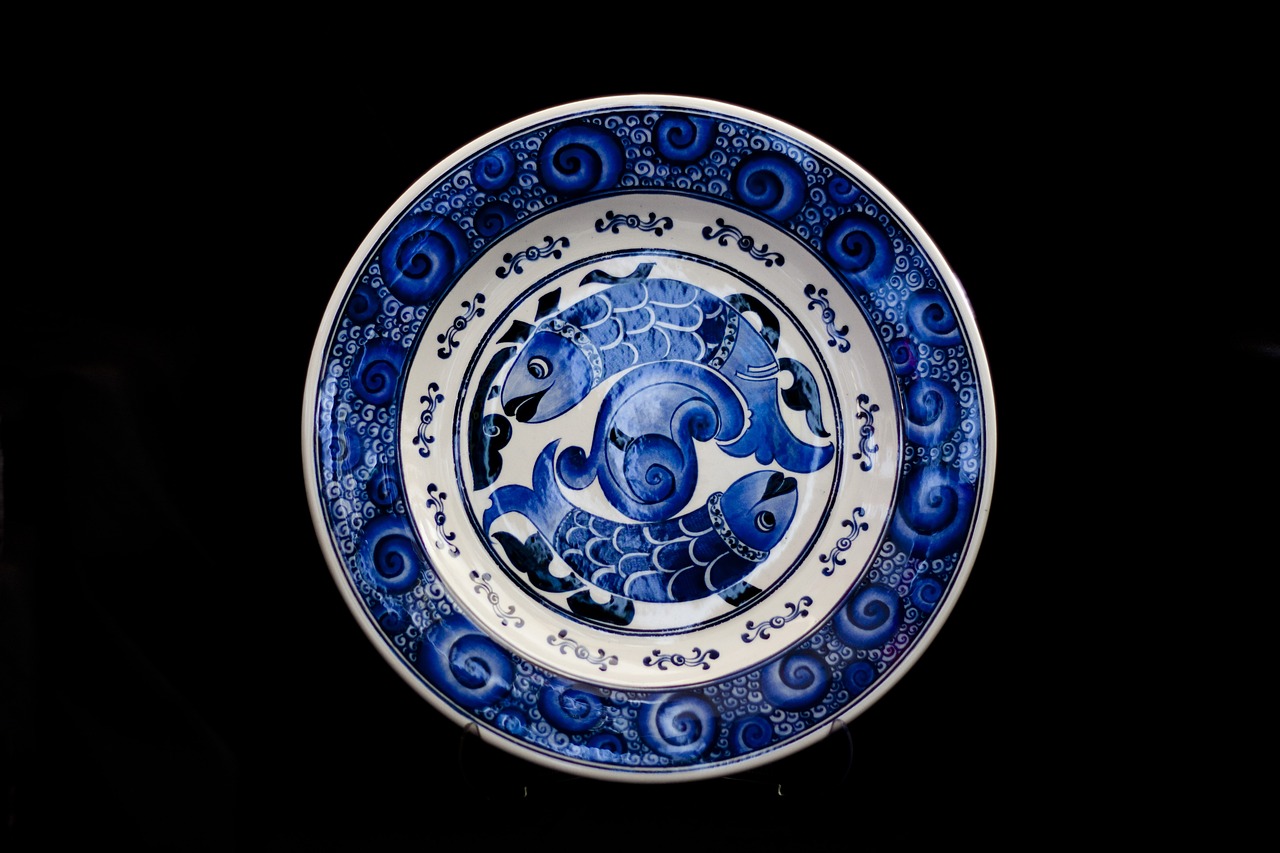
When it comes to hand-built ceramics, surface decoration is where your creativity can truly shine! It's the cherry on top of your clay creations, allowing you to express your personality and style. Think of it like dressing up your pottery; just as you choose outfits that reflect who you are, surface decoration can transform a simple piece of clay into a stunning work of art. There are several techniques you can explore, each offering a unique way to add flair and individuality to your projects.
One of the most popular methods is glazing. This technique involves applying a glass-like coating to your ceramics that not only enhances their appearance but also makes them functional by sealing the surface. Glazes come in a variety of colors and finishes, from glossy to matte, and can even include textures. The beauty of glazing is that it can completely change the look of your piece, giving it that professional finish you might be aiming for.
Another exciting technique is underglazing. This involves applying color to the clay before it’s glazed, allowing for more intricate designs that won’t be affected by the glaze layer. Underglazes can be painted, stamped, or even drawn onto the surface, offering endless possibilities for creativity. Imagine painting a delicate flower pattern that remains vibrant and clear even after firing! This method is perfect for detailed designs and is often favored by artists looking to create pieces that tell a story.
For those who enjoy a more hands-on approach, painting directly onto the surface of your ceramics can be incredibly rewarding. You can use ceramic paints or even acrylics, but be sure to check if they are suitable for your intended use, especially if the piece will be functional. Painting allows for a personal touch, enabling you to incorporate your favorite colors, patterns, and designs. Whether you’re going for a bold statement or a subtle touch, painting can bring your vision to life.
Here’s a quick overview of some popular surface decoration techniques:
| Technique | Description | Best For |
|---|---|---|
| Glazing | A glass-like coating that adds color and shine while sealing the surface. | Functional and decorative pieces. |
| Underglazing | Applying color before glazing for detailed designs that remain vibrant. | Intricate patterns and illustrations. |
| Painting | Directly applying paint to the surface for a personal touch. | Artistic expression and customization. |
To further enhance your creations, consider incorporating texture into your designs. You can achieve this by using tools to carve or stamp patterns into the clay before it dries. Adding texture not only creates visual interest but also adds a tactile element that can make your pieces more engaging. Think of it as creating a multi-layered experience for anyone who interacts with your pottery.
In conclusion, experimenting with surface decoration techniques can be a delightful part of your ceramic journey. Whether you choose to glaze, underglaze, paint, or add texture, each method opens up a world of possibilities. Don’t be afraid to mix and match these techniques; after all, the beauty of DIY ceramics lies in the freedom to express yourself. So grab your tools, let your imagination run wild, and create pieces that are uniquely yours!
- What is the best type of glaze for beginners? Generally, a clear or transparent glaze is a great starting point as it allows the underlying clay and any underglaze designs to show through.
- Can I use acrylic paint on ceramics? While acrylic paint can be used for decorative pieces, it is not recommended for functional items that will be washed or used for food, as it may not be food-safe.
- How do I know when my piece is ready to be fired? Your piece should be completely dry and feel cool to the touch. Any moisture can cause it to crack during firing.
Firing Your Ceramics
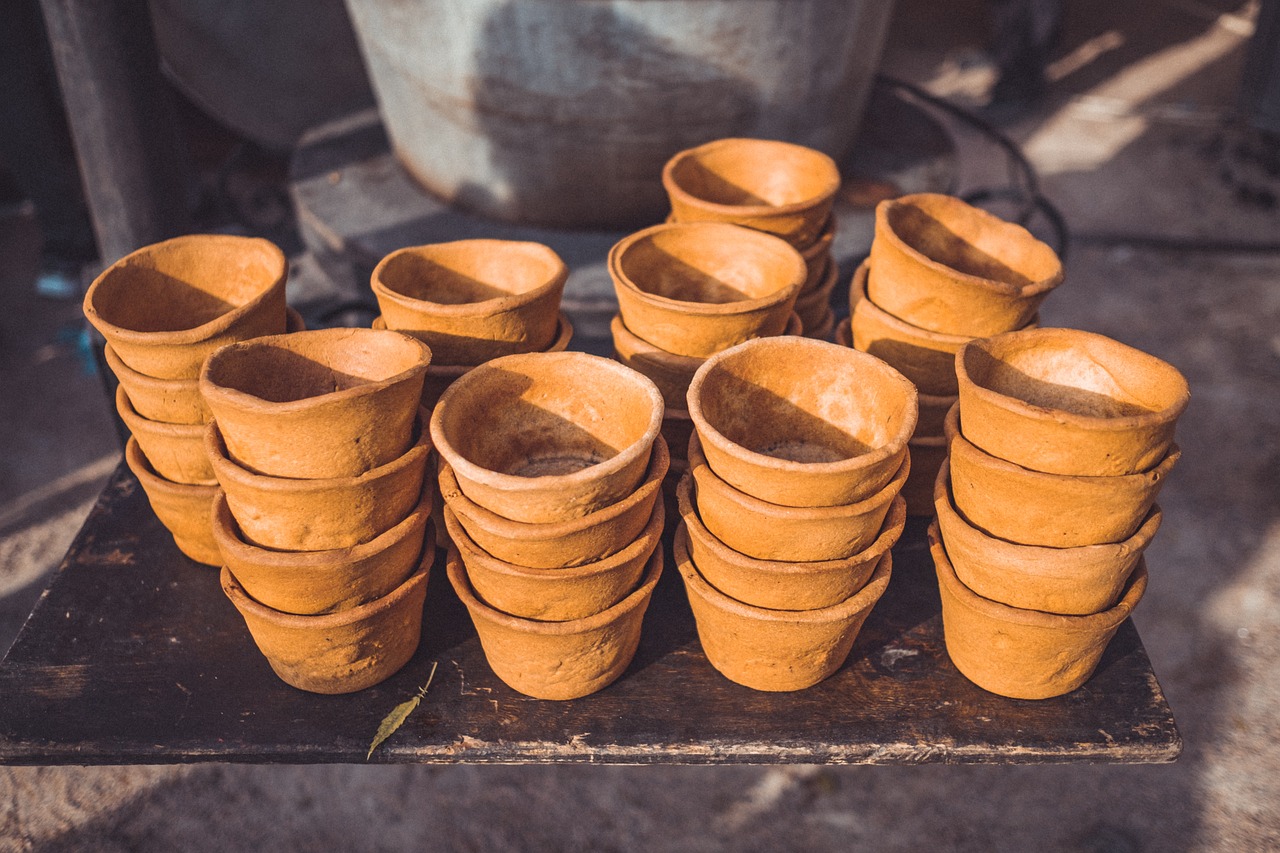
Firing is a critical step in the ceramic-making process that transforms your fragile clay creations into durable, functional art pieces. It's the moment when your hard work meets the heat, solidifying your designs and making them ready for everyday use. Without firing, your ceramics would remain soft and easily breakable, so understanding this process is essential for any aspiring potter.
There are two primary firing stages you need to be aware of: bisque firing and glaze firing. Each serves a unique purpose in the overall ceramic creation process. Bisque firing is the first stage, where your greenware (unfired clay pieces) is heated to a temperature that removes moisture and organic materials. This step makes your ceramics more robust and easier to handle, preparing them for glazing. Typically, bisque firing occurs at temperatures ranging from 1,830°F to 1,940°F (1,000°C to 1,060°C).
After the bisque firing, it's time to apply glazes or other decorative finishes. Once your pieces are adorned to your liking, they undergo glaze firing. This second firing is crucial as it melts the glaze, creating a glassy surface that enhances both the durability and aesthetic appeal of your ceramics. Glaze firing usually happens at higher temperatures, often between 2,192°F and 2,372°F (1,200°C to 1,300°C), depending on the type of clay and glaze used.
Now, you might be wondering, "What if I don't have a kiln?" Well, there are alternative firing methods you can explore! While kilns are the standard for firing ceramics, options like pit firing and raku offer exciting alternatives that can yield unique effects. Pit firing involves burying your pieces in combustible materials and setting them on fire, allowing for unpredictable results and beautiful, organic finishes. Raku, on the other hand, is a Japanese technique where pieces are removed from the kiln while red hot and placed in combustible materials, creating stunning crackled surfaces and vibrant colors.
Regardless of the method you choose, proper firing is essential. It ensures that your creations are not only beautiful but also functional. Remember, firing can be a bit like cooking; the right temperature and timing are crucial. If you under-fire, your ceramics may remain porous and weak, while over-firing can lead to melted pieces or unwanted defects. Always keep an eye on your kiln's temperature and follow guidelines for the specific clay and glaze you are using.
After firing, your ceramics may require additional finishing touches to achieve that professional look. Techniques such as sanding, polishing, and applying final glazes can elevate your pieces, making them not just functional, but also works of art. So, don’t rush this step! Treat your ceramics with the care they deserve, and they'll reward you with beauty and durability.
- What is the purpose of bisque firing? Bisque firing prepares your clay pieces for glazing by removing moisture and organic materials, making them more durable.
- Can I fire ceramics without a kiln? Yes! Alternative methods like pit firing and raku can be used to achieve unique effects.
- How do I know if my ceramics are properly fired? Properly fired ceramics will be hard, non-porous, and able to withstand everyday use. Conduct a visual check and feel for durability.
Kilns vs. Alternative Firing Methods
When it comes to firing your ceramic creations, the method you choose can significantly impact the final outcome of your pieces. Kilns are the traditional choice for firing ceramics, providing a controlled environment that allows for precise temperature regulation. This is crucial because the right temperature ensures that the clay vitrifies properly, resulting in durable and functional pottery. Kilns come in various types, including electric, gas, and wood-fired, each offering unique characteristics and effects on the finished product.
For most beginners, an electric kiln is the go-to option due to its user-friendly nature and consistent results. However, if you're feeling adventurous, there are alternative firing methods that can yield stunning effects and add a unique twist to your ceramics. These methods can be more unpredictable but are often embraced for their artistic outcomes. Let’s delve into some popular alternatives:
- Pit Firing: This ancient technique involves placing your ceramics in a pit filled with combustible materials. As the fire burns, it creates beautiful, organic patterns on the surface of the pottery. The results can be incredibly varied, making each piece one-of-a-kind.
- Raku Firing: Raku is a Japanese method that involves removing pieces from the kiln while they are still glowing hot. The sudden temperature change creates unique crackle effects and vibrant colors, thanks to the reduction atmosphere created by placing the hot pottery in combustible materials.
- Smoke Firing: Similar to pit firing, smoke firing involves placing your ceramics in a container with combustible materials. The smoke that permeates the clay during the process adds a rich, smoky finish that enhances the natural beauty of the clay.
Each of these alternative methods comes with its own set of challenges and rewards. For instance, while pit firing can create stunning visuals, it can also be less predictable, leading to potential cracks or breaks in your pieces. On the other hand, raku firing requires careful handling and attention to safety due to the high temperatures involved. If you’re up for a little experimentation, these methods can add a whole new dimension to your ceramic projects.
Ultimately, the choice between using a kiln or exploring alternative firing methods comes down to your artistic vision and willingness to embrace the unpredictable nature of ceramic art. Whether you prefer the reliability of a kiln or the adventurous spirit of alternative methods, each firing technique offers a unique opportunity to express your creativity and bring your ceramic pieces to life.
Q: Can I use a regular oven for firing ceramics?
A: No, a regular oven does not reach the necessary temperatures for firing ceramics. You need a kiln or alternative firing method designed for ceramics.
Q: How do I know which firing method is best for my project?
A: It depends on the effect you want to achieve. If you’re looking for durability and functionality, a kiln is best. For unique artistic effects, consider alternative methods like raku or pit firing.
Q: Is it safe to use alternative firing methods at home?
A: Some alternative methods can be risky due to high temperatures and smoke. Always follow safety precautions and consider local regulations before attempting these methods.
Post-Firing Finishing Touches
Congratulations! You've successfully created your ceramic masterpiece, and now it's time for the exciting part—adding those that will elevate your piece from ordinary to extraordinary. After firing, your ceramics may have a rough feel or an unfinished look, but don't worry; this is where your creativity truly shines. The right finishing techniques can bring out the beauty of your work, making it not just a piece of art but a functional item as well.
One of the first steps in post-firing is sanding. This process involves gently smoothing out any rough edges or surfaces that might have formed during the firing process. Use a fine-grit sandpaper to avoid scratching the surface too deeply. It's a bit like polishing a diamond; you want to reveal its brilliance without damaging its integrity. Remember, patience is key here. Take your time, and you'll be rewarded with a beautifully smooth finish.
Next up is polishing. After sanding, your piece will likely need a little extra shine. You can use a soft cloth or a polishing compound specifically designed for ceramics. This step not only enhances the aesthetic appeal of your ceramic but also adds a layer of protection. Think of it as putting a shiny coat on your favorite car—who doesn't love a good shine?
Once you've sanded and polished, it might be time to consider applying final glazes. Depending on your original design, you might want to add a clear glaze to protect your artwork and enhance its color. This is especially important for functional pieces like mugs or plates, where food safety is a concern. A clear glaze acts as a barrier, making your ceramics more durable and easier to clean. Just remember to follow the manufacturer's instructions for application and firing, as each glaze has its unique properties.
For those who are feeling adventurous, you can explore additional decorative techniques after firing. Techniques such as underglazing or using ceramic paints can add a unique flair to your pieces. Underglazing involves painting designs on the unfired clay before the first firing, while ceramic paints can be used on the bisque-fired pottery. Each method offers a different aesthetic, so don't hesitate to experiment! The beauty of ceramics is in its versatility.
Lastly, don't forget about the overall presentation of your piece. Whether you're gifting it or displaying it at home, consider how it will be showcased. A simple wooden stand or a decorative shelf can make all the difference in highlighting your work. After all, you’ve put in a lot of effort; make sure it gets the attention it deserves!
- What is the best way to remove rough spots after firing? Sanding with fine-grit sandpaper is the most effective method.
- Can I paint my ceramics after they have been fired? Yes, you can use ceramic paints or underglazes for additional decoration.
- Is it necessary to apply a glaze for functional pieces? Yes, applying a glaze ensures durability and safety for items that will hold food or liquids.
- How do I know if my glaze is safe for food use? Always check the manufacturer's specifications on the glaze packaging.
Frequently Asked Questions
- What type of clay should I use for my first ceramic project?
As a beginner, it's best to start with earthenware clay. It's easy to work with, forgiving, and fires at a lower temperature. This makes it perfect for learning basic techniques without the pressure of perfection.
- What essential tools do I need to start hand-building ceramics?
You’ll need a few basic tools to kick off your ceramic journey. A rolling pin, pottery knife, sponge, and wire cutter are must-haves. These tools will help you shape, cut, and smooth your clay effectively.
- Can I use my kitchen oven for firing ceramics?
Unfortunately, a regular kitchen oven isn’t suitable for firing ceramics. You need a kiln to reach the high temperatures required for proper firing. However, there are alternative methods like pit firing or raku that can be done outside, which can yield unique results!
- What are pinch pots and how do I make them?
Pinch pots are one of the simplest forms of hand-built ceramics. To make one, start with a ball of clay, then use your thumb to create an indentation in the center. Gradually pinch the walls to form a pot shape. It's a fantastic way to get familiar with clay!
- How do I add decorative elements to my ceramics?
There are many ways to decorate your pieces! You can use glazing, underglazing, or even paint designs on your ceramics. Experimenting with these techniques can personalize your creations and make them truly one-of-a-kind.
- What is the difference between bisque firing and glaze firing?
Great question! Bisque firing is the first firing that transforms your clay into a hard, porous state, while glaze firing follows, melting the glaze to create a glassy finish. Both steps are crucial for achieving durable and beautiful ceramic pieces.
- Do I need to sand my ceramics after firing?
Yes, sanding your ceramics after firing can help smooth out any rough edges or surfaces. It’s an important step to achieve a professional finish. Just be gentle and ensure that your piece is completely cool before you start!


