Simple Pottery Projects for the Whole Family
Are you looking for a fun and engaging way to spend quality time with your family? Look no further than the magical world of pottery! Pottery projects are not only a fantastic way to unleash your creativity, but they also create lasting memories and strengthen bonds among family members. Imagine the joy of molding clay with your hands, transforming simple lumps of earth into beautiful works of art that you can cherish forever. Whether you're a seasoned artist or a complete novice, pottery offers something for everyone, making it the perfect family activity.
Engaging in pottery projects together can be a delightful experience. It encourages conversation, teamwork, and a sense of accomplishment. Plus, there's something incredibly satisfying about creating something with your own hands. As you shape and sculpt the clay, you’ll find that each piece tells a story—your story. Whether it's a simple pinch pot or a more intricate coil pot, the process is just as rewarding as the final product.
In this article, we will explore various pottery projects that cater to all ages and skill levels. From the essential tools and materials needed to get started, to hand-building techniques like pinch pots and coil pots, we’ve got you covered. You’ll also learn about using natural clay, painting and finishing techniques, and how to organize a memorable family pottery day. By the end of this journey, you will not only have a collection of unique pottery pieces but also a treasure trove of family memories.
So, gather your loved ones, roll up your sleeves, and let’s dive into the wonderful world of pottery! With each project, you’ll not only create beautiful items but also foster creativity and bonding within your family. Are you ready to get your hands dirty and unleash your inner artist? Let’s embark on this creative adventure together!
Getting Started with Pottery
Embarking on a pottery journey is like diving into a world of creativity and tactile wonder. Whether you're a seasoned artist or a complete novice, the first step is to gather the essential tools and materials that will set the stage for your artistic adventure. Imagine yourself surrounded by the earthy scent of clay and the thrill of molding your very own creations. So, what do you need to get started?
First and foremost, you'll need clay. There are various types available, but for beginners, air-dry clay or earthenware are excellent choices. They are forgiving and easy to work with, making them perfect for family projects. You can find them at local craft stores or online. Next, you’ll need some basic tools to help shape and refine your pieces. These include:
- Pottery wheel: If you’re feeling adventurous, a pottery wheel can add an exciting dynamic to your projects.
- Rolling pin: Perfect for flattening clay, especially when making slabs or tiles.
- Cutting tools: A simple knife or clay cutter will help you shape and detail your pieces.
- Sponges and water: Essential for smoothing surfaces and keeping your clay workable.
- Texturing tools: These can be anything from stamps to natural materials like leaves or twigs to create unique patterns.
Once you’ve gathered your materials, it’s time to set up your workspace. Choose a clean, flat surface where everyone can comfortably work together. Lay down some plastic or newspaper to catch any clay spills and make the cleanup process a breeze. Consider having some old towels handy, too, for wiping hands and tools. Now, you're ready to unleash your creativity!
Before diving into your first project, it’s helpful to familiarize yourself with some basic techniques. Pottery is all about exploration and experimentation. Don’t be afraid to make mistakes; they often lead to the most delightful surprises! Start with simple projects that everyone can enjoy, such as pinch pots or coil pots. These techniques are not only fun but also perfect for all ages, ensuring that everyone in the family can participate.
As you begin your pottery adventure, remember that the goal is to have fun and bond as a family. Encourage each other, share ideas, and celebrate your unique creations. Pottery is not just about the end product; it’s about the journey you take together. So, roll up your sleeves, get your hands dirty, and let your imagination run wild!
Hand-Building Techniques
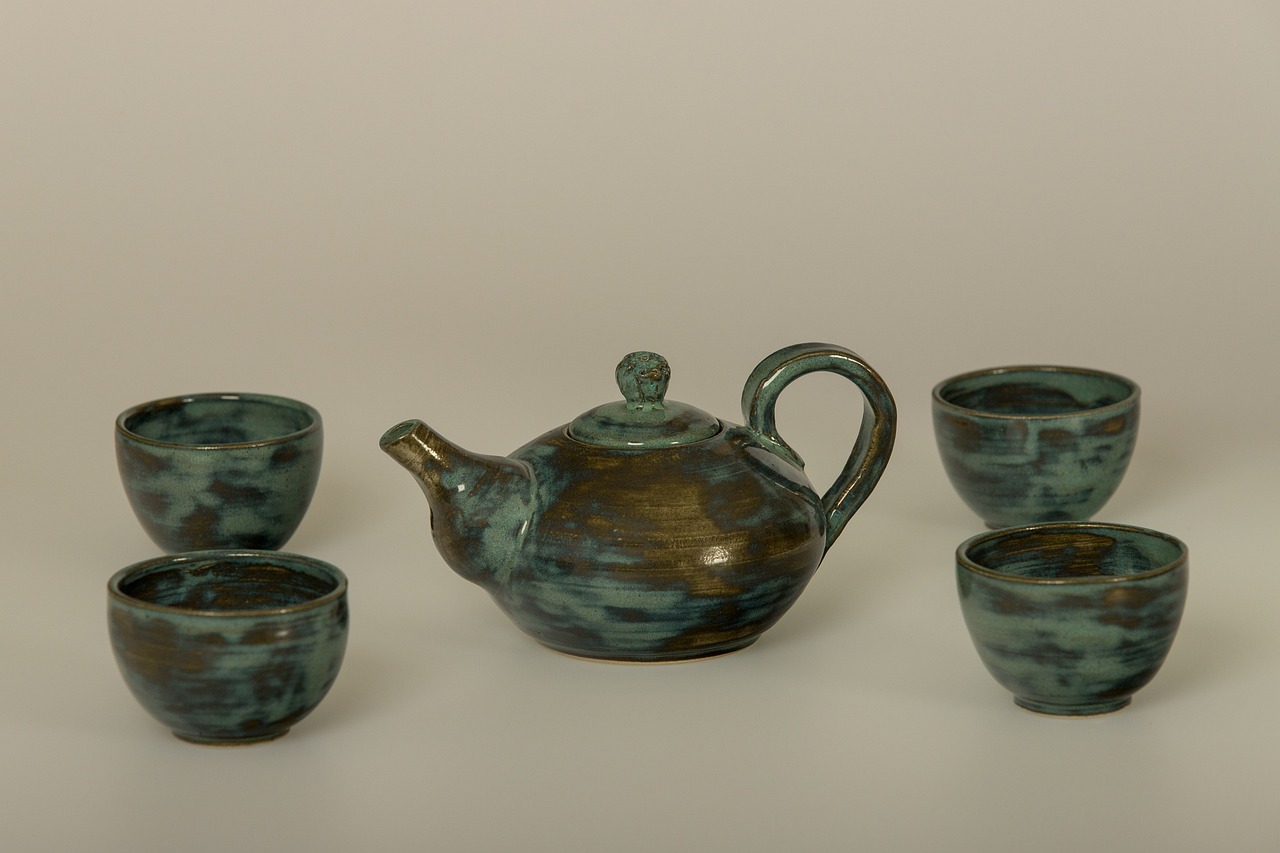
When it comes to pottery, hand-building techniques are like the secret sauce that makes the experience both fun and enriching for families. These methods are not just about creating beautiful pieces; they’re about bonding, exploring creativity, and making memories together. Whether you’re a seasoned potter or a total newbie, hand-building offers an accessible way to dive into the art of pottery. Imagine sitting around a table, clay in hand, laughter echoing as you mold and shape your creations together. Sounds delightful, right?
One of the most popular hand-building techniques is the pinch pot. This method is incredibly straightforward and provides an excellent starting point for both kids and adults. To make a pinch pot, you simply take a ball of clay, press your thumb into the center, and pinch the sides to shape it into a bowl. The beauty of this technique is that it encourages personal expression. Each pinch pot will turn out unique, reflecting the individual style of its creator. It’s a fantastic way to let your imagination run wild!
Pinch pots are not only easy to make, but they also allow for a lot of creativity. Once you’ve formed the basic shape, the real fun begins! You can add textures using natural materials like leaves or twigs, or even use stamps to create patterns. This is where the family can really come together—everyone can contribute their ideas and designs. Plus, it’s a great way to introduce kids to the concept of design thinking as they plan how to decorate their pots.
After shaping your pinch pots, it’s time to unleash your inner artist! There are countless ways to decorate them. You can use natural materials like flowers or seeds to create impressions on the surface. Alternatively, try out some simple stamps to add fun patterns. If you're feeling adventurous, consider using glazes to give your pots a colorful finish. Glazing can transform a simple pinch pot into a stunning piece of art that you’ll be proud to display. Remember, the goal is to enjoy the process—so let your creativity flow!
As you progress in your pottery journey, you might want to explore the coil pot technique. This method allows you to create larger and more intricate designs. To make a coil pot, you roll out long strands of clay and stack them on top of each other, gradually shaping them into your desired form. This technique is perfect for collaborative family projects, as everyone can contribute by rolling coils and building upon each other’s work. It's like constructing a clay tower of teamwork!
Coil pots also offer a fantastic opportunity to teach kids about architecture and structure. You can discuss how buildings are designed and how different shapes can affect stability. Plus, the process of smoothing out the coils and adding decorative elements can spark discussions about art and creativity. It’s not just about making pottery; it’s about learning and growing together as a family.
Another exciting hand-building technique is slab building. This method involves rolling out flat pieces of clay, which can then be shaped into various forms like tiles, boxes, or even sculptures. Slab building is incredibly versatile and provides endless possibilities for creativity. Families can work together to create matching sets of tiles for a garden or design unique boxes to store treasures. The collaborative aspect of slab building can lead to some truly spectacular results!
So, whether you choose to start with pinch pots, coil pots, or dive into slab building, hand-building techniques offer a wonderful way for families to connect through creativity. As you embark on this artistic journey, remember that the process is just as important as the final product. Enjoy the laughter, the mess, and the joy of creating something beautiful together!
Q: What age is appropriate for kids to start pottery?
A: Kids as young as 4 can start with simple projects like pinch pots. Always supervise younger children and choose non-toxic materials.
Q: Do I need a kiln to finish my pottery?
A: While a kiln is ideal for firing clay, there are air-dry clays available that don’t require firing, making them perfect for home projects.
Q: How can I make my pottery projects more eco-friendly?
A: Consider using natural clay and eco-friendly glazes. Also, try to minimize waste by recycling leftover clay and using natural materials for decorating.

Pinch Pots
Pinch pots are one of the most accessible and fun pottery techniques for families, making them a perfect starting point for both kids and adults. The beauty of pinch pots lies in their simplicity: all you need is a ball of clay and your hands! This hands-on approach not only sparks creativity but also encourages personal expression. Imagine shaping a small piece of clay into a unique pot that reflects your personality or tells a story. It’s like creating a mini sculpture that you can use or admire!
To make a pinch pot, start by rolling a ball of clay about the size of a golf ball. Then, use your thumb to press into the center, creating a small indentation. As you pinch the walls of the pot, you can shape it into various forms—round, oval, or even abstract shapes. This technique is incredibly forgiving, allowing for mistakes and happy accidents, which can lead to the most delightful creations!
The best part? Pinch pots can be easily customized. You can add textures, patterns, or even little decorations to make each piece truly one-of-a-kind. For instance, you might use natural materials like leaves or twigs to imprint designs onto the clay. Alternatively, you could use household items like forks or stamps to create interesting textures. The possibilities are endless!
Here are some fun ideas for personalizing your pinch pots:
- Natural Impressions: Use leaves or flowers to press into the clay for beautiful, organic designs.
- Colorful Glazes: After firing, paint your pots with vibrant underglazes to add a splash of color.
- Functional Art: Create small bowls for holding trinkets or snacks, making your art functional.
Pinch pots are not just about the final product; they’re about the experience of making them together. Gather your family around the table, put on some music, and let your creativity flow. You’ll find that the laughter and joy shared during this activity can be just as rewarding as the pots themselves. Plus, it’s a great way to bond and create lasting memories!
So, why not grab some clay and get started? Whether you’re a seasoned potter or a complete beginner, pinch pots offer a delightful way to explore the world of pottery. And who knows? You might just discover a hidden talent or a new family tradition along the way!
Q: Can children participate in making pinch pots?
A: Absolutely! Pinch pots are perfect for children as they are simple and allow for creativity without the need for specialized tools.
Q: What type of clay is best for pinch pots?
A: Air-dry clay or polymer clay works well for beginners and children, while stoneware clay is great for those looking to fire their creations.
Q: How do I decorate my pinch pots?
A: You can use natural materials, stamps, or paint to decorate your pots. Experiment with different techniques to find what you like best!
Decorating Pinch Pots
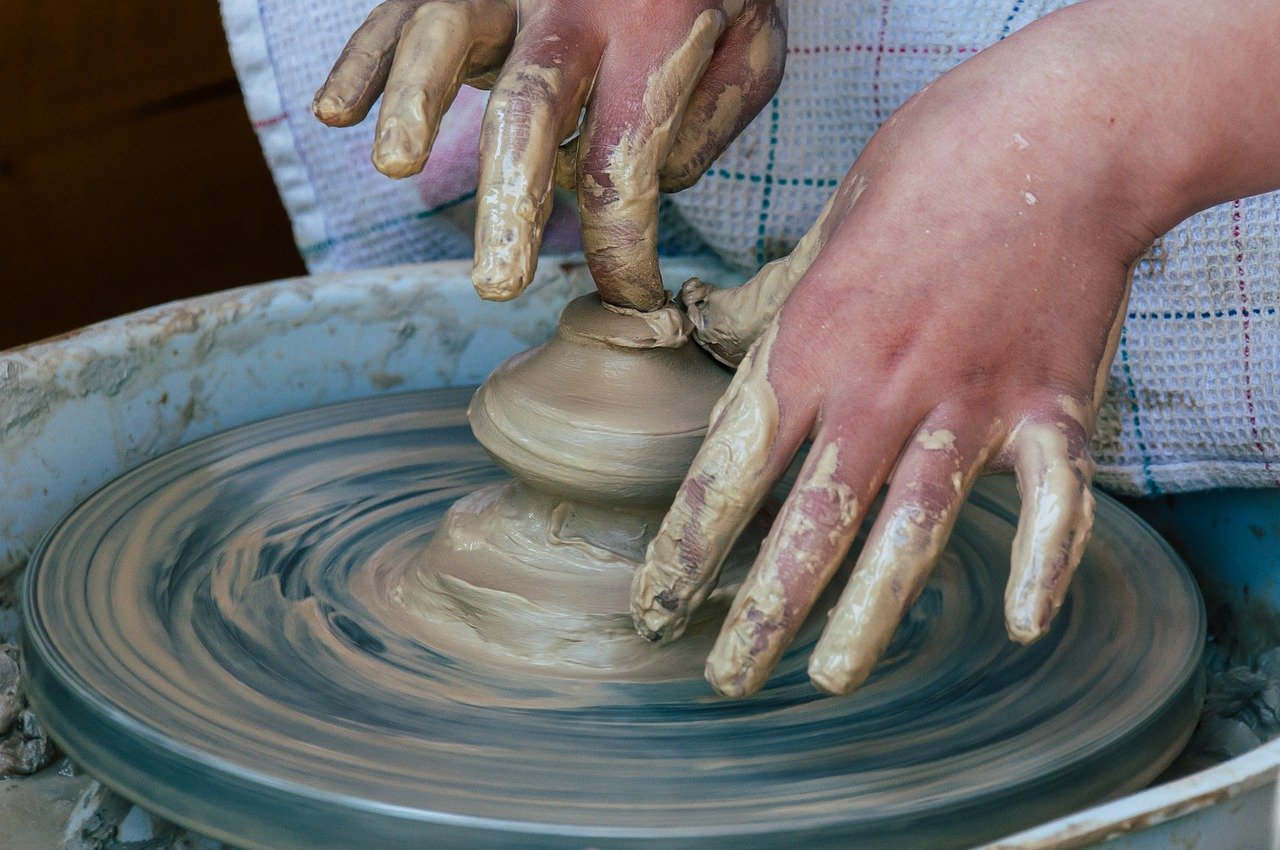
Decorating your pinch pots is where the real magic happens! Once you've shaped your pots with those little fingers, it’s time to unleash your creativity and transform them into unique pieces of art. Imagine each pot as a blank canvas, ready to tell a story or reflect your personality. One of the most exciting aspects of pottery is the endless possibilities for decoration, and the best part? It's super easy and fun for the whole family!
First off, let’s talk about natural materials. You can use items like leaves, twigs, or even small stones to create textures and patterns on your pots. Just press them into the wet clay, and voila! You’ve added a touch of nature to your creation. This not only makes your pinch pots look stunning but also connects your art to the environment, making it a wonderful learning experience for kids.
If you're feeling a bit more adventurous, consider using stamps to imprint designs. You can purchase pottery stamps or even make your own from everyday objects like bottle caps or sponges. Just dip your stamp in underglaze or slip and press it onto the surface of your pot. This technique allows for intricate designs and patterns that can really make your pinch pots stand out. You could create a whole collection of pots with different themes, like animals, flowers, or geometric shapes!
Once your pots are shaped and decorated, it’s time to think about glazing. Glazing adds not only color but also a shiny finish that can elevate your pottery to a whole new level. You can choose from a variety of glazes, each providing different effects. For instance, some glazes will give your pot a glossy finish, while others might create a matte look. It’s like putting the icing on a cake—glazing seals the deal and makes your creations pop!
Before you start glazing, make sure your decorated pots are completely dry. Once dry, you can dip them in glaze or use a brush to apply it. Just remember to keep the bottom of the pot free from glaze to avoid sticking during firing. After glazing, your pots will need to be fired in a kiln, which is where the magic really happens. The heat transforms your work into durable, beautiful pottery that you can cherish for years to come.
Finally, don't forget to have fun during the decorating process! Play some music, share laughs, and encourage each other’s ideas. Decorating pinch pots together can be a wonderful bonding experience that creates lasting memories. Plus, when you see the final results, you’ll not only appreciate the art but also the time spent together as a family. So grab your supplies, let your imagination run wild, and start decorating those pinch pots!
- What type of clay is best for pinch pots? - Air-dry clay or earthenware clay is ideal for beginners. They are easy to work with and can be painted after drying.
- Can I use regular paint on my pinch pots? - It’s best to use glazes specifically designed for pottery to ensure durability and a beautiful finish after firing.
- How long does it take for pinch pots to dry? - Depending on the thickness and humidity, it can take anywhere from a few hours to a couple of days for your pots to dry completely.
- Can kids participate in decorating pinch pots? - Absolutely! Decorating is a great activity for kids, allowing them to express their creativity safely.
Creating Coil Pots
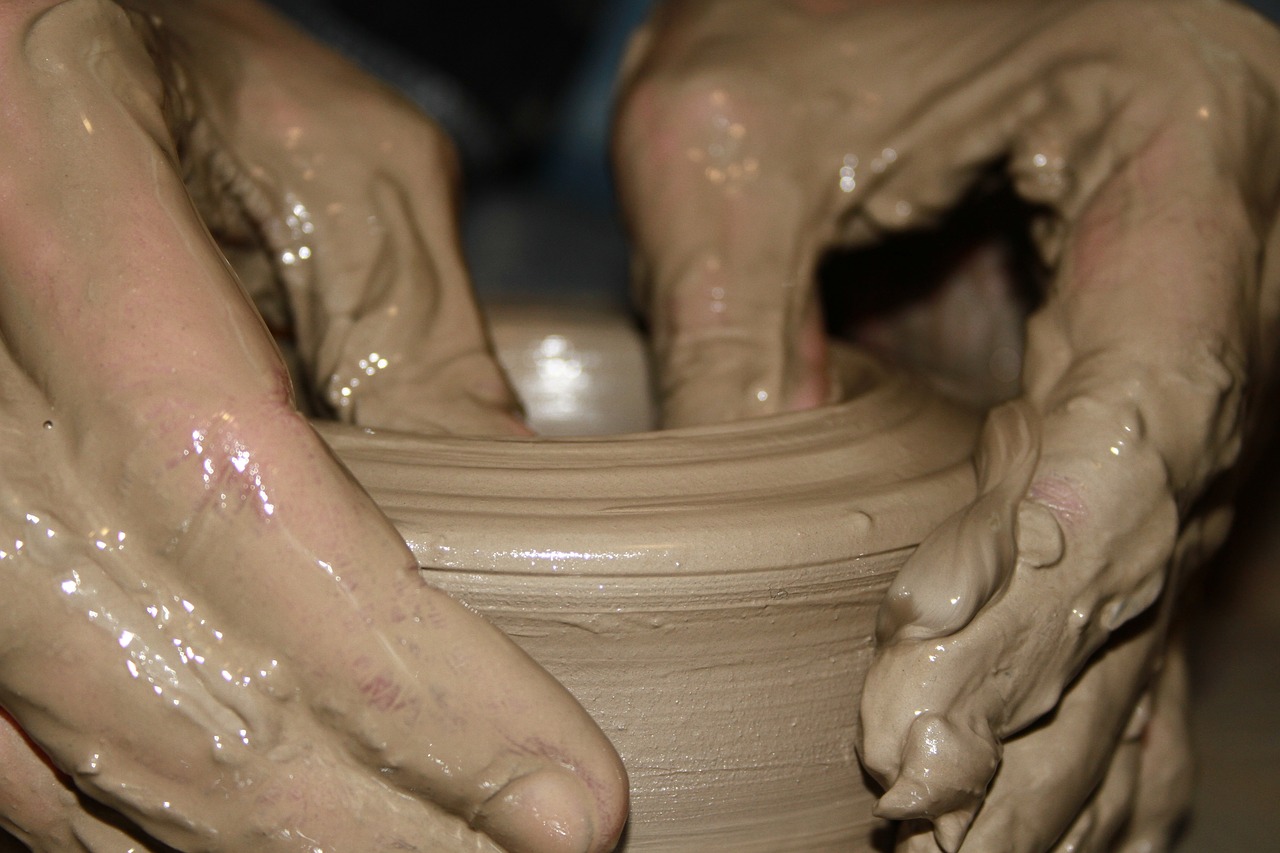
Creating coil pots is an exciting and rewarding experience that brings families together in a unique way. This technique allows you to build larger and more intricate pottery pieces, making it perfect for collaborative projects. Imagine sitting around a table with your loved ones, rolling out clay into long, snake-like coils, and then layering them to form beautiful pots. It’s like building with clay instead of blocks, where every twist and turn reflects your family’s creativity!
To get started with coil pots, you'll need some basic materials: natural clay, a rolling pin, a small knife or clay cutter, and a sponge or water for smoothing. The process begins with rolling out your clay into coils. Each coil should be about the thickness of your pinky finger. The beauty of coil pots lies in their organic shapes, so don’t worry about making each coil perfectly uniform. In fact, the imperfections add character and charm to your finished piece!
Once you have your coils ready, it’s time to stack them. Start by placing one coil on the base of your pot and gently pressing it down. Then, take another coil and place it on top, gently pressing it against the first. As you continue stacking coils, you’ll notice your pot taking shape. This is where teamwork comes in! Encourage family members to help each other, sharing ideas on how to create unique designs or patterns. Maybe one person can focus on the shape while another works on adding decorative elements.
As you build your coil pot, remember to use a little water or a damp sponge to smooth out the seams where the coils meet. This not only helps to secure the coils together but also creates a seamless look. Think of it as blending the colors in a painting; the more you smooth, the more cohesive your piece will become. After you finish building, let your pot dry for a while before moving on to the next step.
Once your coil pot has dried to a leather-hard state, it's time to get creative with decorations! You can carve designs into the surface, add textures using natural materials like leaves or fabric, or even paint with underglazes. The options are limitless! Just imagine how proud you’ll feel displaying a pot that you and your family created together, each coil representing a moment of teamwork and creativity.
In summary, creating coil pots is not just about making pottery; it's about bonding with your family, expressing creativity, and enjoying the process of making something beautiful together. So gather your materials, roll those coils, and let your family’s imagination flow!
- What type of clay is best for coil pots? Natural clay is ideal, but air-dry clay can also work well for beginners.
- How long does it take for coil pots to dry? Depending on the thickness and humidity, it can take anywhere from a few hours to a couple of days.
- Can we paint the coil pots? Absolutely! You can use underglazes or acrylic paints once the pots are dry.
- Do we need a kiln to fire the coil pots? If you’re using natural clay, a kiln is necessary for firing. However, if you’re using air-dry clay, it doesn’t require firing.

Slab Building Basics
Slab building is a fantastic pottery technique that opens up a world of possibilities for families looking to create together. Imagine transforming simple, flat pieces of clay into beautiful, functional art! This method is not only versatile but also encourages teamwork and creativity. Whether you're crafting tiles, boxes, or even sculptures, slab building allows everyone, regardless of age or skill level, to participate and express their artistic flair.
To get started with slab building, you'll need a few essential tools and materials. A rolling pin is crucial for flattening the clay evenly, while a clay knife will help you cut your slabs into the desired shapes. Don't forget a sturdy work surface to prevent any mishaps! You can make your slabs as thick or thin as you like, but generally, a thickness of around 1/4 inch is ideal for most projects. This thickness provides enough strength while still being easy to work with.
One of the most exciting aspects of slab building is the opportunity for creative collaboration. Families can work together to design and create a single piece, allowing each member to contribute their ideas and skills. For instance, one person might roll out the slabs while another cuts them into shapes. This collaborative effort not only fosters creativity but also strengthens family bonds. Imagine the joy of seeing a project evolve from a simple idea to a finished piece that everyone had a hand in creating!
As you dive deeper into slab building, you might want to explore different techniques to elevate your creations. For example, you can impress textures into your slabs using everyday objects like leaves, lace, or even kitchen utensils. This adds a personal touch and makes each piece truly unique. Additionally, you can experiment with combining slabs to build three-dimensional forms, such as boxes or pots, which can be a fun challenge for the whole family.
When it comes to finishing your slab creations, the possibilities are endless. You can leave the surface natural for a rustic look or apply glazes to add color and shine. Painting your slabs with underglazes before firing can also create stunning effects, allowing you to experiment with various colors and designs. The key is to have fun and let your imagination run wild!
In summary, slab building is an engaging and rewarding pottery technique that families can enjoy together. It combines creativity, collaboration, and a bit of messiness, which is all part of the fun! So gather your materials, roll up your sleeves, and get ready to create some unforgettable pottery pieces that will not only beautify your home but also serve as cherished memories of family time spent together.
- What type of clay is best for slab building? Natural clay is often recommended, as it is easier to work with and can be sourced from your environment. However, commercial clay is also a great option.
- Can children participate in slab building? Absolutely! Slab building is suitable for all ages, and children can enjoy rolling, cutting, and decorating their own pieces.
- How do I keep my slabs from drying out too quickly? Cover your slabs with a damp cloth or plastic wrap while you work to prevent them from drying out too fast.
- What can I create with slab building? You can create a variety of items, including tiles, boxes, plates, and sculptures. The only limit is your imagination!
Using Natural Clay
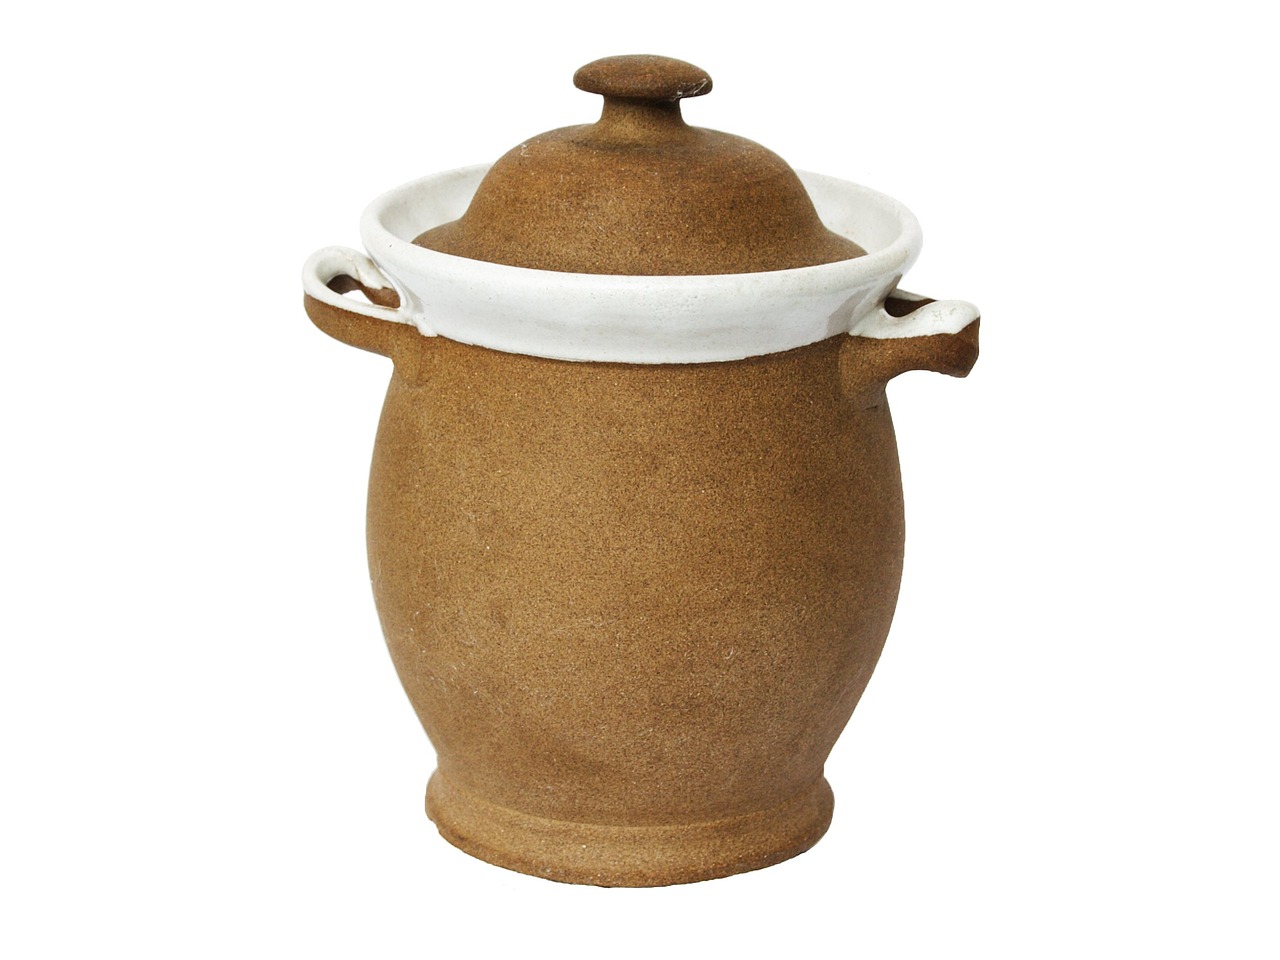
When embarking on your pottery journey, one of the most rewarding materials you can use is natural clay. Not only does it connect you to the earth, but it also brings a sense of authenticity and creativity to your projects. Imagine molding something that comes directly from nature! This eco-friendly option is perfect for families looking to engage with the environment while creating beautiful art. Natural clay can be sourced from various places, such as riverbanks or clay pits, and it often has unique properties that can enhance your pottery experience.
One of the best things about using natural clay is its versatility. It can be shaped, molded, and transformed into a variety of objects, from simple bowls to intricate sculptures. Moreover, working with natural clay allows families to explore the textures and colors that come from the earth. You might find yourself captivated by the rich reds, warm browns, and even the occasional speck of blue or green, depending on the minerals present in the clay. This exploration can lead to a deeper appreciation for nature and the materials we use in our art.
However, before diving in, it’s essential to understand the types of natural clay available. Here are a few common types:
- Earthenware: A low-fire clay that is easy to work with and great for beginners.
- Stoneware: A mid to high-fire clay that is more durable and suitable for functional pottery.
- Porcelain: A high-fire clay known for its smooth texture and translucency, ideal for advanced potters.
Using natural clay also encourages families to think about sustainability. By sourcing clay locally, you’re not only reducing your carbon footprint but also fostering a connection to your community and environment. You can turn your pottery sessions into educational opportunities by discussing the importance of natural resources and how to use them responsibly.
Moreover, working with natural clay can be an exciting adventure for the whole family. Children can learn about the different types of clay and how to identify them, while adults can share their knowledge of pottery techniques. This shared experience can strengthen family bonds and create lasting memories. Plus, who doesn't love getting their hands dirty while creating something beautiful?
As you explore the possibilities with natural clay, remember to consider the right tools and techniques. A simple set of tools—like a rolling pin, a knife, and some basic carving tools—can go a long way in helping you shape your creations. Also, don't forget to have fun with it! The beauty of using natural clay lies in its imperfections; embrace the uniqueness of each piece you create.
In conclusion, using natural clay for your pottery projects is not just about creating art; it’s about connecting with nature, learning, and having fun as a family. So, gather your materials, get your hands muddy, and let your creativity flow!
Painting and Finishing Techniques
Once you've created your stunning pottery pieces, the next exciting step is to bring them to life with painting and finishing techniques. This is where your creativity can truly shine! Imagine transforming a simple clay pot into a vibrant masterpiece that reflects your family’s unique style. Whether you’re a beginner or have some experience, there are various methods to explore that will enhance your pottery and make it even more special.
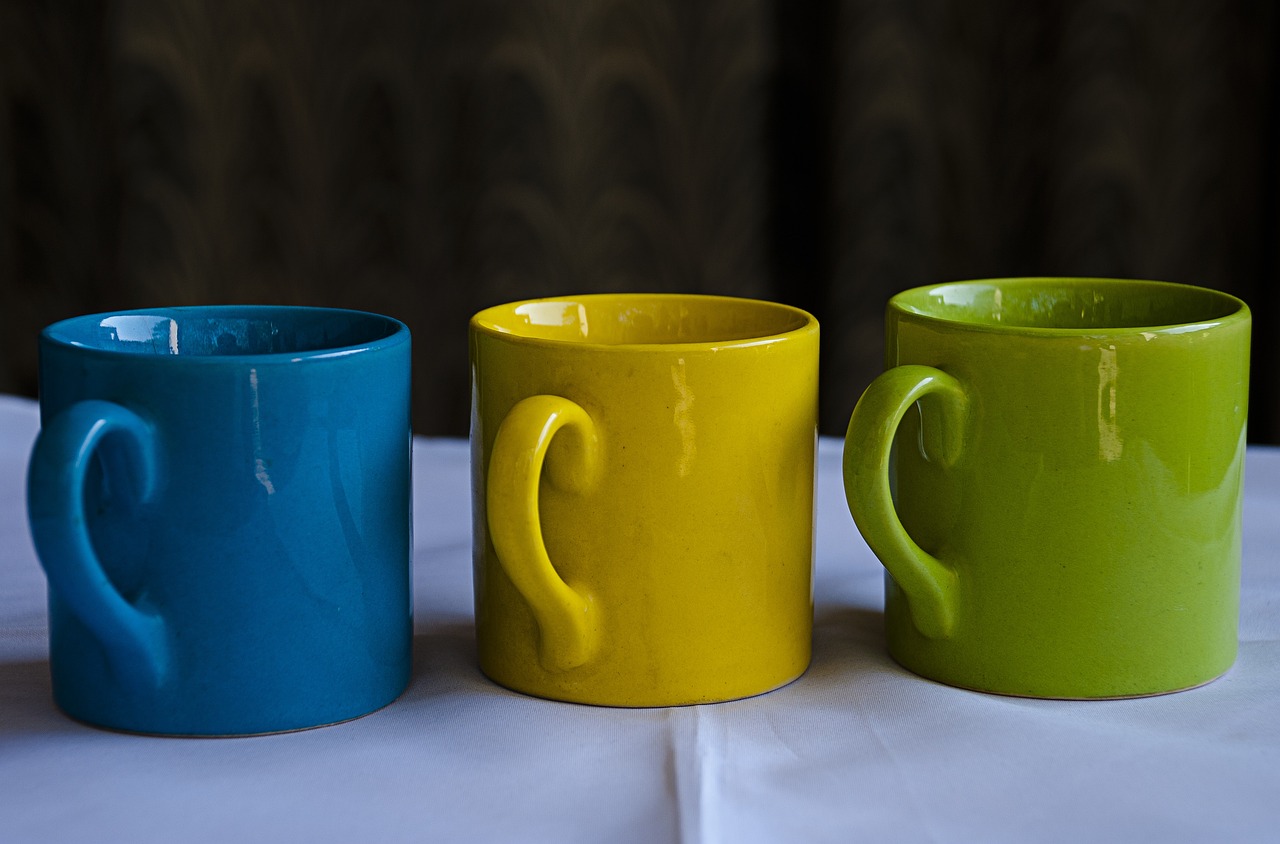
One popular option is glazing. This technique not only adds color but also gives your pottery a shiny finish that can be both protective and decorative. Glazes come in a myriad of colors and finishes, from glossy to matte, and can even be layered for a more complex look. When applying glaze, it’s essential to follow the instructions carefully, as some glazes may require specific firing temperatures to achieve their desired effect. Don't be afraid to experiment! You might find that mixing different glazes can yield unexpected and beautiful results.
Another technique worth exploring is underglazing. This method involves painting designs or colors onto the clay before it's glazed. It allows for intricate details and patterns to be added, giving your pottery a personal touch. Think of it as painting a canvas before framing it! You can use brushes, sponges, or even your fingers to apply underglaze, making it a fun activity for the whole family. Remember, the key is to let your imagination run wild!
For those looking to add texture and depth to their pieces, consider using natural materials for decorating. Items like leaves, flowers, or even small rocks can be pressed into the clay before it’s fired, creating unique impressions. This technique not only adds a tactile element to your pottery but also connects your creations to the natural world. Plus, it's a fantastic way to involve kids in the process, as they can gather materials from your garden or local park.
When it comes to finishing touches, don’t overlook the power of sealing. After your pottery is glazed and fired, applying a sealant can protect it from moisture and wear, especially if you plan to use it for functional purposes. There are many types of sealants available, so be sure to choose one that’s appropriate for your specific project. This step is crucial if you want your family’s creations to last for generations!
To help you visualize the different options available, here’s a simple table comparing some popular painting and finishing techniques:
| Technique | Description | Best For |
|---|---|---|
| Glazing | Adds color and a shiny finish; requires firing. | Functional and decorative pieces. |
| Underglazing | Paints designs before glazing; allows for detail. | Creative, personalized designs. |
| Natural Materials | Impressing items into the clay for texture. | Unique, organic designs. |
| Sealing | Protects pottery from moisture and wear. | Functional pottery. |
Ultimately, the journey of painting and finishing your pottery is as enjoyable as the making itself. It’s a time to bond with family, share ideas, and create something that reflects your collective personality. So, gather your supplies, unleash your creativity, and watch as your pottery transforms into cherished works of art!
Q: Can I use regular paint on my pottery?
A: Regular paint is not recommended for pottery that will be used for food or drink. Instead, use ceramic glazes or underglazes that are specifically designed for pottery.
Q: How do I know which glaze to use?
A: The choice of glaze depends on the look you want to achieve. Experiment with different types and finishes to find what works best for your project.
Q: Can kids participate in the painting process?
A: Absolutely! Painting and decorating pottery is a fantastic family activity that encourages creativity in children. Just ensure they use non-toxic materials.
Q: Is it necessary to seal my pottery?
A: If your pottery will be used for food or drink, sealing is important to protect it. For decorative pieces, sealing can enhance durability but is not always necessary.
Organizing a Family Pottery Day
Organizing a family pottery day can be an exciting and rewarding experience that brings everyone together in a creative environment. Imagine the laughter, the mess, and the beautiful pieces of art that emerge from a day spent crafting together! To kick things off, it’s essential to plan ahead, ensuring that everyone knows what to expect and is prepared to dive into this artistic adventure.
Start by choosing a date that works for everyone. Consider weekends or holidays when family members are more likely to be available. Once you have the date set, you can create a simple schedule. This might include time slots for different activities, such as hand-building, decorating, and even a break for snacks. Remember, the goal is to have fun, so keep it flexible!
Next, gather all the necessary materials and tools. Here’s a quick checklist to help you get started:
- Clay: Choose a suitable type of clay that is easy to work with, especially for beginners.
- Tools: Make sure to have rolling pins, sculpting tools, and sponges on hand.
- Glazes and Paints: Stock up on a variety of colors to allow for creative expression.
- Protective Gear: Aprons and old clothes are a must to keep the mess at bay!
- Space: Ensure you have a large enough area, preferably outdoors or in a garage, to accommodate everyone comfortably.
Now, let’s talk about project ideas! Start with something simple like pinch pots or coil pots, which are perfect for all ages. You could also introduce slab building for those looking to create more intricate designs. As the family dives into these projects, encourage everyone to express their individuality. Perhaps you could even have a friendly competition for the most creative piece!
Don’t forget to incorporate breaks and snacks into your pottery day. Keeping everyone energized and hydrated is key to maintaining enthusiasm. You could set up a little refreshment station with drinks and light snacks, allowing everyone to recharge while sharing their pottery progress and ideas.
Lastly, consider capturing the day with photos! Documenting the process not only creates lasting memories but also allows you to showcase everyone’s hard work. After the pottery pieces have been fired and glazed, you can organize a mini exhibition at home, where everyone can display their creations. This will not only celebrate the day but also encourage future pottery adventures!
Q: What age is appropriate for kids to start pottery?
A: Kids as young as 5 can start with simple projects like pinch pots, while older children can try more complex techniques.
Q: How long does a pottery day usually last?
A: A pottery day can last anywhere from a few hours to a whole day, depending on the number of projects and the pace of the group.
Q: Do we need a kiln for pottery?
A: If you want to fire your pottery, a kiln is necessary. However, there are air-dry clays available that do not require firing.
Q: Can we use store-bought clay?
A: Absolutely! Store-bought clay is convenient and often easier for beginners to work with.
By following these tips and suggestions, your family pottery day is sure to be a hit! Embrace the mess, the creativity, and the bonding that comes from creating something beautiful together.
Showcasing Your Creations
Once you and your family have poured your hearts and hands into creating beautiful pottery pieces, it’s time to let them shine! Showcasing your creations not only celebrates your artistic efforts but also transforms your home into a gallery of personal memories. Imagine walking through your living space and being greeted by the unique charm of your family’s handiwork. It’s like having a piece of your family history on display!
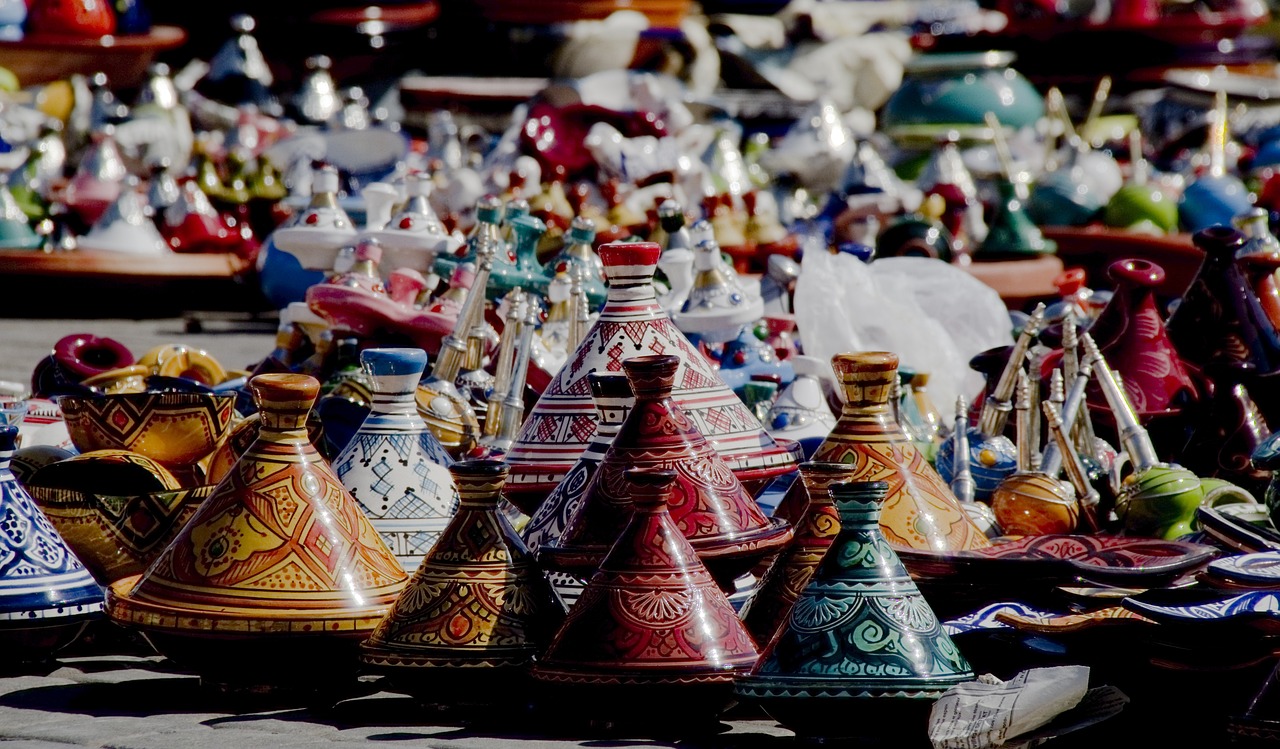
One of the most delightful ways to showcase your pottery is by creating a dedicated display area. This could be a shelf in your living room or a corner of your kitchen. Arrange your pieces in a way that tells a story. For example, you might group your pinch pots together, showcasing their playful designs, while your coil pots can stand proudly as more intricate creations. Using varying heights and colors can add visual interest, making your display pop!
Consider using natural lighting to enhance the beauty of your pottery. Placing your creations near windows can create stunning shadows and highlights, emphasizing the textures and colors of your work. You can also incorporate plants or other decorative elements to complement your pottery, creating a harmonious and inviting atmosphere.
If you’re feeling particularly crafty, why not create a themed display? For instance, you could dedicate a shelf to seasonal decor, where your pottery pieces can reflect the changing seasons. Imagine a cozy autumn display featuring earthy-toned pots filled with pinecones or a vibrant spring showcase with colorful flower arrangements in your handmade vases!
Another fun idea is to host a pottery exhibition at home. Invite friends and family over to admire your creations, serve some snacks, and share stories about the making process. You could even create little plaques or cards next to each piece, explaining what inspired each design. This not only makes your creations more meaningful but also encourages your guests to appreciate the artistry behind them.
Lastly, don’t forget about social media! Sharing your pottery journey online can inspire others to dive into the world of ceramics. Take captivating photos of your pieces, perhaps with a little background story or a fun fact about the making process. Use hashtags related to pottery and family crafts to connect with a broader community of pottery enthusiasts!
- How can I protect my pottery pieces when displaying them? - It's best to keep them out of direct sunlight to prevent fading and avoid placing them in high-traffic areas to minimize the risk of accidents.
- What are some creative ways to use pottery in home decor? - You can use pottery as planters, candle holders, or even as functional kitchenware, like bowls and mugs.
- Can I change the display of my pottery regularly? - Absolutely! Changing your display keeps your home feeling fresh and allows you to showcase different pieces throughout the year.
Frequently Asked Questions
- What materials do I need to start a pottery project with my family?
To kick off your pottery adventure, you'll need some basic materials: natural clay, a rolling pin, a cutting tool, and water. Don't forget to have some sponges and towels handy for cleanup! For decorating, gather stamps, natural materials like leaves, and a variety of glazes to bring your creations to life.
- Are there pottery techniques suitable for young children?
Absolutely! Techniques like pinch pots are perfect for kids. They can easily mold the clay with their hands, allowing for creativity without the need for complex tools. Plus, it's a fun way for them to express themselves while you bond over the process!
- Can we use clay sourced from our backyard?
Yes, using natural clay from your surroundings can be a fantastic way to connect with the environment! Just make sure to clean it well and check if it's suitable for pottery. It’s like bringing a piece of nature into your home, and it adds a unique touch to your projects!
- What are some fun ways to decorate our pottery?
Get creative with decorations! You can use natural materials like leaves and flowers to imprint designs, or try using stamps for patterns. Painting with underglazes or applying glazes before firing can also add beautiful colors and textures to your pieces.
- How can we organize a successful family pottery day?
Start by choosing a date that works for everyone and plan some simple projects. Set up a comfortable workspace with all the materials ready to go. Encourage everyone to express their ideas and make it a fun, relaxed atmosphere. Remember, it’s all about creativity and spending time together!
- What should we do with our finished pottery creations?
Showcasing your pottery can be just as fun as making it! Consider creating a dedicated display area in your home. You can also gift your pieces to friends and family or use them as functional items around the house. Each piece tells a story of your family’s creativity!


