Designing a Wooden Display Cabinet: A DIY Guide
Are you tired of clutter and looking for a stylish way to showcase your treasured items? A wooden display cabinet might just be the answer! This guide provides a comprehensive look into designing and building your own wooden display cabinet, covering materials, tools, techniques, and tips for a successful project. Imagine the satisfaction of creating something beautiful with your own hands, tailored to fit your unique style and needs. Whether you want to display your collection of vintage books, cherished family photos, or exquisite pottery, a custom cabinet can transform your space and make your items shine.
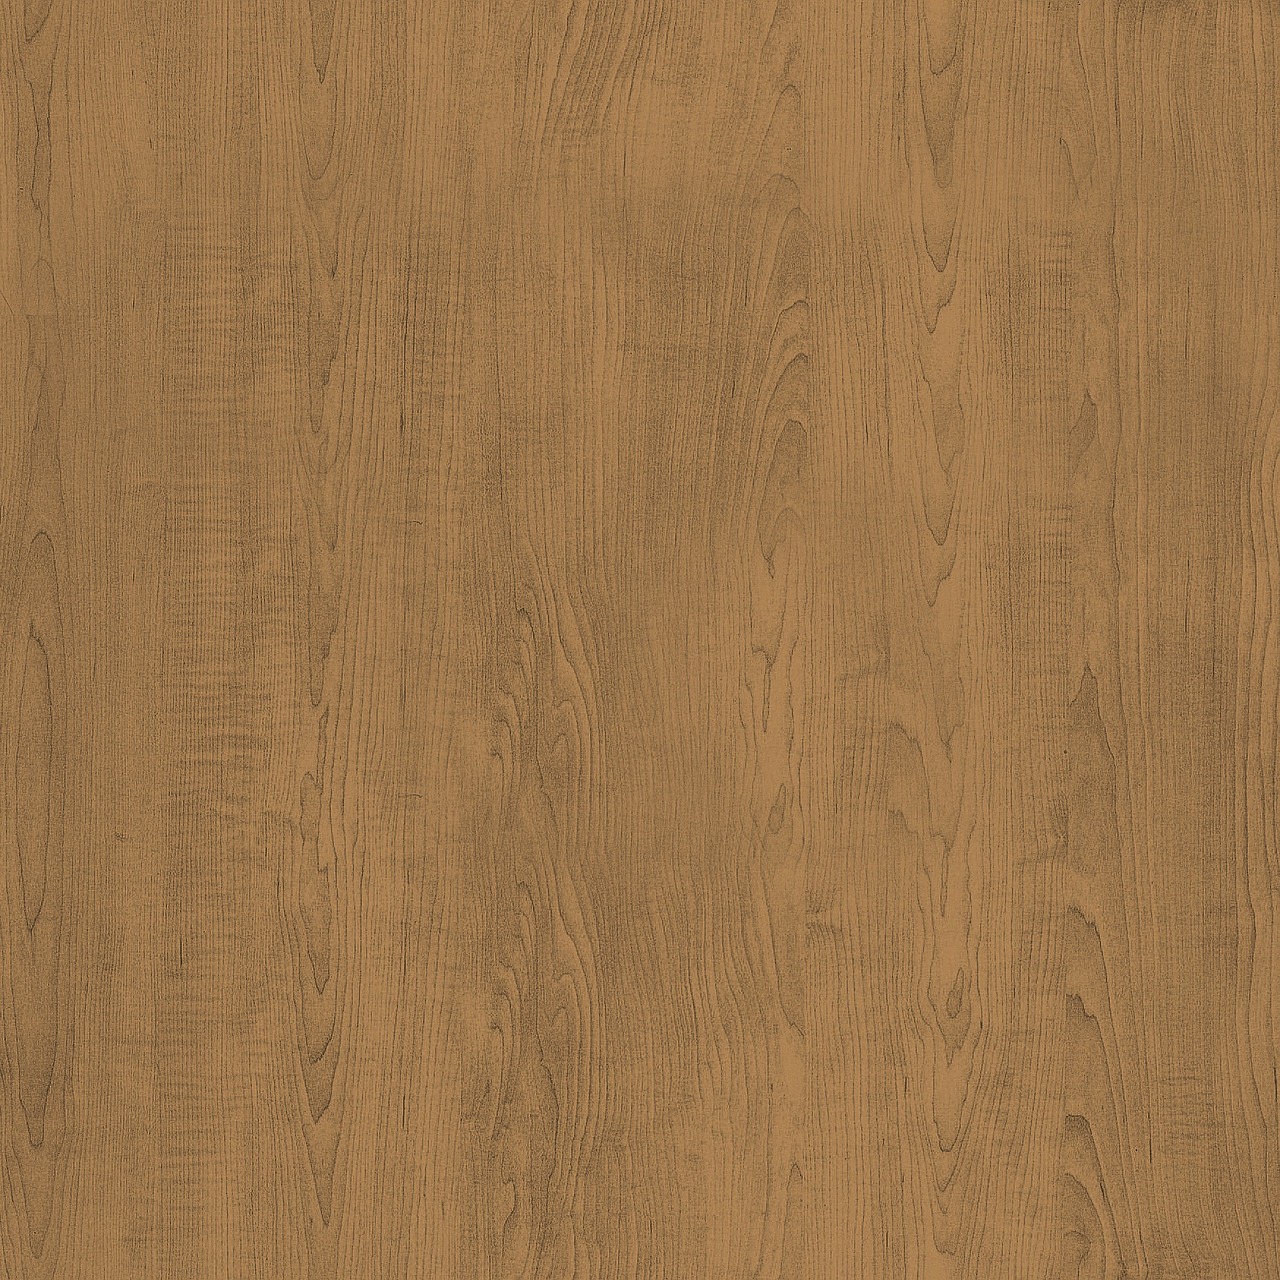
Selecting the appropriate wood is crucial for durability and aesthetics. Different types of wood possess unique characteristics that can significantly influence the look and longevity of your cabinet. For instance, hardwoods like oak and maple are known for their strength and beautiful grain patterns, making them ideal for a sturdy, elegant cabinet. On the other hand, softer woods, such as pine, are easier to work with and can be a more budget-friendly option. When choosing wood, consider the following factors:
- Durability: Will it withstand the test of time?
- Aesthetics: Does it match your home decor?
- Cost: Is it within your budget?
Ultimately, the right wood can elevate your project from simple to stunning, so choose wisely!
Having the right tools can make or break your DIY experience. A well-equipped workshop can turn a daunting task into an enjoyable adventure. Here, we discuss the essential tools needed for building a wooden display cabinet and their specific uses. From cutting to assembling, each tool plays a vital role in ensuring your cabinet comes together seamlessly.
Power tools can significantly speed up the construction process. Imagine slicing through wood like a hot knife through butter! Here’s a brief overview of must-have power tools for cutting, drilling, and finishing your cabinet:
| Tool | Purpose |
|---|---|
| Table Saw | For straight cuts and precise dimensions. |
| Drill | For making holes and driving screws. |
| Sander | For smoothing surfaces and edges. |
| Jigsaw | For intricate cuts and curves. |
While power tools are beneficial, hand tools still play an important role. They offer a level of precision and control that can be hard to achieve with power tools alone. Essential hand tools that can enhance your building process include:
- Chisels: Perfect for fine detailing.
- Hand Saw: Great for small cuts and adjustments.
- Clamps: Essential for holding pieces together while glue dries.
Incorporating these tools into your project can lead to a more polished final product.
Safety should be a priority when working with wood and tools. After all, you want to enjoy your project without any accidents! Essential safety equipment includes:
- Safety Glasses: Protect your eyes from dust and debris.
- Ear Protection: Safeguard your hearing from loud tools.
- Dust Mask: Prevent inhalation of harmful particles.
Taking these precautions will ensure a safe and enjoyable DIY experience.
Accurate measurements and a solid plan are fundamental to a successful build. Think of it like drawing a treasure map before you set out on an adventure! This subsection discusses how to measure properly and create a detailed plan for your cabinet design. Start by sketching your ideas on paper, considering dimensions and layout. Use a tape measure to ensure your measurements are spot on, and don't forget to account for the thickness of the wood.
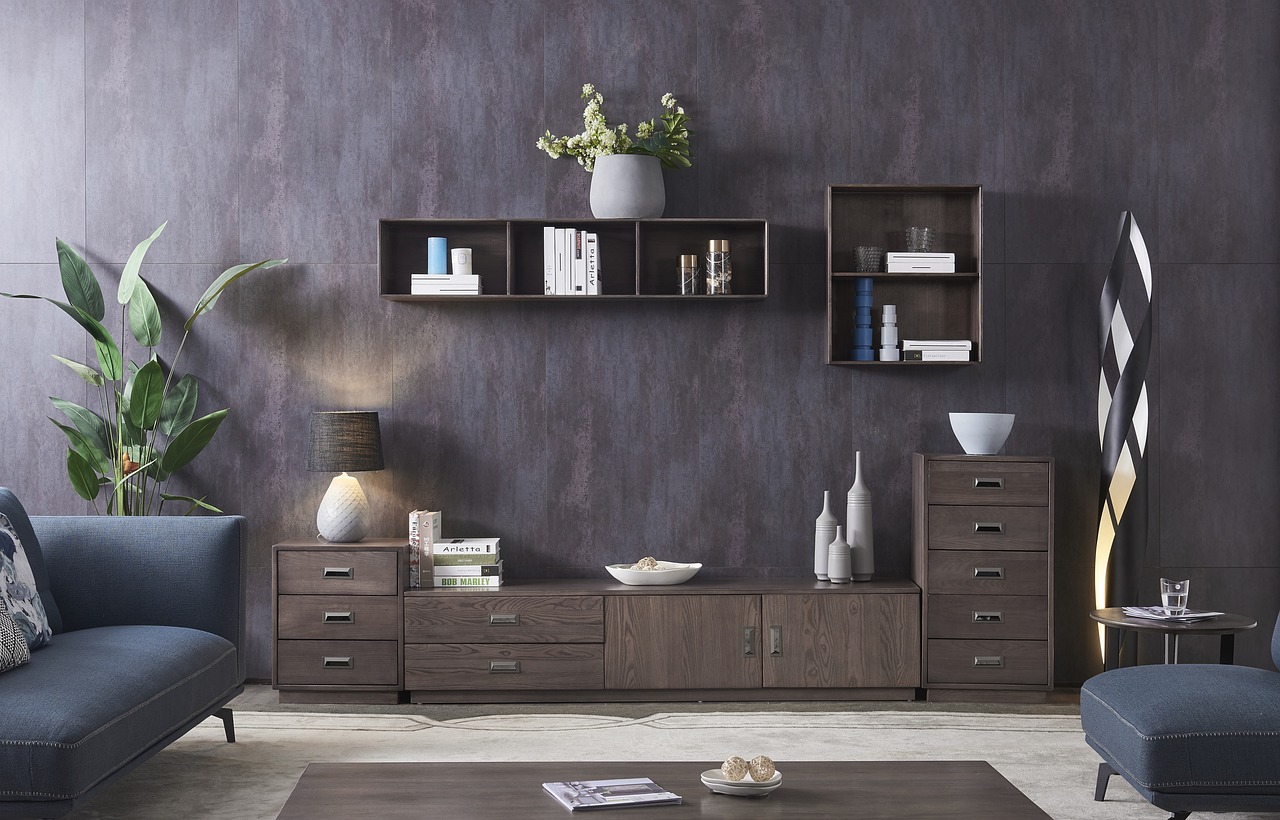
The design phase allows for creativity and personalization. This is where your vision comes to life! In this section, we explore different design styles, layouts, and features to consider when creating your wooden display cabinet. Whether you prefer a minimalist look or something more ornate, the possibilities are endless. Think about the overall style of your home and how your cabinet can complement it.
Adding shelves and compartments can enhance functionality. Consider how you want to display your items and the best way to organize them. This part discusses various arrangements and how to determine the right configuration for your display items. For example, adjustable shelves can provide flexibility for different sized objects, while closed compartments can keep less attractive items out of sight.
The finishing touches can elevate the overall appearance of your cabinet. This section covers staining, painting, and sealing options to achieve a professional look for your display cabinet. A beautiful finish not only enhances the wood's natural beauty but also protects it from wear and tear. Whether you choose a rich stain to highlight the wood grain or a bold paint color to make a statement, the right finish will make your cabinet truly shine!
Q: How long does it take to build a wooden display cabinet?
A: The time it takes can vary based on your skill level and the complexity of the design, but generally, it can take anywhere from a few days to a couple of weeks.
Q: Do I need prior woodworking experience?
A: While some experience can help, many DIY enthusiasts successfully build cabinets as their first project by following guides and tutorials.
Q: What is the best type of wood for a beginner?
A: Pine is often recommended for beginners due to its affordability and ease of work, allowing for a satisfying first project.
Choosing the Right Wood
This guide provides a comprehensive look into designing and building your own wooden display cabinet, covering materials, tools, techniques, and tips for a successful project.
When it comes to crafting a stunning wooden display cabinet, the choice of wood is absolutely crucial. Not only does the type of wood affect the durability of your cabinet, but it also plays a significant role in its aesthetic appeal. Imagine walking into a room and being drawn to a beautifully crafted cabinet that showcases your treasures—this is the magic that the right wood can create!
There are several types of wood to consider, each with its own unique characteristics. For instance, hardwoods like oak, maple, and cherry are popular choices due to their strength and rich grain patterns. They can withstand the test of time and add a touch of elegance to your design. On the other hand, softwoods like pine and cedar are lighter and often more affordable, making them suitable for budget-conscious projects or for those who prefer a more rustic look.
Here’s a quick comparison of some common types of wood used for display cabinets:
| Type of Wood | Characteristics | Best For |
|---|---|---|
| Oak | Strong, durable, and has a prominent grain pattern | Traditional and modern designs |
| Maple | Hard, fine grain, and resistant to scratches | Contemporary styles |
| Pine | Lightweight, easy to work with, and often less expensive | Rustic or farmhouse designs |
| Cedar | Natural resistance to moisture and insects | Outdoor cabinets or aromatic storage solutions |
When selecting wood, consider not only the look and feel of the wood but also its sustainability. Opting for sustainably sourced wood can greatly enhance the environmental impact of your project. Not all wood is created equal; some woods come from forests that are managed responsibly, while others may contribute to deforestation.
Additionally, think about the finish you want to achieve. Certain woods take stains and paints better than others. For instance, oak tends to absorb stain evenly, while pine can sometimes result in a blotchy finish if not prepped correctly. Always test your finish on a scrap piece of the same wood to see how it reacts before applying it to your entire cabinet.
Ultimately, the right wood choice is about finding a balance between functionality, style, and personal preference. So, take your time exploring different options, and don’t hesitate to ask for samples from your local lumberyard. After all, this cabinet will be a reflection of your taste and craftsmanship!
Having the right tools can make or break your DIY experience. Here, we discuss the essential tools needed for building a wooden display cabinet and their specific uses.
Power tools can significantly speed up the construction process. This subsection provides an overview of must-have power tools for cutting, drilling, and finishing your cabinet.
While power tools are beneficial, hand tools still play an important role. This part highlights essential hand tools that can enhance precision and control during the building process.
Safety should be a priority when working with wood and tools. This section emphasizes the necessary safety equipment to protect yourself during the construction of your display cabinet.
Accurate measurements and a solid plan are fundamental to a successful build. This subsection discusses how to measure properly and create a detailed plan for your cabinet design.
The design phase allows for creativity and personalization. In this section, we explore different design styles, layouts, and features to consider when creating your wooden display cabinet.
Adding shelves and compartments can enhance functionality. This part discusses various arrangements and how to determine the right configuration for your display items.
The finishing touches can elevate the overall appearance of your cabinet. This section covers staining, painting, and sealing options to achieve a professional look for your display cabinet.
Here are some common questions that DIY enthusiasts often have when it comes to building a wooden display cabinet:
- What type of wood is best for beginners? Softwoods like pine are generally easier to work with and more forgiving for novice builders.
- How can I ensure my cabinet is sturdy? Use sturdy joinery techniques such as dowels or pocket holes, and ensure your cabinet is properly anchored to the wall if it’s tall.
- What finish should I use for a display cabinet? Consider using a clear polyurethane for durability, or a stain followed by a sealant for a more decorative look.

Essential Tools for the Project
When embarking on the exciting journey of building your own wooden display cabinet, having the right tools at your disposal is crucial. Think of your tools as the magic wands that will transform your vision into reality. Without them, you might find yourself stuck, staring at a pile of wood, wondering how to bring it all together. So, let’s dive into the essential tools you’ll need for this project. Trust me, investing in these tools will save you time, effort, and a fair bit of frustration!
First up, you’ll need a circular saw. This power tool is your best friend when it comes to making straight cuts through thick pieces of wood. It’s like having a trusty sidekick that helps you tackle the heavy lifting. If you’re looking to make precise cuts, consider investing in a table saw. While it might take up more space in your workshop, it offers incredible accuracy and can handle larger sheets of wood with ease.
Next, let’s talk about the drill. A cordless drill is essential for making holes and driving screws. Imagine trying to build a cabinet without being able to fasten the pieces together! It’s like trying to bake a cake without an oven. A drill will not only speed up your assembly process but also ensure that everything fits together snugly. Pair it with a set of drill bits for versatility, and you’re golden!
Now, we can’t forget about the sander. This tool is vital for achieving that smooth finish that makes your cabinet look professional. No one wants to see rough edges or splinters when they admire your creation! A random orbital sander is a fantastic choice for beginners, as it’s easy to use and effective at removing imperfections.
While power tools are fantastic, hand tools still have their place in your toolkit. A chisel set is invaluable for detailed work, such as creating joints or refining edges. It allows for more control and precision, which can be crucial when you’re working on intricate designs. Additionally, a good measuring tape and square are essential for ensuring your measurements are accurate. After all, the old saying goes, “Measure twice, cut once!”
Lastly, let’s not overlook the importance of safety equipment. Always wear safety goggles to protect your eyes from dust and debris, and consider using ear protection when operating power tools. A good quality dust mask will also keep you safe from inhaling sawdust, which can be harmful over time. Remember, safety first!
In summary, here’s a quick recap of the essential tools you’ll need for your wooden display cabinet project:
- Circular saw
- Table saw (optional)
- Drill with drill bits
- Sander
- Chisel set
- Measuring tape
- Square
- Safety goggles
- Ear protection
- Dust mask
With these tools in hand, you’ll be well-equipped to tackle your DIY project and create a stunning wooden display cabinet that you can be proud of. Remember, the right tools not only make your work easier but also enhance the quality of your craftsmanship. Happy building!
Q: Do I need to buy all these tools, or can I rent them?
A: Renting tools can be a great option if you're only planning to build one cabinet. However, if you think you’ll take on more projects in the future, investing in your own tools might be worth it.
Q: What if I have never used power tools before?
A: Don’t worry! Start with basic tools and practice on scrap wood. There are plenty of tutorials online that can help you get comfortable with using power tools safely and effectively.
Q: How much will the tools cost?
A: The cost can vary widely depending on the quality and brand of the tools. It’s wise to set a budget and prioritize which tools are essential for your project.

Power Tools Overview
When it comes to building your own wooden display cabinet, having the right power tools can truly make a world of difference. Imagine trying to carve a masterpiece with nothing but a chisel and a hammer; it’s possible, but oh-so-time-consuming! Power tools are like the superhero sidekicks of the DIY world—they help you get the job done faster, more efficiently, and with a level of precision that hand tools simply can't match. In this section, we’ll dive into the essential power tools that can transform your woodworking journey from a tedious task into an enjoyable and rewarding experience.
First up on our list is the circular saw. This tool is a must-have for any DIY enthusiast. It allows you to make straight cuts with ease, whether you're cutting large sheets of plywood or smaller pieces of lumber. Just think of it as your trusty steed, galloping through wood like a pro! Next, we have the jigsaw, which is perfect for making curved cuts or intricate designs. If you want to add a unique flair to your cabinet, the jigsaw will help you carve out those artistic features effortlessly.
Then there’s the drill, a true multitasker in your toolkit. Not only does it help you create holes for screws, but you can also use it with various attachments for sanding and driving. It’s like the Swiss Army knife of power tools! And let’s not forget the sander, which is essential for achieving that smooth, polished finish. A good sander can save you hours of elbow grease, allowing you to focus on the fun parts of your project.
To give you a clearer picture, here’s a quick overview of these power tools in a table format:
| Power Tool | Function |
|---|---|
| Circular Saw | For making straight cuts in wood. |
| Jigsaw | For curved and intricate cuts. |
| Drill | For creating holes and driving screws. |
| Sander | For smoothing surfaces and finishing touches. |
In addition to these essential tools, consider investing in a router if you plan to add decorative edges or grooves to your cabinet. It’s a bit more advanced, but the results can be stunning. Also, a miter saw can be incredibly useful for making precise angled cuts, especially if your design includes any angled features.
Now, while power tools can speed up your work, it's important to remember that they require a bit of practice to master. Don’t be discouraged if your first few cuts aren’t perfect; think of it as a learning curve! With a little patience and practice, you’ll soon be wielding your power tools like a seasoned pro.
In conclusion, investing in the right power tools can elevate your woodworking skills and make the process of building your wooden display cabinet not only easier but also more enjoyable. So gear up, get your tools ready, and let your creativity flow!
- What power tools do I need for a beginner woodworking project? A circular saw, drill, and sander are great starting points for most woodworking projects.
- Are power tools safe to use? Yes, as long as you follow safety precautions and wear appropriate safety gear.
- Can I build a display cabinet without power tools? While it’s possible, using power tools will significantly reduce the time and effort required.
Hand Tools You Should Consider
When embarking on your DIY journey to build a wooden display cabinet, hand tools are your trusty companions. While power tools can make quick work of cutting and shaping, hand tools provide the finesse and control that often make the difference between a good project and a great one. Imagine trying to carve intricate details or make precise adjustments with a loud, buzzing saw—it's not the ideal scenario, right? That's where hand tools come in, allowing you to work at your own pace and with greater precision.
First and foremost, a good hand saw is essential. Unlike power saws, a hand saw gives you the ability to make delicate cuts without the risk of going too deep or veering off course. It's perfect for trimming edges or making intricate cuts that require a steady hand. Pair it with a quality chisel set, and you'll be well-equipped to handle any detail work that your display cabinet design may demand. Chisels allow you to create clean, sharp lines and can be used for everything from joining pieces to adding decorative elements.
Another invaluable tool is a hand plane. This tool helps you smooth out rough edges and ensures that your wood pieces fit together seamlessly. Think of it like the icing on a cake; it makes everything look polished and professional. If you're working with hardwoods, a hand plane can make a world of difference in achieving that smooth finish. Also, don't forget about a measuring tape and a square. These tools are fundamental for ensuring that your measurements are accurate and your angles are perfect. After all, a cabinet with misaligned doors or uneven shelves can be a nightmare!
For those intricate details, a router can be a game-changer. It allows you to add decorative edges to your cabinet, giving it a unique flair that sets it apart from store-bought options. And let's not overlook the importance of a solid clamp set. Clamps hold your pieces securely while the glue dries, preventing any unwanted movement that could compromise your hard work. Remember, a well-constructed cabinet is only as strong as its joints, and clamps are essential for achieving that strength.
In summary, while it might be tempting to rely solely on power tools for your display cabinet project, incorporating hand tools will provide you with the precision and control you need. Each tool plays a unique role, enhancing your ability to create a stunning piece that you can be proud of. So, gather your hand tools and get ready to unleash your creativity!
- What are the most essential hand tools for building a wooden display cabinet? Essential hand tools include a hand saw, chisels, a hand plane, a measuring tape, a square, and clamps.
- Can I build a display cabinet without power tools? Yes, it is possible to build a display cabinet using only hand tools. However, power tools can speed up the process.
- How do I choose the right wood for my cabinet? Consider factors such as durability, grain pattern, and color. Popular choices include oak, maple, and pine.
- What safety equipment do I need when using hand tools? Always wear safety glasses to protect your eyes, and consider gloves for hand protection.

Safety Equipment
When embarking on your DIY journey to build a wooden display cabinet, prioritizing safety is non-negotiable. The thrill of creating something from scratch can easily overshadow the importance of protecting yourself from potential hazards. Imagine wielding a power saw with precision, but without the right gear, that thrill can quickly turn into a nightmare. So, let’s break down the essential safety equipment you should have on hand before diving into your project.
First and foremost, you’ll want to invest in a good pair of safety goggles. These are crucial for protecting your eyes from flying debris and dust that can arise from cutting and sanding wood. Think of them as your personal shield against the unexpected. Next up, don’t forget about ear protection. Power tools can be loud, and prolonged exposure to high decibel levels can lead to hearing damage. Earplugs or earmuffs will help keep your ears safe while you focus on your craftsmanship.
Another essential piece of safety equipment is a dust mask. Woodworking creates a lot of fine dust that can irritate your lungs and lead to respiratory issues over time. A good quality dust mask will filter out harmful particles, allowing you to breathe easy while you work. Additionally, consider wearing gloves to protect your hands from splinters and cuts. However, be cautious with gloves around moving machinery, as they can sometimes get caught in the tools.
Lastly, having a well-stocked first aid kit nearby is a wise decision. Accidents can happen, and being prepared can make all the difference. Your kit should include band-aids, antiseptic wipes, and gauze, among other essentials. Think of it as your safety net, ready to catch you if things go awry.
In summary, the right safety equipment is your best friend when it comes to woodworking projects. By equipping yourself with safety goggles, ear protection, a dust mask, gloves, and a first aid kit, you can focus on the fun part—creating your beautiful wooden display cabinet—without worrying about the dangers lurking around you. Remember, a safe workshop is a happy workshop!

Measuring and Planning
When it comes to building your own wooden display cabinet, are the cornerstones of a successful project. Imagine setting off on a road trip without a map; you might end up lost or going in circles. The same principle applies to woodworking. Before you even think about cutting your first piece of wood, you need to have a clear understanding of what you want to create and how you're going to do it. Start by determining the dimensions of your cabinet. Consider where it will be placed—will it fit snugly in a corner or stand proudly in the middle of the room? Measure the available space carefully and jot down the dimensions, as this will guide your design.
Next, think about the layout of your cabinet. What kind of items do you plan to display? Will it be filled with books, collectibles, or perhaps a mix of both? Each type of item may require different shelf heights and depths. For example, if you’re displaying larger items like vases, you might want to incorporate adjustable shelves. To help visualize your cabinet, sketch a rough design on paper, including the number of shelves and compartments. This doesn't have to be a work of art; just a simple sketch will do. You can also use design software if you're comfortable with that.
Now, let’s talk about the materials. Different woods have varying characteristics, and you'll want to choose one that suits your design and budget. For instance, hardwoods like oak or maple offer durability and a beautiful finish, while softwoods like pine are easier to work with and less expensive. Once you've selected your wood, calculate how much you'll need based on your measurements. It’s always a good idea to buy a little extra to account for mistakes or miscalculations.
Once you have your dimensions, layout, and materials sorted out, it’s time to create a detailed cut list. This list should include all the pieces you need to cut, along with their dimensions. A well-prepared cut list will save you time and minimize waste. Here’s a simple example of what your cut list might look like:
| Piece | Dimensions (inches) | Quantity |
|---|---|---|
| Top Panel | 48 x 18 | 1 |
| Side Panels | 72 x 18 | 2 |
| Bottom Panel | 48 x 18 | 1 |
| Shelves | 46 x 16 | 3 |
Finally, don’t forget to double-check your measurements before cutting. Measure twice, cut once, as the saying goes! This mantra will help you avoid costly mistakes. Once everything is in place, you’ll be ready to move on to the fun part—building your cabinet!
- What type of wood is best for a display cabinet? It depends on your preference and budget. Hardwoods like oak provide durability, while softwoods like pine are easier to work with.
- How do I ensure my measurements are accurate? Use a reliable measuring tape and a square to check your angles. Always measure twice before cutting.
- Can I customize my cabinet design? Absolutely! The beauty of DIY is that you can personalize it to fit your style and needs.
- What tools do I need for this project? Essential tools include a saw, drill, measuring tape, and clamps. Safety gear is also crucial.

Designing Your Cabinet
When it comes to designing your wooden display cabinet, the sky's the limit! This is where your creativity can truly shine, allowing you to create a piece that not only serves a functional purpose but also reflects your personal style. Before you dive into the nitty-gritty of construction, take a moment to think about what you want your cabinet to accomplish. Are you looking to showcase collectibles, books, or perhaps your favorite wine bottles? Understanding the primary function will guide your design choices.
Now, let’s talk about design styles. From modern minimalism to rustic charm, the style you choose will dictate the materials, colors, and overall aesthetic of your cabinet. For instance, if you lean towards a contemporary look, consider sleek lines and a glossy finish. On the other hand, if you prefer something more traditional, opt for ornate details and warm wood tones. Here’s a quick overview of some popular design styles you might consider:
| Design Style | Characteristics |
|---|---|
| Modern | Sleek lines, minimal ornamentation, and a focus on functionality. |
| Rustic | Natural wood finishes, distressed textures, and a cozy, inviting feel. |
| Industrial | Raw materials, metal accents, and a utilitarian vibe. |
| Traditional | Ornate details, rich colors, and classic design elements. |
Once you've settled on a style, it's time to think about layout and features. How many shelves do you need? Will you incorporate drawers or doors? These decisions will affect both the functionality and the visual appeal of your cabinet. A well-placed shelf can create a stunning display of your favorite items, while a drawer can keep clutter at bay. Consider the following:
- Height: Think about where you’ll place the cabinet. Will it be a floor model, or will it hang on the wall? This will influence the height and proportions.
- Width: Ensure that the width of the cabinet fits comfortably in your chosen space without overwhelming the room.
- Depth: A deeper cabinet provides more storage but can take up more visual space. Balance is key!
Now that you have a plan, sketch out your design. It doesn’t have to be a masterpiece; even a simple drawing will help you visualize the final product. You can use graph paper or design software to create a more precise blueprint. Remember to include dimensions, as this will be your roadmap during construction.
Lastly, don't forget about the finishing touches. These elements can truly elevate your cabinet from ordinary to extraordinary. Think about adding lighting to showcase your items, or decorative hardware that complements your design style. Perhaps a unique stain or paint color will tie everything together. The goal is to create a piece that not only serves its purpose but also becomes a conversation starter in your home.
In conclusion, designing your wooden display cabinet is an exciting opportunity to blend functionality with personal expression. Take your time during this phase, as a well-thought-out design will make the construction process smoother and more enjoyable. With the right plan in place, you'll soon have a stunning display cabinet that you can be proud of!
Q: What type of wood is best for a display cabinet?
A: The best wood depends on your style and budget. Popular choices include oak for its durability, pine for its affordability, and walnut for its rich color.
Q: How do I determine the right size for my cabinet?
A: Measure the space where you plan to place the cabinet and consider what items you’ll display. Ensure the cabinet doesn't overwhelm the room.
Q: Can I customize the design of my cabinet?
A: Absolutely! This is your project, so feel free to get creative with shapes, sizes, and features that suit your needs and taste.
Q: What finish should I use?
A: It depends on your desired look. Stains can enhance the wood's natural beauty, while paint can add a pop of color. Sealants are also important for protection.

Incorporating Shelves and Compartments
When it comes to designing your wooden display cabinet, the incorporation of shelves and compartments is where the magic truly happens. Think of your cabinet as a blank canvas—one that can be tailored to showcase your cherished collectibles, books, or even your favorite wines. The arrangement of shelves and compartments not only influences the aesthetics of your cabinet but also its functionality. So, how do you determine the best layout for your needs? Let’s dive in!
First off, consider the items you plan to display. Are they large and bulky, like vintage vases, or smaller, like action figures? This will dictate the spacing and height of your shelves. For instance, if you have a collection of tall vases, you might want to create fewer, but taller compartments to accommodate them. Conversely, smaller items can be arranged on multiple shelves, allowing for a more intricate display.
Next, think about the configuration of your shelves. A common approach is to use adjustable shelving, which provides flexibility. With adjustable shelves, you can easily modify the height of each shelf based on your changing display needs. This means you won’t be stuck with a fixed layout that may not suit your collection as it grows or changes over time. Consider using pegboard or shelf pins for easy adjustments.
Another option is to incorporate a mix of open and closed compartments. Open shelves are perfect for showcasing items you want to highlight, while closed compartments can be used to store items that you wish to keep out of sight or protect from dust. This balance can create a visually appealing cabinet that is both practical and stylish.
| Type of Compartment | Best For | Design Tips |
|---|---|---|
| Open Shelves | Showcasing collectibles, books | Use varying heights for visual interest |
| Closed Compartments | Storing items, protecting from dust | Consider glass doors for elegance |
| Drawers | Storing smaller items | Label for easy identification |
Finally, don’t forget about the lighting. Adding LED strips or small spotlights can dramatically enhance the look of your display cabinet, making your items stand out even more. Proper lighting can create a warm atmosphere and draw attention to your most prized possessions. So, as you plan your shelves and compartments, think about how you can incorporate lighting to elevate your display.
In summary, incorporating shelves and compartments into your wooden display cabinet is not just about functionality; it’s about creating a space that tells your story. By carefully considering the types of items you want to display, the configuration of your shelves, and the overall aesthetic, you can design a cabinet that is uniquely yours. Remember, this is your canvas—let your creativity shine!
- What type of wood is best for a display cabinet? - The best wood depends on your budget and aesthetic preferences. Popular choices include oak, maple, and pine.
- How do I determine the height of my shelves? - Measure your items and allow for extra space. Adjustable shelves can help accommodate different sizes.
- Should I use glass doors? - Glass doors can protect your items from dust while allowing them to be displayed beautifully.
- What is the best way to light my display cabinet? - LED strips or small spotlights can provide effective and attractive lighting for your cabinet.
Finishing Touches
When it comes to crafting your wooden display cabinet, the are where the magic truly happens. Think of these final steps as the icing on the cake; they can transform a simple, functional piece of furniture into a stunning showcase for your prized possessions. Whether you're aiming for a rustic charm or a sleek modern look, the right finish can enhance the natural beauty of the wood and protect it for years to come.
First, let's talk about staining. Stains come in a variety of colors and can dramatically change the appearance of your wood. They penetrate the surface, highlighting the grain and adding depth. If you want to maintain the natural look of the wood while giving it a bit of color, a clear or lightly tinted stain may be the way to go. On the other hand, if you're looking for something bold and dramatic, a dark stain can create a striking contrast that draws the eye. Remember to apply the stain evenly and allow it to dry completely before moving on to the next step.
Next up is painting. Painting your cabinet can be a fun way to express your personal style. You can opt for a solid color to make a statement or use a technique like distressing to give it a vintage feel. If you choose to paint, make sure to use a primer first. This will help the paint adhere better and provide a more even finish. After the primer dries, apply your chosen paint in thin, even coats, allowing each coat to dry before adding the next. Don't forget to finish off with a clear topcoat for added protection!
Sealing your cabinet is another critical step. A good sealant will protect your cabinet from moisture, dust, and scratches. There are several options available, including polyurethane, lacquer, and varnish. Each has its own characteristics, but polyurethane is often favored for its durability. Apply the sealant with a brush or a spray can, following the manufacturer's instructions for the best results. This will not only protect your cabinet but also enhance the color and finish of your chosen stain or paint.
Finally, consider adding some hardware to your cabinet. The right knobs and handles can elevate the overall look and feel of your piece. Whether you prefer a modern metal finish or a vintage wooden knob, hardware can be the cherry on top of your DIY project. Take your time to choose pieces that complement your design and make sure they are securely attached for functionality.
In summary, the finishing touches on your wooden display cabinet are essential for both aesthetics and durability. By carefully selecting stains, paints, sealants, and hardware, you can create a piece that not only showcases your items beautifully but also stands the test of time. So, roll up your sleeves, get creative, and let your personality shine through in your finished cabinet!
- What type of wood is best for a display cabinet?
The best type of wood depends on your style and budget. Popular choices include oak for its strength, pine for its affordability, and cherry for its beautiful color.
- How do I ensure a smooth finish?
To achieve a smooth finish, sand your wood properly before applying any stain or paint. Start with a coarse grit and gradually move to finer grits.
- Can I use leftover paint or stain from other projects?
Yes, you can use leftover materials, but ensure they are still in good condition and compatible with your wood type for the best results.
- How long does it take for the finish to dry?
Drying times can vary based on the product used and environmental conditions, but generally, allow 24 hours for stains and paints to dry fully before sealing.
Frequently Asked Questions
- What type of wood is best for a display cabinet?
Choosing the right wood depends on both durability and aesthetic preferences. Hardwoods like oak, maple, or cherry are excellent choices for their strength and beautiful grain patterns. If you're looking for something more budget-friendly, plywood or pine can also work well, especially for painted finishes.
- Do I need power tools to build a wooden display cabinet?
While power tools can significantly speed up the process and make tasks easier, they are not strictly necessary. Essential hand tools like a saw, drill, and screwdriver can also get the job done. However, using power tools can enhance precision and reduce effort.
- What safety equipment should I use while building?
Safety should always come first! Make sure to wear safety goggles to protect your eyes from dust and debris, ear protection if you're using loud power tools, and a dust mask to avoid inhaling wood particles. Gloves can also help protect your hands from splinters and cuts.
- How do I measure accurately for my cabinet?
Accurate measurements are crucial! Use a tape measure and a square to ensure your cuts are straight. Always double-check your measurements before cutting, and consider making a template for complex shapes to avoid mistakes. Remember, measure twice, cut once!
- Can I customize the design of my cabinet?
Absolutely! This is one of the most exciting parts of the project. You can choose different styles, colors, and configurations to match your personal taste and home decor. Think about the items you'll display and how you want to arrange them, and let your creativity shine!
- What finishing options are available for my cabinet?
Finishing touches can make a huge difference in appearance. You can stain the wood to enhance its natural beauty, paint it for a pop of color, or seal it to protect against wear and tear. Each option has its own set of techniques and products, so choose what fits your style best!