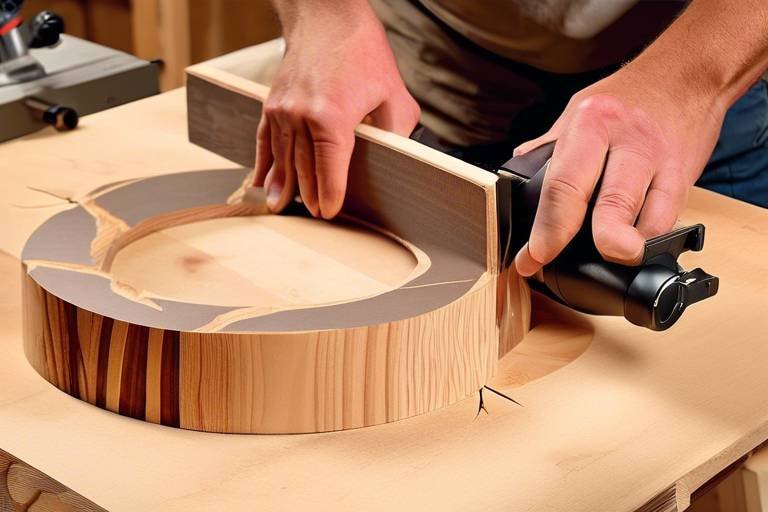
7 Easy Steps to Build a Wooden Garden Bench
Building a wooden garden bench can be a rewarding project that adds both beauty and functionality to your outdoor space. Whether you want a cozy spot to enjoy your morning coffee or a place to gather with friends and family, a handcrafted bench can be the perfect addition. In this article, we will guide you through seven easy steps to create a stunning wooden garden bench that will not only enhance your garden but will also provide a comfortable seating area for years to come. So, roll up your sleeves, and let’s dive into the world of woodworking!
When it comes to building a wooden garden bench, selecting the appropriate materials is crucial for both durability and aesthetics. You want your bench to withstand the elements while also looking good in your garden. The best types of wood for outdoor furniture include:
- Teak: Known for its natural oils, teak is resistant to moisture and pests.
- Cedar: Lightweight and aromatic, cedar is naturally resistant to decay.
- Redwood: Another excellent choice, redwood is durable and visually appealing.
In addition to wood, consider other materials such as screws, wood glue, and a protective finish to ensure your bench lasts through the seasons. A little investment in quality materials can go a long way in enhancing the longevity of your creation.
Before you begin building your bench, it’s essential to gather all the necessary tools. Having the right tools on hand will make the process smoother and safer. Here’s a quick rundown of what you’ll need:
- Measuring Tape: For accurate measurements.
- Square: To ensure your cuts are straight and angles are correct.
- Saw: A power saw or hand saw will do the trick.
- Drill: For making holes and driving screws.
- Sander: To smooth out rough edges.
With these tools, you’ll be well-equipped to tackle your garden bench project with confidence!
Accurate measurements are the backbone of a successful build. A well-measured piece of wood can make all the difference in ensuring your bench is stable and looks great. Start by sketching out your design and taking precise measurements. Use your measuring tape and square to mark where you’ll be cutting. When cutting the wood, ensure you follow these steps:
- Measure twice, cut once! This old adage holds true in woodworking.
- Cut along the marked lines carefully, using a steady hand.
- Check the fit of each piece before moving on to the next cut.
By taking your time during this step, you’ll set yourself up for success in the assembly phase.
Safety should always be your top priority when working with power tools. Here are some essential safety tips to keep in mind:
- Always wear safety goggles to protect your eyes.
- Keep your fingers away from the blade while cutting.
- Ensure your workspace is clean and free of distractions.
By following these safety precautions, you can enjoy your woodworking project without unnecessary risks.
Different saws serve various purposes, and choosing the right one can significantly affect the quality of your cuts. For cutting wood for your garden bench, consider:
- Table Saw: Ideal for making straight cuts on larger pieces of wood.
- Miter Saw: Perfect for angled cuts, especially for the bench’s legs.
- Jigsaw: Great for intricate cuts and curves.
Using the right saw not only makes your job easier but also ensures clean and precise cuts, resulting in a professional-looking bench.
Once all your wood pieces are cut, it’s time to assemble the frame of your garden bench. Start by laying out all the pieces in the correct configuration according to your design. Use wood glue and screws to secure the pieces together, ensuring everything is aligned correctly. Don’t rush this step; a well-assembled frame is crucial for the overall stability and appearance of your bench.
After assembling your bench, the finishing touches can make all the difference in its appearance and longevity. Sand down any rough edges to create a smooth surface, then consider staining or painting your bench to protect it from the elements. A good sealant can also help keep moisture at bay, ensuring your bench remains beautiful for years to come.
Selecting the right finish can greatly impact the bench's look and durability. Some popular finishing options include:
- Oil-Based Stains: Penetrate deep into the wood, providing excellent protection.
- Water-Based Stains: Quick-drying and easy to clean up, but may require more frequent reapplication.
- Sealants: Offer a protective layer against moisture and UV rays.
To ensure your garden bench lasts, regular maintenance is key. Here are some practical tips:
- Clean the bench regularly to prevent dirt buildup.
- Reapply your finish every couple of years to maintain protection.
- Store the bench indoors during harsh weather conditions if possible.
Q: How long will it take to build a wooden garden bench?
A: Depending on your skill level and the complexity of your design, it can take anywhere from a few hours to a weekend.
Q: What type of wood is best for outdoor furniture?
A: Teak, cedar, and redwood are excellent choices due to their natural resistance to weather and pests.
Q: Do I need any special skills to build a garden bench?
A: Basic woodworking skills are helpful, but with patience and the right tools, anyone can build a bench!

Choosing the Right Materials
When it comes to building your own wooden garden bench, is absolutely crucial. Not only does this choice affect the overall aesthetics of your bench, but it also plays a significant role in its durability and longevity. Imagine investing your time and effort into crafting a stunning piece of outdoor furniture, only to have it succumb to the elements after just a season or two. To avoid this, let’s dive into the best types of wood and other materials that will ensure your bench stands the test of time.
First and foremost, the type of wood you select can make or break your project. For outdoor furniture, you want to choose woods that are naturally resistant to rot and insect damage. Here are some of the top contenders:
- Teak: Known for its rich color and natural oils, teak is a prime choice for outdoor furniture. It’s incredibly durable and can withstand harsh weather conditions.
- Cedar: This wood is lightweight and has a pleasant aroma. Cedar is resistant to decay and insects, making it a popular choice for garden benches.
- Redwood: Similar to cedar, redwood has natural resistance to rot and is known for its beautiful grain. It’s perfect for a stunning outdoor piece.
- Pressure-Treated Pine: This is a more budget-friendly option. Although it requires some maintenance, it can last for years if properly treated and sealed.
Alongside wood, you’ll need some additional materials to complete your bench. Consider using high-quality screws and wood glue for assembly, as they provide the necessary strength to hold everything together. Additionally, a protective sealant or stain will help shield your bench from moisture and UV rays, ensuring it remains vibrant and intact.
Lastly, don’t forget about the comfort factor! Adding cushions or pillows can enhance the bench's usability, making it a cozy spot for relaxation. Choose outdoor fabrics that are weather-resistant to avoid fading and wear over time. By carefully selecting your materials, you can create a beautiful and functional garden bench that will be the envy of your neighbors.
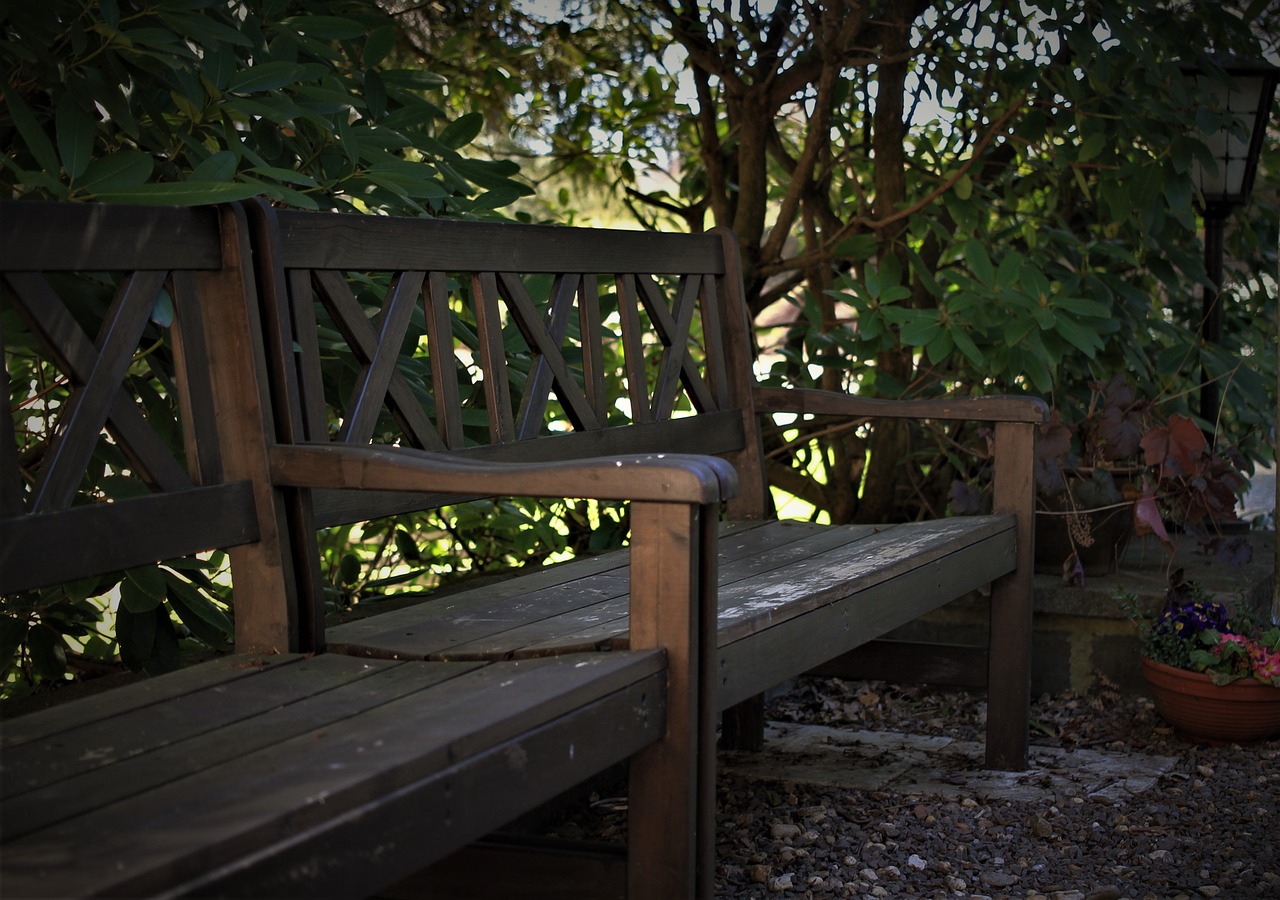
Essential Tools for the Project
Before diving into the exciting world of woodworking and crafting your very own wooden garden bench, it's crucial to gather the right tools. Think of these tools as your trusty sidekicks; without them, your project might feel a bit like trying to bake a cake without an oven—frustrating and incomplete! So, let’s break down the essential tools you’ll need to ensure a smooth and enjoyable building experience.
First and foremost, you’ll need a measuring tape. This tool is your best friend when it comes to accuracy. A good measuring tape allows you to measure lengths and widths precisely, ensuring that every piece of wood fits together perfectly. Remember, “measure twice, cut once” is not just a catchy saying; it’s a golden rule in woodworking!
Next on the list is a circular saw. This powerful tool is ideal for making straight cuts through your wooden boards. If you want to achieve clean, precise cuts, a circular saw is your go-to choice. However, if you’re looking for more intricate cuts, you might also consider a jigsaw, which is perfect for curves and detailed shapes.
Don’t forget about a drill. Whether you’re assembling the bench or adding decorative elements, a drill is essential for creating holes and driving screws. It saves you time and effort compared to using a manual screwdriver. Plus, it can be a real game-changer when you’re dealing with tougher materials!
For joining your pieces together, you’ll need screws and possibly some wood glue. Screws provide a strong hold, while wood glue can add extra support and stability to your joints. Think of the screws as the backbone of your bench, while the glue acts like the glue in a friendship—binding everything together!
Lastly, you’ll want to have some safety gear on hand. Safety goggles and gloves are a must to protect your eyes and hands from any potential hazards. Remember, it’s better to be safe than sorry, especially when you’re wielding power tools!
Here’s a quick summary of the essential tools you’ll need:
| Tool | Purpose |
|---|---|
| Measuring Tape | For accurate measurements |
| Circular Saw | For straight cuts |
| Jigsaw | For intricate cuts |
| Drill | For creating holes and driving screws |
| Screws | For joining pieces together |
| Wood Glue | For added support |
| Safety Gear | To protect yourself while working |
By gathering these tools before you start, you’ll be setting yourself up for success. Each tool plays a unique role in the construction process, making it easier and more enjoyable to bring your vision of a beautiful wooden garden bench to life. So, gear up and get ready to unleash your inner craftsman!
Q: Do I need to be an expert to build a wooden garden bench?
A: Not at all! This project is beginner-friendly, and with the right tools and instructions, you can create a stunning bench.
Q: What type of wood is best for outdoor furniture?
A: Cedar, redwood, and teak are excellent choices due to their natural resistance to decay and insects.
Q: How long will it take to build the bench?
A: Depending on your skill level and the complexity of the design, it could take anywhere from a few hours to a couple of days.
Q: How can I maintain my wooden bench?
A: Regular cleaning and applying a protective finish will help extend the life of your bench. Make sure to check for any signs of wear or damage periodically.
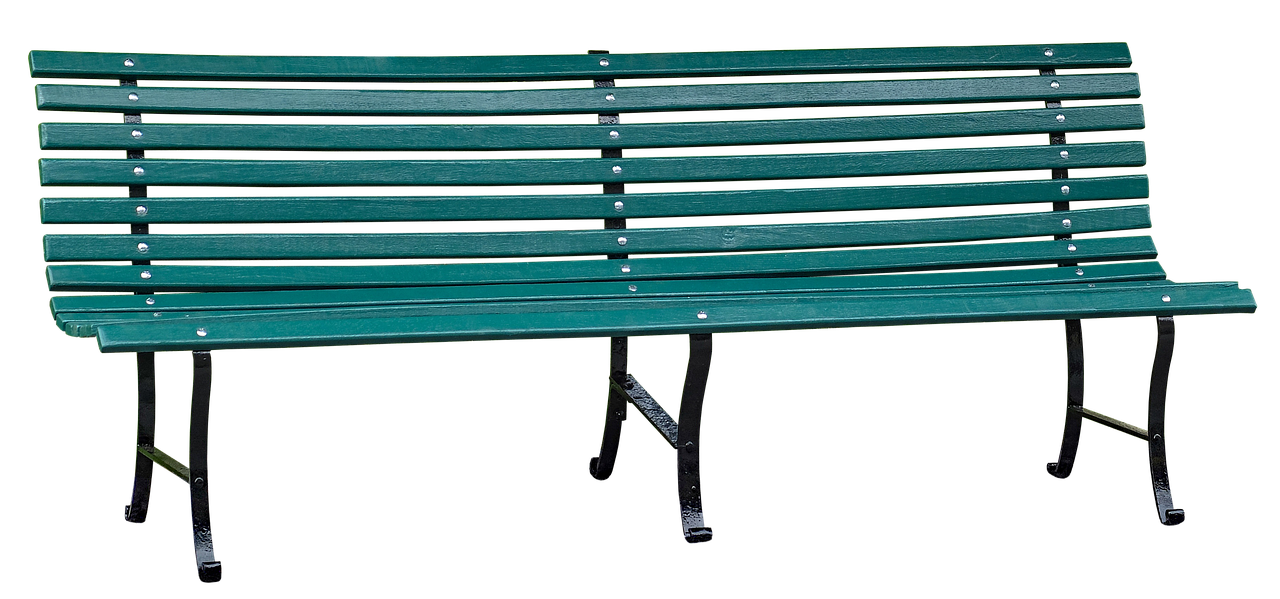
Measuring and Cutting the Wood
When it comes to building your wooden garden bench, measuring and cutting the wood accurately is absolutely crucial. Think of it like baking a cake: if you don’t measure the ingredients right, you might end up with a flat disaster instead of a fluffy delight. The same goes for your bench—precision is key to ensuring that all the pieces fit together perfectly.
Start by gathering your materials and tools. You’ll need a measuring tape, a square, and a pencil for marking your cuts. Once you have everything ready, take a deep breath and let’s get to measuring! First, decide on the dimensions of your bench. A standard garden bench is typically around 4 to 6 feet long, 1.5 to 2 feet deep, and about 1.5 to 2 feet high. However, feel free to adjust these measurements based on your personal preferences and available space.
After you’ve determined the dimensions, it’s time to measure your wood. Use the measuring tape to mark out the lengths you need for the seat, backrest, and legs. Don’t forget to double-check your measurements—there's an old saying: “Measure twice, cut once.” This is especially important when working with wood, as making a mistake can lead to wasted materials and extra costs. Once you’ve marked your cuts, use a square to ensure your lines are straight and true.
Now, let’s talk about cutting. For this project, you’ll likely need to make straight cuts. A circular saw or a miter saw works best for this type of job. Make sure to set the blade depth correctly, so it only cuts through the wood you’re working with. As you prepare to cut, remember to wear safety gear, including goggles and ear protection, to keep yourself safe from flying debris.
When you’re ready to cut, take your time. Align the saw with your marked line and make the cut in a steady motion. If you’re using a circular saw, let the blade do the work—don’t force it through the wood. After cutting, you should have clean edges. If you notice any rough spots, you can smooth them out with sandpaper later on.
Finally, here’s a quick summary of the measuring and cutting process:
| Step | Description |
|---|---|
| 1 | Determine dimensions for your bench. |
| 2 | Measure and mark wood carefully. |
| 3 | Use a square for straight lines. |
| 4 | Choose the right saw and cut slowly. |
| 5 | Check cuts for accuracy and smooth edges. |
By following these steps, you’ll ensure that your wooden garden bench starts off on the right foot. Remember, taking the time to measure and cut accurately will save you headaches down the road. So take a moment, enjoy the process, and get ready to see your vision come to life!

Safety Tips for Cutting Wood
When it comes to cutting wood for your garden bench, safety should be your top priority. After all, no one wants a trip to the emergency room to be part of their DIY adventure! Here are some essential safety tips that will help you stay safe while working on your project:
First and foremost, always wear appropriate personal protective equipment (PPE). This includes safety goggles to protect your eyes from flying debris, hearing protection if you’re using power tools, and a dust mask to avoid inhaling wood particles. Think of this gear as your armor; it may not look cool, but it will keep you safe!
Next, ensure your workspace is clean and organized. A cluttered area can lead to accidents, so take a moment to clear away any unnecessary items. It’s like preparing a stage for a performance; a tidy environment sets the tone for a successful project. Make sure your tools are easily accessible but safely stored when not in use.
Before you start cutting, double-check your measurements. Remember the saying, “measure twice, cut once”? Well, it’s true! Accurate measurements not only save you time but also reduce the risk of mistakes that could lead to injuries. If you’re unsure about a cut, take a moment to reassess instead of rushing in.
When using power saws, always follow the manufacturer’s instructions. Each tool has its quirks and safety features, so familiarize yourself with them. For example, most saws come with a safety guard—never remove it! It’s there for a reason, just like a seatbelt in a car.
Additionally, keep your hands and fingers away from the blade. Use push sticks or guides to maintain a safe distance. Think of the blade as a hungry alligator; you wouldn’t want to get too close! Always keep your hands in a safe position and never reach across the cutting area.
Finally, if you’re feeling tired or distracted, it’s best to take a break. Fatigue can lead to poor decision-making, which can be dangerous when using sharp tools. So, grab a snack, hydrate, and come back refreshed. Remember, woodworking should be enjoyable, not a race!
By following these safety tips, you can focus on creating your beautiful garden bench without the worry of accidents. Safety is not just a precaution; it’s an essential part of your DIY journey!
Here are some common questions that might pop up while you’re working on your garden bench:
- What type of wood is best for outdoor benches? Cedar and redwood are popular choices due to their natural resistance to decay.
- How do I prevent wood from splitting while cutting? Use a sharp blade and cut slowly to minimize the risk of splitting.
- What safety gear do I need? Safety goggles, gloves, and a dust mask are essential when cutting wood.
- Can I use reclaimed wood for my bench? Yes, but ensure it's free from chemicals and in good condition before using it.
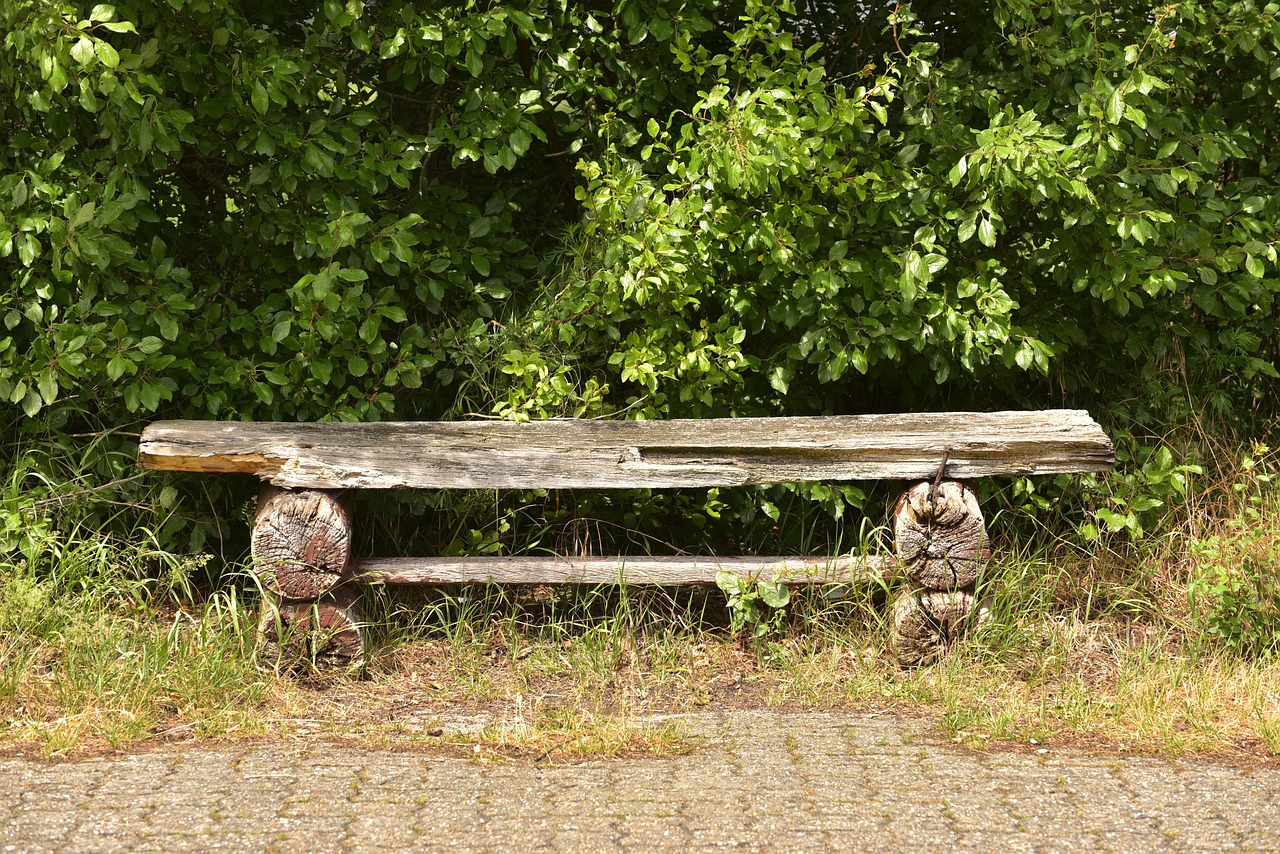
Choosing the Right Saw
When it comes to building your wooden garden bench, choosing the right saw is a crucial step that can make or break your project. Imagine trying to carve a masterpiece with a dull knife; it just doesn’t work! The right saw not only ensures clean and precise cuts but also makes the entire process smoother and more enjoyable. So, let’s dive into the different types of saws you might consider for your garden bench project.
First up, we have the circular saw. This powerhouse is perfect for making straight cuts on larger pieces of wood. If you’re dealing with thick boards or plywood, a circular saw will save you time and effort. Just remember to use a fine-tooth blade for a cleaner cut, especially if you want to maintain the natural beauty of the wood.
Next, consider the miter saw. This saw is fantastic for making angled cuts, which can be essential for creating a stylish bench design. Whether you’re looking to add a bit of flair with angled legs or want to ensure your joints fit perfectly, a miter saw should be on your list. It’s like having a magical tool that makes all your angles just right!
For those intricate cuts, a jigsaw is your best friend. This versatile tool allows you to cut curves and shapes that other saws simply can’t handle. If your bench design includes any rounded edges or unique shapes, a jigsaw will help you achieve that professional look without a hitch.
Lastly, let’s not forget about the hand saw. While it may not be as flashy as its power-tool counterparts, a hand saw can be incredibly useful for smaller tasks or when working in tight spaces. Plus, using a hand saw can give you a sense of connection to your project, making each cut feel intentional.
Here’s a quick overview of the saws mentioned:
| Saw Type | Best For | Notes |
|---|---|---|
| Circular Saw | Straight cuts on large boards | Use fine-tooth blade for cleaner cuts |
| Miter Saw | Angled cuts | Ideal for stylish designs and perfect joints |
| Jigsaw | Curved and intricate cuts | Great for unique shapes |
| Hand Saw | Small tasks and tight spaces | Provides a personal touch to your project |
Ultimately, the saw you choose will depend on your specific needs and the design of your garden bench. Think about the cuts you’ll be making and how comfortable you are with each tool. With the right saw in hand, you’ll be well on your way to creating a stunning garden bench that you can be proud of!
- What type of wood is best for a garden bench? - Cedar and redwood are excellent choices due to their natural resistance to moisture and insects.
- How much does it cost to build a wooden garden bench? - Costs can vary widely based on materials and design, but a basic bench can typically be built for around $100 to $300.
- Do I need special tools to build a garden bench? - While basic tools like saws and drills are essential, you don’t need a full workshop. A few hand tools and a power saw should suffice!

Assembling the Bench Frame
Now that you've meticulously cut all your wood pieces, it's time to bring everything together and assemble the bench frame. This step is where your vision truly starts to come to life! Picture this: each piece of wood you’ve prepared is like a puzzle waiting to fit perfectly together. The first thing you'll want to do is lay out all your pieces in the order you plan to assemble them. This not only helps you visualize the final product but also ensures that you have everything you need at hand.
Begin by taking the two long side pieces of wood, which will serve as the bench's main supports. Position them parallel to each other, ensuring they are evenly spaced apart. Next, take the shorter pieces that will act as the front and back supports. These should be placed perpendicular to the long side pieces, creating a rectangular frame. To secure these pieces together, you can use wood screws or brackets, depending on your preference. Make sure to drill pilot holes first to avoid splitting the wood—think of it as giving your wood a little heads-up before the screws go in!
As you work, it’s crucial to check for squareness. Use a carpenter’s square to ensure that the corners of your frame are at right angles. This little tool can be a game-changer, ensuring that your bench doesn’t end up looking like it’s trying to run away! Once you’re satisfied with the frame's shape, tighten all the screws securely, but be careful not to over-tighten them, as this can cause damage.
After securing the frame, you should consider reinforcing it for added stability. Adding diagonal braces at the corners can significantly increase the strength of your bench. These braces can be cut from scrap wood and attached using screws. Not only does this enhance the durability of your bench, but it also adds a rustic charm to the overall look. Once the frame is assembled and reinforced, take a step back and admire your handiwork—you're one step closer to enjoying your beautiful garden bench!
Now, let’s keep in mind that assembling the frame is just the beginning. You’ll want to ensure that everything is aligned correctly before moving on to the next stages of your project. If you’re feeling a bit overwhelmed or unsure, don’t hesitate to ask a friend for help. Sometimes, having an extra pair of hands can make all the difference!
- What type of wood is best for a garden bench? Pressure-treated lumber, cedar, and redwood are excellent choices due to their resistance to weather and insects.
- How long will it take to assemble the bench frame? Depending on your skill level, it could take anywhere from 1 to 3 hours.
- Do I need special tools for assembly? Basic tools like a drill, screwdriver, and saw are sufficient for most bench assembly projects.
- Can I customize the size of the bench? Absolutely! Just adjust your measurements according to your space and needs.

Finishing Touches and Treatment
After you've successfully assembled your wooden garden bench, it’s time to focus on the finishing touches that will not only enhance its appearance but also ensure its longevity. Think of this step as the icing on the cake; it’s where all your hard work truly shines! A well-finished bench can transform your outdoor space, making it a cozy spot for relaxation and enjoyment.
First, let’s talk about sanding. This is a crucial step that often gets overlooked. Sanding your bench will remove any rough edges and splinters, giving it a smooth, polished look. Start with a coarse sandpaper (like 80-grit) to tackle any major imperfections, then gradually move to finer grits (up to 220-grit) for a silky finish. Remember, patience is key here; a little extra time spent sanding can make a world of difference in the final product!
Next up is staining. This is where you can really let your creativity shine! Staining not only adds color but also highlights the natural grain of the wood. Choose a stain that complements your garden's color palette. You can opt for a classic walnut for a rich, warm look or a lighter oak for a more modern feel. Apply the stain with a brush or cloth, working in the direction of the grain. Don’t forget to wipe off any excess to avoid a sticky finish. Allow the stain to dry completely before moving on to the next step.
Once your bench is stained and dried, it’s time for sealing. A good sealant will protect your bench from moisture, UV rays, and other environmental factors that can cause damage over time. Look for a high-quality outdoor wood sealant that is water-resistant and provides UV protection. Apply the sealant with a clean brush, ensuring even coverage. It’s advisable to apply at least two coats for maximum protection, allowing ample drying time between applications.
Now, let’s not forget about maintenance! Even the best finishes require some attention to keep your bench looking its best. Regularly check for signs of wear and tear, and don’t hesitate to reapply stain or sealant as needed. A quick wash with mild soap and water can also help remove dirt and grime, keeping your bench fresh and inviting.
In summary, the finishing touches on your wooden garden bench are not just about aesthetics; they are essential for its durability and longevity. Investing time and effort into sanding, staining, and sealing will reward you with a beautiful piece of furniture that can be enjoyed for years to come. So, roll up your sleeves and get ready to give your bench the love it deserves!
- How often should I reapply stain or sealant? It depends on the climate and exposure to elements, but generally, every 1-3 years is a good rule of thumb.
- Can I use indoor wood finishes on outdoor furniture? No, indoor finishes may not withstand outdoor conditions. Always choose products designed for outdoor use.
- What should I do if my bench gets damaged? Assess the damage first. Minor scratches can be sanded and re-stained, while significant damage may require replacing parts.
- Is it necessary to cover my bench during winter? While not mandatory, covering your bench can prolong its life and maintain its appearance, especially in harsh weather.
Choosing the Right Finish
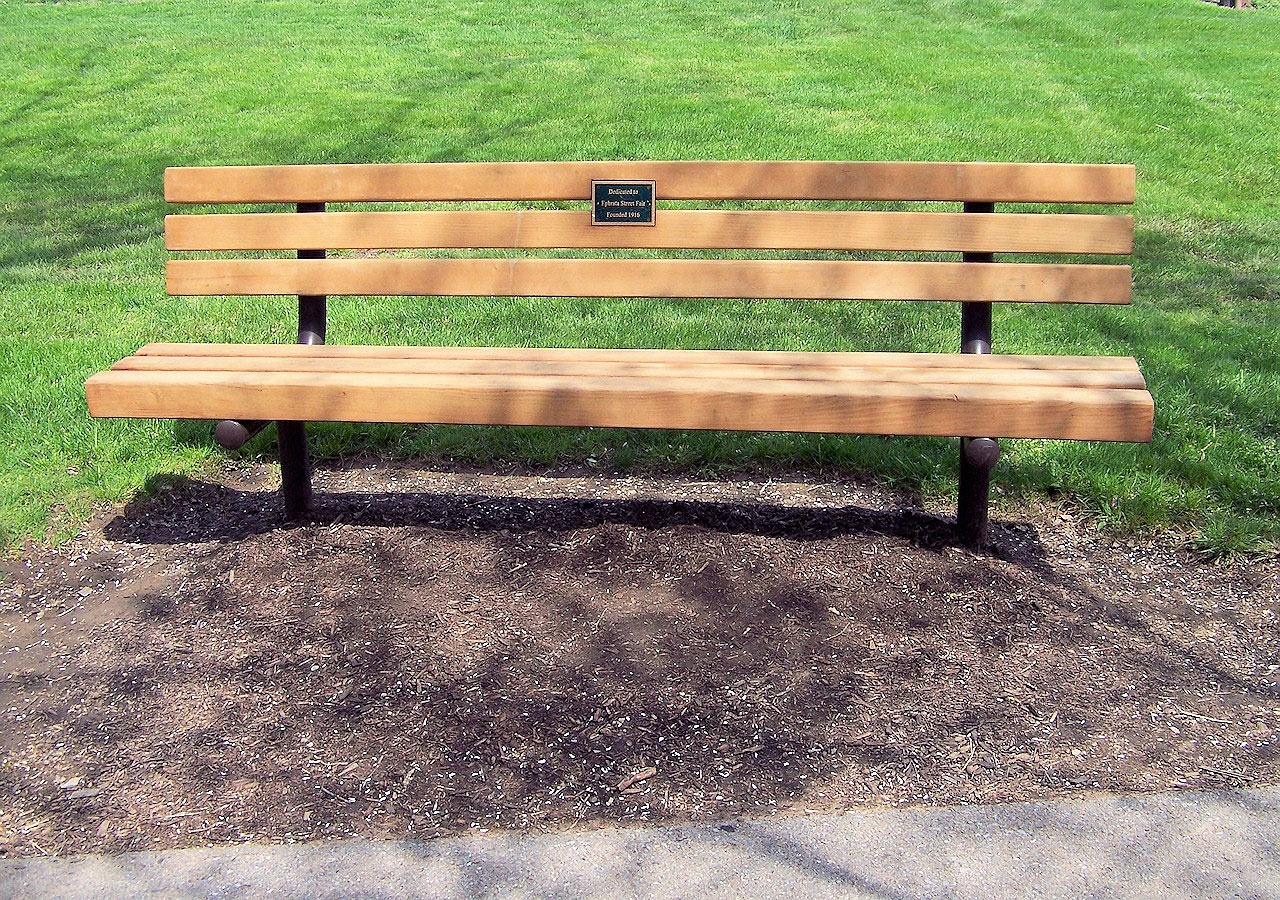
When it comes to constructing your wooden garden bench, choosing the right finish is not just about aesthetics; it’s about protecting your hard work from the elements and ensuring its longevity. Just like a good coat of paint can transform a room, the right finish can elevate your bench from a simple piece of furniture to a stunning focal point in your garden. But with so many options available, how do you decide?
First, consider the type of wood you are using. Different woods have varying levels of natural resistance to moisture and insects. For instance, cedar and redwood are naturally resistant to decay and insects, making them excellent choices for outdoor furniture. However, even these woods benefit from a protective finish to enhance their durability and appearance.
There are several types of finishes to consider, each with its own unique benefits:
- Oil-Based Finishes: These penetrate the wood, providing deep nourishment and enhancing the natural grain. They are great for bringing out the rich colors of the wood but may require reapplication every year or two.
- Water-Based Finishes: These are environmentally friendly and dry quickly. They offer a clear finish that doesn’t yellow over time but may not provide as much moisture protection as oil-based options.
- Varnishes: Varnishes create a hard, protective layer on the surface of the wood. They are excellent for high-traffic areas but can sometimes crack or peel if not properly maintained.
- Stains: Stains come in a variety of colors and can be used to change the appearance of the wood while also providing some protection. They are ideal if you want to match your bench to other elements in your garden.
When selecting a finish, think about your bench's location and how much exposure it will have to the sun and rain. For instance, if your bench will be in a shaded area, a water-based finish might suffice. However, if it’s going to be in direct sunlight, an oil-based finish may provide better protection against UV rays.
Another factor to consider is the maintenance involved. Some finishes require more upkeep than others. If you’re the type of person who loves spending weekends in the garden, you might enjoy the ritual of reapplying oil every year. On the other hand, if you prefer a low-maintenance option, a high-quality varnish might be the way to go.
Ultimately, the right finish will not only protect your bench but also enhance its beauty, allowing it to blend seamlessly into your outdoor sanctuary. So, take your time to explore the options, and don’t hesitate to test a few finishes on scrap pieces of wood to see which one resonates with you the most!
Q: How often should I reapply the finish on my garden bench?
A: It varies depending on the type of finish used. Oil-based finishes may need reapplication every year or two, while water-based finishes typically last longer. Always check the manufacturer's recommendations for the best results.
Q: Can I use indoor finishes on my outdoor bench?
A: It’s not recommended. Indoor finishes are not designed to withstand outdoor conditions and may deteriorate quickly when exposed to moisture and sunlight.
Q: How can I tell if my bench needs a new finish?
A: Look for signs like fading color, peeling, or water not beading on the surface. If you notice any of these, it’s time to consider reapplying your finish.
Maintenance Tips for Longevity
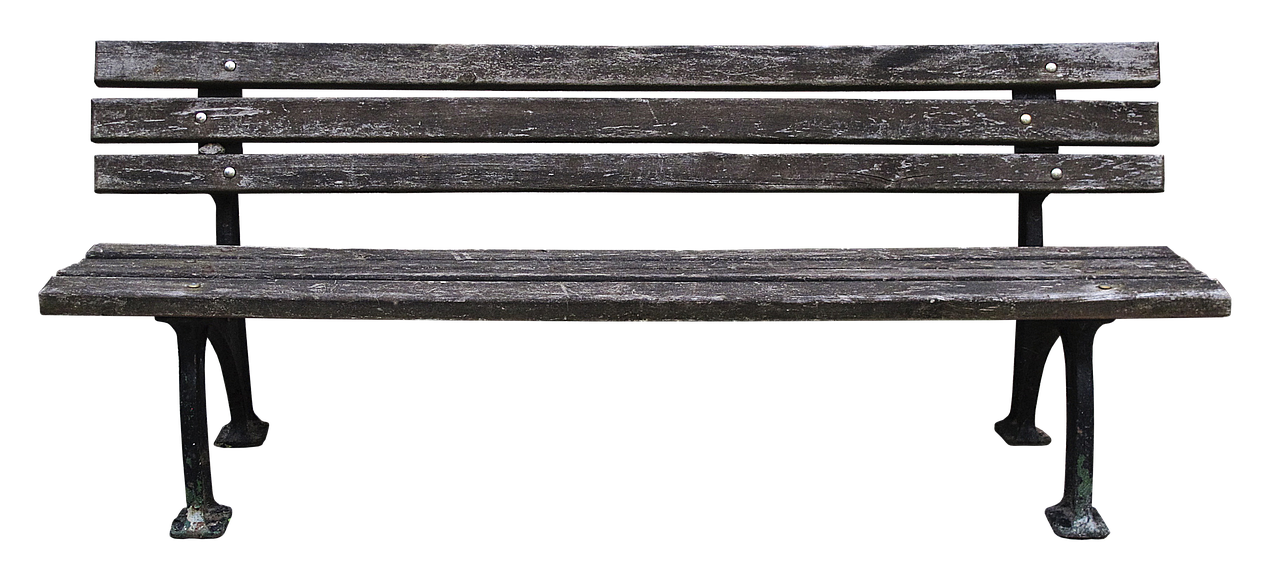
To ensure your wooden garden bench remains a stunning focal point in your outdoor space for years to come, regular maintenance is essential. Think of your bench as a beloved pet; it needs care and attention to thrive! A little effort can go a long way in preserving its beauty and functionality. Here are some practical tips to help you maintain your bench throughout the seasons.
First and foremost, cleaning your bench regularly is crucial. Dust, dirt, and debris can accumulate, leading to potential damage over time. Use a soft cloth or a gentle brush to remove any surface dirt. For a deeper clean, consider using a mild soap solution and a sponge. Just be sure to rinse thoroughly to avoid any soap residue that could affect the wood finish.
Next, inspect your bench periodically for any signs of wear or damage. Look for cracks, splinters, or loose joints. If you notice any issues, address them promptly. A simple wood filler can fix minor cracks, while a little tightening of screws or bolts can ensure the structure remains sturdy. Think of these inspections as a routine check-up; catching small problems early can prevent them from becoming major headaches later on!
When it comes to protecting your bench from the elements, applying a protective sealant is a must. This creates a barrier against moisture, UV rays, and other environmental factors that can lead to deterioration. Depending on the type of wood you used, you might want to reapply the sealant every year or so. Additionally, consider using a furniture cover during harsh weather conditions or when the bench is not in use for extended periods. This extra layer of protection can dramatically extend the life of your bench.
Lastly, consider repositioning your bench if it’s constantly exposed to direct sunlight or heavy rain. If possible, place it under a tree or a patio cover to shield it from harsh weather. This simple adjustment can reduce wear and tear significantly, allowing your bench to maintain its charm for many seasons to come.
In conclusion, regular cleaning, inspections, protective treatments, and strategic placement are your best friends when it comes to maintaining your wooden garden bench. By following these tips, you’ll not only keep your bench looking fabulous but also ensure it remains a cherished part of your outdoor oasis for years ahead!
- How often should I clean my wooden garden bench? It's best to clean your bench at least once a month to prevent dirt buildup.
- What type of sealant should I use? Look for a sealant specifically designed for outdoor wood furniture, which provides UV protection and moisture resistance.
- Can I leave my bench outside during winter? If possible, store it indoors or use a weatherproof cover to protect it from snow and ice.
- How can I repair a crack in my wooden bench? Use a wood filler to fill in small cracks, then sand it down and apply a matching finish.
Frequently Asked Questions
- What type of wood should I use for my garden bench?
For a durable and aesthetically pleasing garden bench, consider using hardwoods like teak, cedar, or redwood. These types of wood are naturally resistant to moisture and insects, making them ideal for outdoor furniture. If you're on a budget, pressure-treated pine is also a good option, but it may require more maintenance over time.
- What tools do I need to build a wooden garden bench?
You’ll need a few essential tools to get started on your bench project. Make sure you have a circular saw or miter saw for cutting the wood, a drill for making holes and driving screws, a screwdriver, and a measuring tape. Additionally, having a safety goggles and gloves is crucial to protect yourself while working.
- How do I ensure accurate measurements when cutting wood?
Accurate measurements are key to a successful build. Always measure twice and cut once! Use a measuring tape to mark your wood clearly, and consider using a square to ensure your cuts are straight. It's also helpful to make your cuts slightly longer than needed and then trim them down to fit perfectly.
- What safety tips should I follow when using power tools?
Safety is paramount! Always wear safety goggles to protect your eyes from flying debris, and use ear protection if you're using loud power tools. Keep your work area tidy to avoid tripping hazards, and never wear loose clothing or jewelry that could get caught in the machinery. Lastly, always follow the manufacturer's instructions for each tool.
- How do I finish my wooden garden bench?
After assembling your bench, finishing touches like sanding, staining, and sealing are crucial. Start by sanding the surface to remove any rough spots. Then, apply a stain to enhance the wood's natural beauty, followed by a sealant to protect it from the elements. Look for products specifically designed for outdoor furniture to ensure durability.
- How can I maintain my garden bench for longevity?
Regular maintenance is key to keeping your bench looking great. Clean it periodically with soap and water to remove dirt and grime. If you notice any signs of wear, reapply stain or sealant as needed. During harsh weather, consider covering your bench or storing it indoors to prolong its lifespan.


