The Beginners Guide to Upcycling Clothing
Welcome to the fascinating world of upcycling clothing! If you’ve ever looked at your closet and felt a mix of nostalgia and boredom, you’re not alone. Many of us have those beloved pieces that have seen better days but still hold sentimental value. Instead of tossing them out, why not breathe new life into them? Upcycling is not just about saving money; it’s a creative revolution that allows you to express your individuality while promoting sustainability. Imagine transforming an old pair of jeans into a trendy bag or turning a vintage dress into a chic top. This guide will walk you through the essentials of upcycling, making it easy and enjoyable for beginners to dive into this eco-friendly practice. So, roll up your sleeves, and let’s get started on a journey that’s as exciting as it is sustainable!
At its core, upcycling is the art of taking something old and giving it a new purpose. It’s like giving your clothes a second chance at life! Unlike recycling, which often breaks materials down to create new products, upcycling focuses on enhancing the existing item, making it more valuable and unique. This practice is not just about reducing waste; it’s about creativity, innovation, and personal expression. By upcycling your clothing, you contribute to a more sustainable fashion industry, helping to reduce the environmental impact of fast fashion. Plus, you’ll find that each upcycled piece tells a story—a narrative of transformation that’s both personal and environmentally friendly.
Before you embark on your upcycling journey, it’s important to gather the right tools. Having the essentials at your fingertips will make the process smoother and more enjoyable. Here’s a quick rundown of what you’ll need:
- Sewing Supplies: Needles, threads, and scissors are fundamental for any upcycling project.
- Fabric Adhesives: These can be a game changer, especially for those who aren’t keen on sewing.
- Creative Embellishments: Think buttons, patches, and embroidery to personalize your creations.
Equipped with these tools, you’ll be ready to tackle any upcycling project that comes your way!
Let’s dive a little deeper into the basic sewing supplies you’ll need. A good pair of scissors is crucial—opt for fabric scissors to ensure clean cuts. Needles come in various sizes, so having a mixed pack is beneficial. And don’t forget the thread! Choose colors that match or contrast with your fabric for added creativity. These supplies are the backbone of your upcycling projects, enabling you to make precise alterations and repairs.
If sewing isn't your forte, fabric adhesives can be a fantastic alternative. These glues come in various forms, including spray adhesives, liquid glues, and even tape. They’re perfect for quick fixes or adding embellishments without the need for a needle and thread. Just remember to choose a fabric glue that is washable and flexible to ensure your creations last.
Now, let’s talk about embellishments! Adding unique touches to your upcycled pieces can really set them apart. Consider using:
- Buttons: Mix and match different styles for a quirky look.
- Patches: These can cover up stains or tears while adding character.
- Embroidery: A little stitching can turn a basic item into a work of art.
These embellishments not only enhance the aesthetic appeal of your clothing but also allow you to showcase your personality and creativity.
Choosing the right garments for upcycling is essential for success. Look for items that are made from durable fabrics like denim or cotton, as they tend to hold up better during the transformation process. Avoid pieces that are heavily worn or damaged beyond repair. Instead, focus on garments that have potential—perhaps a dress with a lovely print or a shirt that just needs a little creativity to shine again. Remember, the goal is to create something new and exciting while giving a second life to your wardrobe!
Now that you have your tools and materials ready, let’s explore some simple upcycling techniques that can kickstart your journey. These methods are beginner-friendly and will help build your confidence as you experiment with your creativity.
Cutting and resizing garments can create entirely new silhouettes. Whether you want to turn a long dress into a trendy crop top or resize a baggy shirt, this technique is all about transformation. Just remember to measure twice and cut once! Keeping the integrity of the fabric is key, so consider how the garment will drape and fit after resizing.
Patchwork and appliqué are not only fun but also allow for a lot of creativity. To incorporate these techniques, start by selecting various fabric scraps. Cut them into fun shapes or squares, and sew or glue them onto your base garment. This method not only covers up imperfections but also adds a unique flair that’s sure to turn heads!
Q: Can I upcycle any type of clothing?
A: Yes! However, it’s best to choose items made from durable fabrics for the best results.
Q: Do I need to know how to sew to upcycle?
A: Not necessarily! There are many techniques, including fabric adhesives, that don’t require sewing.
Q: Where can I find clothing to upcycle?
A: Thrift stores, your own closet, or even clothing swaps are great places to find items for upcycling.

Understanding Upcycling
Upcycling is not just a trendy buzzword; it's a creative and sustainable movement that breathes new life into old materials. But what exactly does it mean? In simple terms, upcycling involves taking items that might otherwise be discarded and transforming them into something new and functional. This practice not only reduces waste but also allows individuals to express their creativity in an eco-friendly way. Imagine turning a worn-out pair of jeans into a stylish tote bag or repurposing a vintage dress into a chic top. The possibilities are endless!
One of the most significant benefits of upcycling is its positive impact on the environment. By reusing materials, we can significantly reduce the amount of textile waste that ends up in landfills. According to the Environmental Protection Agency (EPA), the fashion industry is one of the largest contributors to waste, with millions of tons of clothing thrown away each year. Upcycling helps combat this issue by keeping these materials in circulation and minimizing the demand for new resources. It’s like giving your clothing a second chance at life!
Now, you might wonder how upcycling differs from recycling. While both practices aim to reduce waste, they operate on different principles. Recycling typically involves breaking down materials to create new products, often losing the original item's integrity in the process. In contrast, upcycling maintains the essence of the original item, enhancing it with creativity and personal touch. It’s about taking what you have and making it better rather than starting from scratch. Think of it as the difference between a caterpillar transforming into a butterfly and a caterpillar being turned into a smoothie—both involve change, but one is much more beautiful!
Moreover, upcycling can be a deeply personal journey. Each project tells a story, reflecting the creator's style and values. Whether you’re a seasoned crafter or just starting, the act of upcycling can be incredibly fulfilling. It’s not just about the final product; it’s about the process of creation, the joy of discovery, and the satisfaction of making something uniquely yours. So, why not dive into this world of creativity and sustainability? You might discover a hidden talent or passion you never knew you had!
In conclusion, understanding upcycling is the first step toward embracing this sustainable practice. It’s a way to reduce waste, express creativity, and contribute positively to the environment. As you embark on your upcycling journey, remember that every piece you transform is not just a project; it’s a statement about your commitment to a more sustainable future.
Essential Tools for Upcycling
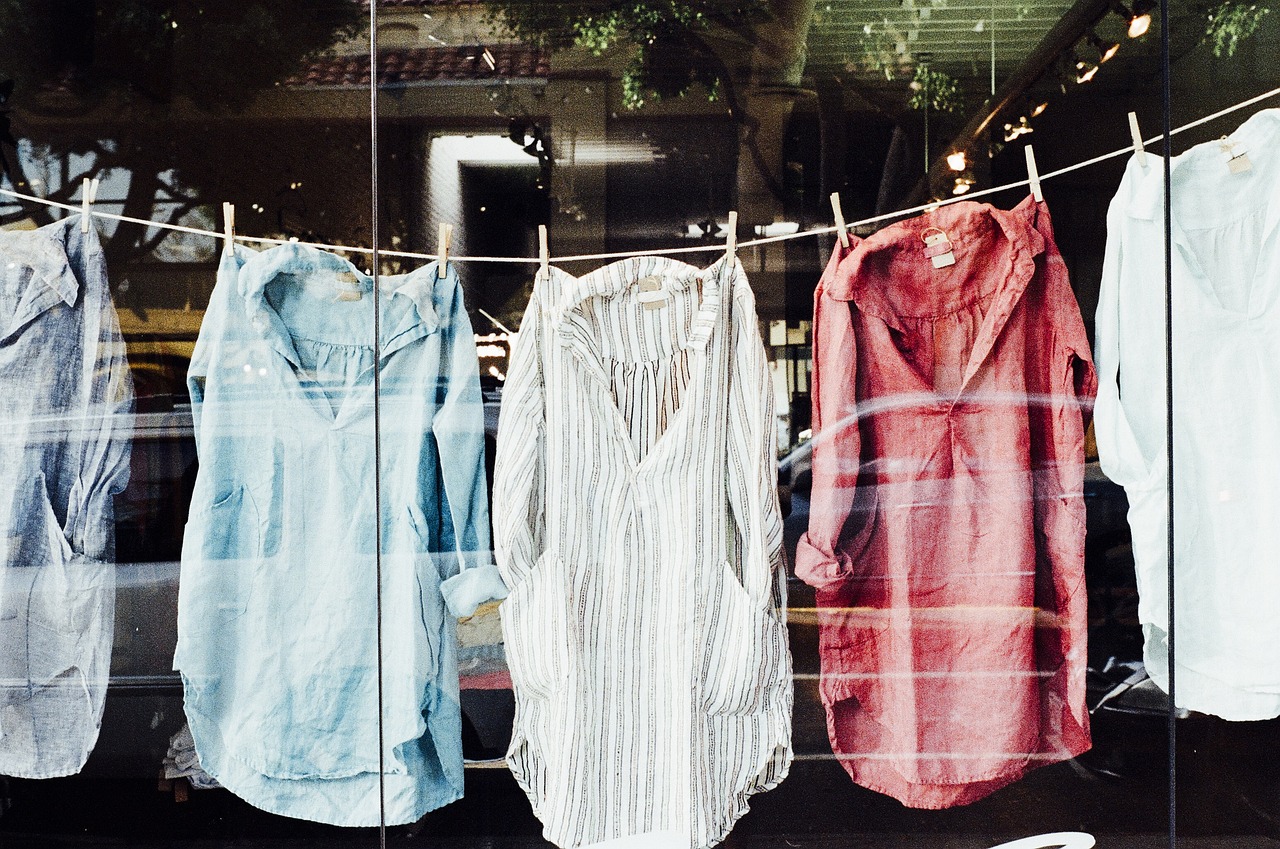
To embark on your exciting journey of upcycling clothing, having the right tools at your disposal is absolutely crucial. Think of it like setting up a kitchen before you start cooking; without the right utensils, you might find yourself in a bit of a pickle! Upcycling isn’t just about creativity; it’s also about practicality. You want to ensure that your crafting experience is smooth and enjoyable, allowing your imagination to run wild without the frustration of missing tools. So, let’s dive into the essential tools and materials that every beginner should consider having on hand.
First and foremost, basic sewing supplies form the backbone of any upcycling project. These include needles, threads, and scissors, which are fundamental for making alterations and repairs. Imagine trying to sew a hem without a needle or cutting fabric with dull scissors – it’s not a pleasant thought! Investing in a good pair of fabric scissors is essential, as they will make your cutting tasks much easier and cleaner.
In addition to sewing supplies, fabric adhesives can be a game changer for those who might not be comfortable with sewing. Fabric glues come in various types, and they can be incredibly useful for quick fixes or for attaching embellishments without the need for stitching. Whether you're looking to create a no-sew hem or attach a patch, having a reliable fabric adhesive in your toolkit can save you time and effort. Here are a few types of fabric adhesives you might consider:
| Type of Adhesive | Use Case |
|---|---|
| Fabric Glue | For general fabric bonding |
| Fabric Tape | For quick hems and repairs |
| Heat Bond Adhesive | For permanent bonding with heat |
Moreover, let’s not overlook the fun aspect of upcycling! Adding creative embellishments can really elevate your upcycled pieces from ordinary to extraordinary. Think about buttons, patches, and embroidery – these little details can transform a simple garment into a unique statement piece. When you’re selecting embellishments, consider the overall vibe you want to achieve. Are you going for a bohemian look, or something more chic? The right embellishments can help you nail that aesthetic.
Lastly, choosing the right clothing items to upcycle is just as important as having the right tools. When you’re on the hunt for garments to transform, keep an eye out for items made from durable fabrics that can withstand alterations. Look for pieces that have interesting patterns or textures, as these can provide a great base for your creative endeavors. Remember, the more unique the starting piece, the more distinctive your final creation will be!
In conclusion, having the right tools and materials is essential for a successful upcycling experience. From basic sewing supplies to creative embellishments, each element plays a vital role in your crafting journey. So gather your tools, unleash your creativity, and get ready to transform your wardrobe sustainably!
1. What is the best way to start upcycling clothing?
To start upcycling clothing, begin with small projects that require minimal skills, such as adding patches to jeans or creating tote bags from old t-shirts. Gradually work your way up to more complex projects as you gain confidence.
2. Do I need to know how to sew to upcycle clothing?
While sewing skills can be beneficial, they are not mandatory. Many upcycling techniques can be done using fabric adhesives, thus making it accessible for everyone!
3. Where can I find clothing to upcycle?
You can find clothing to upcycle at thrift stores, garage sales, or even in your own closet. Look for items that you no longer wear but still have potential for transformation.
4. How can I ensure my upcycled clothing lasts?
To ensure your upcycled clothing lasts, choose high-quality fabrics, use appropriate techniques for alterations, and take care of your garments by washing and storing them properly.
Basic Sewing Supplies
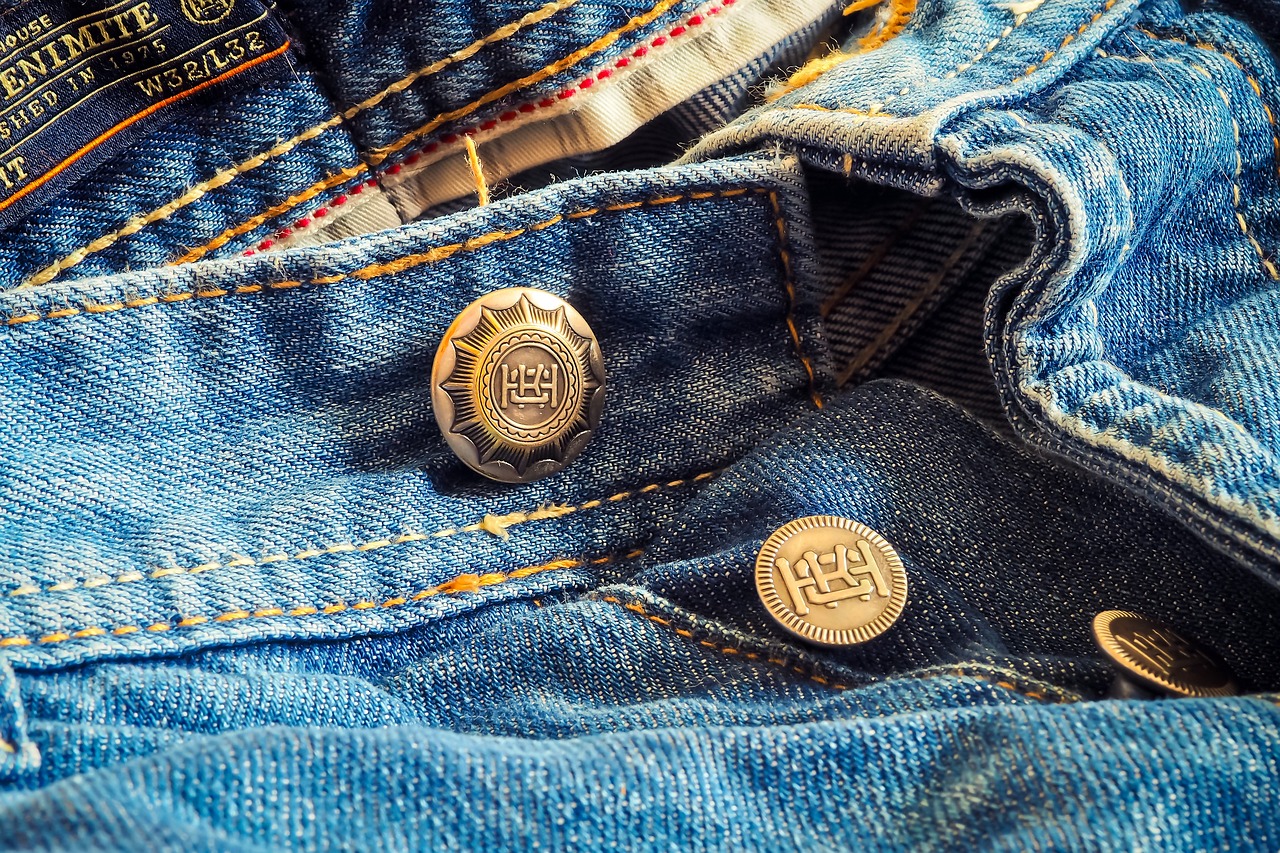
When it comes to upcycling clothing, having the right tools can make all the difference. Think of your sewing supplies as the foundation of your creative process; without them, your ideas might just remain dreams. So, what do you need to kickstart your upcycling adventure? Let's dive into the essentials that every beginner should have at their fingertips.
First up, you’ll need a good set of sewing needles. These come in various sizes and types, so it's wise to have a mix on hand. For general sewing, universal needles work well, but if you're working with delicate fabrics, consider using fine needles. On the flip side, heavier materials like denim require sturdier needles. Having a variety ensures that you can tackle any project that comes your way.
Next, let’s talk about thread. Choosing the right thread is crucial; it’s like the lifeblood that holds your creations together. Opt for high-quality polyester thread, as it’s durable and comes in a rainbow of colors. You might want to have a selection of shades that match your fabric, as well as some contrasting colors for those creative moments when you want to make a statement.
Now, no sewing kit is complete without a trusty pair of scissors. Invest in a good pair of fabric scissors that are sharp and comfortable in your hands. Remember, cutting fabric with dull scissors can lead to frayed edges and a frustrating experience. Consider keeping a separate pair for paper to maintain their sharpness.
In addition to these basics, having a measuring tape is essential. Accurate measurements can save you from making costly mistakes. A flexible measuring tape allows you to measure curves and contours easily, ensuring that every piece you create fits like a glove. Pair this with a fabric ruler for straight cuts, and you’ll be well on your way to crafting stunning upcycled garments!
Finally, let’s not forget about pins. These little guys are your best friends when it comes to holding fabric pieces together before sewing. They help ensure that your seams are straight and your designs stay intact. A pin cushion can keep them organized, making your workspace tidy and efficient.
To summarize, here’s a quick table of the basic sewing supplies you should gather:
| Item | Purpose |
|---|---|
| Sewing Needles | For stitching fabrics together |
| Thread | Holds the fabric pieces together |
| Scissors | For cutting fabric |
| Measuring Tape | For accurate measurements |
| Pins | To hold fabric pieces in place |
With these basic sewing supplies in your toolkit, you're ready to embark on your upcycling journey. Remember, every great upcycler started just where you are now, and with a little practice and creativity, you’ll be transforming old garments into fashion statements in no time!
Q: Do I need to know how to sew to start upcycling?
A: While sewing skills are helpful, you can start with no-sew techniques using fabric adhesives and embellishments.
Q: Can I upcycle any type of clothing?
A: Yes! Just make sure to choose items that you feel comfortable working with and that have potential for transformation.
Q: What if I make a mistake?
A: Mistakes are part of the creative process! Embrace them and consider them opportunities to innovate.
Fabric Adhesives
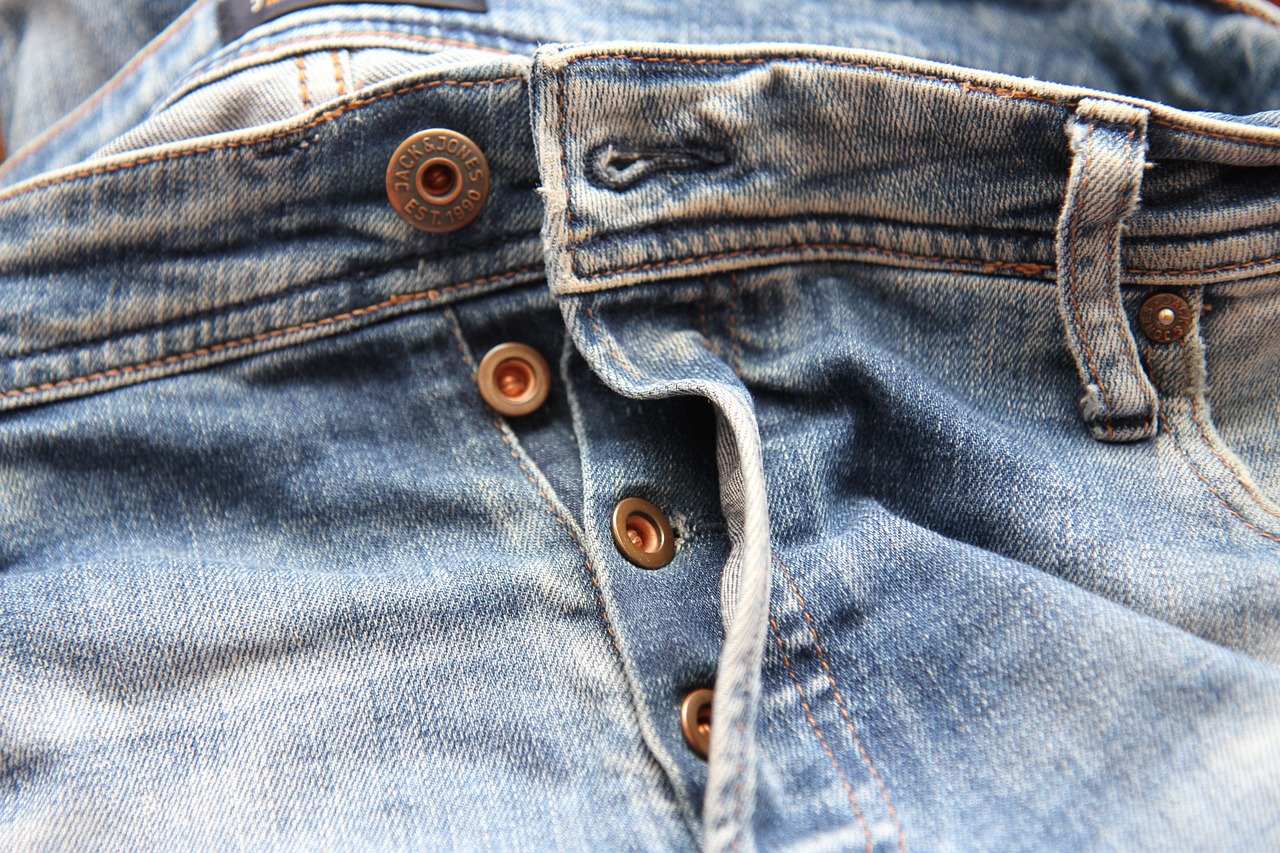
When it comes to upcycling clothing, can be a true game changer, especially for those who may not have extensive sewing skills. These adhesives offer a quick and easy way to bond fabrics without the need for a sewing machine, making them perfect for beginners. Imagine transforming an old pair of jeans into a stylish tote bag or adding a unique patch to a plain jacket—all with just a dab of glue! In this section, we’ll explore the different types of fabric glues available, their applications, and some tips for using them effectively.
There are several types of fabric adhesives on the market, each designed for specific applications. For instance, fabric glue is a versatile option that works well for most fabric types and is ideal for quick repairs or embellishments. On the other hand, fusible webbing is perfect for projects requiring a strong bond, as it melts when heated and adheres two pieces of fabric together. If you’re looking for something even more durable, fabric tape is an excellent choice for hems and seams, providing a secure hold that can withstand wear and tear.
Here’s a quick comparison of some popular fabric adhesives:
| Type of Adhesive | Best For | Drying Time | Washability |
|---|---|---|---|
| Fabric Glue | General repairs and embellishments | 1-2 hours | Machine washable |
| Fusible Webbing | Strong fabric bonding | Immediate with heat | Machine washable |
| Fabric Tape | Hems and seams | Immediate | Machine washable |
Before diving into your upcycling project, it’s essential to prepare your workspace and materials properly. Ensure that the fabric is clean and dry, as any dirt or moisture can affect the adhesive’s performance. When applying fabric glue, a little goes a long way; applying too much can lead to a messy finish. For best results, use a small applicator or brush to spread the adhesive evenly. And remember to press the fabrics together firmly to create a strong bond.
One of the most exciting aspects of using fabric adhesives is the ability to experiment with different designs and techniques. You can mix and match fabrics, create layered looks, or even use adhesives to attach embellishments like sequins or beads. The possibilities are endless! Just think of it as painting with fabric—each project is a unique masterpiece that reflects your personal style.
In conclusion, fabric adhesives are a fantastic addition to any upcycling toolkit. They provide an accessible way to create stunning, personalized pieces without the intimidation of sewing. So gather your old clothes, grab some fabric glue, and unleash your creativity!
Creative Embellishments
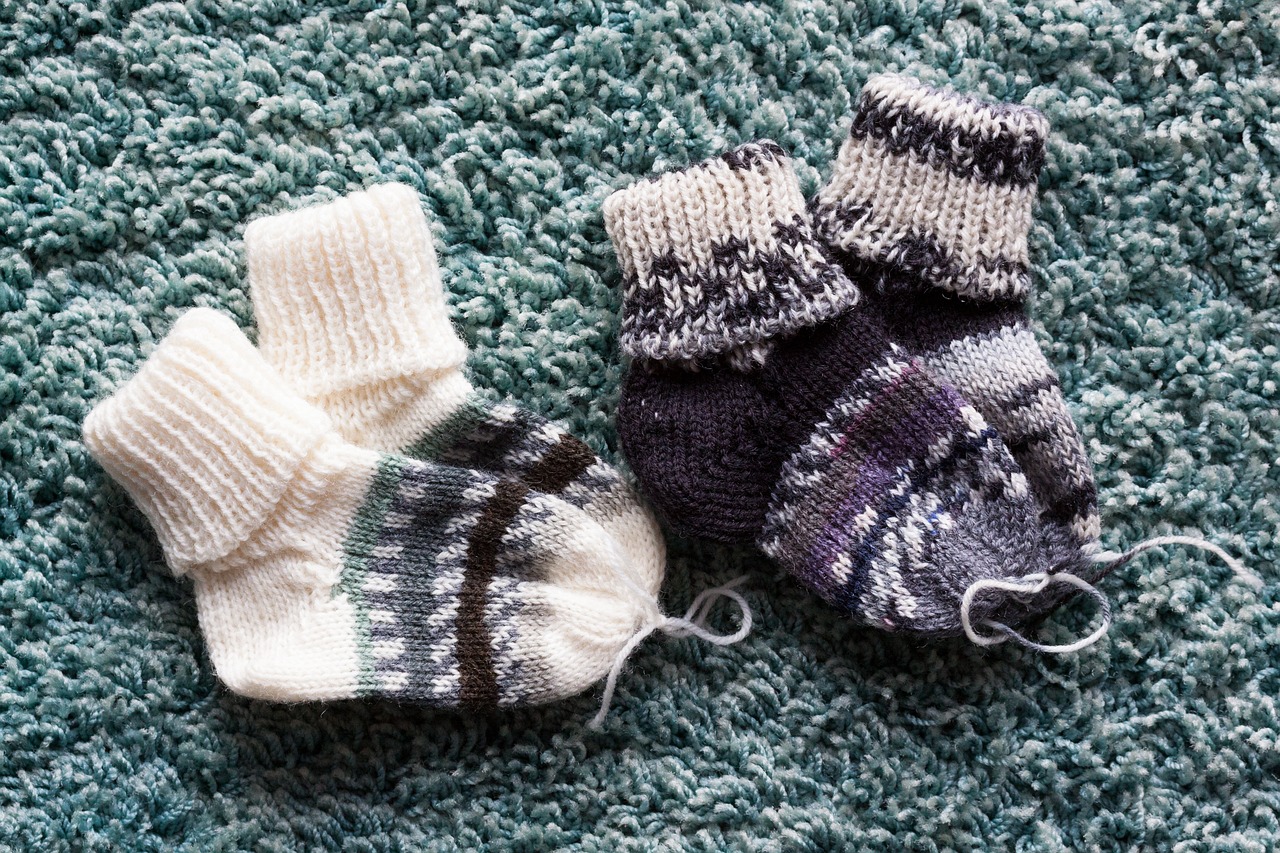
When it comes to upcycling clothing, adding creative embellishments can truly transform a simple piece into a stunning work of art. Imagine taking a plain, old t-shirt and turning it into a unique fashion statement that reflects your personality! The beauty of embellishments lies in their ability to breathe new life into garments, making them not only more visually appealing but also one-of-a-kind. So, what kind of embellishments can you use? Let's explore some exciting options!
First off, buttons are a fantastic way to add a pop of color or a touch of whimsy to your clothing. You can mix and match different sizes, colors, and textures to create a playful effect. For example, consider sewing a cluster of mismatched buttons on the shoulder of a jacket or using oversized buttons as the focal point on a cardigan. The possibilities are endless!
Patches are another popular embellishment that can add character to your clothing. Whether you opt for iron-on patches or sew-on varieties, they can be used to cover up stains or holes while also showcasing your favorite designs or slogans. You might even have some old patches lying around from previous projects. Why not give them a new purpose? Just think of it as a fashionable badge of honor! You can create a patchwork design on the back of a denim jacket or scatter them across the front of a plain shirt for a more eclectic look.
Embroidery is another versatile option that can elevate your upcycling game. With just a needle and some colorful thread, you can add intricate designs, motivational quotes, or even your initials to your garments. This technique allows you to express your creativity and personal style in a way that is both unique and timeless. Plus, embroidery can be as simple or complex as you want it to be, making it suitable for beginners and seasoned crafters alike.
For those who may not be inclined to sew, fabric paints and markers can be a game changer. They allow you to create your own designs directly on the fabric, whether it’s a bold graphic, a delicate floral pattern, or even some fun doodles. The best part? If you make a mistake, you can simply paint over it or turn it into something new! Just remember to set the paint according to the instructions to ensure your masterpiece lasts through multiple washes.
Lastly, consider using lace, ribbons, or even sequins to add texture and sparkle to your upcycled pieces. A simple lace trim along the hem of a skirt or a ribbon tied around the waist of a dress can create a charming, finished look. Sequins can be sewn or glued onto fabric to provide that extra glimmer, perfect for a night out or a special occasion.
In summary, embellishments are not just decorative; they are a way to tell your story through your clothing. Whether you’re going for a vintage vibe, a modern twist, or a bohemian flair, the right embellishments can make all the difference. So gather your supplies and let your imagination run wild—your wardrobe is about to get a major upgrade!
Q: What are some beginner-friendly embellishment techniques?
A: Start with simple techniques like sewing on buttons or using iron-on patches. These methods are easy to learn and require minimal tools.
Q: Can I use embellishments on any type of fabric?
A: Most embellishments can be used on a variety of fabrics, but it’s best to choose materials that can handle the weight and technique of your chosen embellishment.
Q: How can I ensure my embellishments last?
A: Always follow the care instructions for your embellishments. For sewn items, reinforce the stitches, and for painted items, make sure to set the paint properly.
Q: Are there any embellishments I should avoid?
A: Avoid heavy embellishments on lightweight fabrics, as they may cause the fabric to sag or lose shape. Also, be cautious with items that may not withstand washing, like certain glues.

Choosing the Right Clothing to Upcycle
When it comes to upcycling, the choice of clothing is pivotal. Not every piece in your wardrobe is a candidate for transformation; some items are simply more suited for the creative journey ahead. So, how do you choose the right clothing to upcycle? First and foremost, consider the fabric type. Natural fibers like cotton, linen, and wool are often easier to work with than synthetics. They hold up well to alterations and can be dyed or painted without losing their integrity. For instance, a worn-out cotton shirt can become a trendy tote bag, while a frayed pair of jeans can be transformed into stylish shorts.
Next, think about the style and fit of the clothing. Items that are too small or too large may not be the best candidates unless you're ready to do some serious resizing. Look for pieces that have potential for transformation. A simple A-line dress can easily be turned into a chic skirt, or an oversized sweater can become a cozy cropped top. The key is to envision the possibilities and let your creativity flow. Also, keep an eye out for unique details like buttons, pockets, or interesting patterns that can add character to your final product.
Additionally, consider the condition of the clothing. While some wear and tear can add charm, items that are too damaged may not be worth the effort. A shirt with a small tear can be easily patched, but a dress with significant stains may need to be repurposed into something entirely different. It’s all about finding that balance between potential and practicality.
Lastly, don't forget to think about your personal style and the trends you love. Upcycling should be a fun and expressive process, so choose garments that resonate with you. Whether it’s a vintage jacket that screams retro vibes or a pair of jeans that can be customized to fit your aesthetic, the right clothing will inspire you to create something truly unique. Remember, every piece you upcycle tells a story—make sure it’s one you want to share!
In summary, when choosing clothing to upcycle, keep in mind the fabric type, style and fit, condition, and your personal style. By selecting the right pieces, you'll set yourself up for a successful and enjoyable upcycling experience. Happy crafting!
Q: What types of clothing are best for beginners to upcycle?
A: Start with simple items like t-shirts, jeans, or skirts. These pieces are usually easier to work with and offer plenty of opportunities for creativity.
Q: Do I need to have sewing skills to upcycle clothing?
A: While sewing skills can be helpful, they are not always necessary. Many upcycling projects can be completed using fabric glue or other no-sew techniques.
Q: Can I upcycle clothing that has stains or holes?
A: Yes! Stains and holes can often be creatively incorporated into your design. For example, you can patch a hole with a fun fabric or turn a stained area into a decorative element.
Q: Where can I find clothing to upcycle?
A: Thrift stores, garage sales, and even your own closet are great places to find clothing for upcycling. Look for items that you love but no longer wear.
Q: How can I ensure my upcycled clothing is sustainable?
A: Focus on using materials you already have, and consider sourcing second-hand items. Additionally, try to use eco-friendly paints, dyes, and adhesives in your projects.

Simple Upcycling Techniques
Upcycling clothing is not just a fun way to breathe new life into your wardrobe; it’s also an exciting journey into creativity! If you're a beginner, don’t worry—there are plenty of simple techniques you can start with that will not only boost your skills but also ignite your imagination. Think of upcycling as a treasure hunt where every old garment holds the potential for something fresh and fabulous. So, grab your scissors and let’s dive into some easy upcycling techniques that will leave you feeling accomplished and stylish!
One of the most straightforward methods to kick off your upcycling adventure is through cutting and resizing. This technique allows you to transform oversized or ill-fitting clothing into something that fits your unique style. For instance, if you have a baggy shirt that you’ve outgrown, consider turning it into a trendy crop top or a chic tank. To get started, simply lay the shirt flat, measure how much you want to cut off, and mark it with a fabric chalk. Then, cut along the line and finish the edges with a zigzag stitch or fabric glue to prevent fraying. It’s like giving your clothes a makeover without the hefty price tag!
Next up, let’s talk about the playful world of patchwork and appliqué. These techniques are perfect for adding a splash of personality to your garments. Imagine taking a plain denim jacket and giving it a burst of color with patches of fabric or embroidered designs. To begin, gather some fabric scraps or old clothing items that you can cut into fun shapes. Place them on your chosen garment, and use fabric glue or a sewing machine to secure them in place. This method not only allows you to express your creativity but also makes your clothing truly one-of-a-kind. Remember, the more unique the patches, the more your clothing will stand out!
Here’s a tip: don’t shy away from experimenting! Upcycling is all about creativity and self-expression. If you’re unsure where to start, consider looking at inspiration online. Platforms like Pinterest and Instagram are treasure troves of upcycling ideas, showcasing everything from simple alterations to elaborate designs. You can even join online communities where fellow upcyclers share their projects and tips. It’s like having a support group for your creative endeavors!
To help you visualize these techniques, here’s a quick summary table of the simple upcycling techniques discussed:
| Technique | Description |
|---|---|
| Cutting and Resizing | Transform oversized clothing into fitted styles, such as crop tops or tanks. |
| Patchwork and Appliqué | Add fabric patches or embroidery to personalize and enhance garments. |
As you embark on your upcycling journey, it’s important to remember that mistakes are part of the learning process. If a project doesn’t turn out as expected, don’t get discouraged. Instead, view it as an opportunity to learn and grow. Every stitch you make, every cut you take, is a step towards becoming more skilled and confident in your abilities. So, roll up your sleeves, unleash your creativity, and let your imagination run wild with these simple upcycling techniques!
- What is upcycling? Upcycling is the process of creatively reusing old materials to create new products, often with the goal of reducing waste.
- Do I need sewing skills to upcycle? Not necessarily! Many upcycling techniques can be done using fabric glue and embellishments, making it accessible for everyone.
- Where can I find inspiration for upcycling projects? Websites like Pinterest and Instagram are great places to find creative ideas and connect with other upcyclers.
Cutting and Resizing
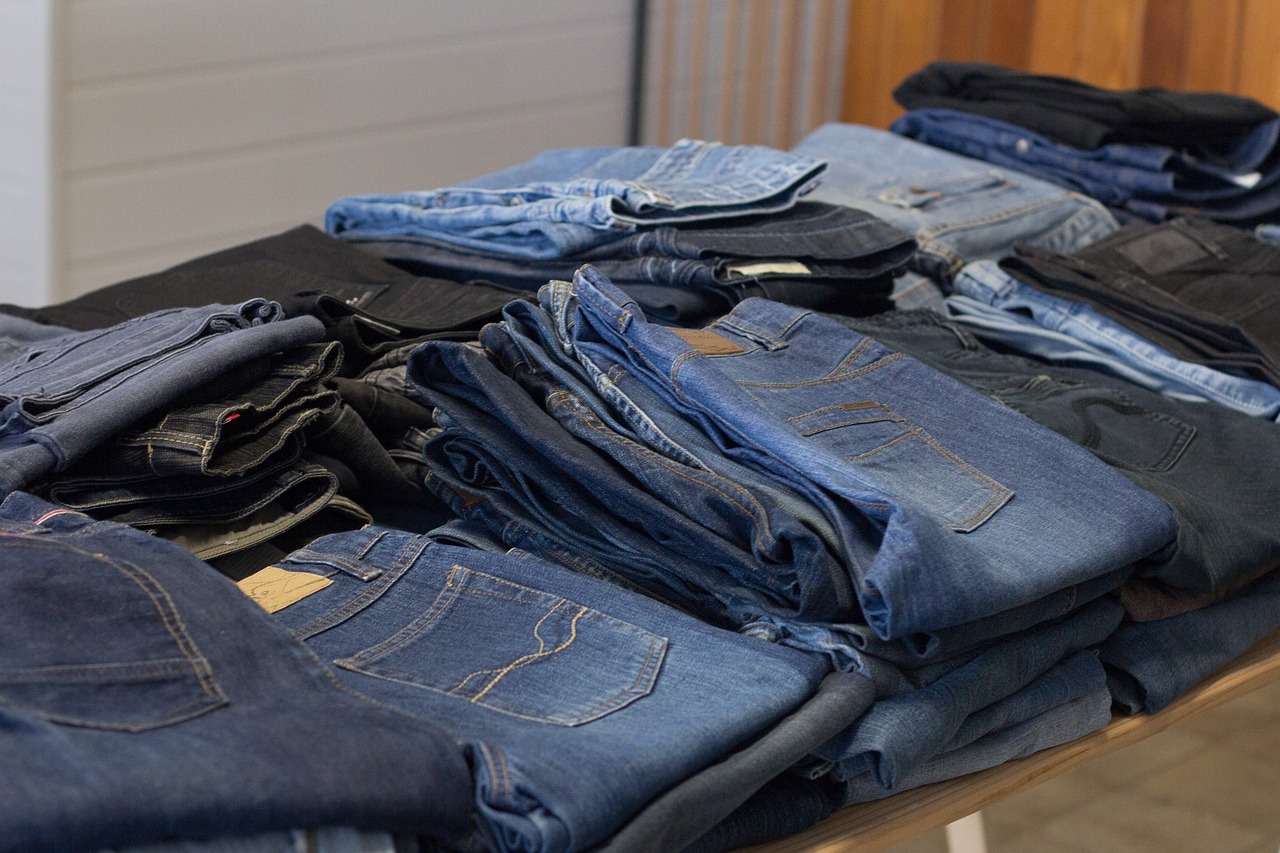
Cutting and resizing garments is one of the most transformative techniques in the world of upcycling. Imagine taking a piece of clothing that no longer fits or feels outdated and turning it into something fresh and stylish. This process not only allows you to create new silhouettes but also helps you maintain the integrity of the fabric, giving it a second life. The key is to approach it with creativity and a sense of adventure. So, where do you begin?
First, it’s essential to have a clear vision of what you want to achieve. Are you looking to create a cropped top from an oversized shirt? Or perhaps you want to turn a long dress into a chic midi version? Whatever your goal may be, planning is crucial. Start by trying on the garment and marking the areas you want to cut or resize. A good pair of fabric scissors will be your best friend here, as they allow for smooth and precise cuts.
Next, let’s talk about measurement. It’s often said that “measure twice, cut once” is the golden rule in sewing, and it couldn’t be more accurate. Use a measuring tape to ensure you’re cutting the right amount and achieving the desired fit. For example, if you're shortening a pair of jeans, measure the length from the hem to the point where you want the new hem to be. Mark it with tailor’s chalk or a fabric marker to guide your cuts.
Once you’ve made your marks, it’s time to cut! When cutting, always follow the grain of the fabric to prevent any distortion. If you’re resizing a garment, consider the seams. You can take in or let out seams to adjust the fit, which can be done by carefully unpicking the stitches and re-sewing them to your desired size. This technique not only enhances the fit but also adds a professional touch to your upcycled piece.
After cutting, you might want to finish the edges to prevent fraying. A simple zigzag stitch or using pinking shears can do the trick. This step is especially important if you’re working with fabrics like cotton or linen, which tend to fray easily.
Finally, don’t forget to try on your newly upcycled garment before finalizing any additional changes. You might realize that a little tweak here or there can make all the difference. Remember, upcycling is about experimenting and having fun, so embrace the process and let your creativity shine!
- What tools do I need for cutting and resizing? You will need fabric scissors, a measuring tape, tailor’s chalk, and pins to hold fabric in place.
- Can I resize any type of clothing? Most clothing can be resized, but stretchy fabrics may require different techniques compared to woven fabrics.
- How do I know if a piece is worth upcycling? Look for items that have potential, such as good quality fabric, unique patterns, or styles that can be easily transformed.
- What should I do if I make a mistake while cutting? Don’t worry! Mistakes are part of the process. You can often salvage the piece by adding embellishments or rethinking your design.
Patchwork and Appliqué
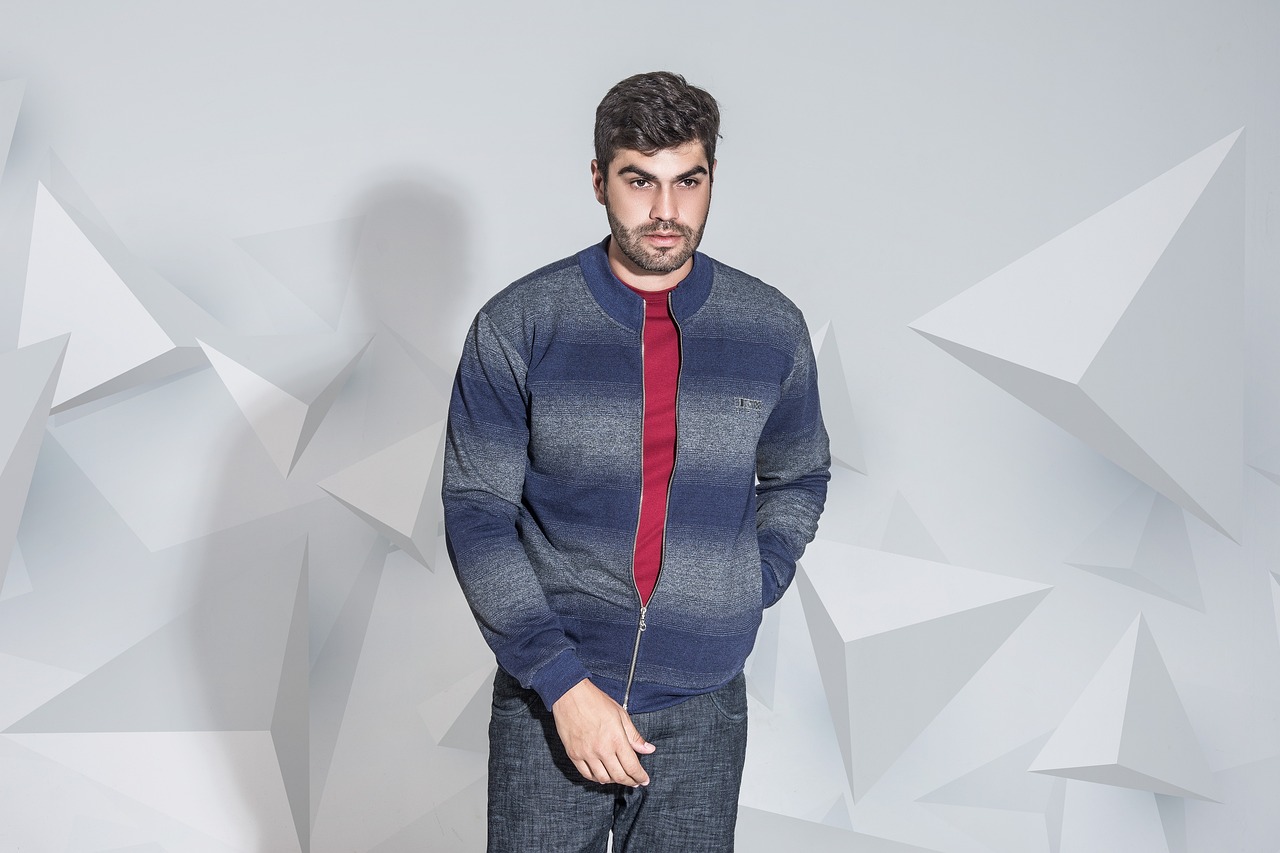
Patchwork and appliqué are not just sewing techniques; they are a celebration of creativity and individuality. Imagine taking a piece of clothing that no longer excites you and transforming it into a vibrant, one-of-a-kind masterpiece. This is the magic of patchwork and appliqué! With these methods, you can breathe new life into your wardrobe while expressing your personal style. But how do you start? Let’s dive into the world of patchwork and appliqué, where your imagination is the only limit.
Patchwork involves sewing together pieces of fabric to create a larger design. It’s like putting together a puzzle, but instead of a picture, you end up with a unique fabric creation. You can use scraps from old clothes, leftover fabric from previous projects, or even fabric remnants from your local craft store. The beauty of patchwork lies in its versatility; you can create anything from a cozy quilt to a funky bag or even a stylish jacket. The key is to choose fabrics that complement each other in color and texture.
On the other hand, appliqué is a technique where you sew a piece of fabric onto another fabric to create a design or pattern. Think of it as adding a decorative layer to your clothing. This can be as simple as sewing a heart shape onto a t-shirt or as intricate as creating a floral design on the back of a denim jacket. The possibilities are endless! Appliqué allows you to showcase your artistic side, and it’s a fantastic way to cover up any stains or holes in your clothing.
To get started with patchwork and appliqué, you’ll need a few essential supplies:
- Fabric: Gather a variety of fabrics that inspire you. Look for different colors, patterns, and textures.
- Scissors: A good pair of fabric scissors is crucial for clean cuts.
- Sewing machine or needle and thread: Depending on your comfort level, you can either sew by hand or use a sewing machine for quicker results.
- Fabric glue (optional): For those who may not want to sew, fabric glue can be a great alternative for appliqué.
Once you have your materials ready, it’s time to start creating! Here’s a simple step-by-step guide to help you with your first patchwork or appliqué project:
- Choose your base fabric: This is the fabric that will serve as the foundation for your project.
- Select your patches or appliqués: Cut out your chosen fabric pieces into the desired shapes.
- Arrange the pieces: Before sewing, lay out your patches on the base fabric to see how they fit together. Play around with different arrangements until you find one you love.
- Sew or glue the pieces: Secure your patches in place using either a sewing machine or fabric glue. If sewing, use a straight stitch or a zigzag stitch for added flair.
- Finish the edges: To prevent fraying, consider finishing the edges of your patches with a zigzag stitch or by using fabric sealant.
As you gain confidence, experiment with different shapes, sizes, and colors. Patchwork and appliqué can be as simple or as complex as you want them to be. Remember, the goal is to have fun and let your creativity shine!
In conclusion, patchwork and appliqué are fantastic techniques that not only allow you to upcycle your clothing but also encourage self-expression. So why not grab some fabric scraps and start your journey into the colorful world of patchwork and appliqué? You might just find that your old clothes have a lot more potential than you ever imagined!
Q: Do I need to be an expert sewer to try patchwork and appliqué?
A: Not at all! These techniques are perfect for beginners. Start with simple shapes and gradually challenge yourself as you gain confidence.
Q: Can I use any type of fabric for patchwork and appliqué?
A: Yes! You can use a variety of fabrics, but it’s best to choose ones that are similar in weight to ensure a smooth finish.
Q: What if I don’t have a sewing machine?
A: You can still create beautiful patchwork and appliqué projects by sewing by hand. Just be patient, and you’ll achieve lovely results!
Frequently Asked Questions
-
What is upcycling and how is it different from recycling?
Upcycling is the creative process of transforming old or discarded materials into new products of better quality or for better environmental value. Unlike recycling, which often breaks down materials to create something new, upcycling takes existing items and gives them a new life without altering their original form significantly. Think of it as giving your old jeans a stylish makeover instead of turning them into fabric scraps!
-
Do I need to be an expert in sewing to start upcycling?
Not at all! Upcycling is all about creativity and resourcefulness. While basic sewing skills can be helpful, there are plenty of no-sew techniques like using fabric adhesives or embellishments that can make your projects shine. So, roll up your sleeves and dive in—your sewing machine can be your best friend, but it’s not a requirement!
-
What tools do I need to begin upcycling clothing?
Starting with upcycling doesn’t require a treasure trove of tools, but having some essentials will make your journey smoother. Basic sewing supplies like needles, threads, and scissors are a must. Additionally, fabric adhesives, embellishments, and perhaps a rotary cutter can help you unleash your creativity. Just think of them as your magic wand to conjure up fabulous new pieces!
-
How do I choose the right clothing items to upcycle?
When selecting garments for upcycling, look for pieces that have potential! Items with interesting patterns, textures, or even minor flaws can be transformed into something spectacular. Consider the fabric type and style; natural fibers like cotton or linen are often easier to work with. It’s like picking the perfect canvas for your masterpiece!
-
Can you suggest some simple upcycling techniques for beginners?
Absolutely! Start with easy techniques like cutting and resizing to create new silhouettes, or try your hand at patchwork and appliqué to add unique flair to your pieces. These techniques are not only simple but also allow you to express your personal style. Just remember, the goal is to have fun and let your creativity flow!


